The Primo now has a hefty backlog of request now that these items have been given away and circulated. So much so that I am currently building a second machine. It is a cross between a primo, and a lowrider using 3D printed parts and concepts from both plus a few of my own.
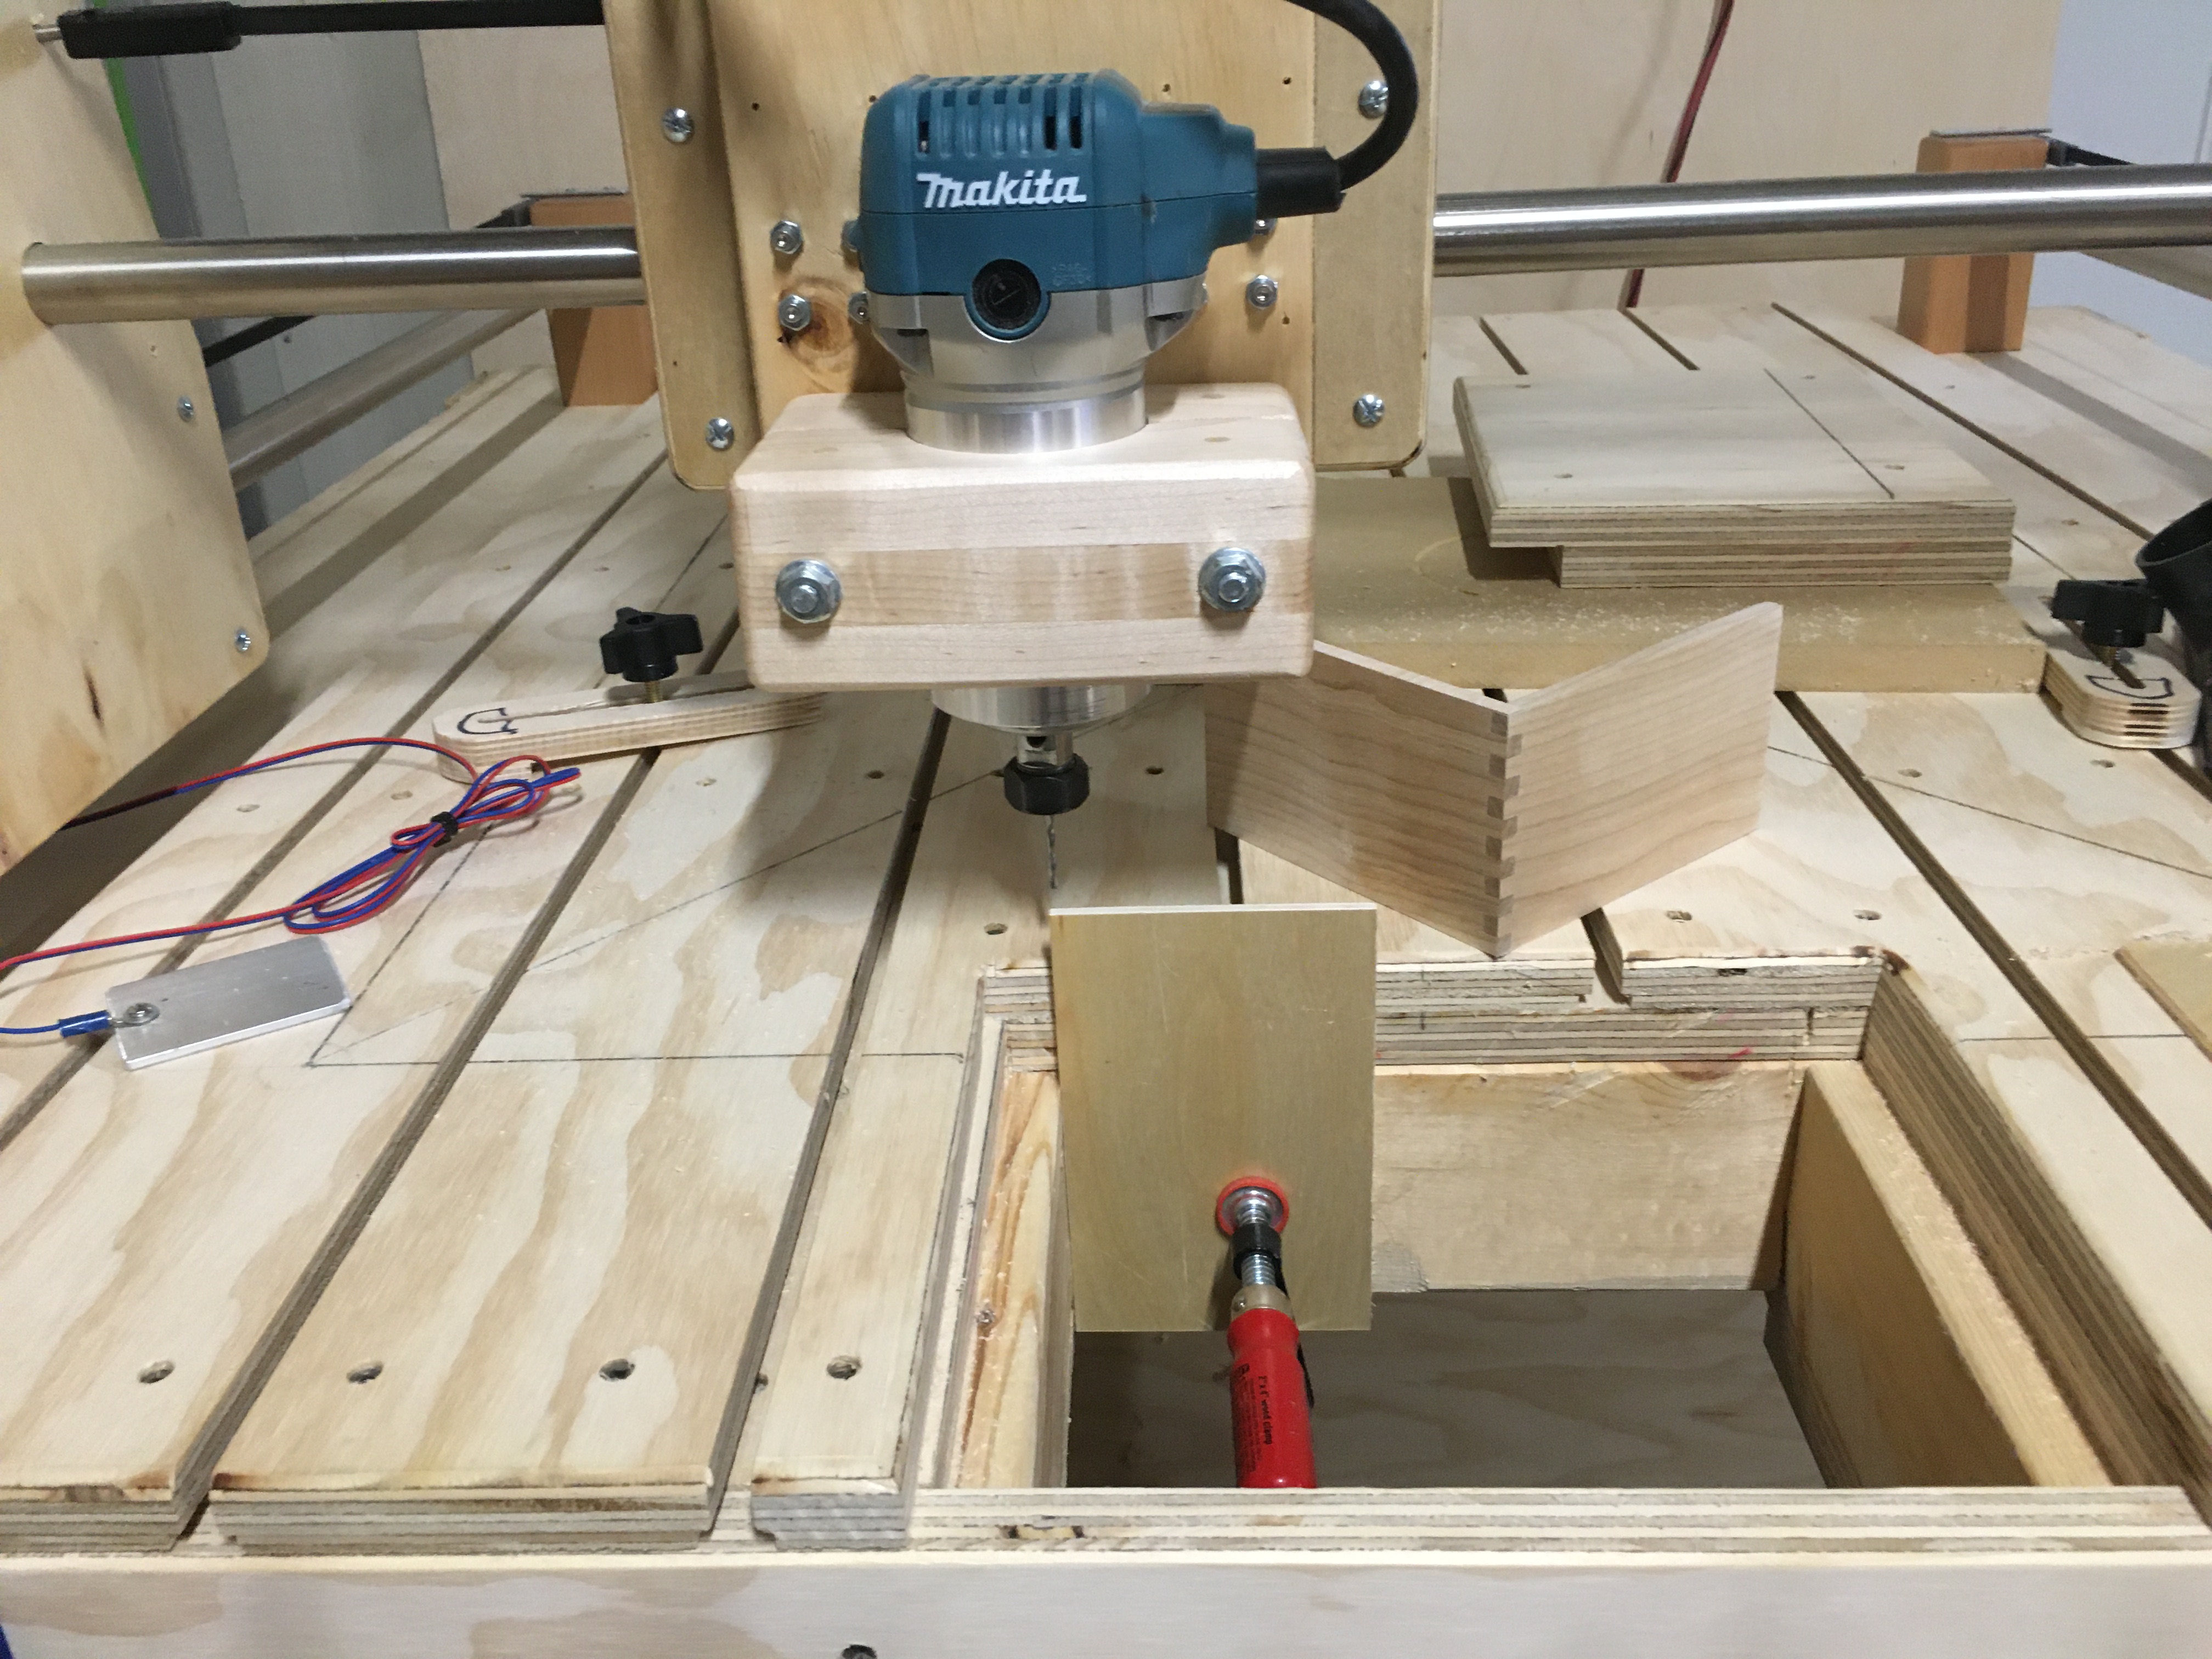
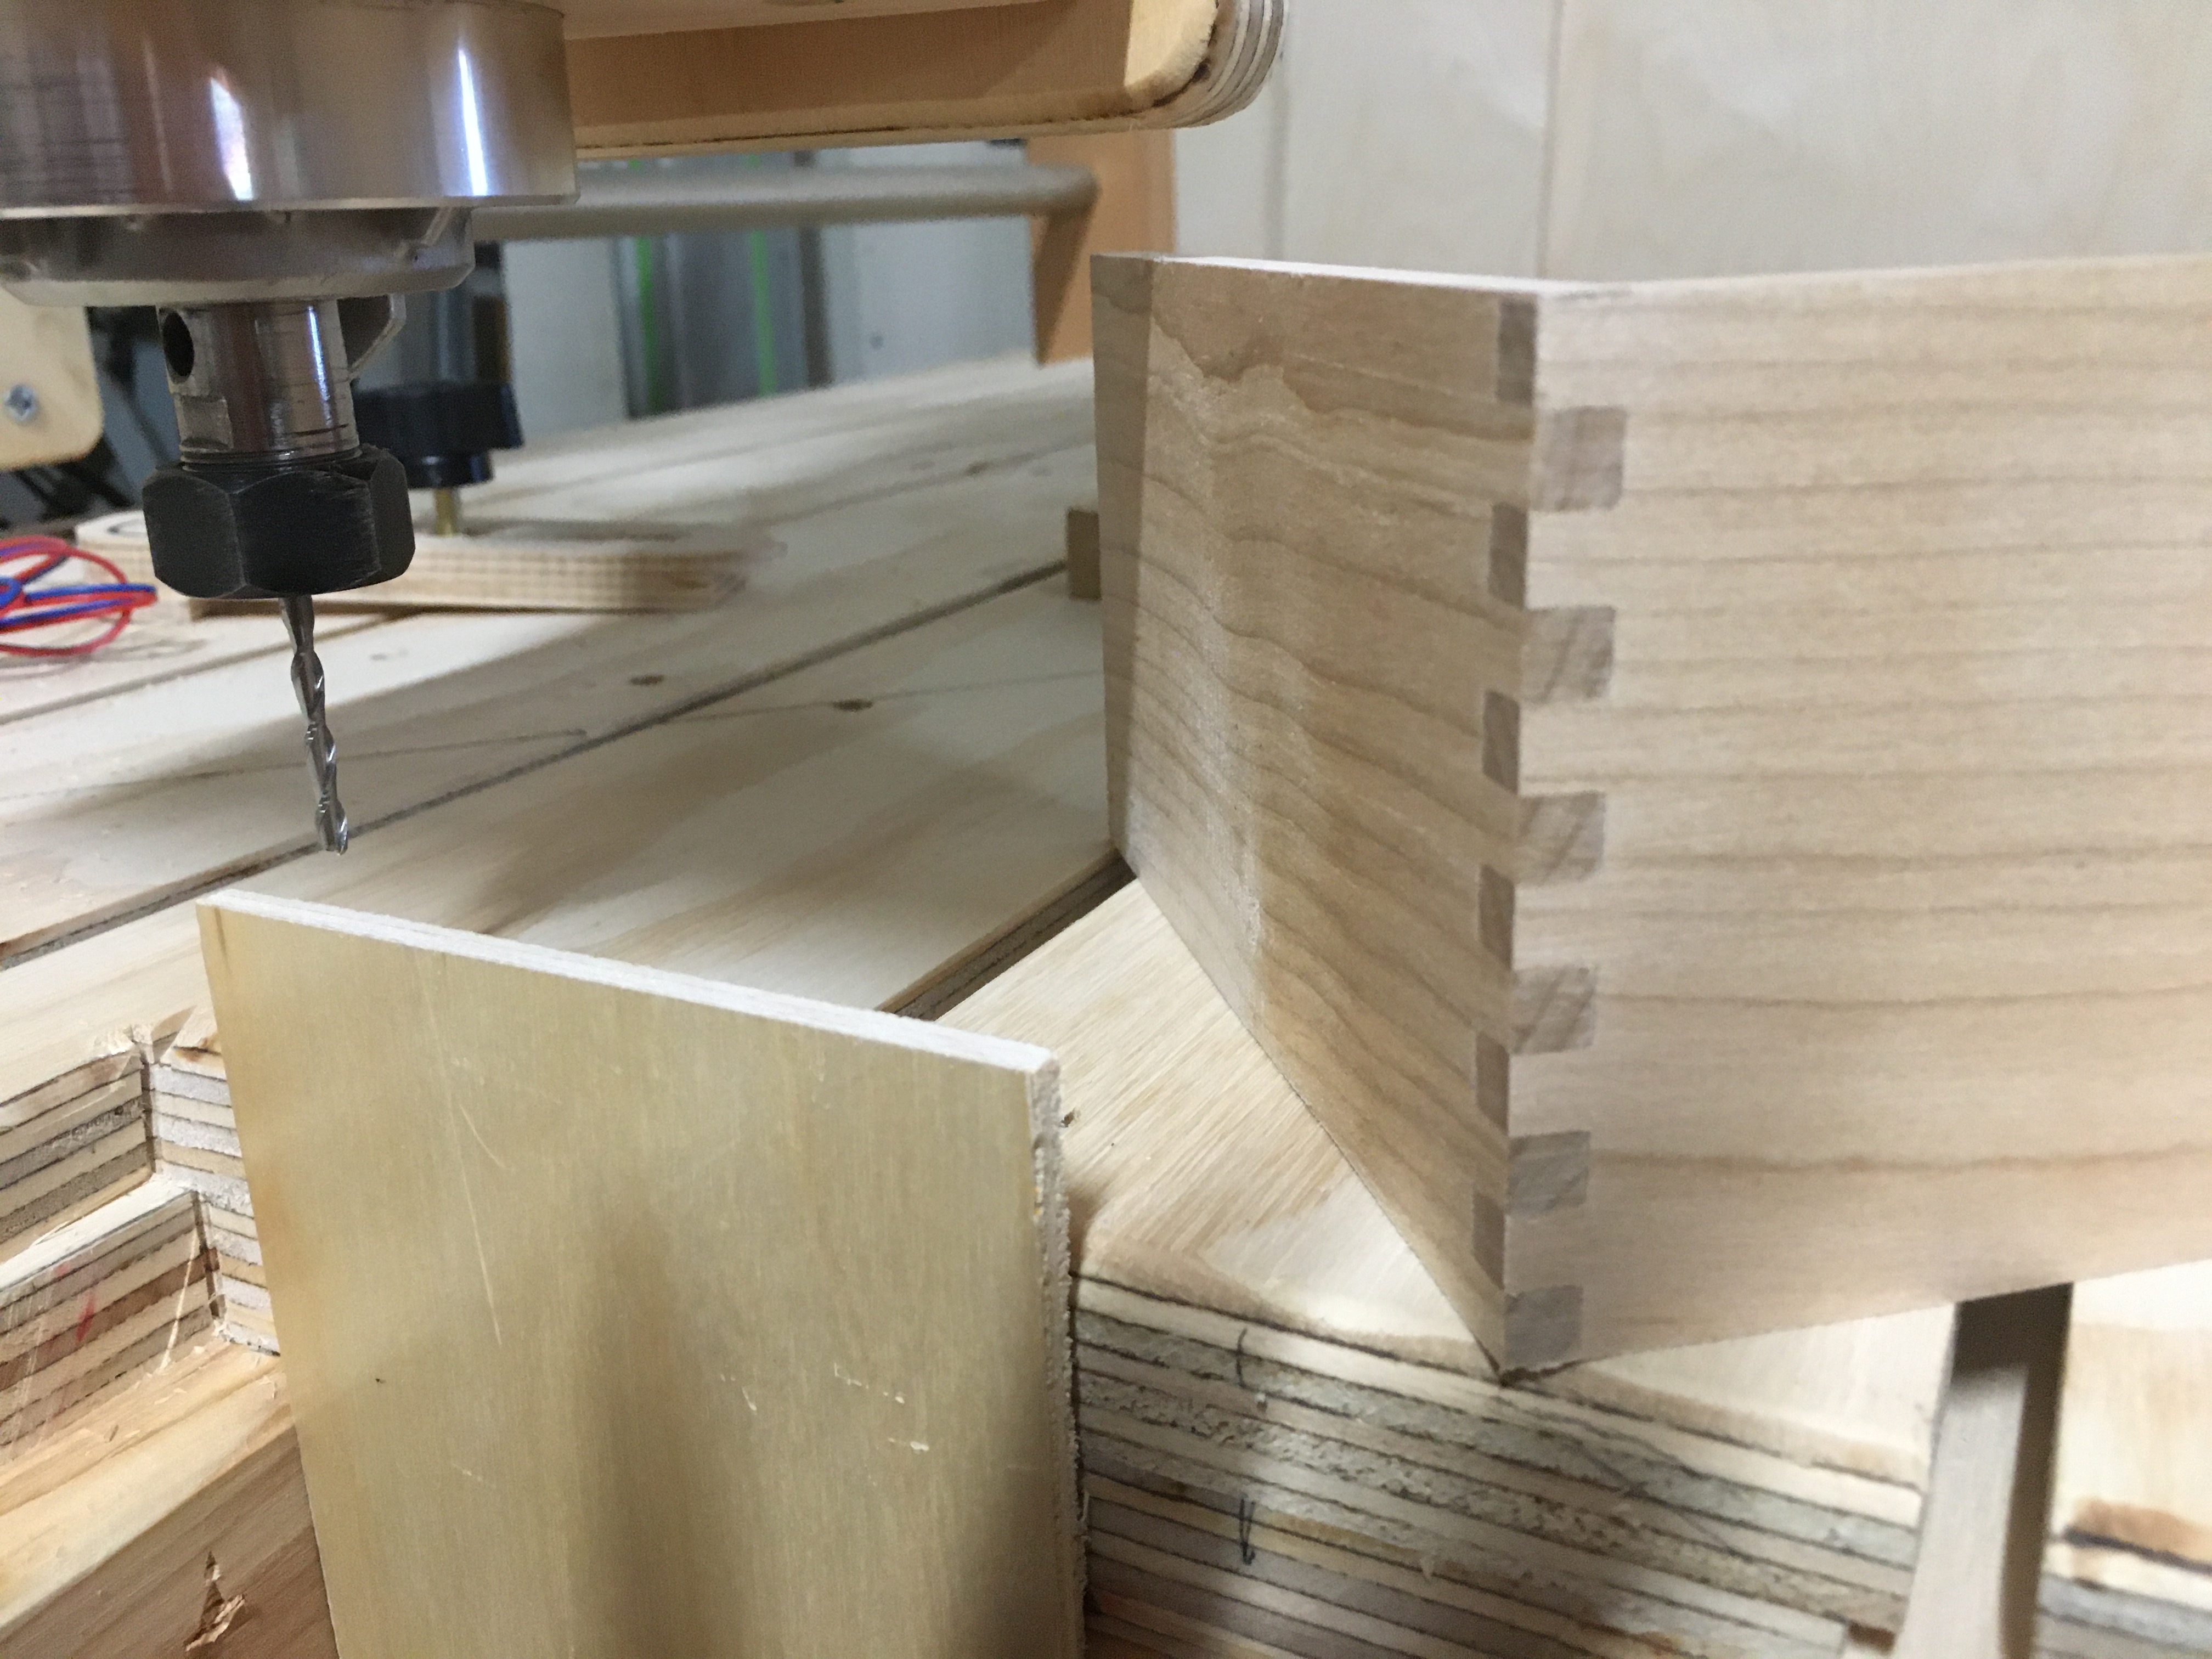
Yeh! Same idea definitely. I wanted another machine to do box joints on so I wanted an open front with a place for vertical lumber to be clamped. Also, I have discovered I enjoy building machines a lot more than using them. Shoot, I may tear this one down and try another version once I use it for a while. Too much fun for one person to bear!
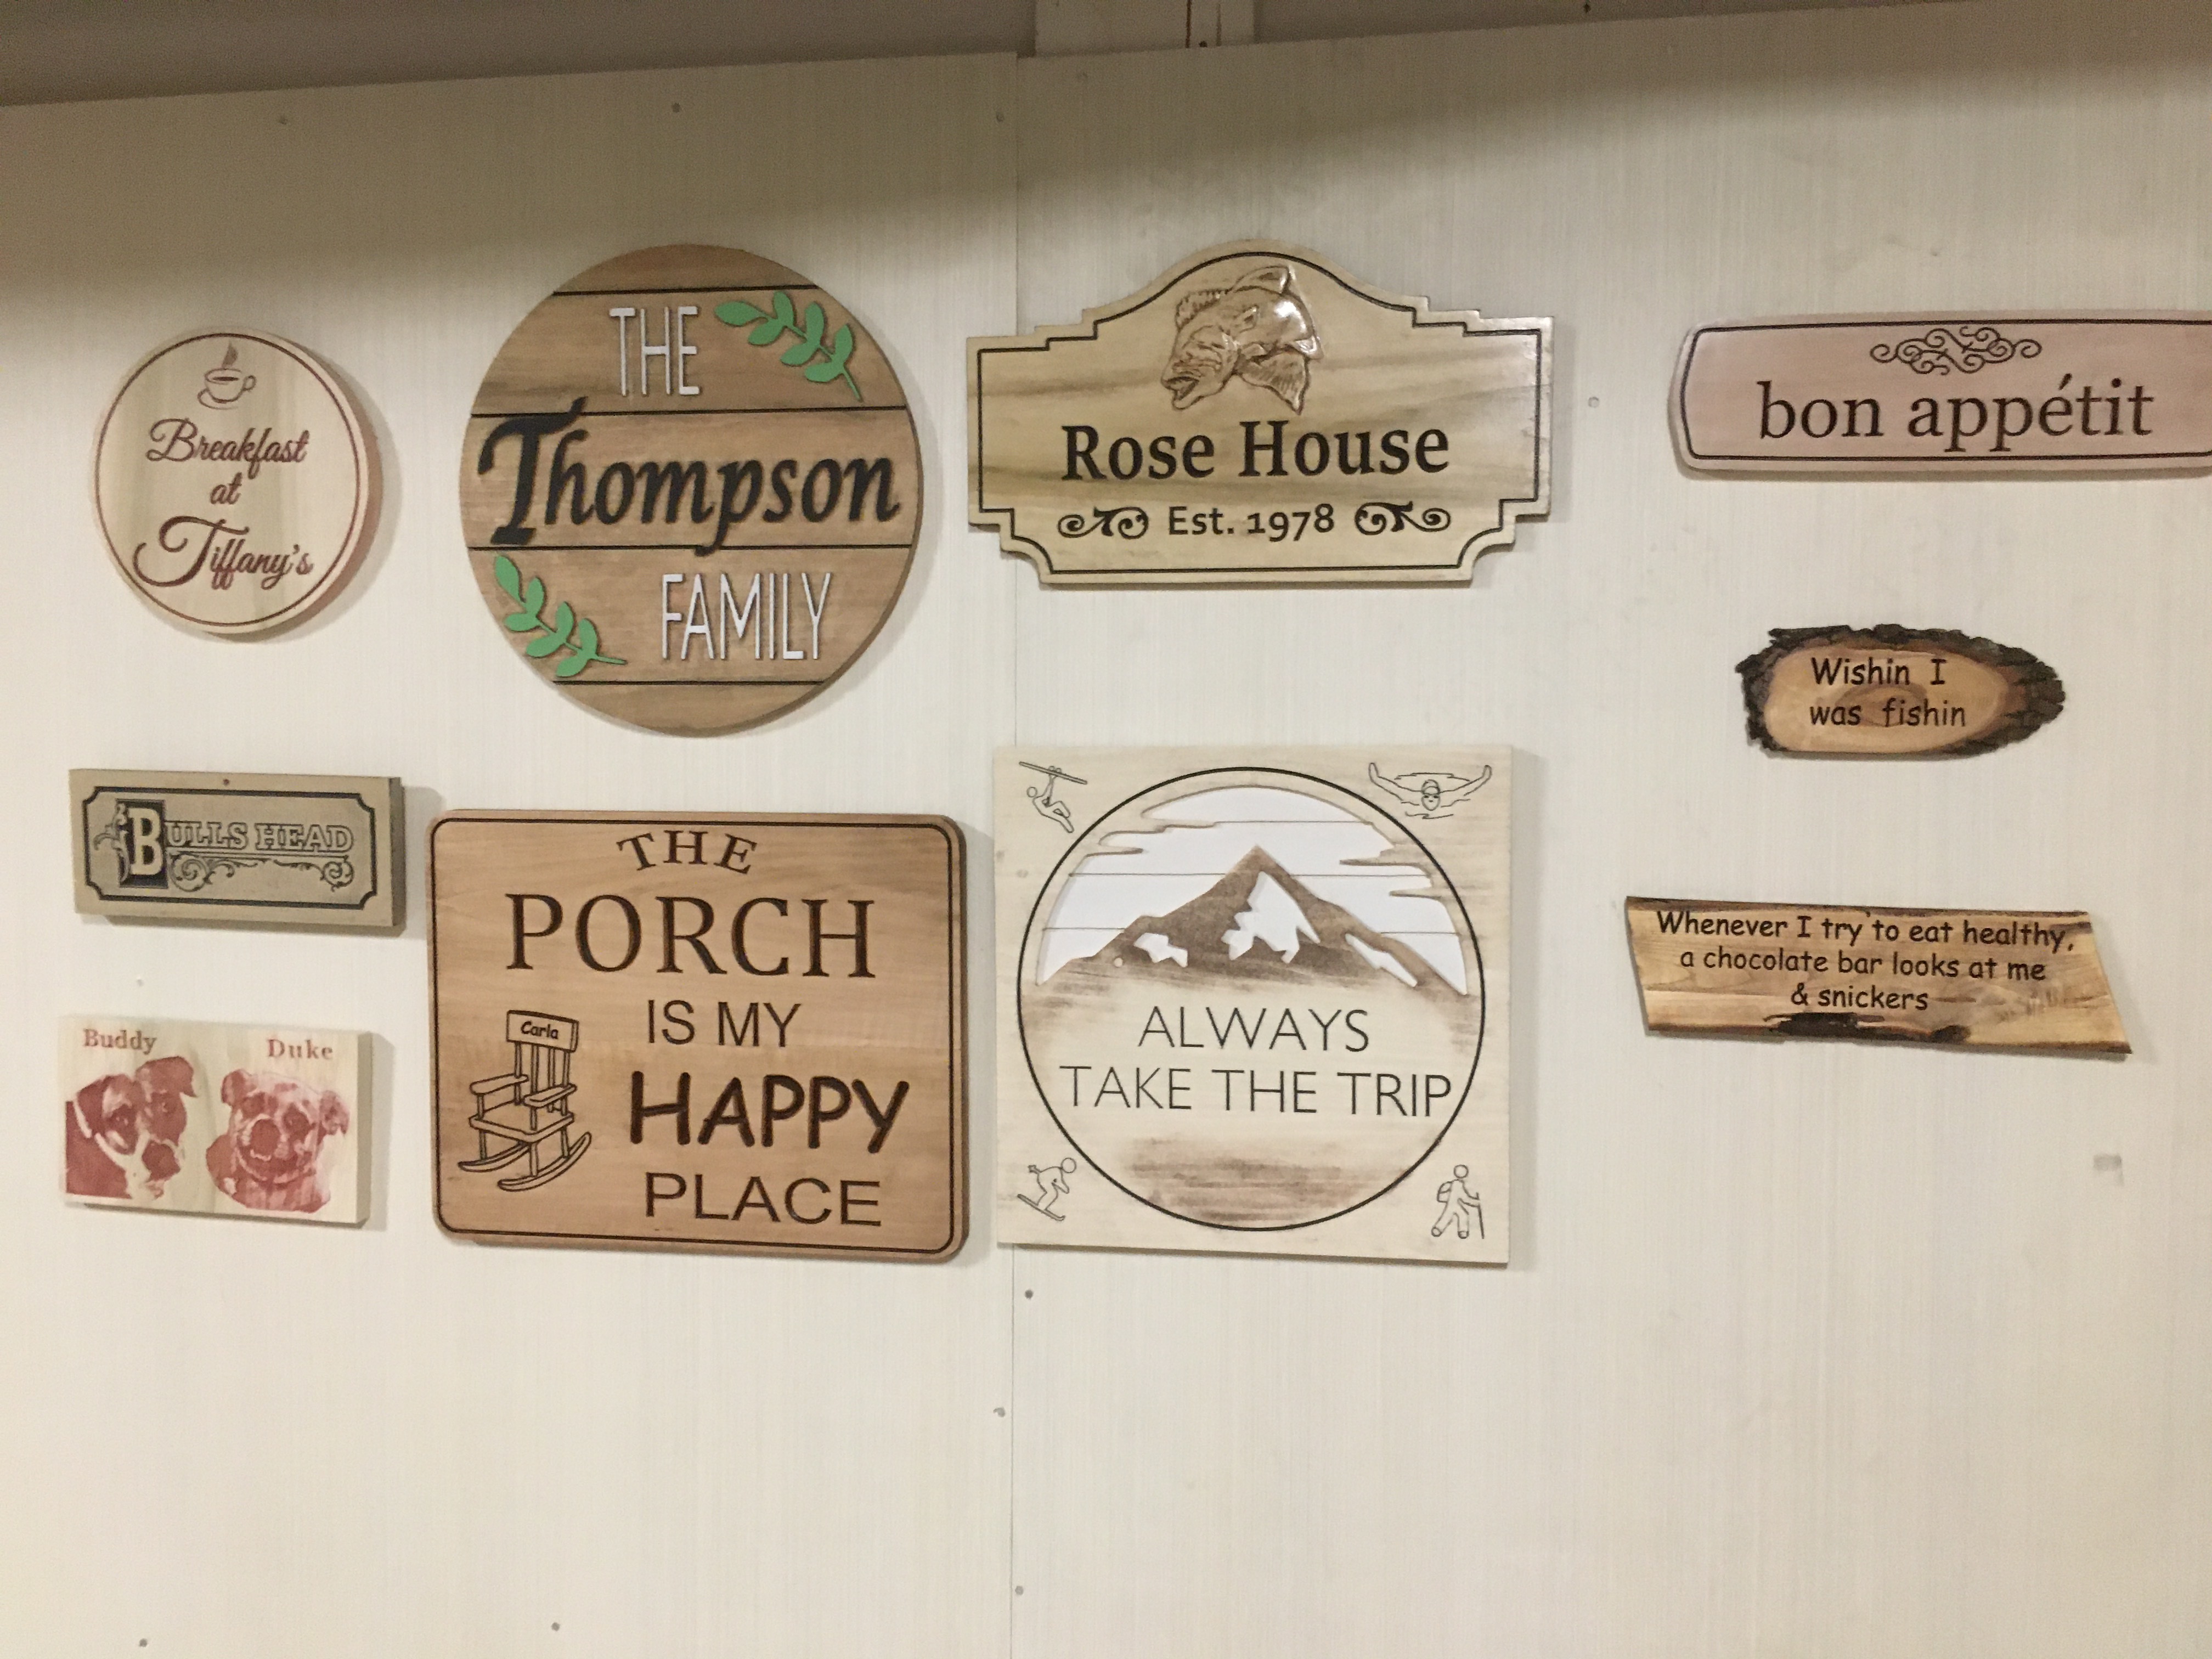
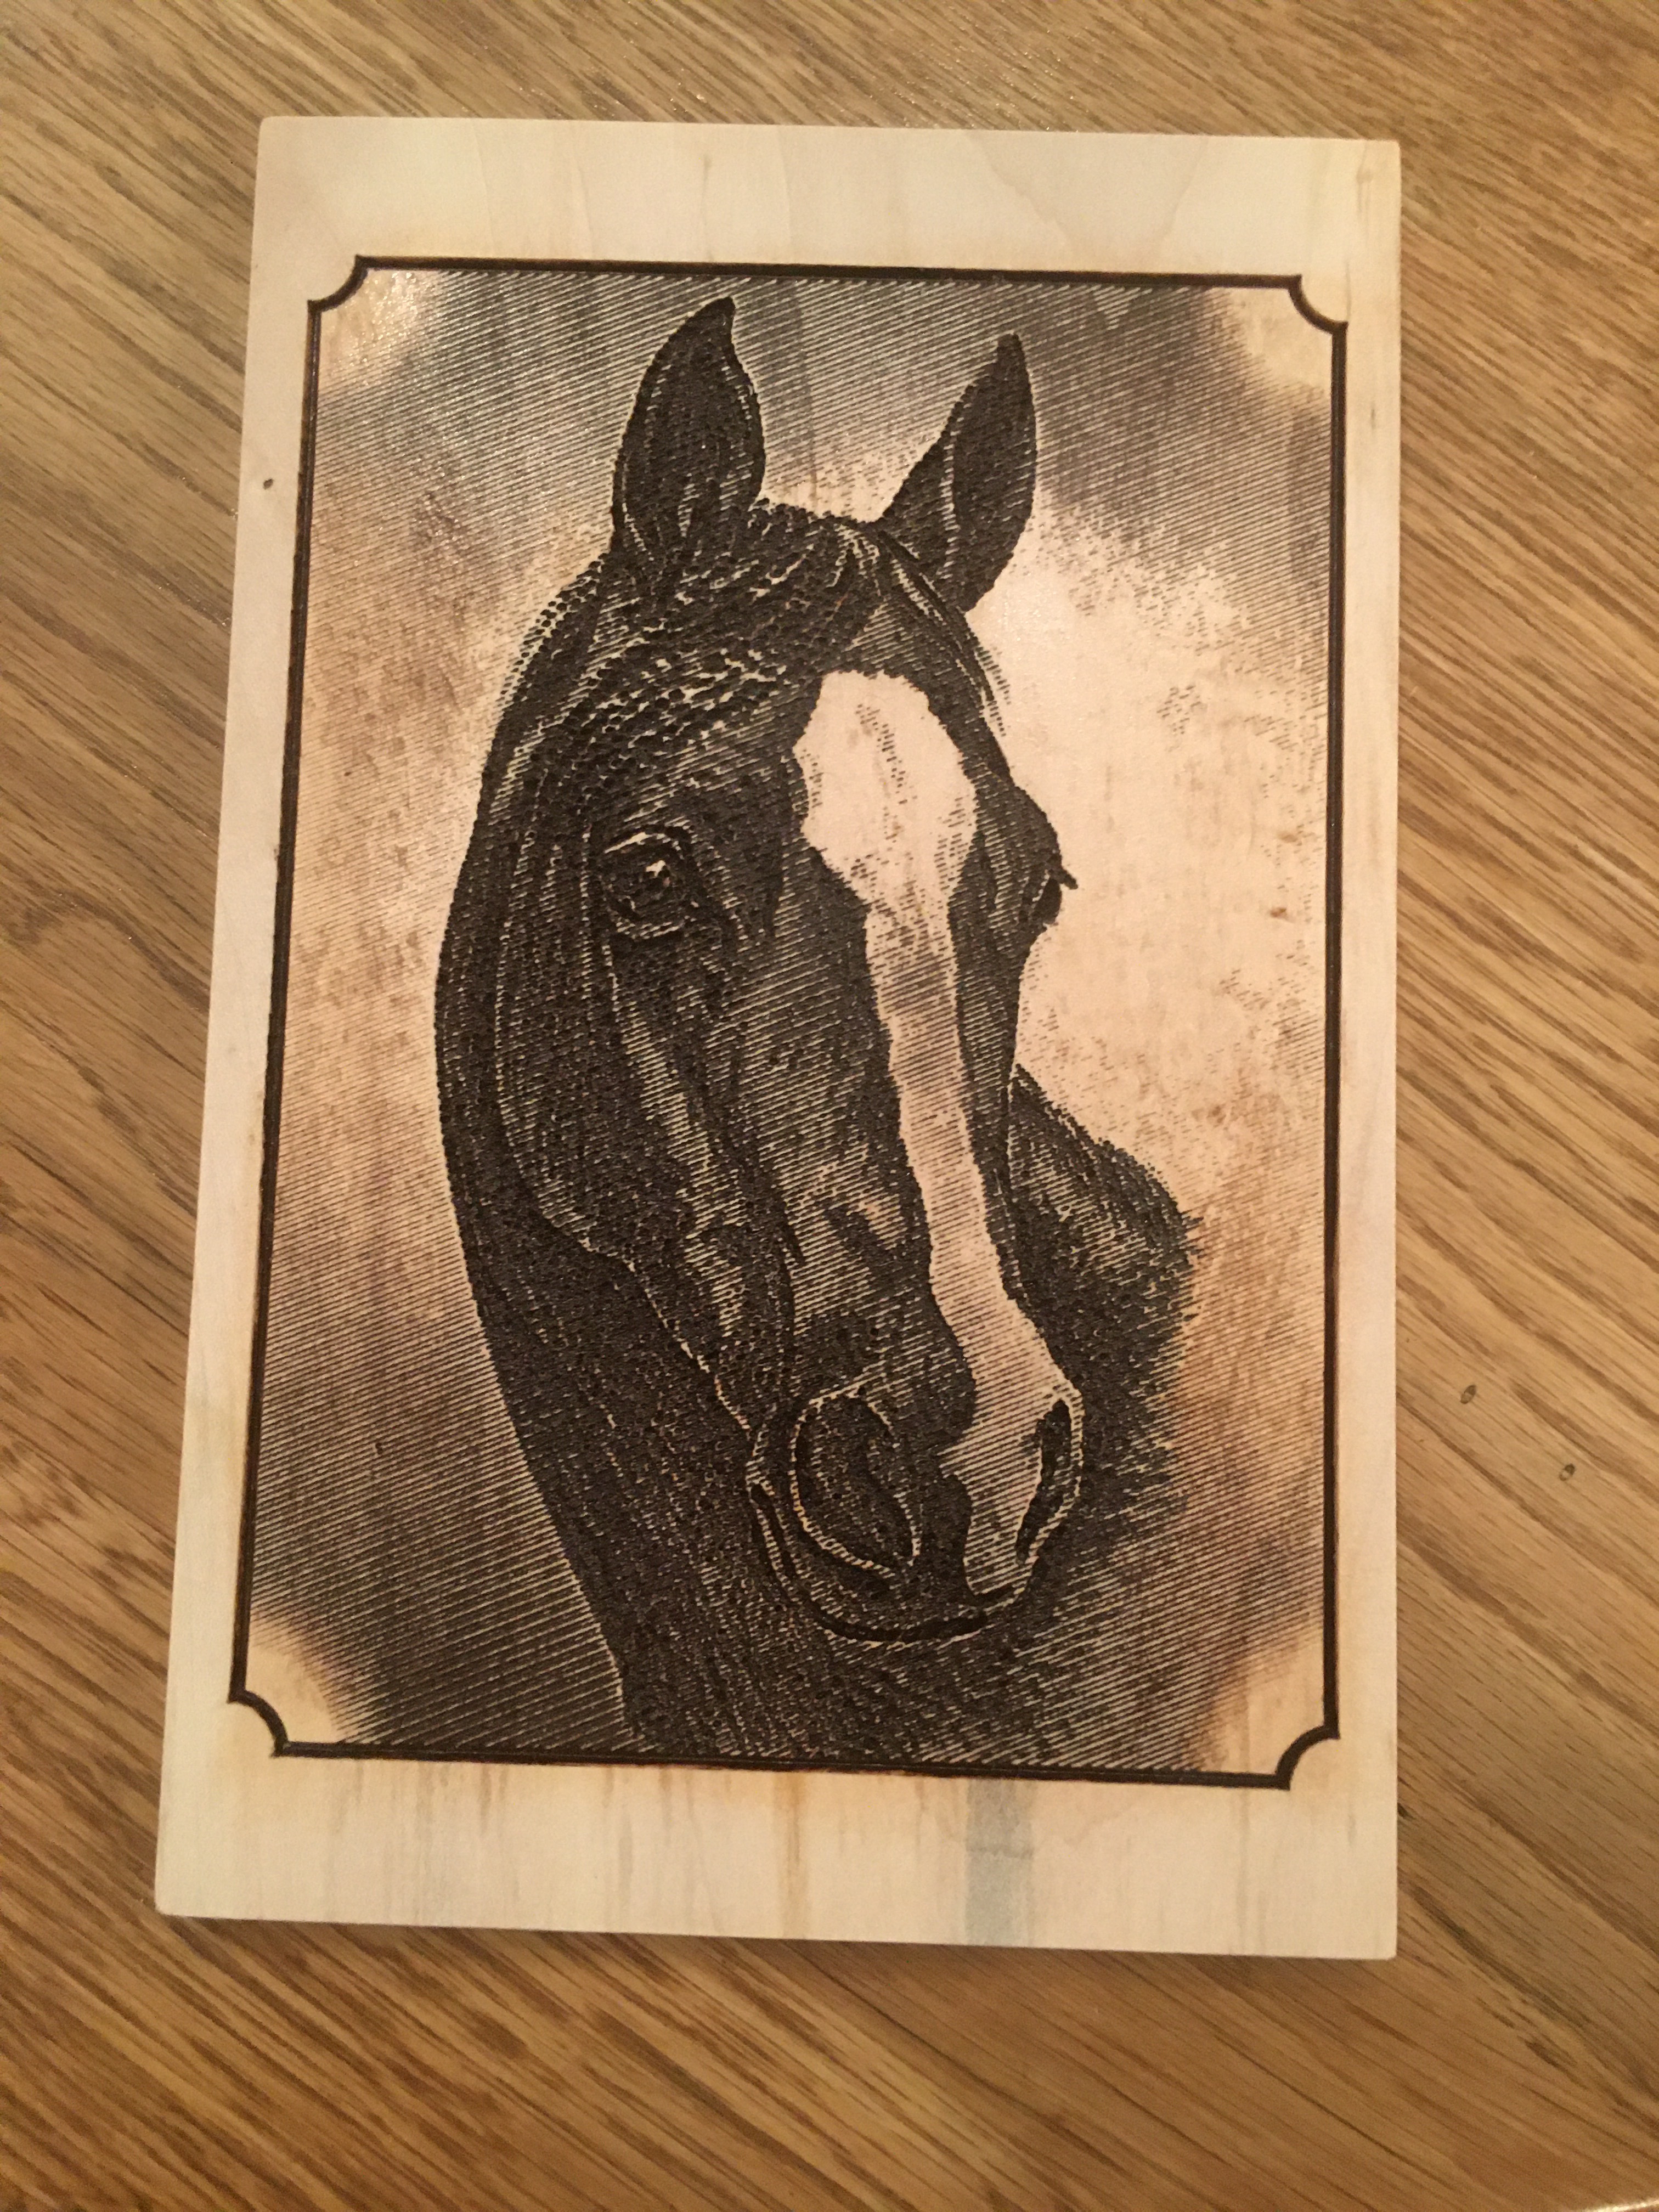
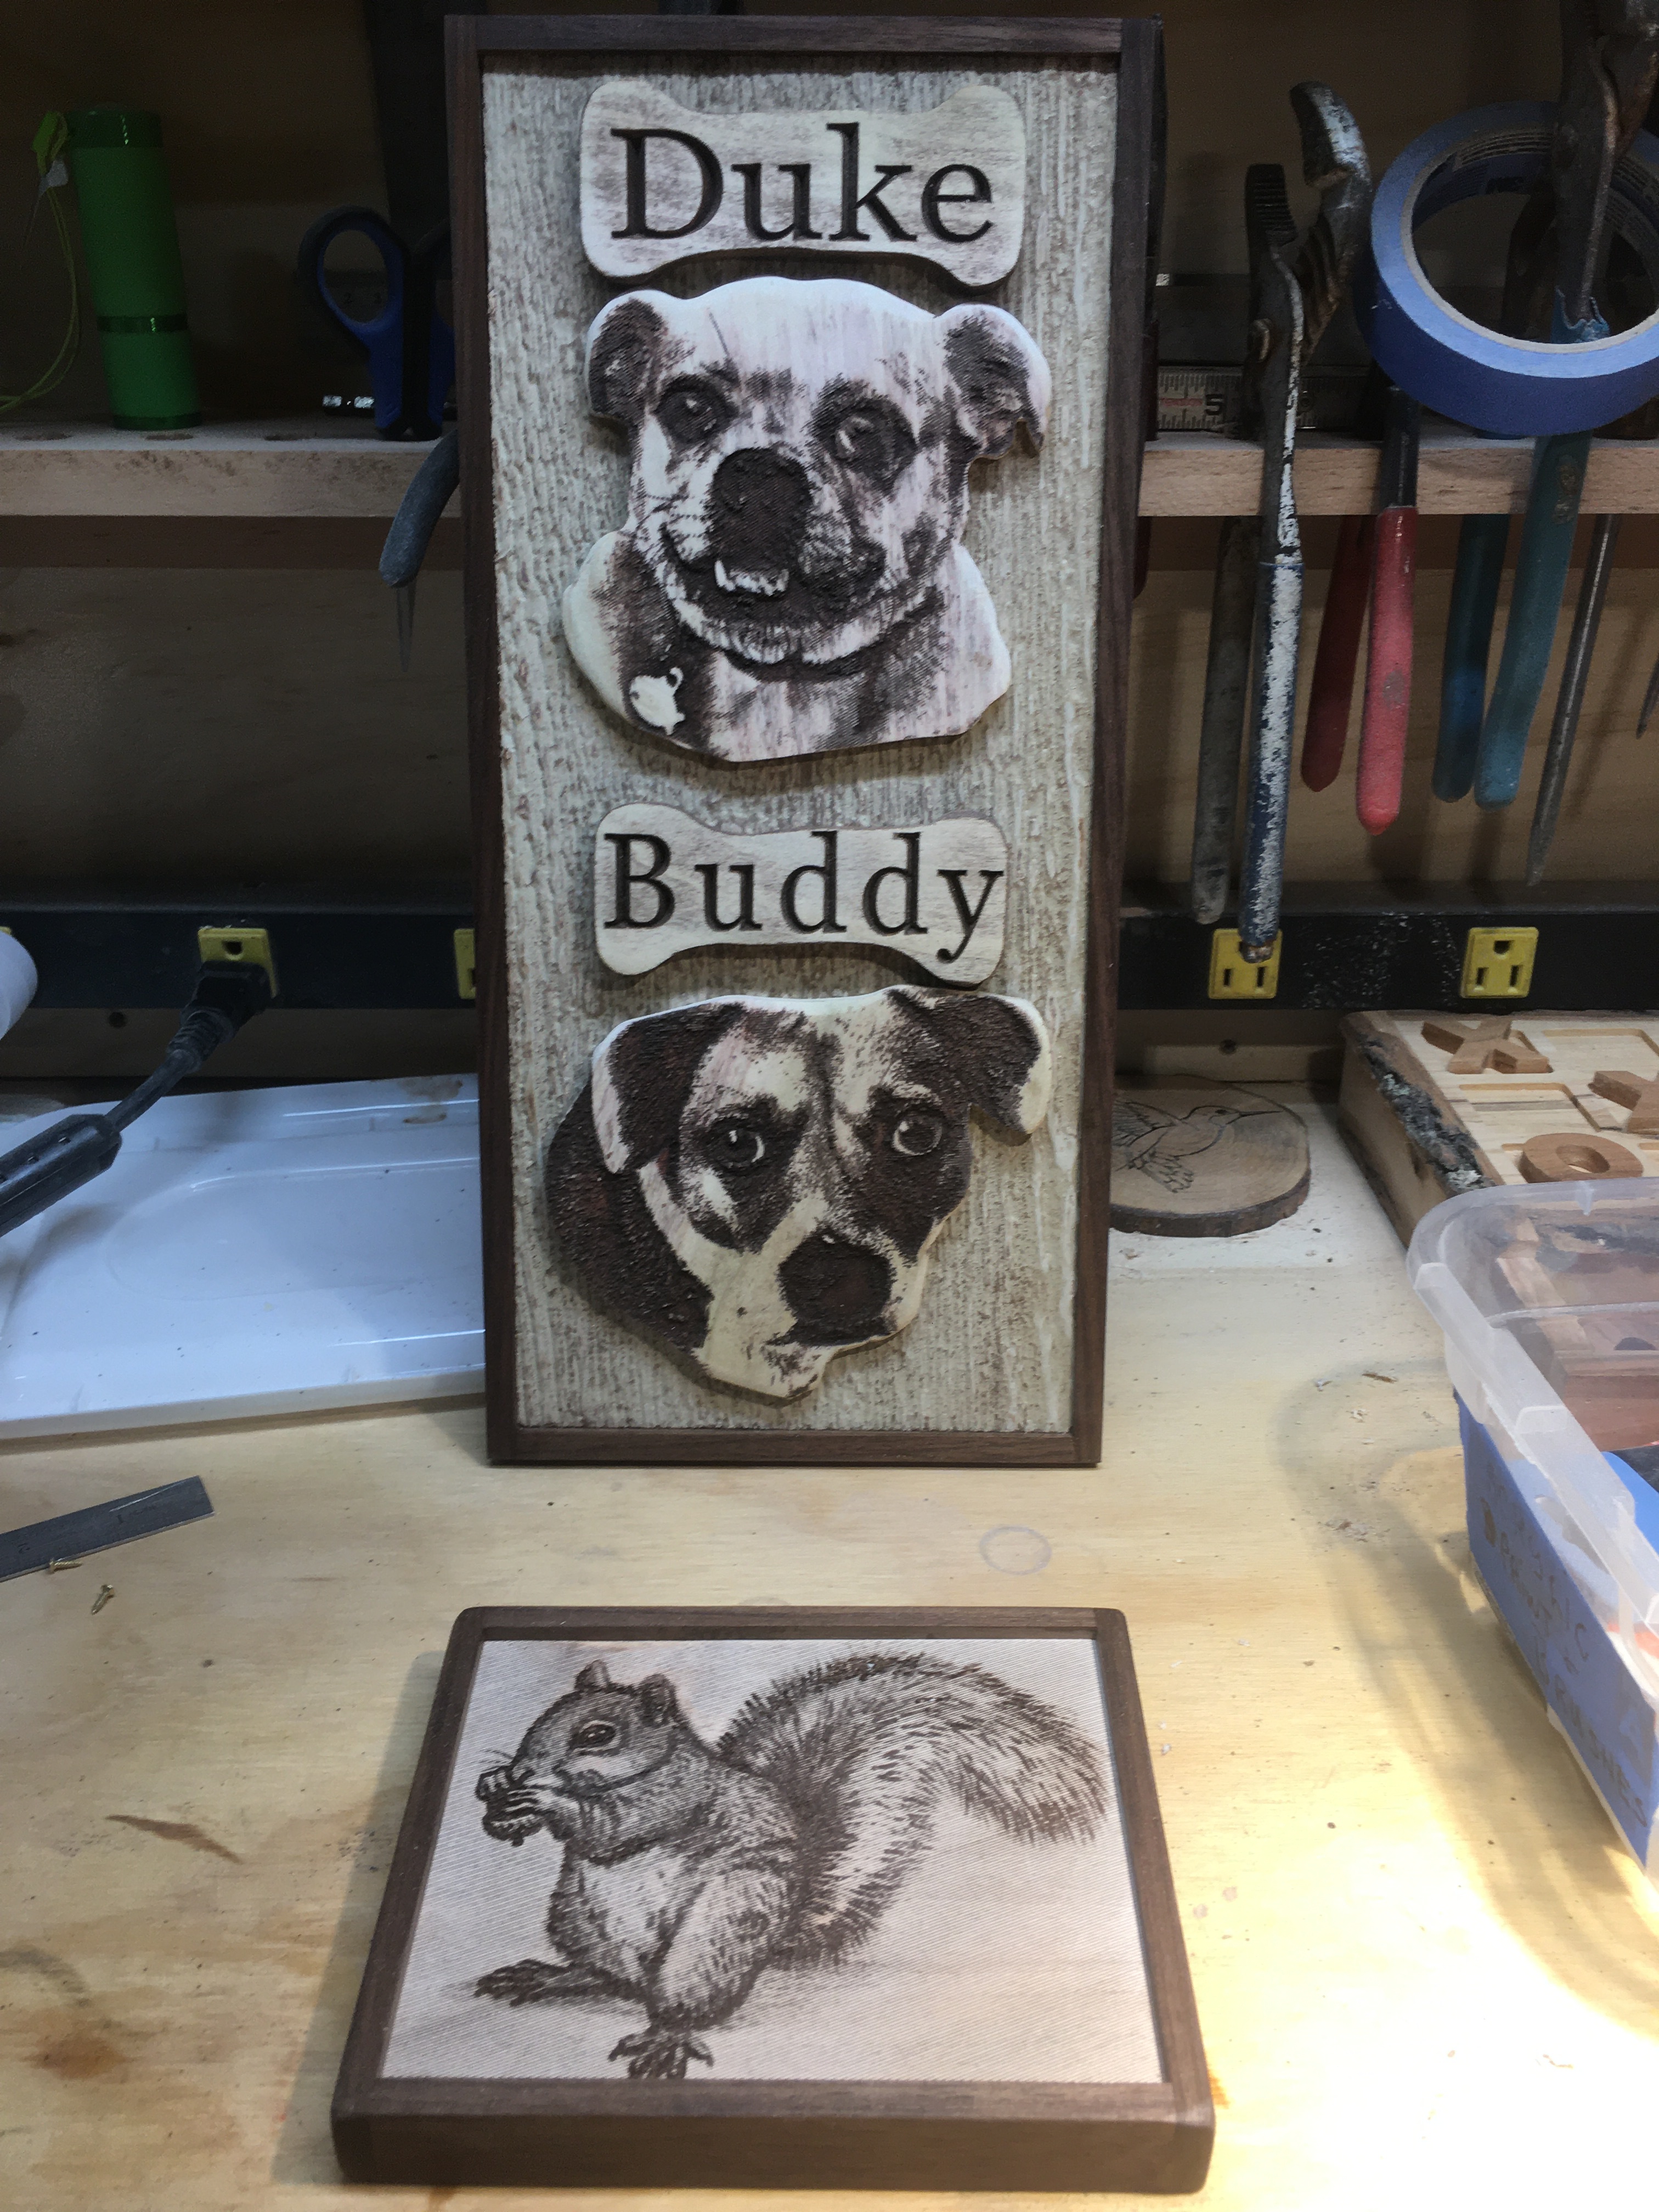
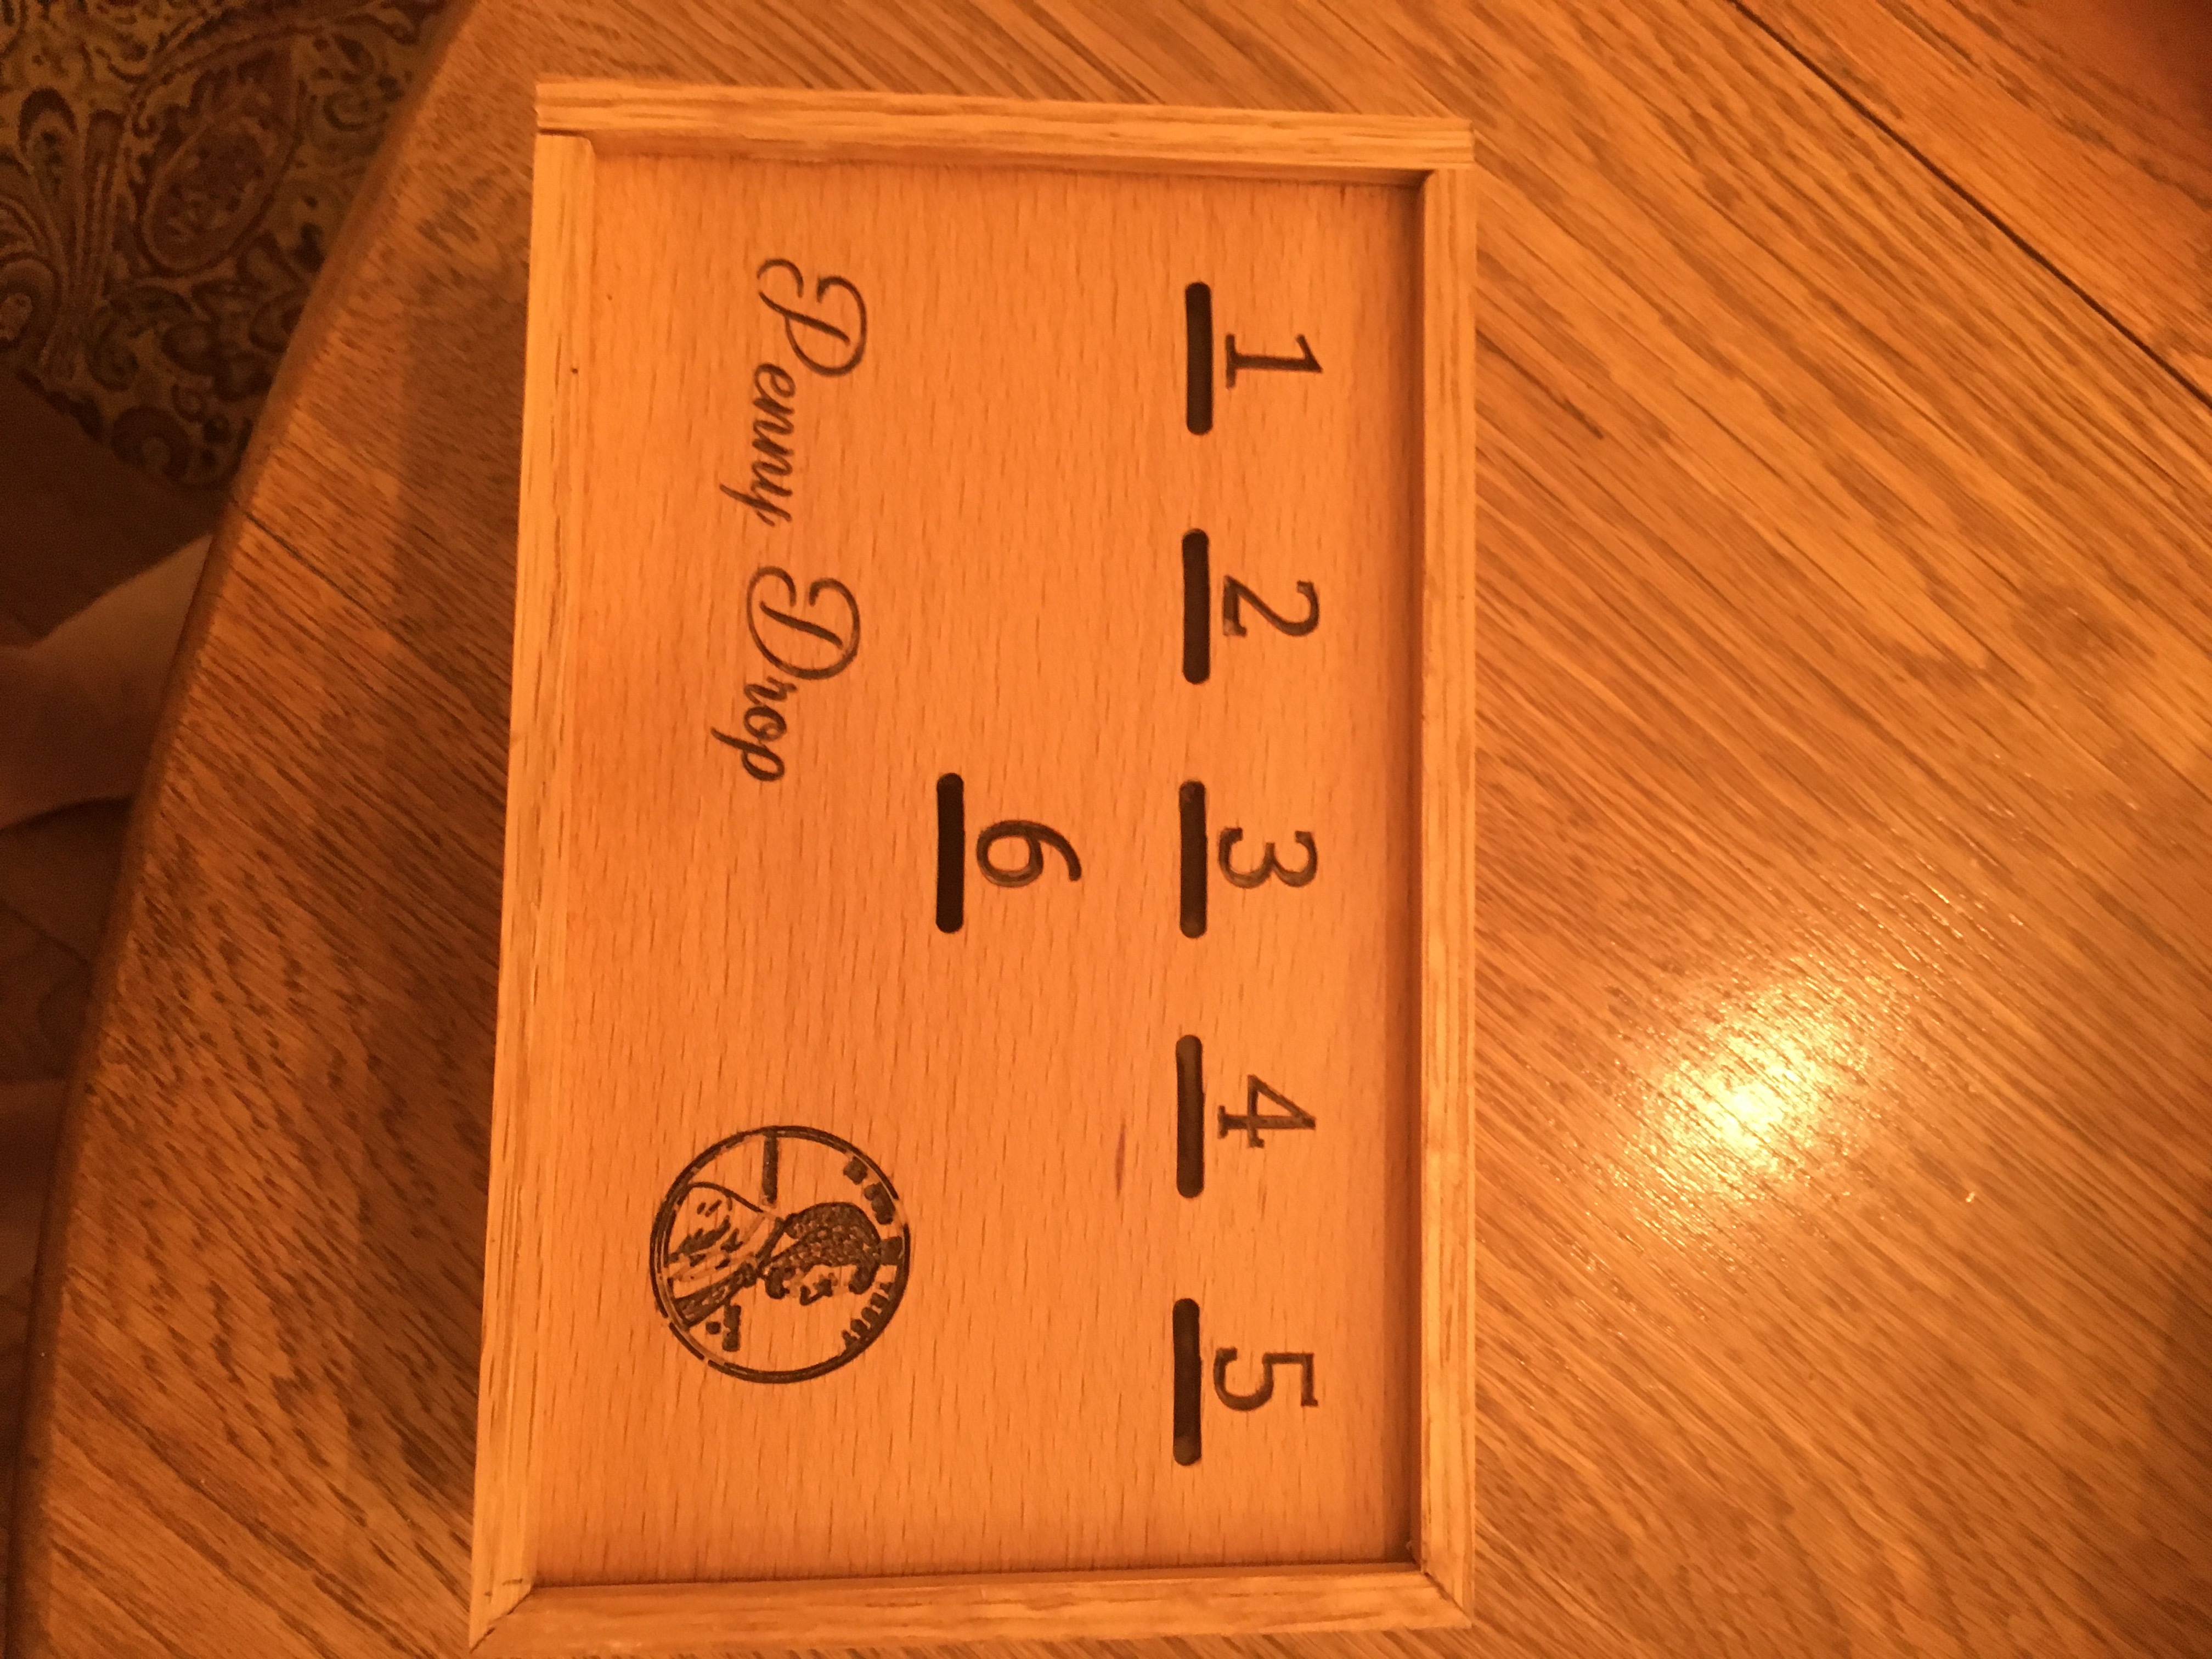
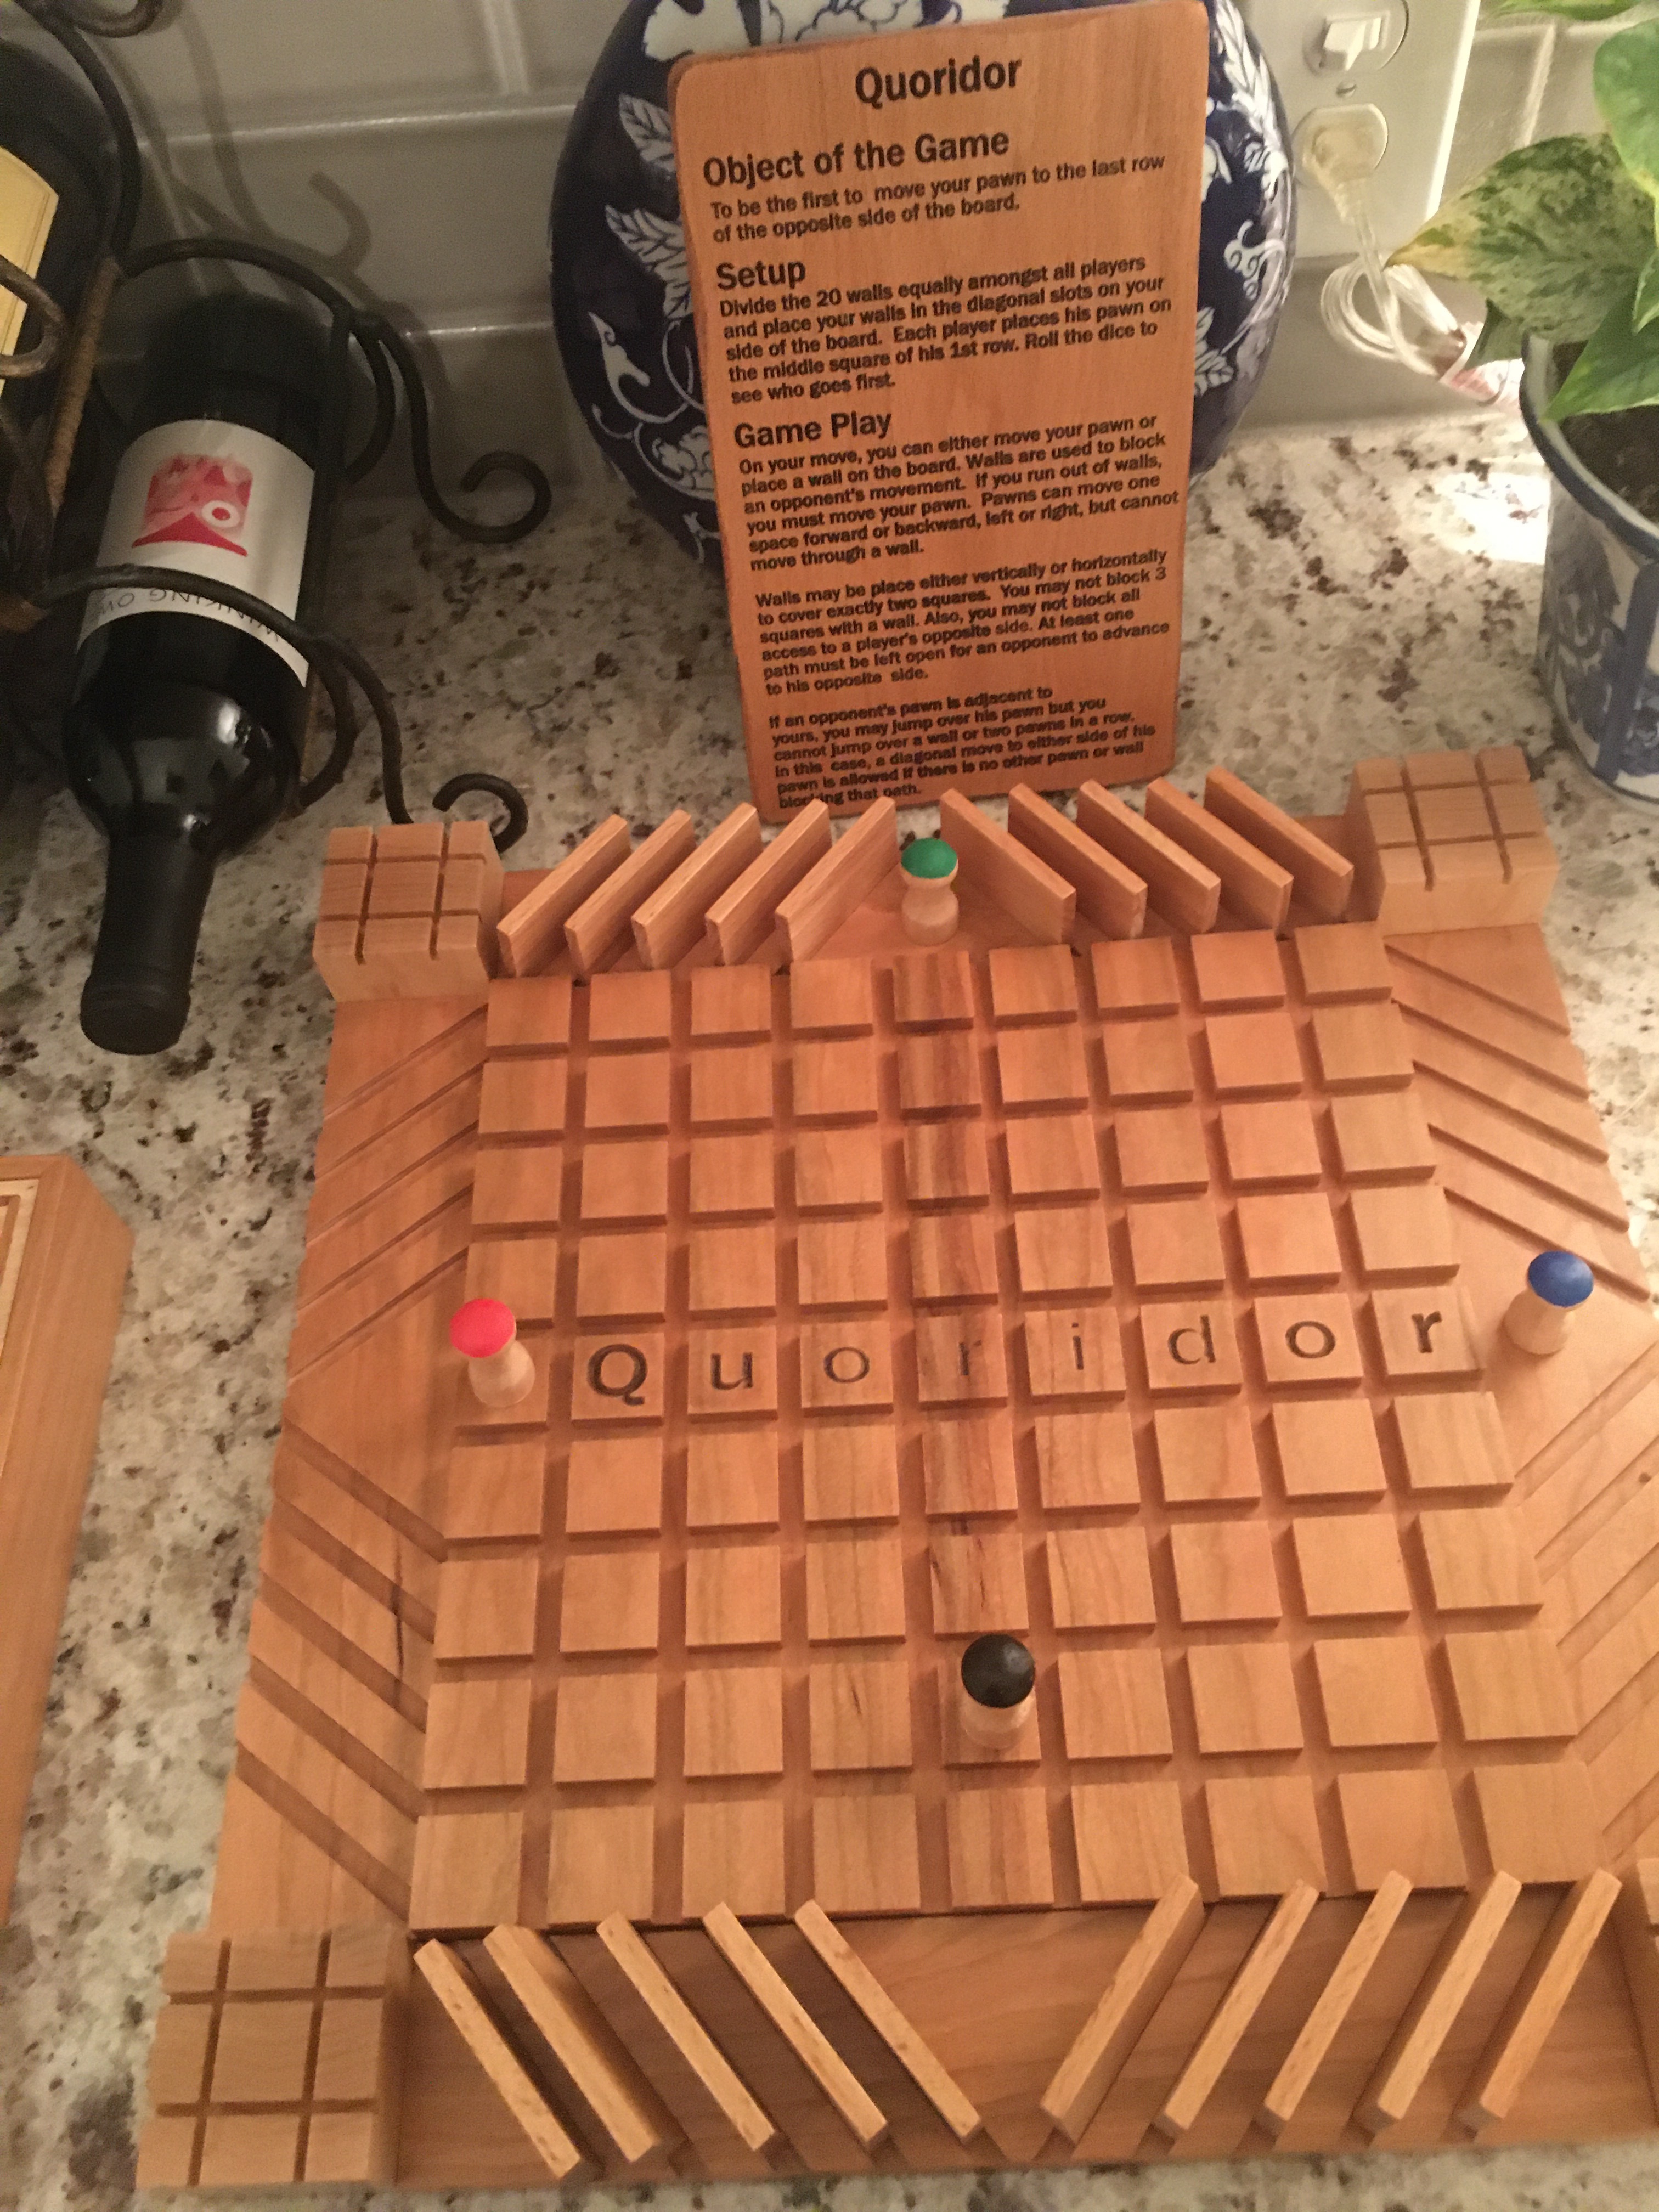
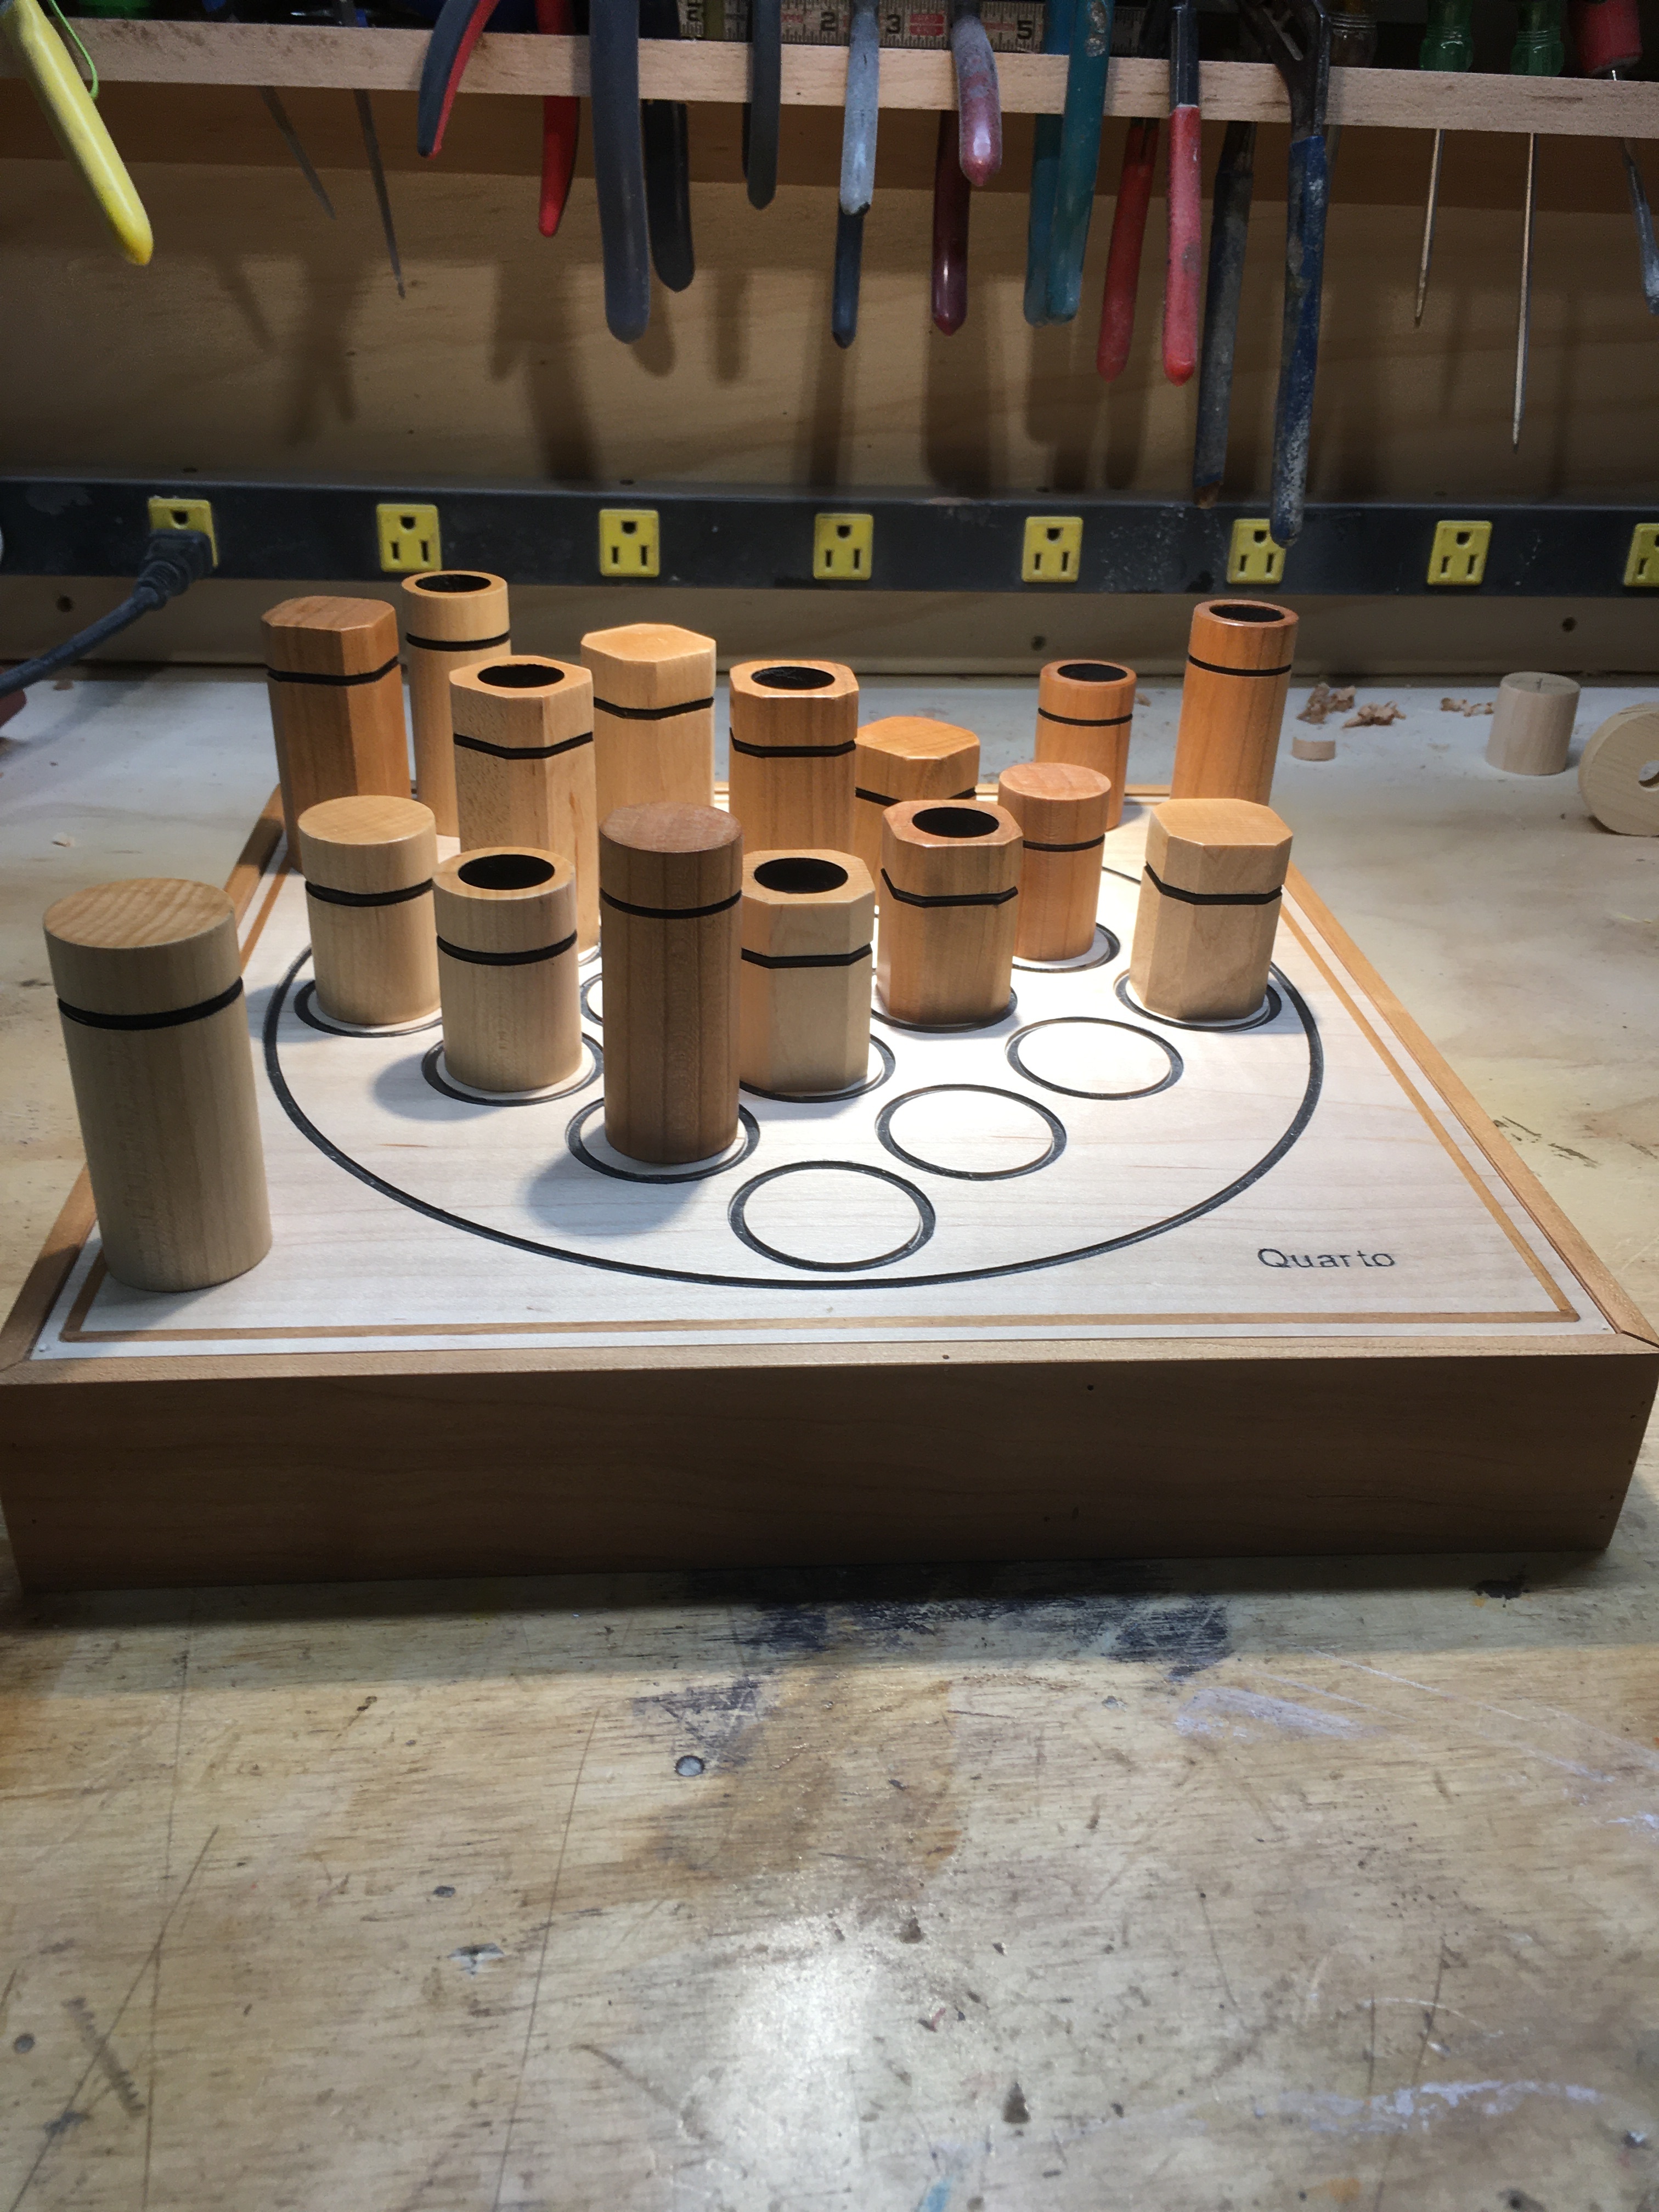
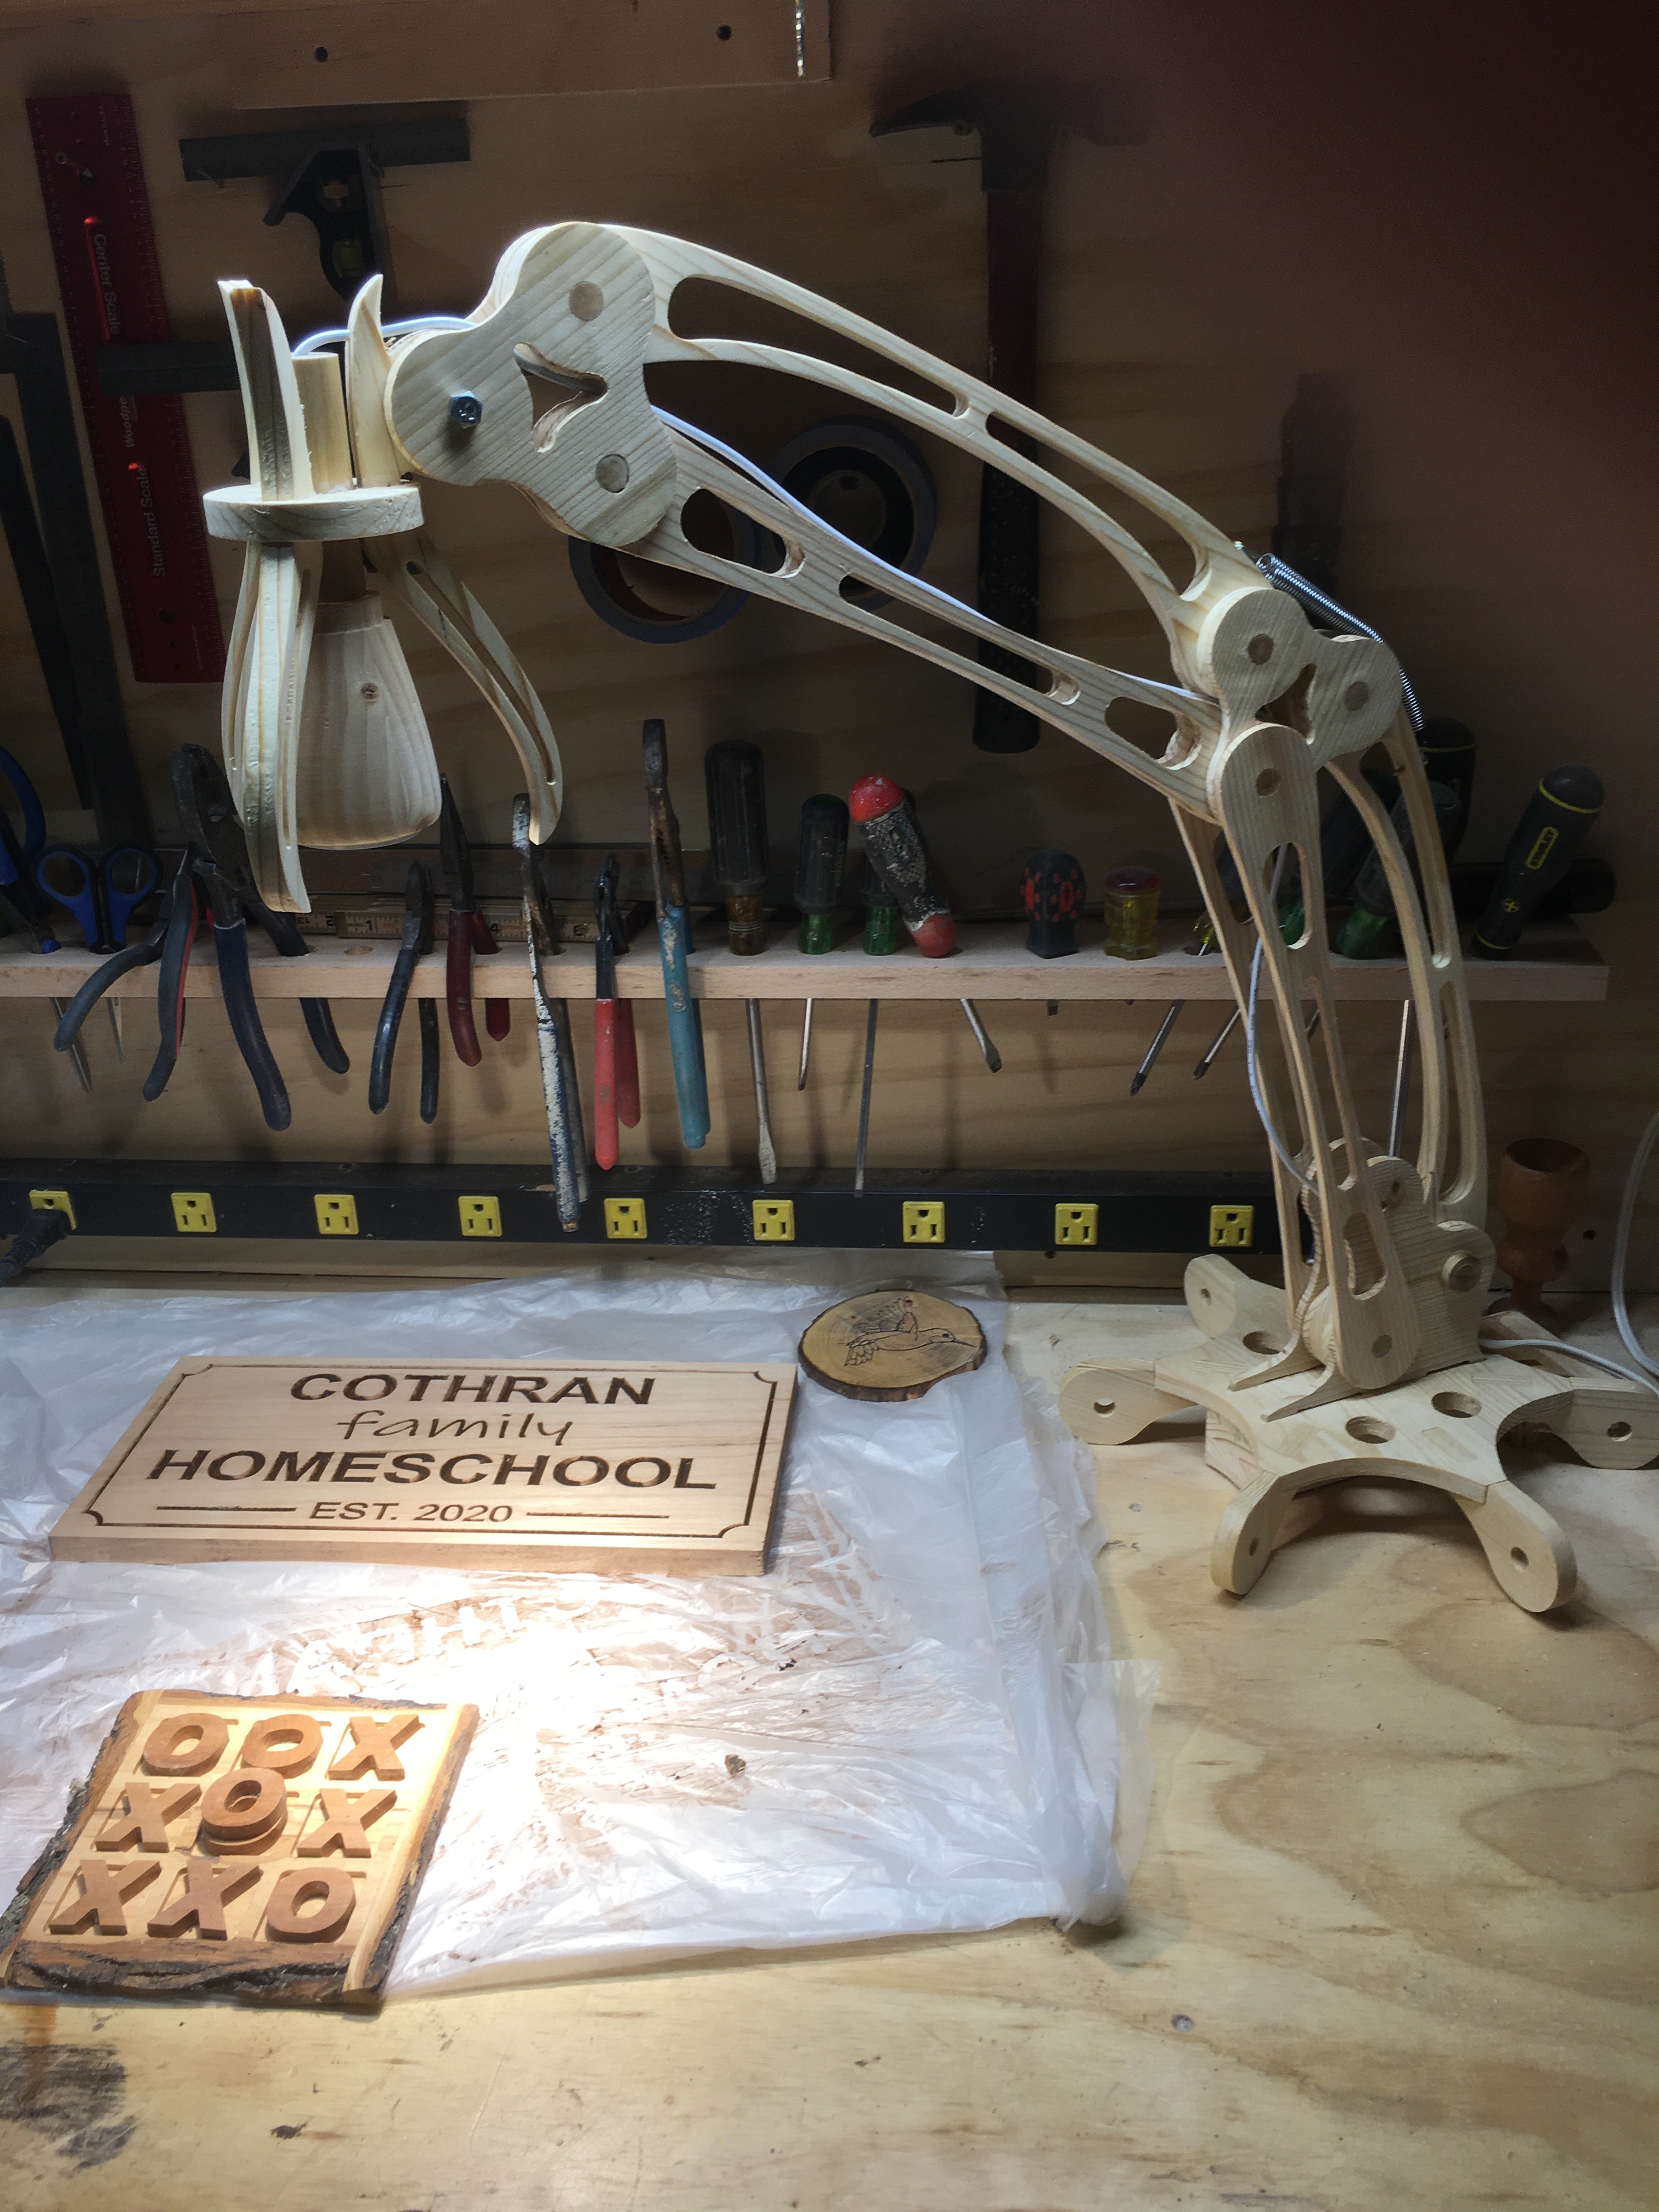
Made all the plans myself, when my wife spotted a sign or game she liked, she showed me a photo and I designed something similar to the photo. I use inkscape and vcarve pro for 99% of what I do. Only thing I download is 3d artwork, I don’t design in 3d.
Another project completed was a desk lamp for my shop. Saw one on the internet and thought it was a good cnc project. Located a drawing with dimensions and duplicated in inkscape.
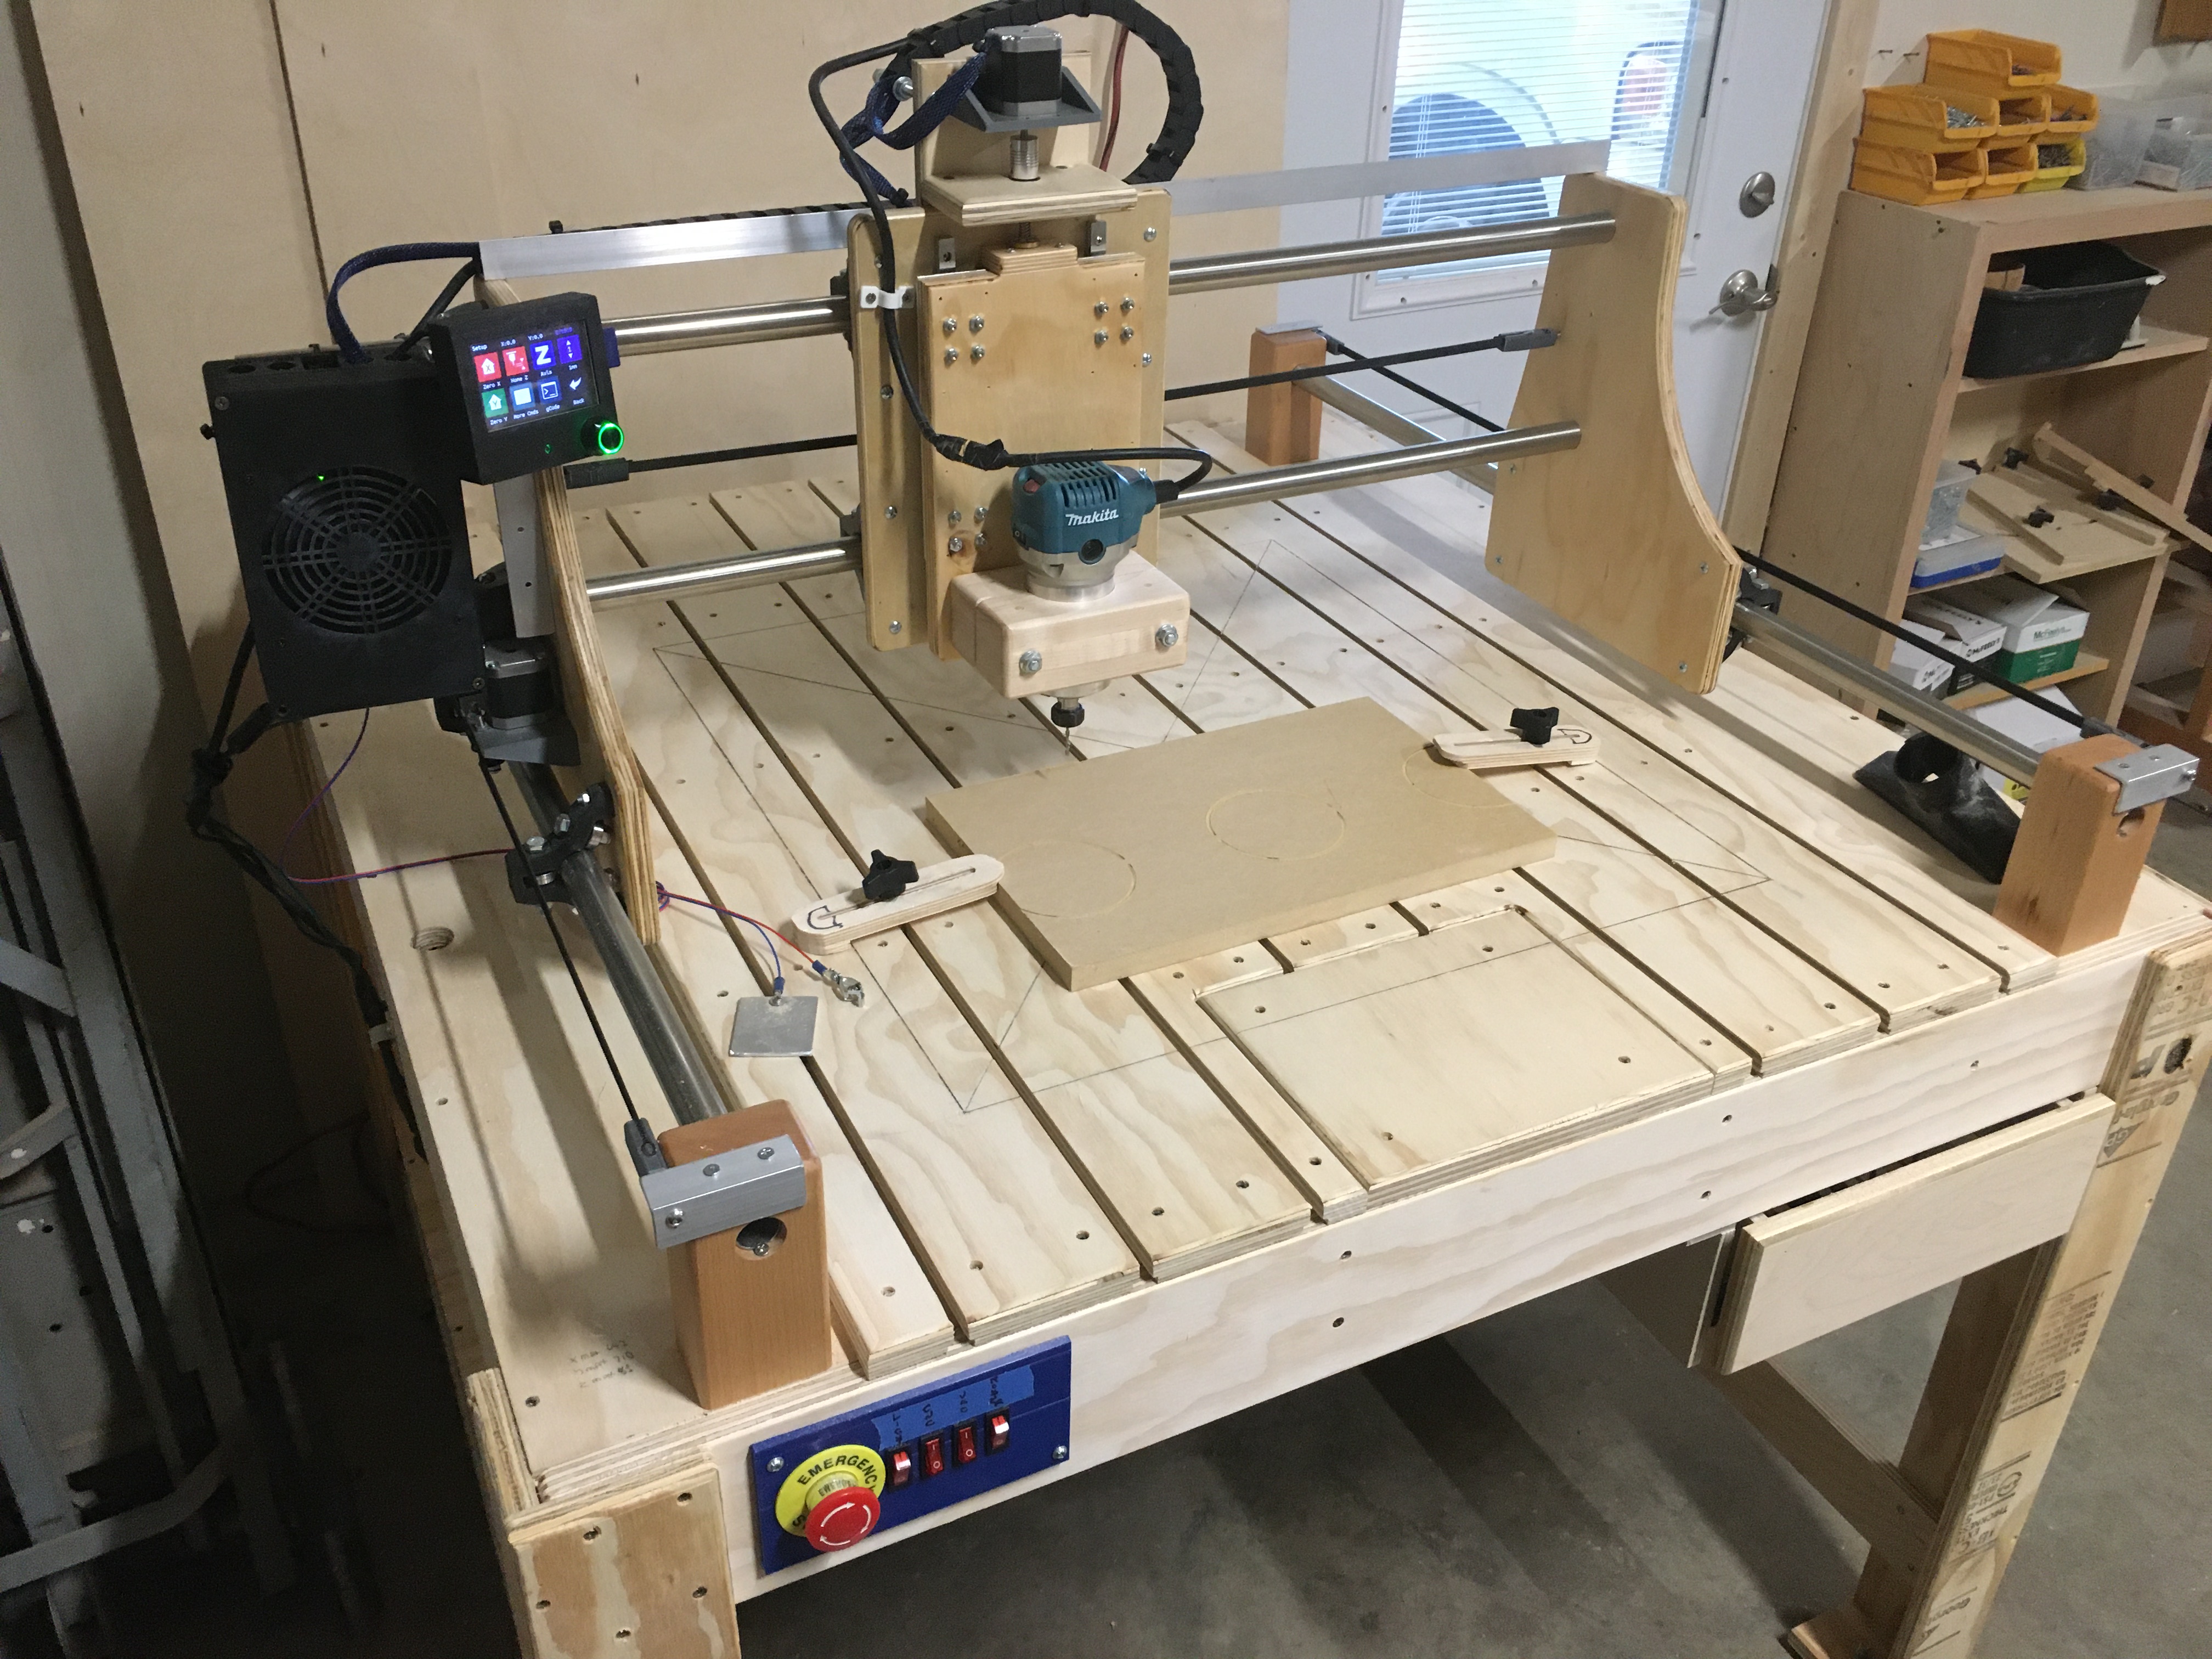
With router positioned in middle for worst case deflection, with strong finger pressure appled to the bit, I measured .006 to .008 inches of deflection. I am very happy with those numbers.
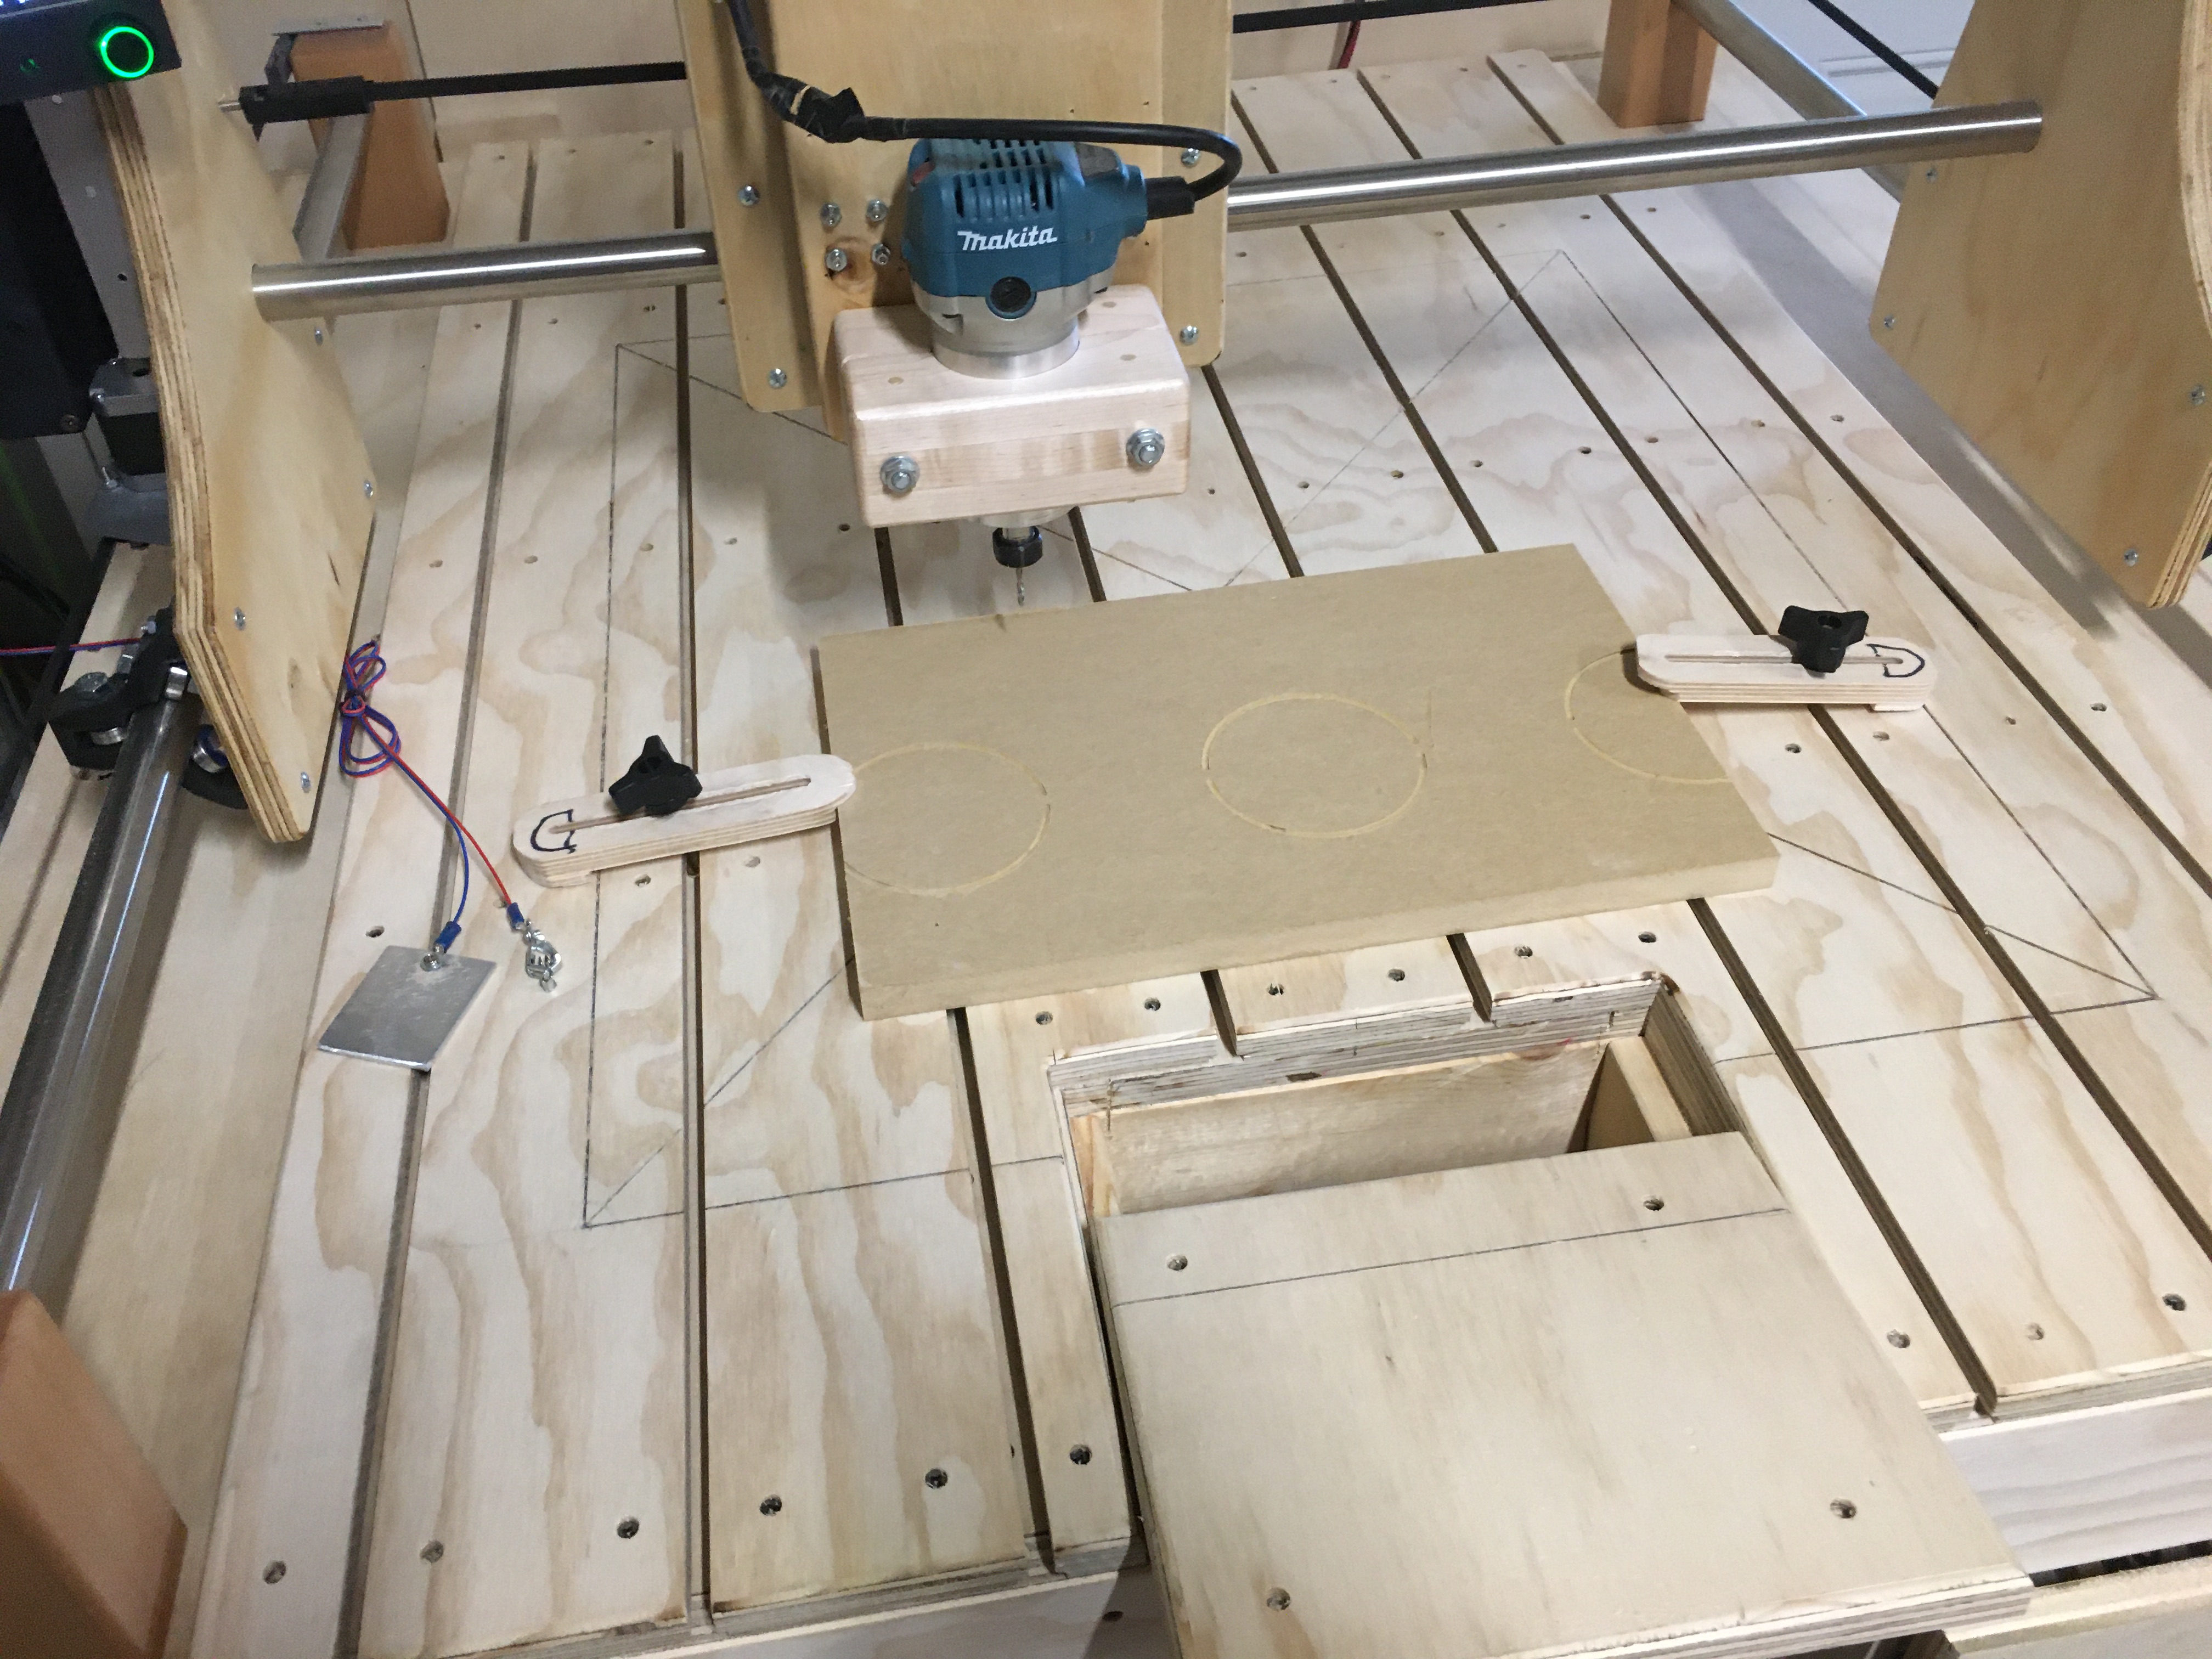
Shows cutout in table where I am going to attempt box joints.
I did not use endstops on the x and y axis as they perfectly meet their respective hardstops and remain there when released and are perfectly square. All my plywood plates were cutout on the Primo CNC which continues to impress me with its accuracy and reliability.
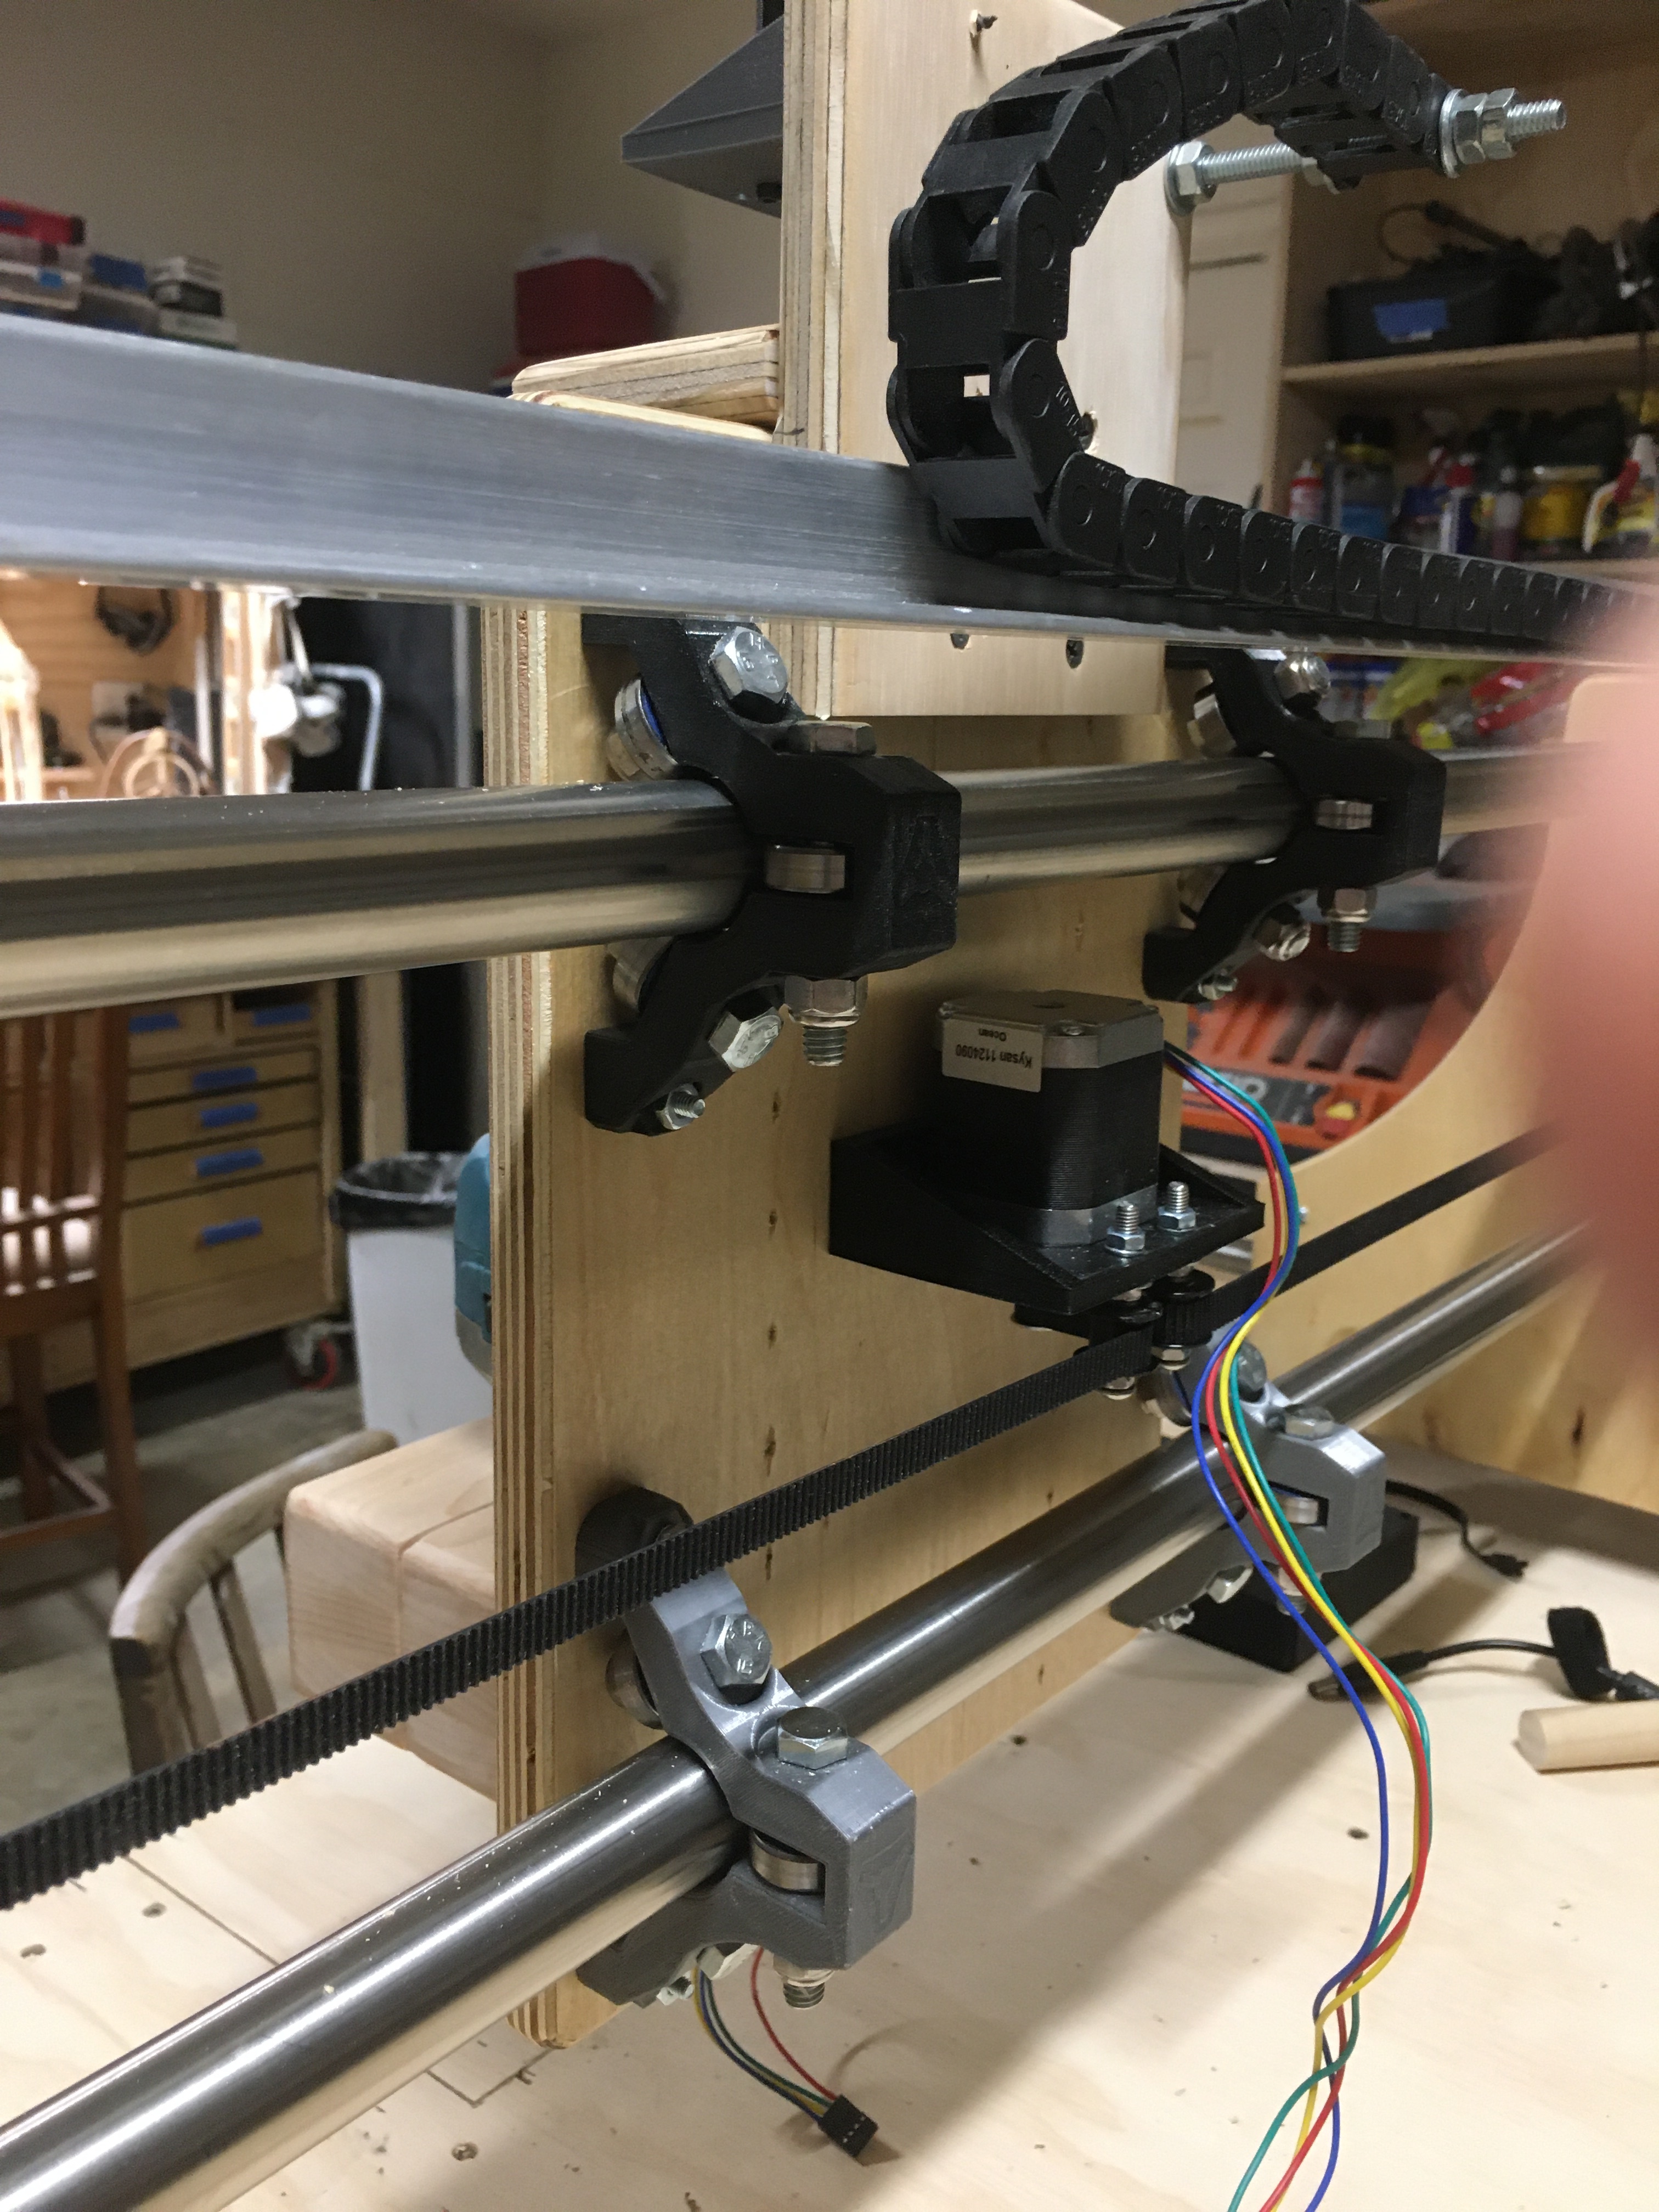
That’s really neat. I didn’t have any slides handy for mine, so I used tubes (the challenge was to not buy anything else but nuts and bolts). That plus the 611 extra width and the plastic mount flex have me a lot of movement.
Good job!
Yeah, with 2 less stainless pipes than the primo plus one less motor, I bought the linear slides with the money I would have spent on those components.
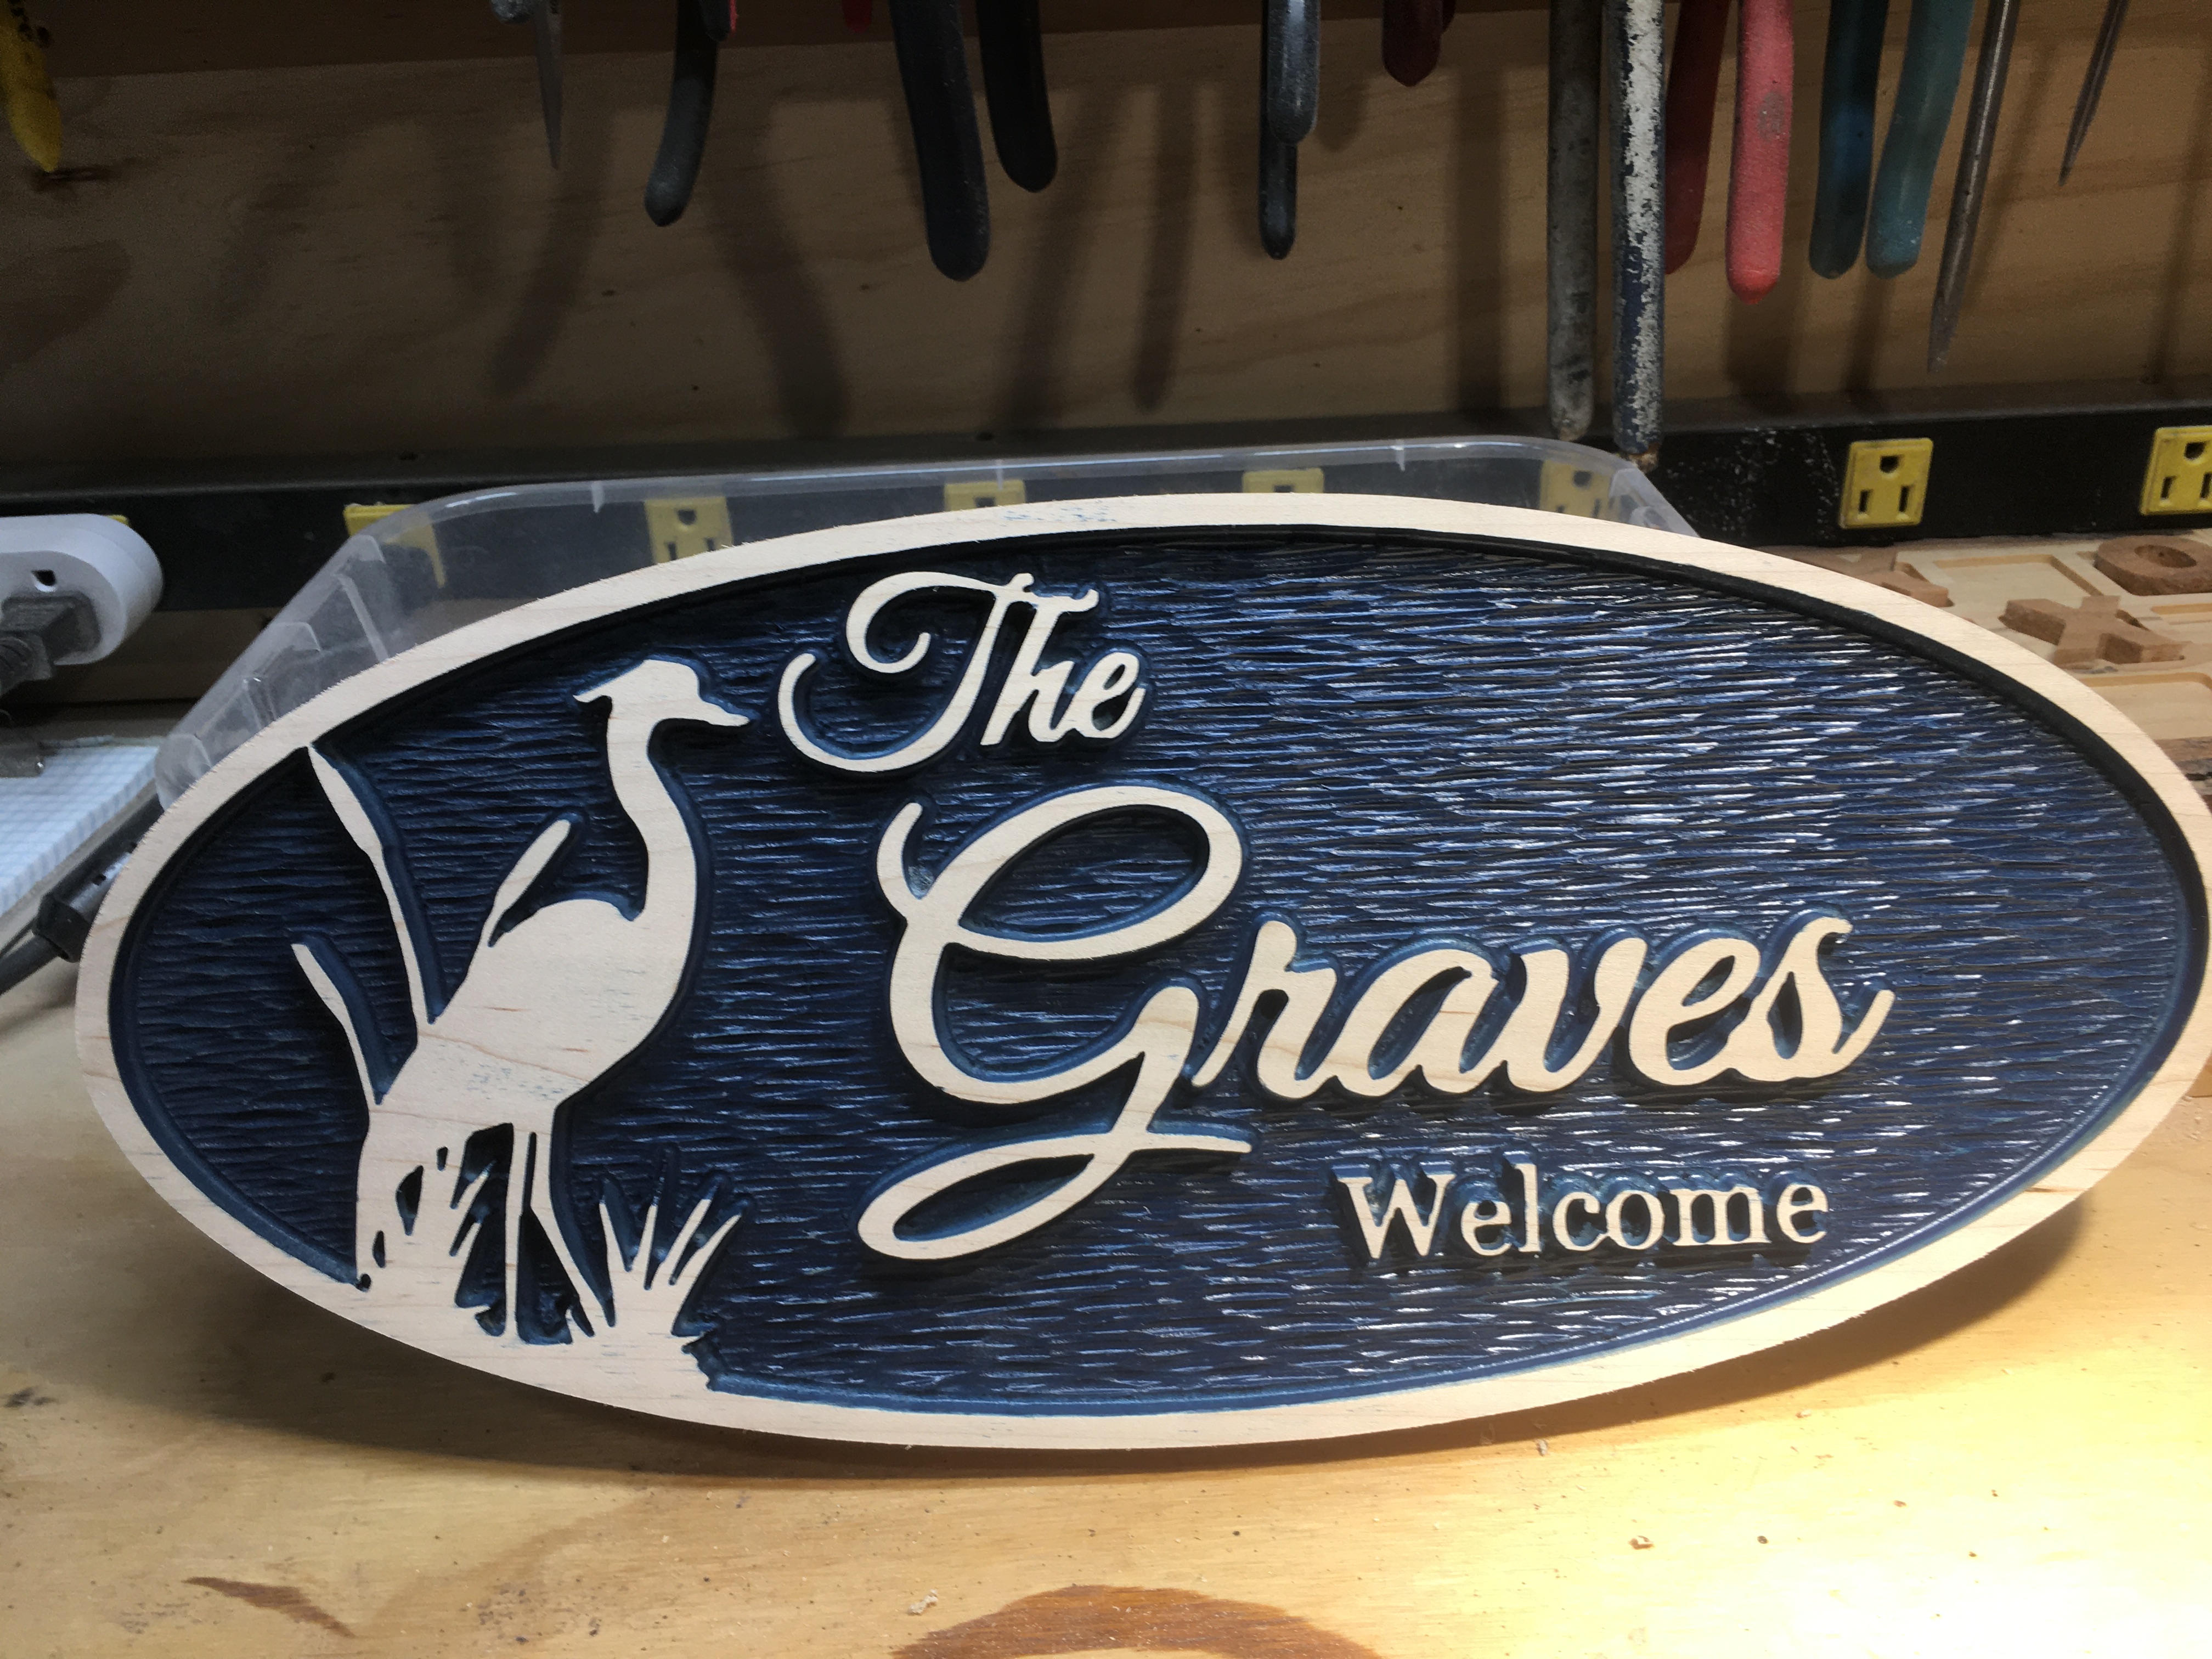
I struggled to find new information that vcarve would work with the MPCNC. I would start using it just for the textured hand carved looked. ( The Graves sign) Did you want to explain the post processing side of things with vcarve and MPCNC? Excellet work!
I had to create the post processor for vcarve for the MPCNC. It is not a hard task.
You can download my post processor here from my github page. Post-processor help file is here.
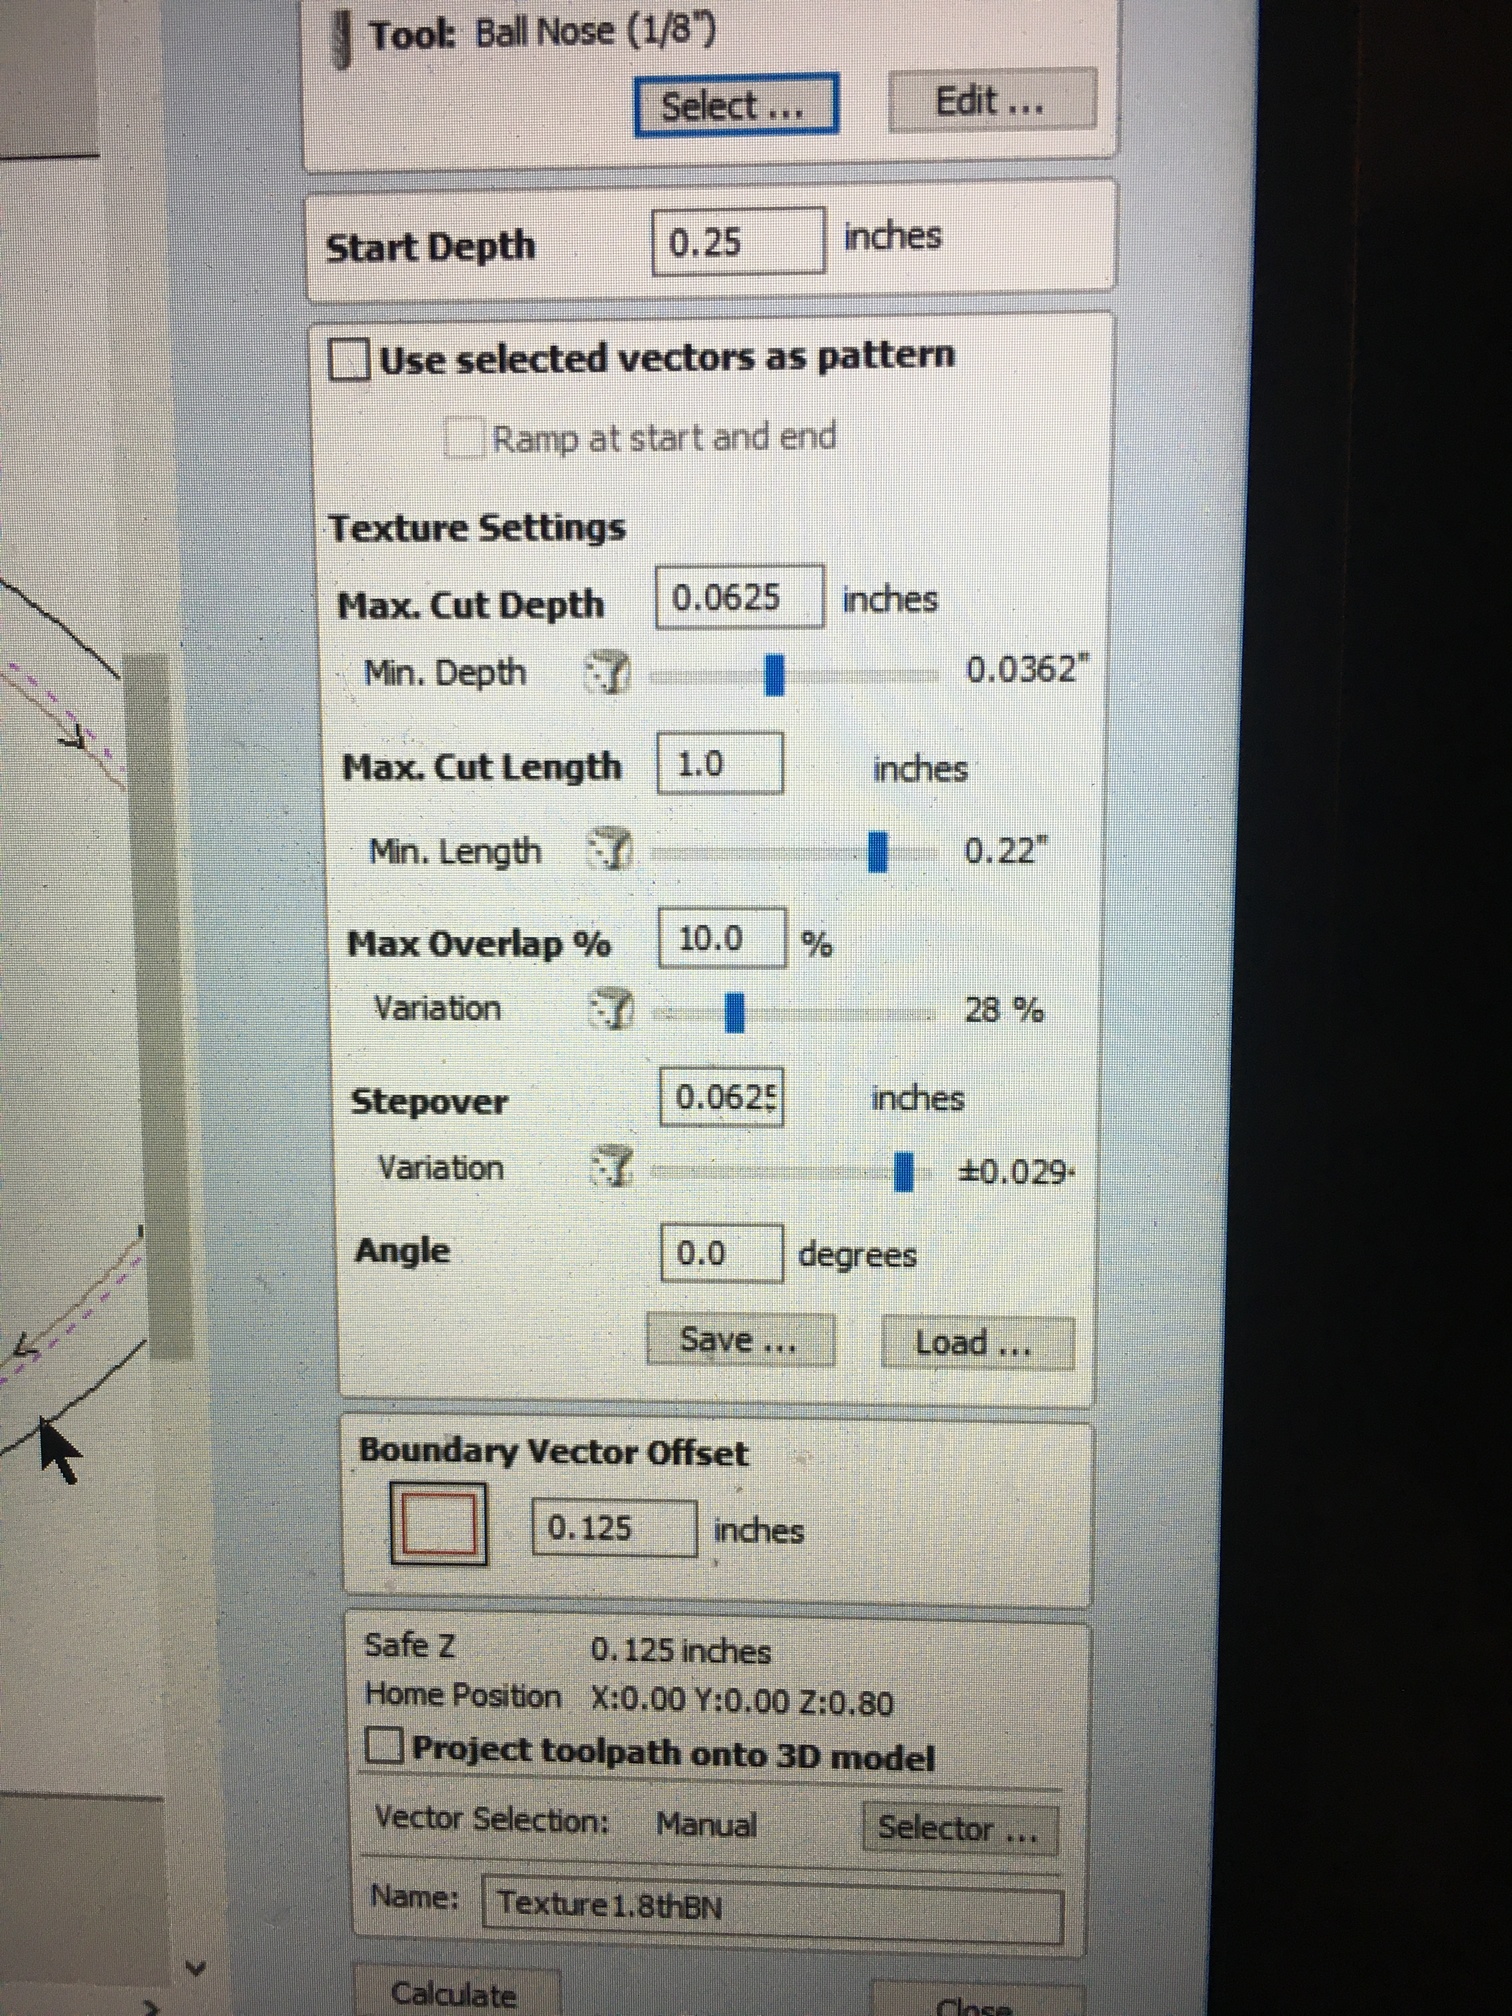
Use the texturing toolpath tool in vcarve . I used the settings below for the Graves sign.
Go for it! I made sure the 2x4’s I clamp against are perpendicular to the table. Just clamp the piece against the left side. I slide a piece of 3/4" plywood up against the back of the clamped piece to level with its top edge horizontally and I am good to go.