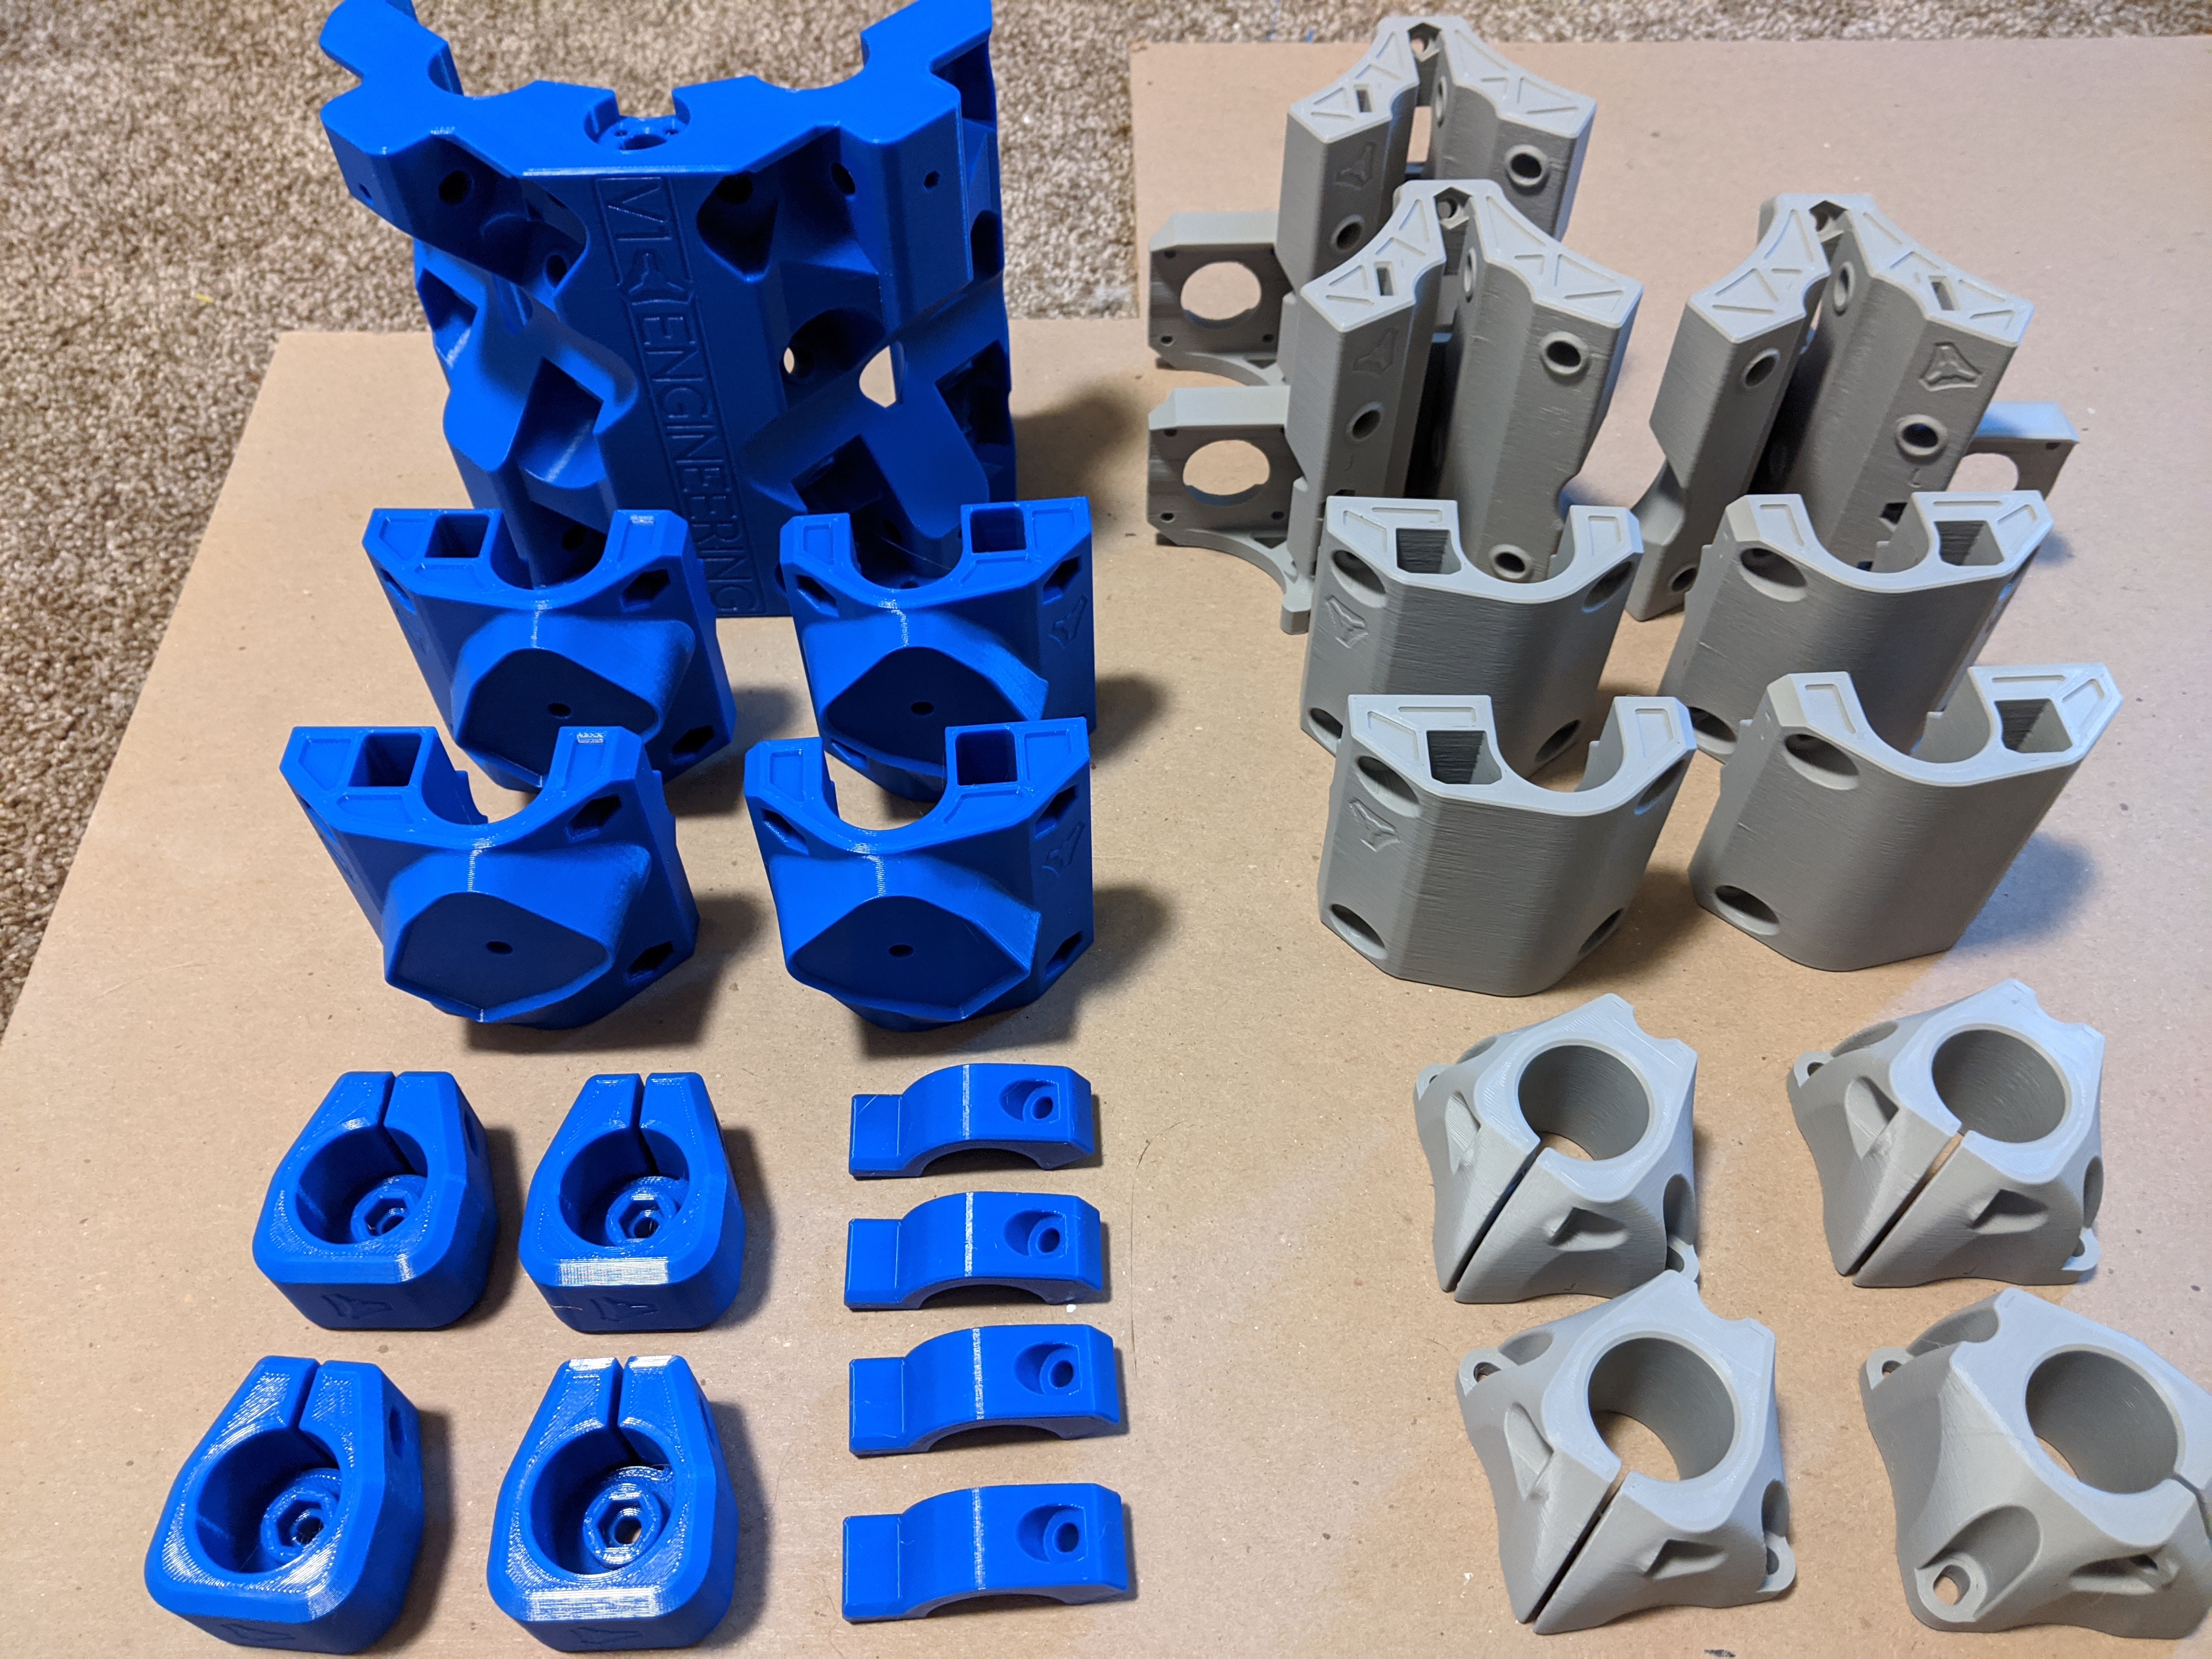
The upgrade kit is ordered and the parts are being printed at this moment:
Anyone else starting the upgrade now (or soon)?
The upgrade kit is ordered and the parts are being printed at this moment:
Anyone else starting the upgrade now (or soon)?
Nope, but once 25 mm is released, I’m building one from scratch!
Same. 
If I feel inspired to in the coming week, I might make a video tutorial on building it for youtube!
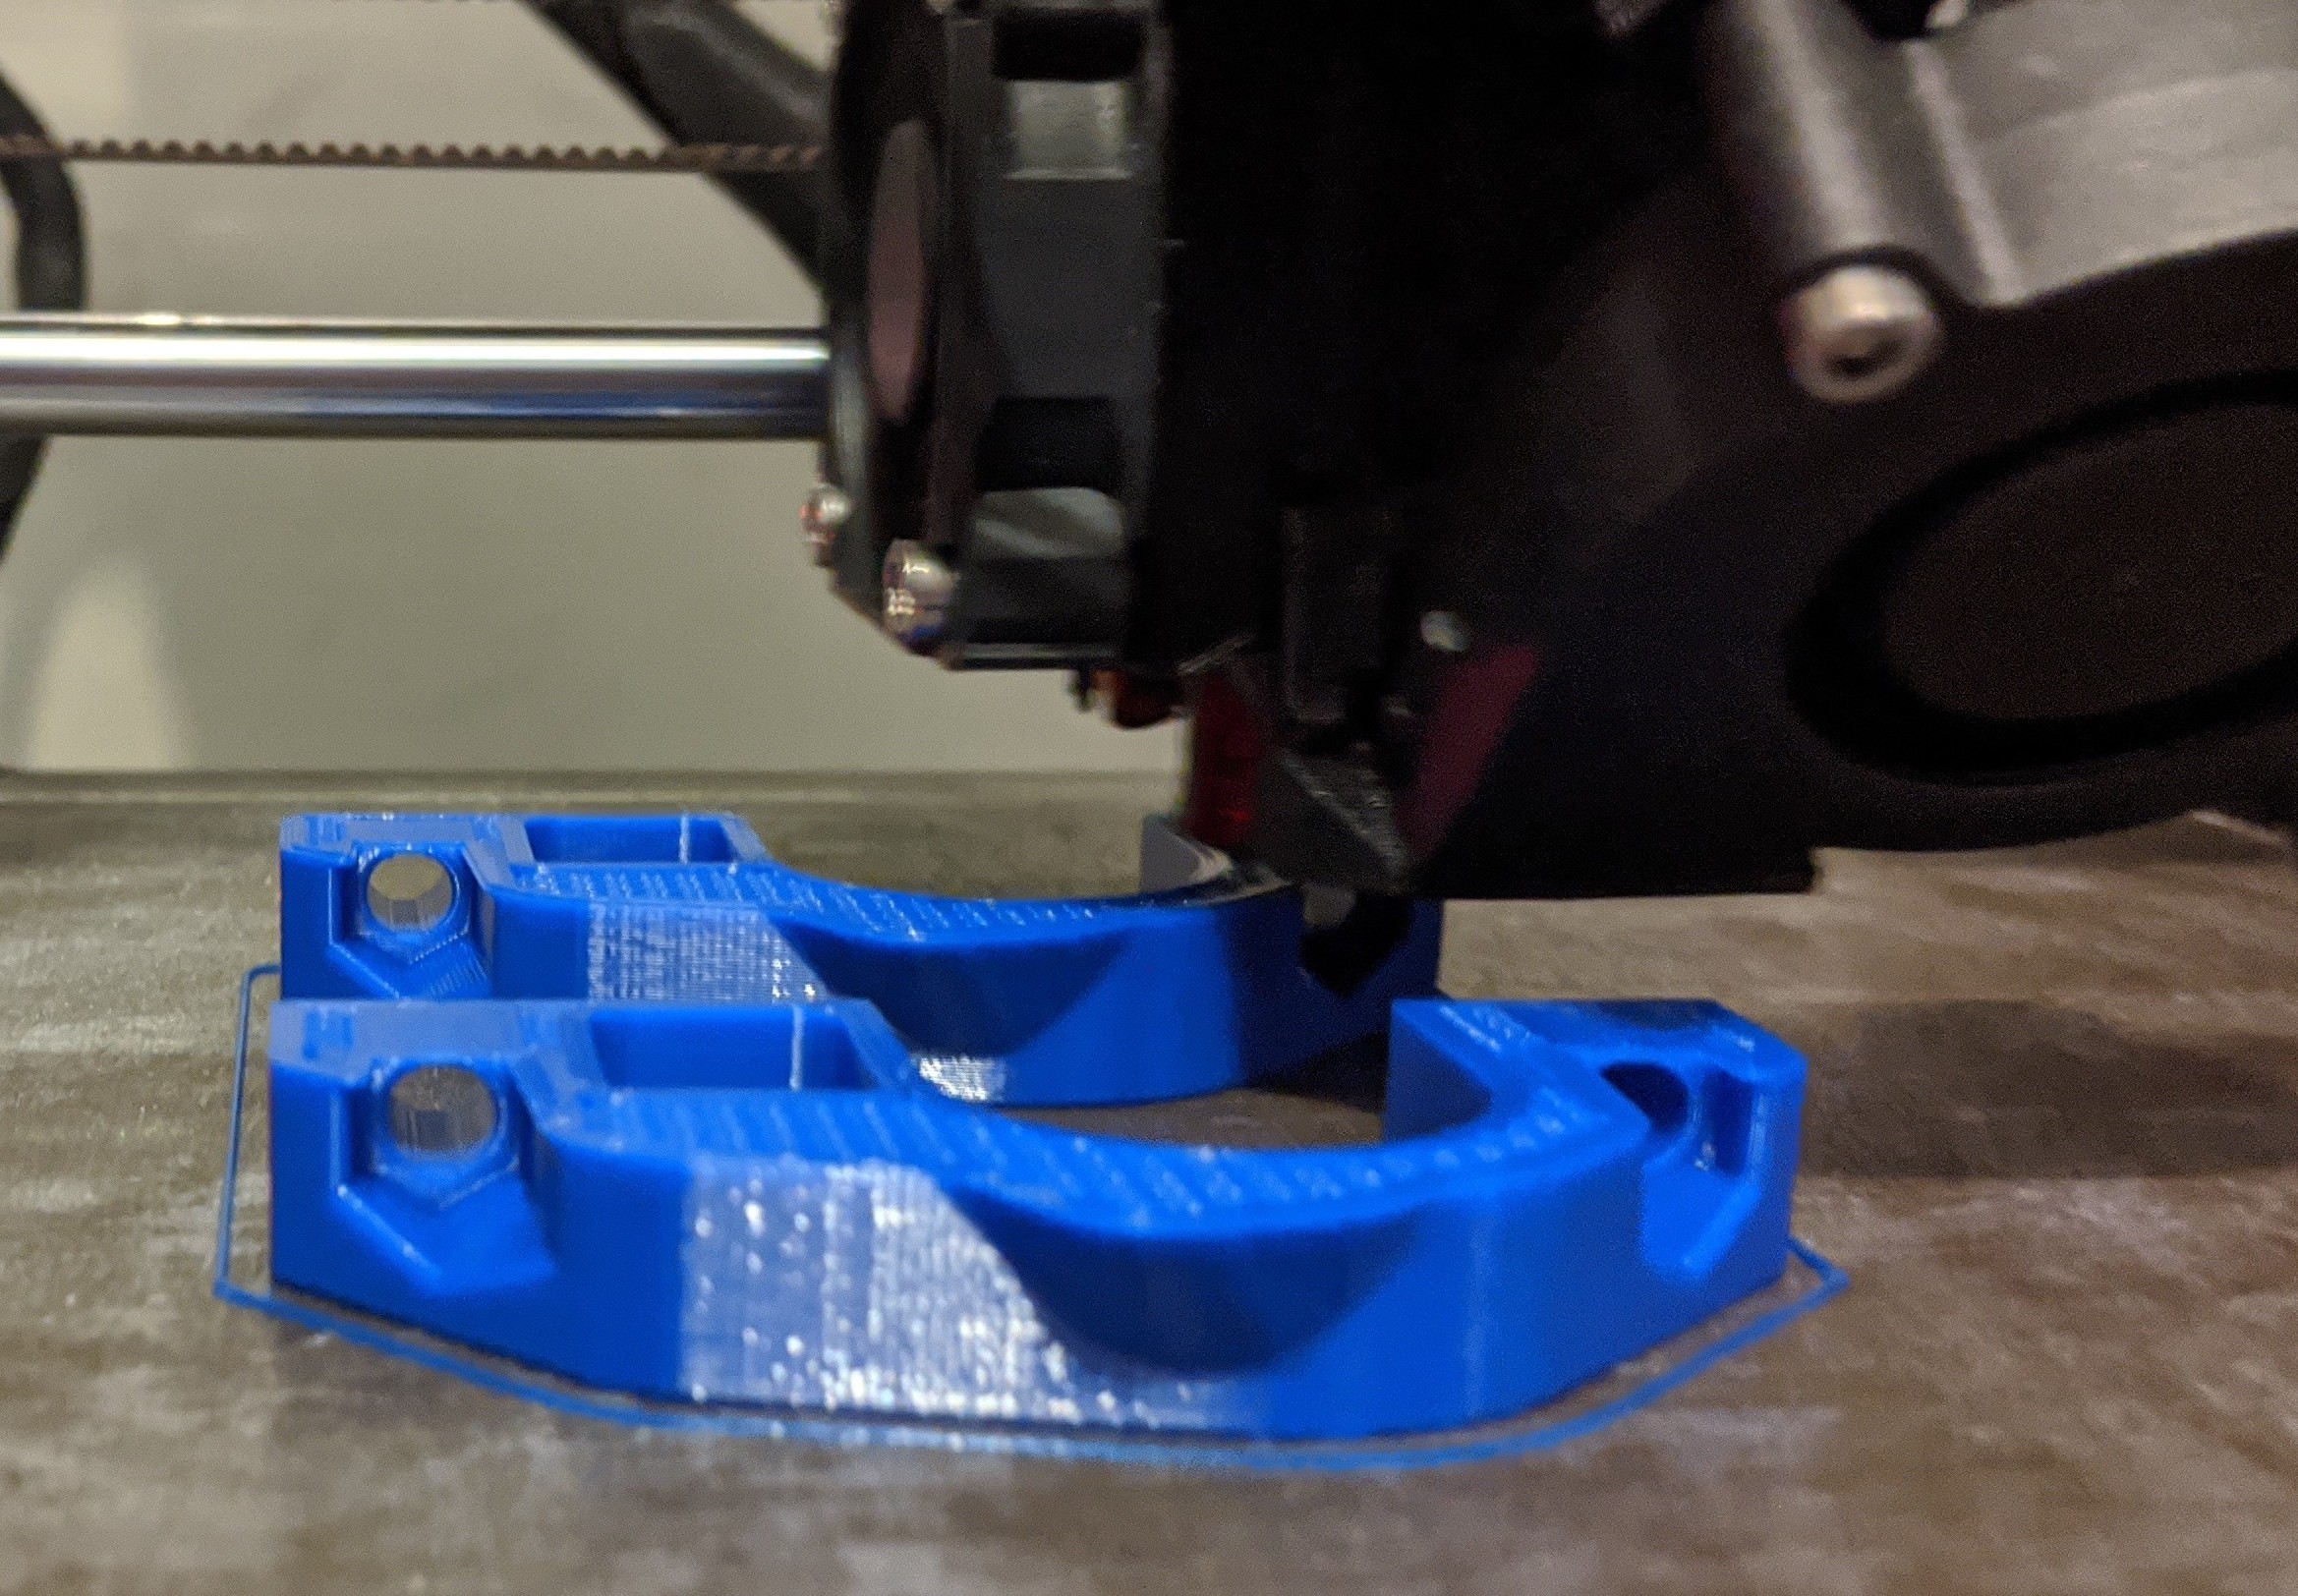
Dude, that printed nice!
It was a lot heavier/denser than I was expecting!
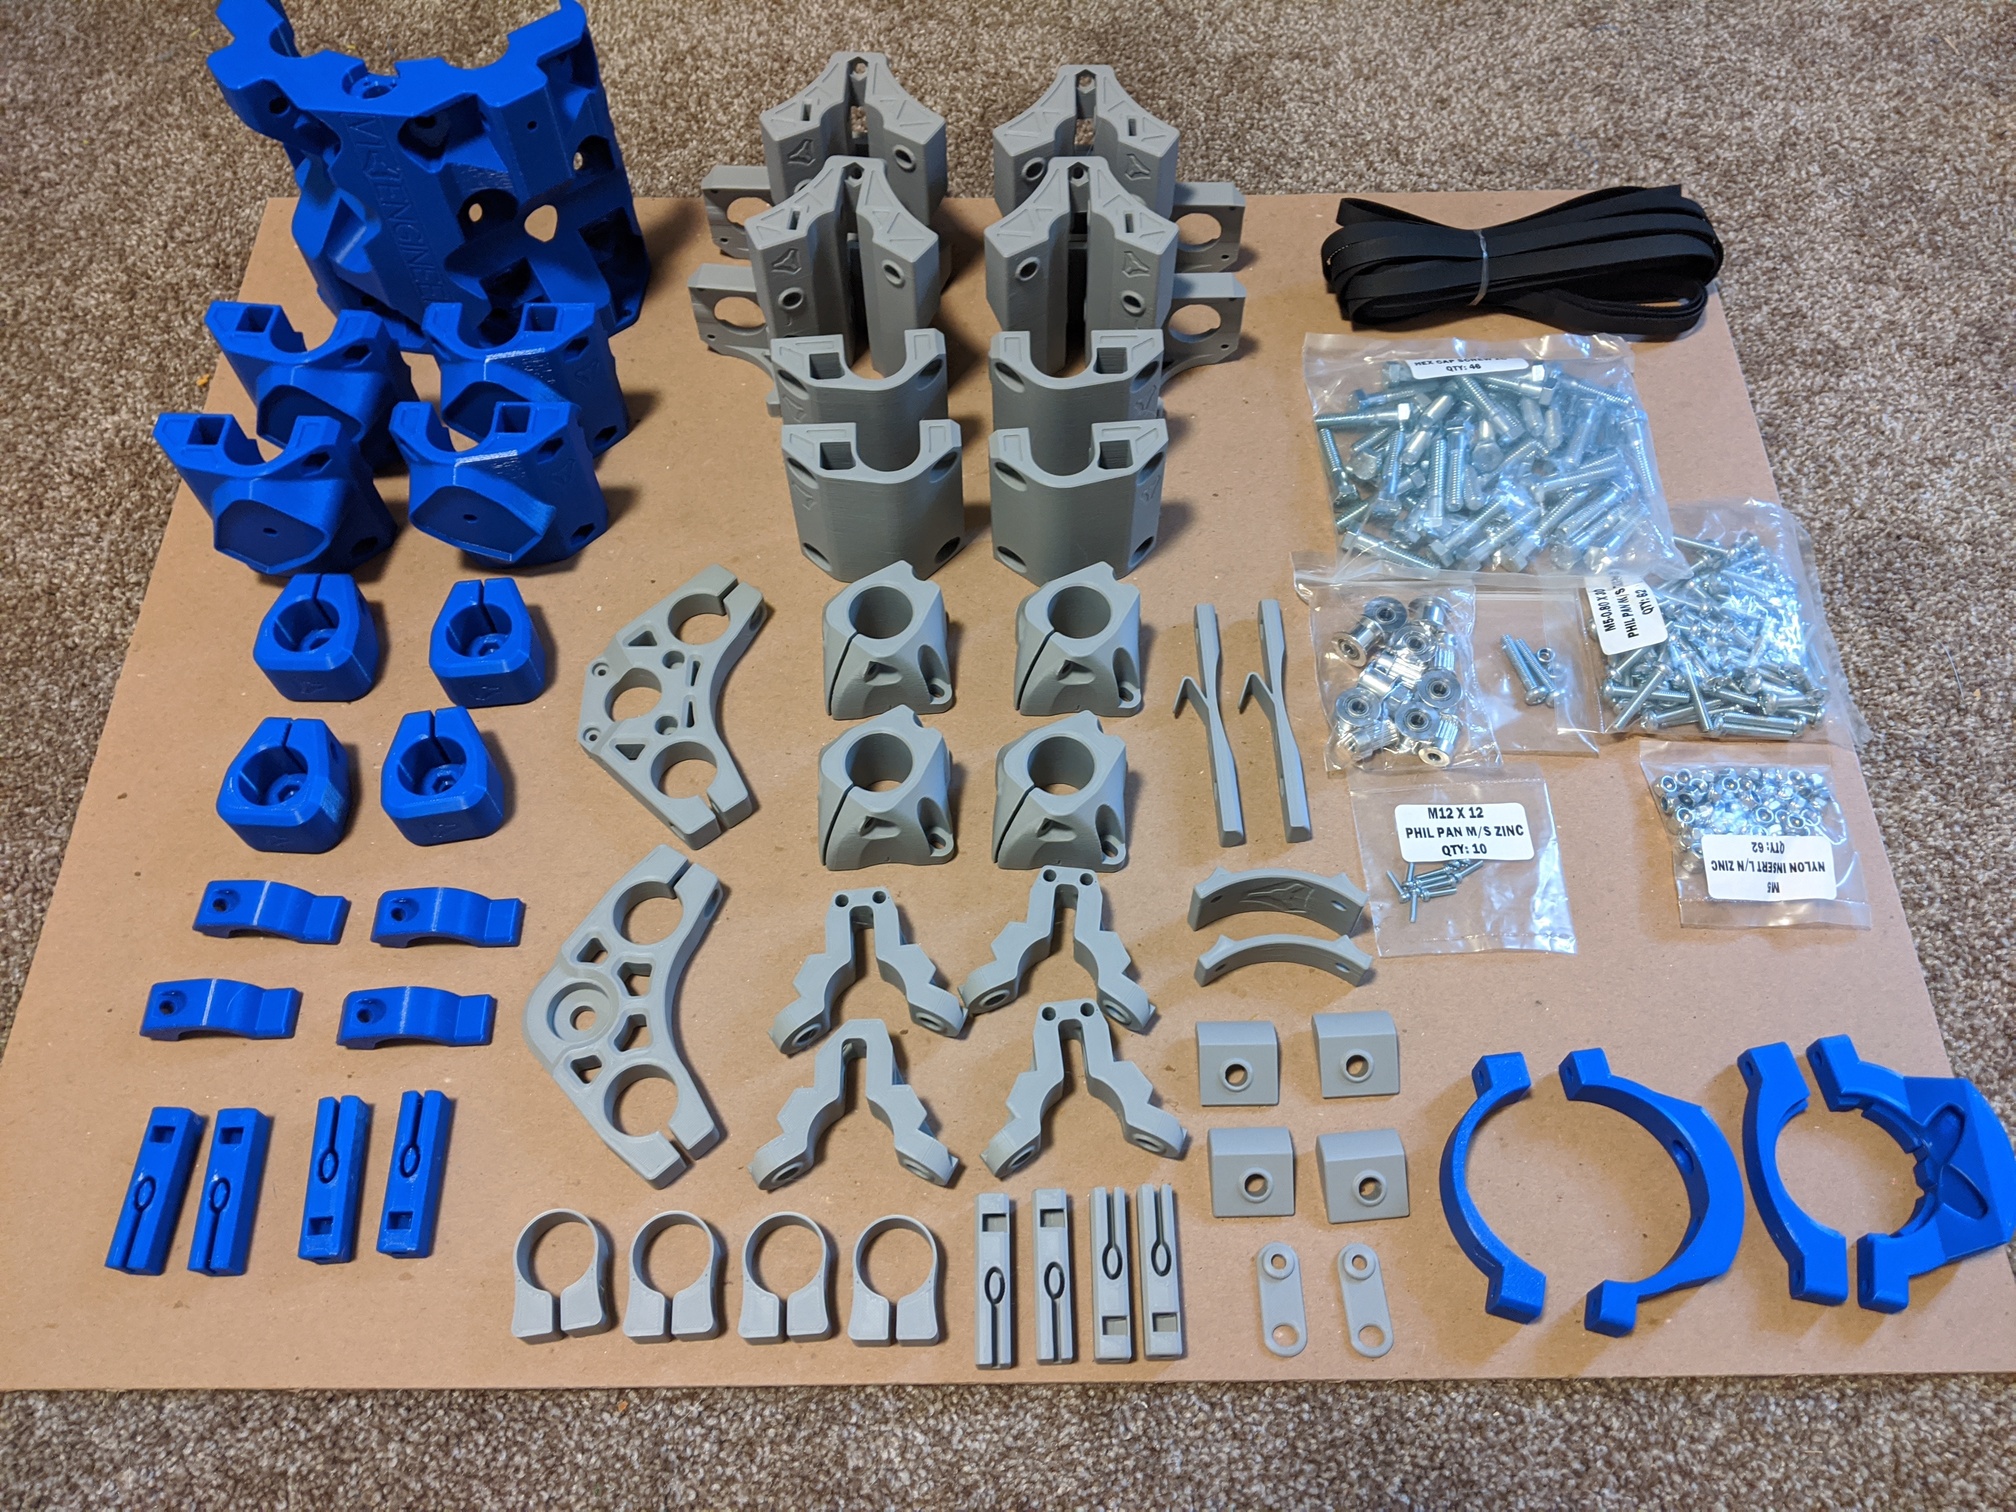
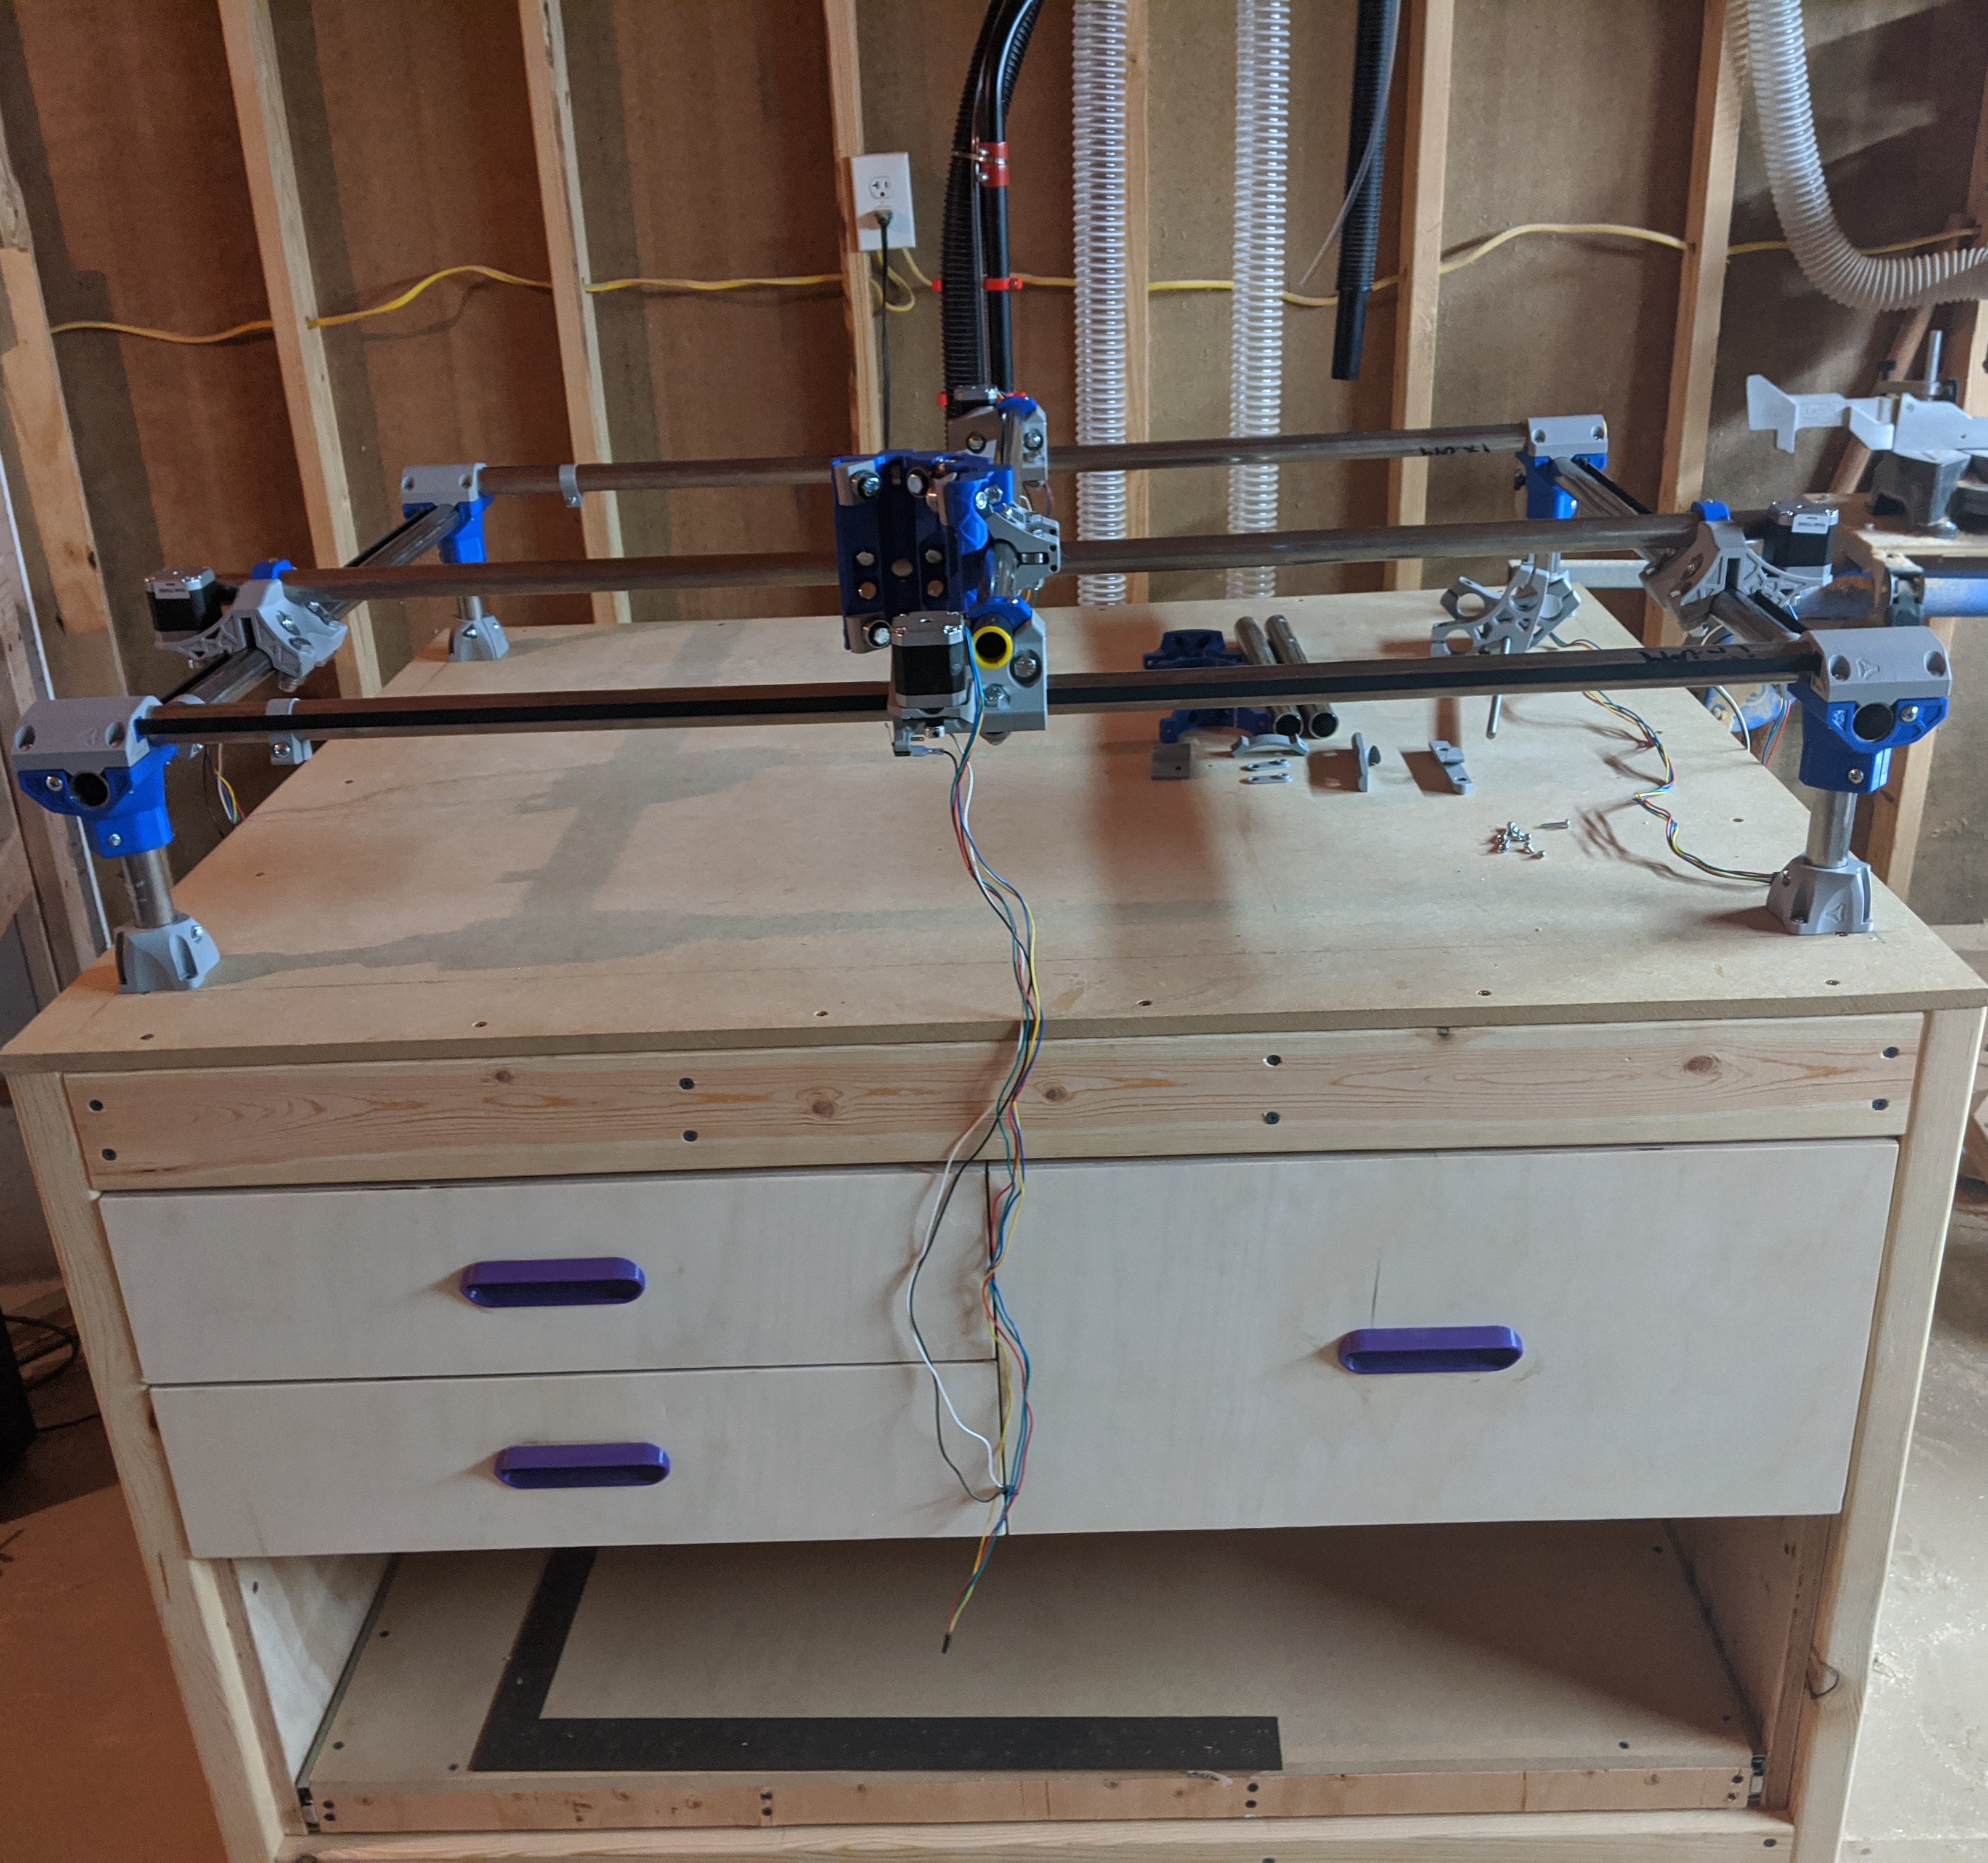
I got the stainless steel, aluminum extrusion upgrade (making it a bit larger than the burly), the upgrade kit from v1. Now we just wait for the prints and instructions
I like that blue.
Daaaaaaaaaaaaaaaaaaaamn

Beautiful Blue color!
Is that Hatchbox Blue like mine, or another brand thats very similar in color?
It’s Hatchbox blue! I need a new spool but it’s on back order 
Such a beautiful shade
Good luck!
I am watching you…No pressure!
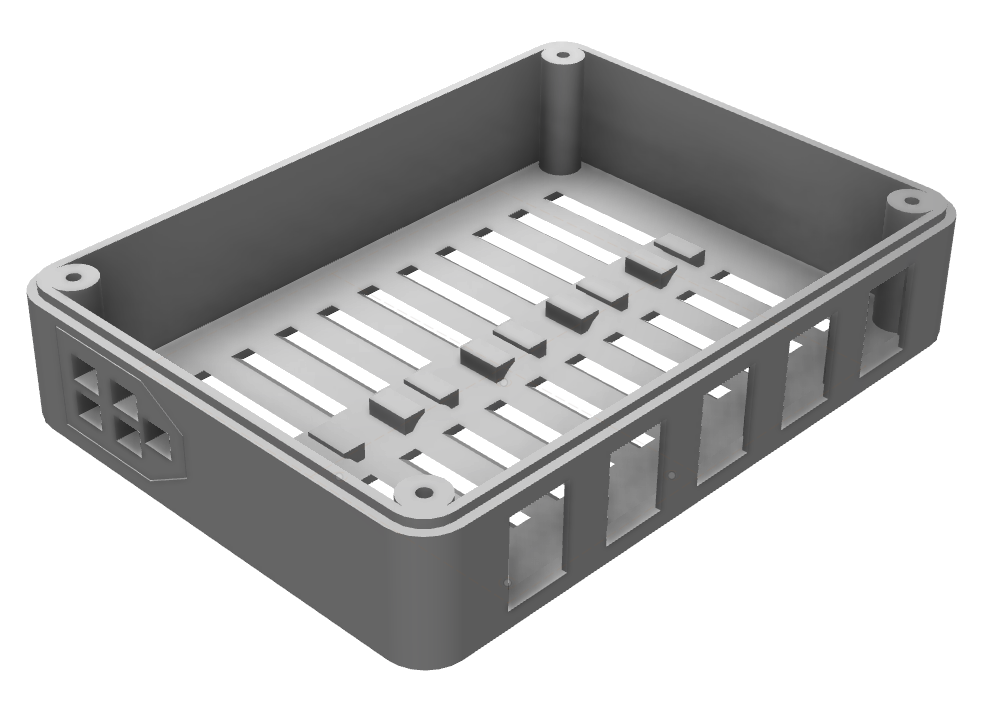
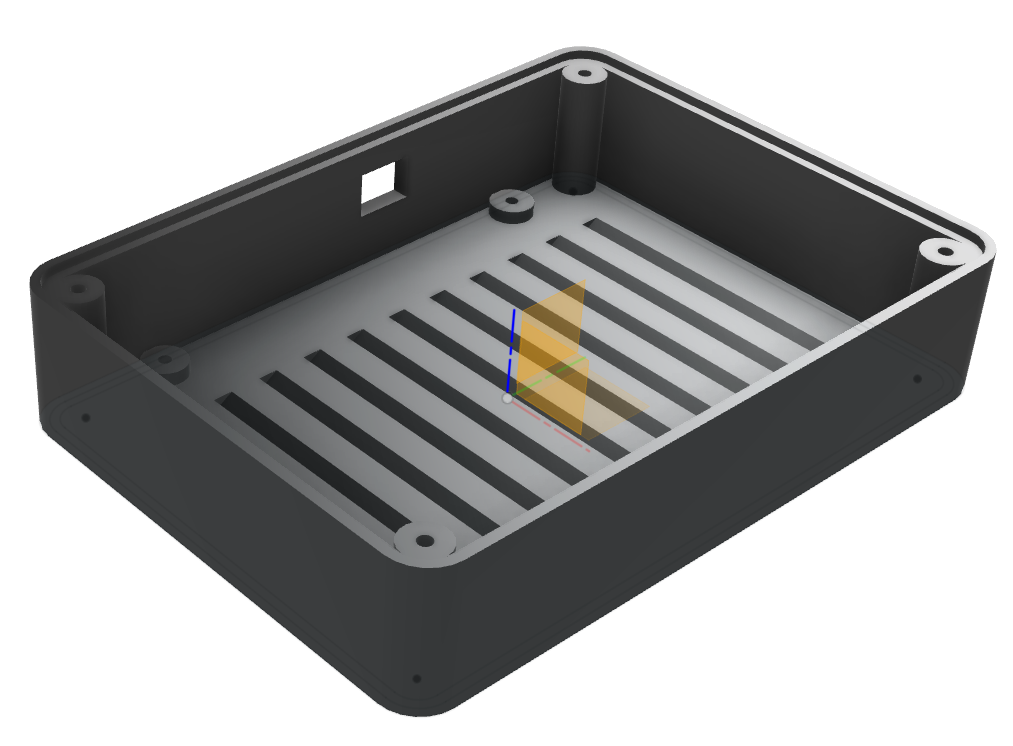
I would have had it done already, but I really want to make this one much nicer looking than my previous one, and that includes the wiring, so I designed a new Archim case that incorporates Cat6 Keystones (for the Axes), with JST ports (for the End Stops and Laser)
I have the top done (I think):
But I am still working on the bottom:
Its been a couple weeks, but its been so hot here that its difficult to find a good time to be in the shop.
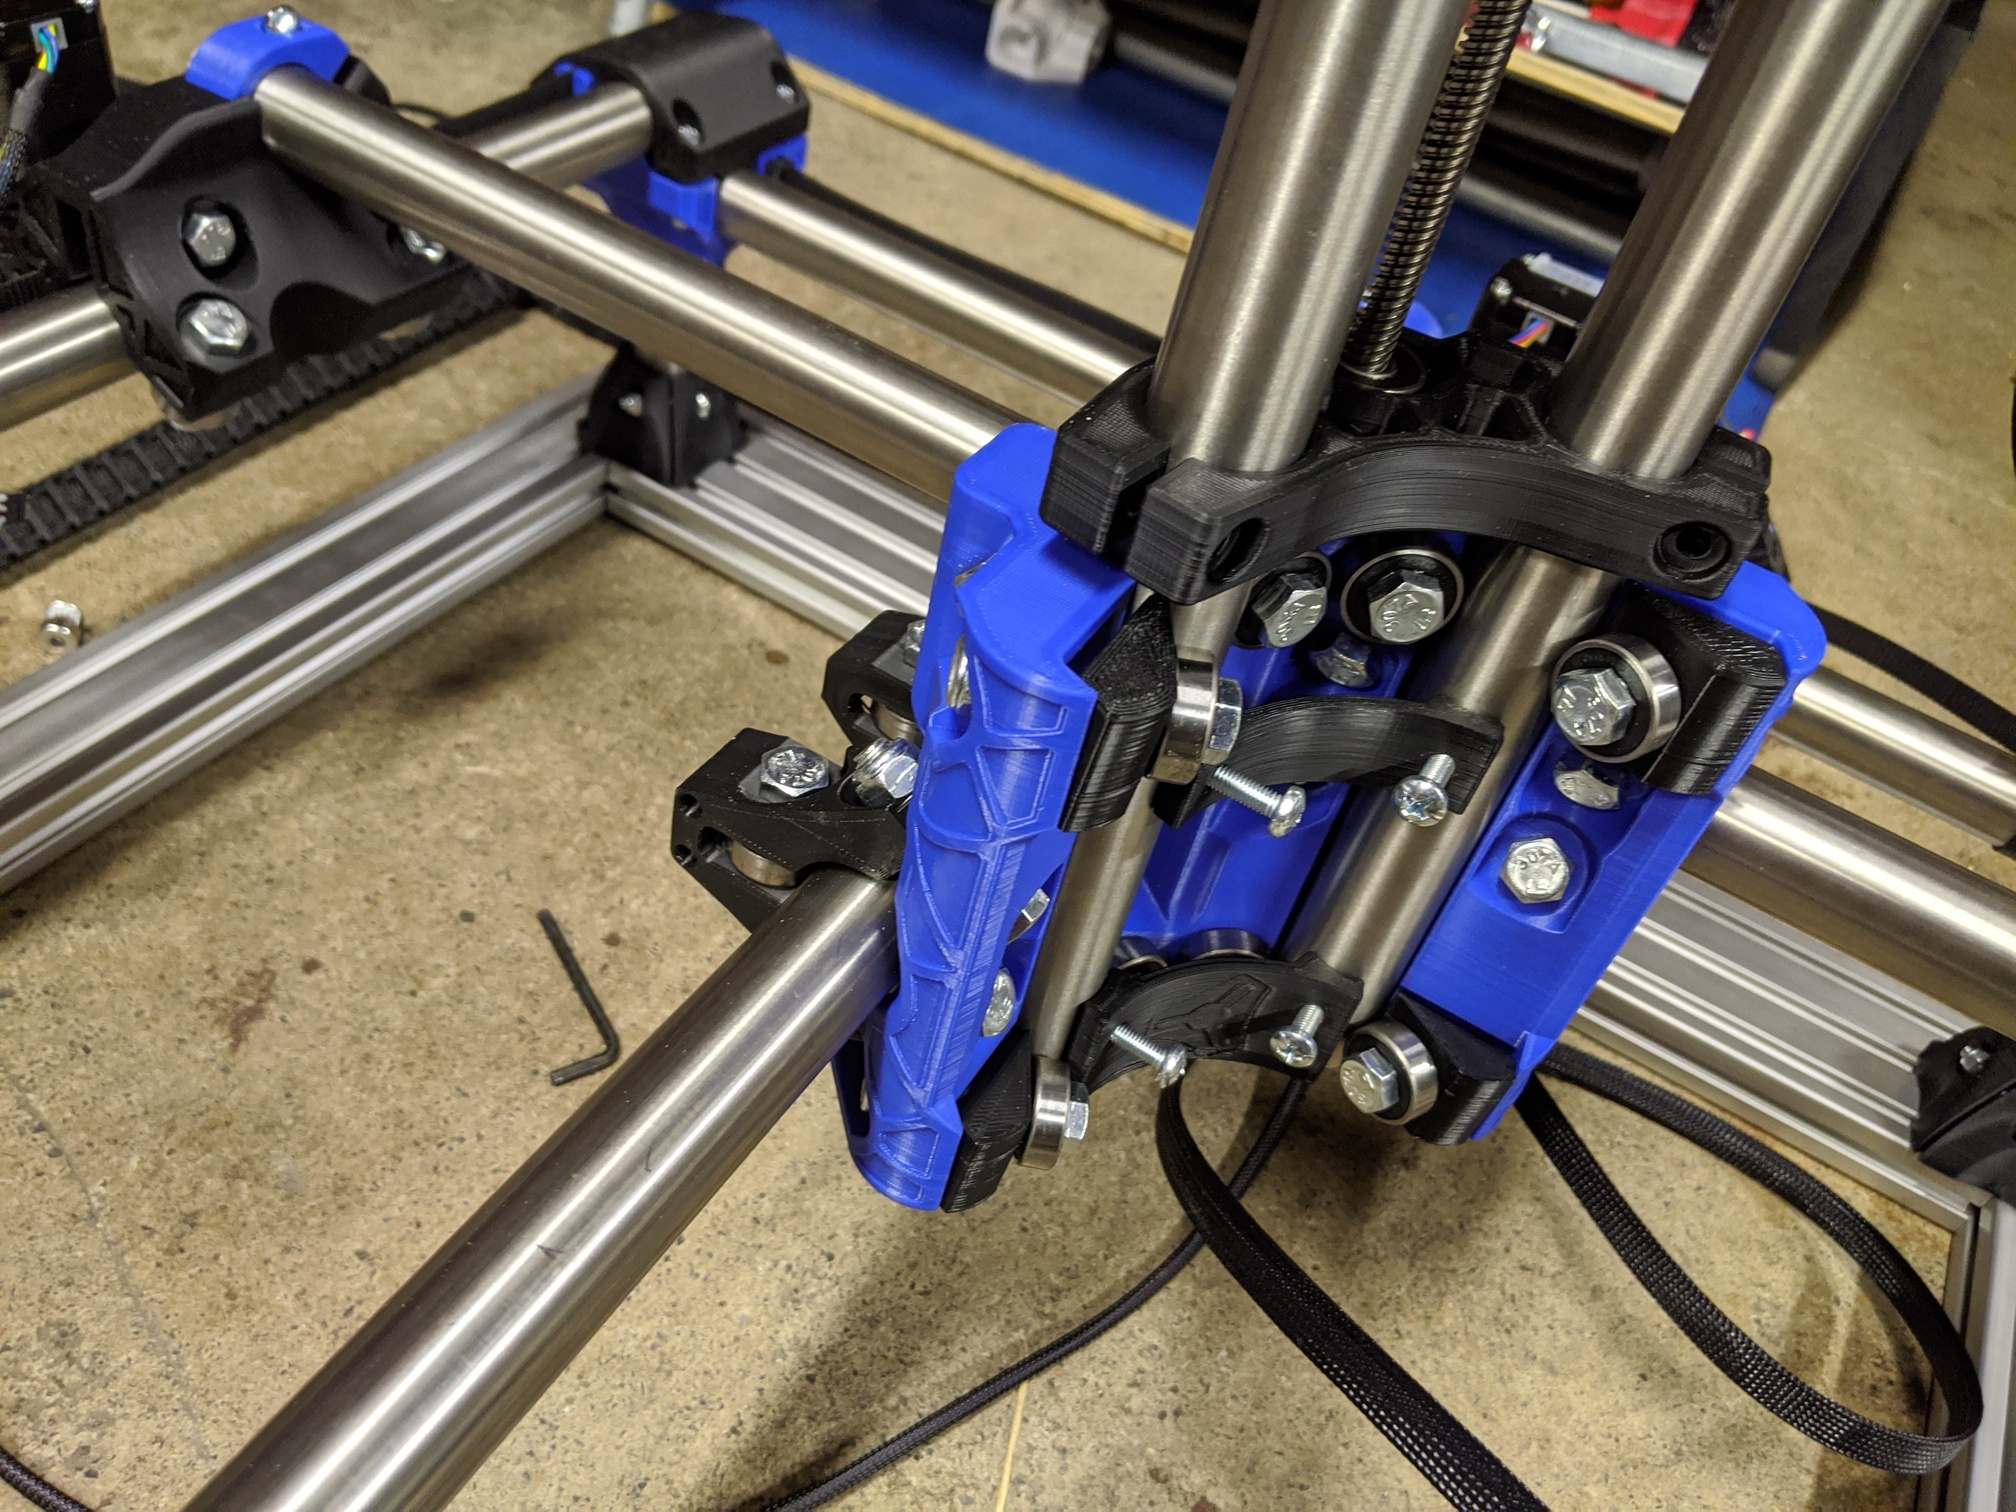
I am almost done (I have the Z-Axis remaining).
@vicious1
I have to say that assembling the Primo is so much nicer and easier to do than the Burly. You have really put some next level effort in the polishing of the MPCNC. There are so many things that are better, from simple things like not needing a spacer between rails, to having the all-in-one core.
With that said, there were some things that I noted, and figured I would share with you.
The M3x10 screws for the steppers are too long. They bottom out just before they make contact with the printed part. I snapped one screw off without realizing it, and then tested all of the others, and the screws going into the X & Y all bottom out before they tighten. I used some M3x8’s instead.
A note that I found odd. The Gantry rails are over an inch shorter than the side rails (they were equal on the Burly) Not really an issue, but I thought I did something wrong at first.
I ran into an issue with squareness, that turned out to be an issue with the levelness of one of my feet. There was a small bump in the table that tilted it. Trying to figure this out, I noticed there is no real way to check if the tubing coming out of the feet is coming out straight or at an angle.
The screw holes for the Lead Screw Nut are loose. This was the same on the Burly. The screws just “slide” in and have no bite.
Finally, this only came up so early because of the first issue I mentioned, but the Stepper Motors are mounted in such a way that its very difficult to remove them post installation without a stubby screwdriver.
That’s it, and those are all very minor. This thing went together like a dream. I am really loving your take on the dual endstop step and the belt tensioner this time around; and the method to square the machine up is much easier and straight forward.
I can’t wait to finish the Z-Axis and start cutting again.