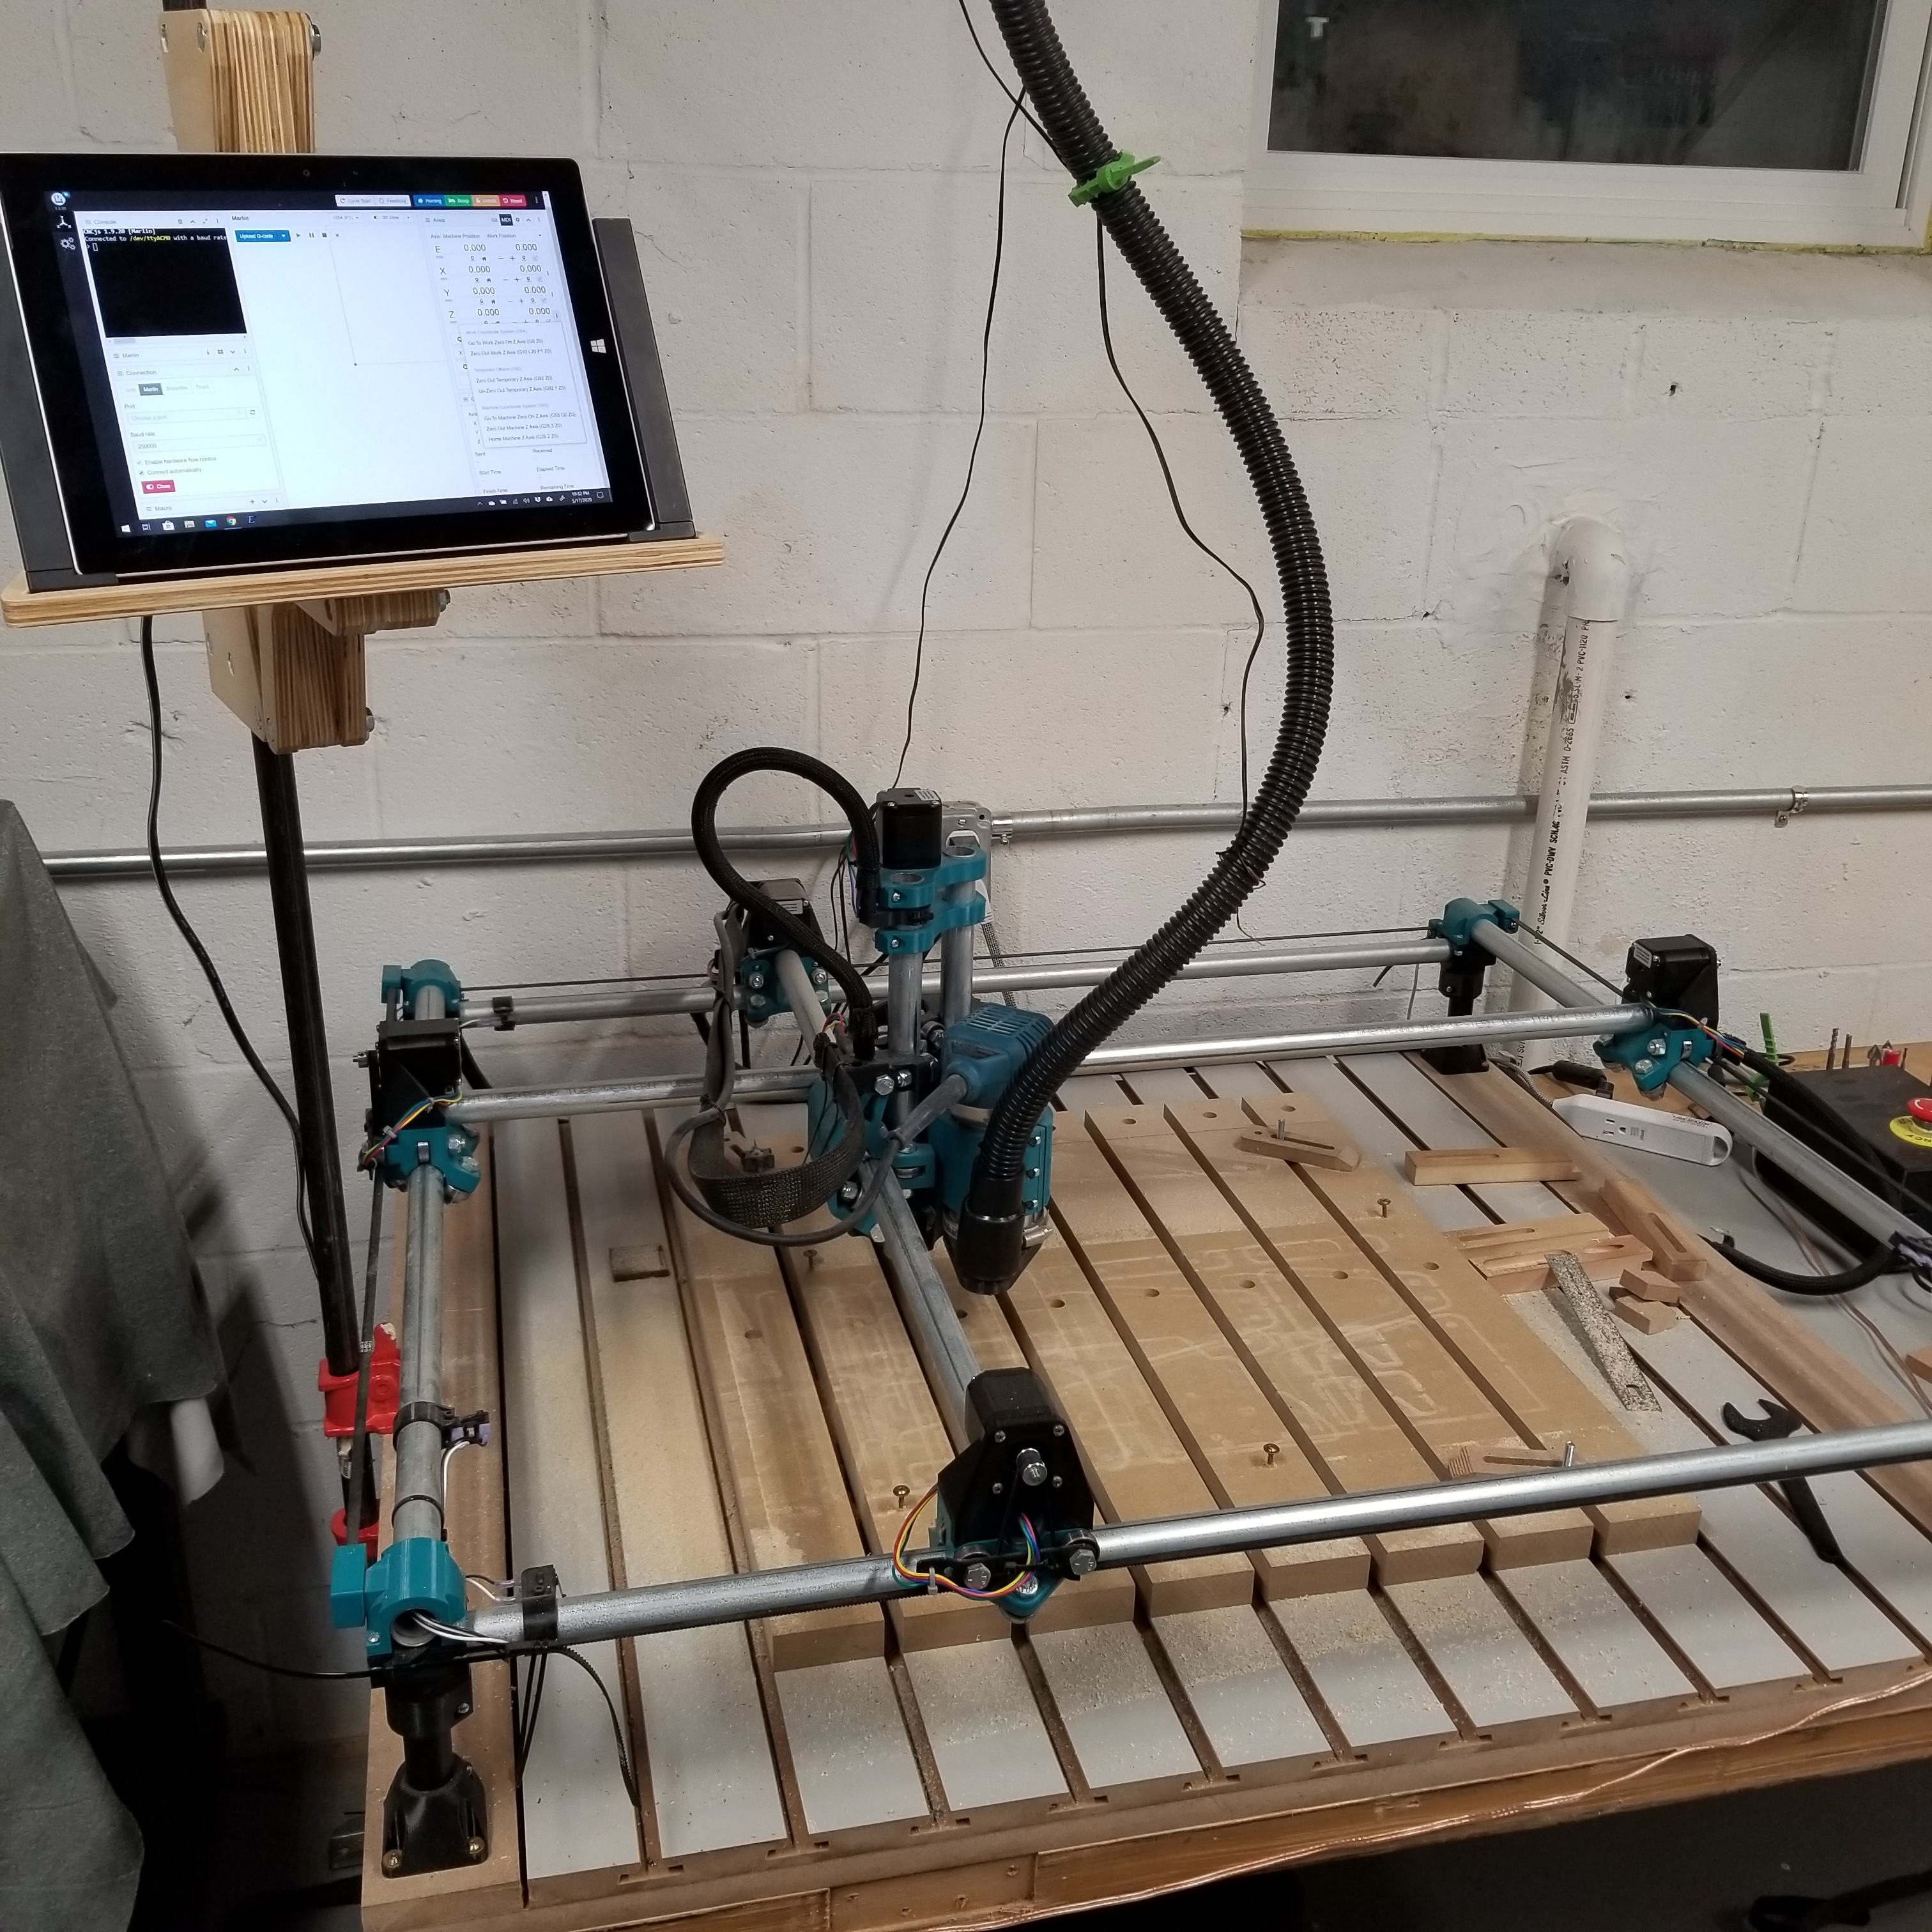
It’s about to get real. I’ve been using the MPCNC Burly for a year now and am very happy with my build but damn it, I have the itch to do it again but BETTER. Here’s the final picture of my current setup before it gets torn down this weekend.
6 Likes
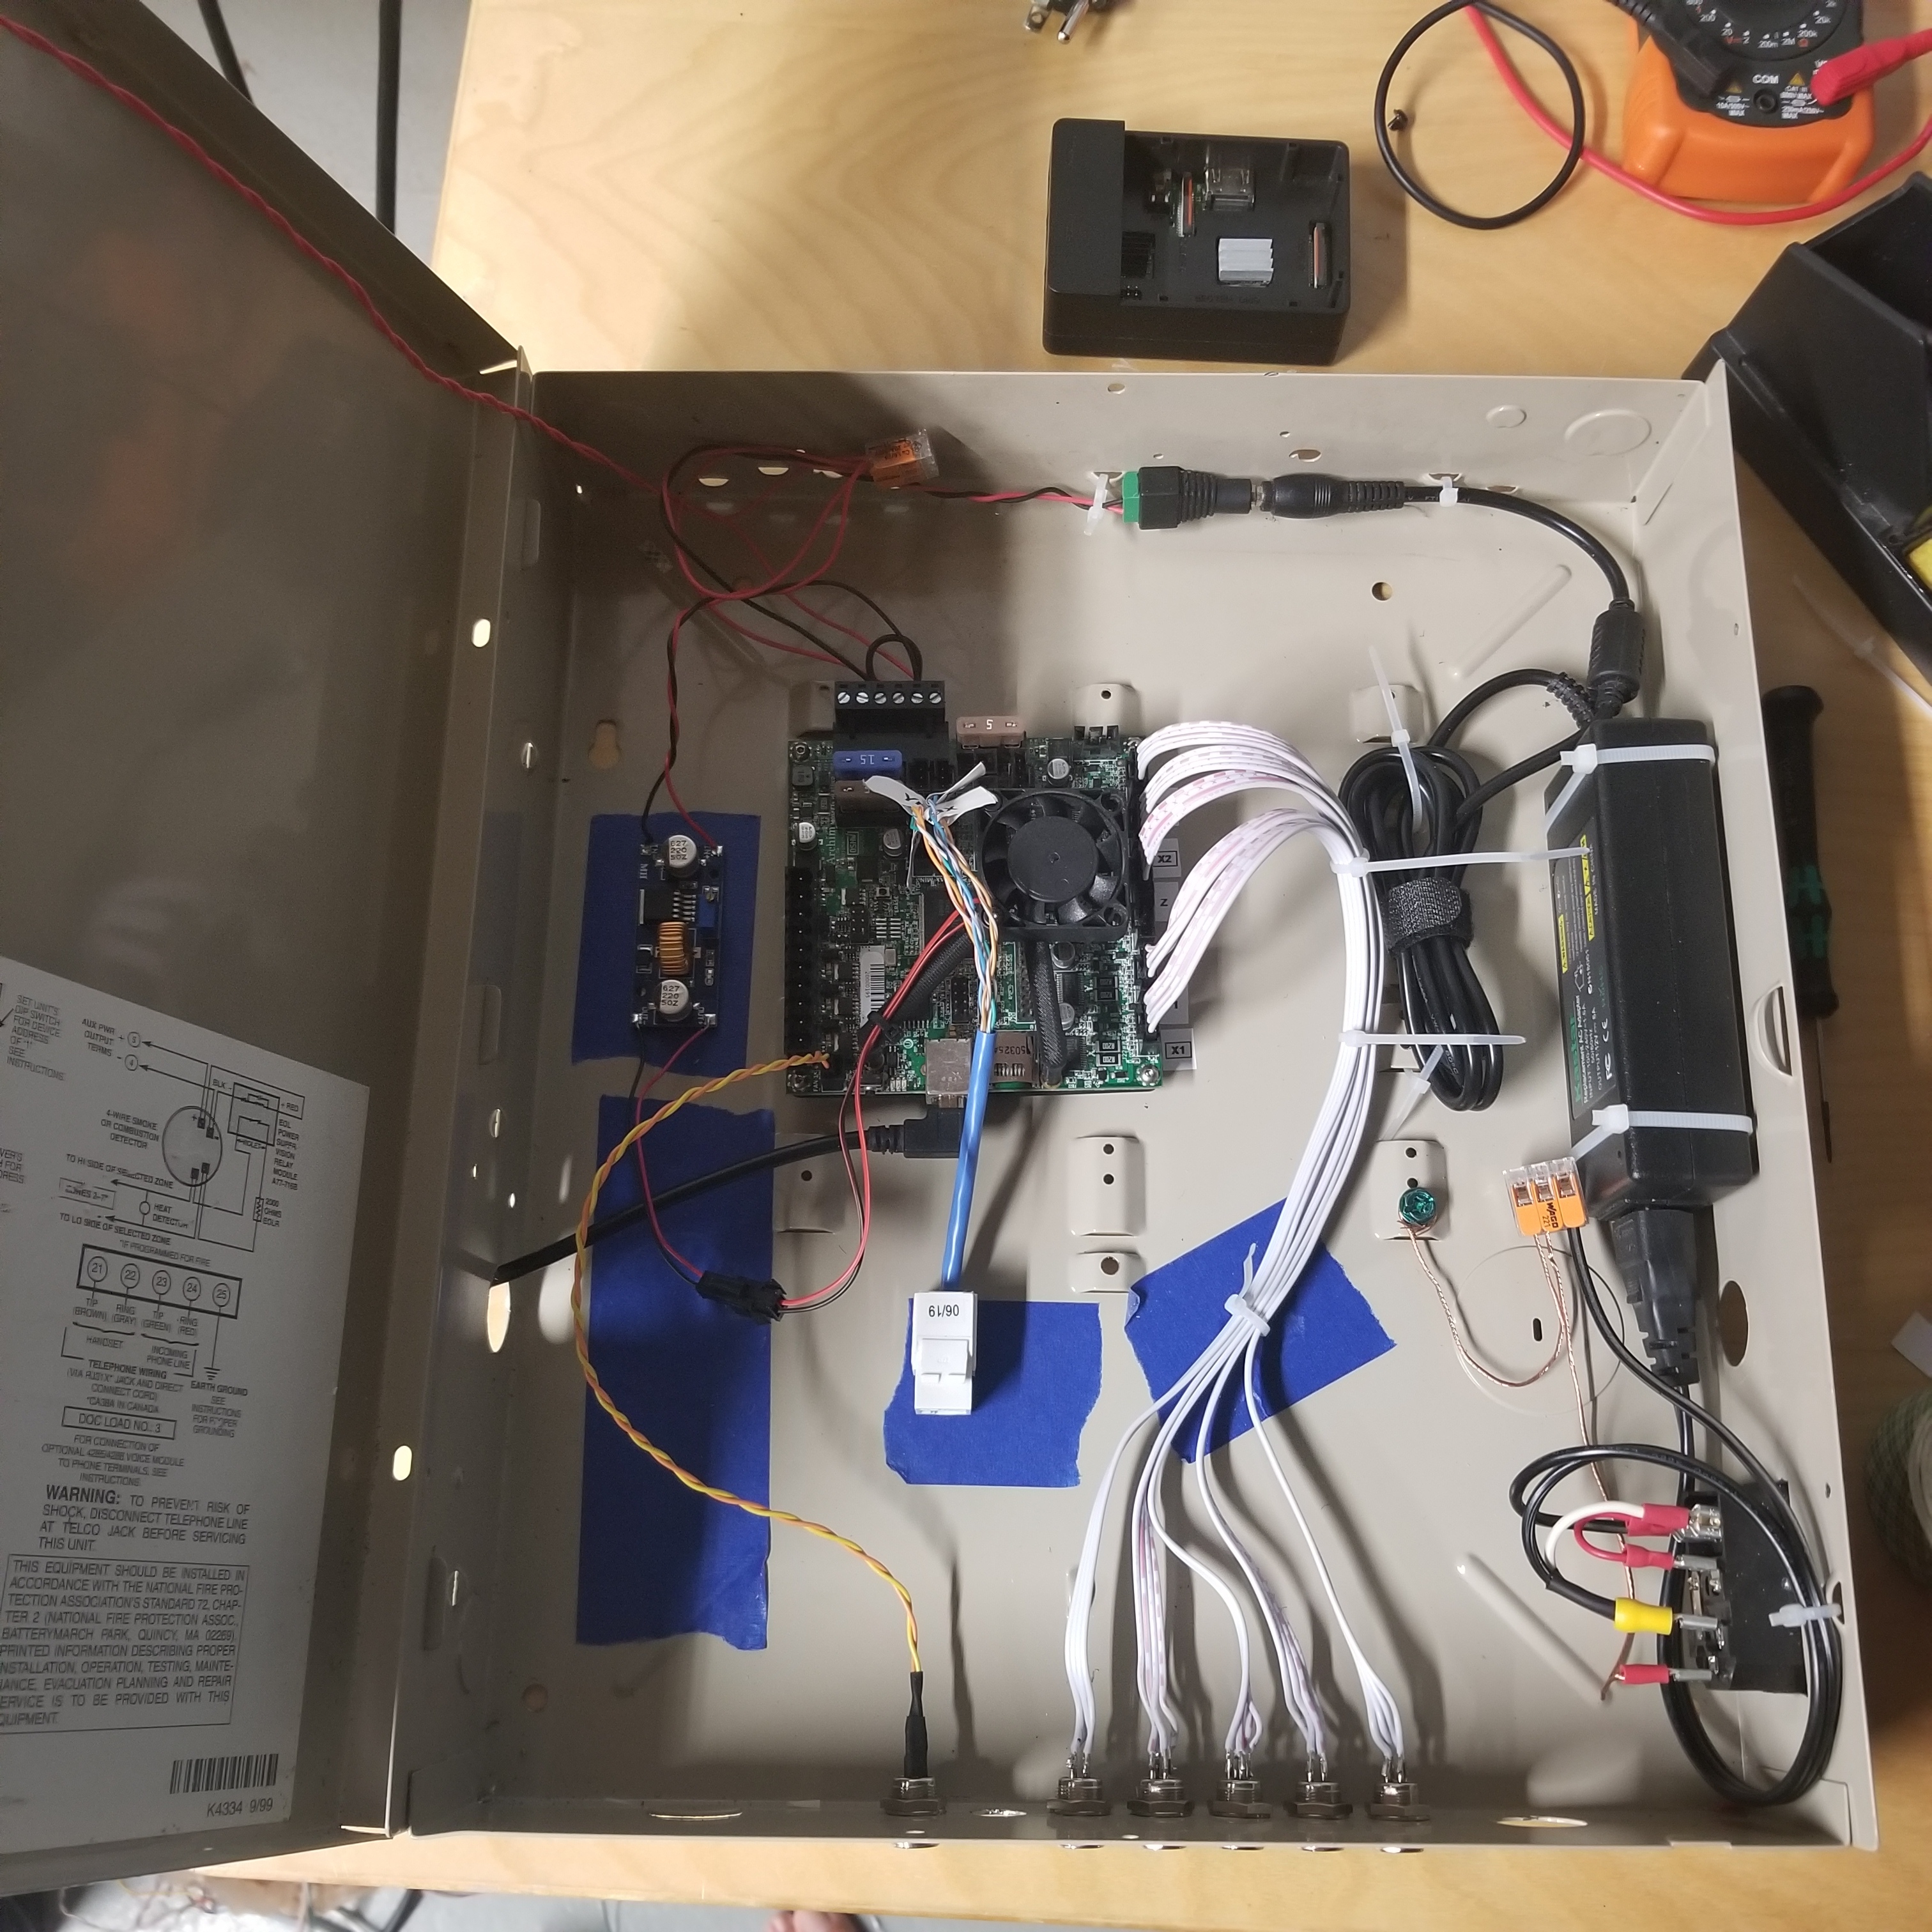
First order of business is of course printing the parts and sourcing the pipes. Meanwhile, I can work on upgrading my previous 3d printed electronics enclosure to something a little better. I have this old metal enclosure that I’ll move everything to and finally wire up the iot relay and power switch and fuse thing that Ryan sells.

2 Likes
dang it. Now I need to get a tablet for the shop. That looks slick.
I have a shop laptop, but it’s just not as elegant.
2 Likes
It’s great! You should be able to find a used surface 3 and a charging dock. They should be rather cheap now and it gives you the full windows experience as well as touch screen control. I also use a wireless keyboard to jog the machine and it’s amazing.
1 Like
You know. I think I might have a windows tablet floating around somewhere…
Both of the kids are on iPads now because our older Android tablets crapped out. I wonder…
What 3D printing material did you use? It looks awesome matching the Makita like that!

Test fitting the legs. I remember having this issue with Burley where I felt that the fit was just a little looser than I would have liked. With the Burley I ended up adding a layer of electrical tape to help snug up the legs and I think I’ll be doing the same with the stainless.

I had the reverse issue on both of my machines.
1 Like
Yikes, sounds a lot worse then my “problem”
Nah. The pipes were a little tight, but plenty useable.
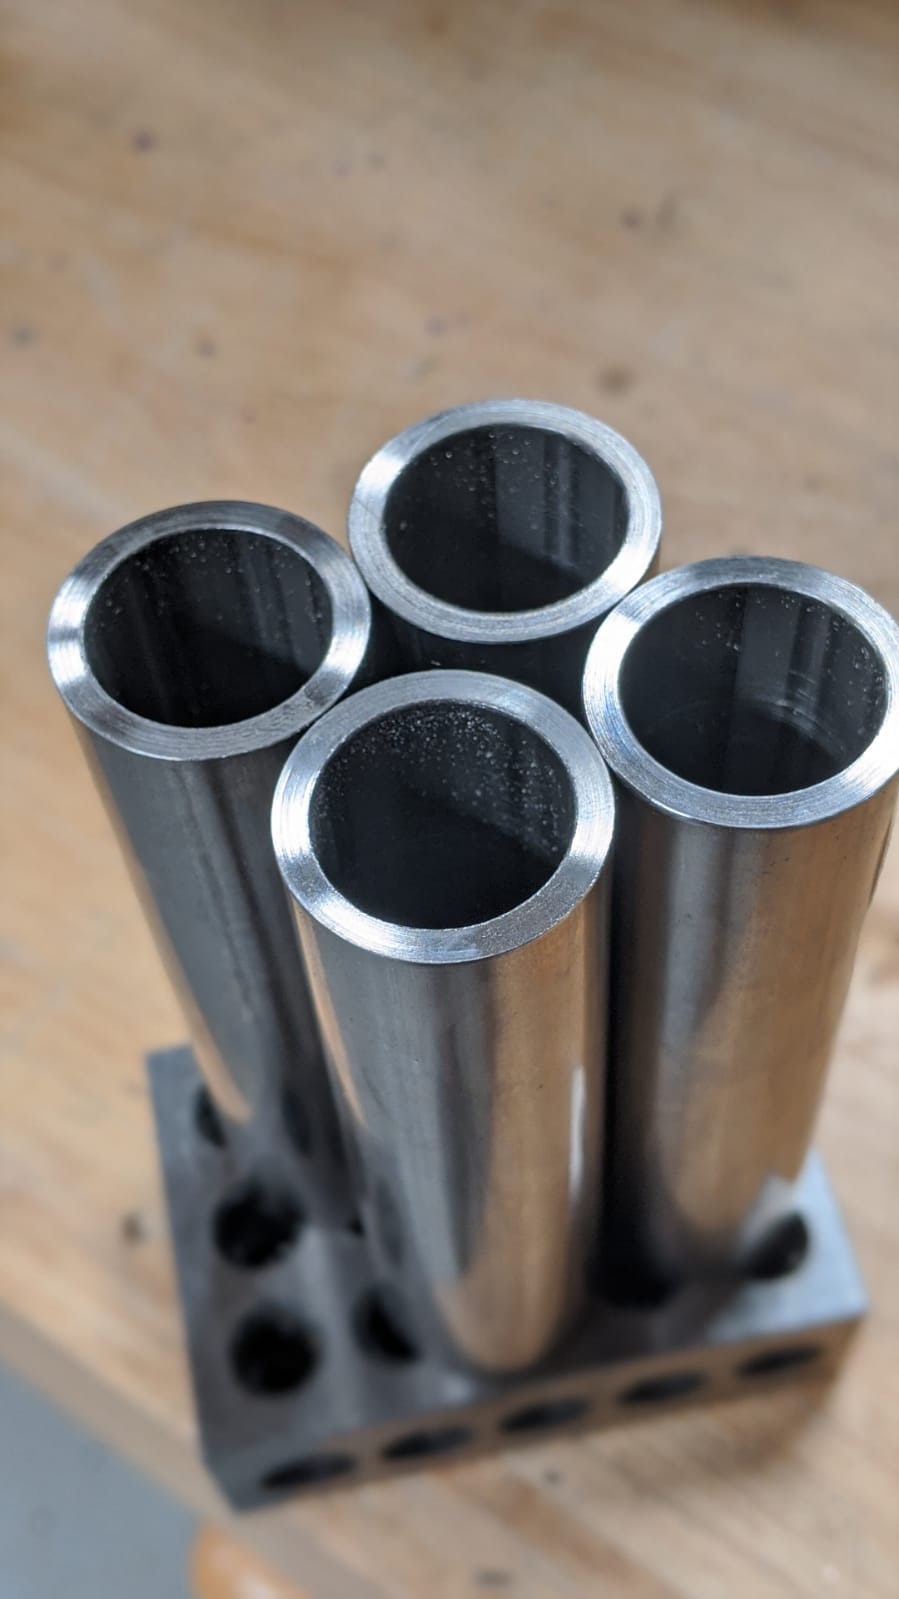
Here is something a builder should consider if you’re using stainless 0.065 tube: cutting the legs to an equal height.
This is how it came from Metal Supermarkets
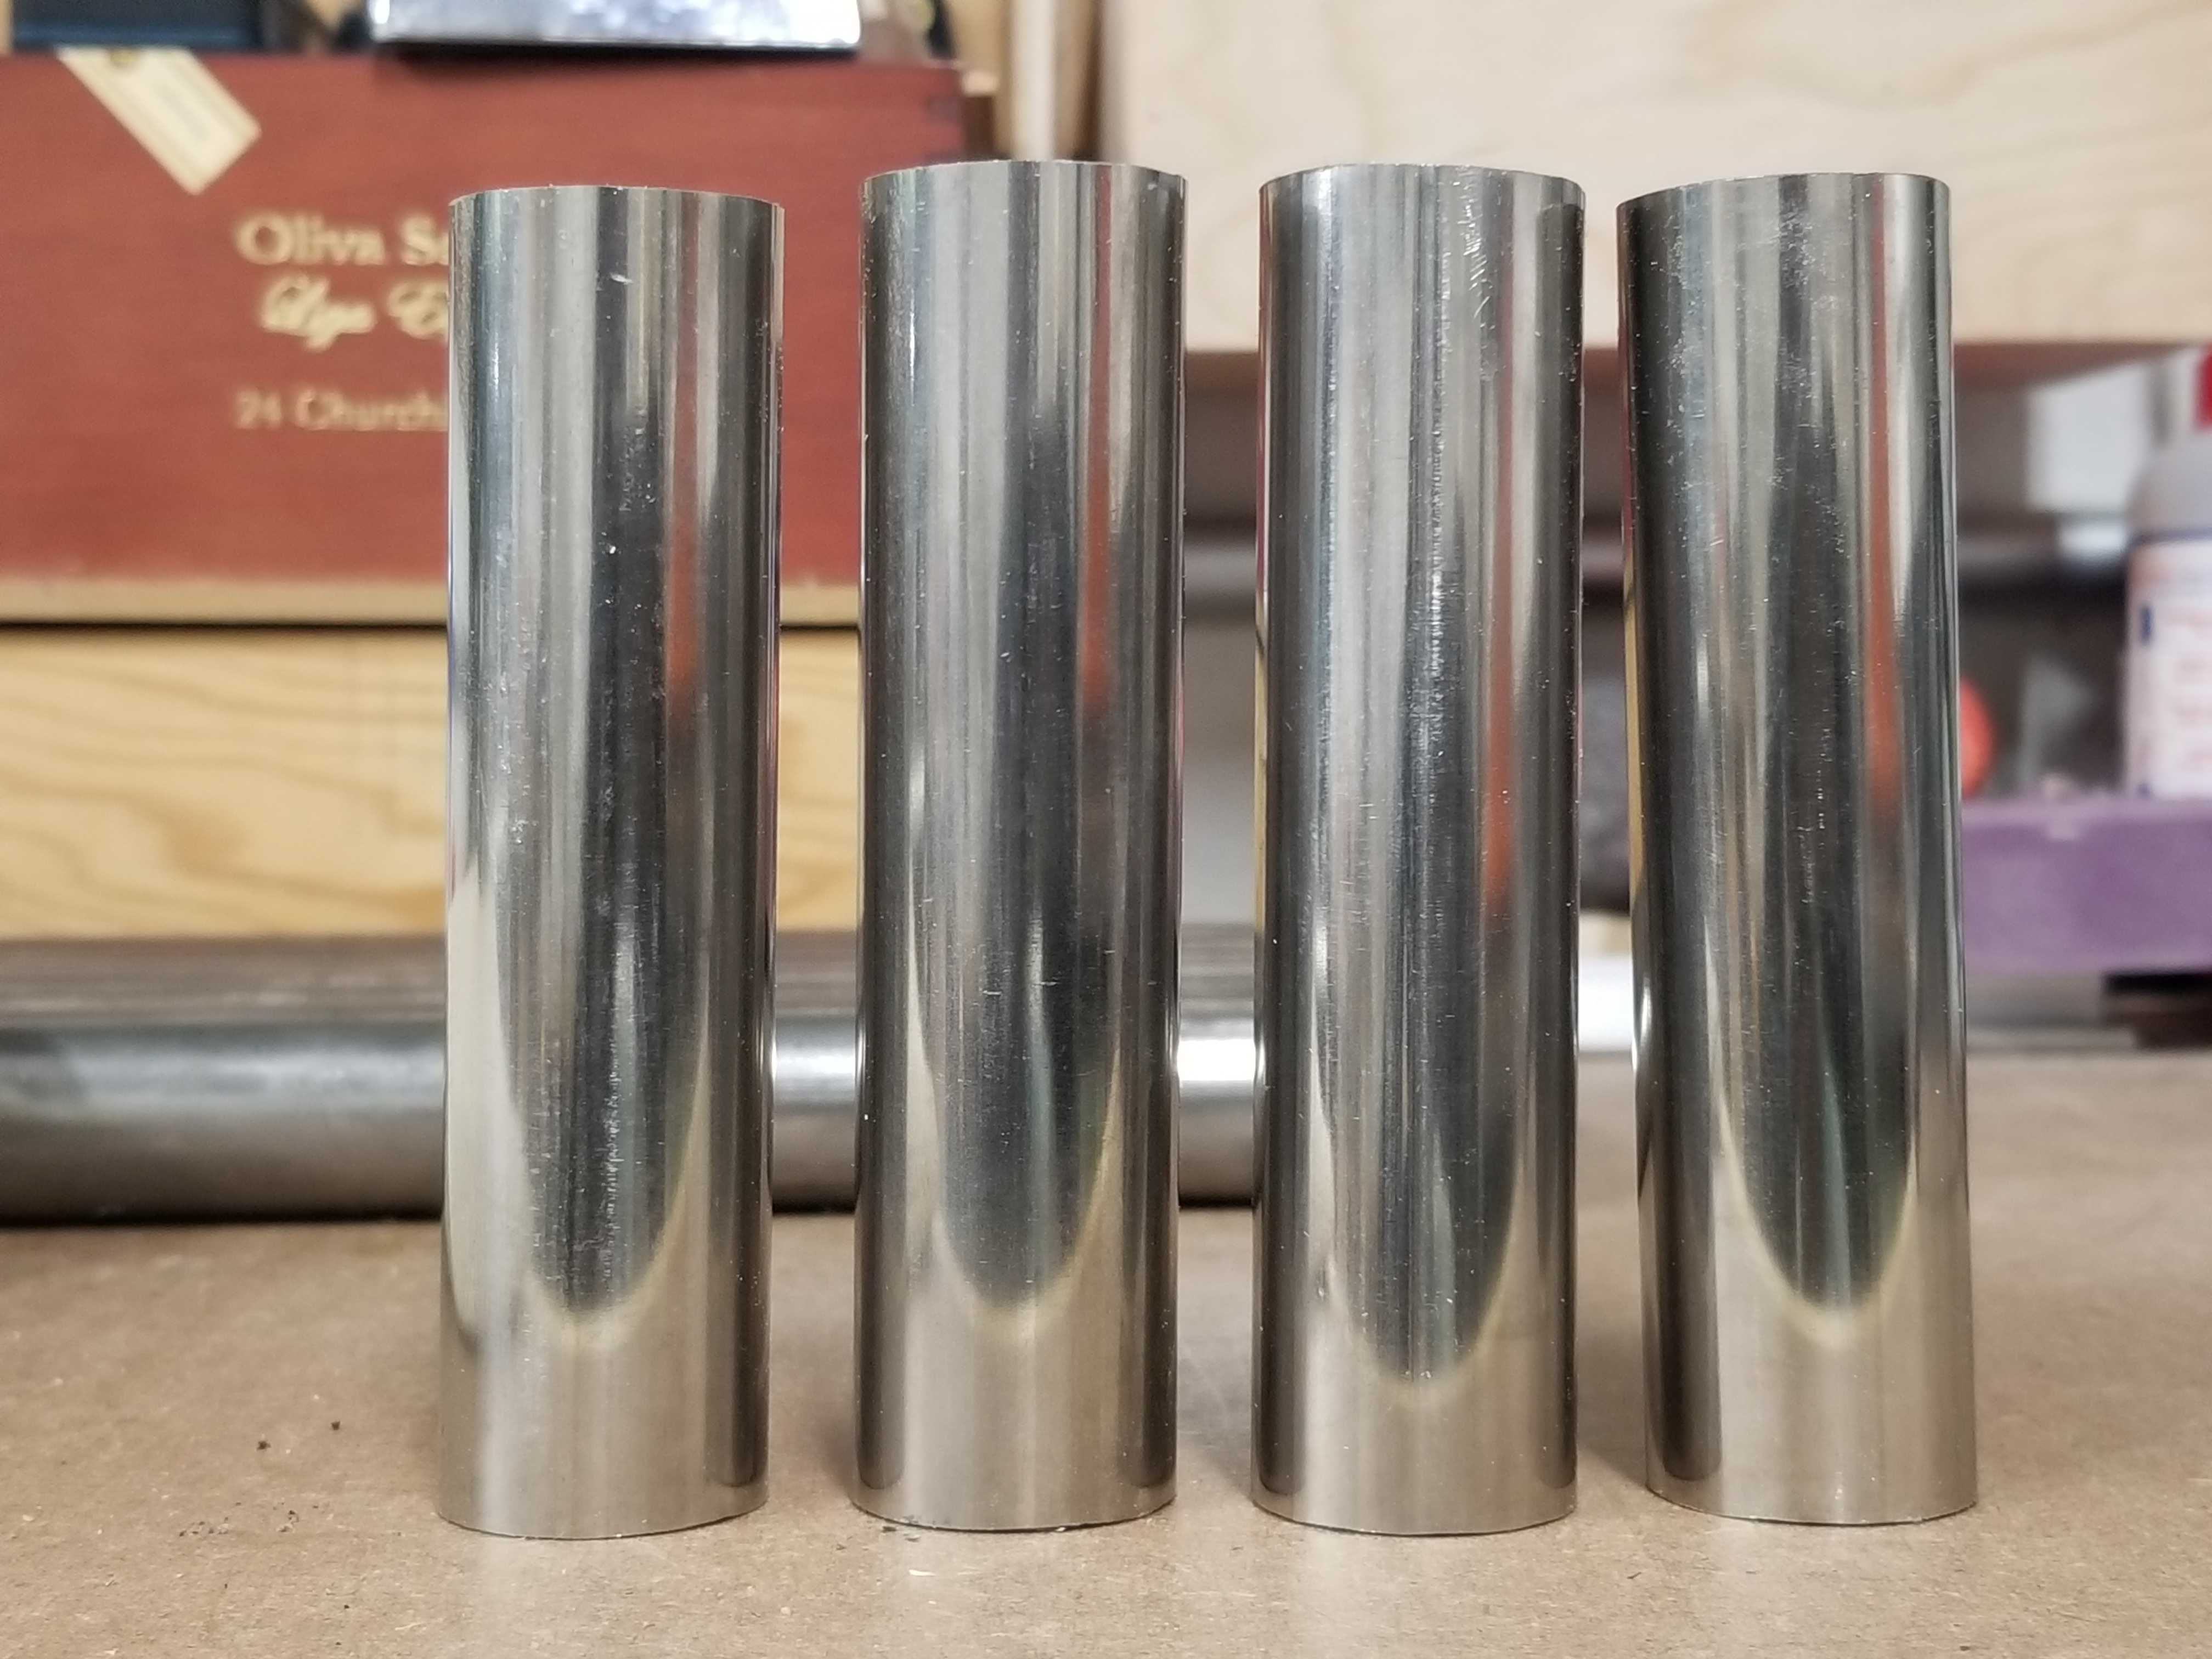
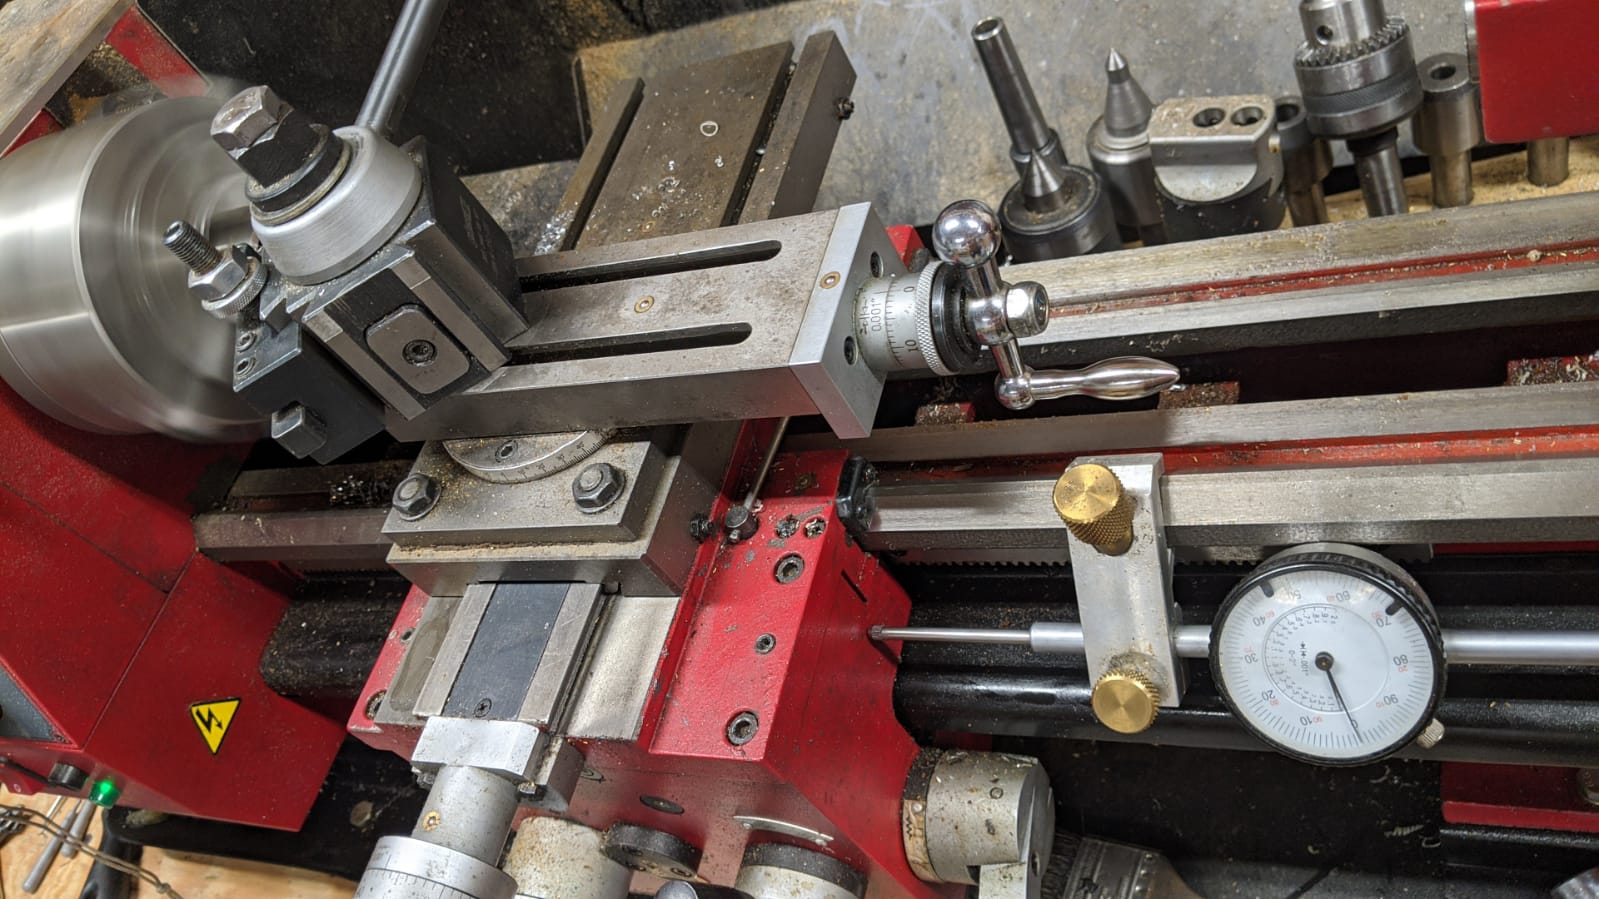
Be prepared to cut these precisely. I own a hacksaw, grinder with cutting wheel, and I was considering getting a portabandsaw as an excuse. But all of these options do not inspire confidence that I’ll have a 4 equal legs. Lucky for me a good friend offered to square the faces and cut them to size for me on his lathe. This is the most important thing to get right otherwise you’ll be shimming to get a level bed. Thanks again FP!
2 Likes
Not sure if this would work on stainless, but I used my 9" disk sander with 60 grit to even up my pipes.
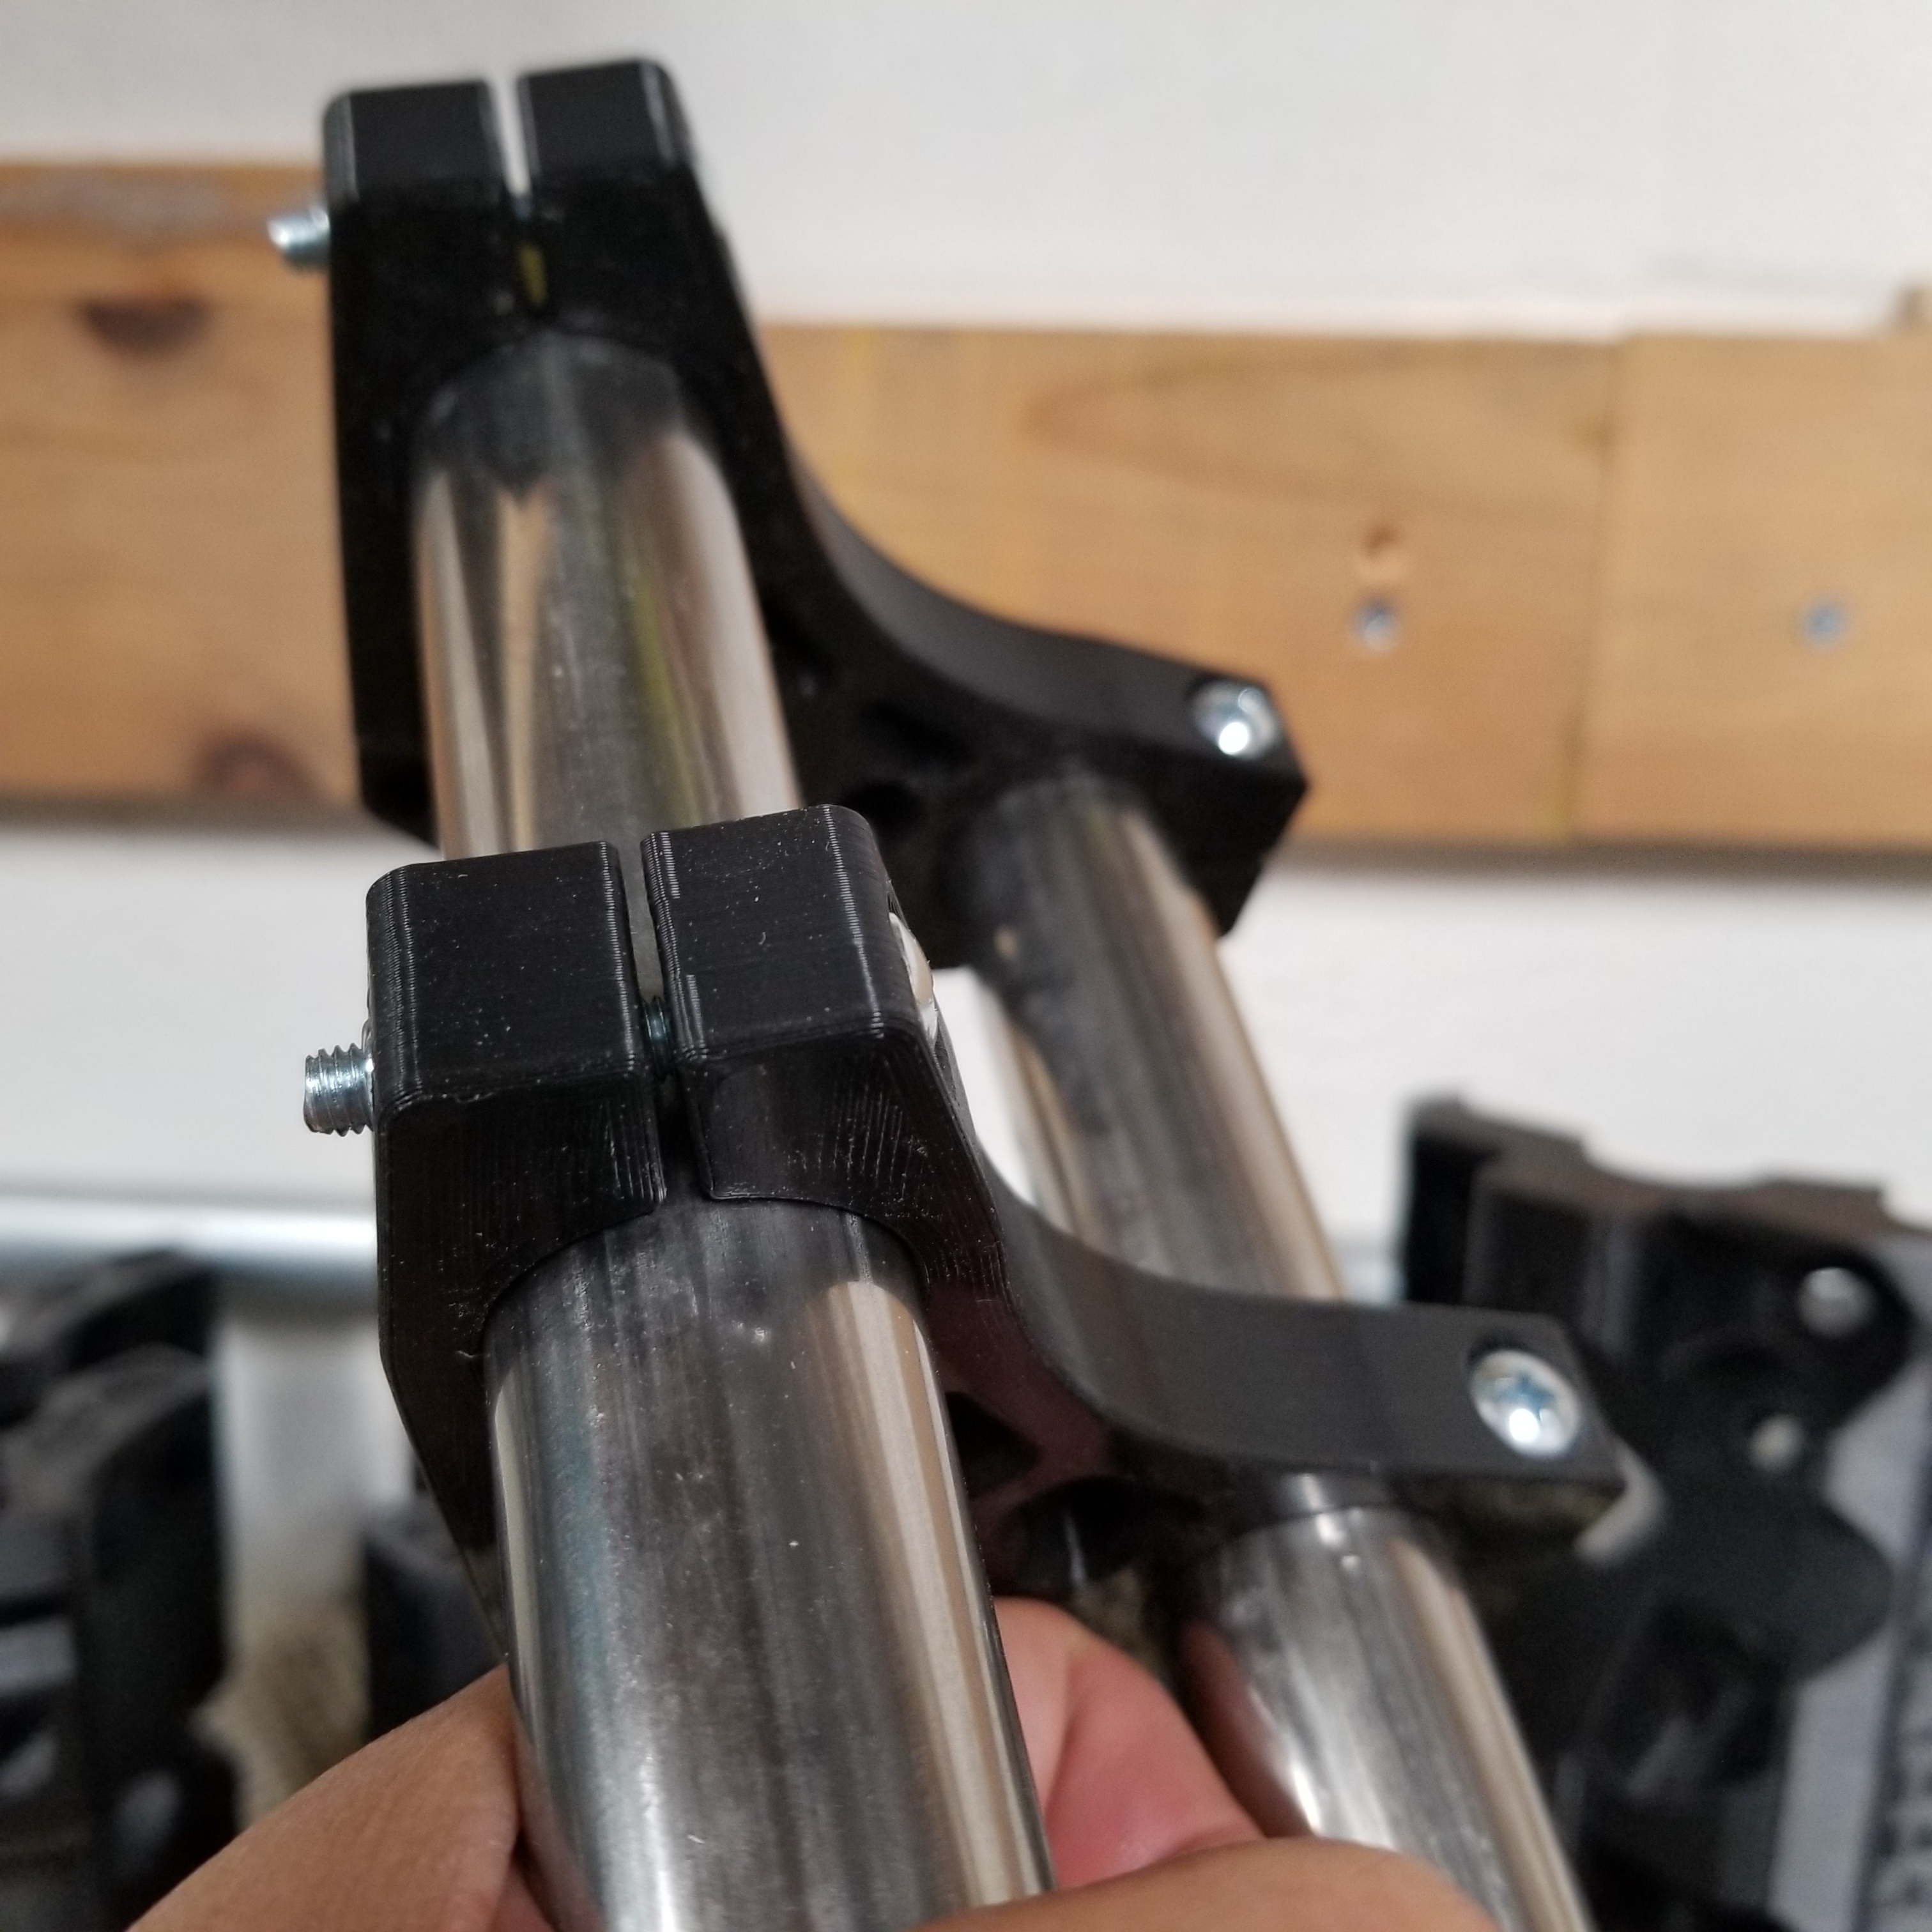
That is way way to far off. There is supposed to be a fairly large gap there. Your printer is doing some wonky things. Would you like a couple suggestions for calibration prints?
I like to think I have a fairly well calibrated machine but it never hurts to audit I suppose. Anything other than a calibration cube, what do you suggest? Either way, I’ll snug it with electrical tape as I did in my first build. And as far as I can tell, everything else prints and fits fine, for example the z gantry connectors fit just fine.
How is tape going to help the Z axis rails and gantry rails?
I suggest at least printing a 100 or 200mm square and checking each side and the diagonals. Bare minimum.
https://www.prusaprinters.org/prints/30279-buildplate-level-test-print-150mmx150mm
Even better, I will try to add more test parts as I think of them.
https://forum.v1e.com/t/printer-tests-and-calibration/19173/2