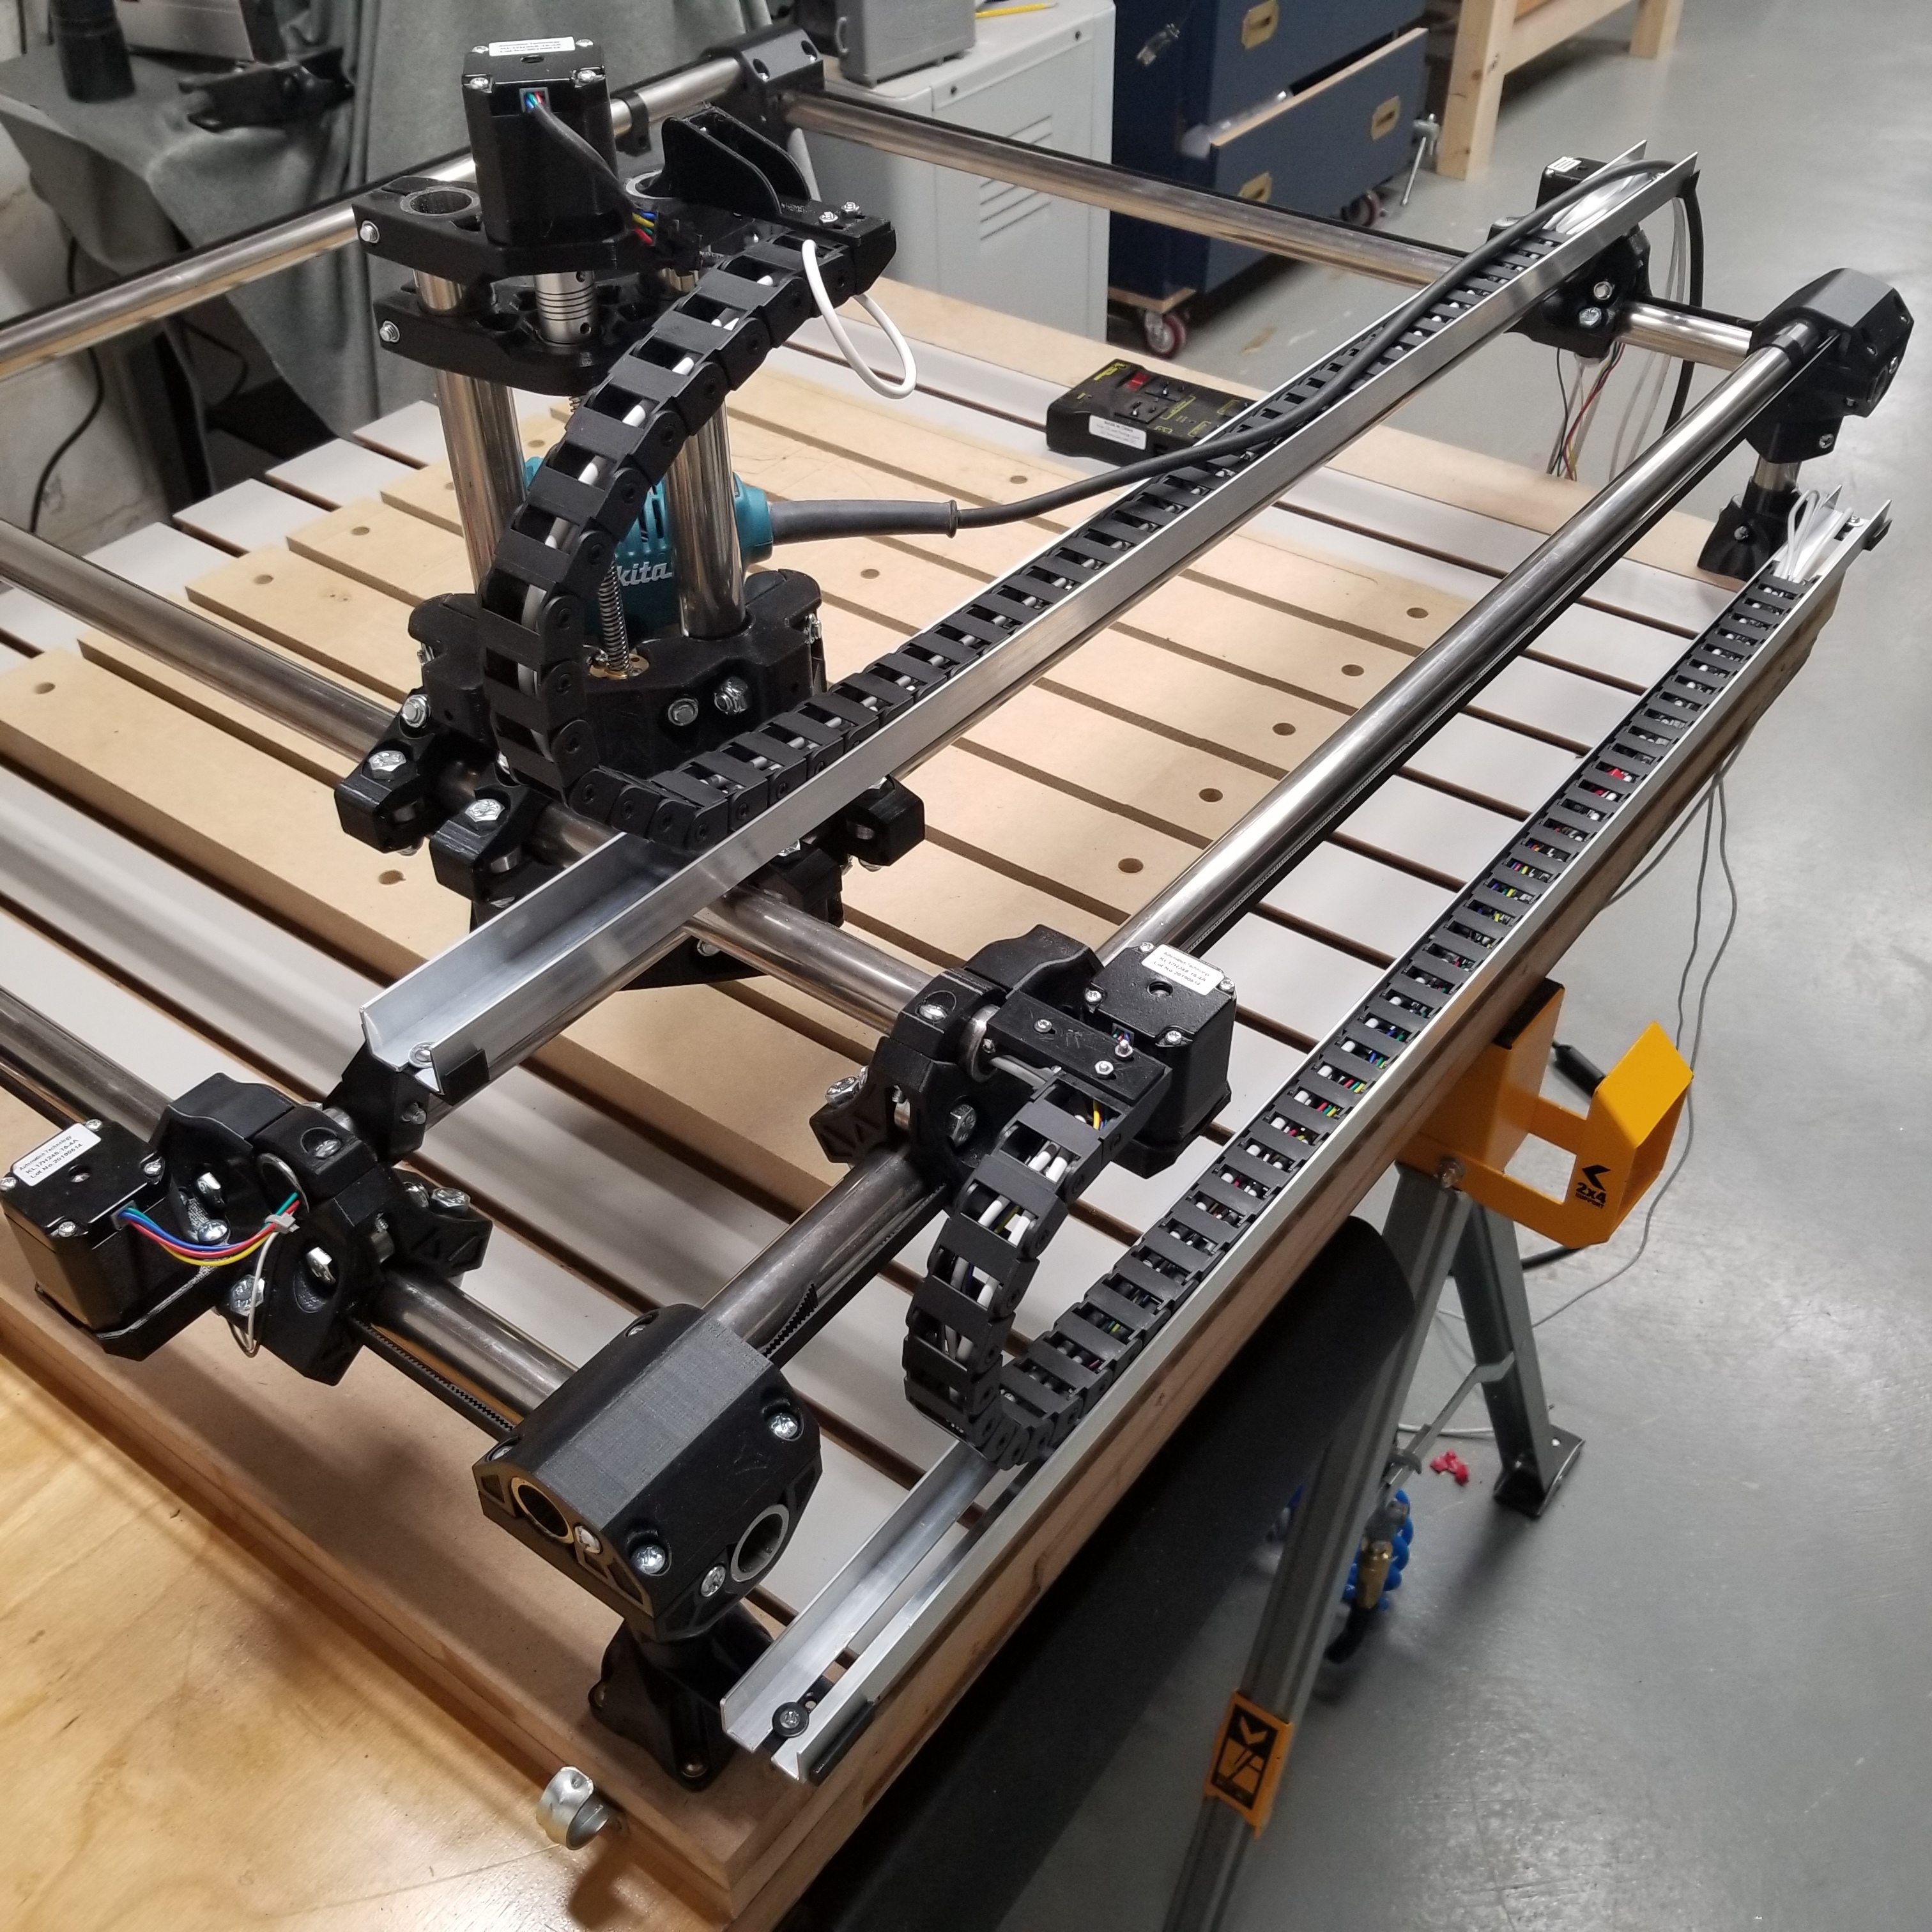
As I am disassembling Burly I just have one thing to say:
The number of loose screws is too damn high!
As I am disassembling Burly I just have one thing to say:
The number of loose screws is too damn high!
Loctite this time?
Never understood why he always wears gloves.
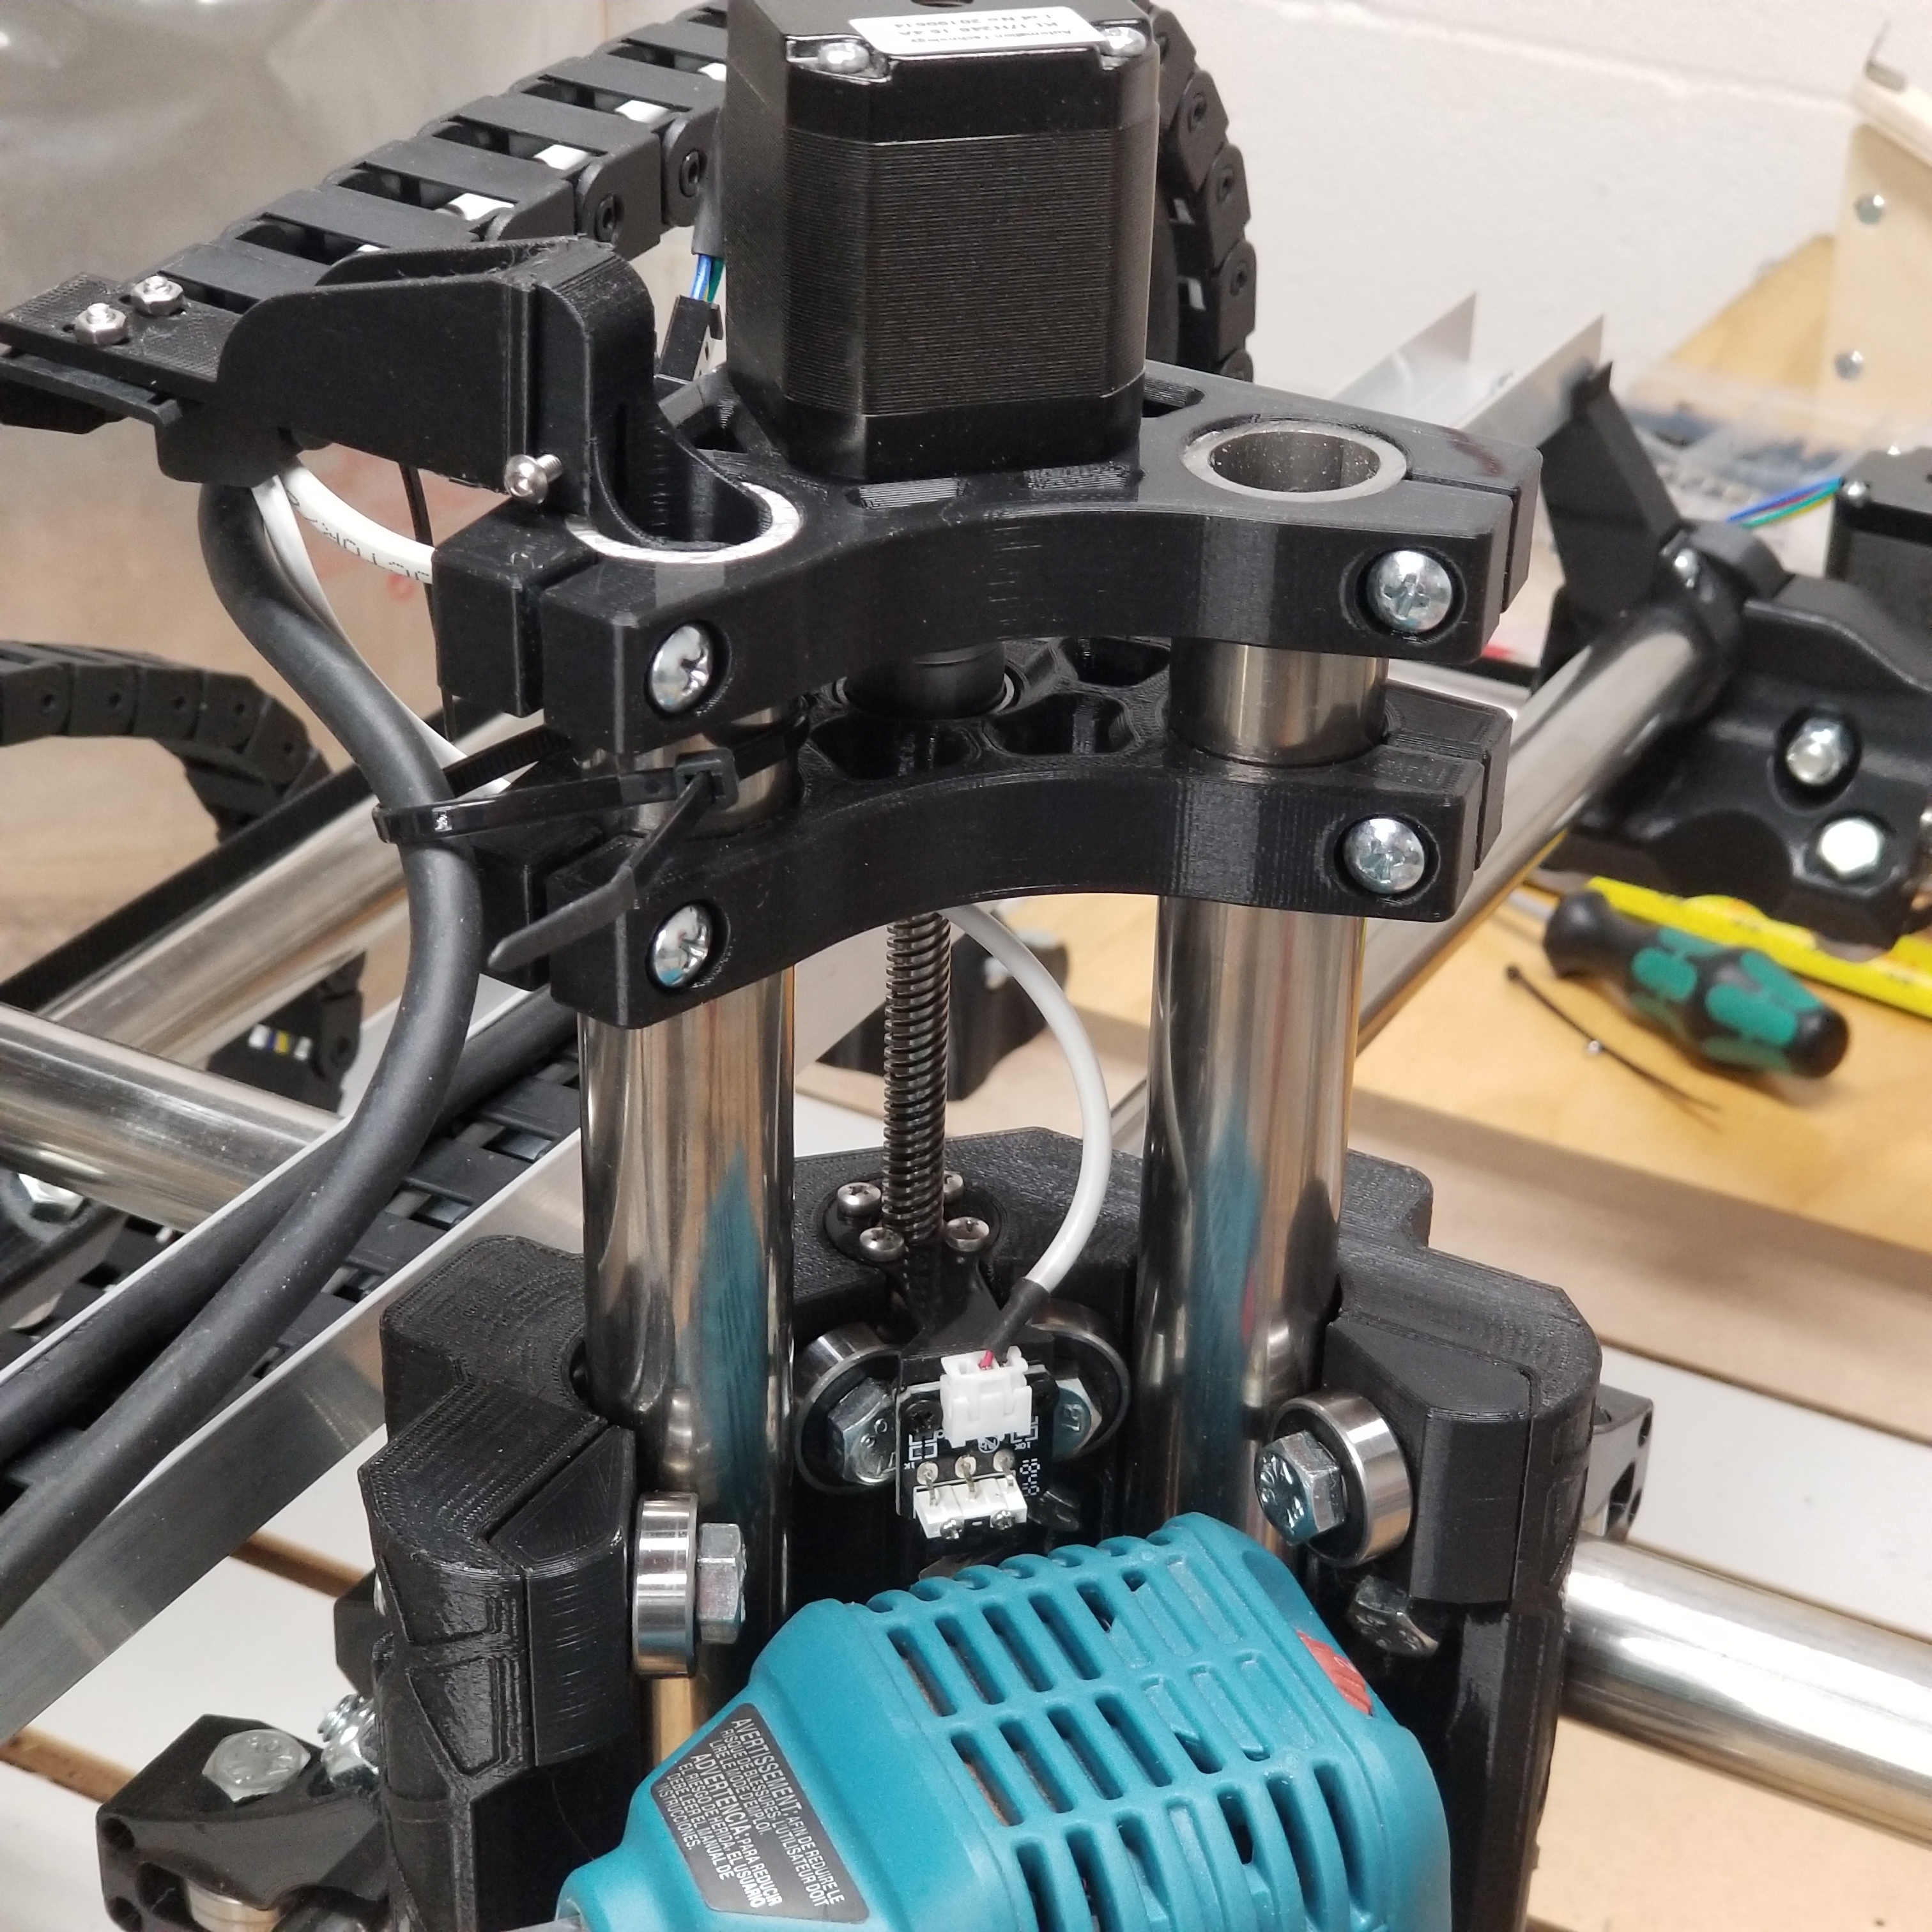
Very cool build so far! I’ve just got a sorta unrelated question - How has the Makita router been? I’m personally leaning towards getting that for my soon to be Primo.
So far so good. If you’re like me and this is your first cnc, you have to worry more about your gcode more than you worry about the router. I went with it because I like the color 
Haha true that! It’s gonna be a fun learning experience!
Got any good sources on 1/4 end mills?
I picked up a diablo 1/4” shank up it but at Home Depot. It was a bit pricey, but it can tear through the wood when I need it to.
Honestly, I rarely use 1/4 end mills now. The only time I’m using 1/4" are for spoilboard surfacing and roughing. For roughing, I just use a 2 flute upcut. And then hop over to 1/8 cheapo chineseium bits. They seem to cut just fine and I still have yet to break a bit. Plus they sell them in multiples so I’ve been able to use them as indexing pins for 2 sided jobs in a pinch. I like the single flute upcut bits and compression bits are great for plywood.
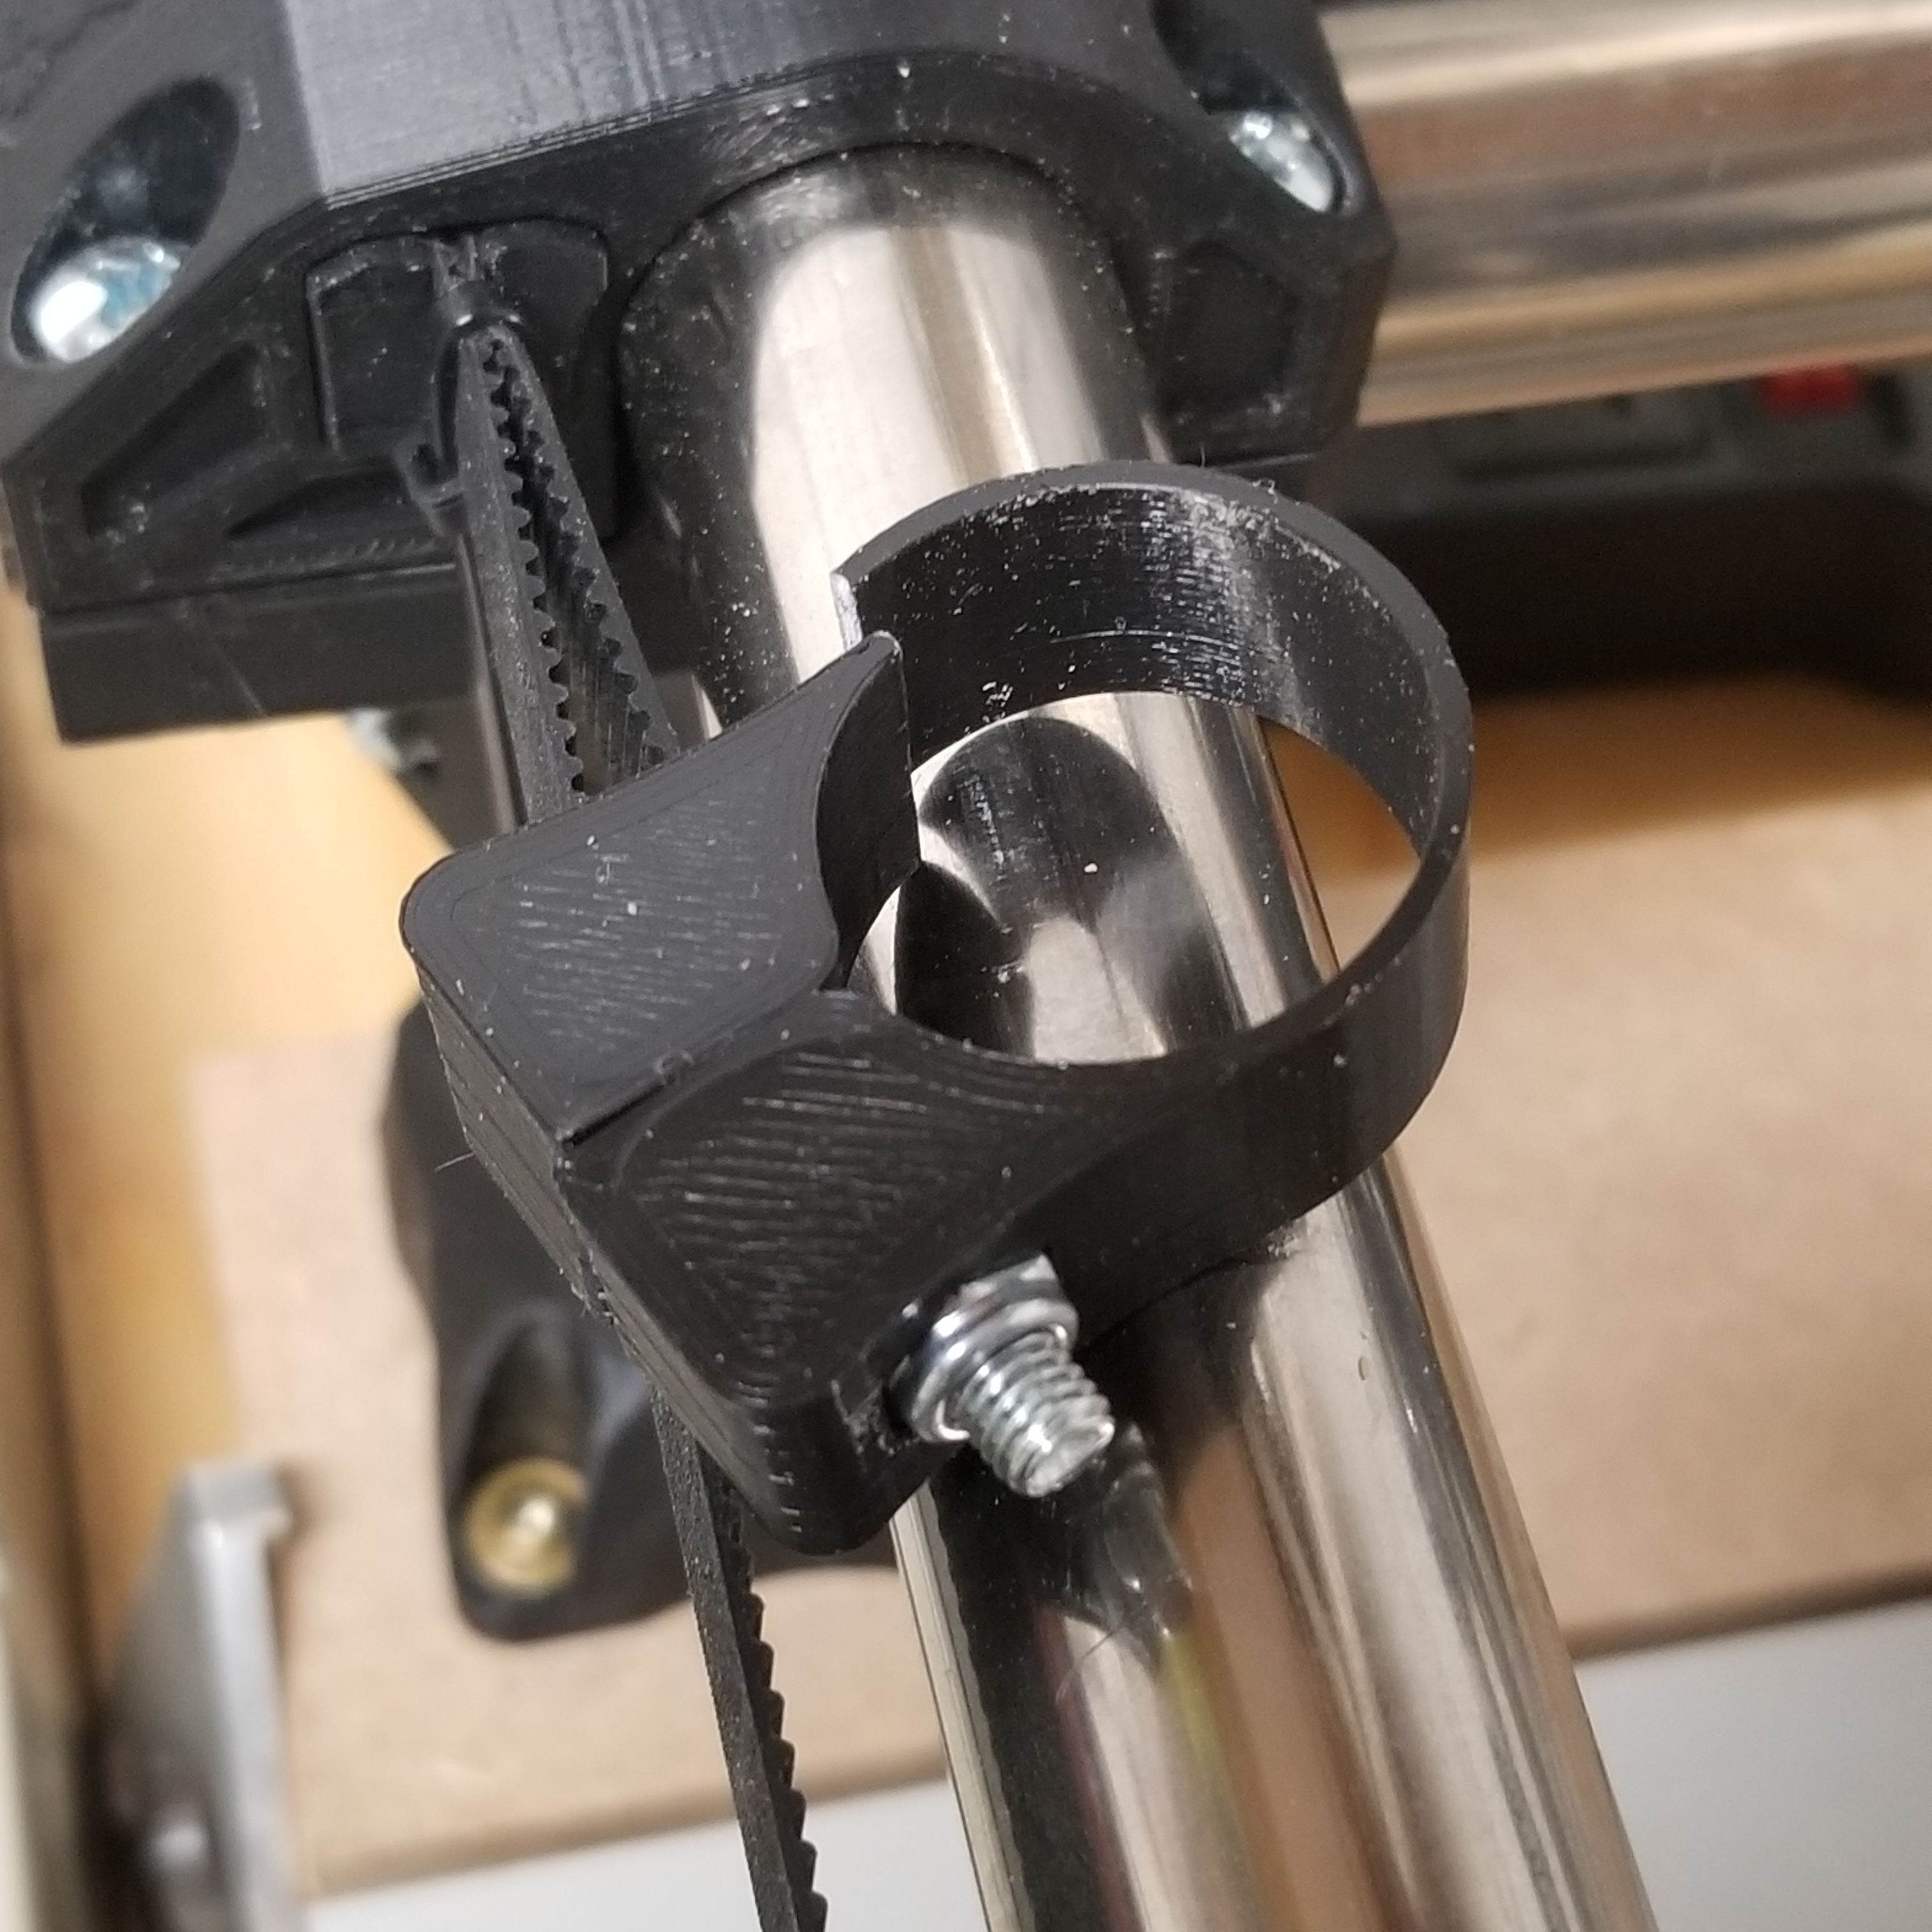
Anyone who wishes to use my design for cable chain mounts can find the files on thingiverse.
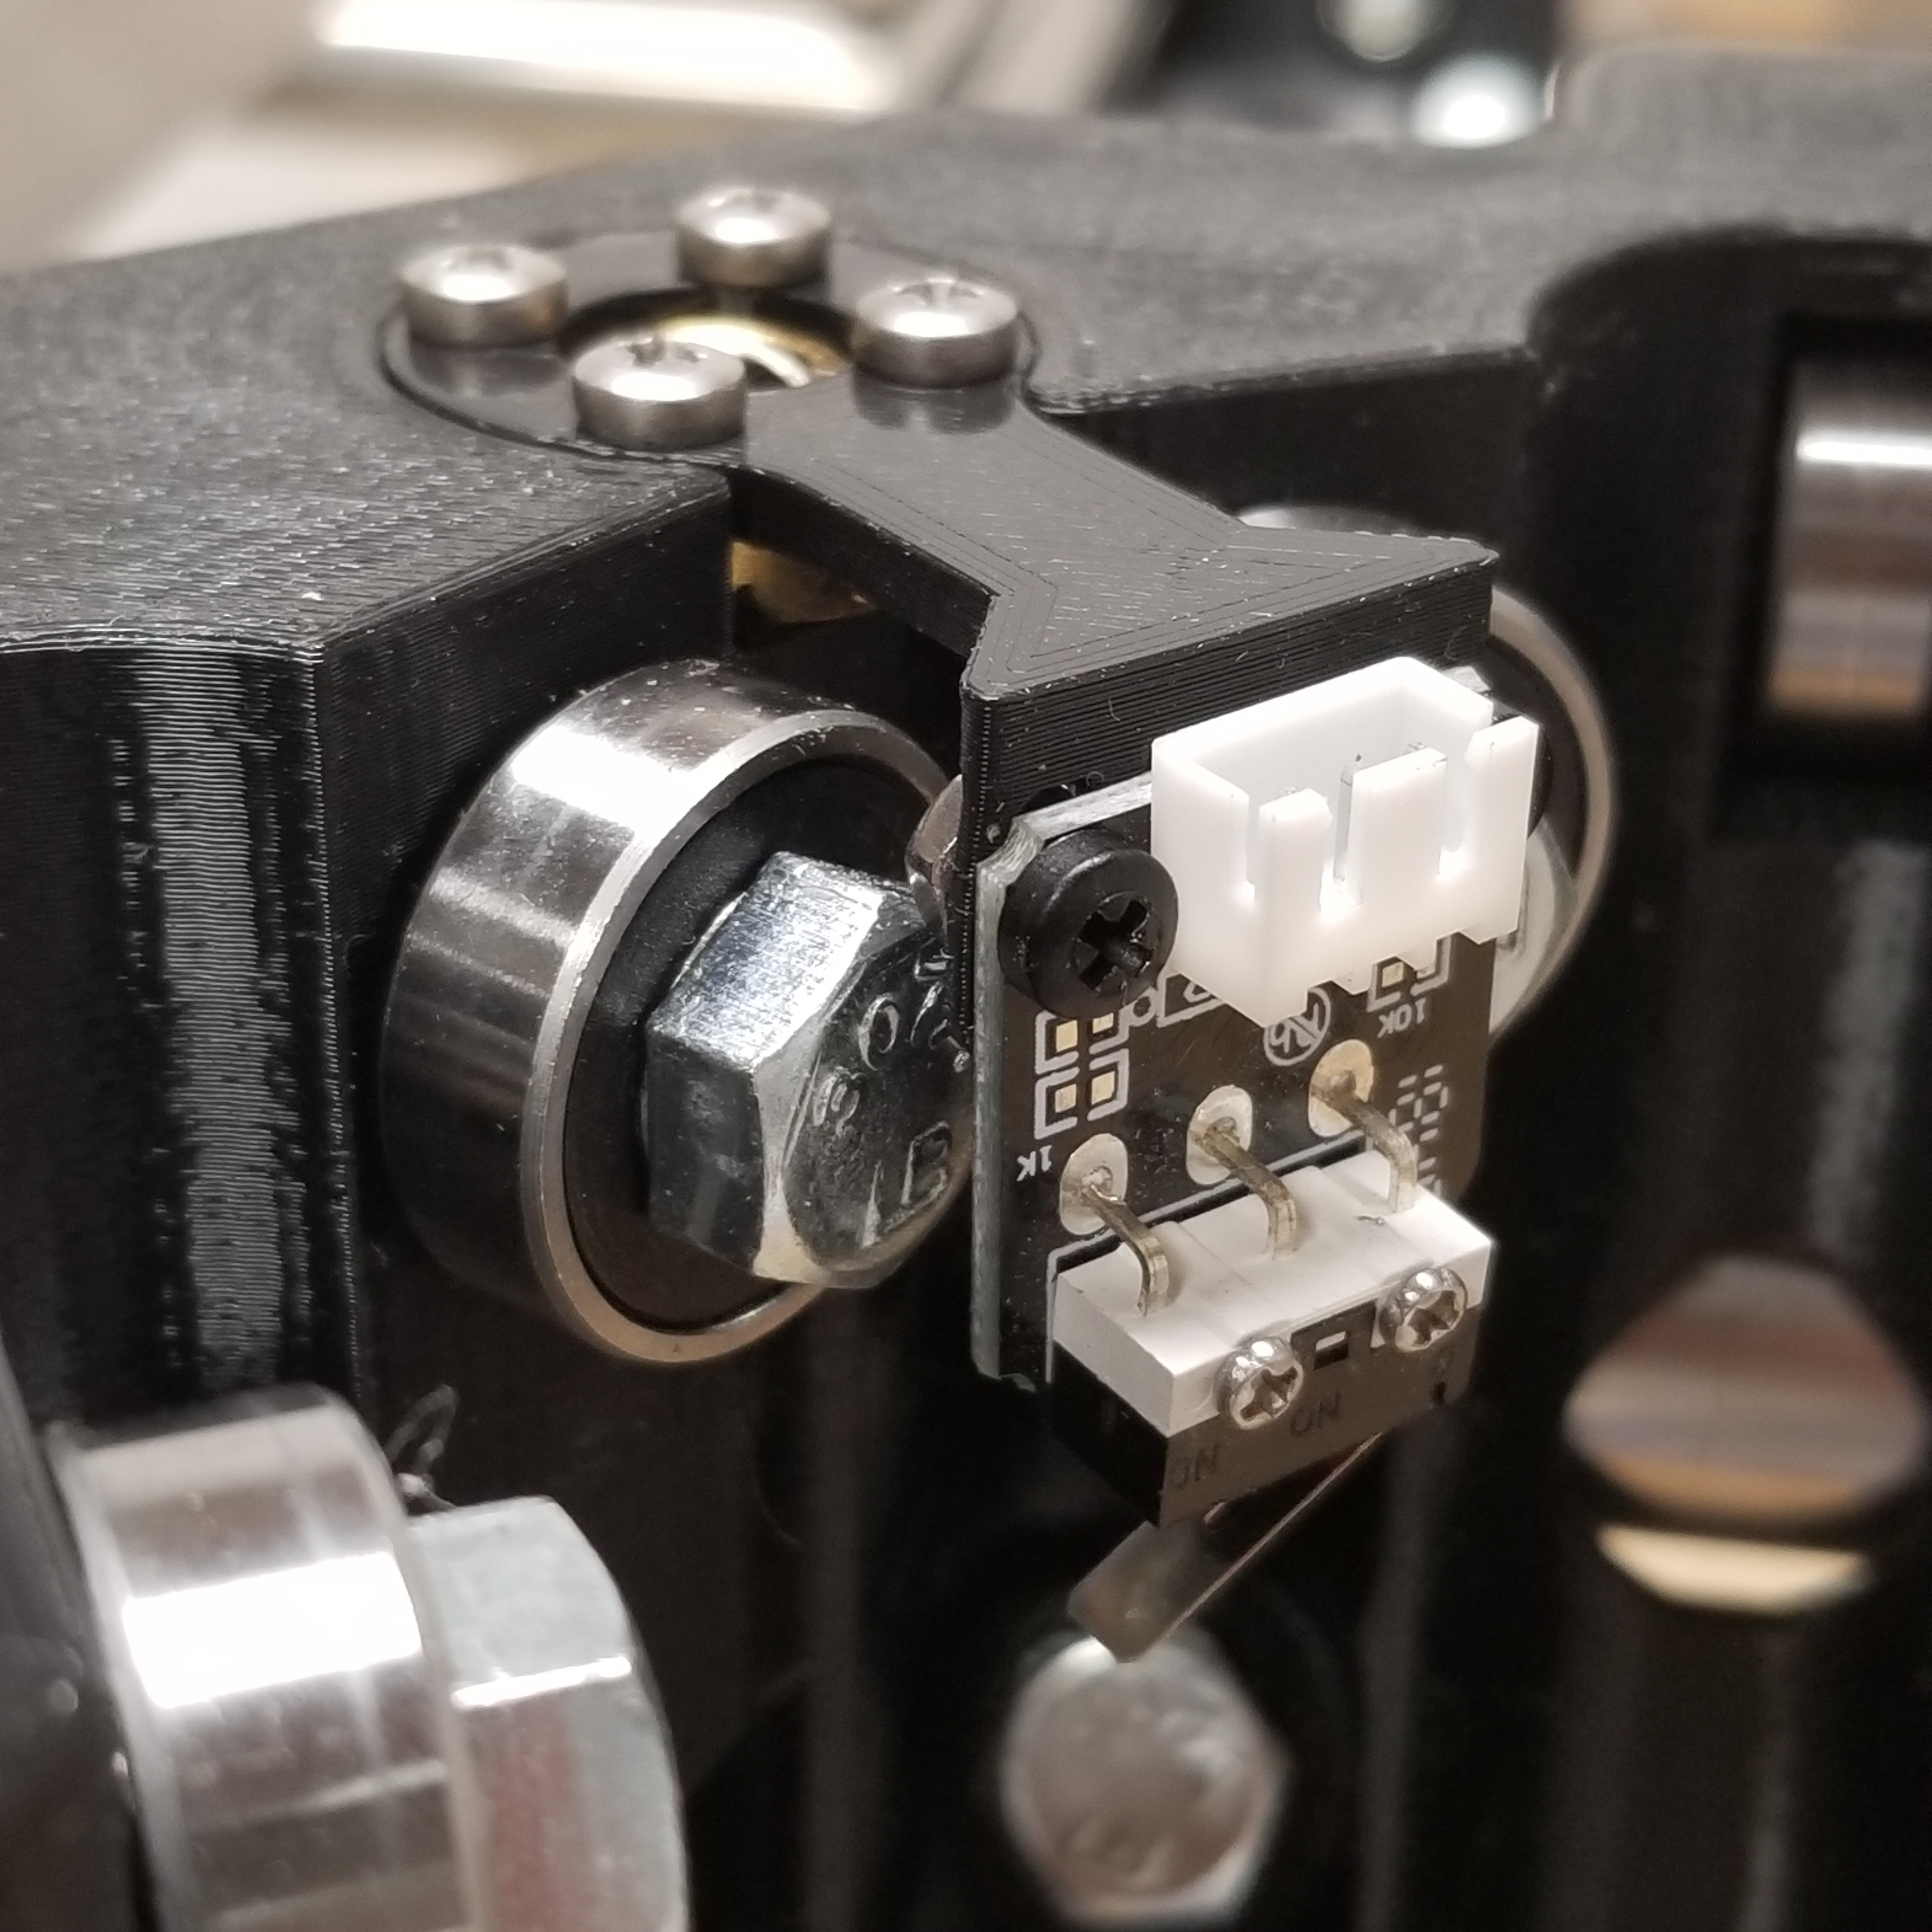
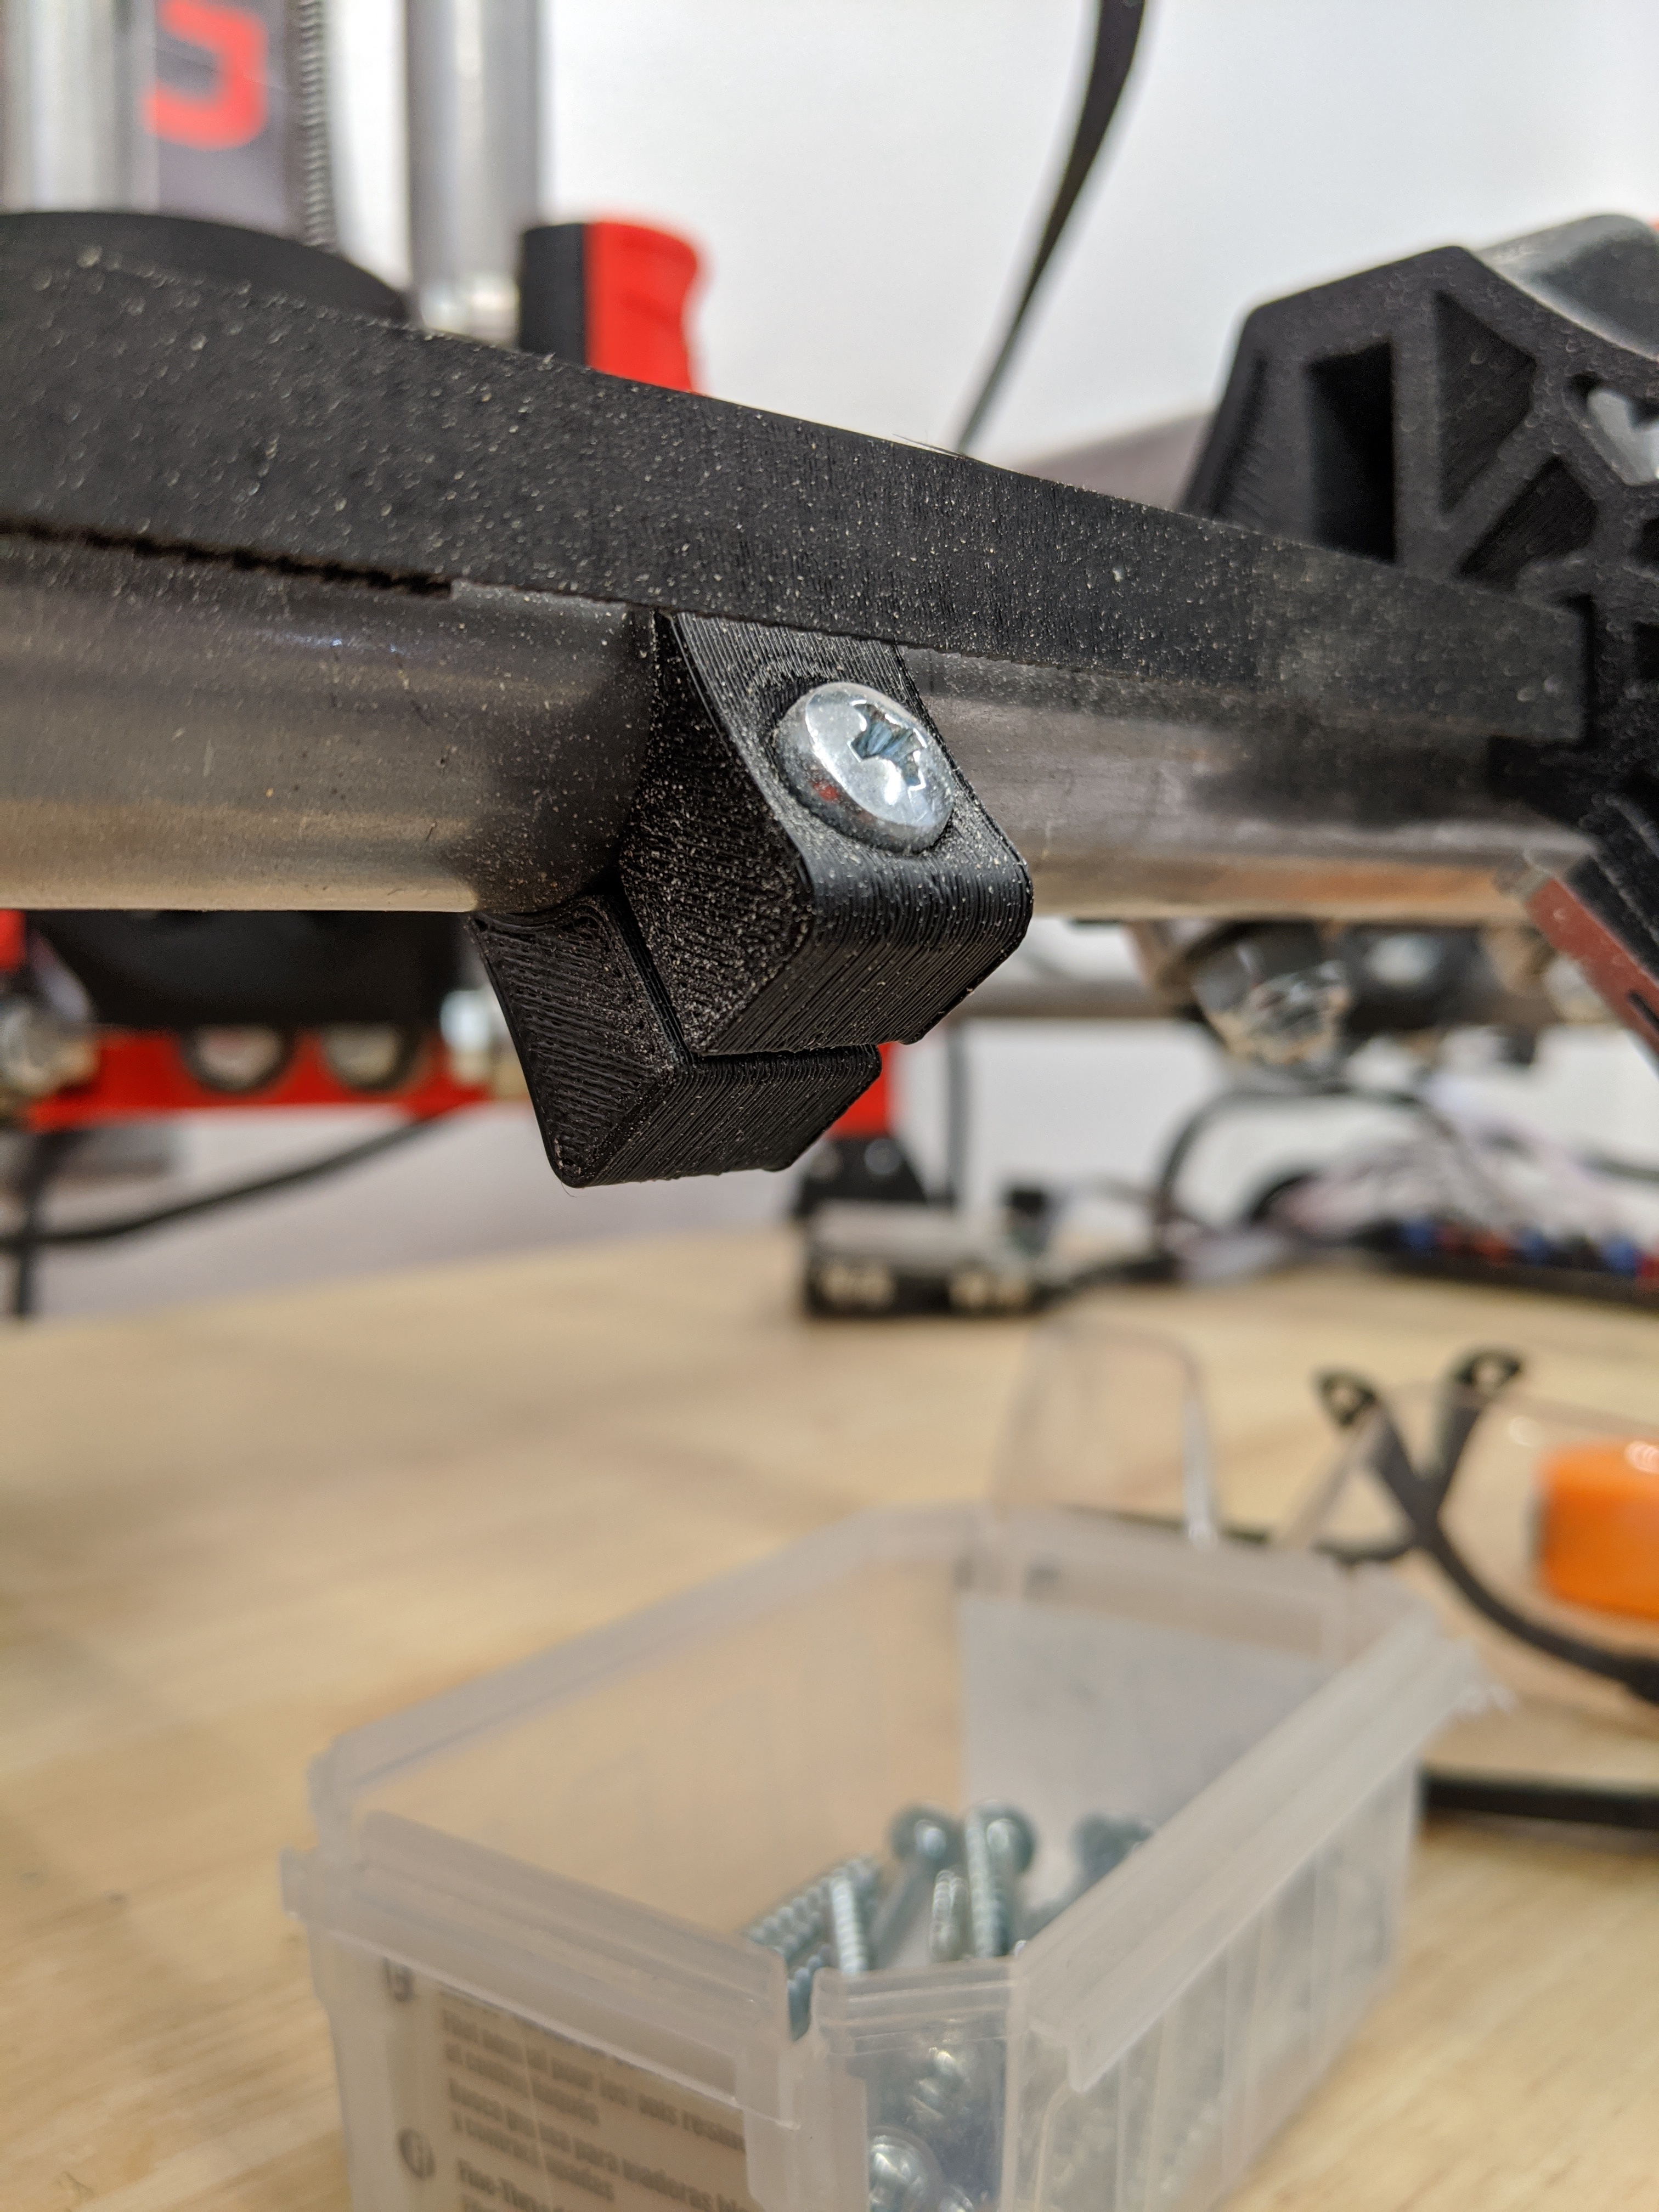
This is the 3rd one that broke. Anyone else having this problem? Looks like I need to design one that is slightly more robust.
What happens if you don’t close it all the way? It just has to stop the microswitch, right?
They work well with switches but not for hard stops
I don’t crank it down. Believe me I thought that was the case after the first two. I guess that the small shock of the limit switch hitting it is enough to break it. Doesn’t sound right though. I wonder if the filament is brittle.
Also the polish on the stainless does not help. It’s too slippery, my next solution is to wrap some electrical tape and clamp it to that. Should work.
There should be next to zero load on that part. Even on a slick rail it should not take much to keep it in place. The only actual load is the tiny force to trip the switch. And you are not closing the gap right, it has a large gap that does not need to be closed?
I think I identified the problem. I had my limit switches installed upside down and the switches were hitting close to the pivot of the metal switch which results in a harder bump. After reversing the position of the switch, there is now a bit of give when the switches are activated.
BTW, the gaps are correct, the image shown is of a broken stop block so the gap appears to be closed. I am surprised that the small shock of the limit switch bump was enough to break the thing. IDK maybe i had it tensioned too tight.