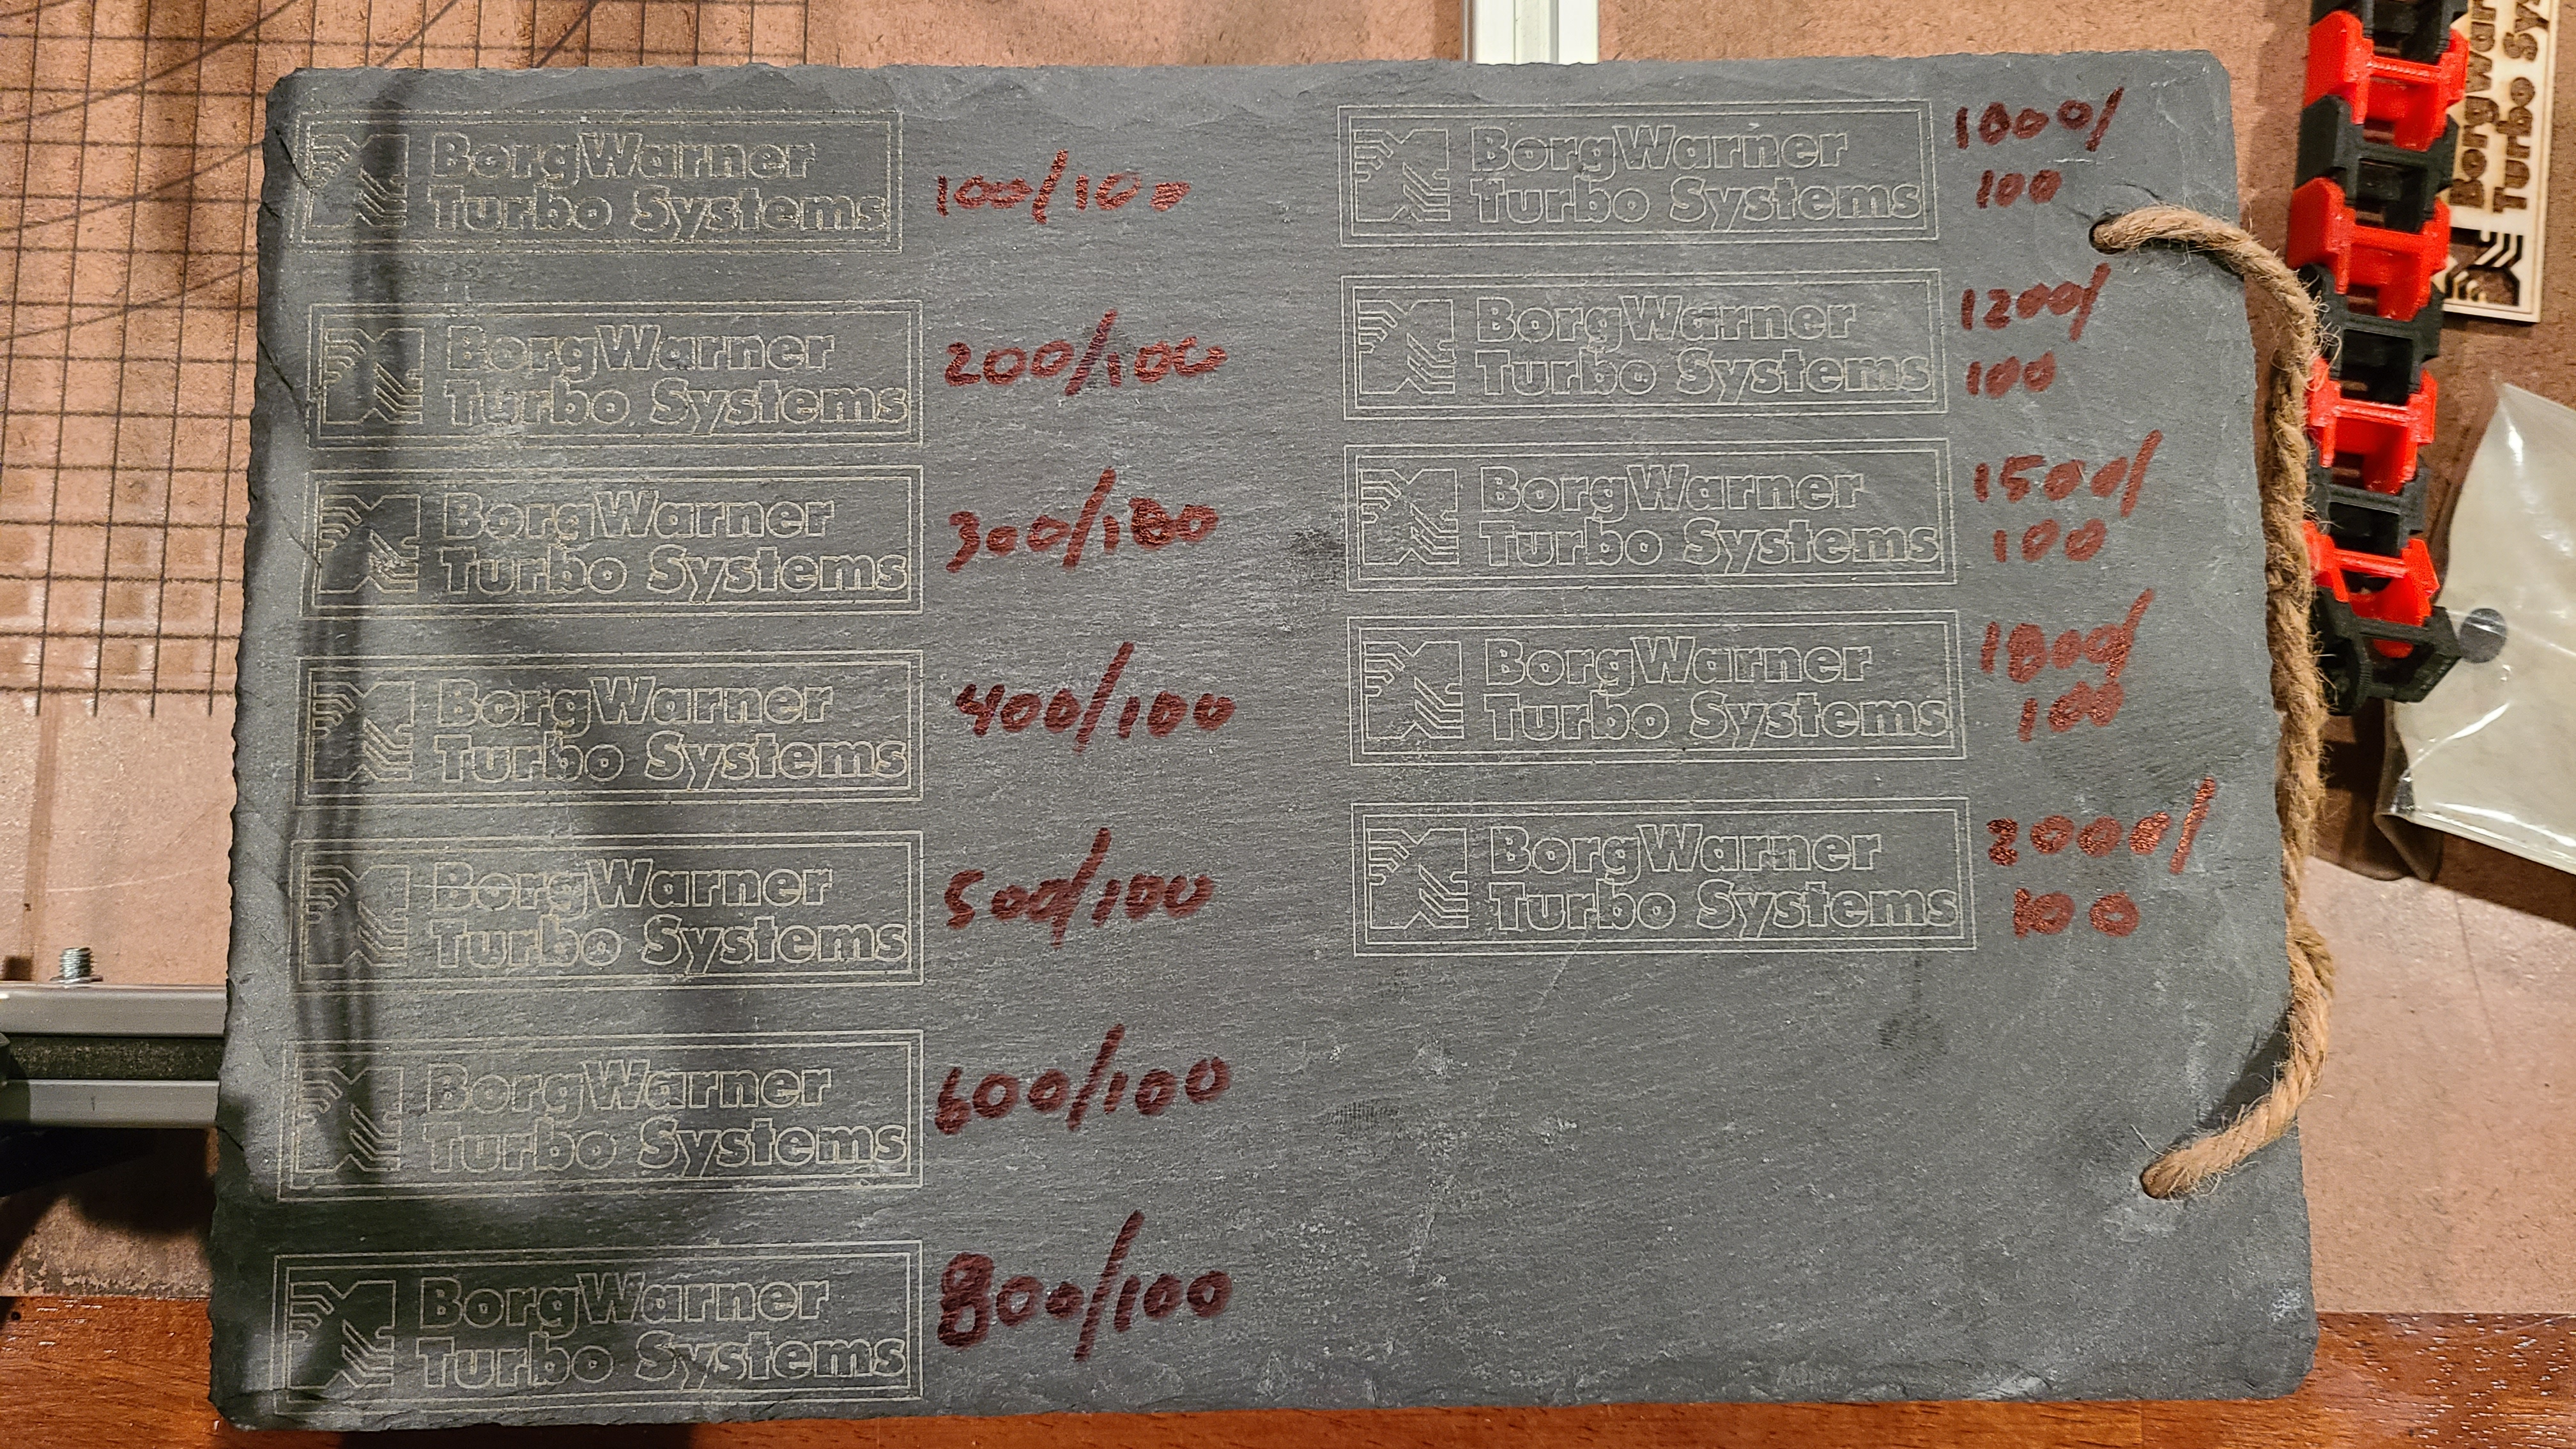
Looks like I have some more testing/changing to do to get really good cuts.
I went to cut an ornament and it didn’t go well. None of the cuts went all the way through and having to do 9 passes caused a lot of burning along the edges.
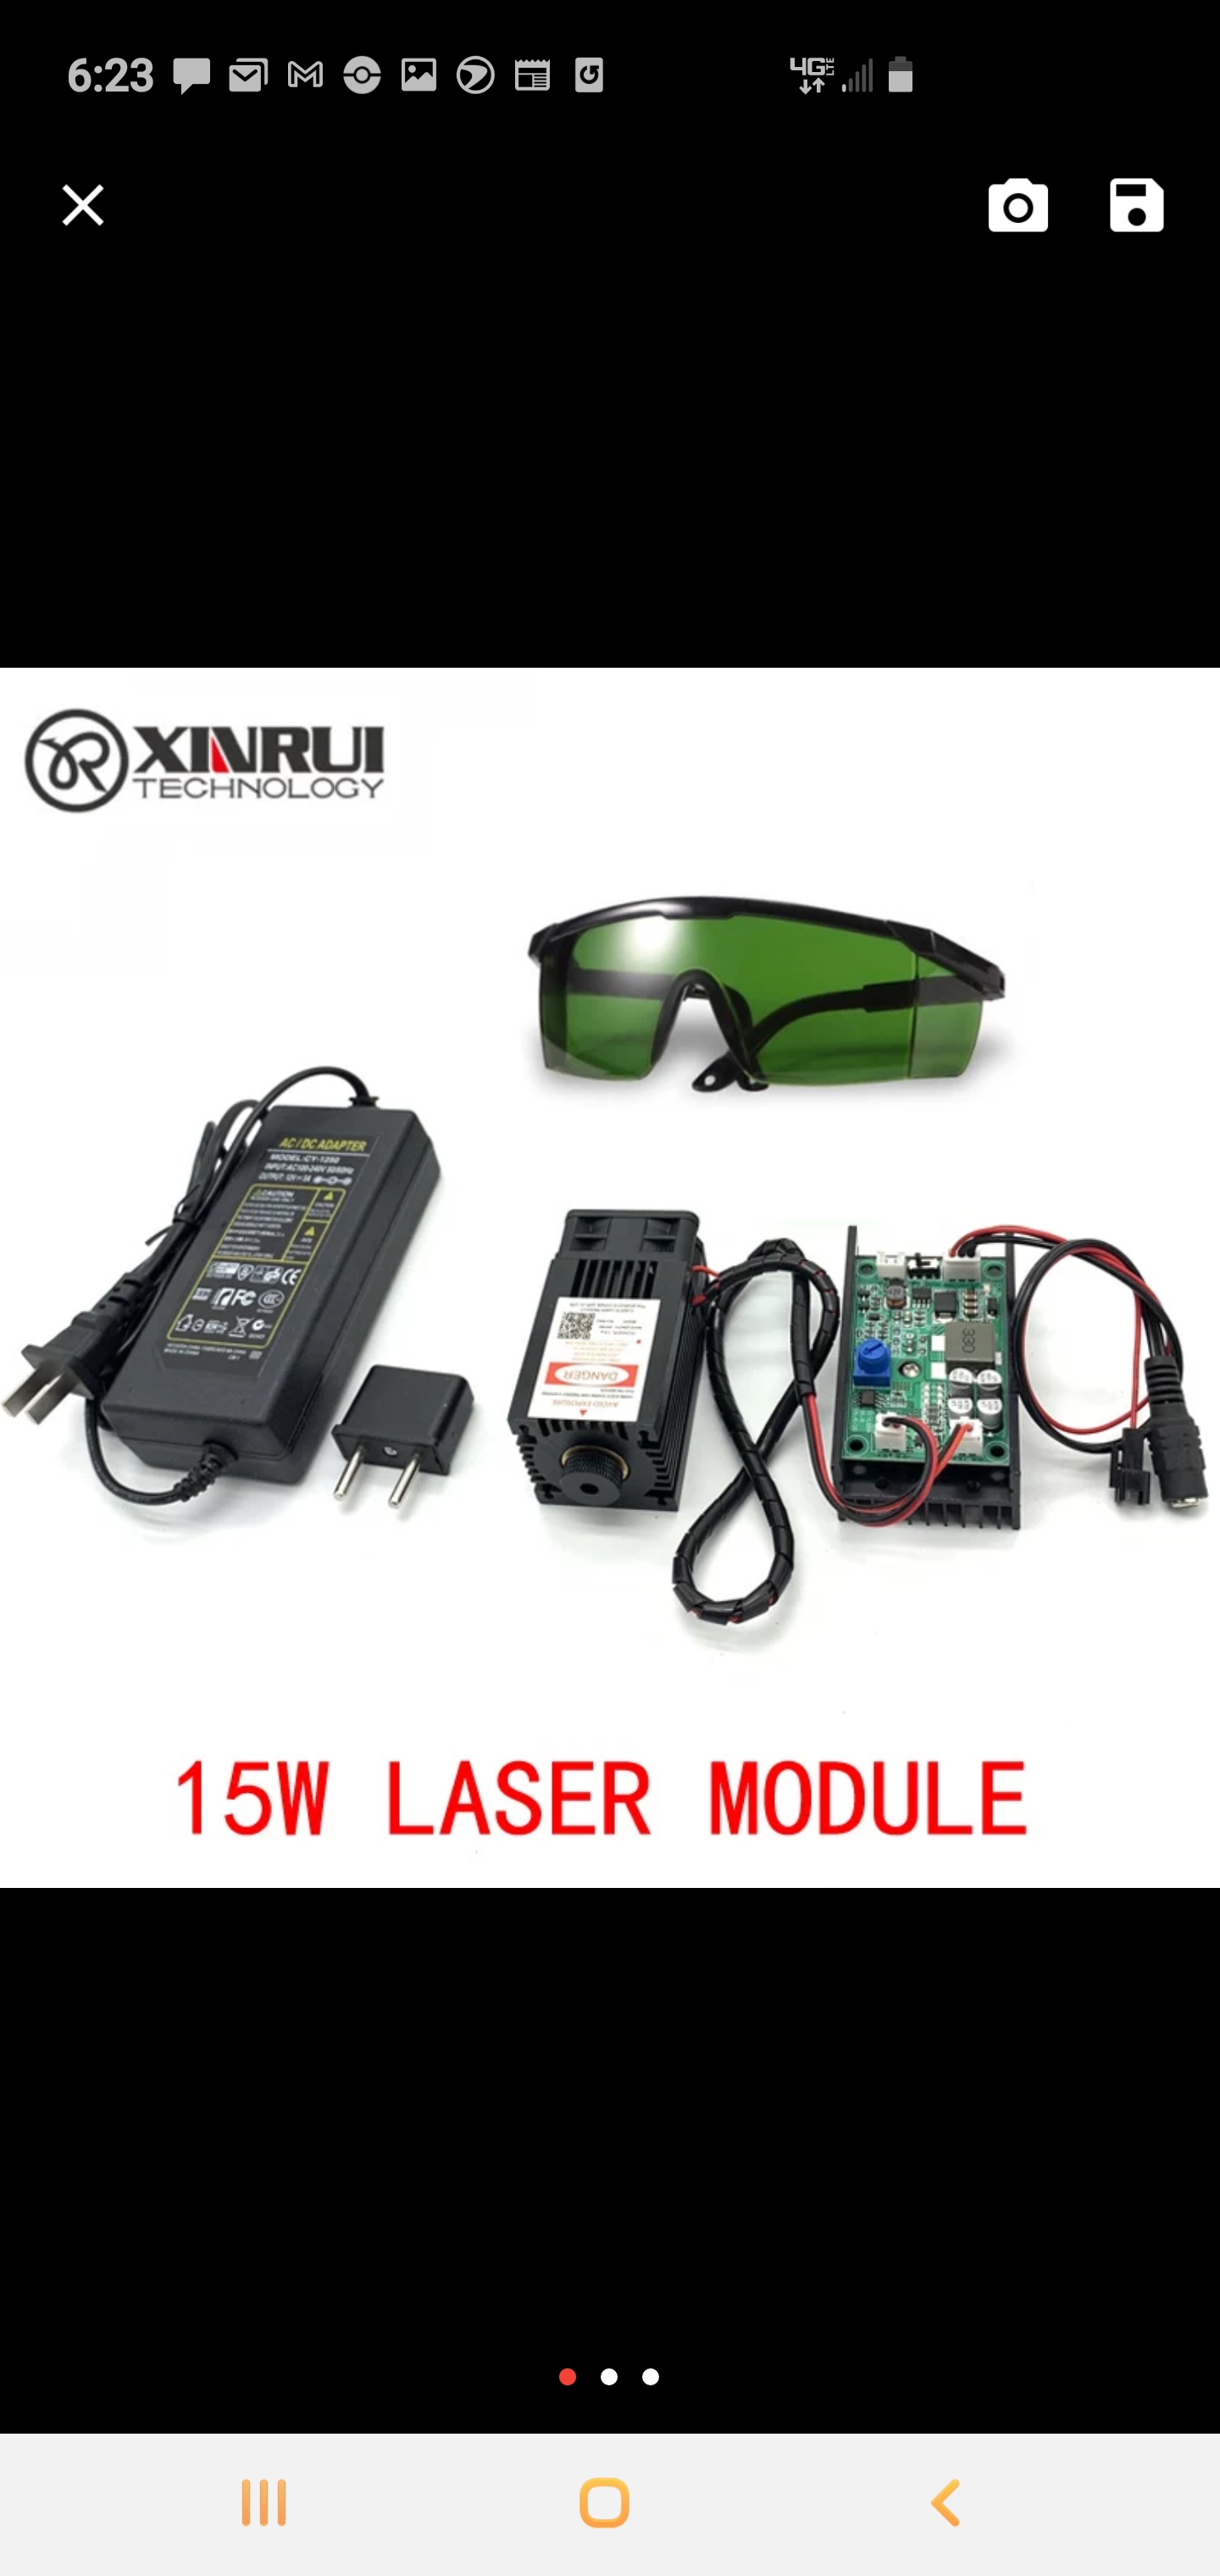
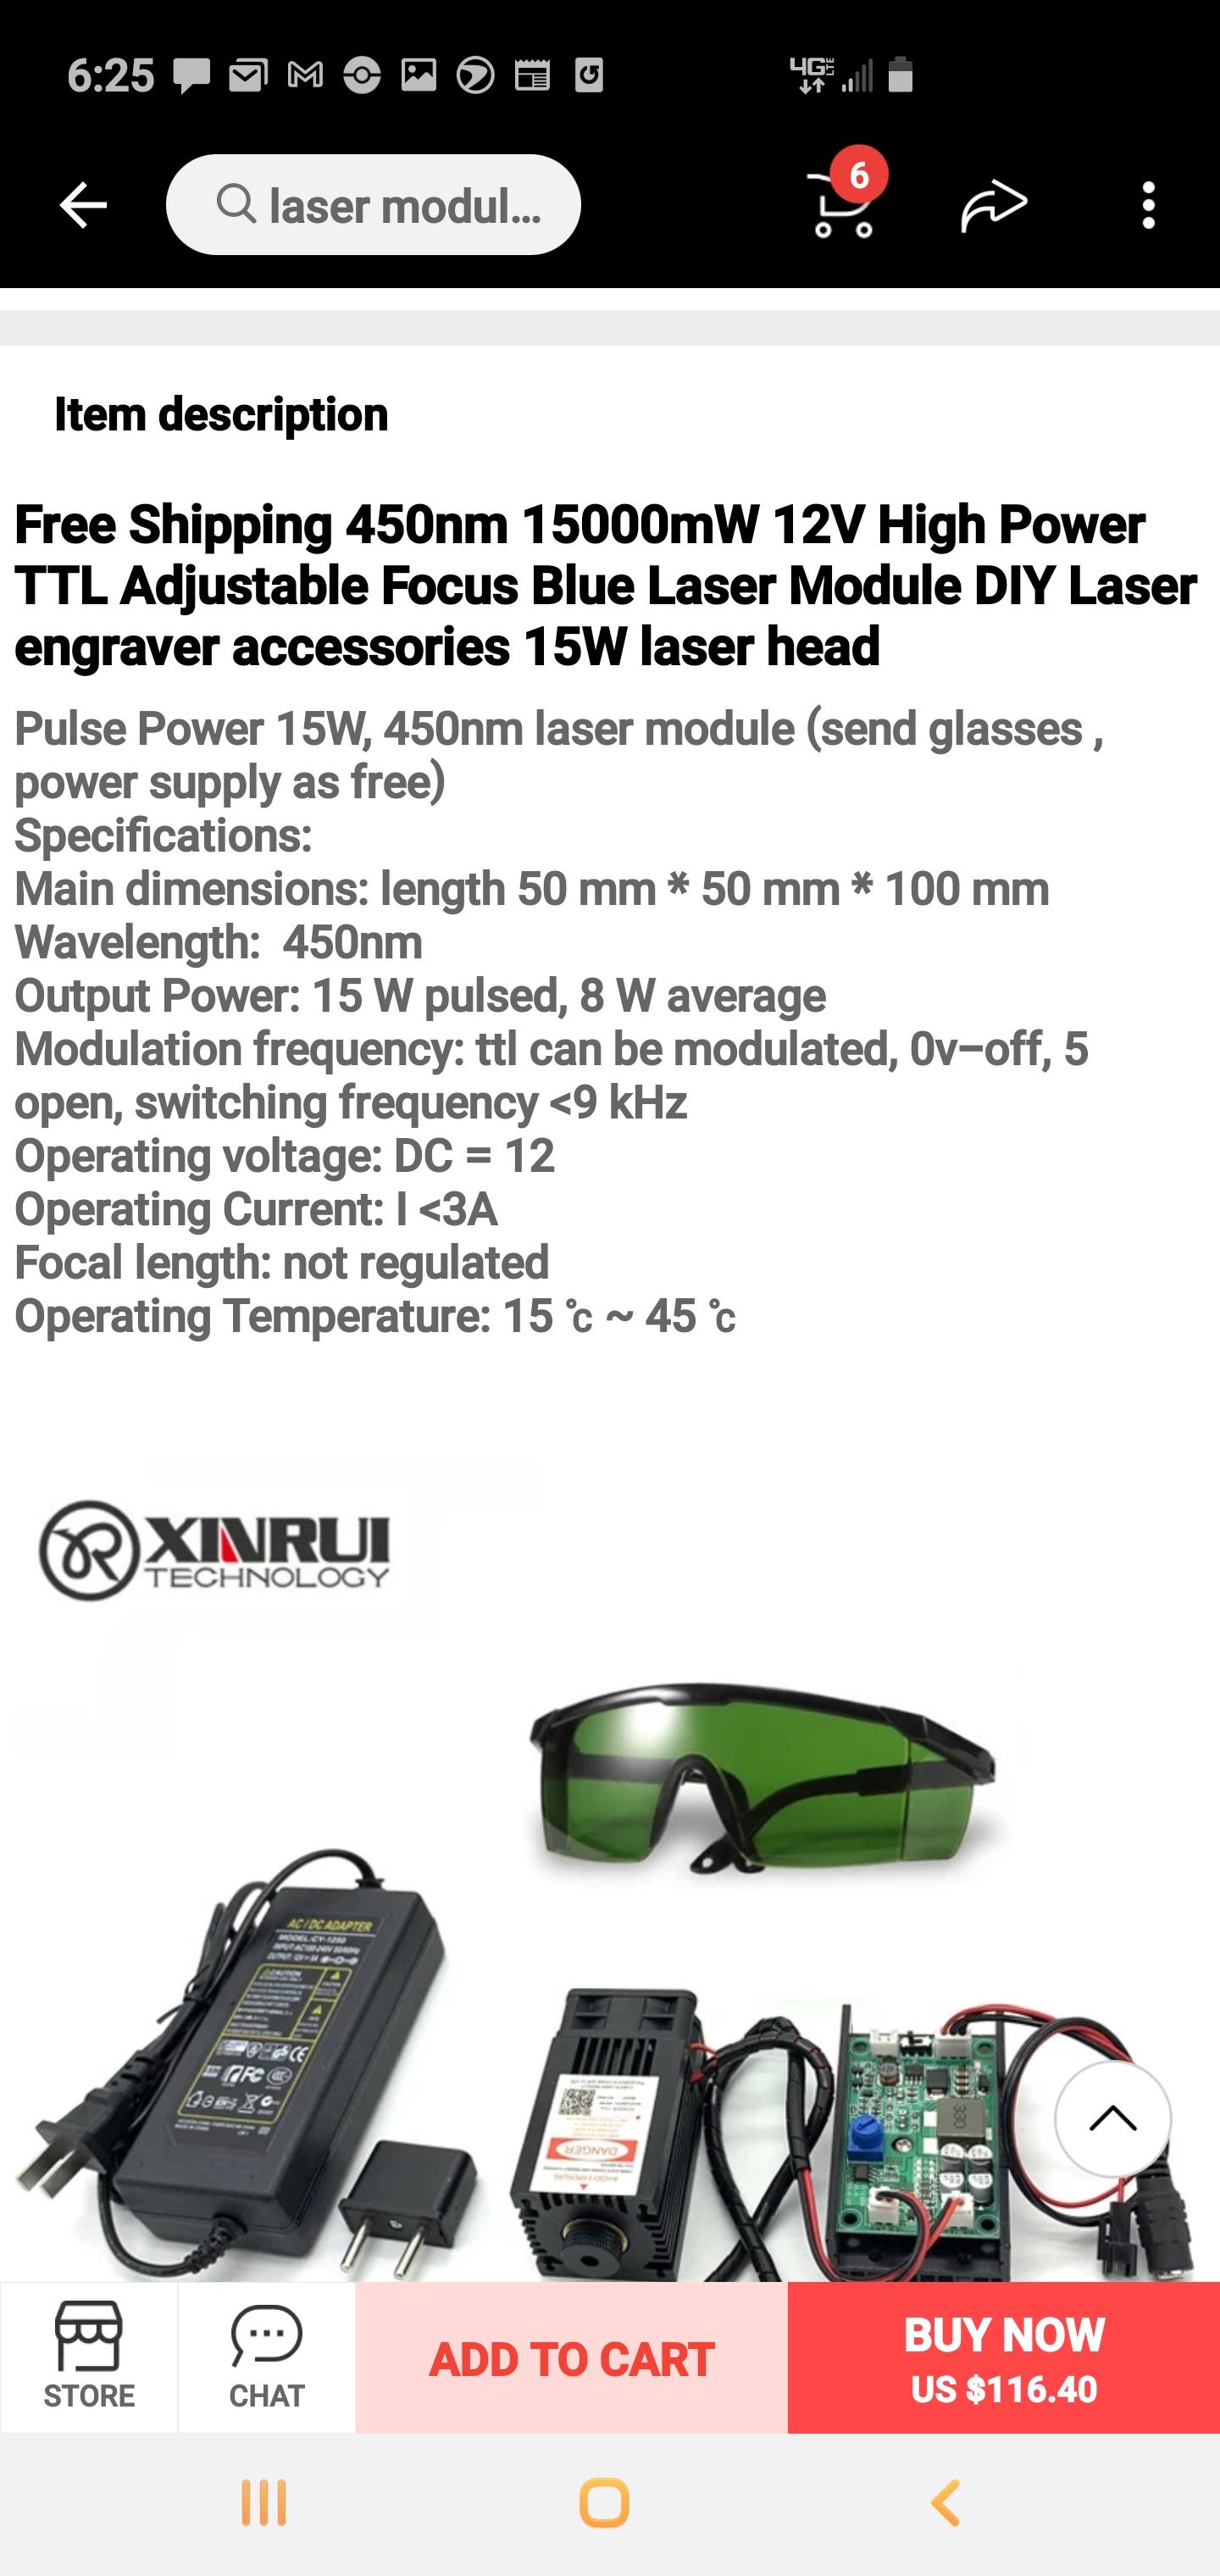
I took this as a sign that it is time to upgrade the laser on the machine. I’ve never been really happy with the 3.3w unit. I know a diode laser will never be as fast as a co2, but I always wanted it to etch just a little faster. We’ll see how it does with a more powerful unit.
I should probably make my own thread at this point.
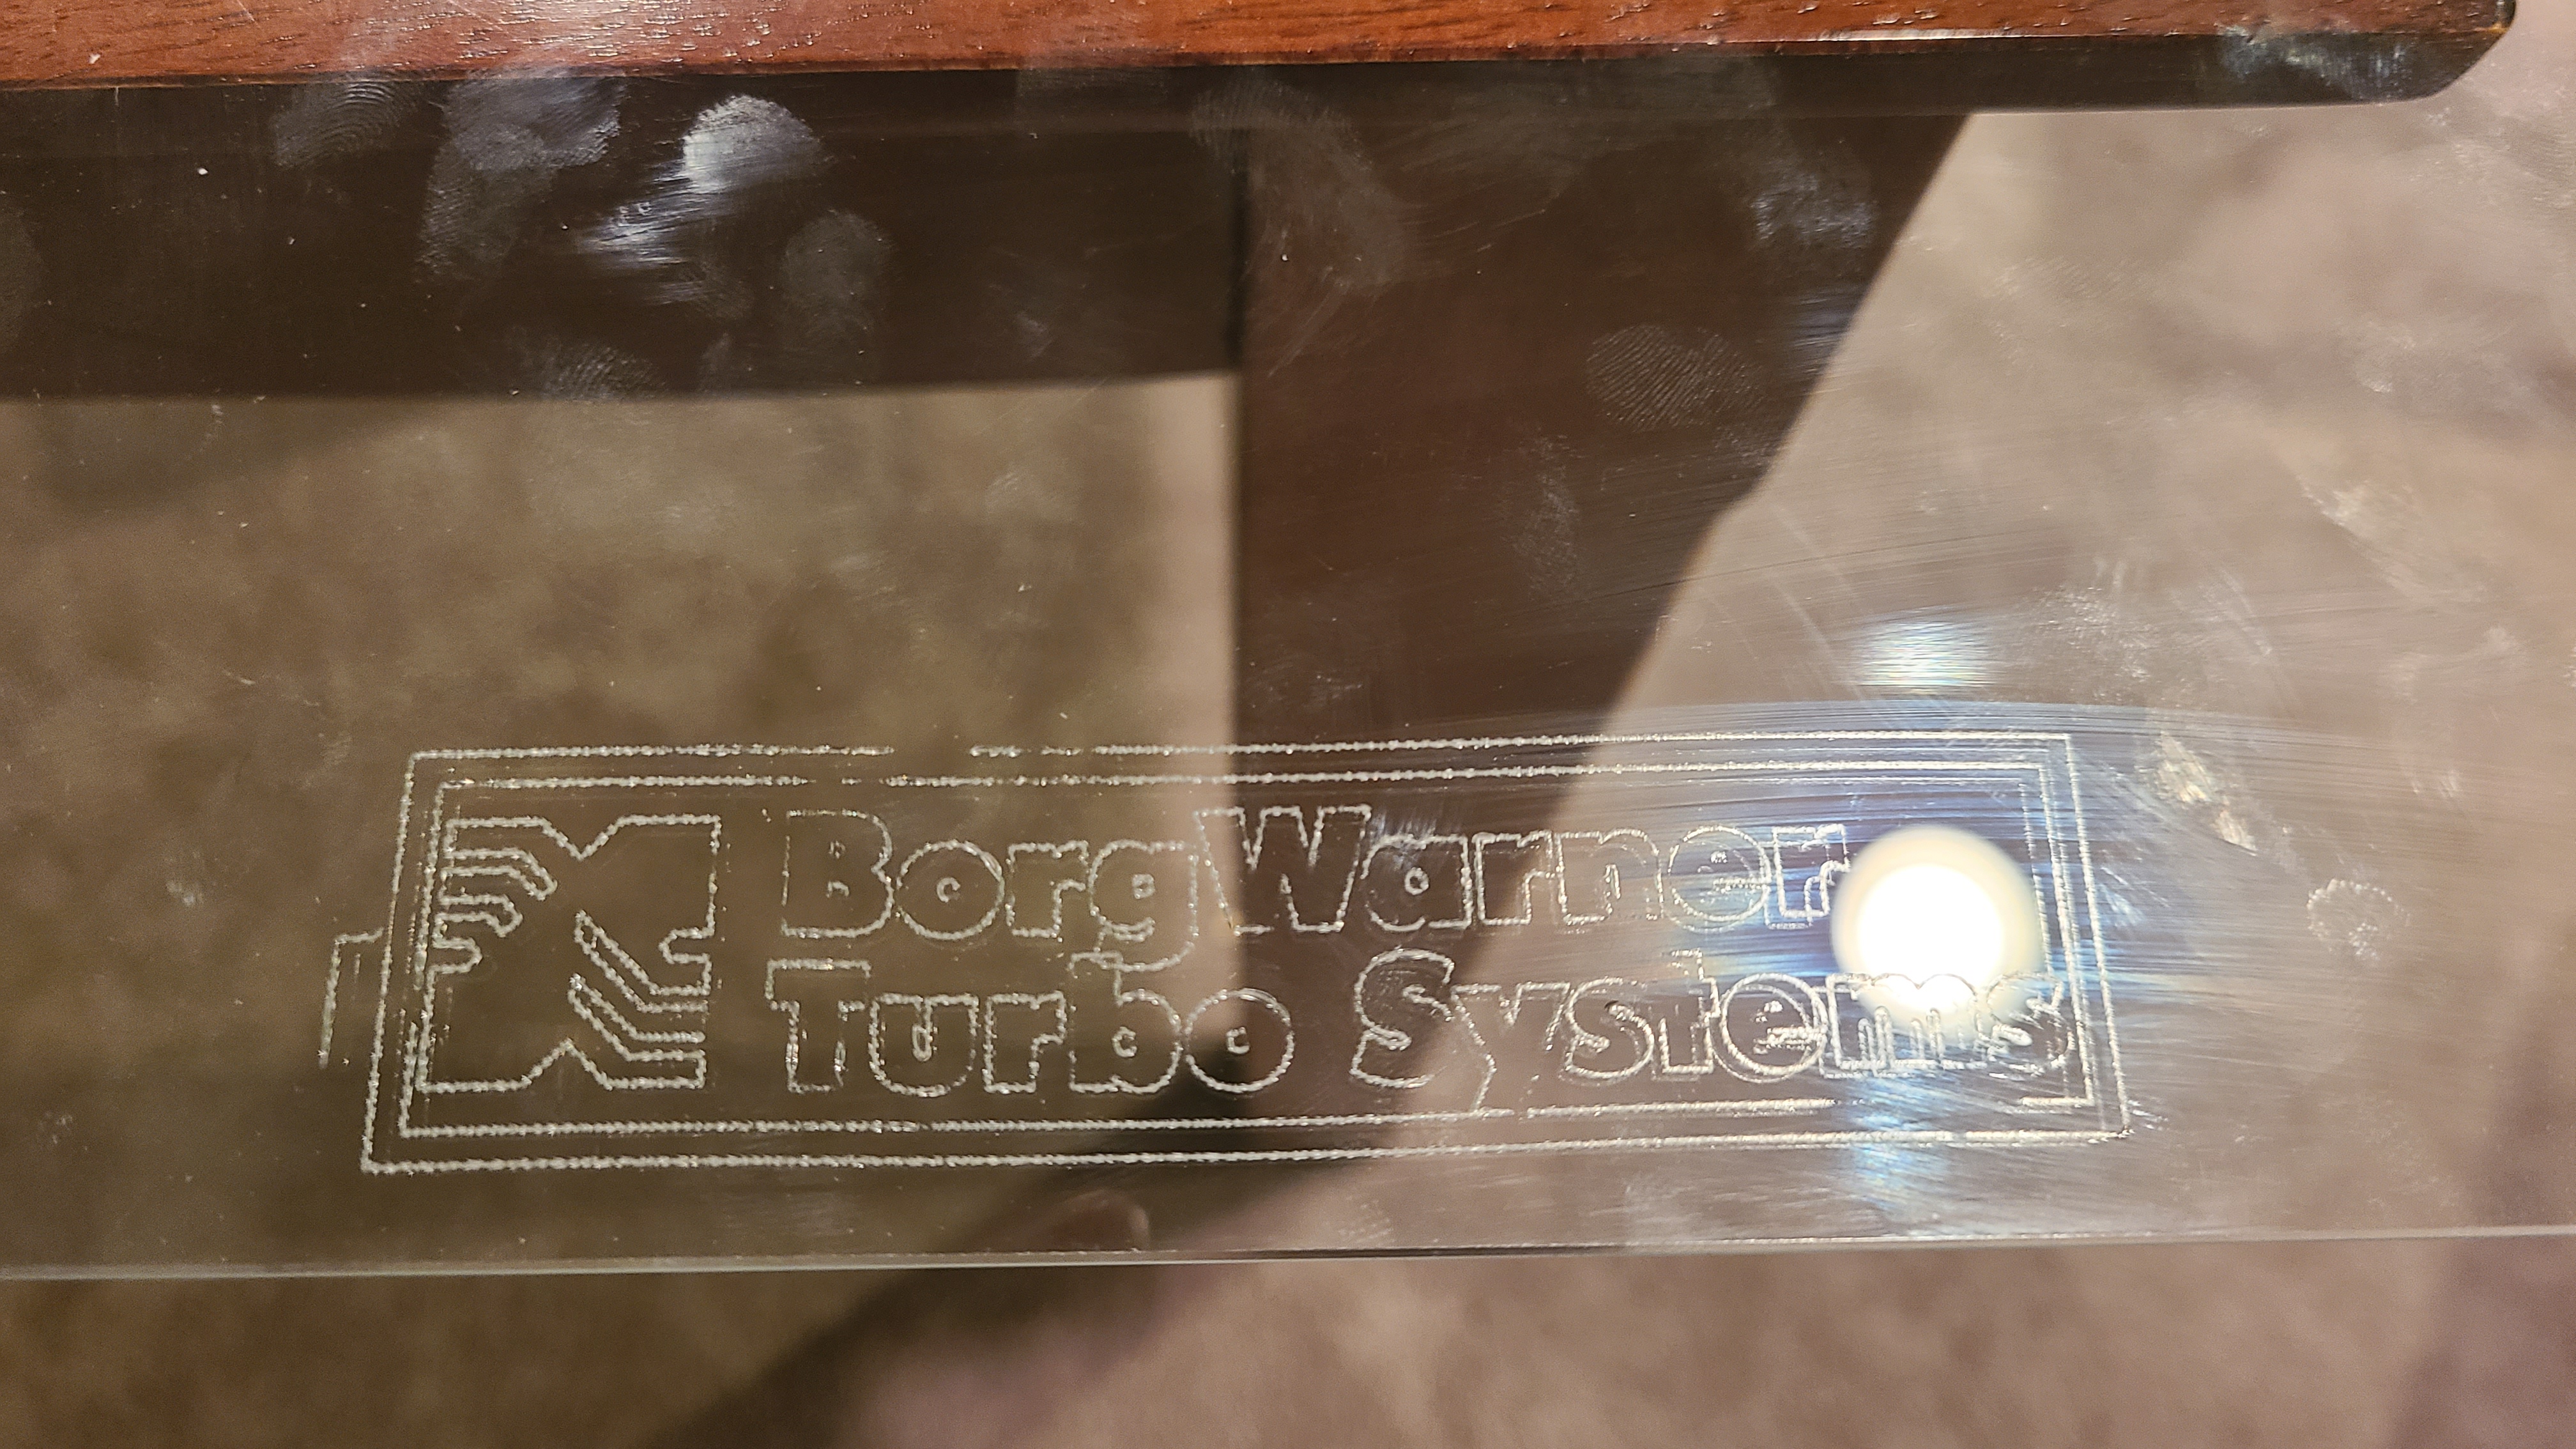
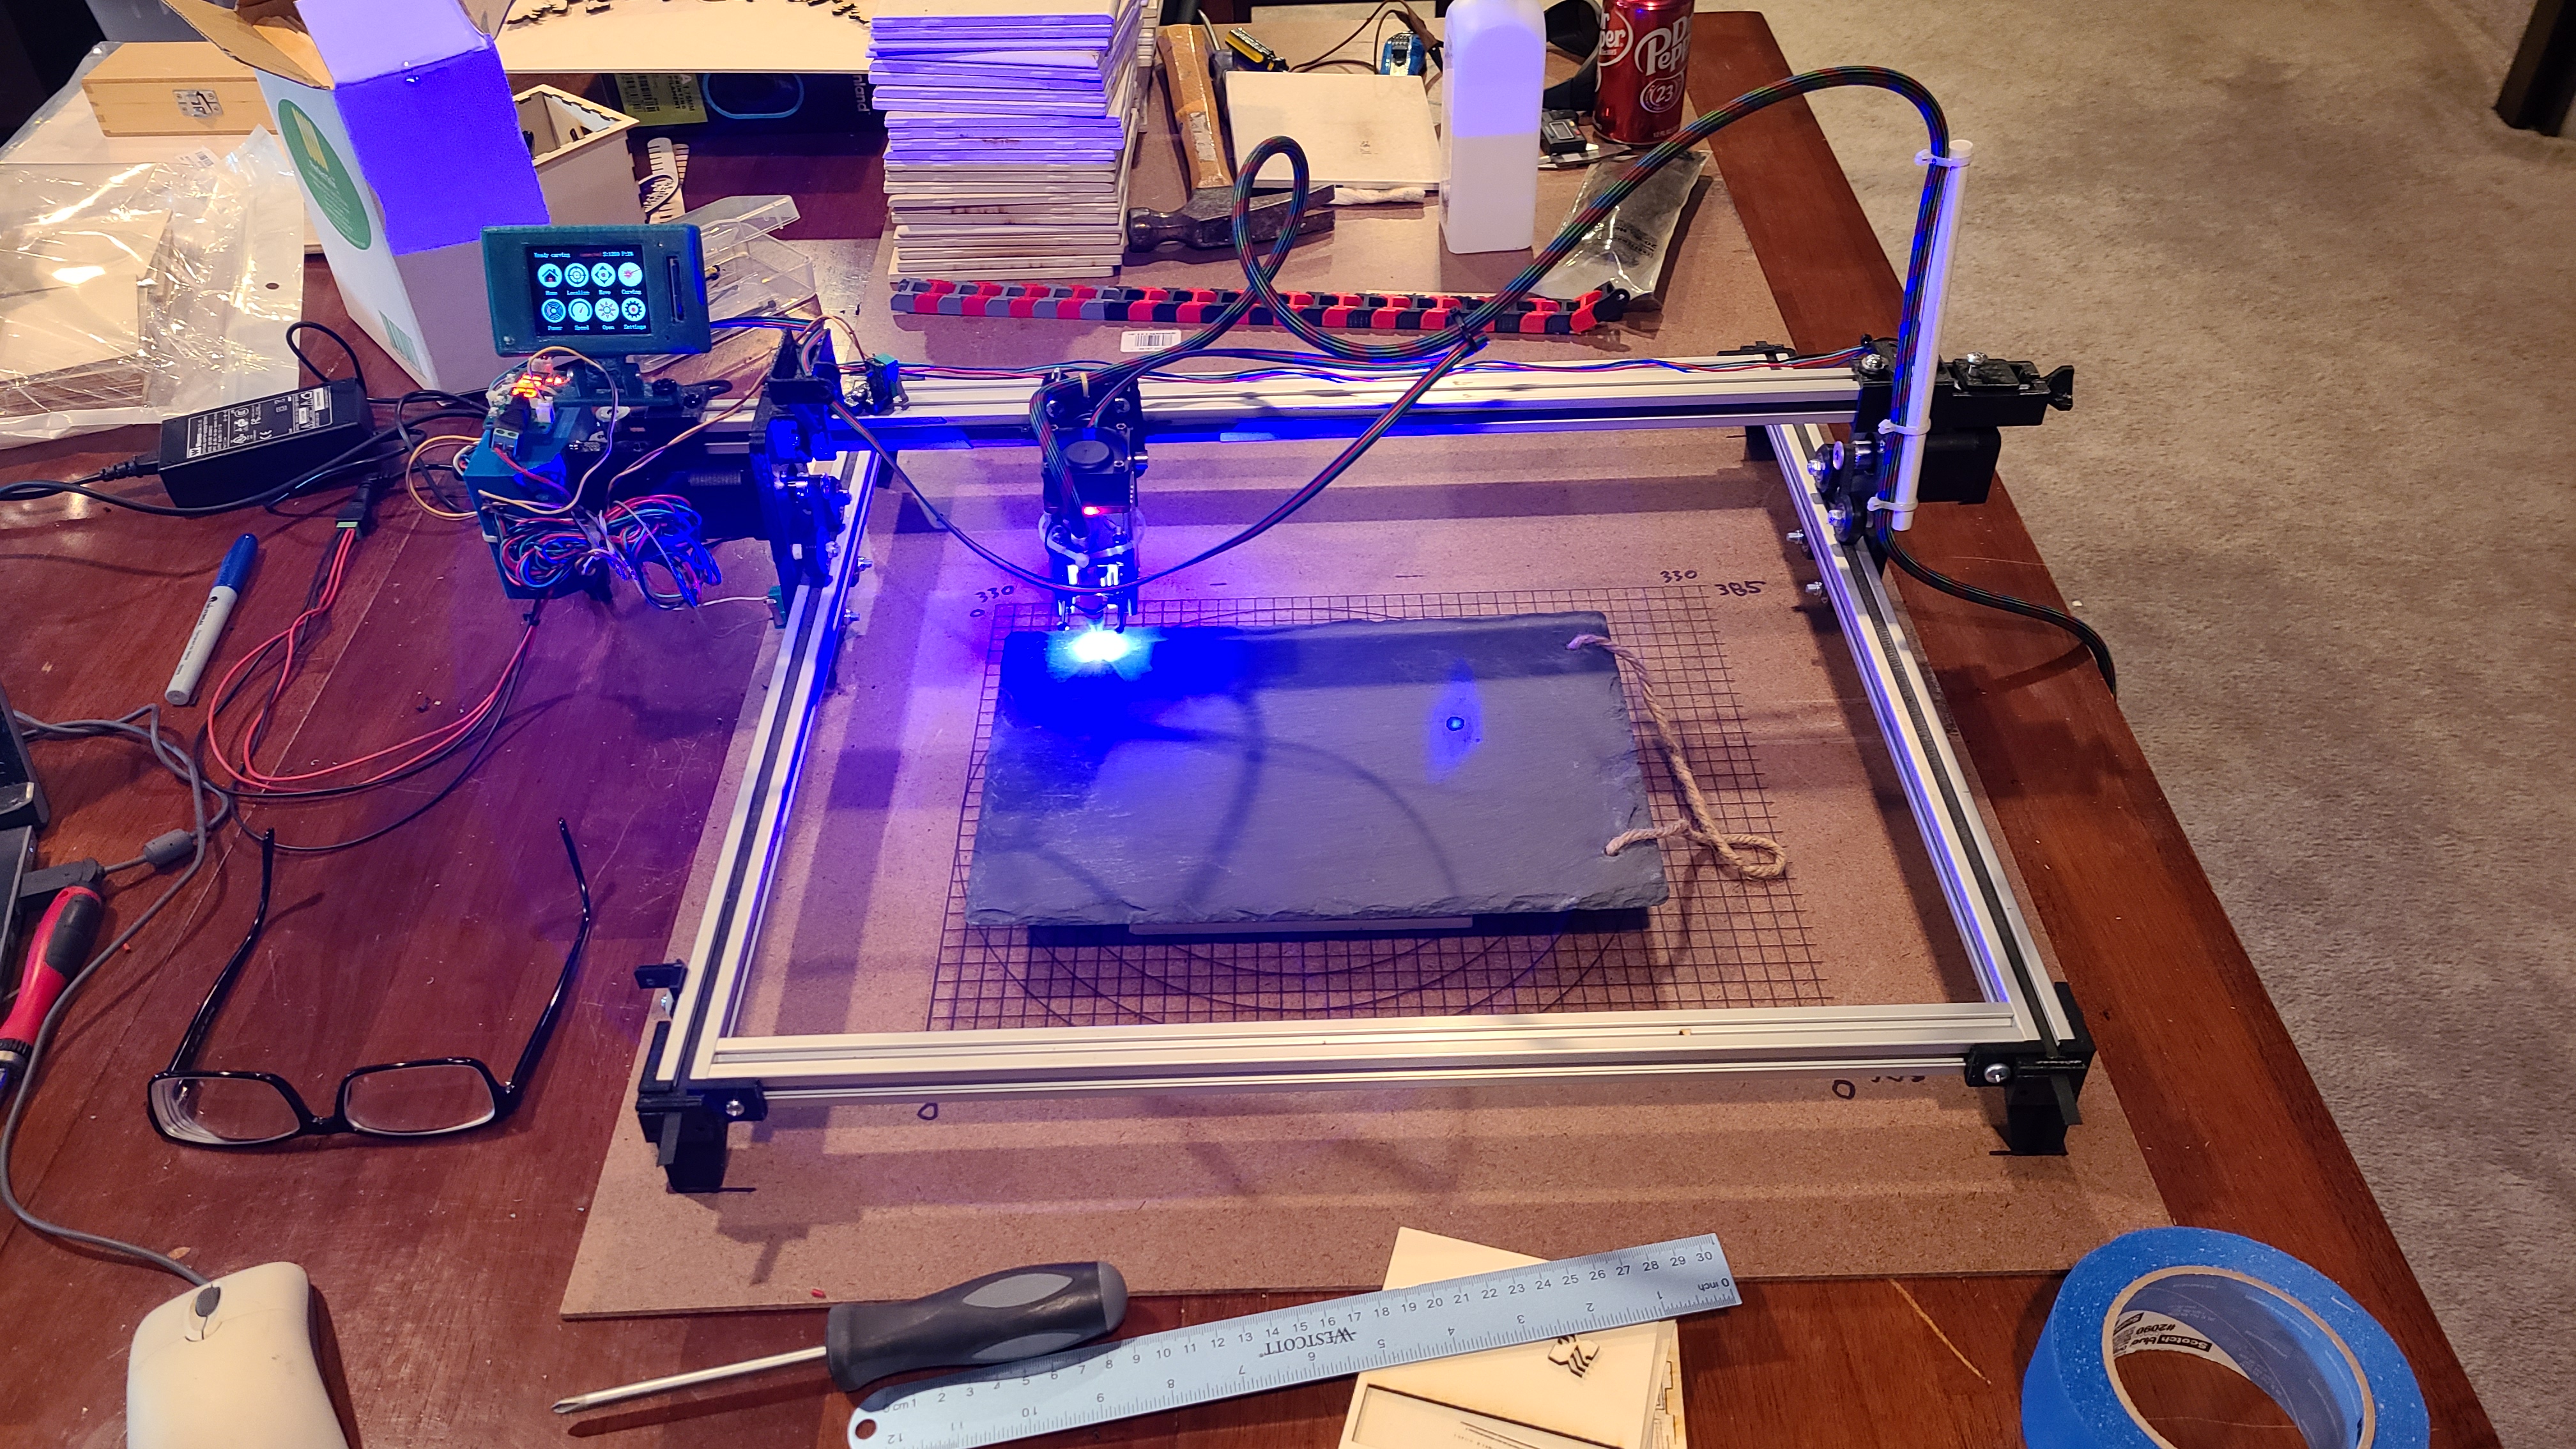
Glass is from a flat bed scanner I harvested for parts. 100mm/min, 100% on the frickin’ laser beam, single pass. Did make crackling noises as it burned. I didn’t know if it would shatter or not. Guess not.
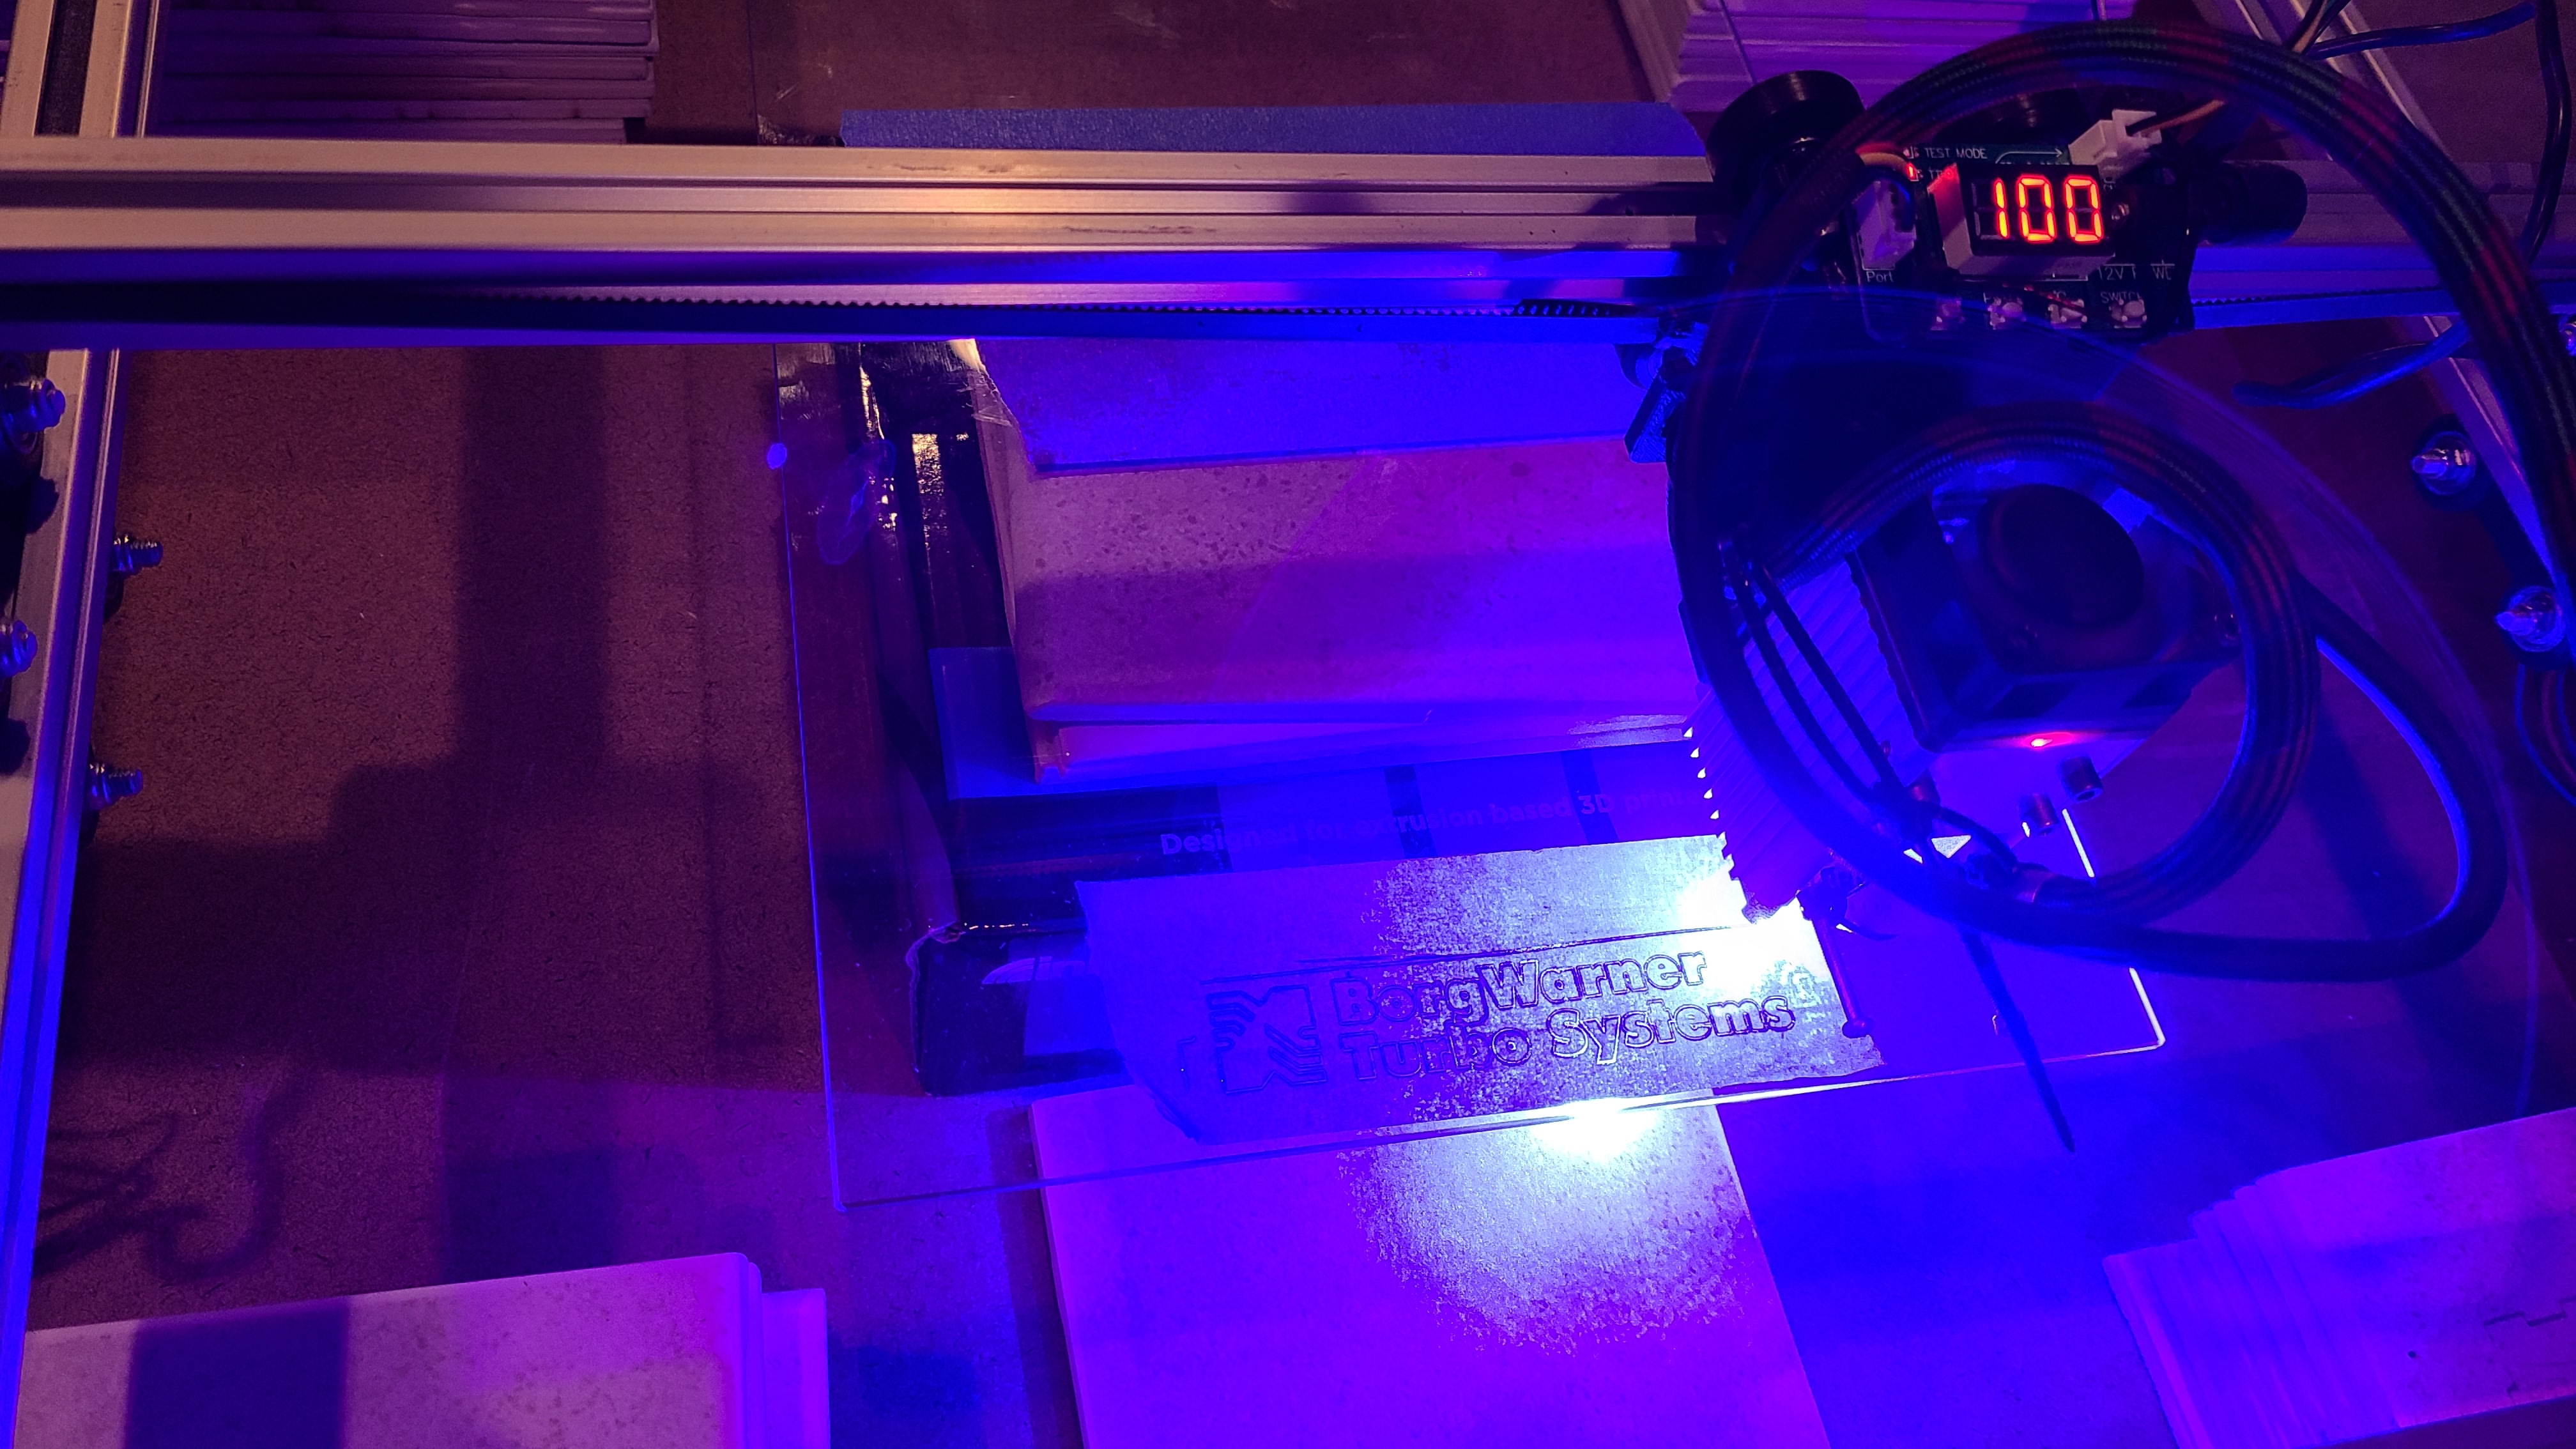
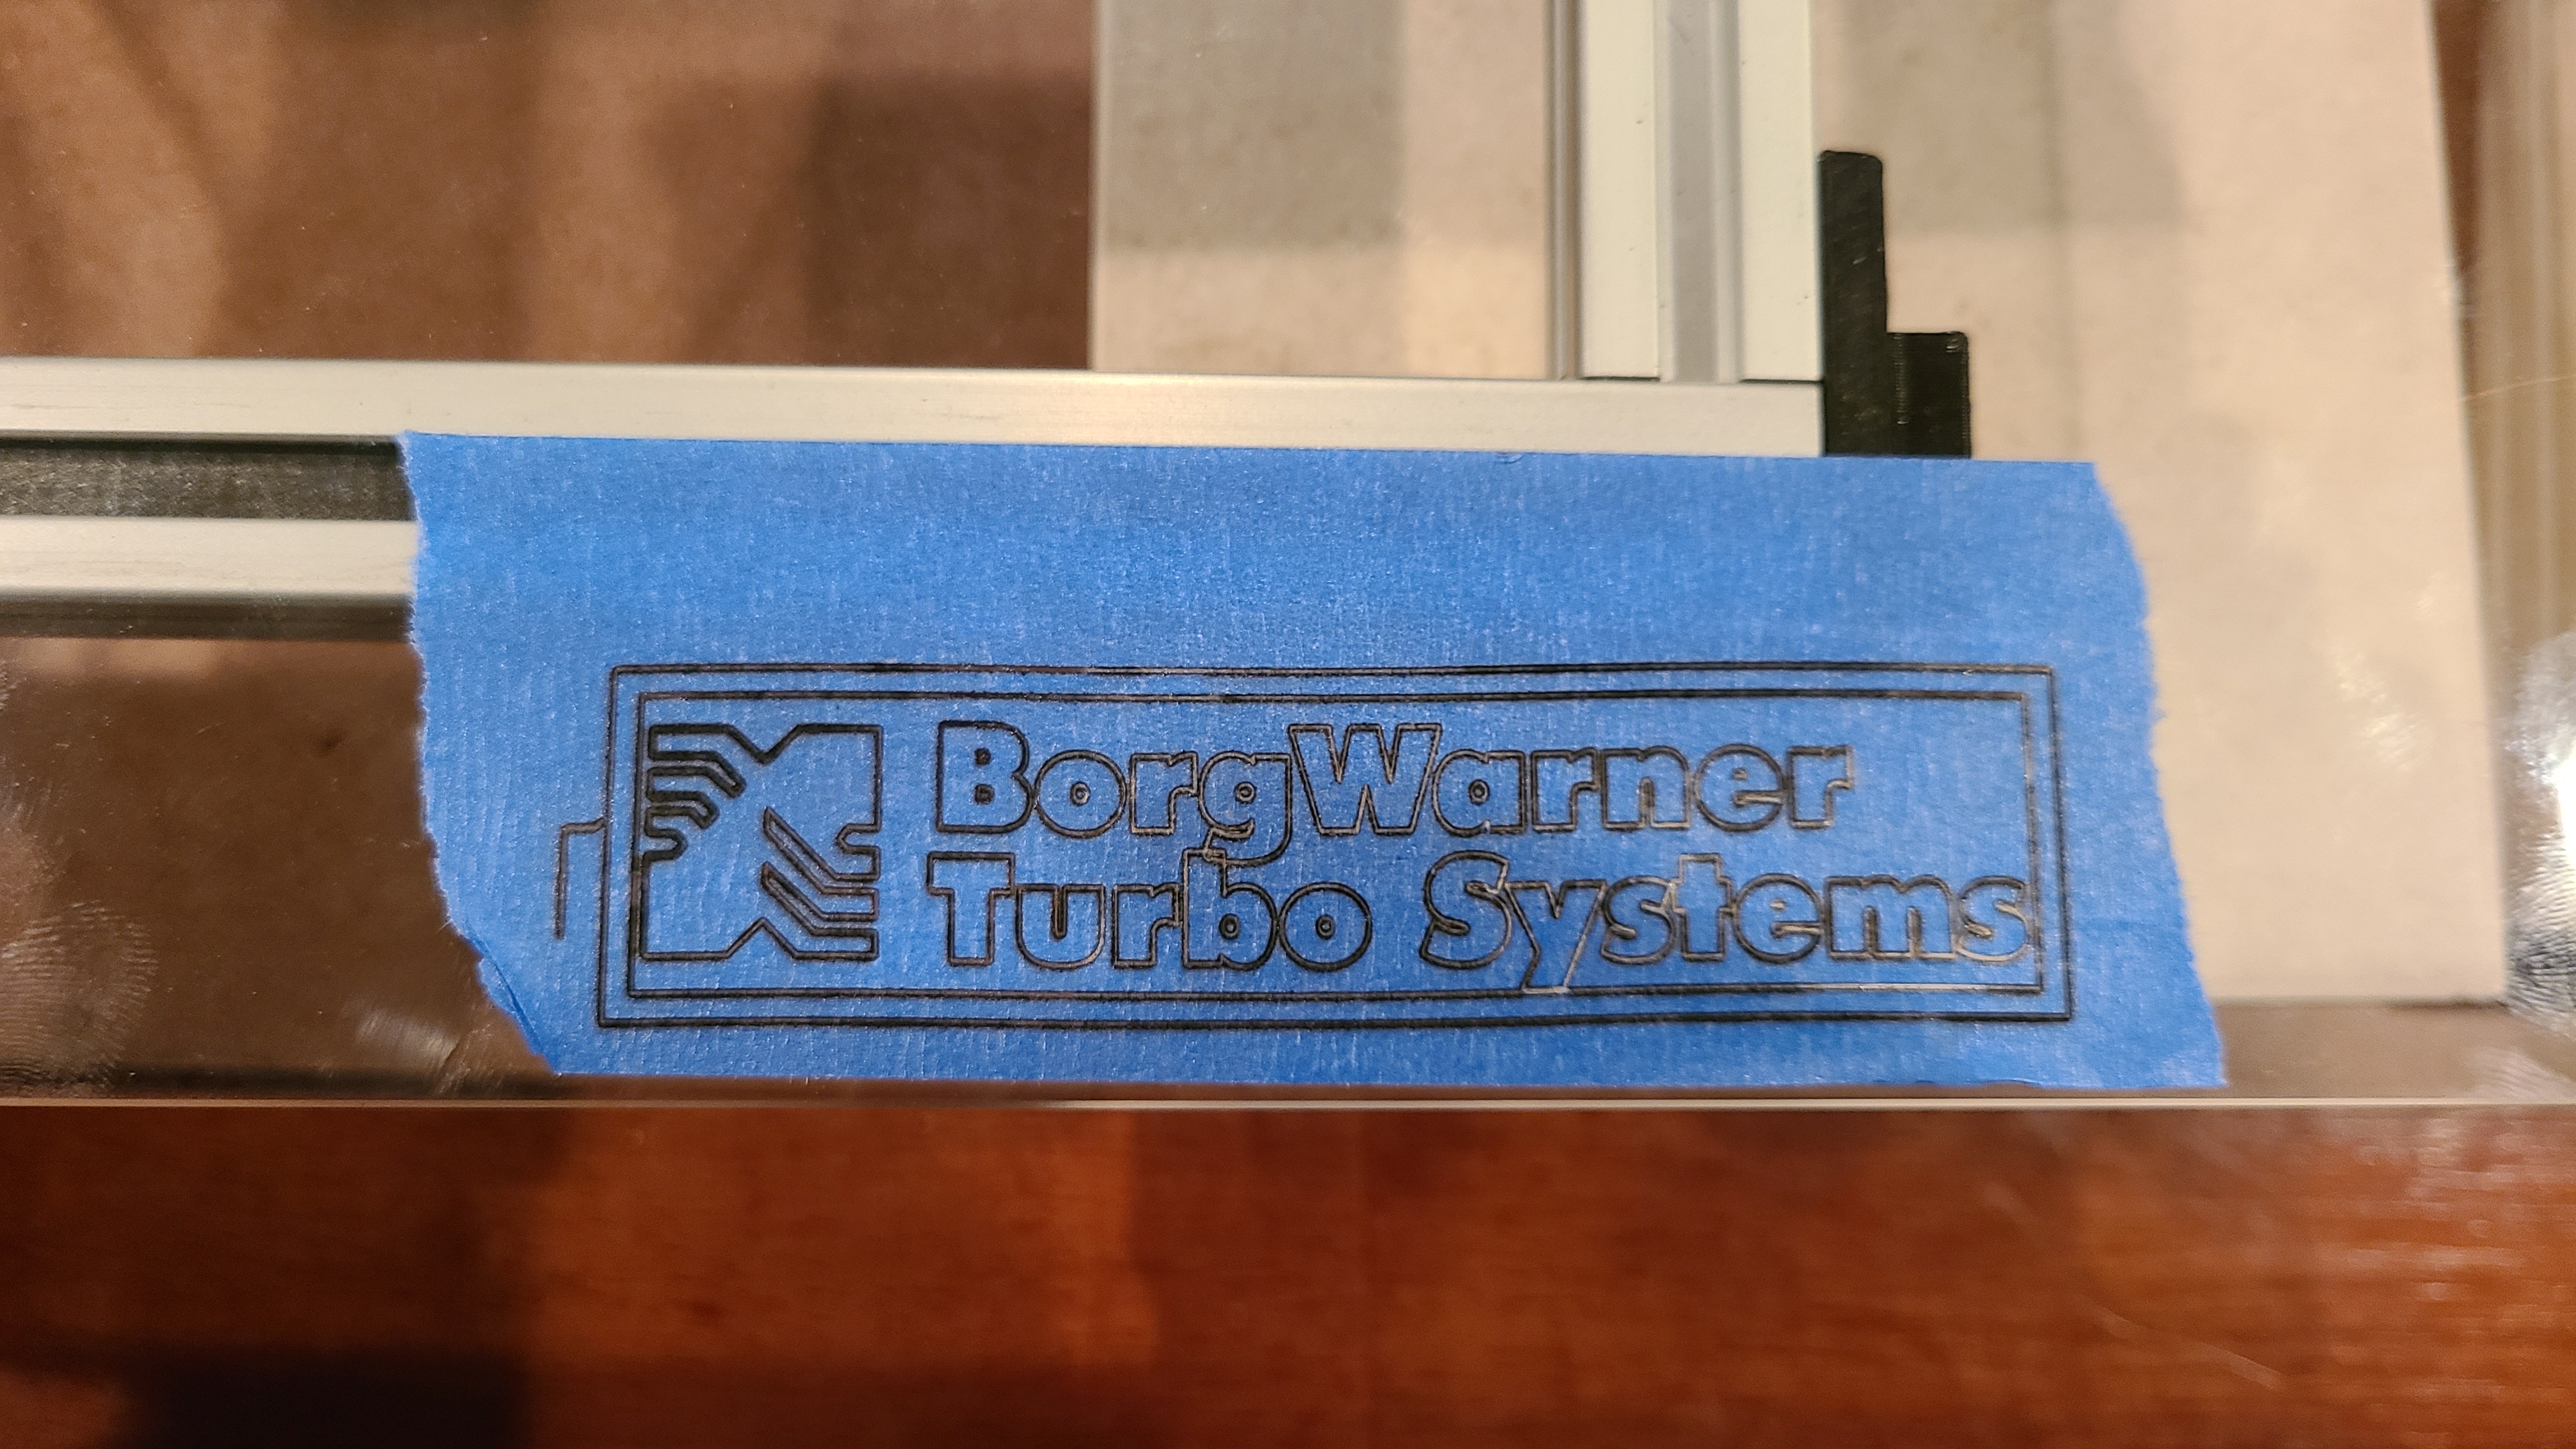
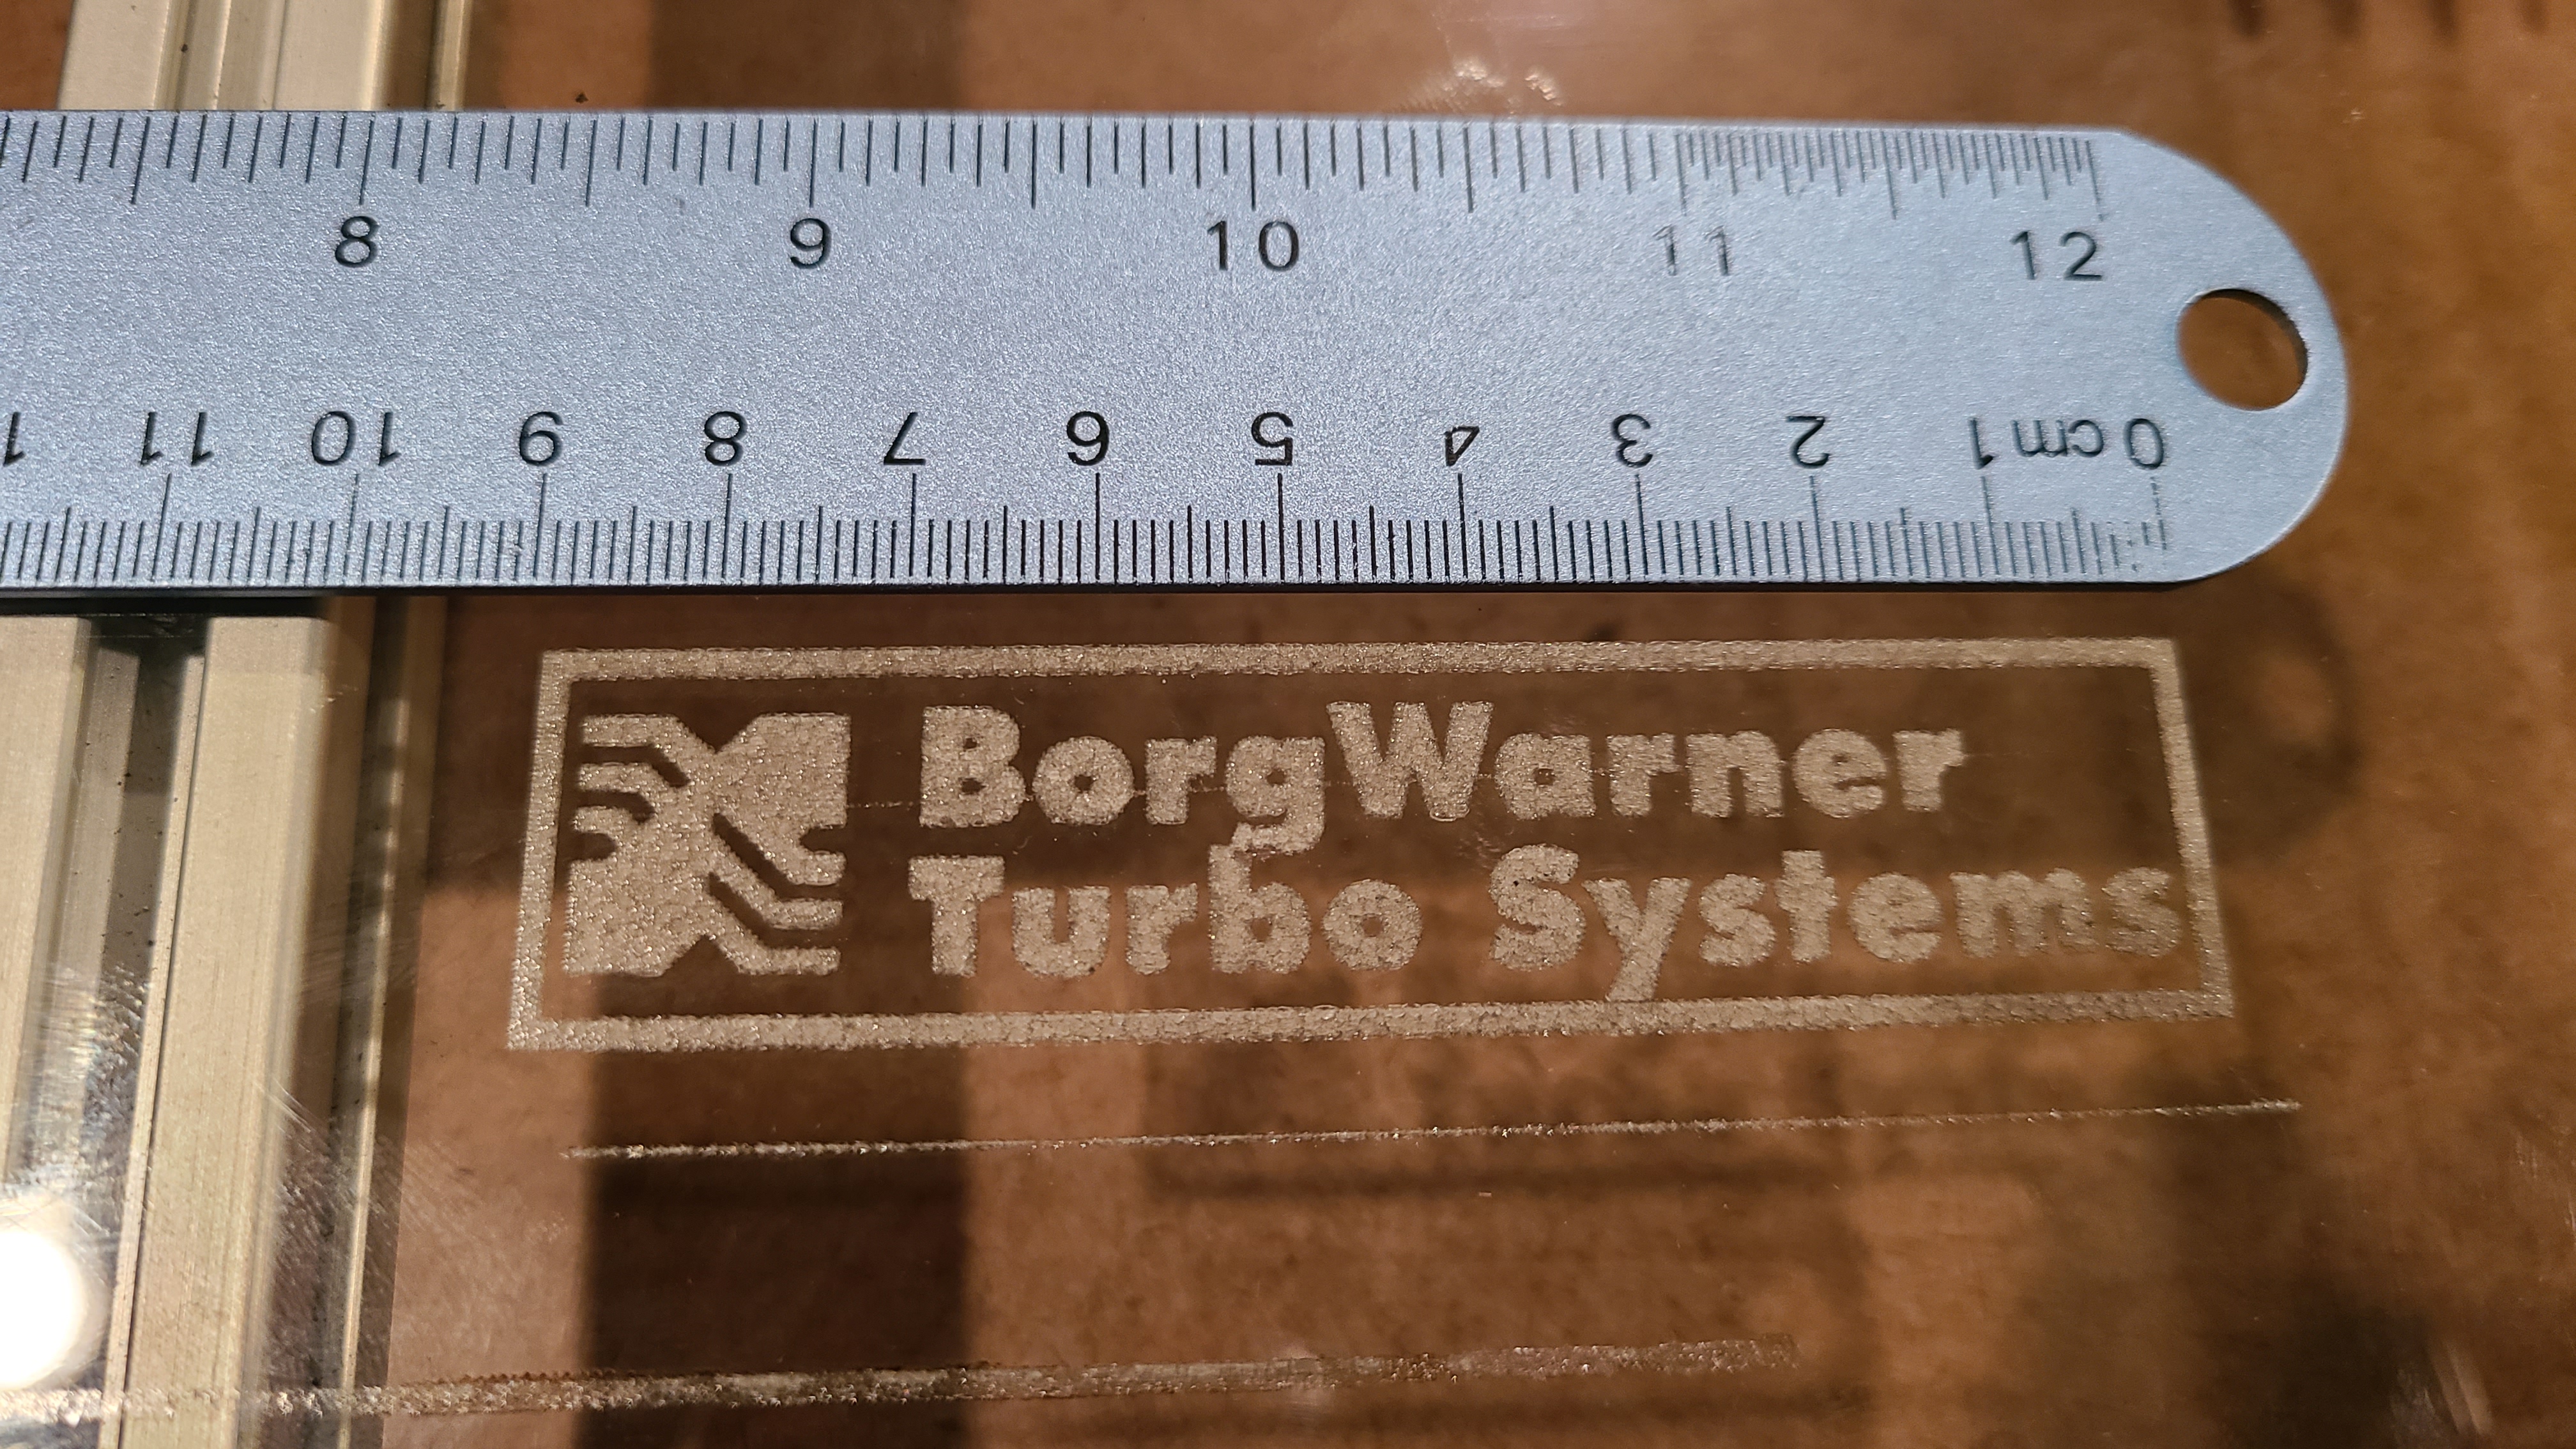
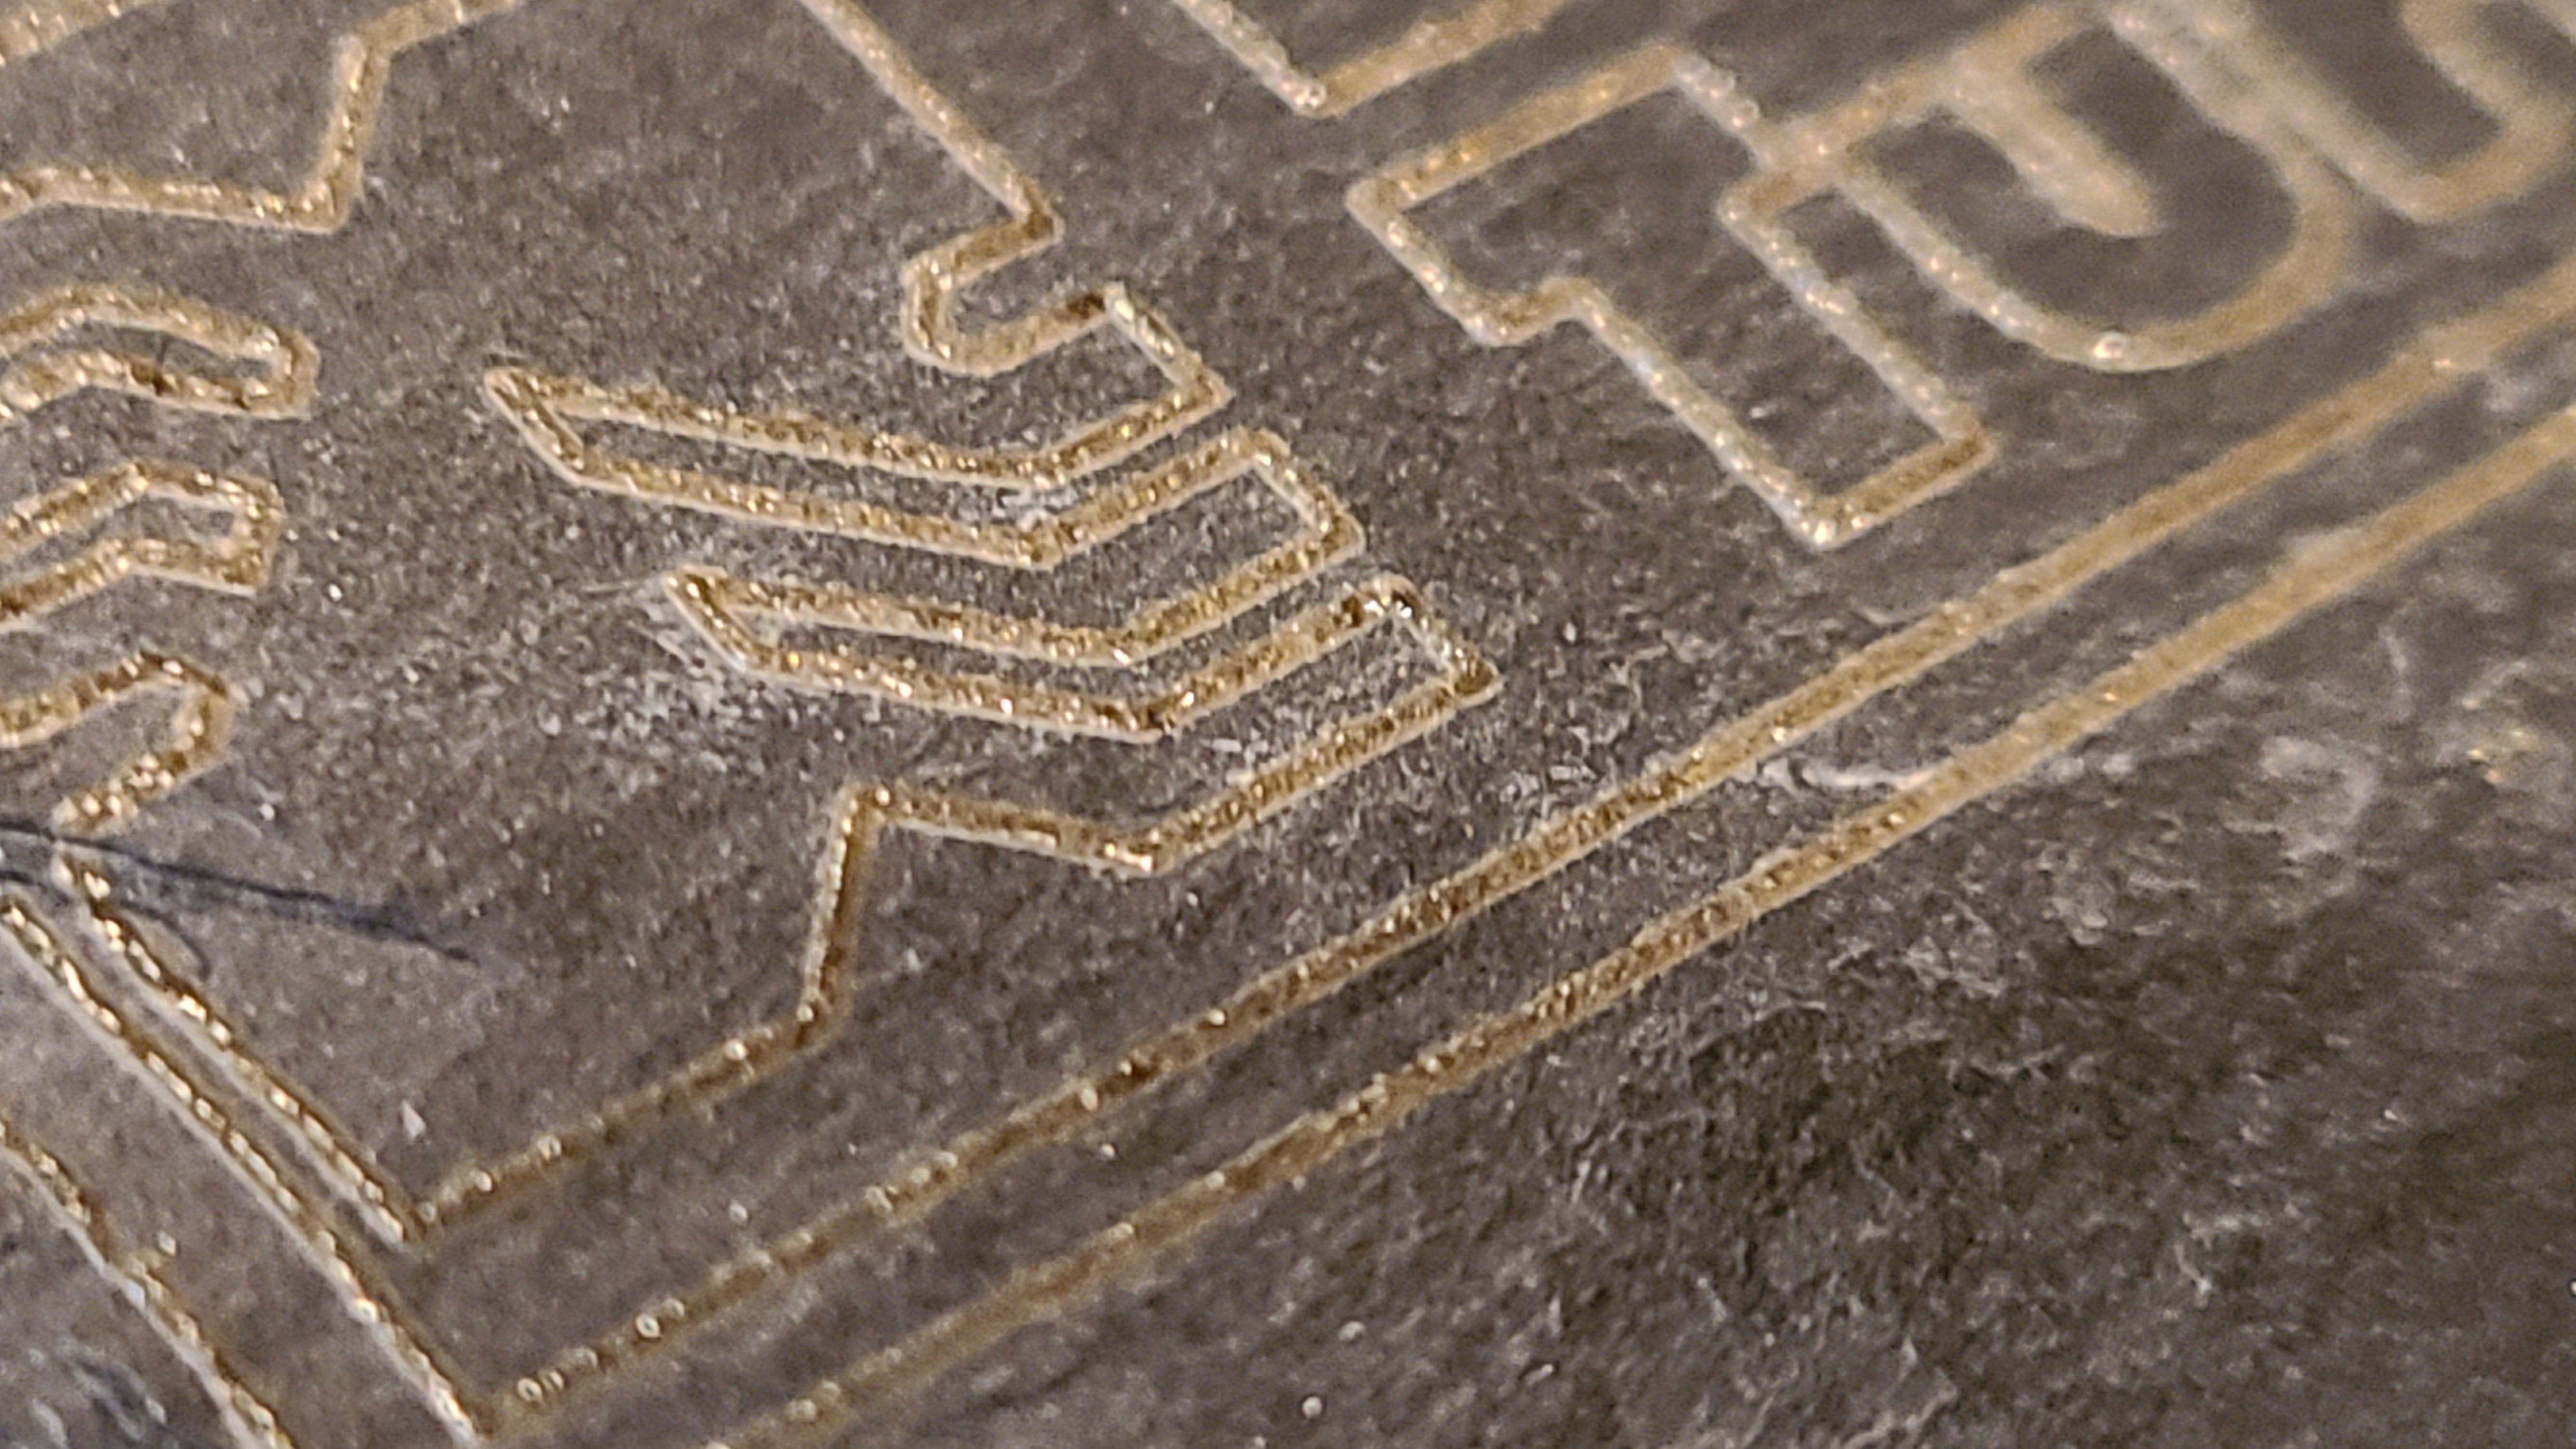
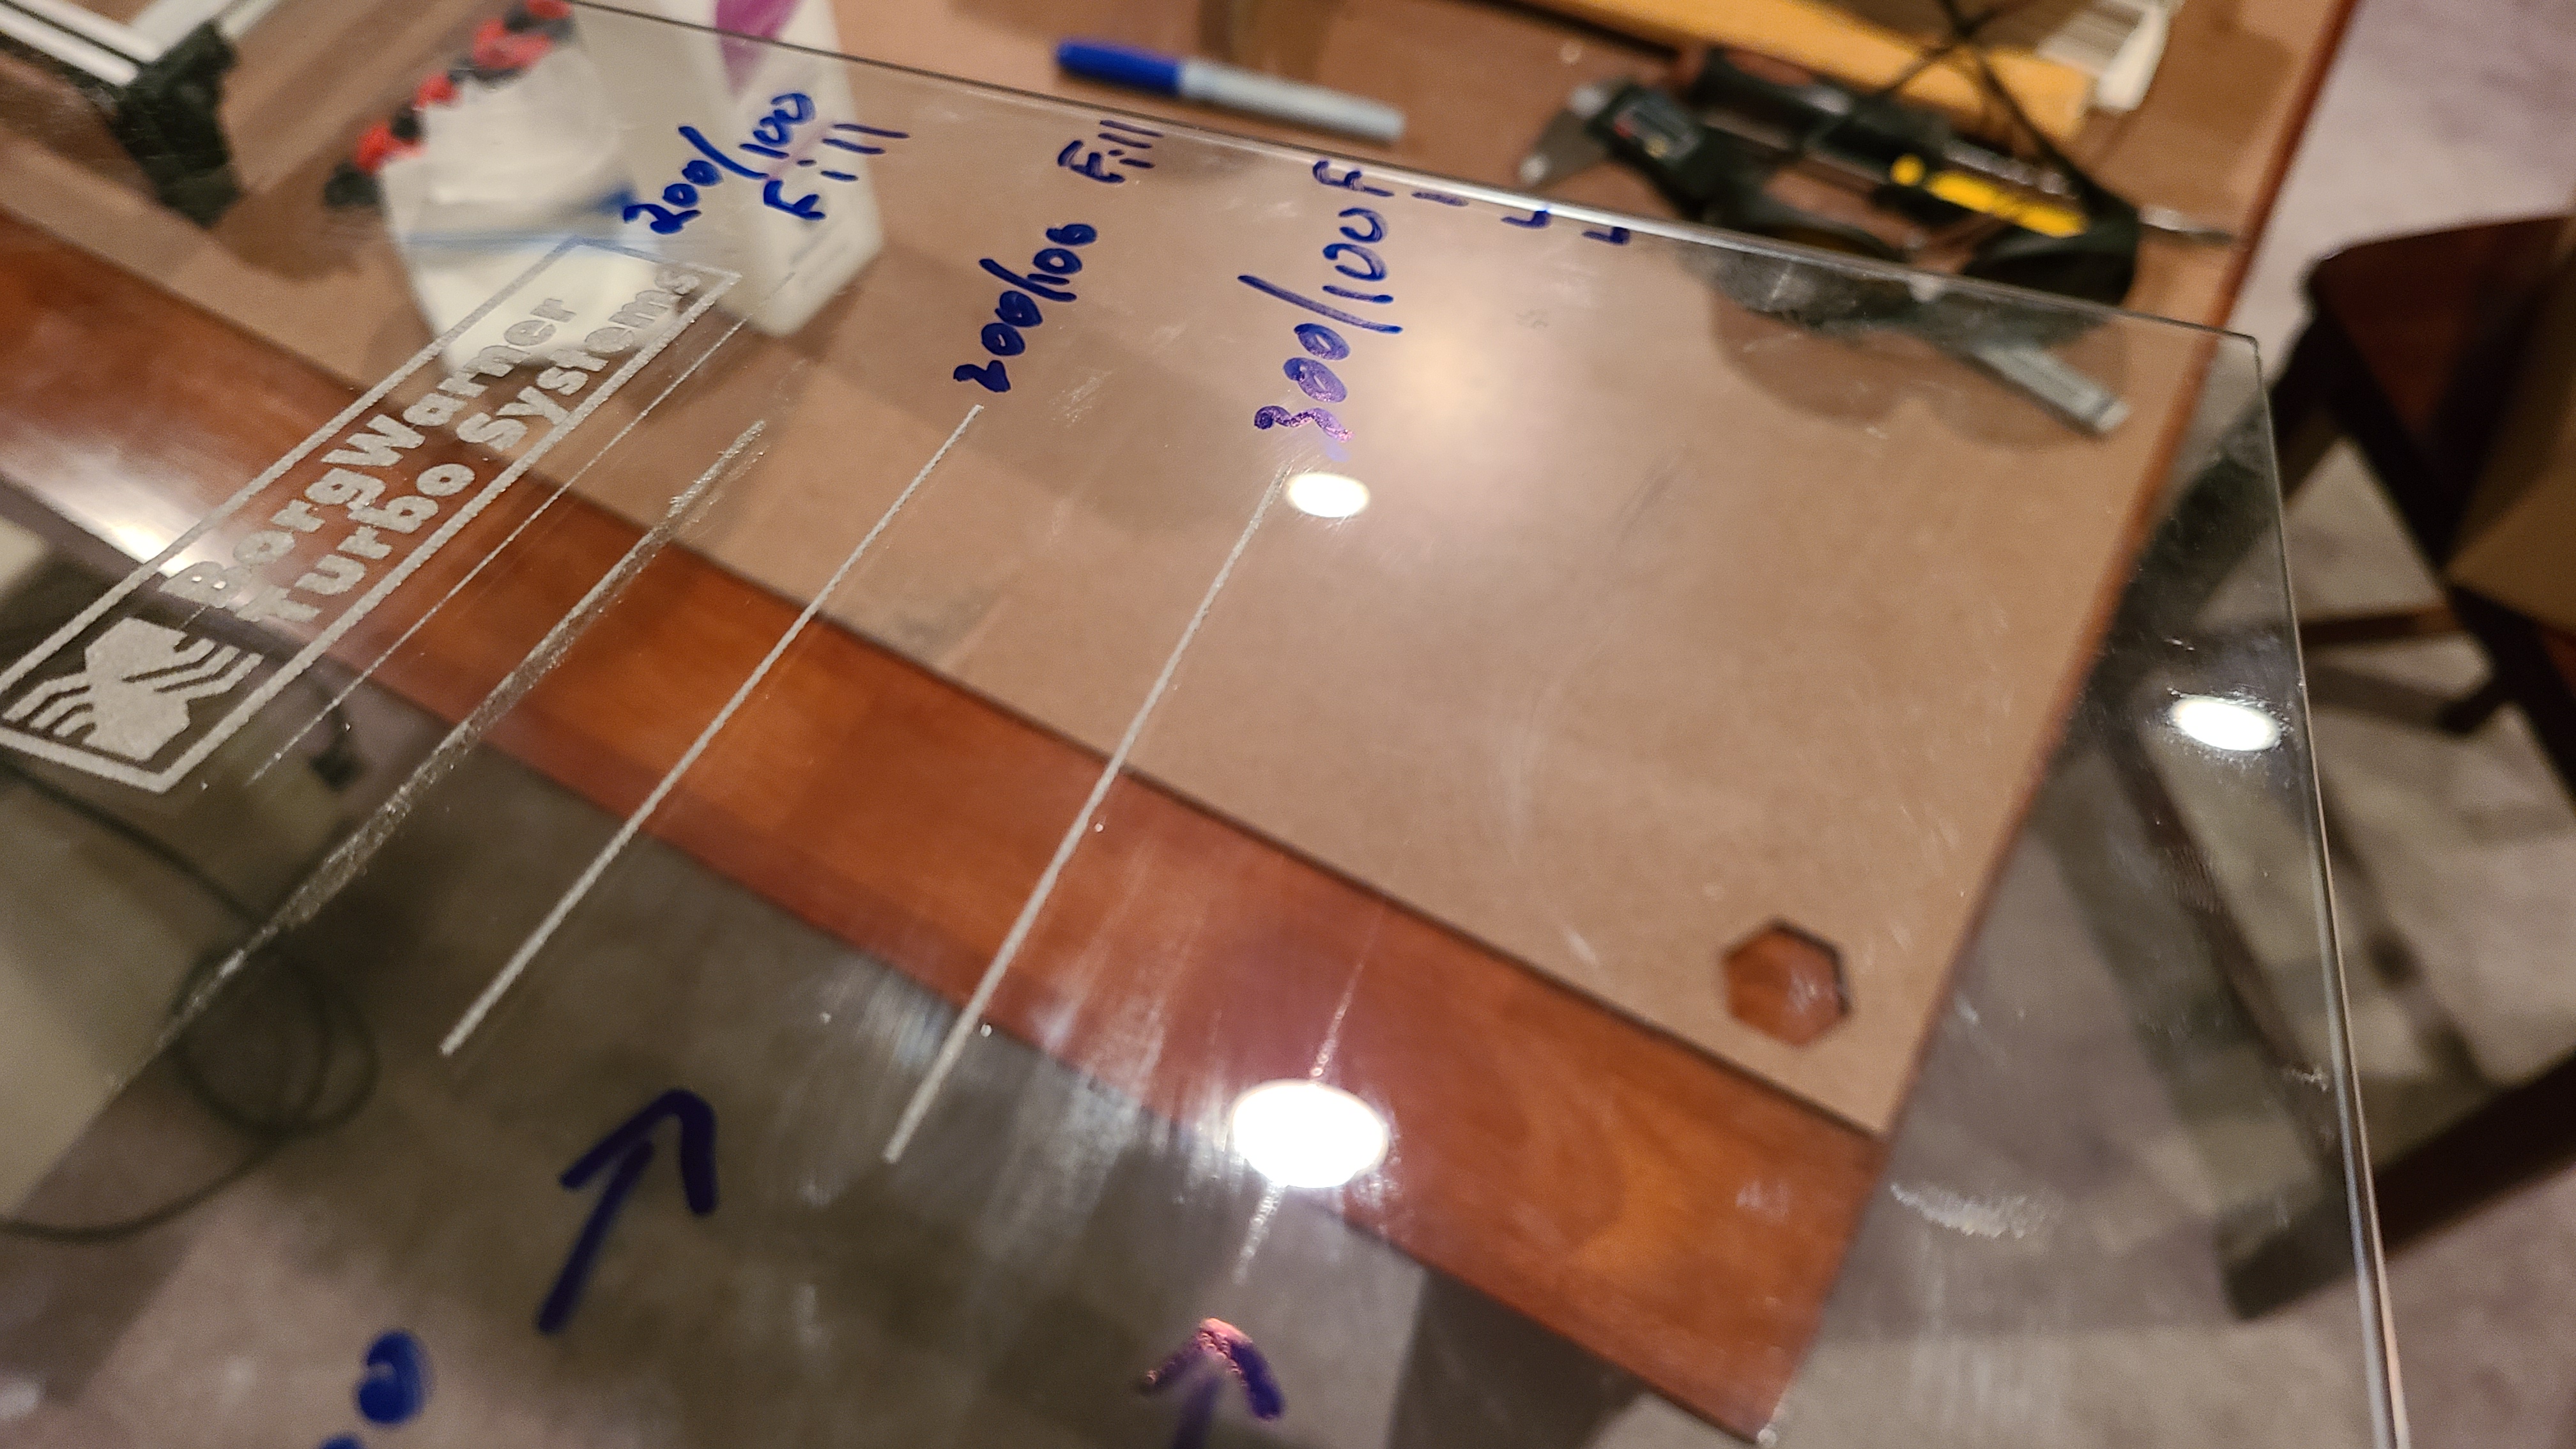
Here’s some more glass lasering. I mirrored the cut and put the tape on the bottom of the glass. I figured that way it’s burning the tape closest to the glass first, instead of burning thorough the tape. 200mm/min, 100% power, “Fill” in Lightburn selected for the paths.
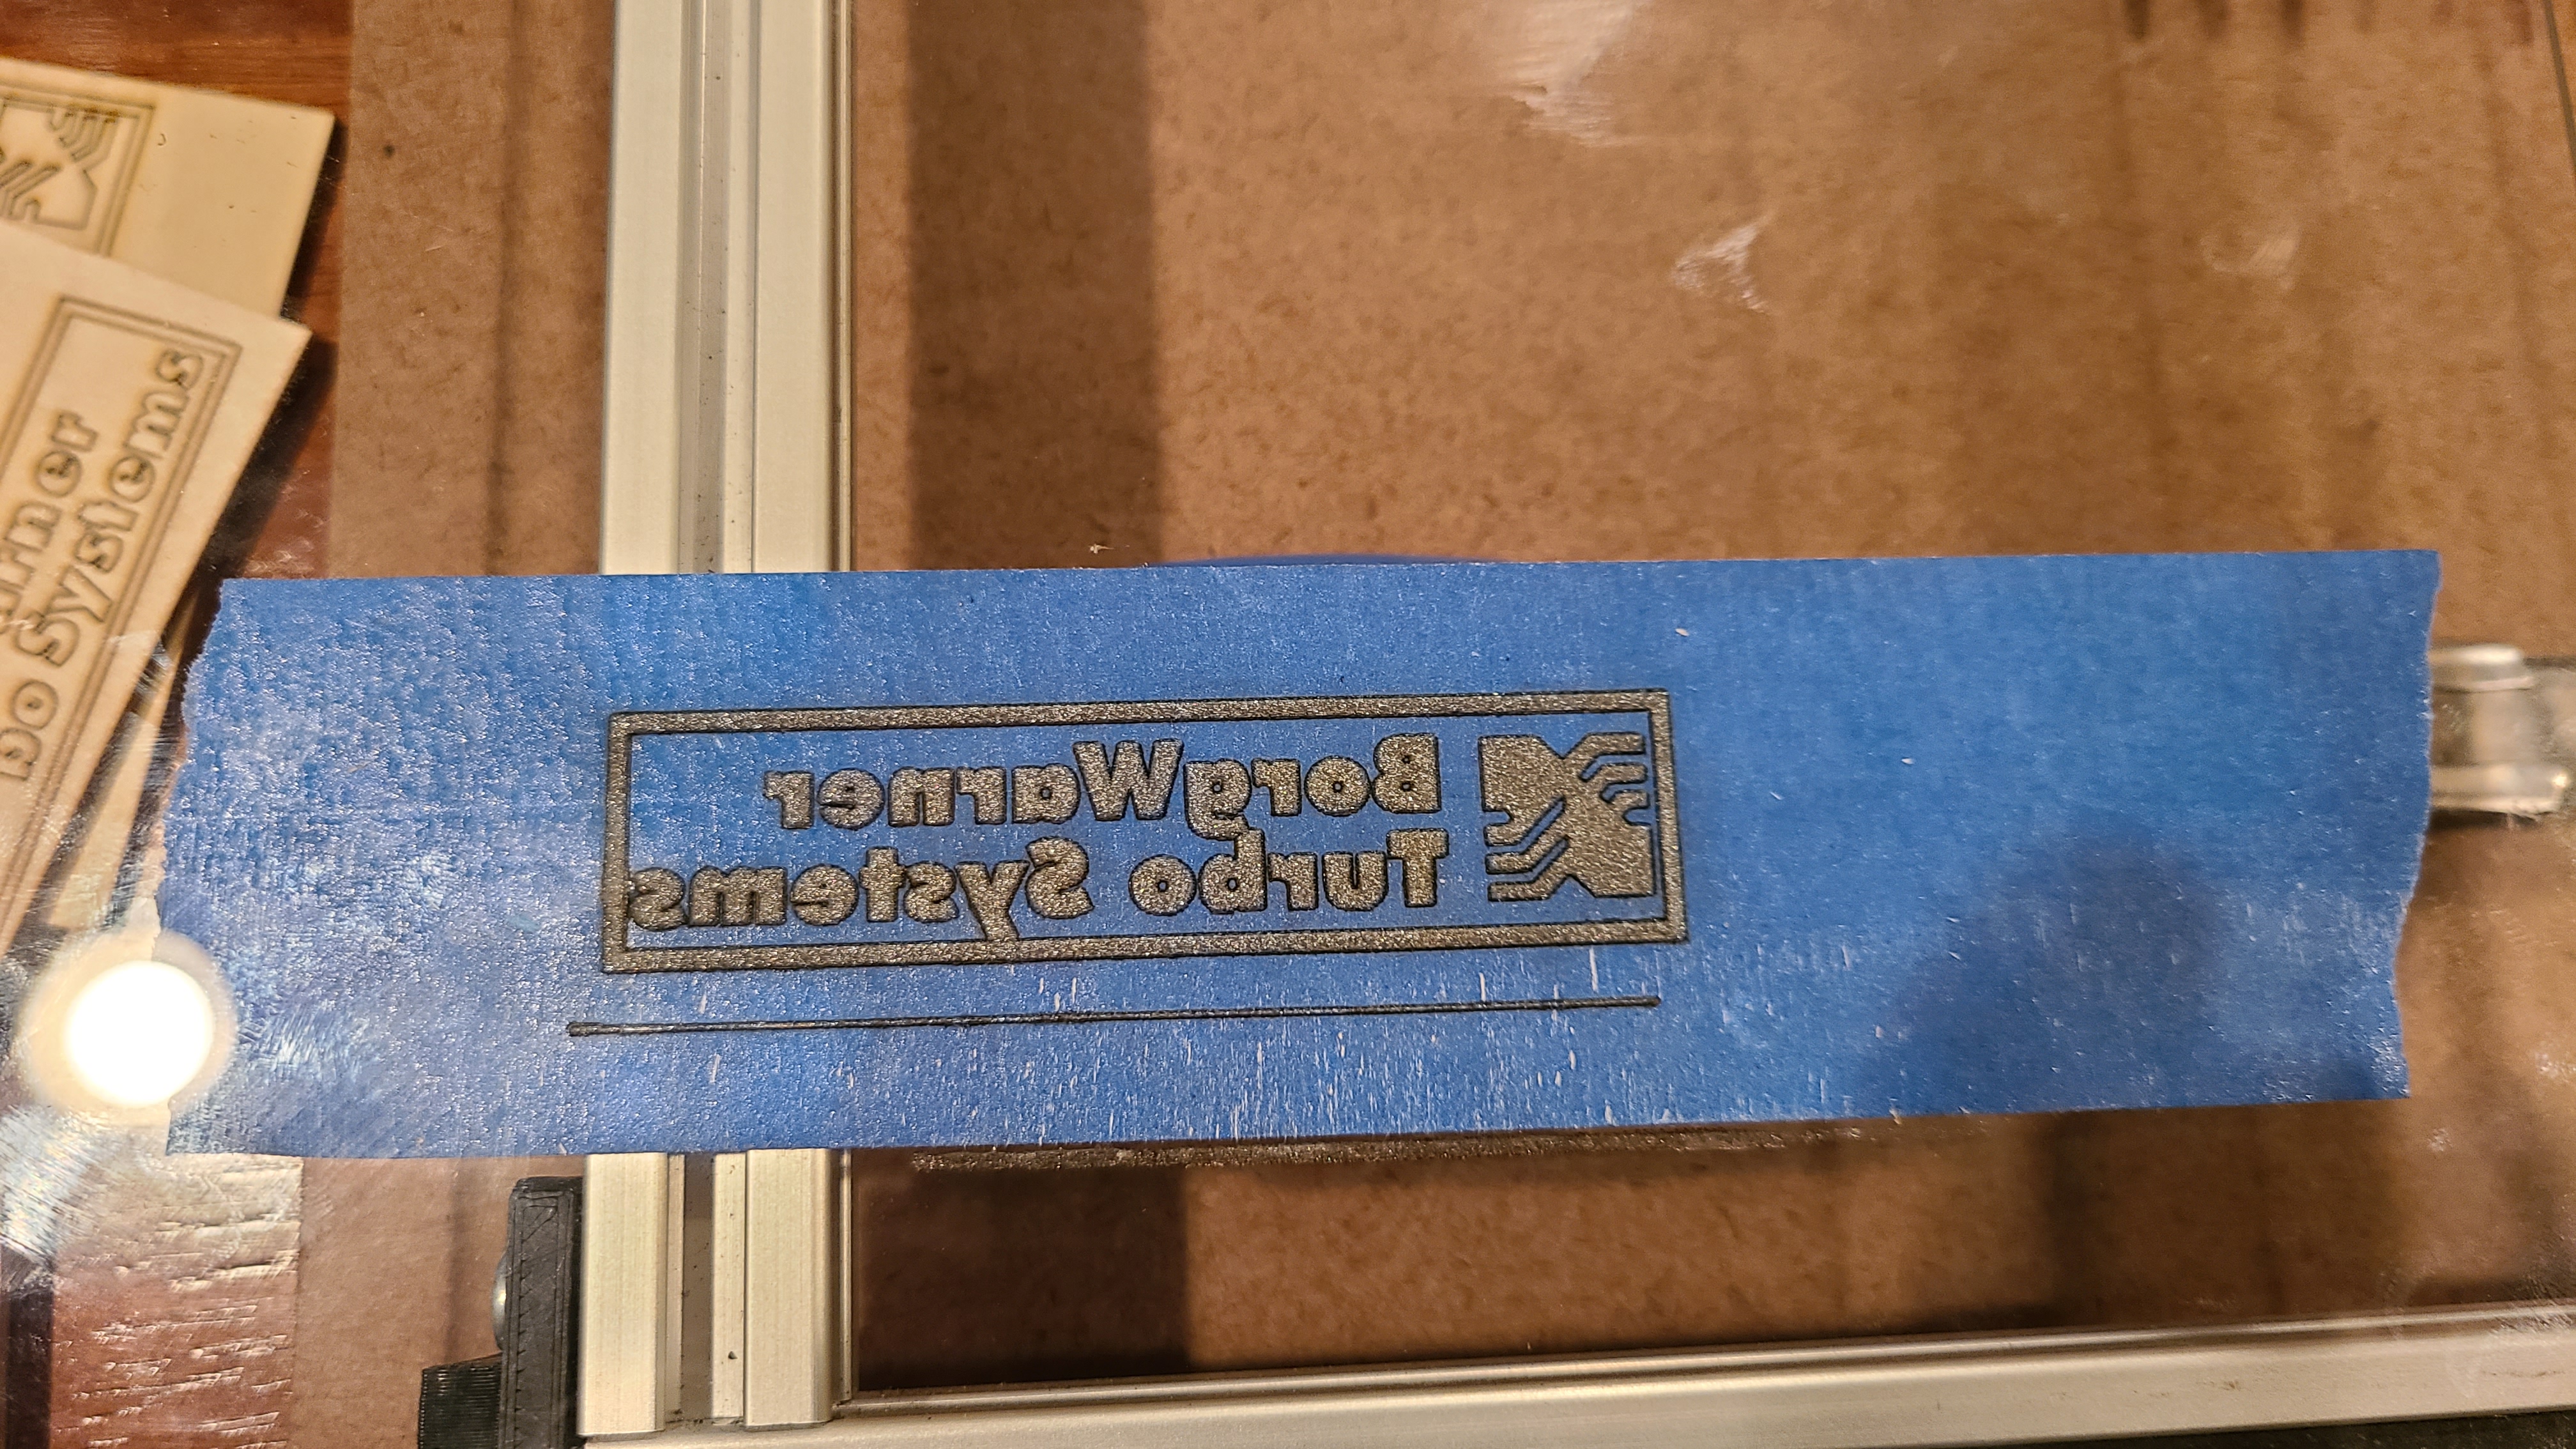
Tried some higher speeds with the glass process. Using the “Fill” cut path I get etching at 200mm/min and 300/min. Using “Line” cut path at 300mm/min I got a whole lot of nothing after removing the tape. I just let it start the logo and run a few passes at 0.1mm line interval for the Fill tests. I didn’t want to wait for the whole logo to finish just to see if it would mark the glass. The Line test I let it run the whole logo.
EDIT: Sorry, I guess I should read my own posts before running more tests…The etched logo was already at 200mm/min.
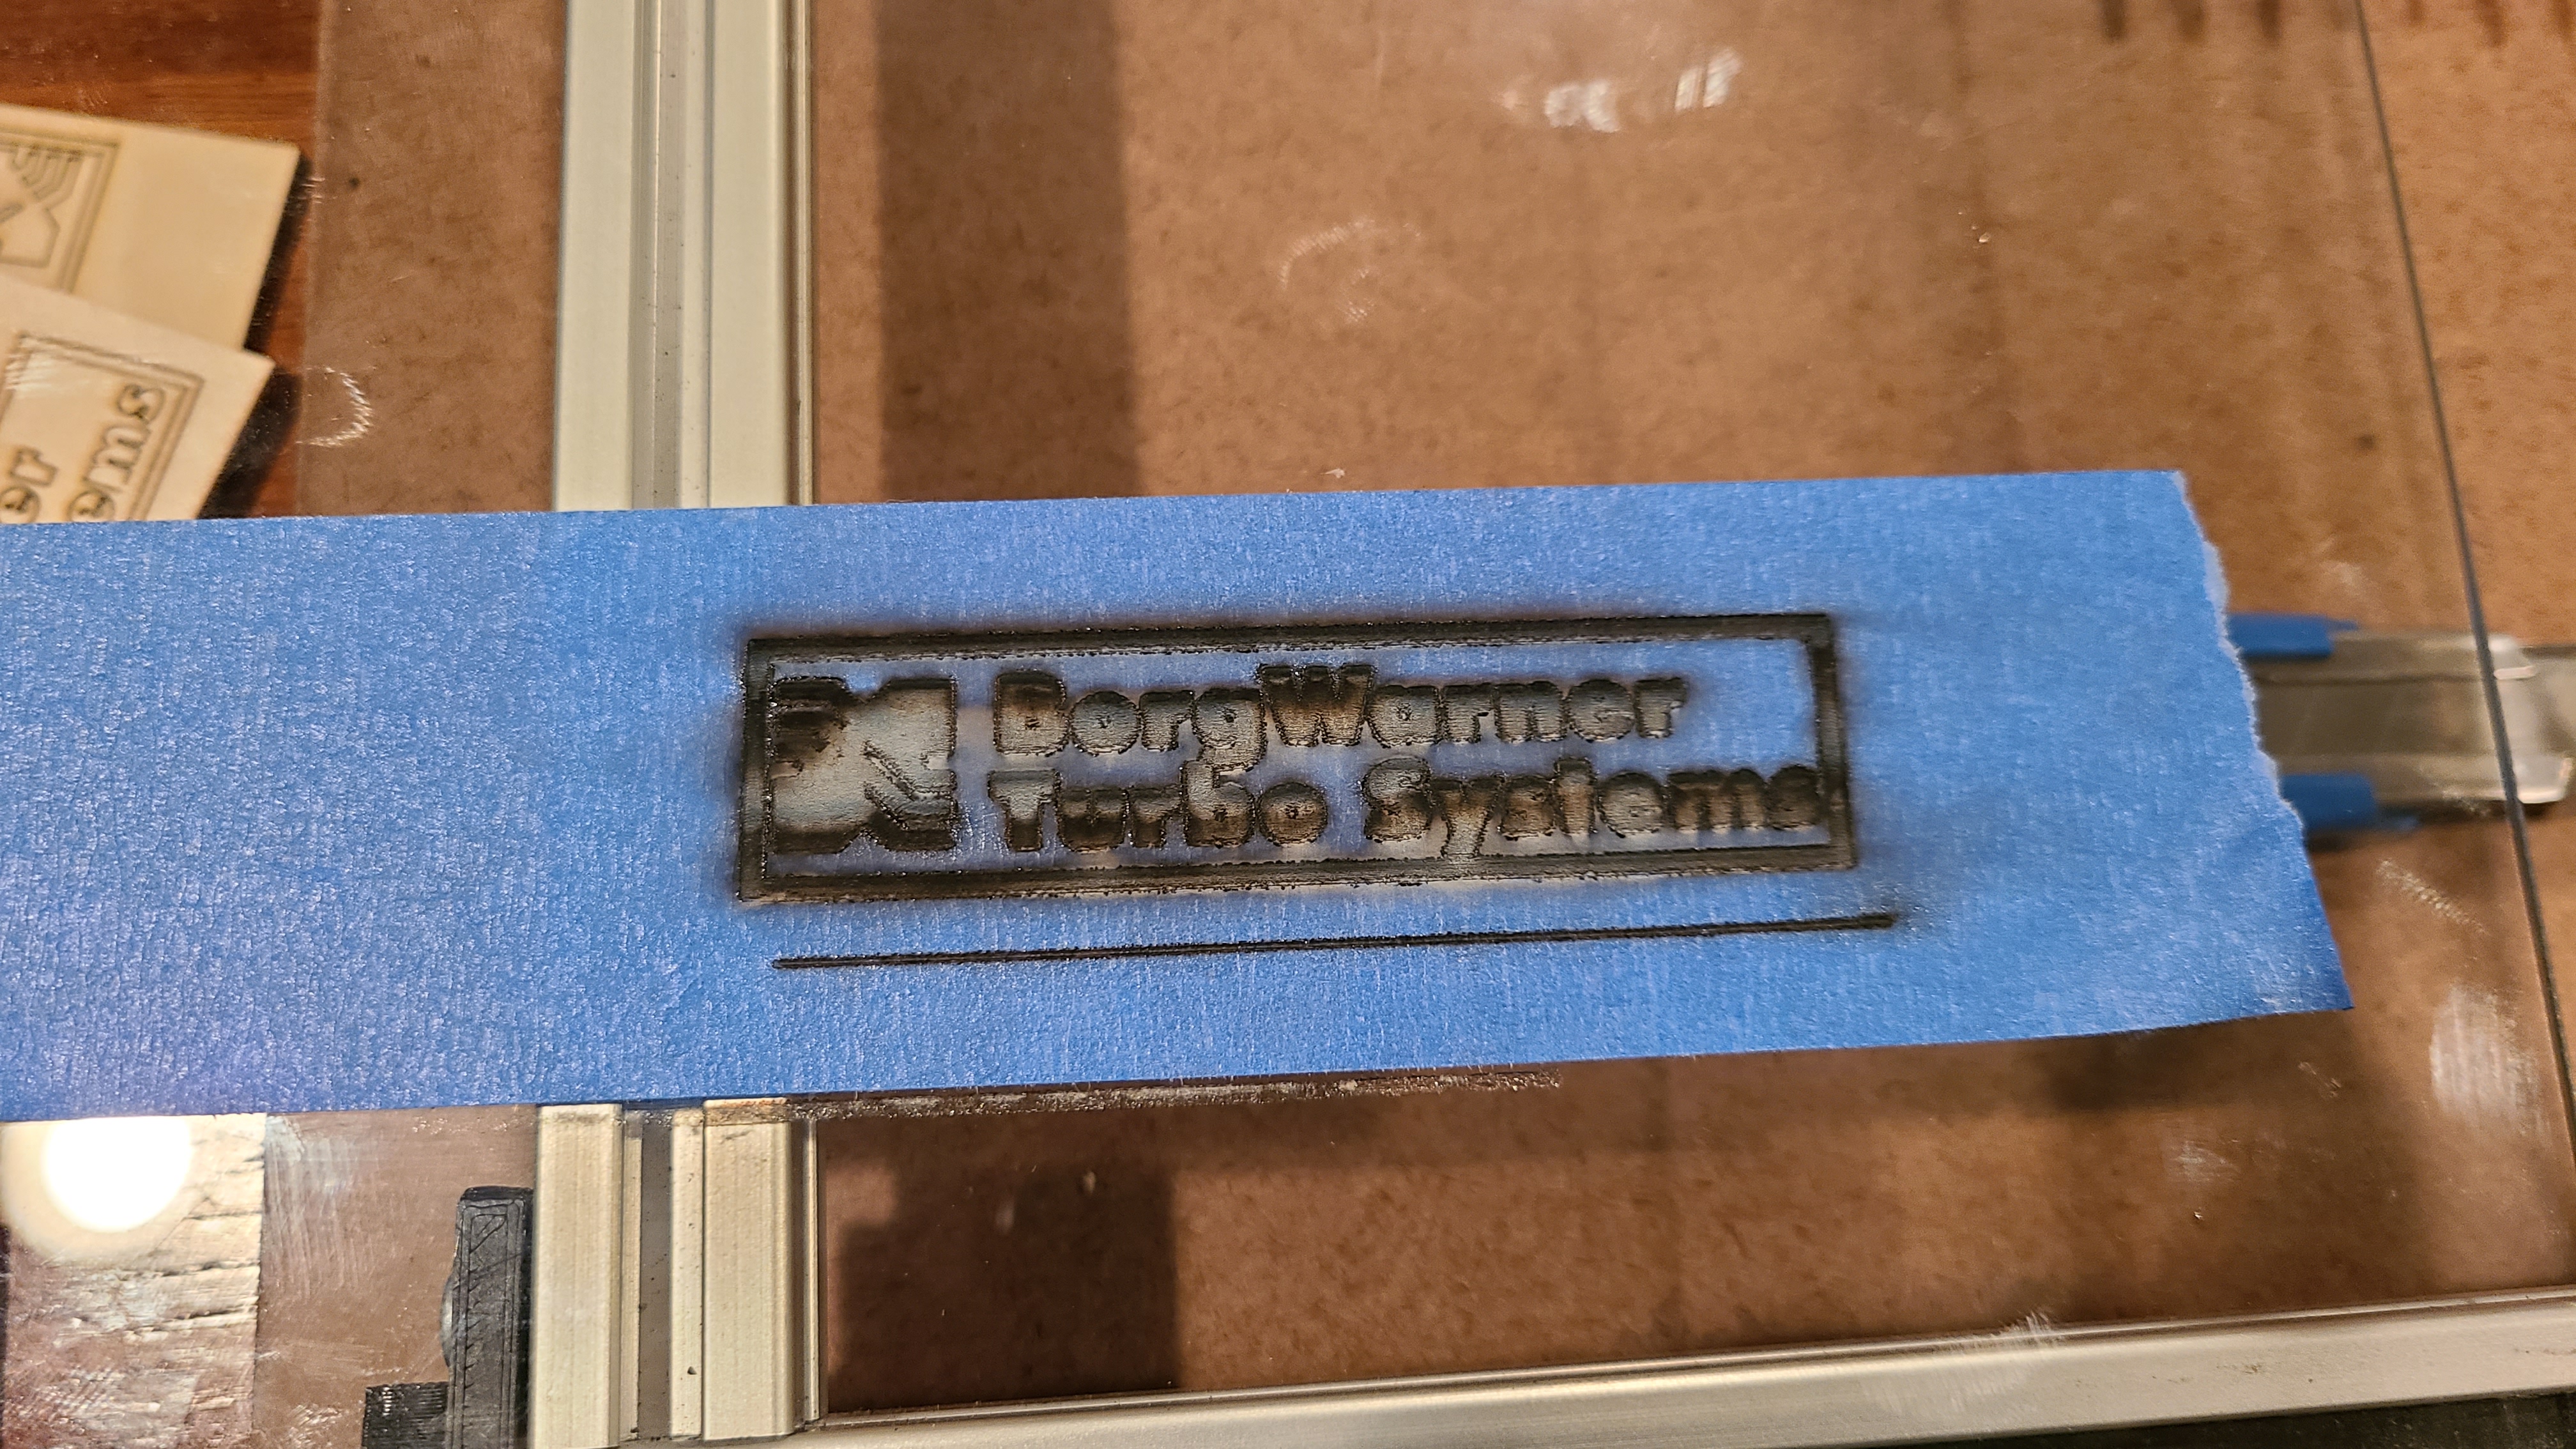
At 400mm/min(Fill) it is unnoticeable without angling the glass.
I just now realized why I’ve been having such a rough time with my aluminum extrusion gantry wheel fitments. I bought T-slot extrusion. I apparently needed V-groove extrusion. (face palm) Thought it was different names for the same thing. Slight difference in the channel depths and bevels.
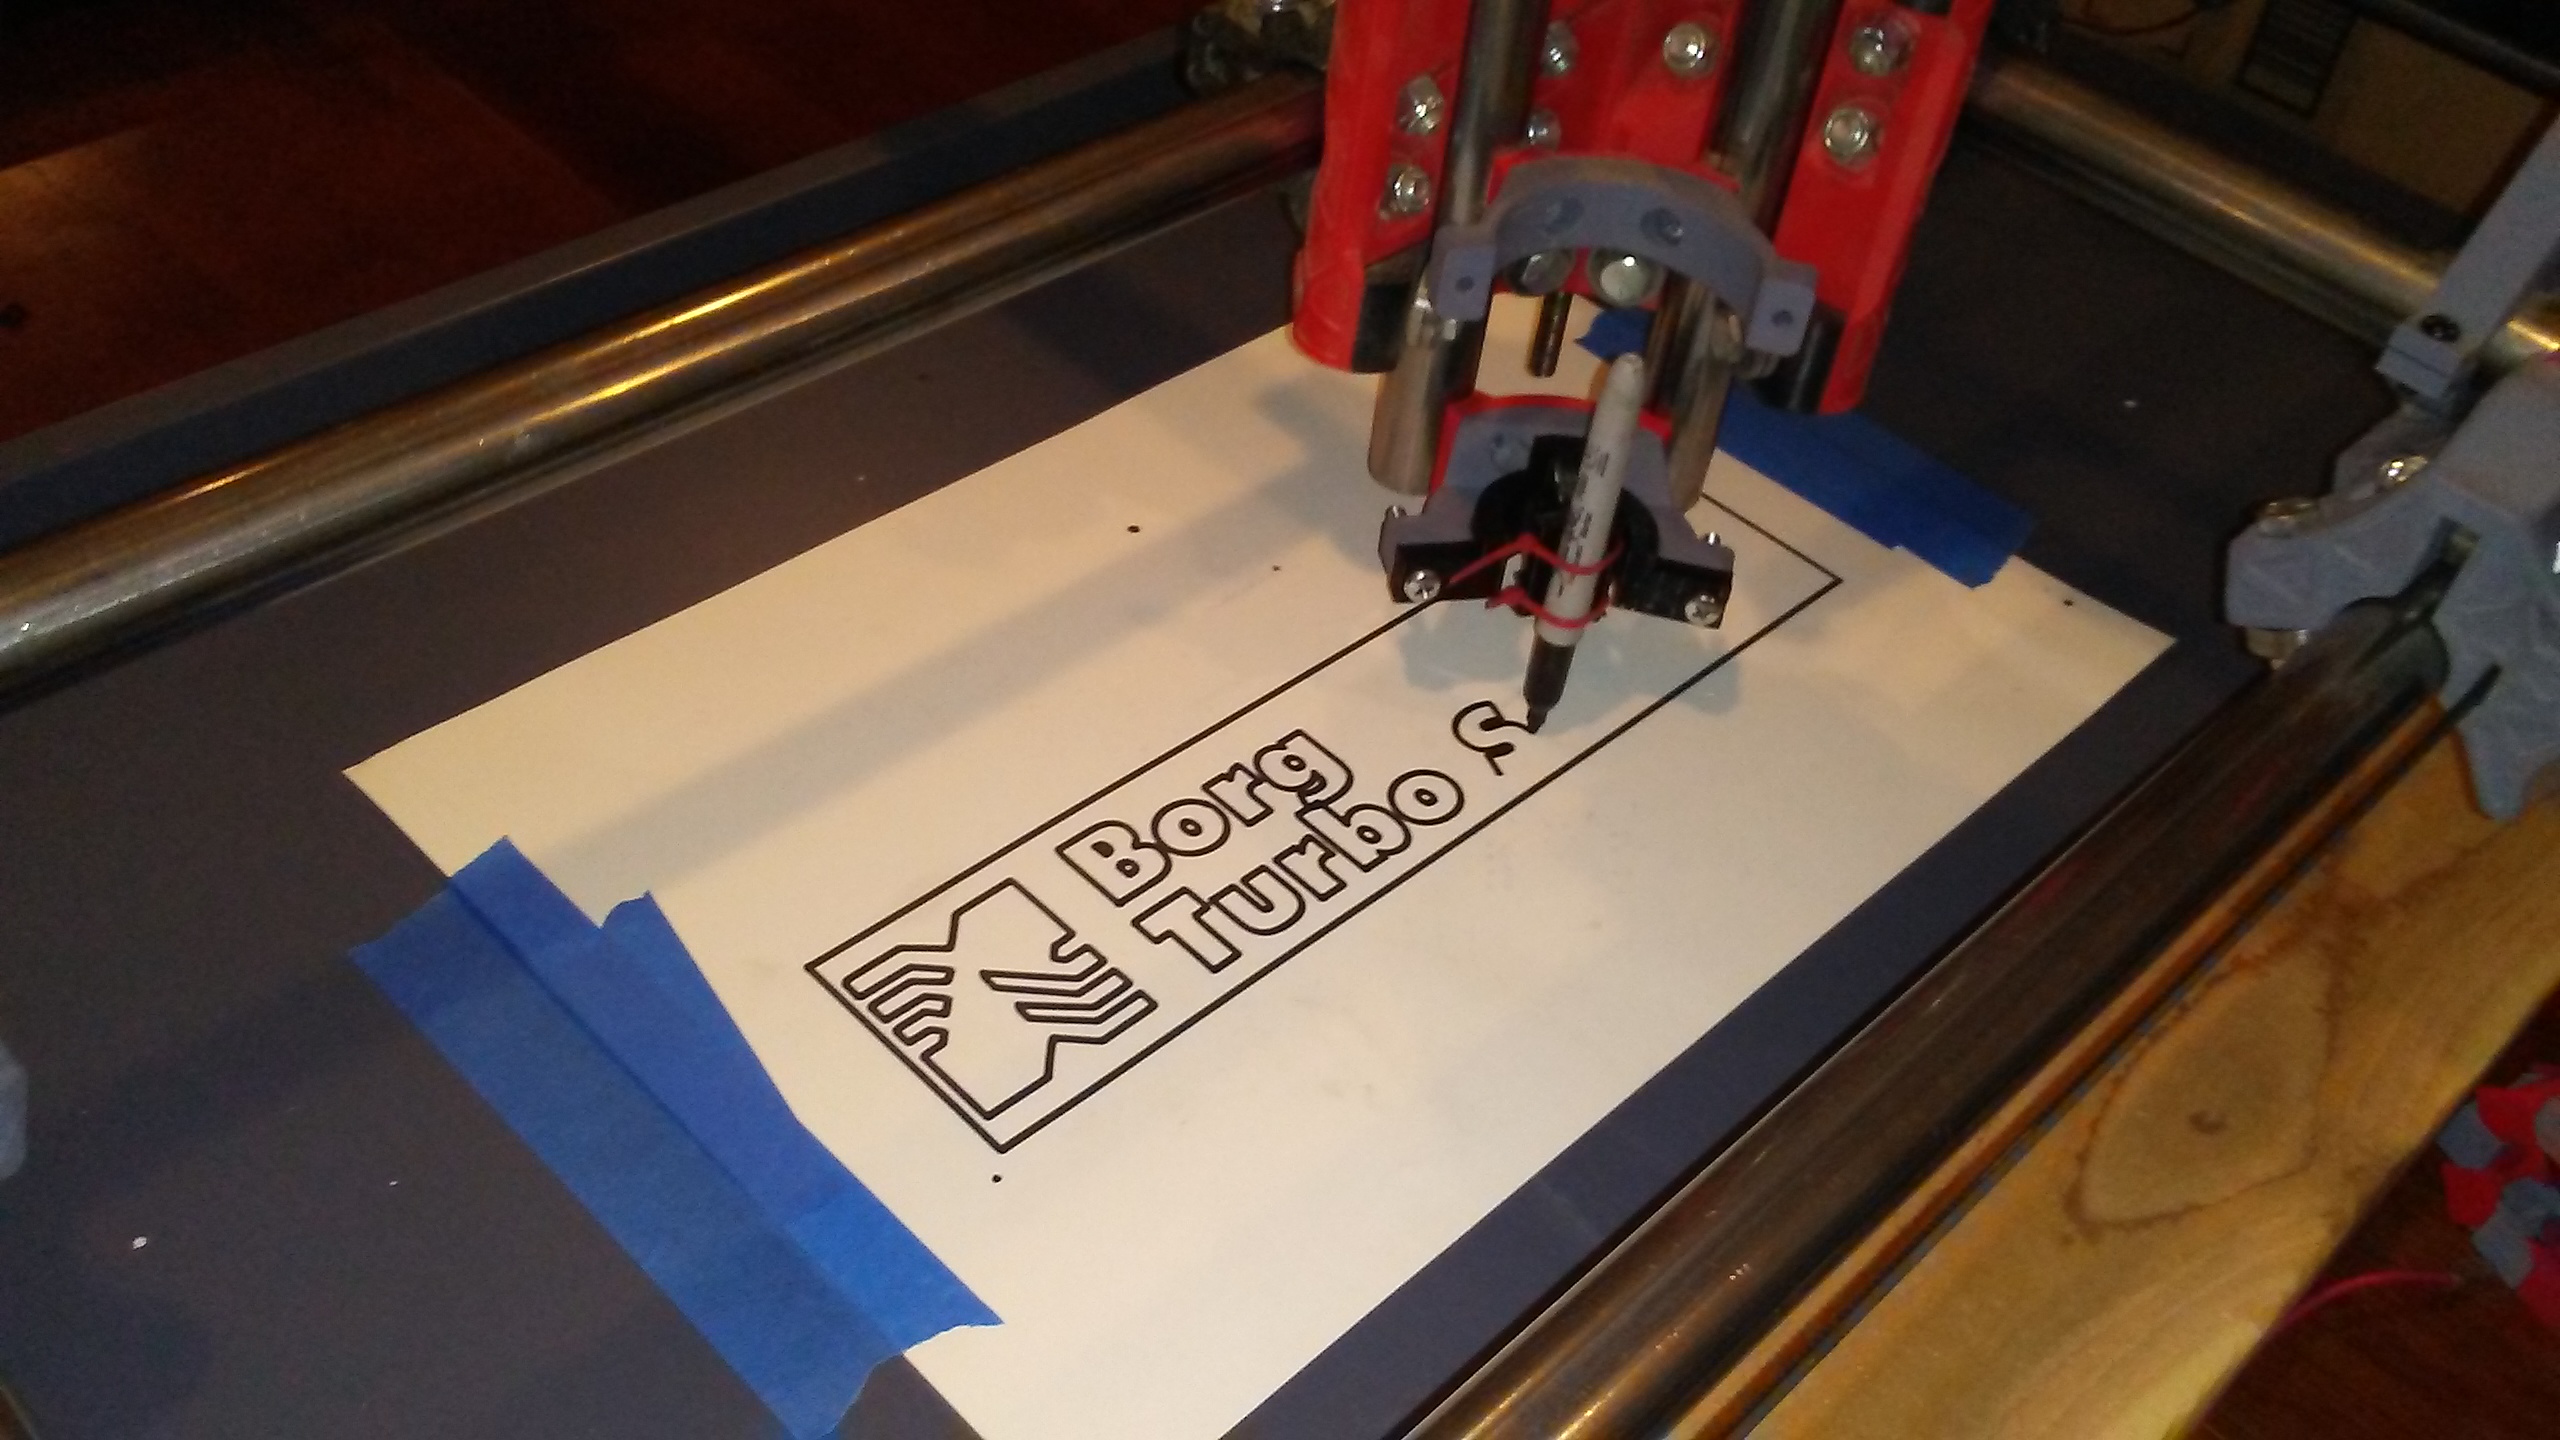
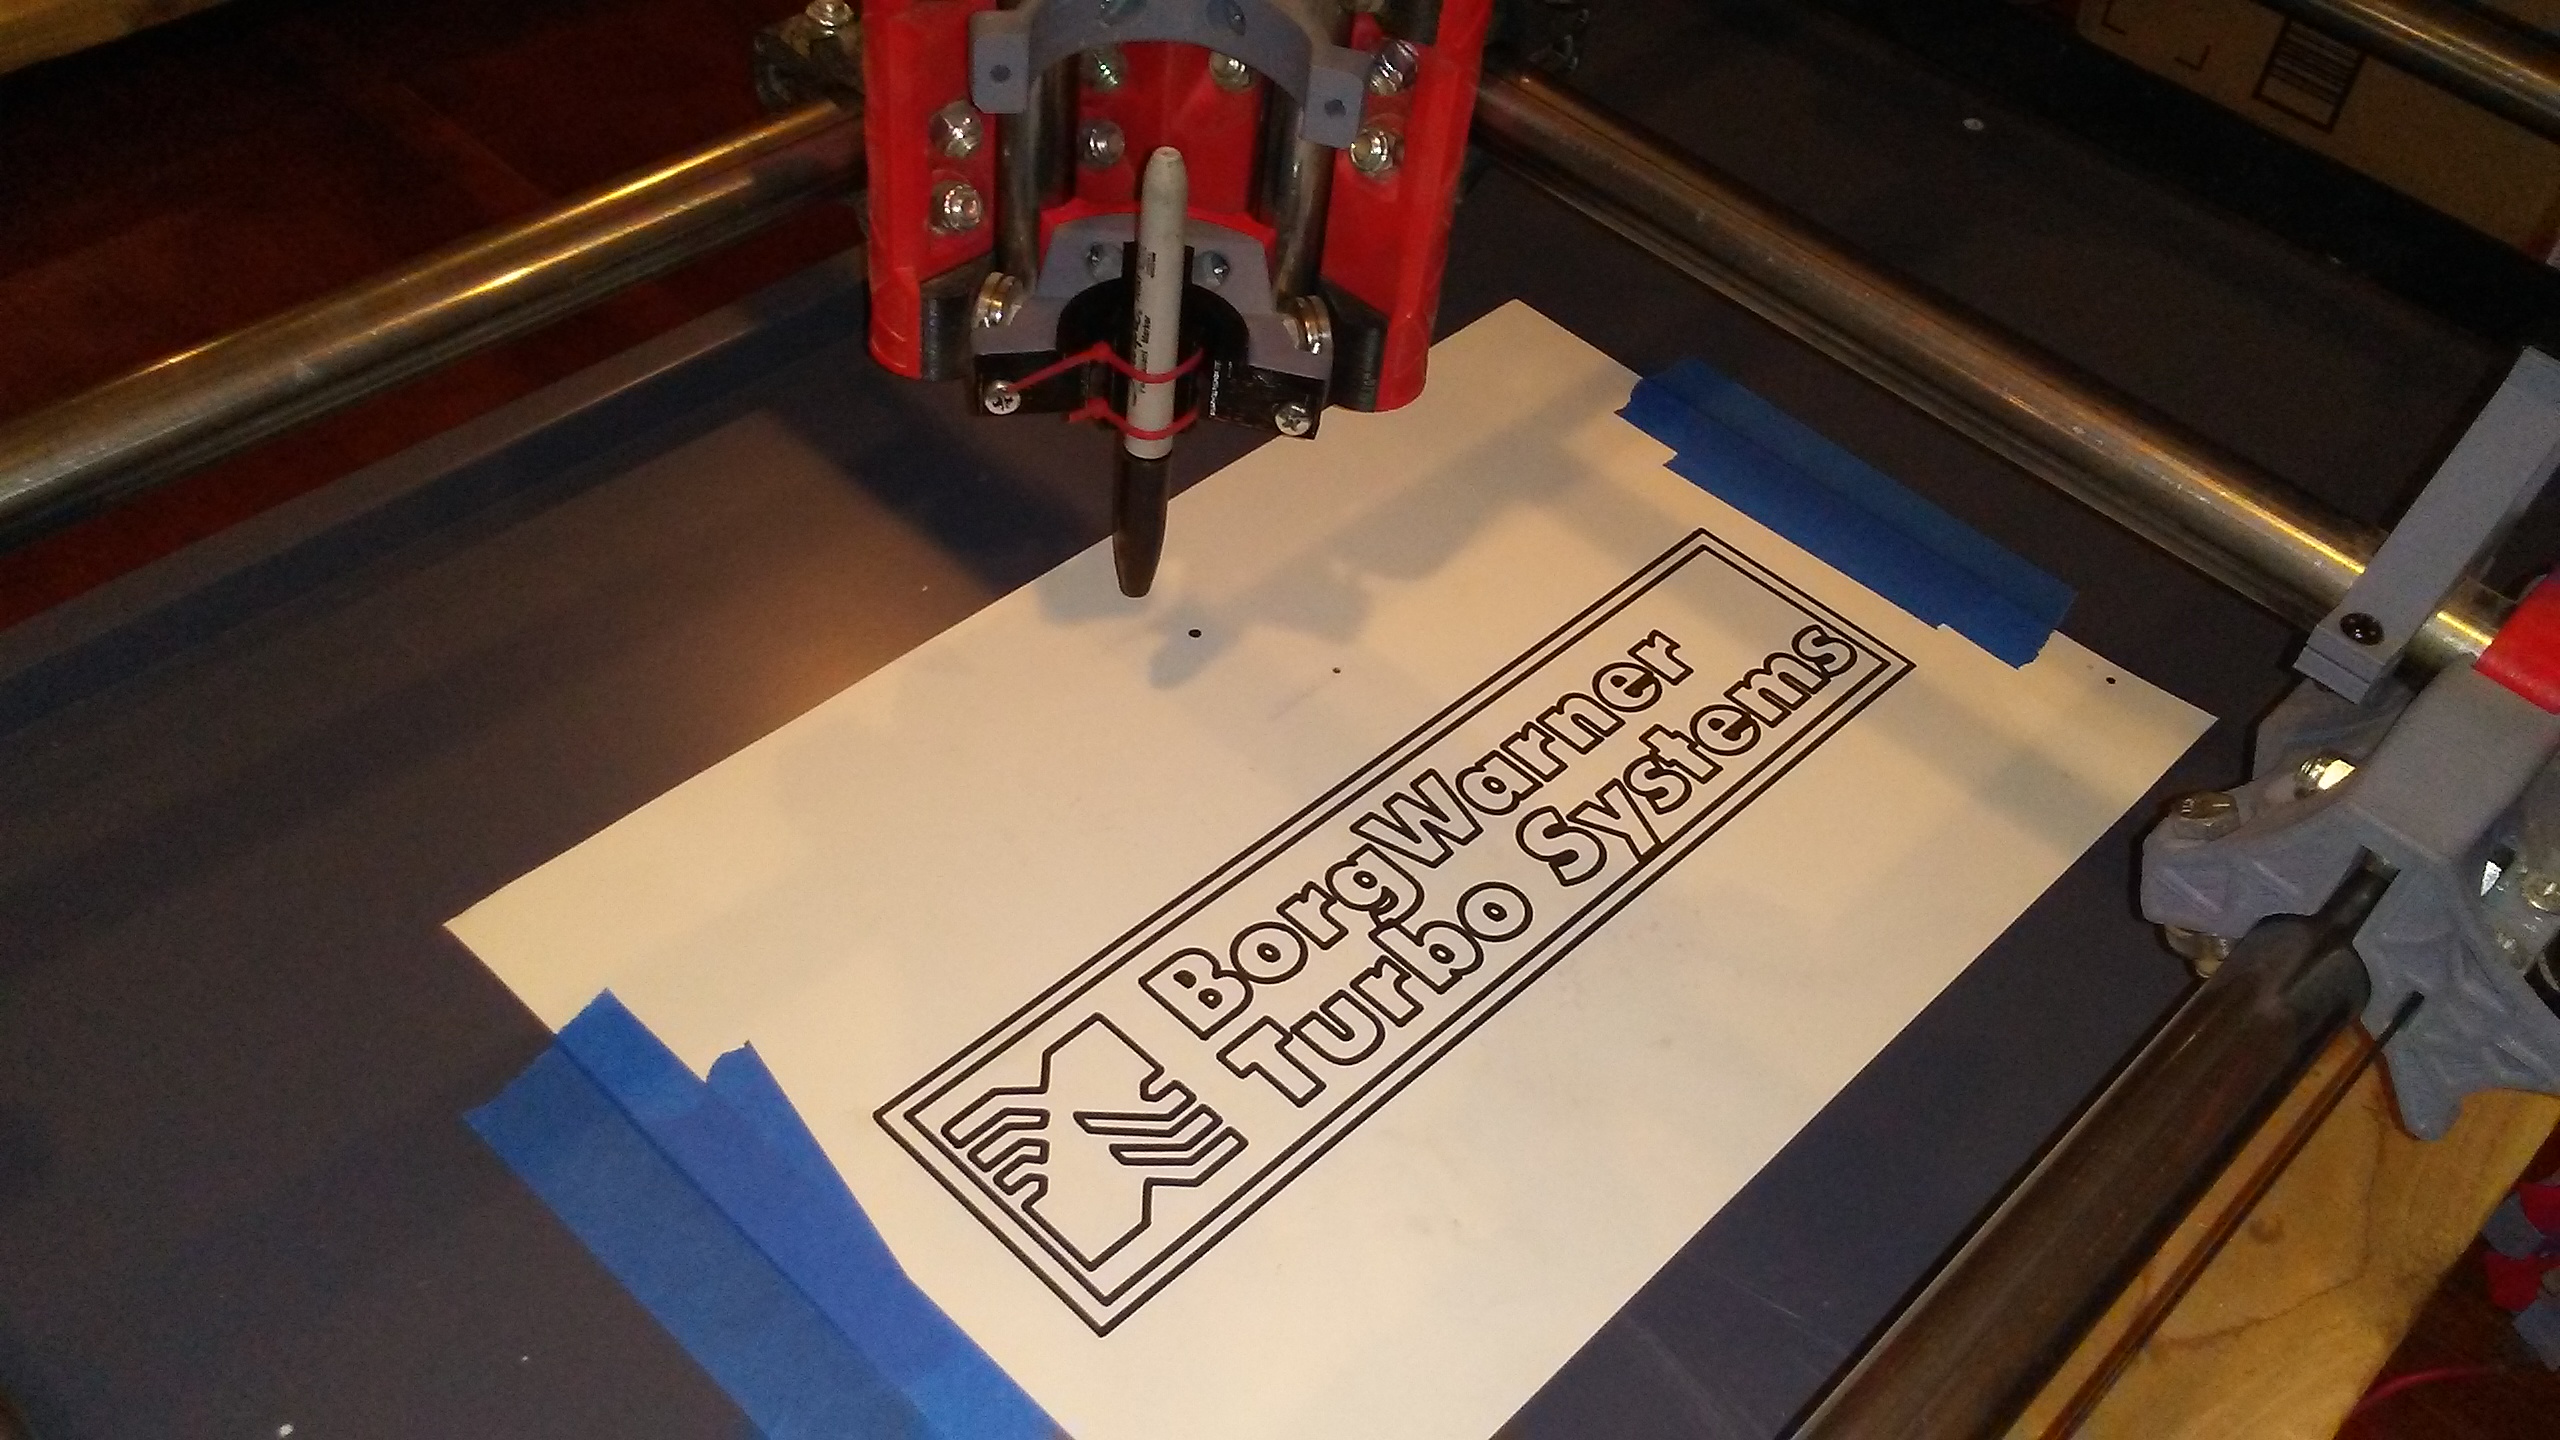
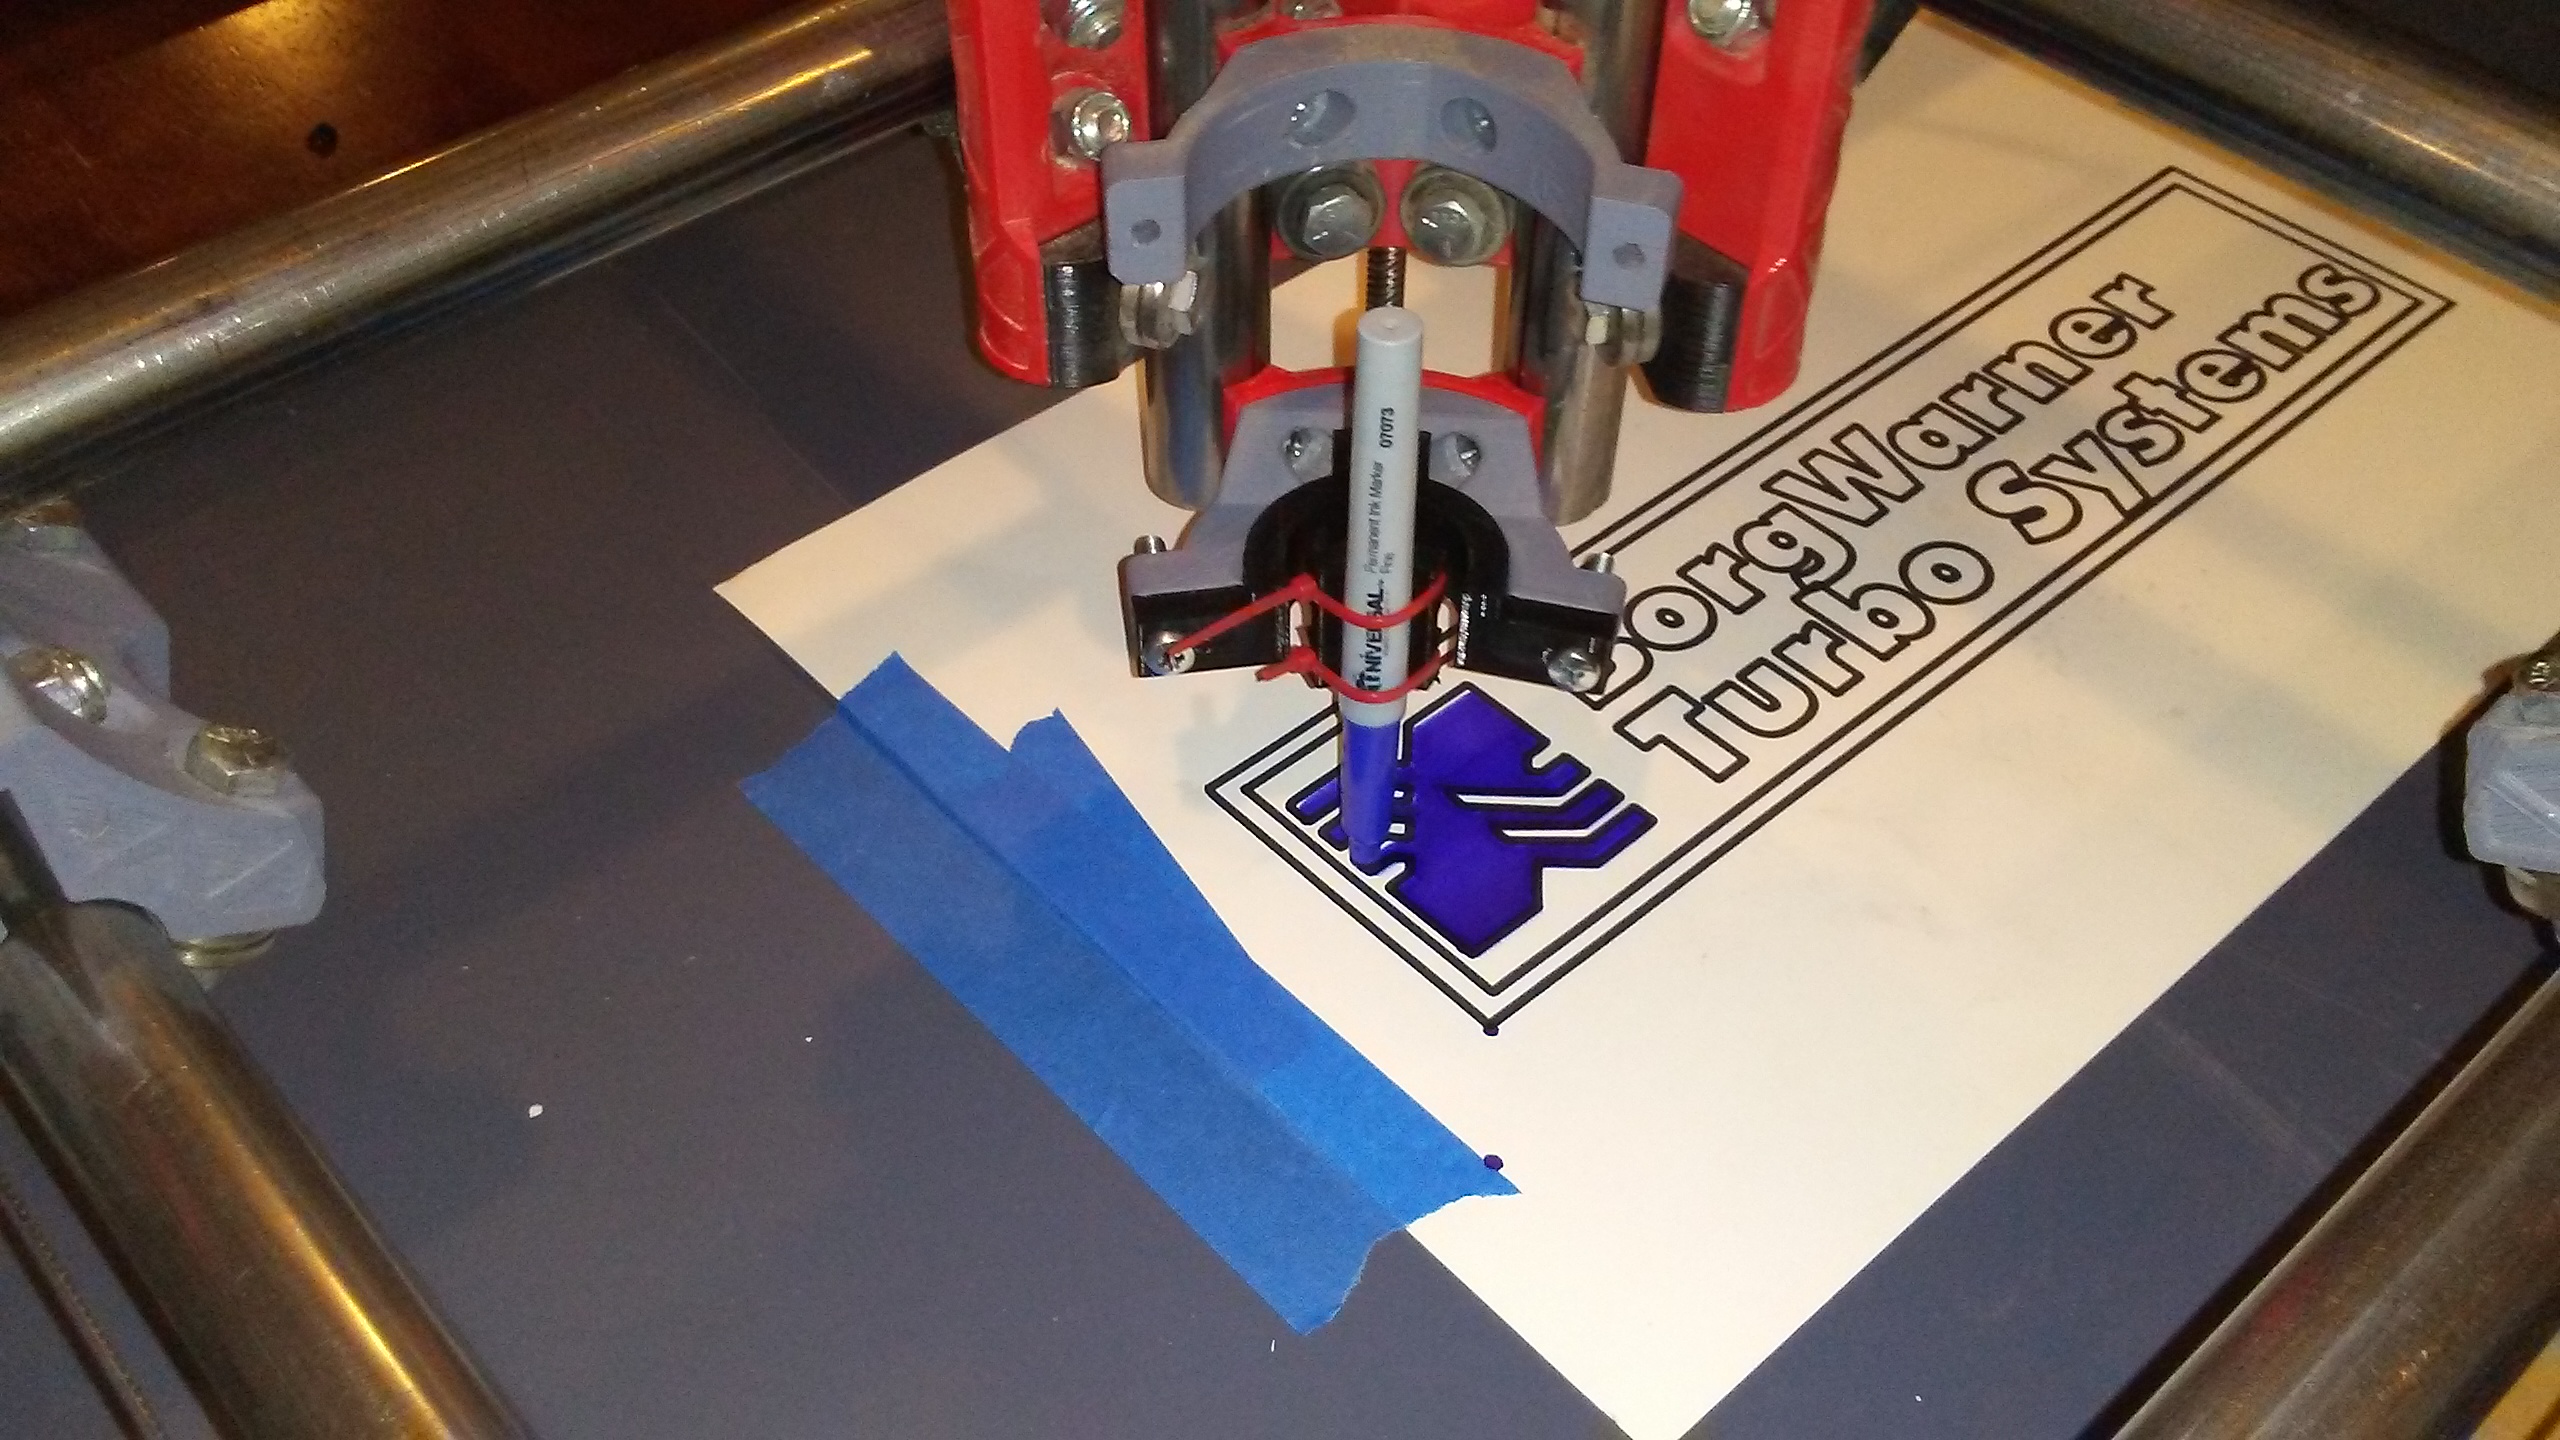
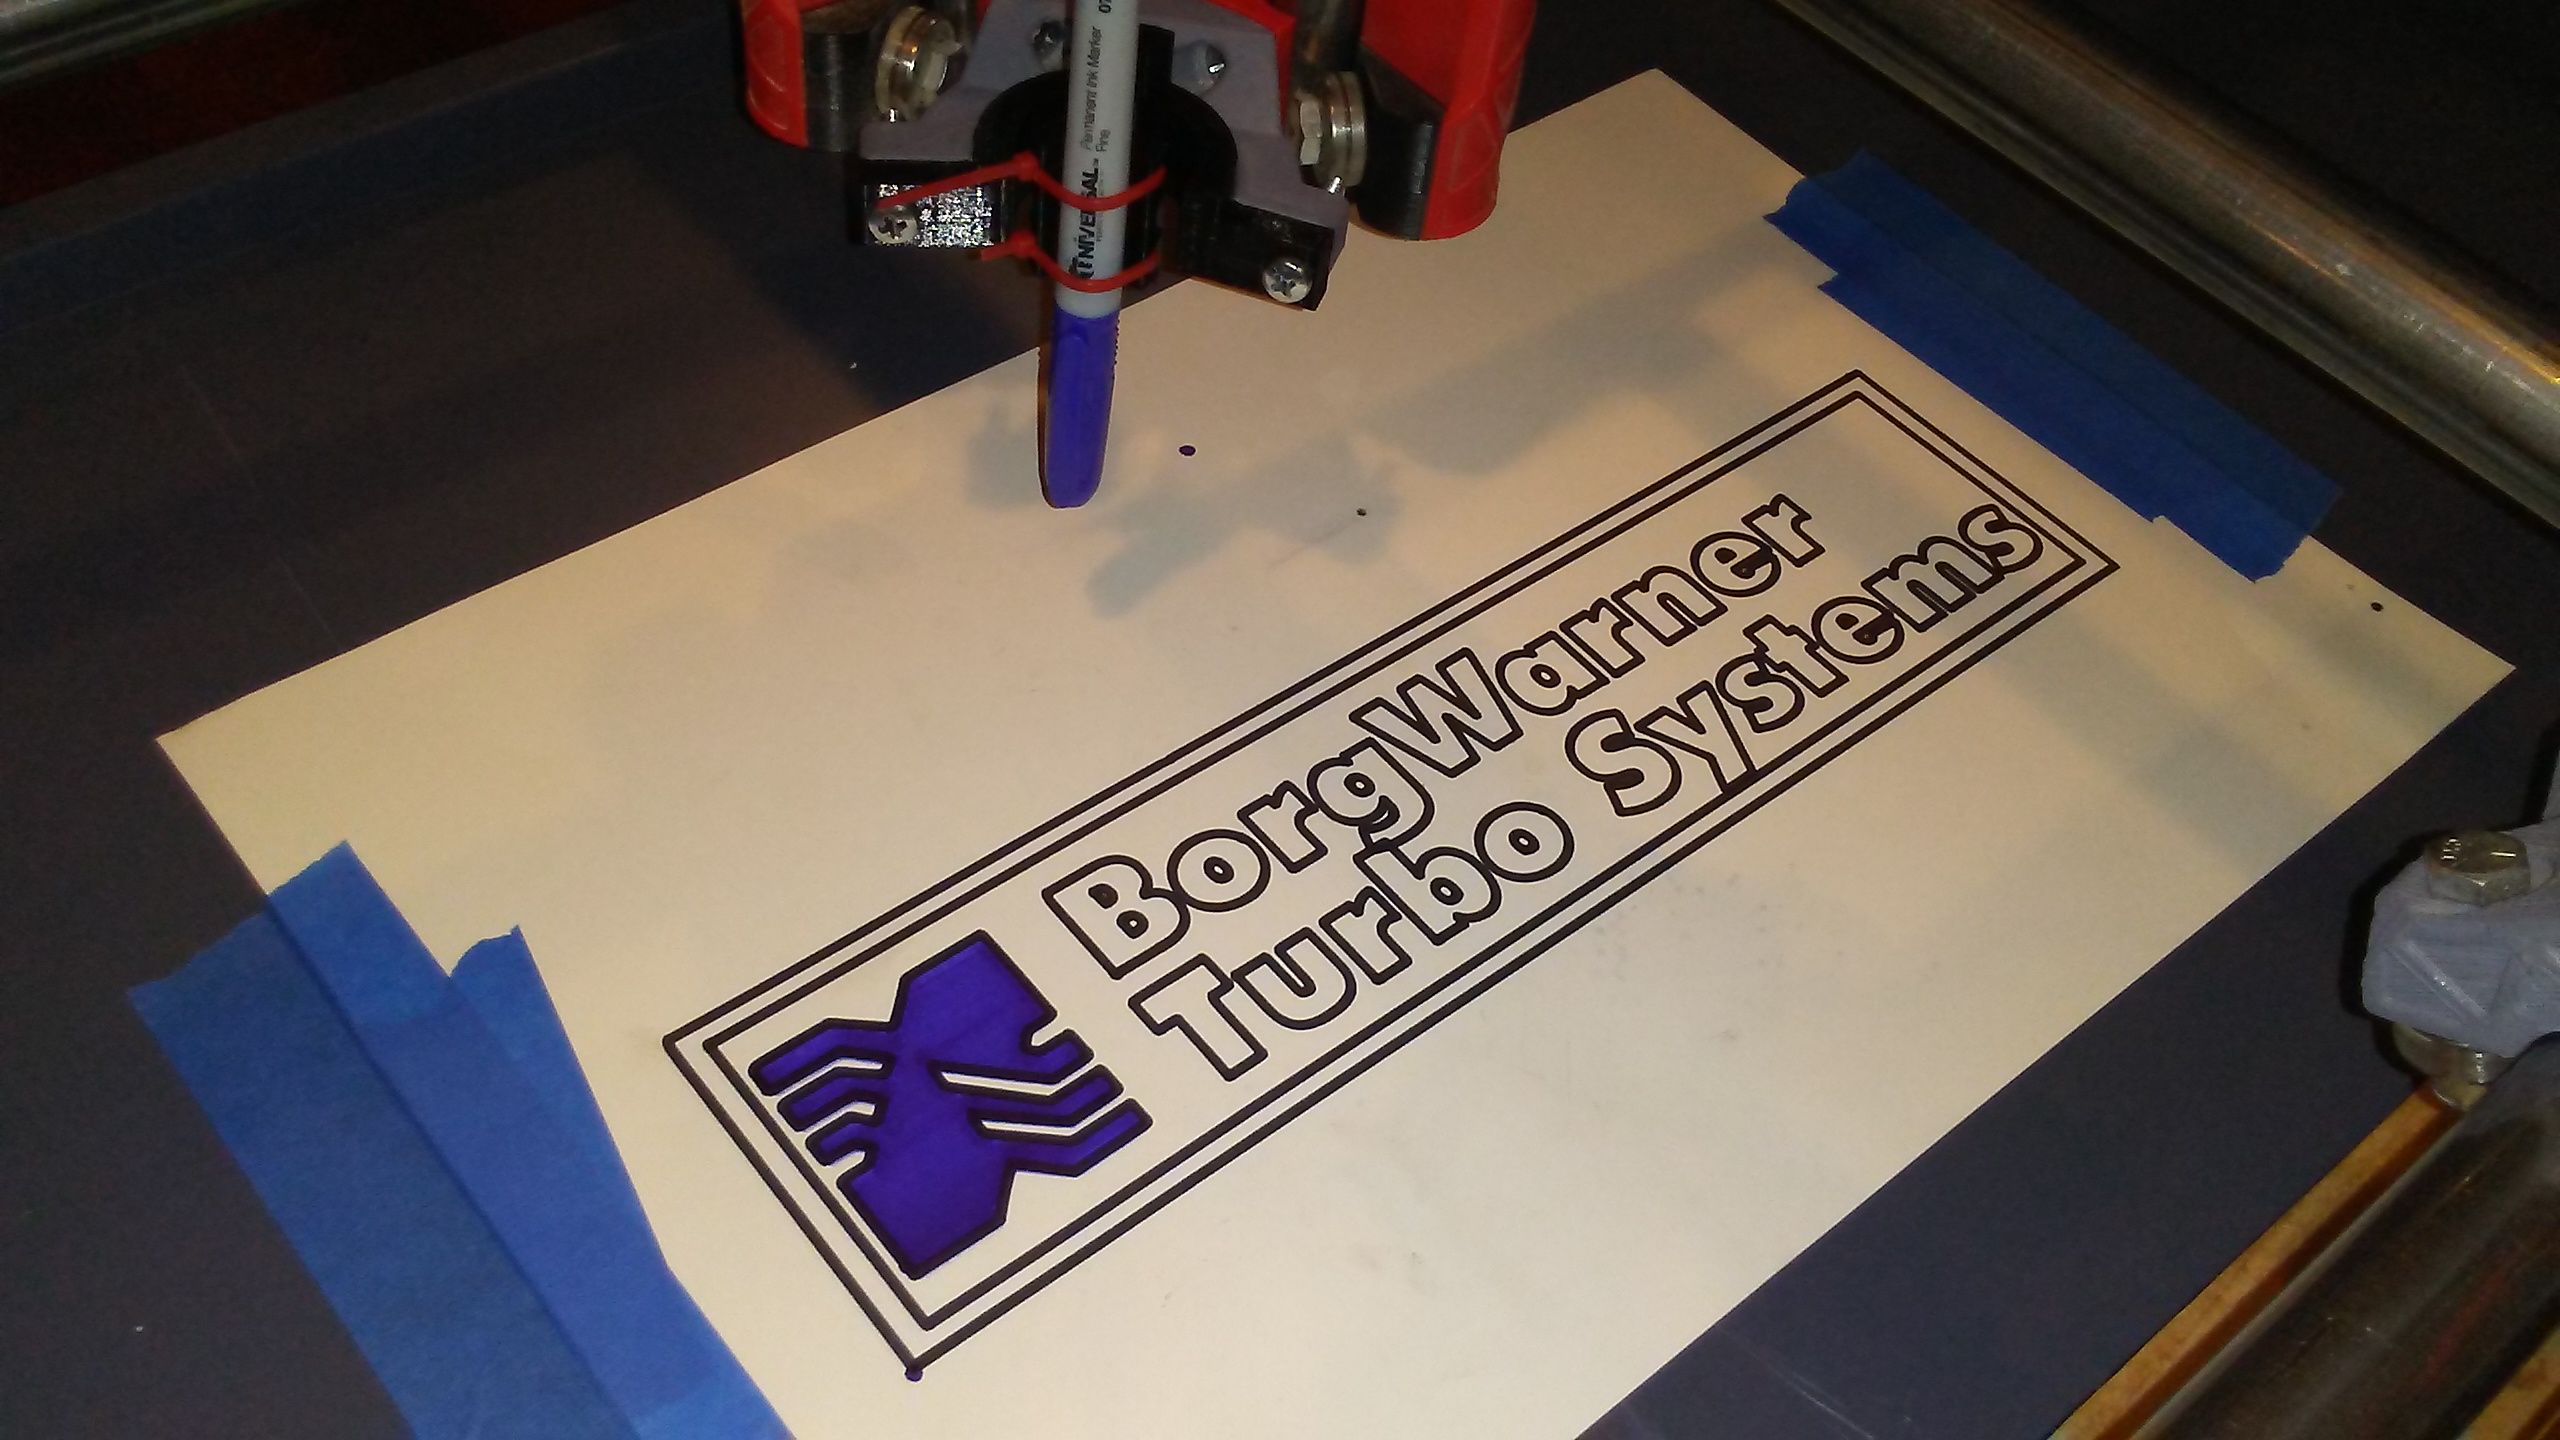
So I started to feel like the Primo was getting neglected, then I saw @Flyfisher604 made a sweet pen/knife mount that fits the DW660 mount. His thread HERE. Thanks for that! Decided to try some pen drawing with a tool change.