I just downloaded the drawing from 3axis.co. I think I just searched for square grille, or something like that. Opened in Estlcam, resized, and cut. A couple of the shapes weren’t closed, or had overlaps, so I had to do manually trace them, but it was only like 3 or 4.
EDIT: Sorry, I went back through the ones I was thinking about and it was in .CDR format(Corel Draw). Had to open in Inkscape, remove the fill, make the stroke smaller, and exported to .SVG.
That’s what I used to do when I cut MDF too. The open garage door with a box fan blowing across it took care of most of the fine dust in the air.
The first time I did it, I did it with the garage closed and no mask. I was coughing up a lung for over a week. Now, anytime I cut MDF, I have full PPE on. This is with the door open and fan blowing.
Now I have the machine in an enclosure. I hook the dust collector to a hole in the side and I lean a piece of foam in front of the opening on the front. The dust collector pulls the fine stuff from the air and you can still hear if the machine starts to make a weird noise. Heavier particles just fall to the table. Every few minutes I’ll pull the front open and hit the workpiece with a shop vac so there’s no build up. If I had air assist I wouldn’t bother with the shop vac. The issue I’ve seen is dust build up in the grooves is where fires tend to start with MDF. If you’re not cutting fast enough the dust grinds on the bit and starts to smolder.
Forgive me forum for I have sinned. It has been 10 months since my last CNC project.
My wife and I sold our house in November, and now live in a 2 bedroom Apt, with a 2 car garage…err…no cars in the garage. The market wanted us to sell, and we have longer term plans to move out of the country in a couple of years, so it had to be done.
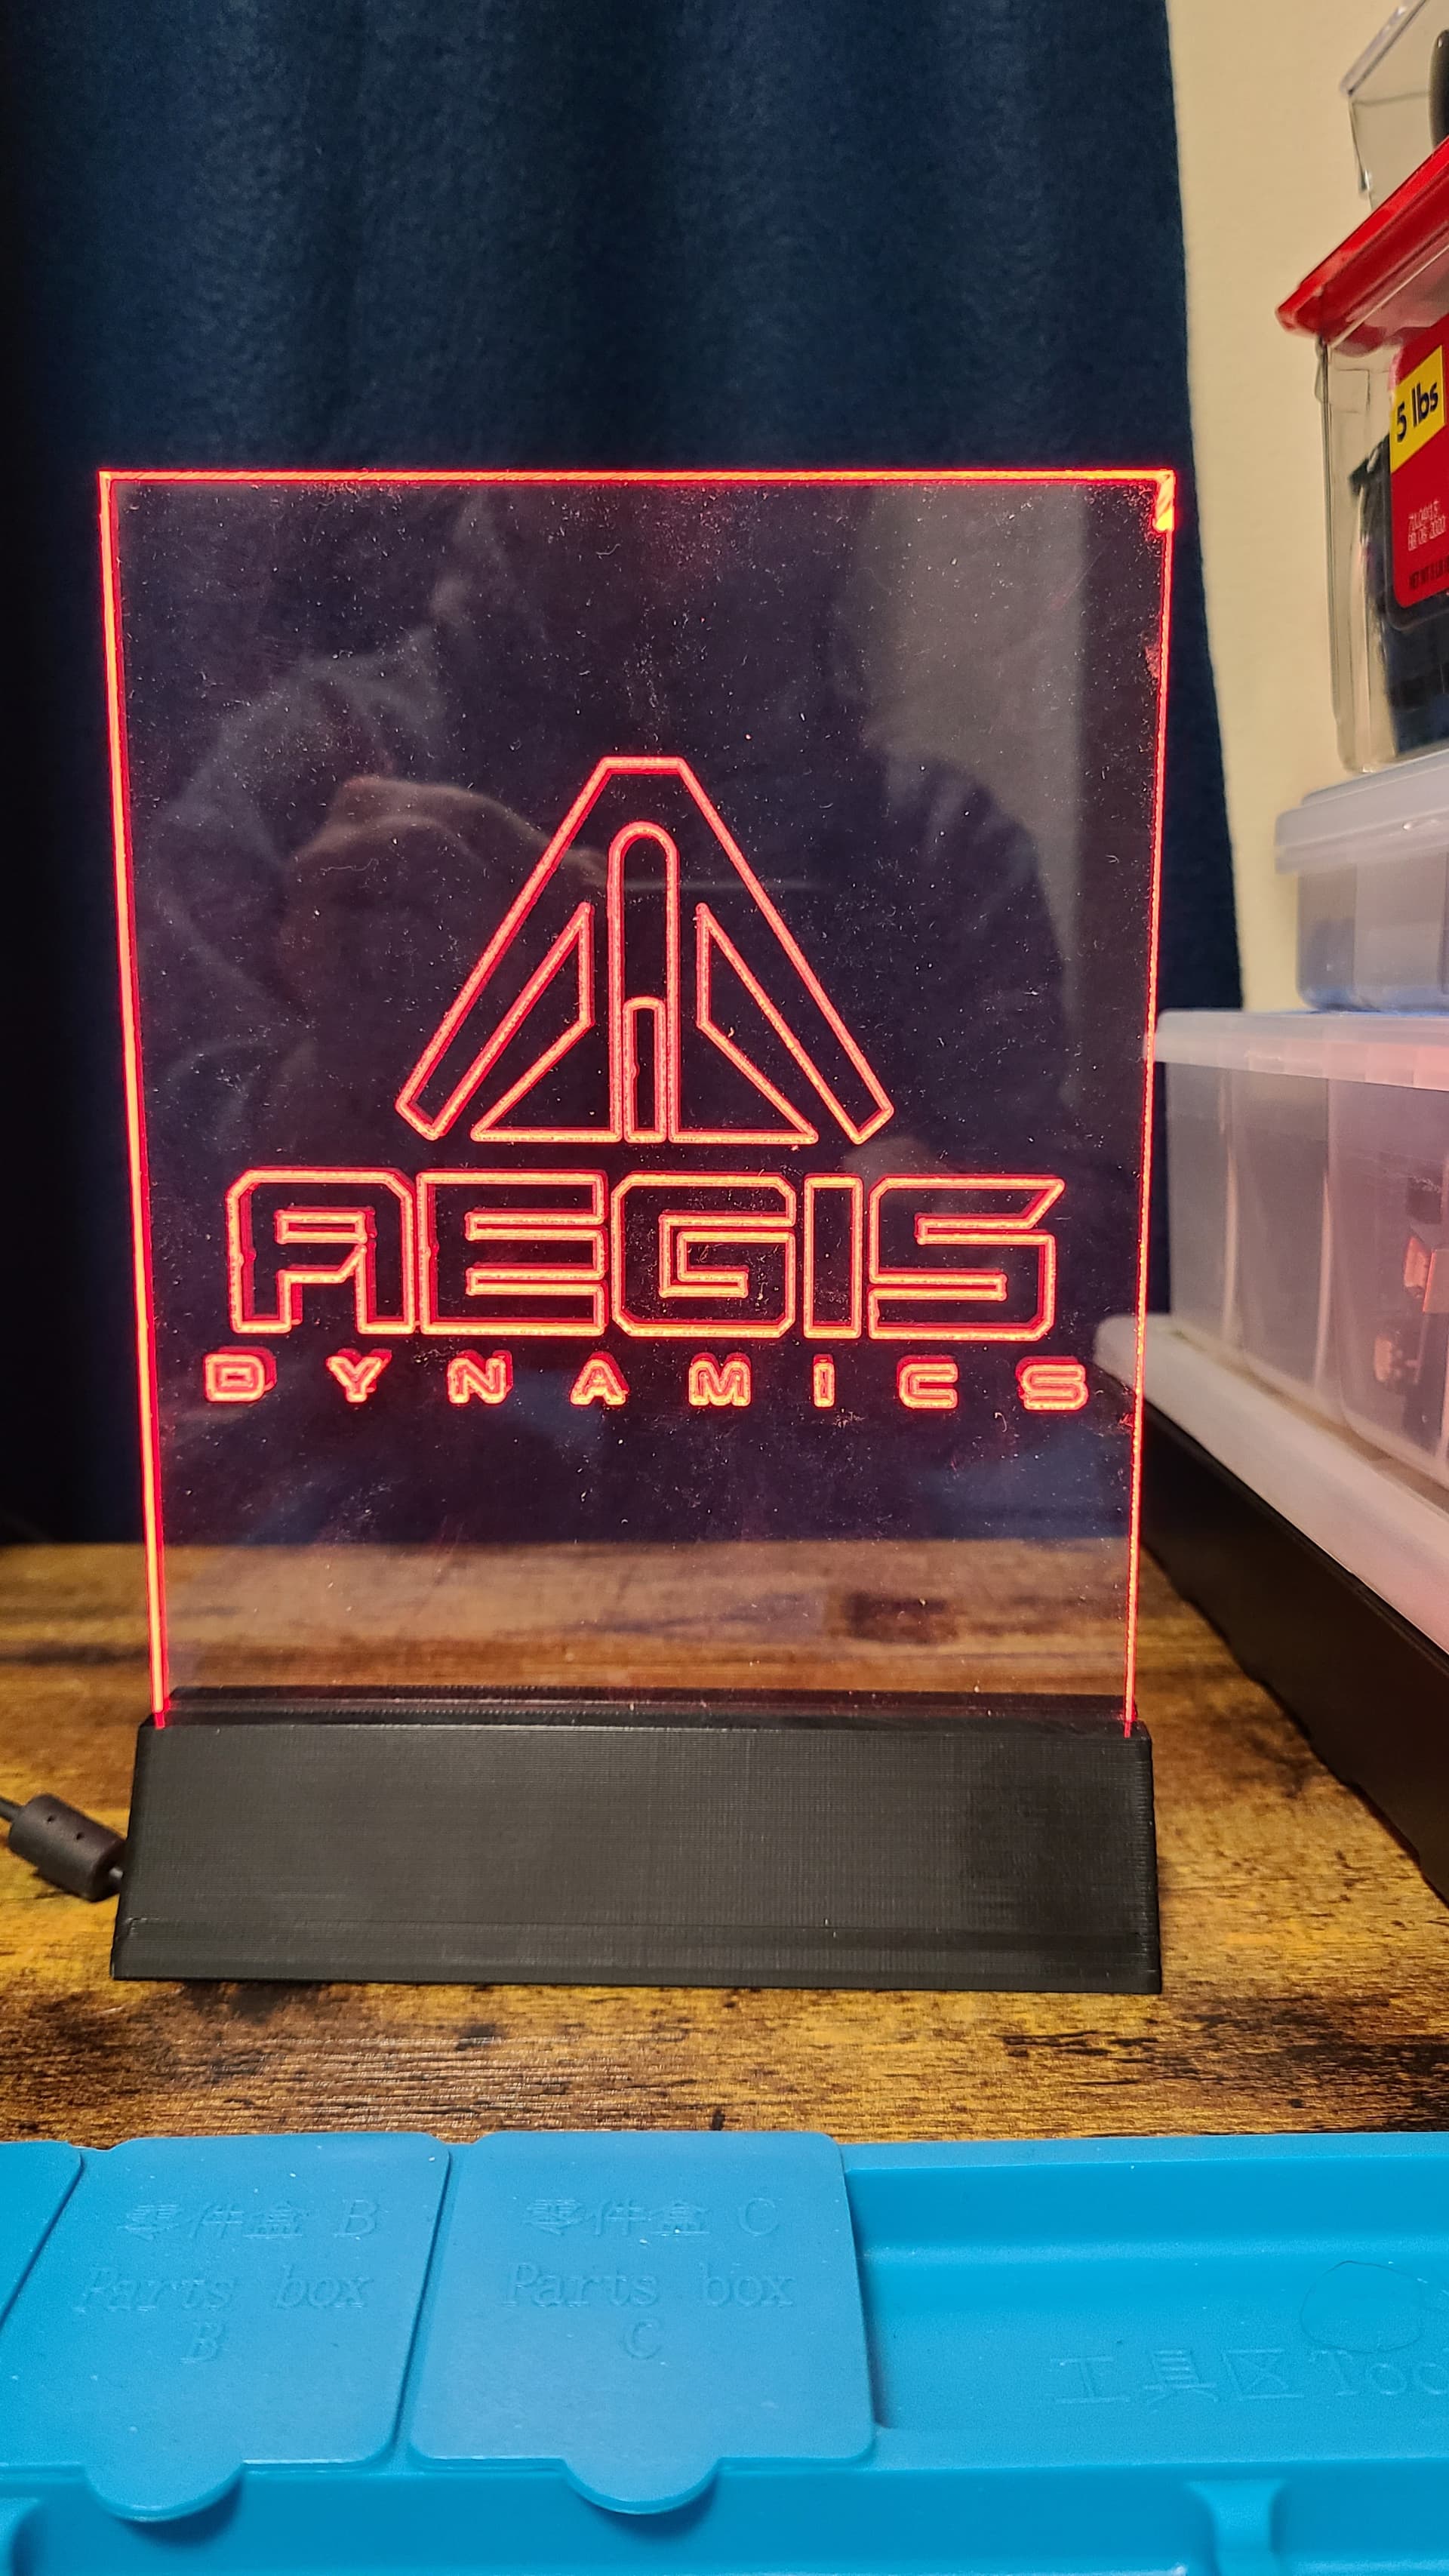
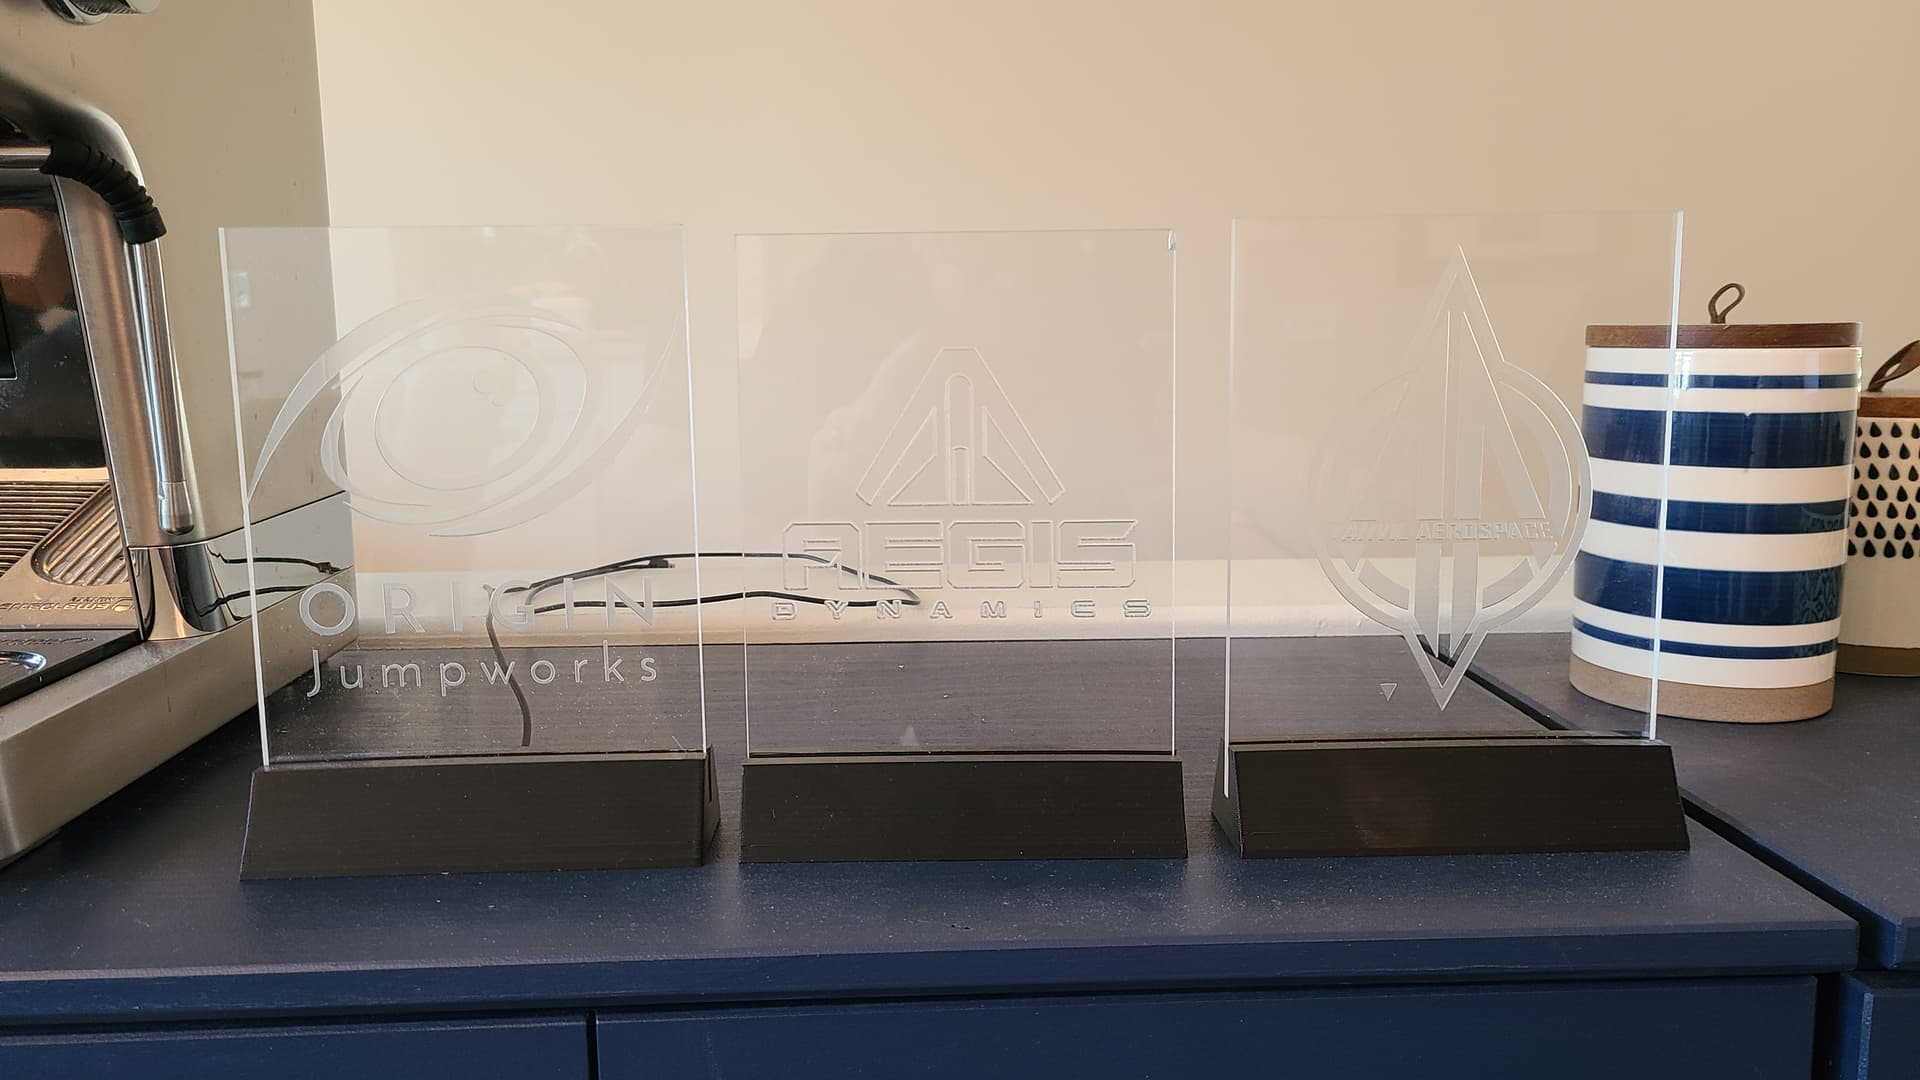
Aaaaaanyway, I finally got some inspiration from a new video game I’ve been playing and decided to make some edge-lit signs.
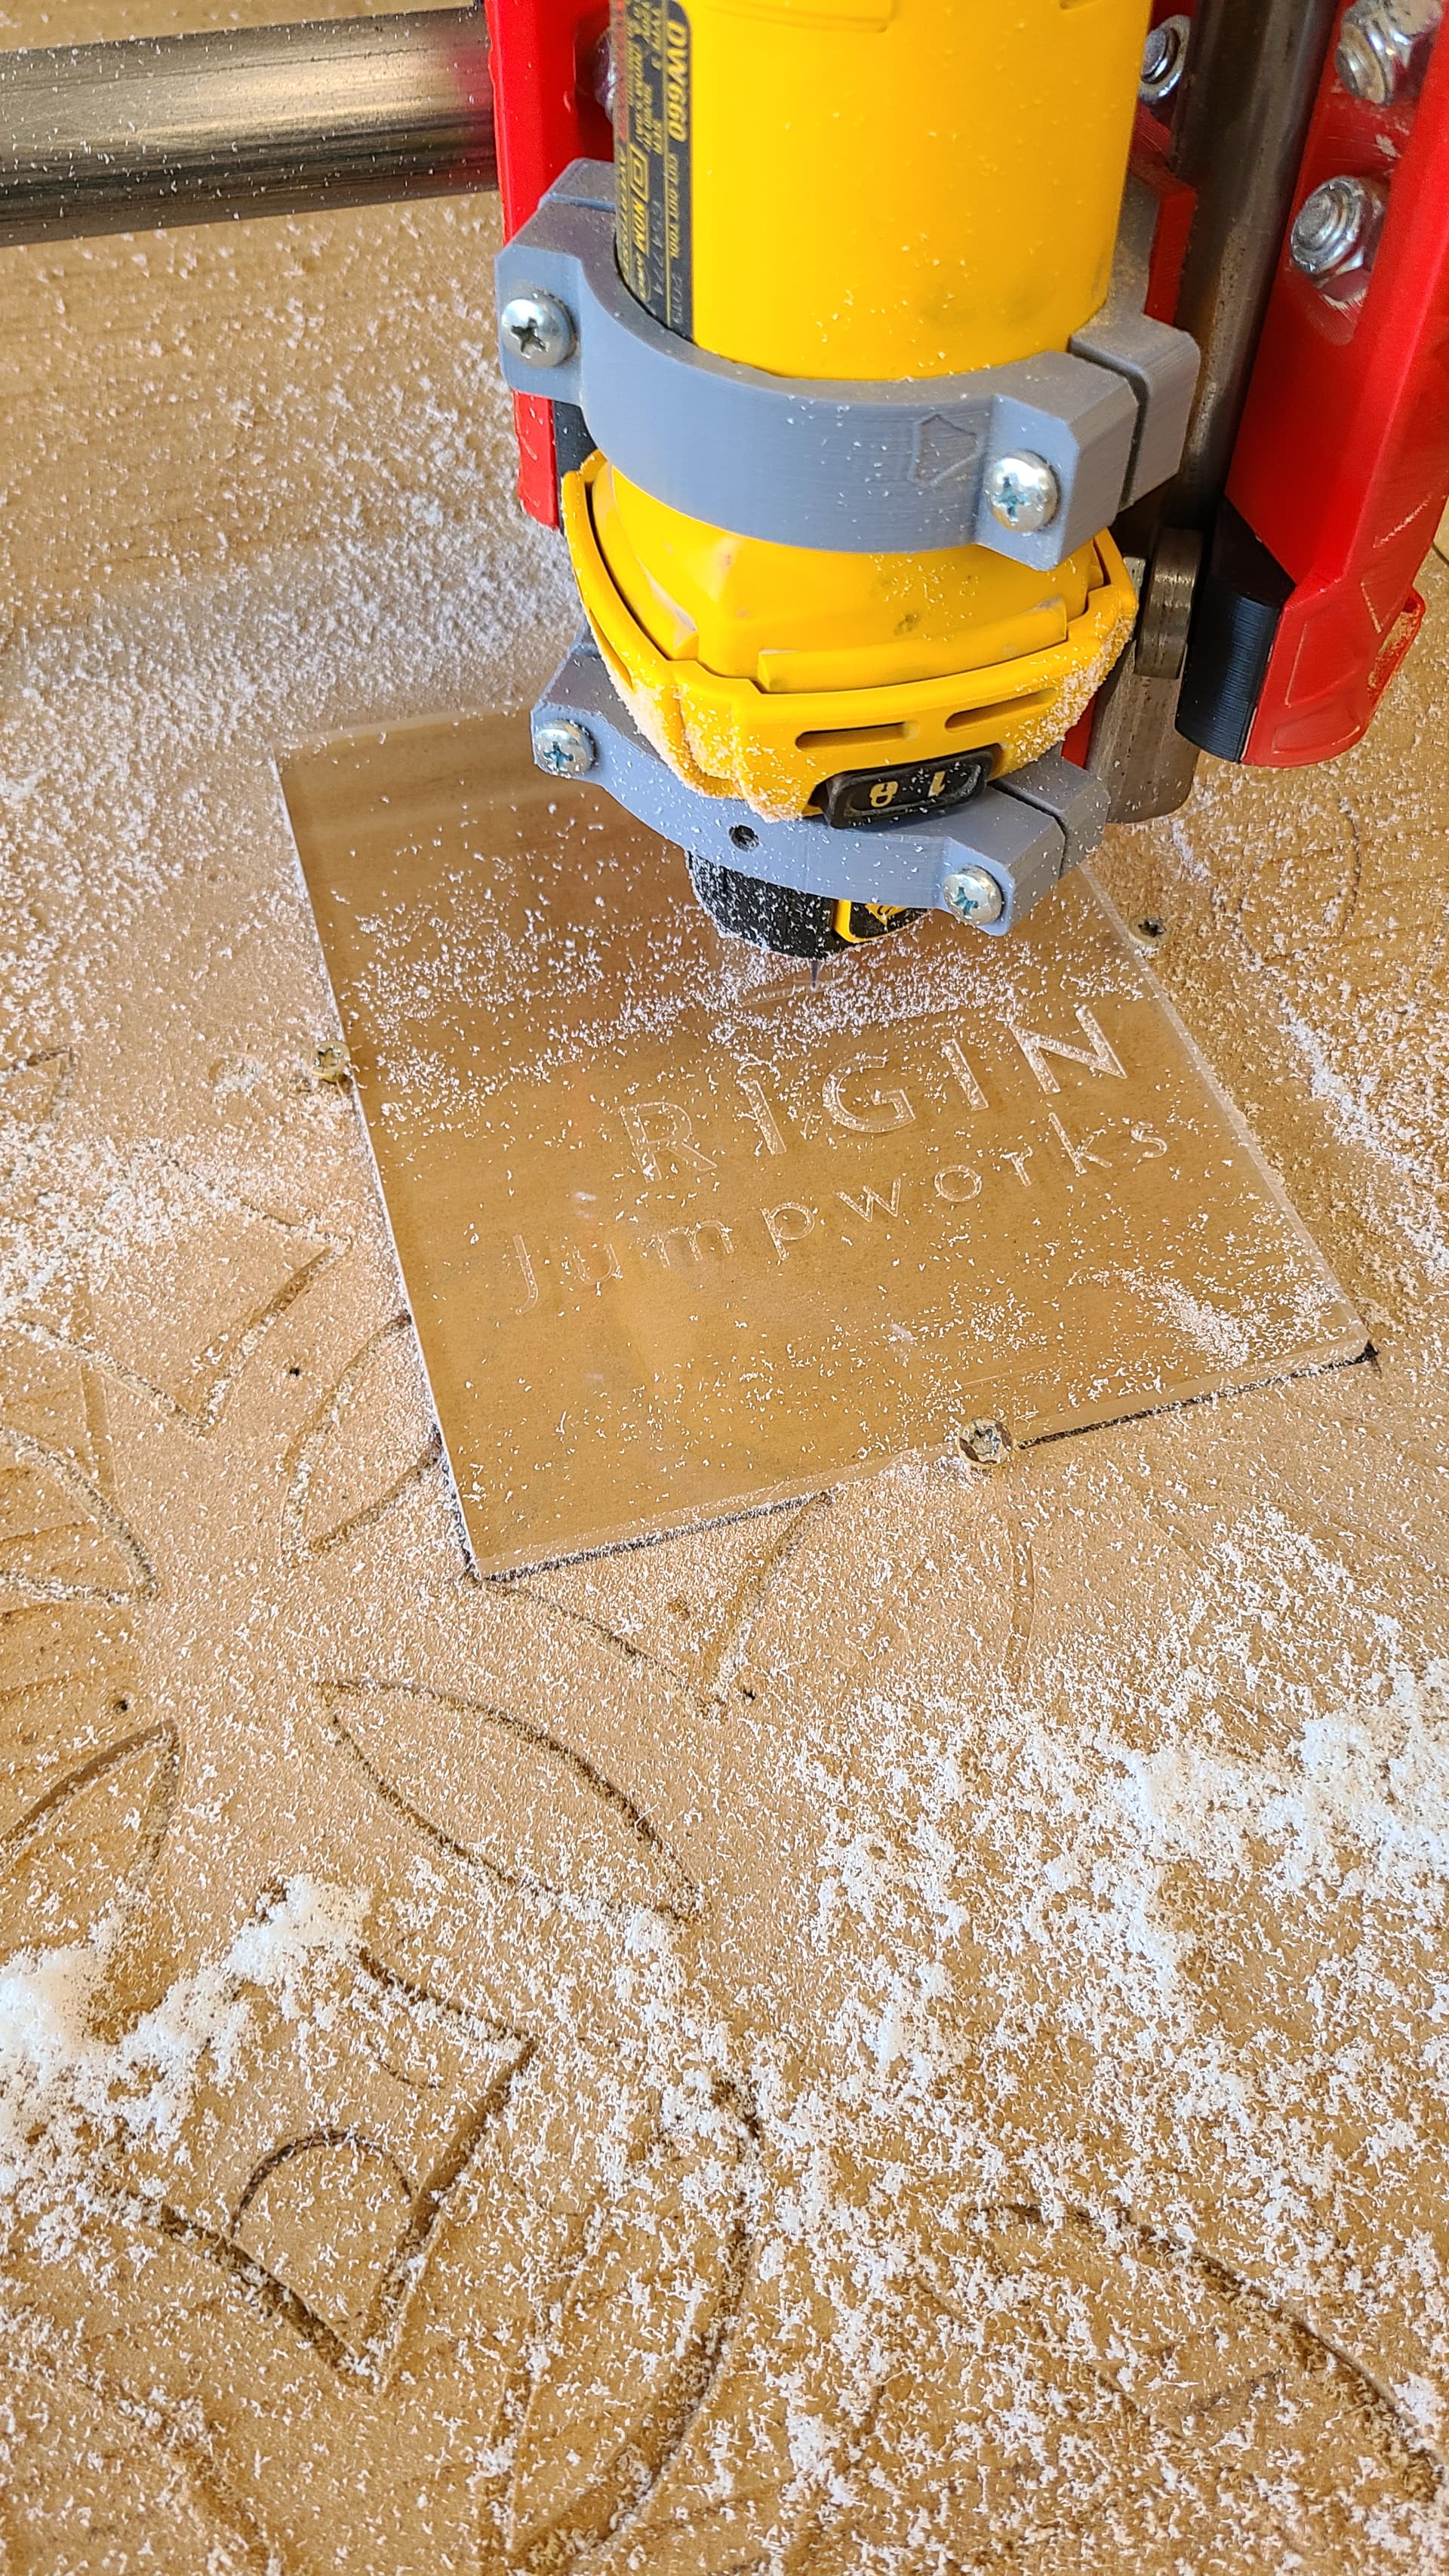
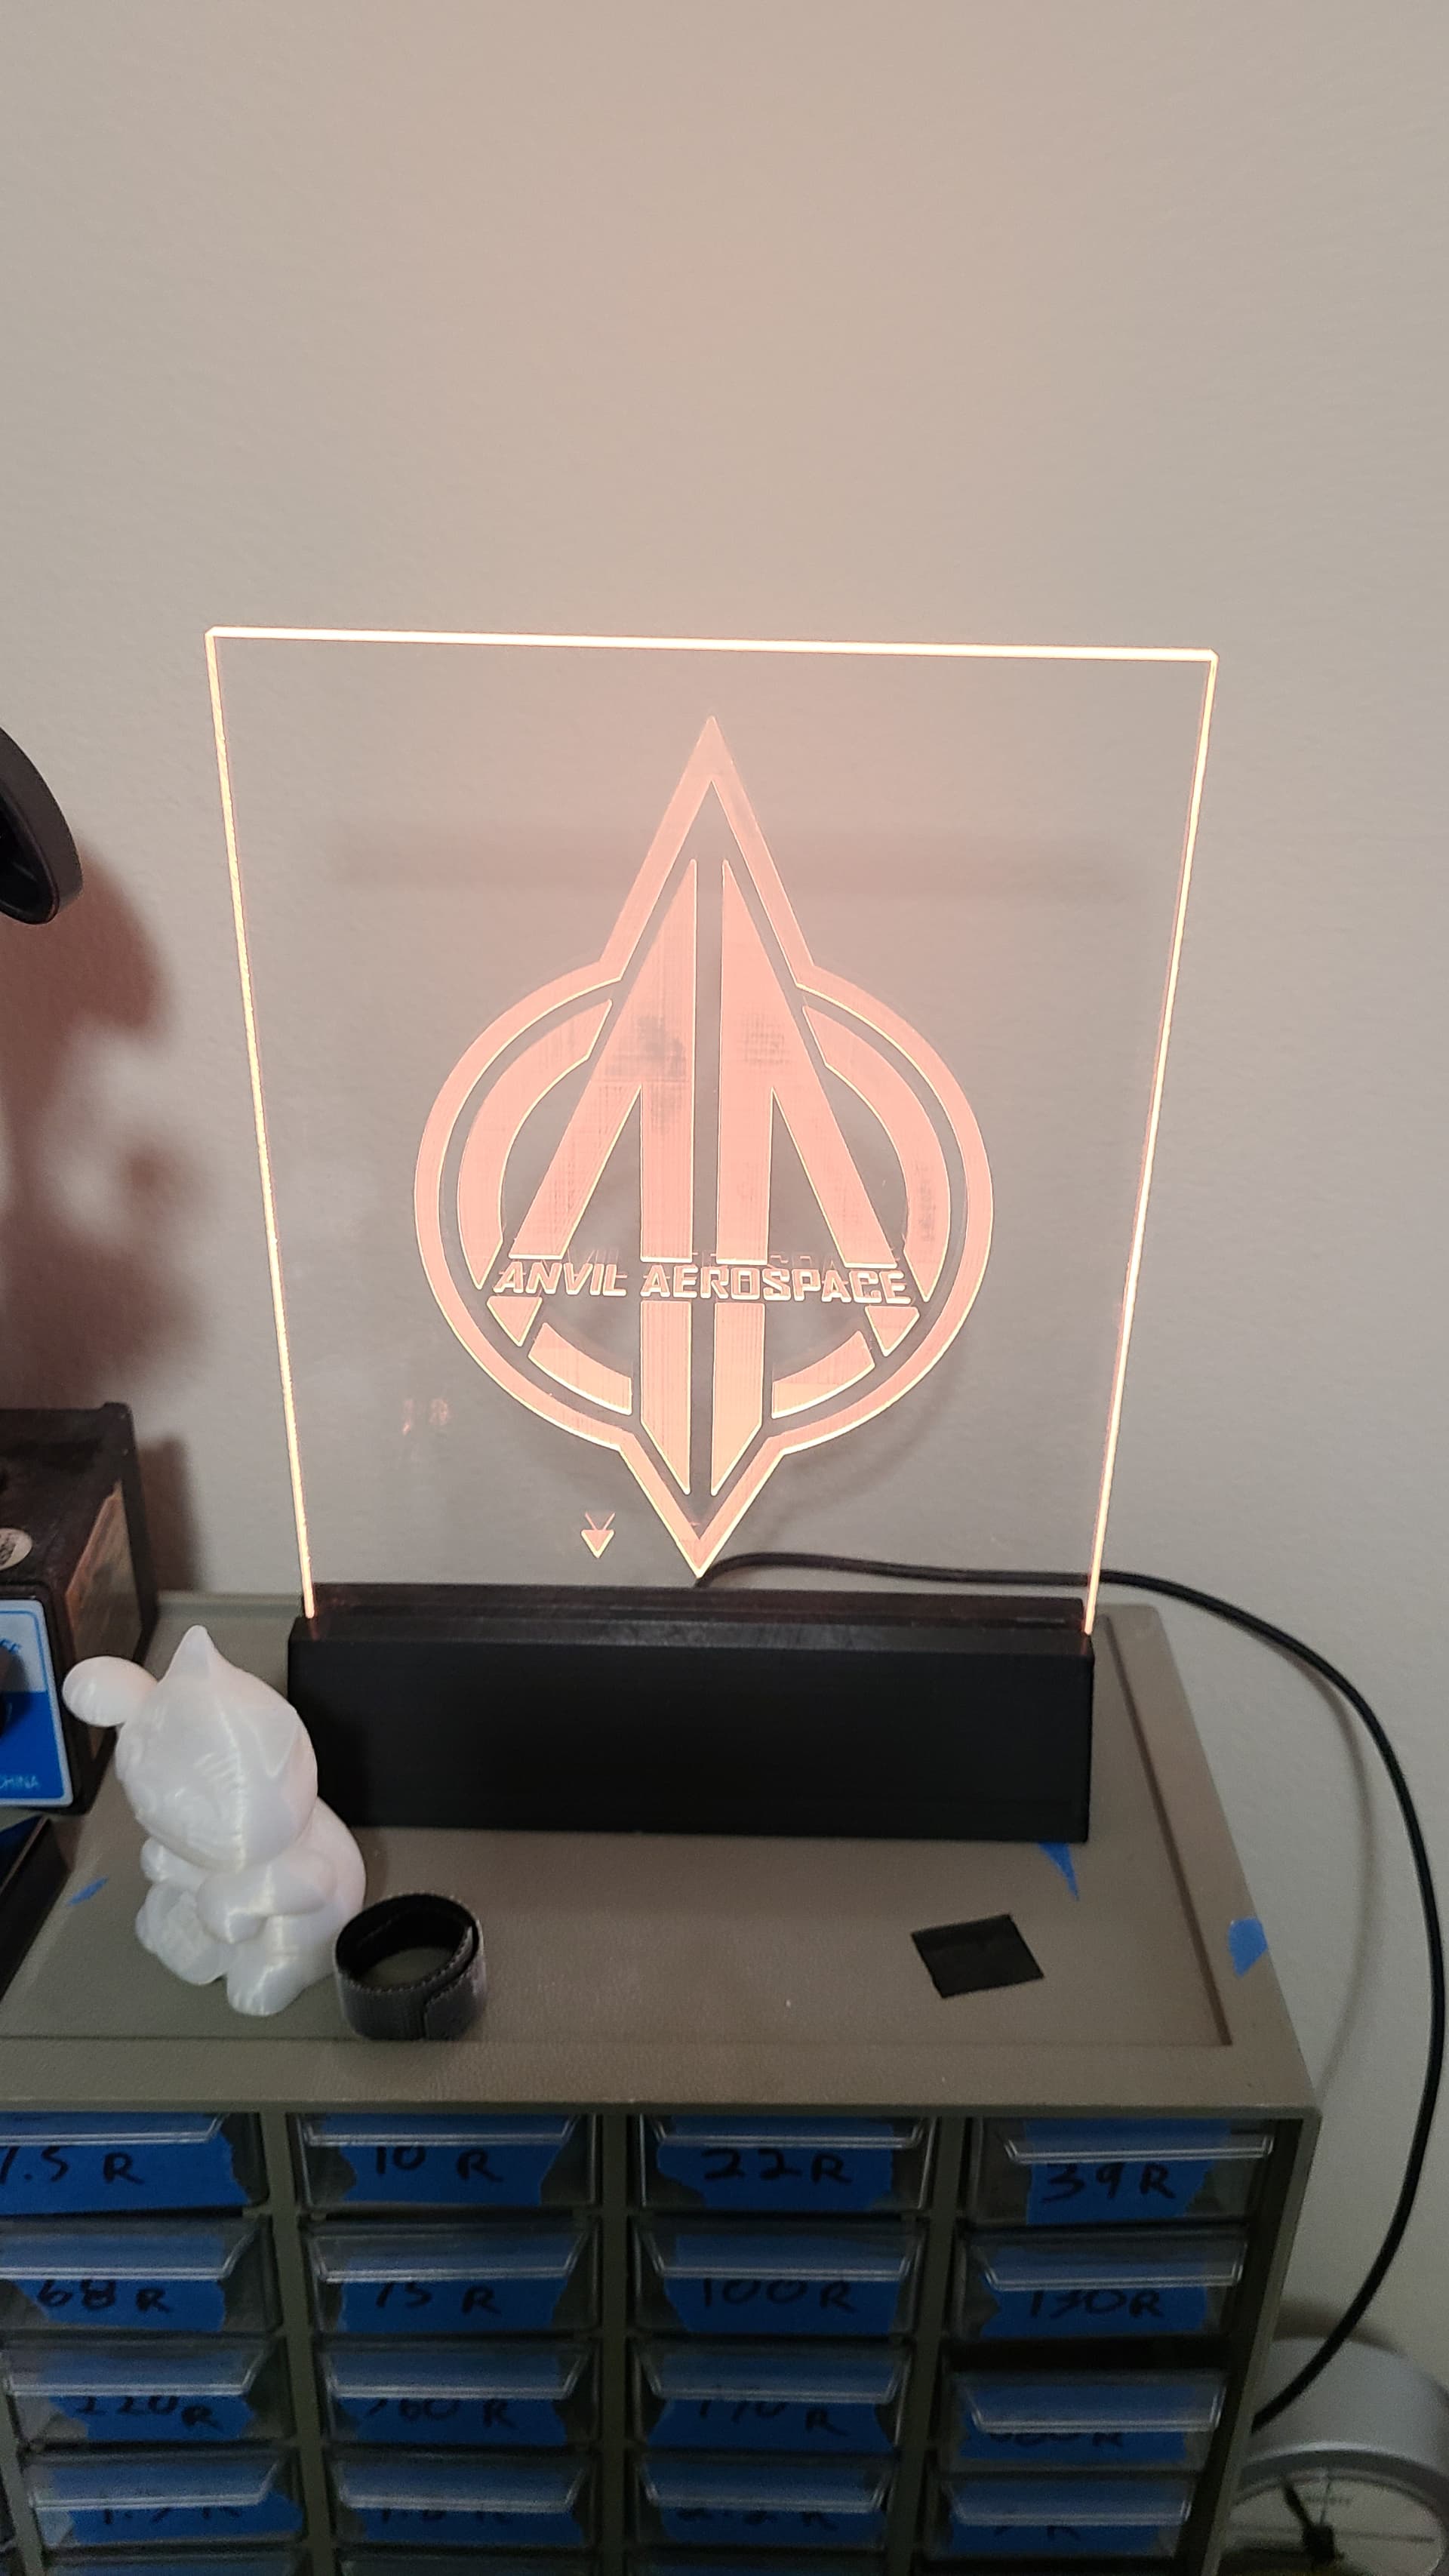
I designed and printed the base, which will ultimately hold a buck converter, ESP-01, and a strip of 7 WS2812B LEDS. The ESP is running WLED which is a great project BTW. I’ll probably just hot-glue everything into the base. The acrylic is 6mm thick (sold to me as 1/4") and the whole pane measures 150mm wide by 200mm tall, with 20mm stuck in the base.
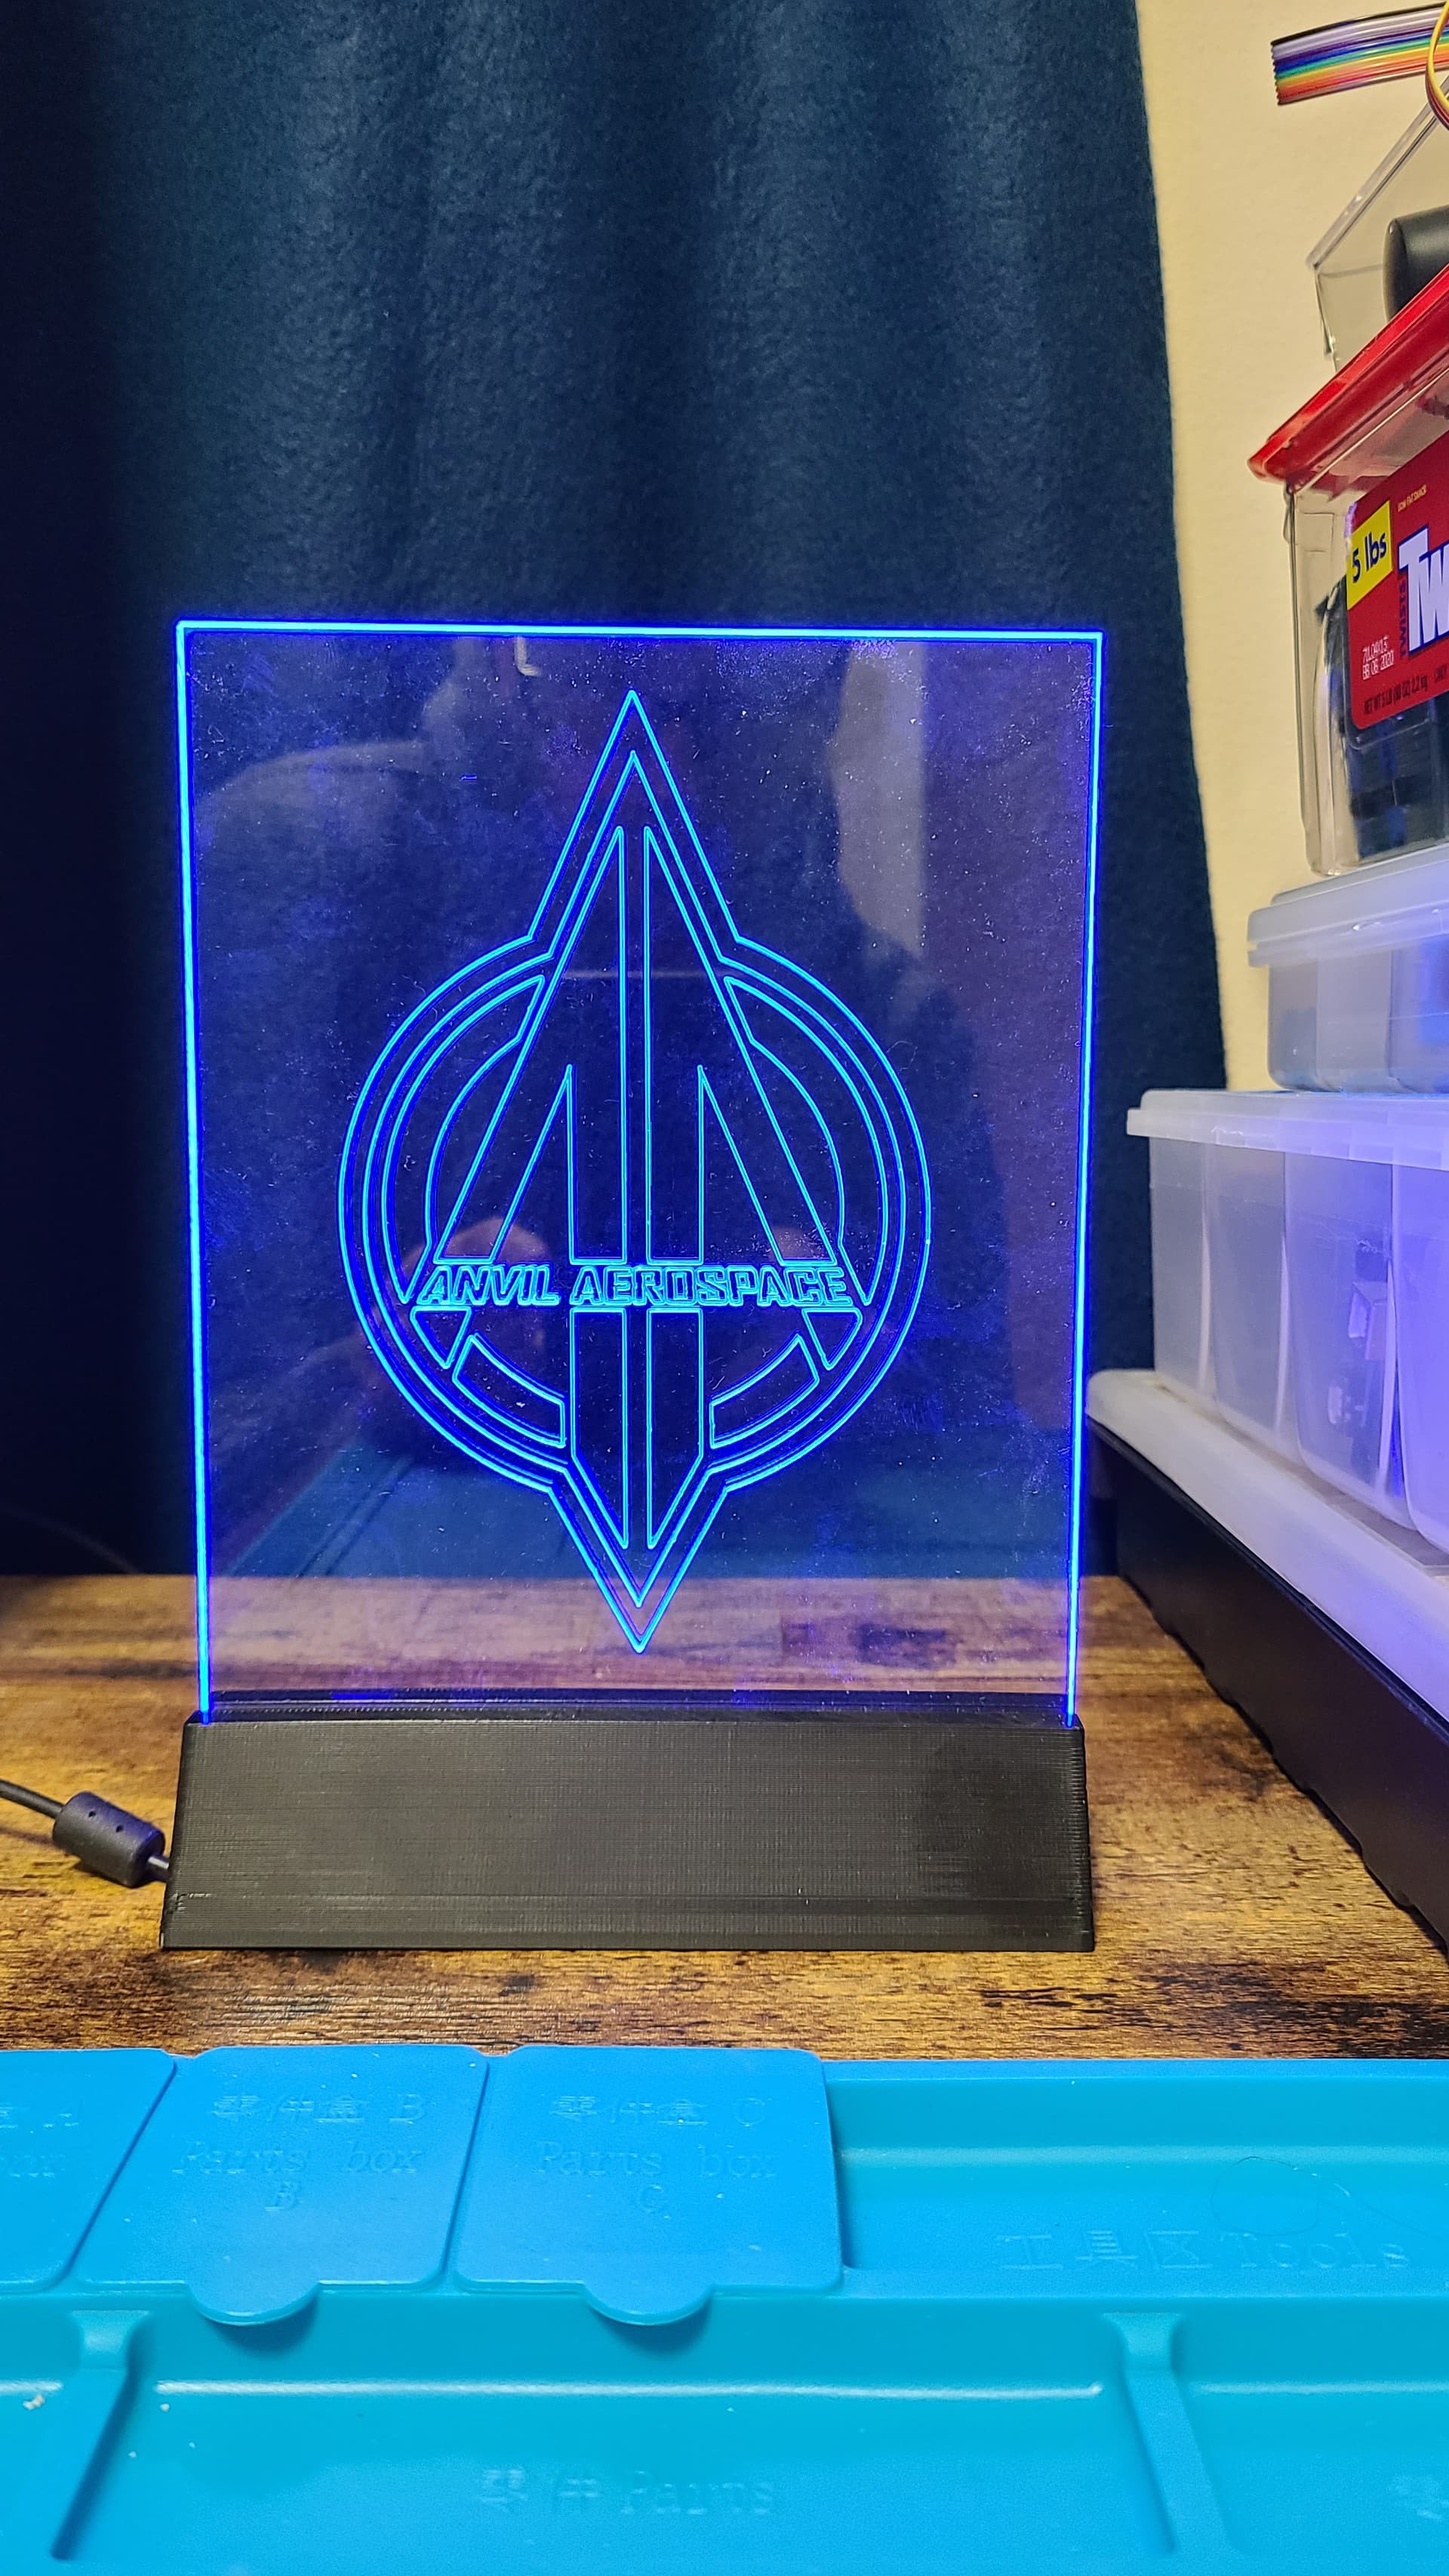
Cuts were made with some crazy camfering bit, I had laying around on the Aegis, and then I decided the detail I wanted was too small, so I bought a pack of .5mm ball-nose bits before cutting the Anvil logo. 1200mm/min XY, 300mm/min Z. It looks like the bit kicked/chipped out a little at the start of each path, so the next ones will have a slower plunge, with a 45 degree lead-in. I think that should keep it clean.
So im sitting in my garage waiting for a run to finish, and realize the face of the trucks is the shape of the V1 logo. I cant believe I’m just seeing this now.
The early versions were more so, but yes I got the logo from the skirts left on the bed from printing lots of prototypes a year or two in…vicious circle, to V1 Engineering.
I have the same laser. I have yet to install it, but I have an air assist. If you want to cut deeper, you’ll want that so the smoke doesn’t reflect the laser and it’ll cut deeper.
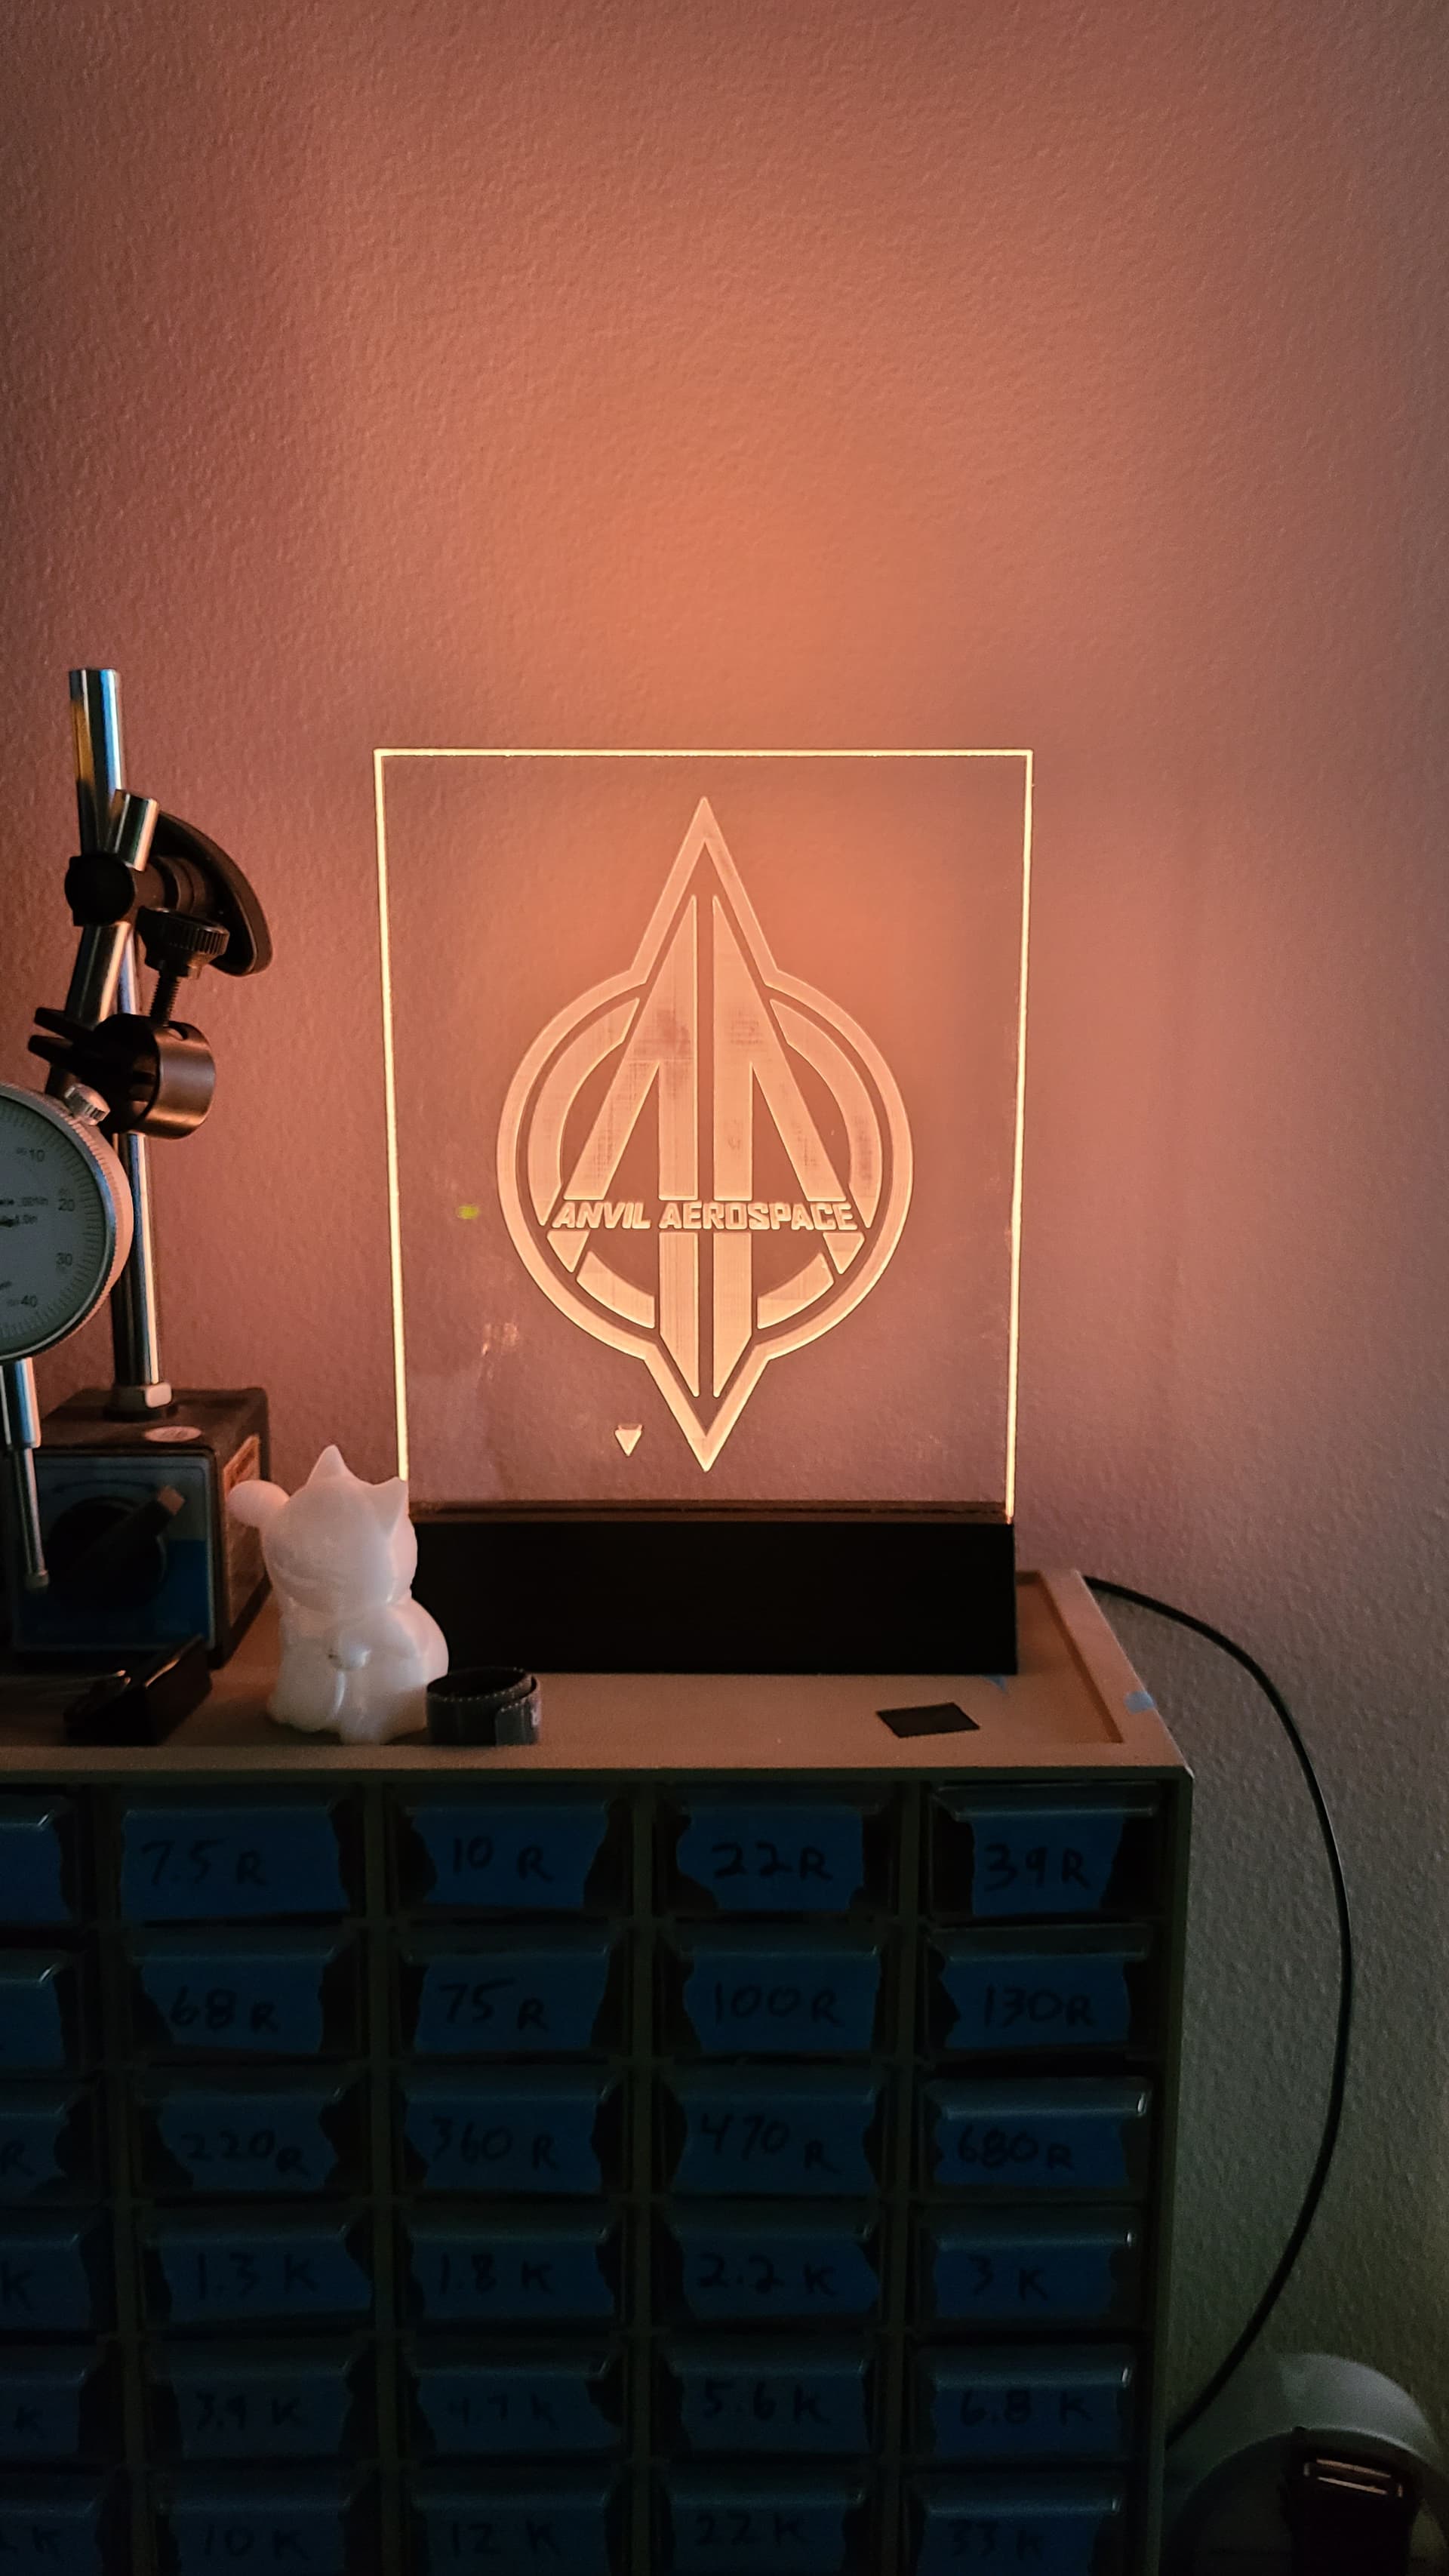
Here’s another sign. Same Anvil logo, but this time I used a fill strategy instead of just lines. Looks way better I think. If only I didn’t zero my axes backwards the first time I started, it would’ve been great😪
Anthony Daniels (actor who plays C3PO) was a friend of the man who ran our graduate program, and he came to our inaugural production. He told us a great story of being on the Millennium Falcon set and by moving his head about 4" mentally shifted from “a galaxy far far away” to seeing the crew’s Styrofoam coffee cups tucked in the gaps on the back of the walls.
I love knowing how much of the “magic” behind the scenes is done, and as long as it is outside the audience’s view, it’s exactly the solution that’s needed.
 The market wanted us to sell, and we have longer term plans to move out of the country in a couple of years, so it had to be done.