Old Burly stuff free here.
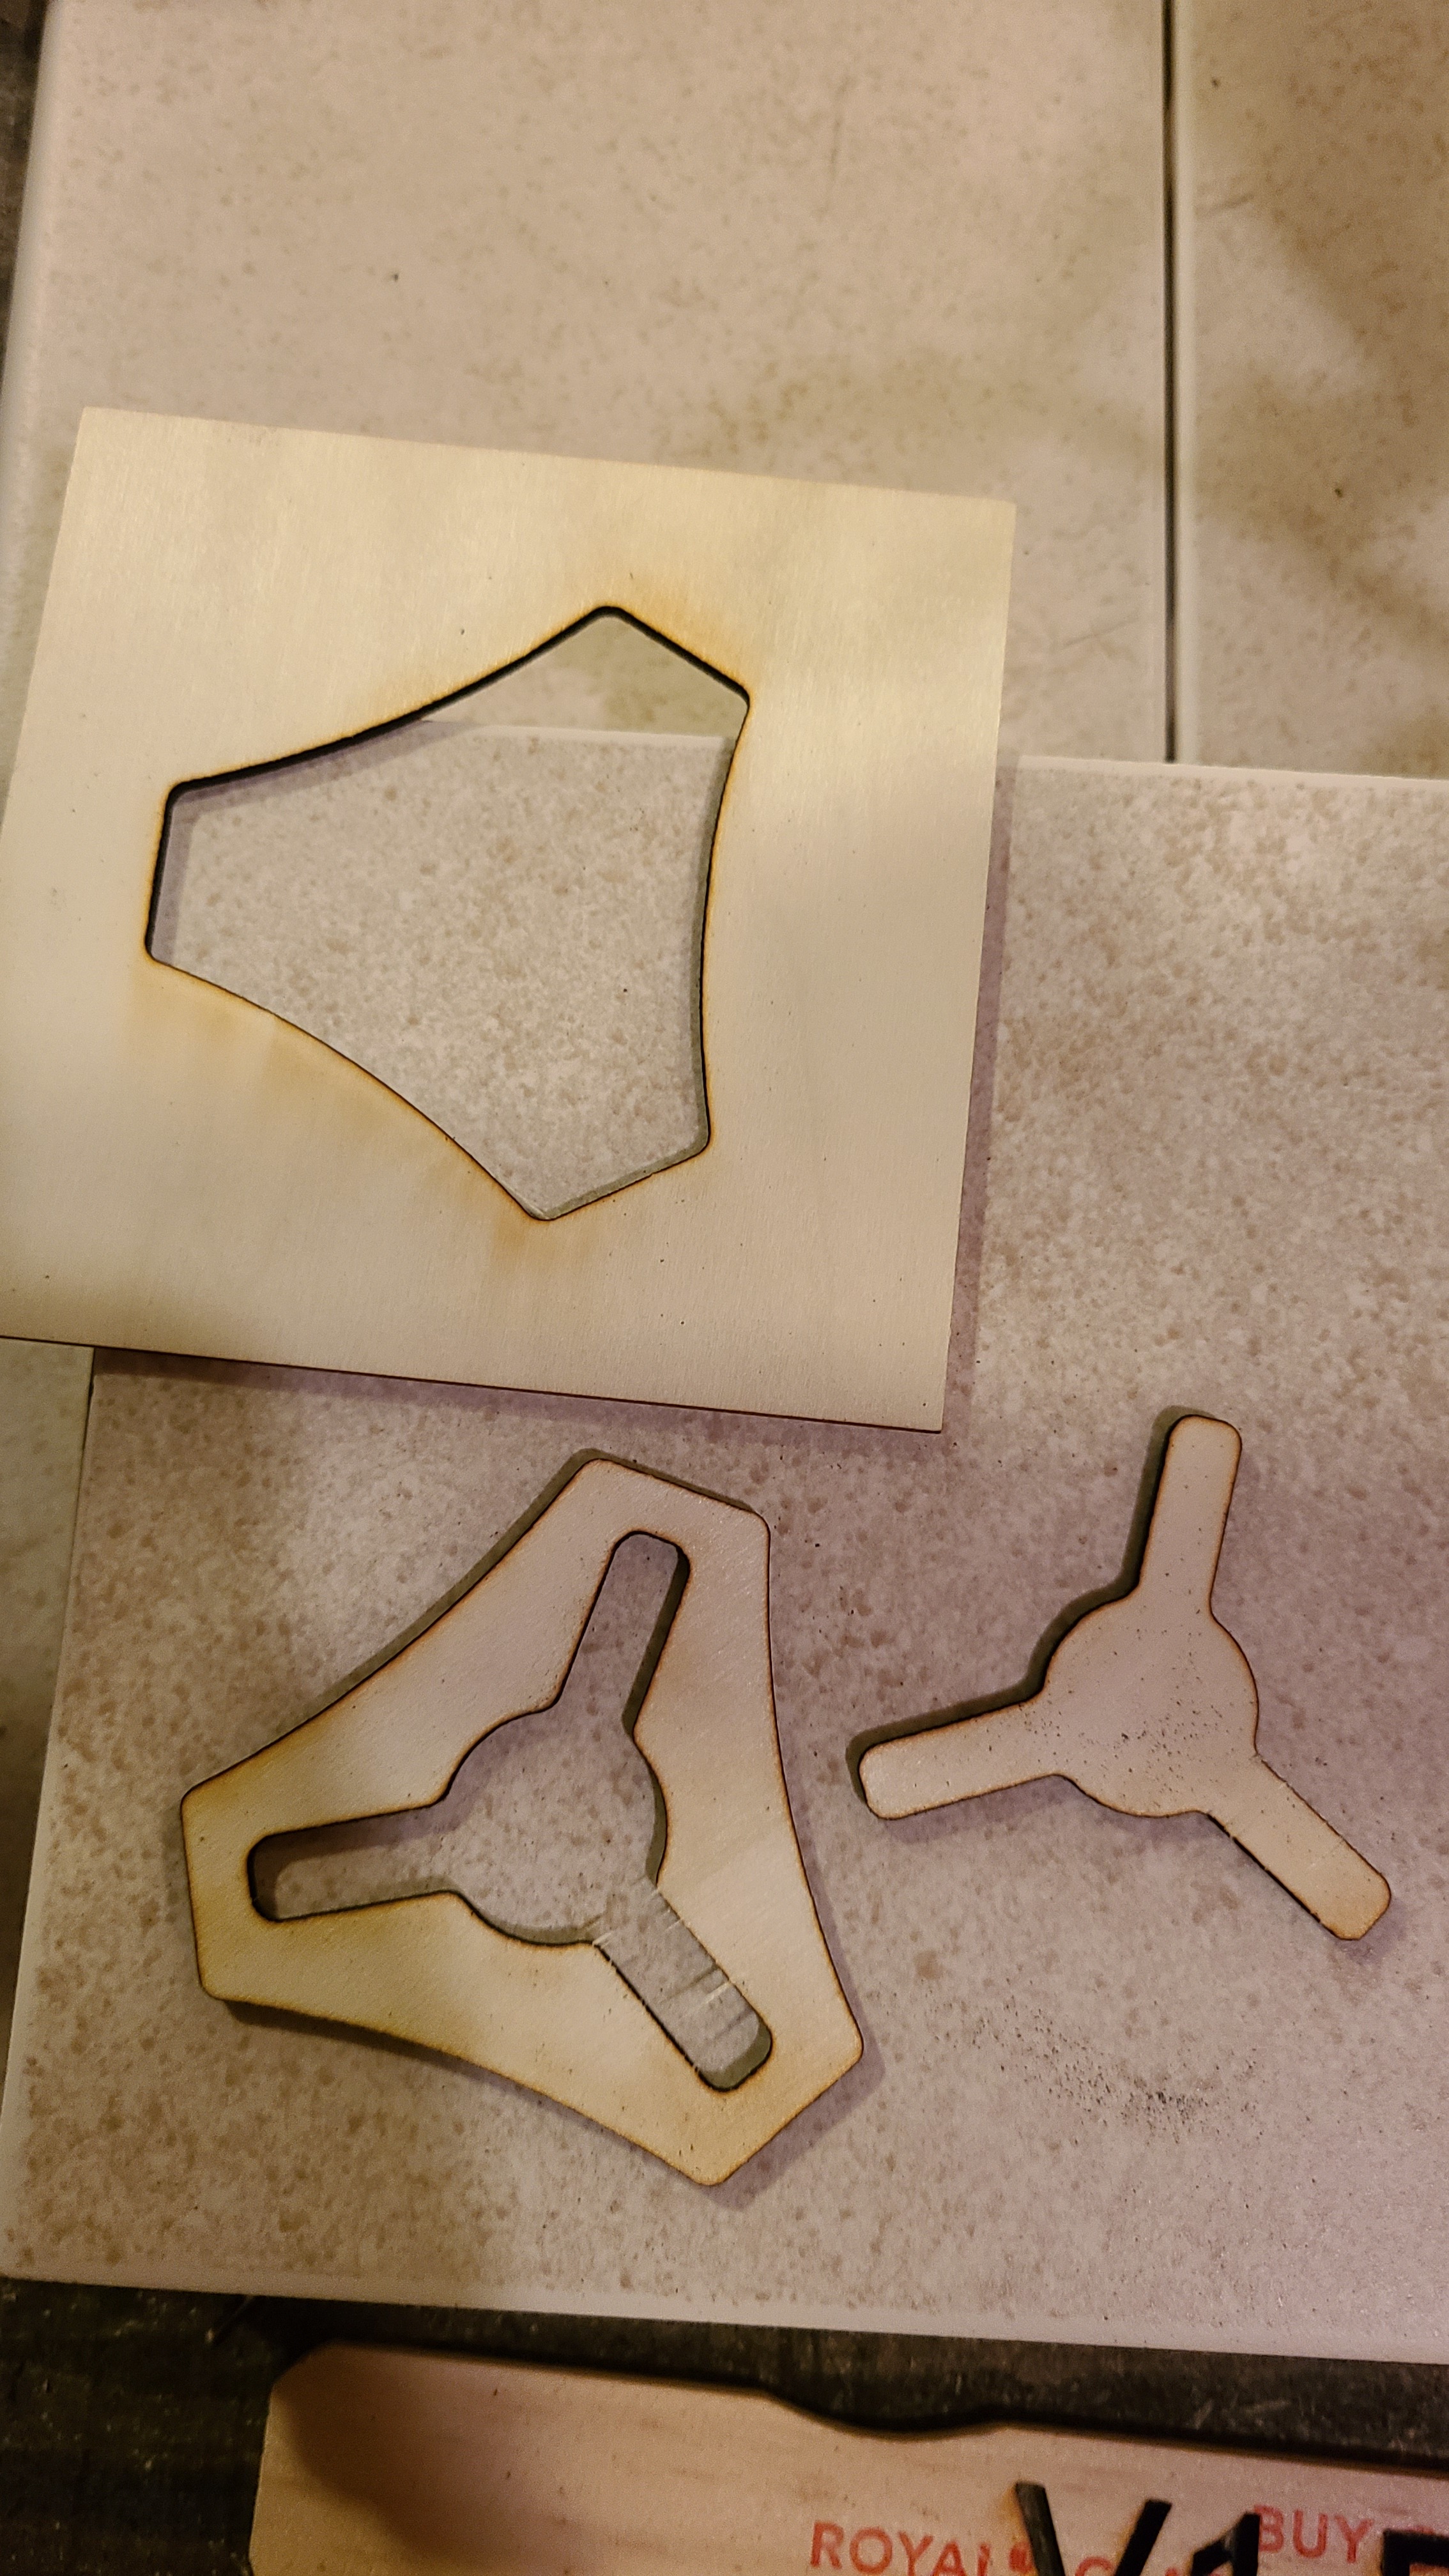
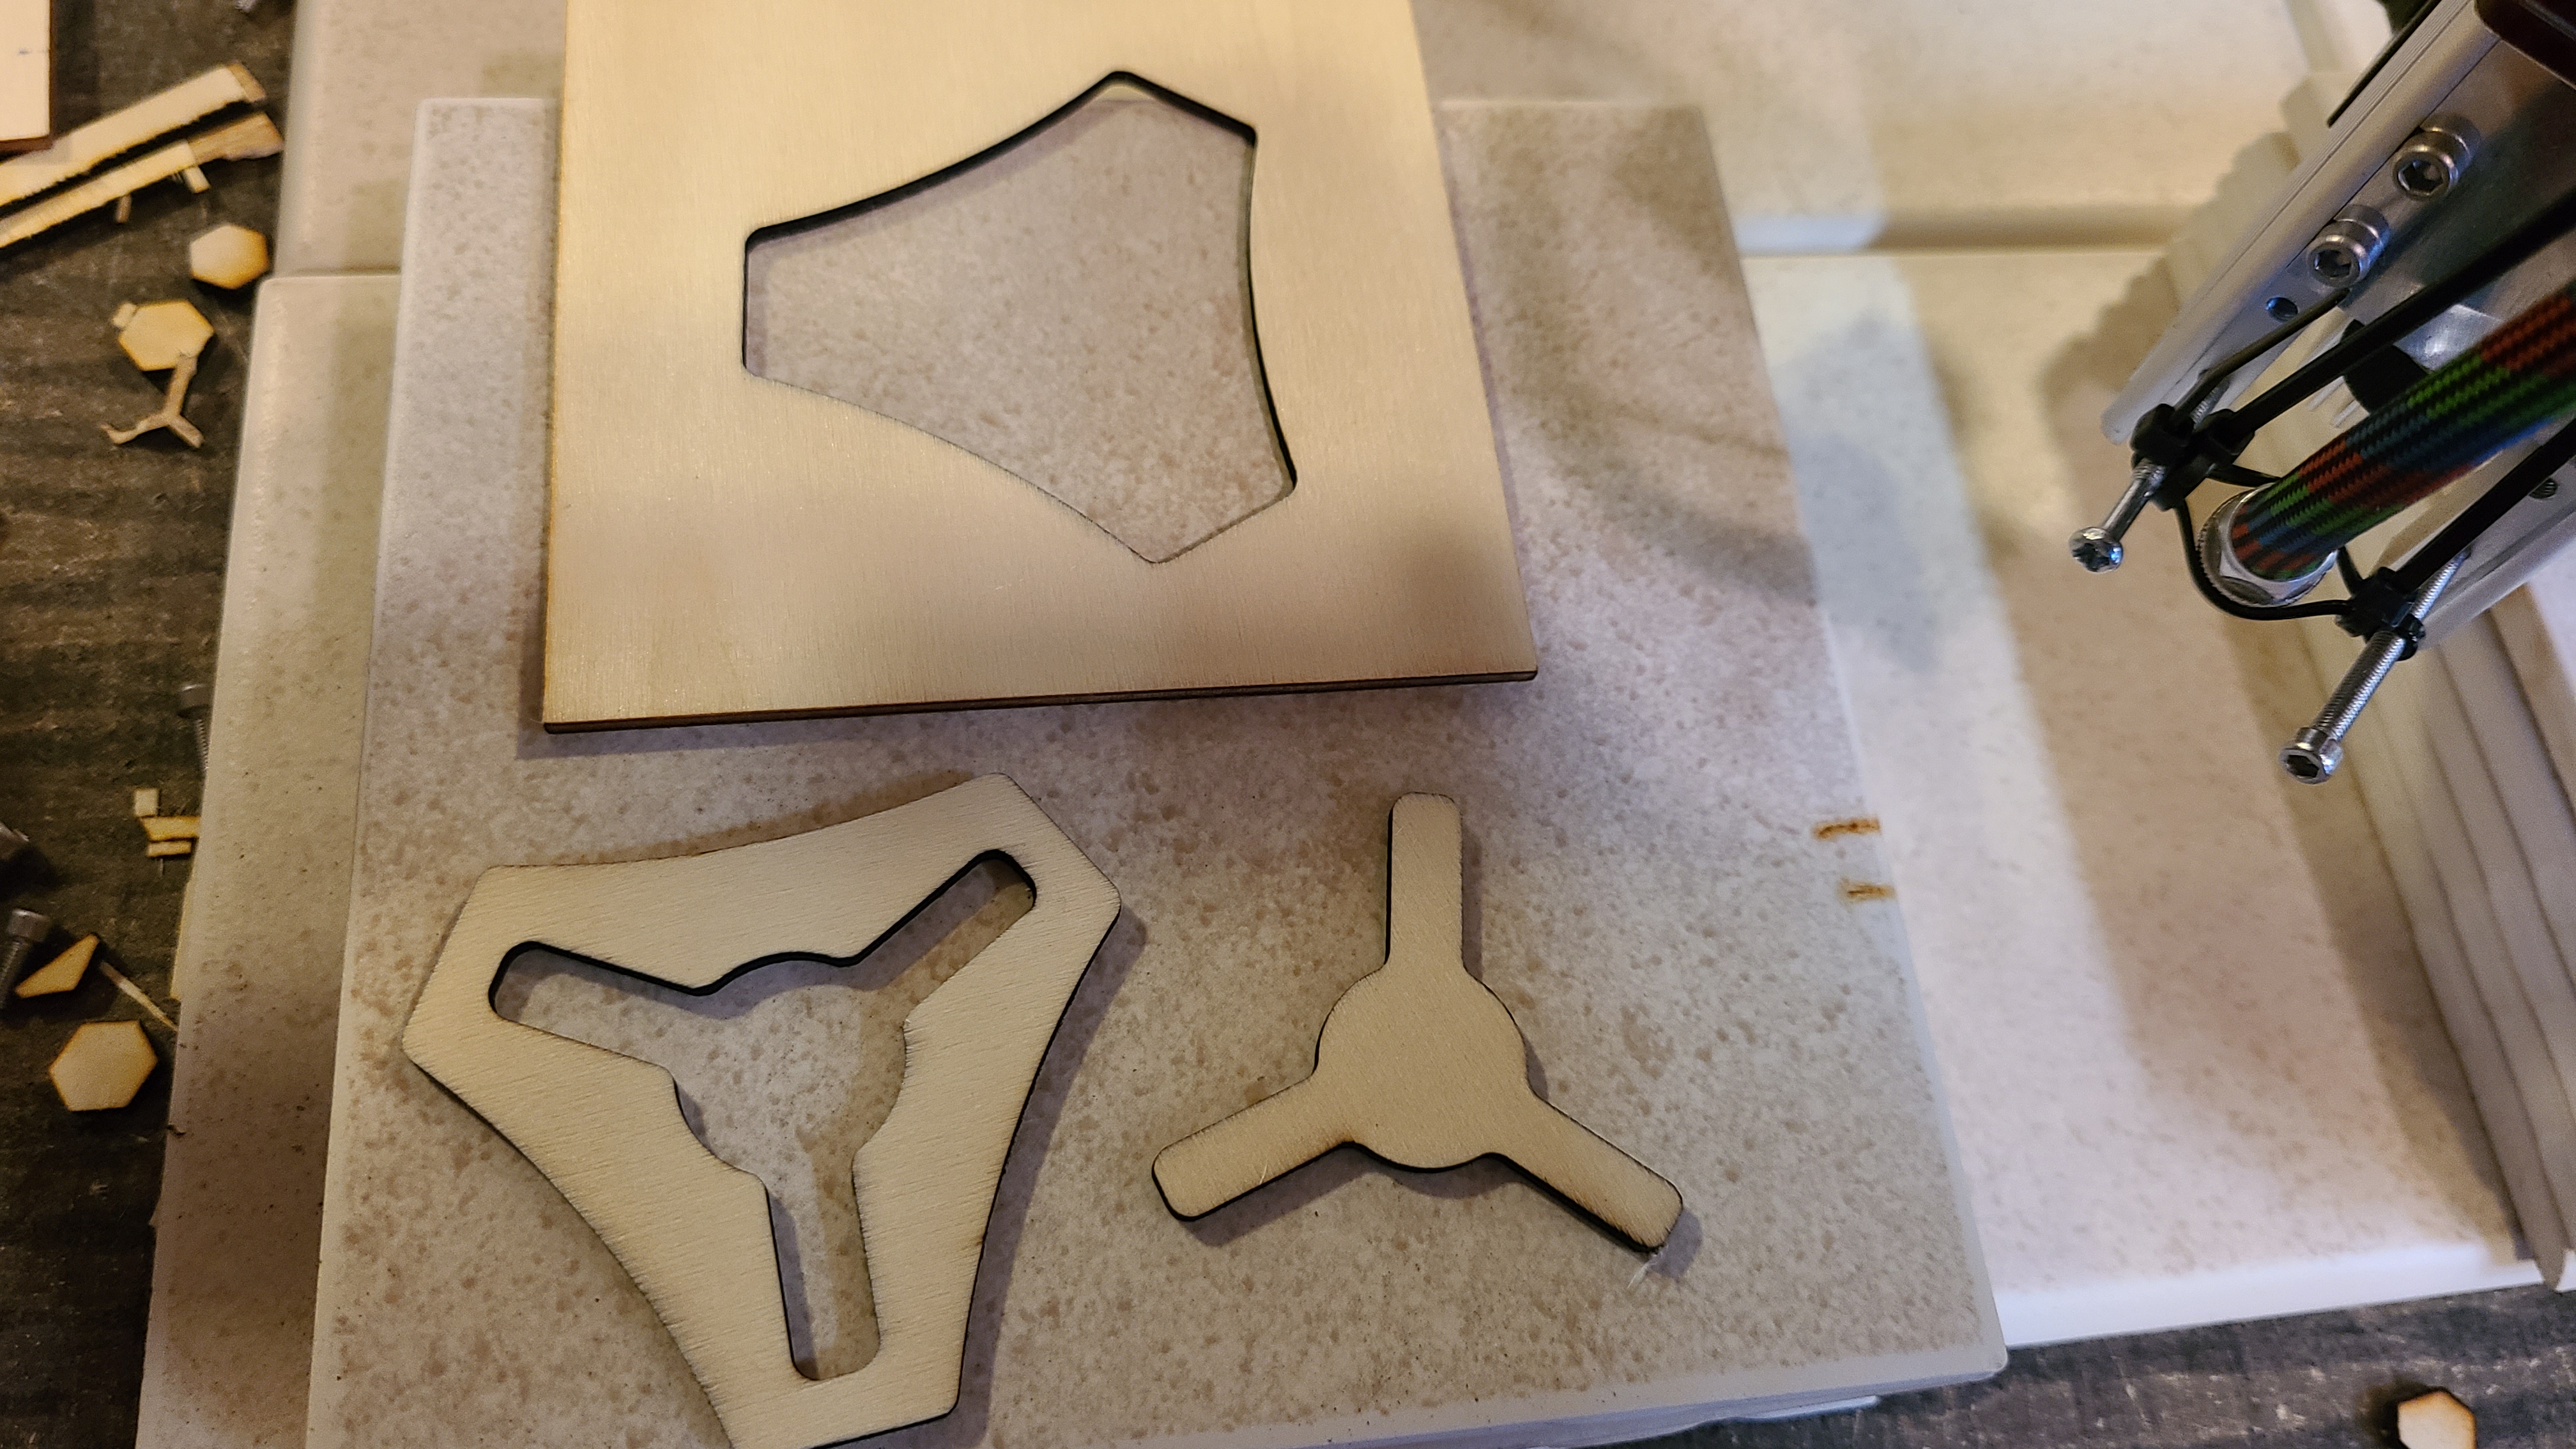
So I figured I’d give some 3D milling a try. The first few tries were, lets just say, learning experiences. But a couple hours later…
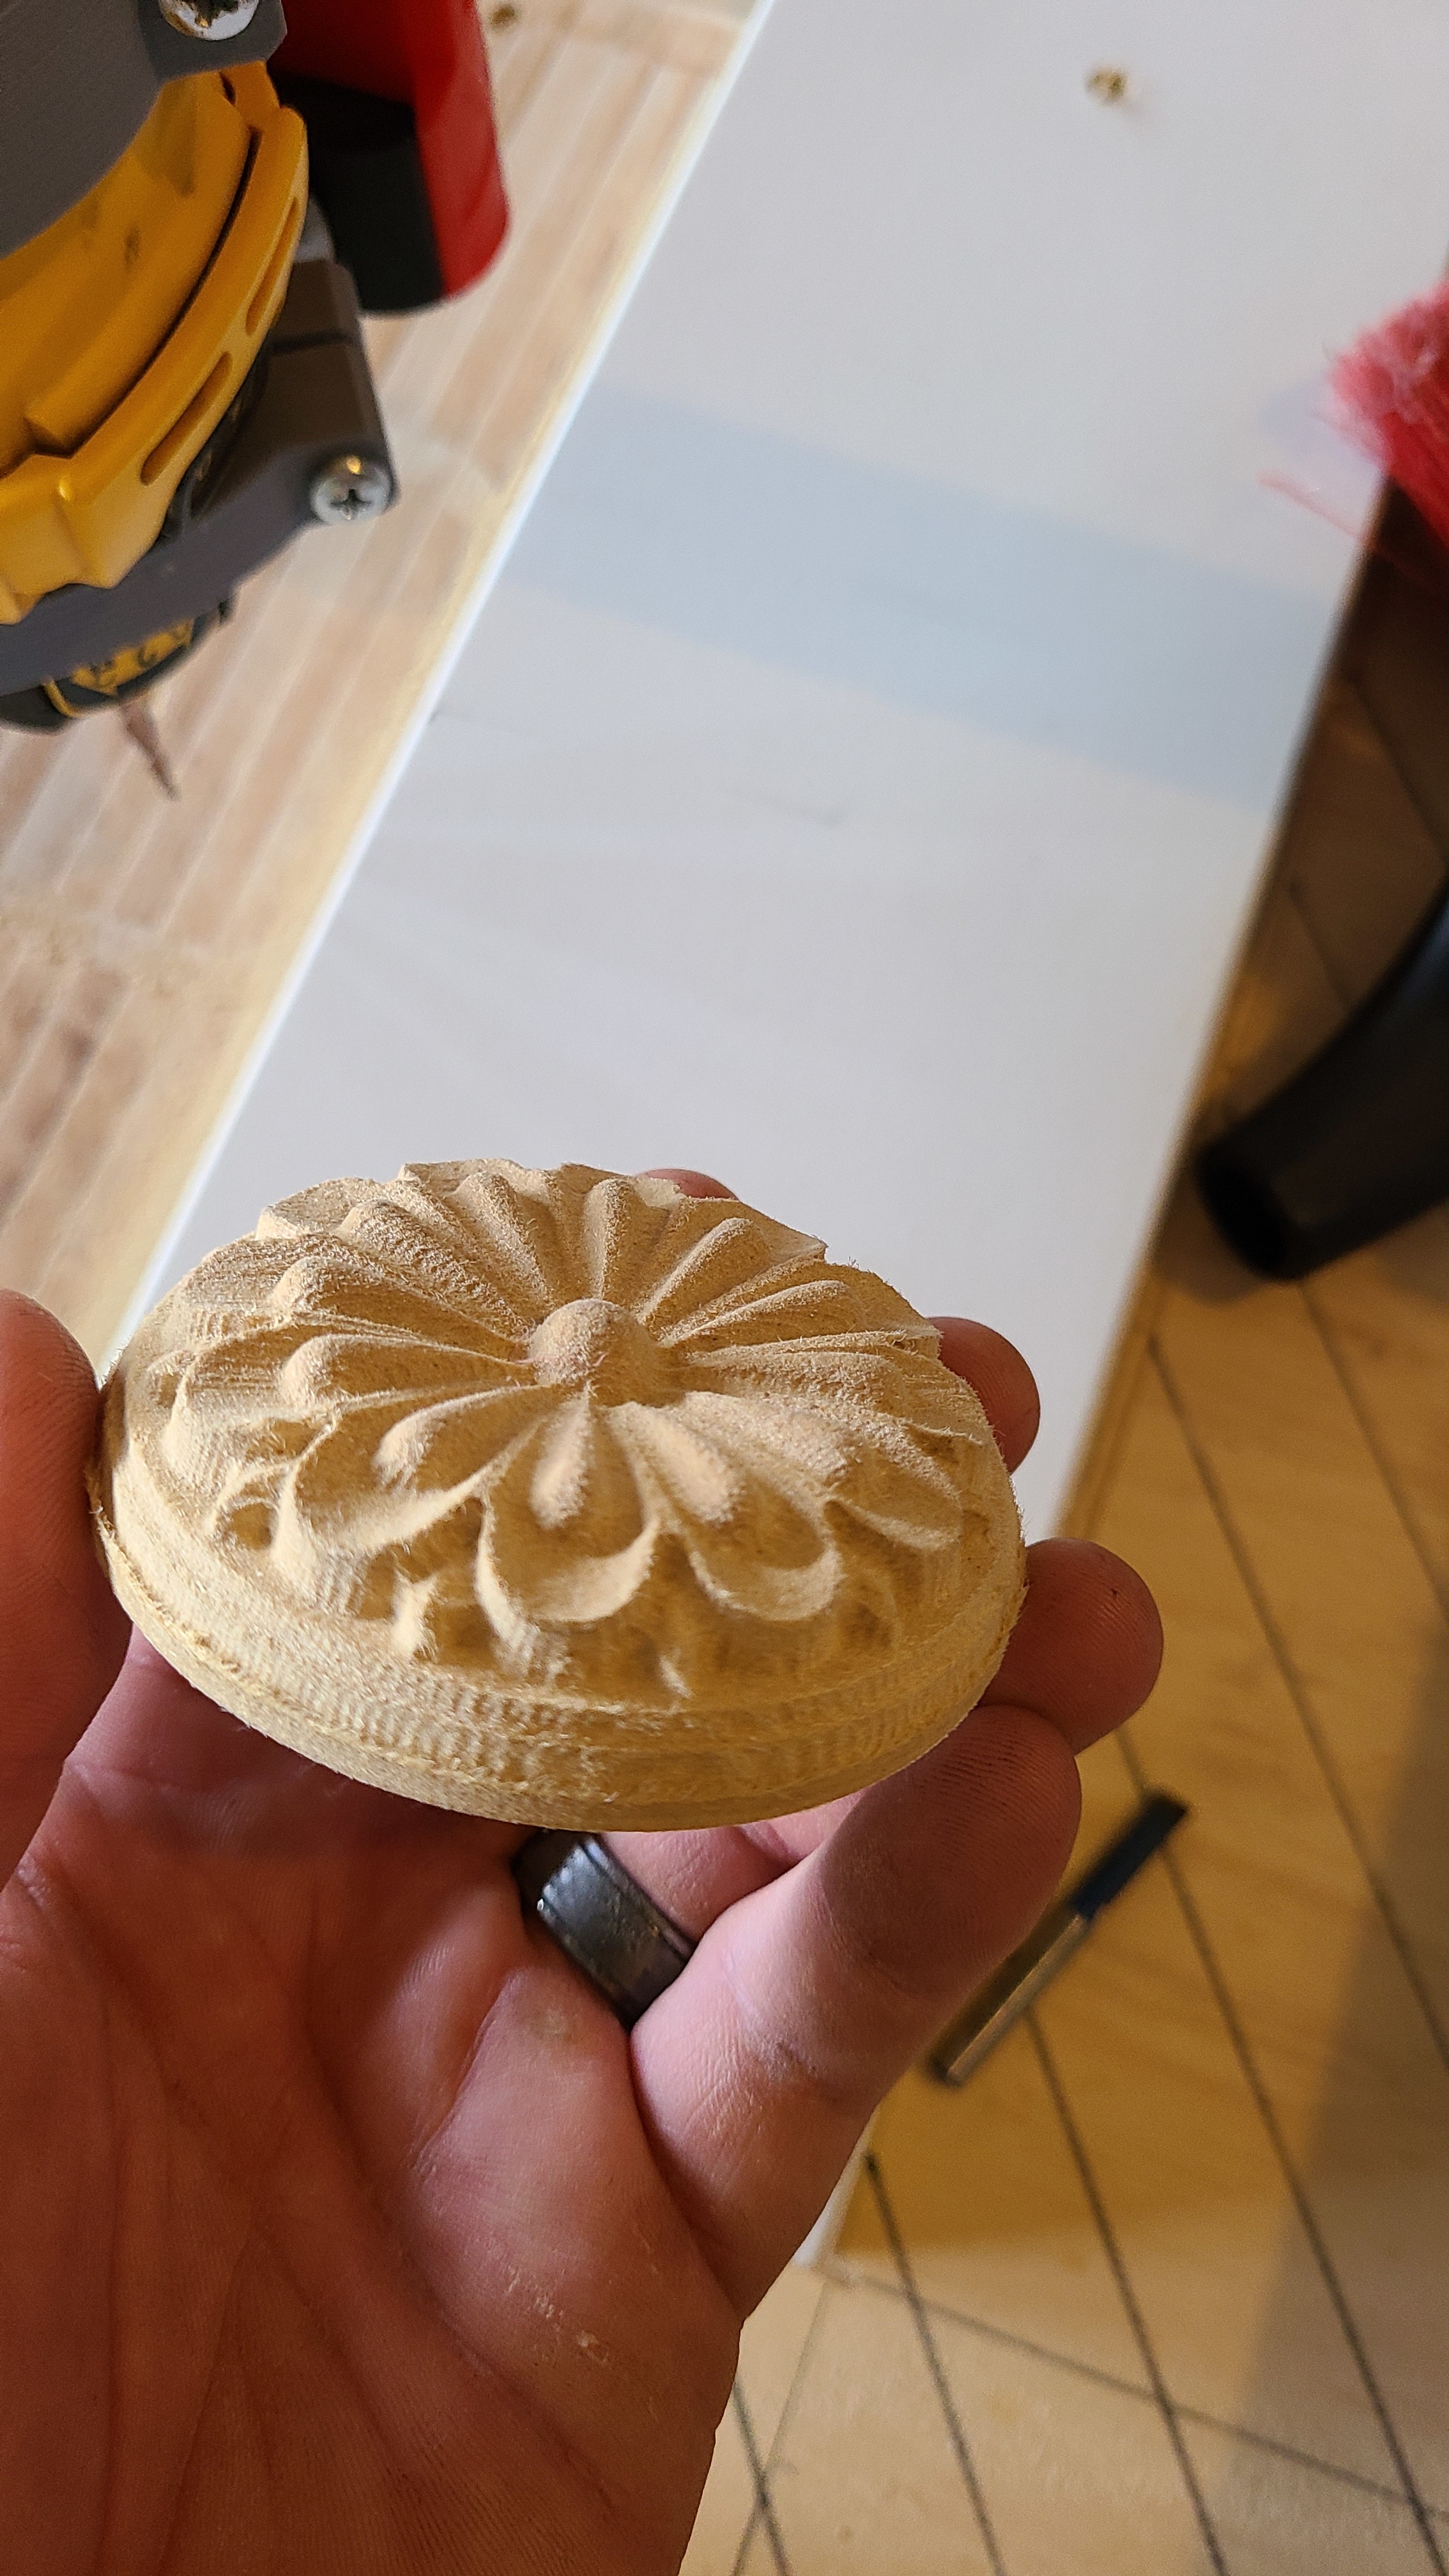
This was 1/4" flat router bit for roughing, then a 2mm ball-end for finishing, both at 1000mm/min. This one was MDF. (The first one I tried was in plywood and that just didn’t hold it’s shape well!) Took about a half hour total. This was also my first try at a tool change. Just gotta remember, RE-ZERO Z!
I have a time-lapse video of it, but can’t figure out how to upload a video.
6 Likes
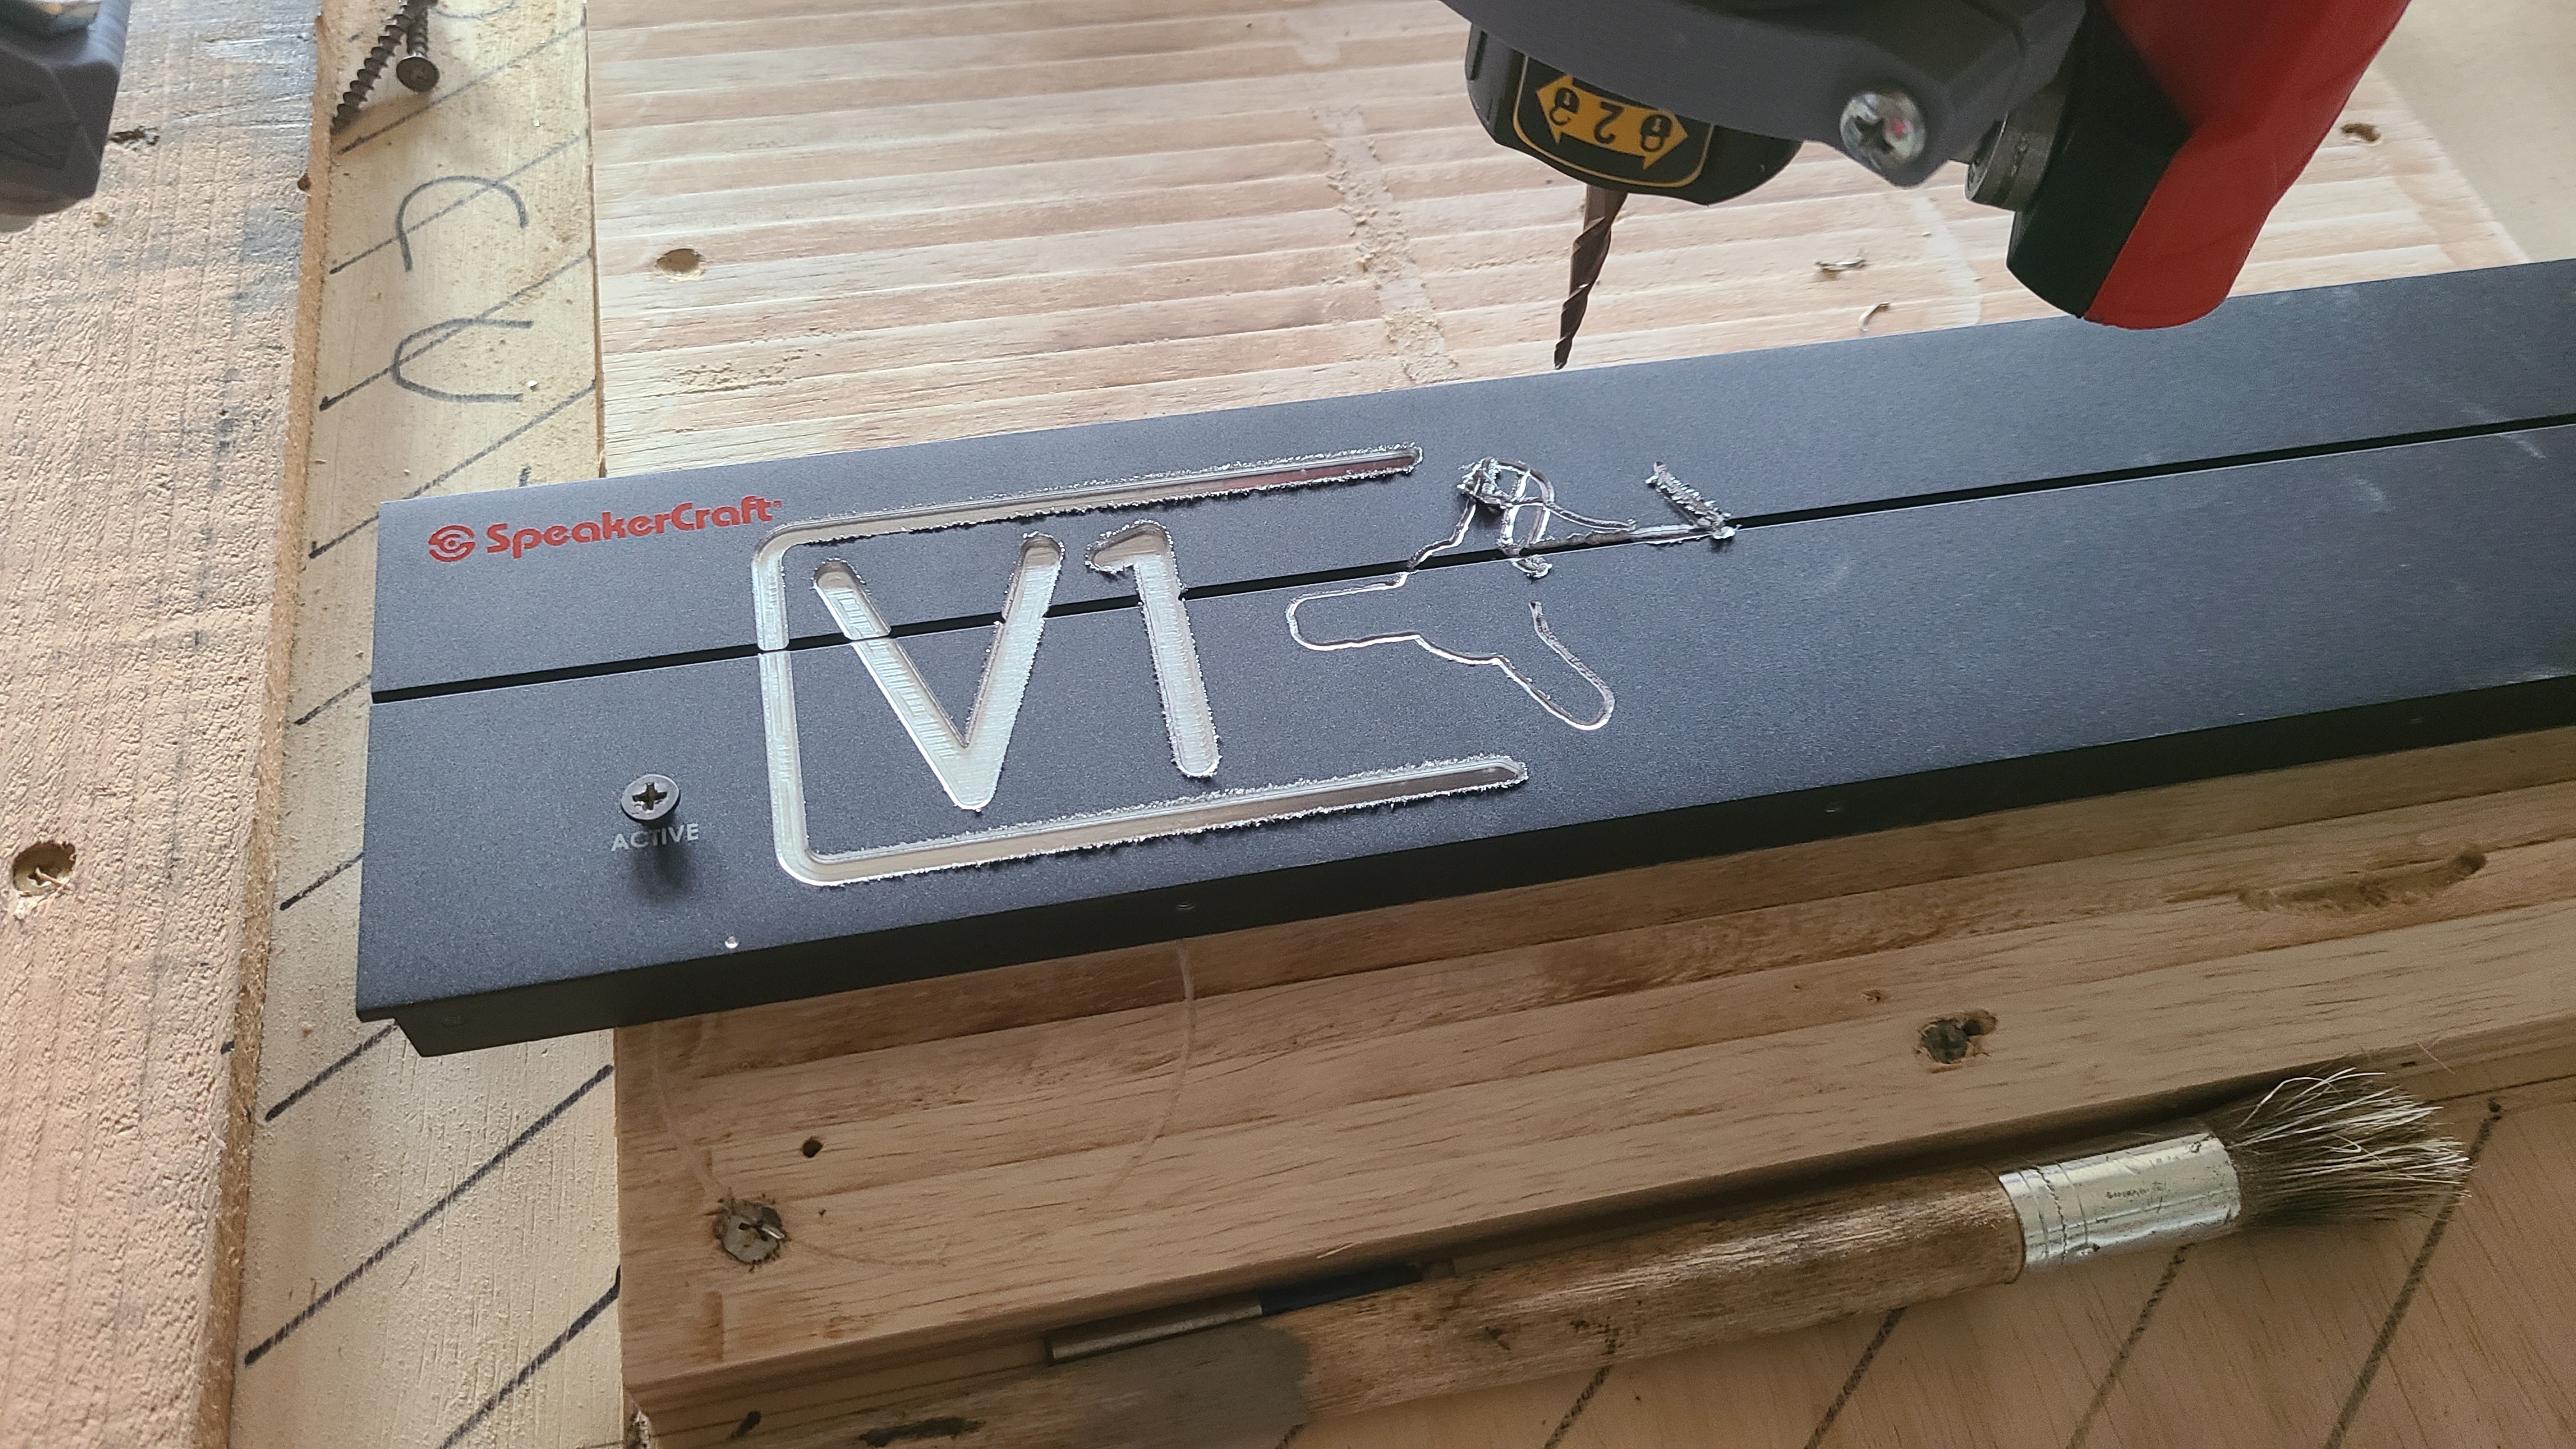
After that I tried my hand at aluminum.

Front panel from an old amp I had. Unknown alloy. Does aluminum have a grain? Seems the Y cuts were smooth, but the X cuts got all kerfey. This was 2mm ball-end, 600mm/min, .5mm DOC, Trochiodal 15% step-over. Can anyone tell me if I was being too cautious, or is milling aluminum really that slow?
It all ended in disaster anyway because I think I messed up on how the carve went for the logo.
1 Like
I would try to push a little harder on aluminium if you don’t mind test and break some bits…
I did 10mm/sec at 0.8mm DOC on 16 gauge Steel, Broke a bit doing 12mm/sec at 1mm DOC.
2 Likes
Looks like a Forbidden Snack.
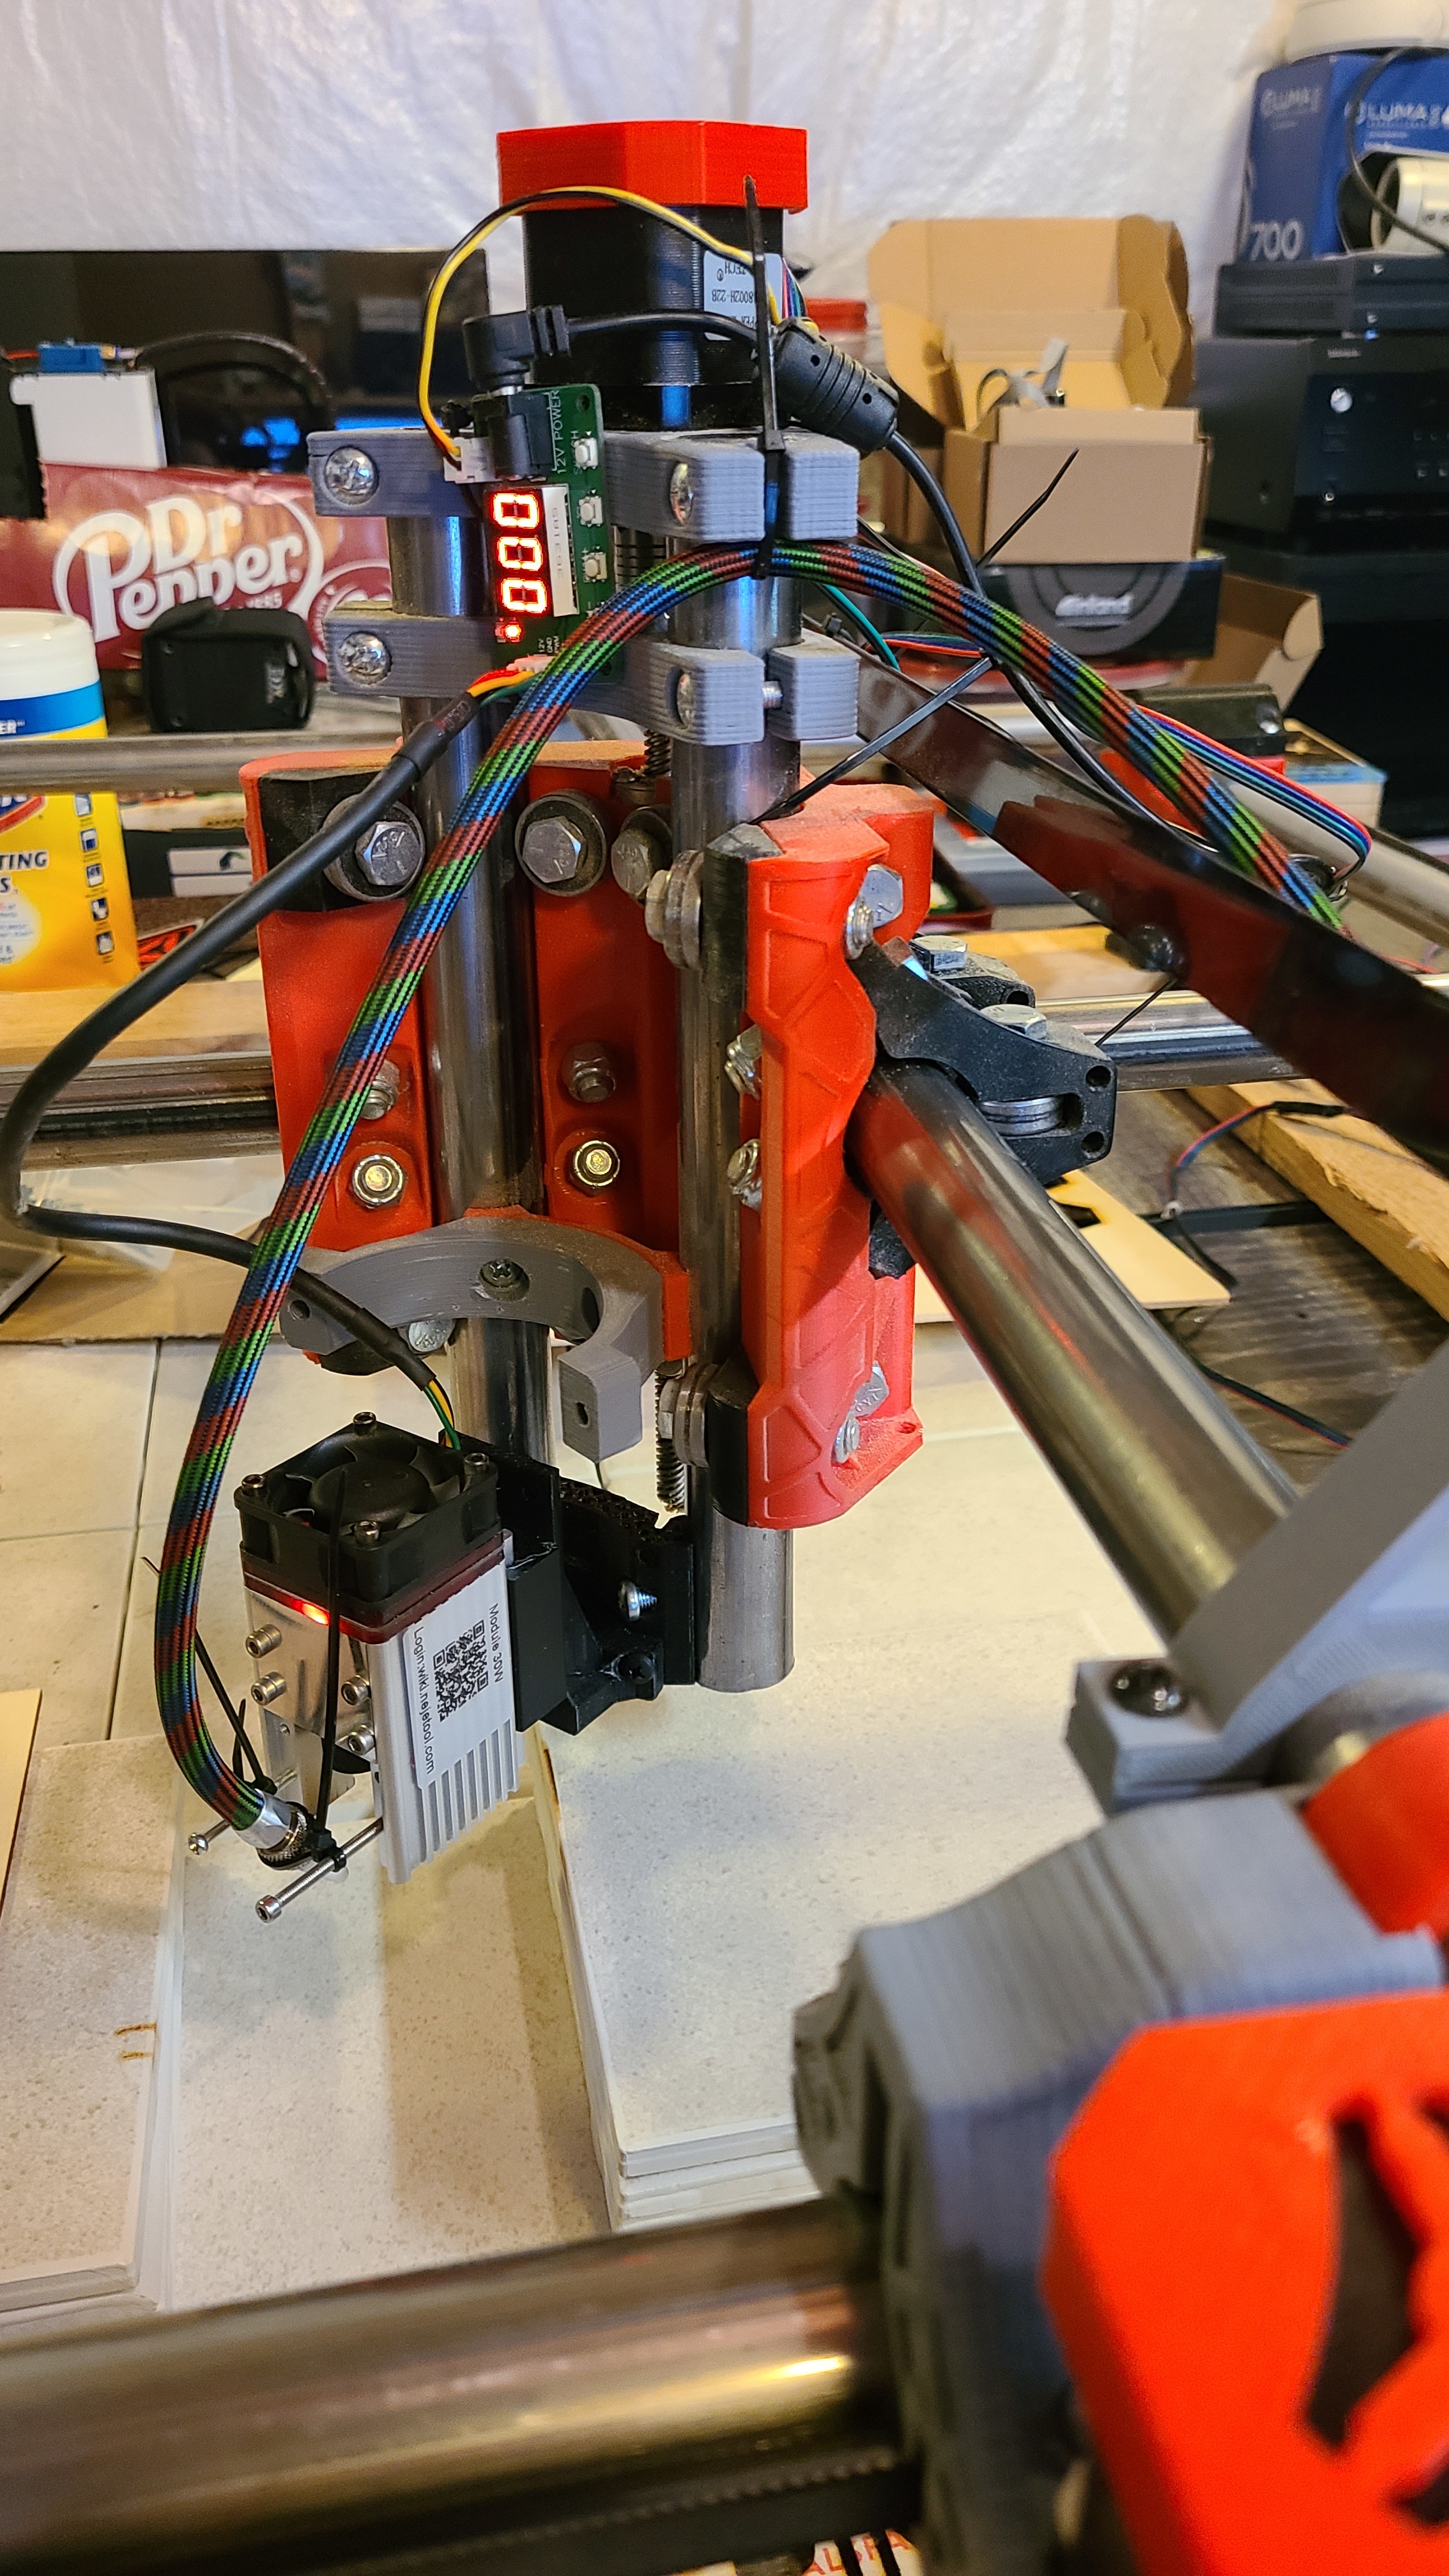
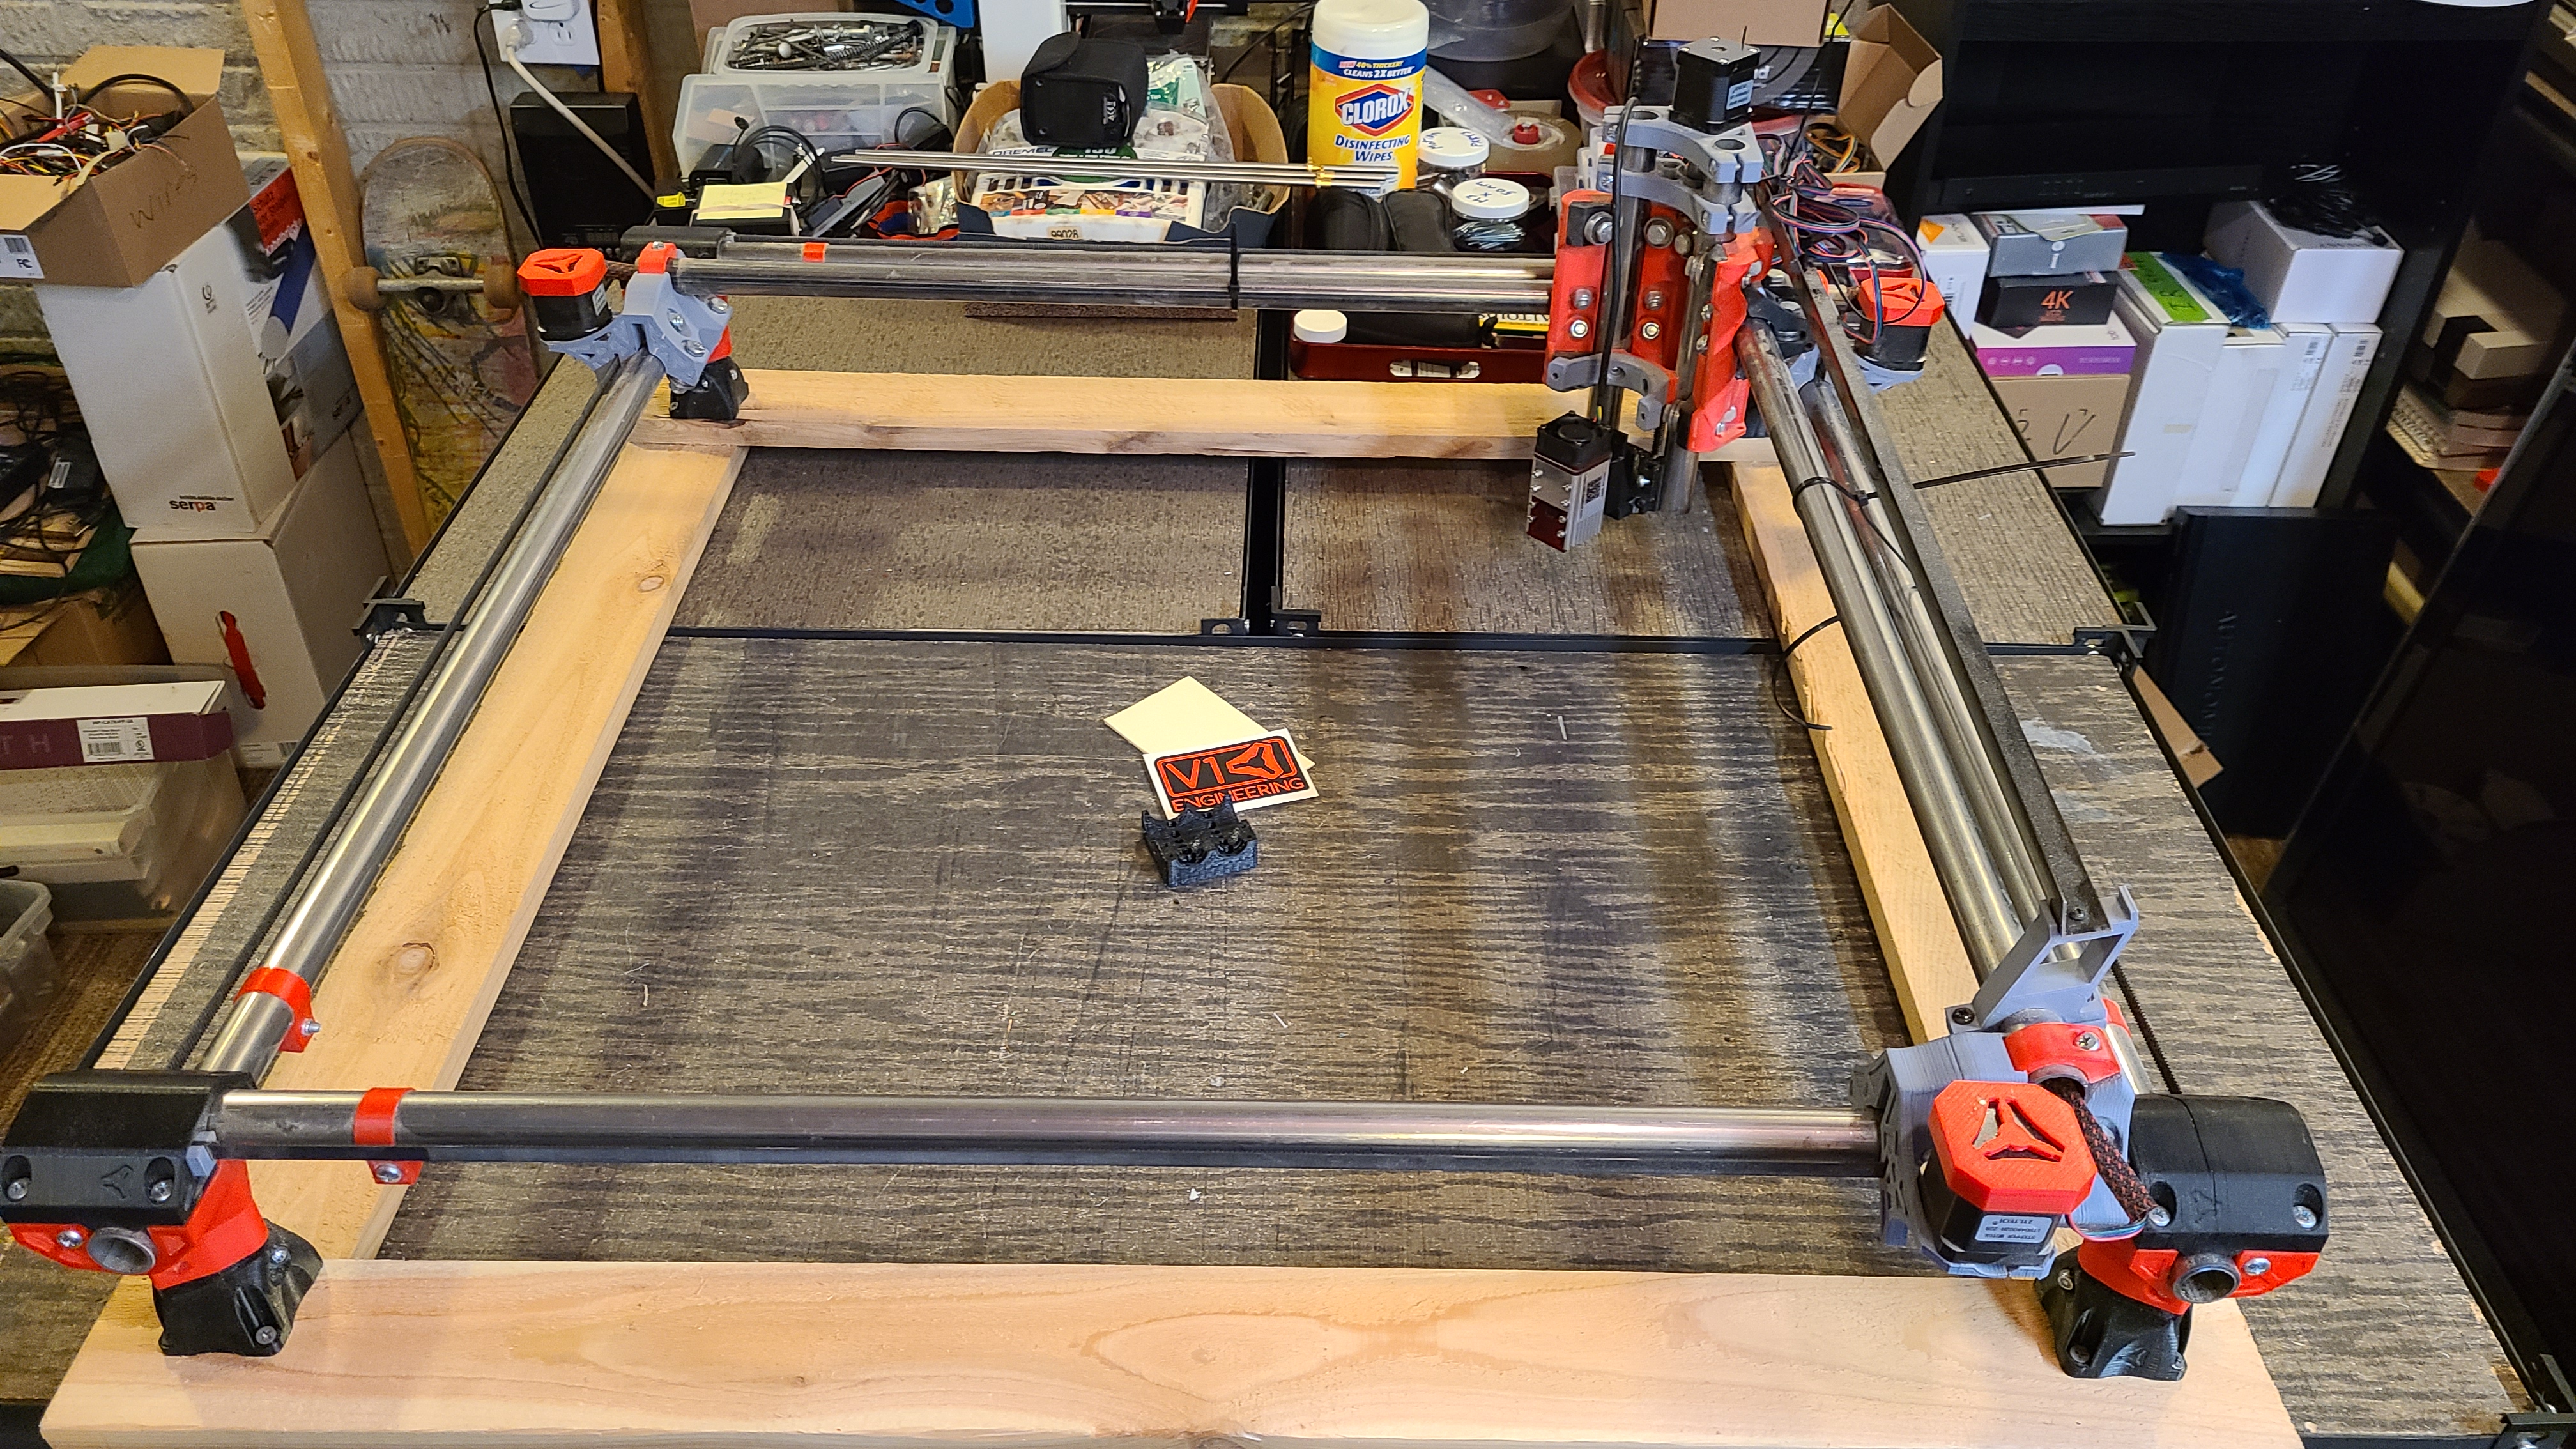
So it’s starting to get cold here and the garage will soon be being used to park cars in…whatever. Anyway, the machine is coming in for the winter for some laserlicious fun, and probably some 3D printering and vinyl cutting also. Submitted for your approval, Porta-Primo!

Removed it from the table and mounted it to a not-as-hard-to-move square of cedar. It’s mostly square…mostly. It now resides in the dungeon lab.
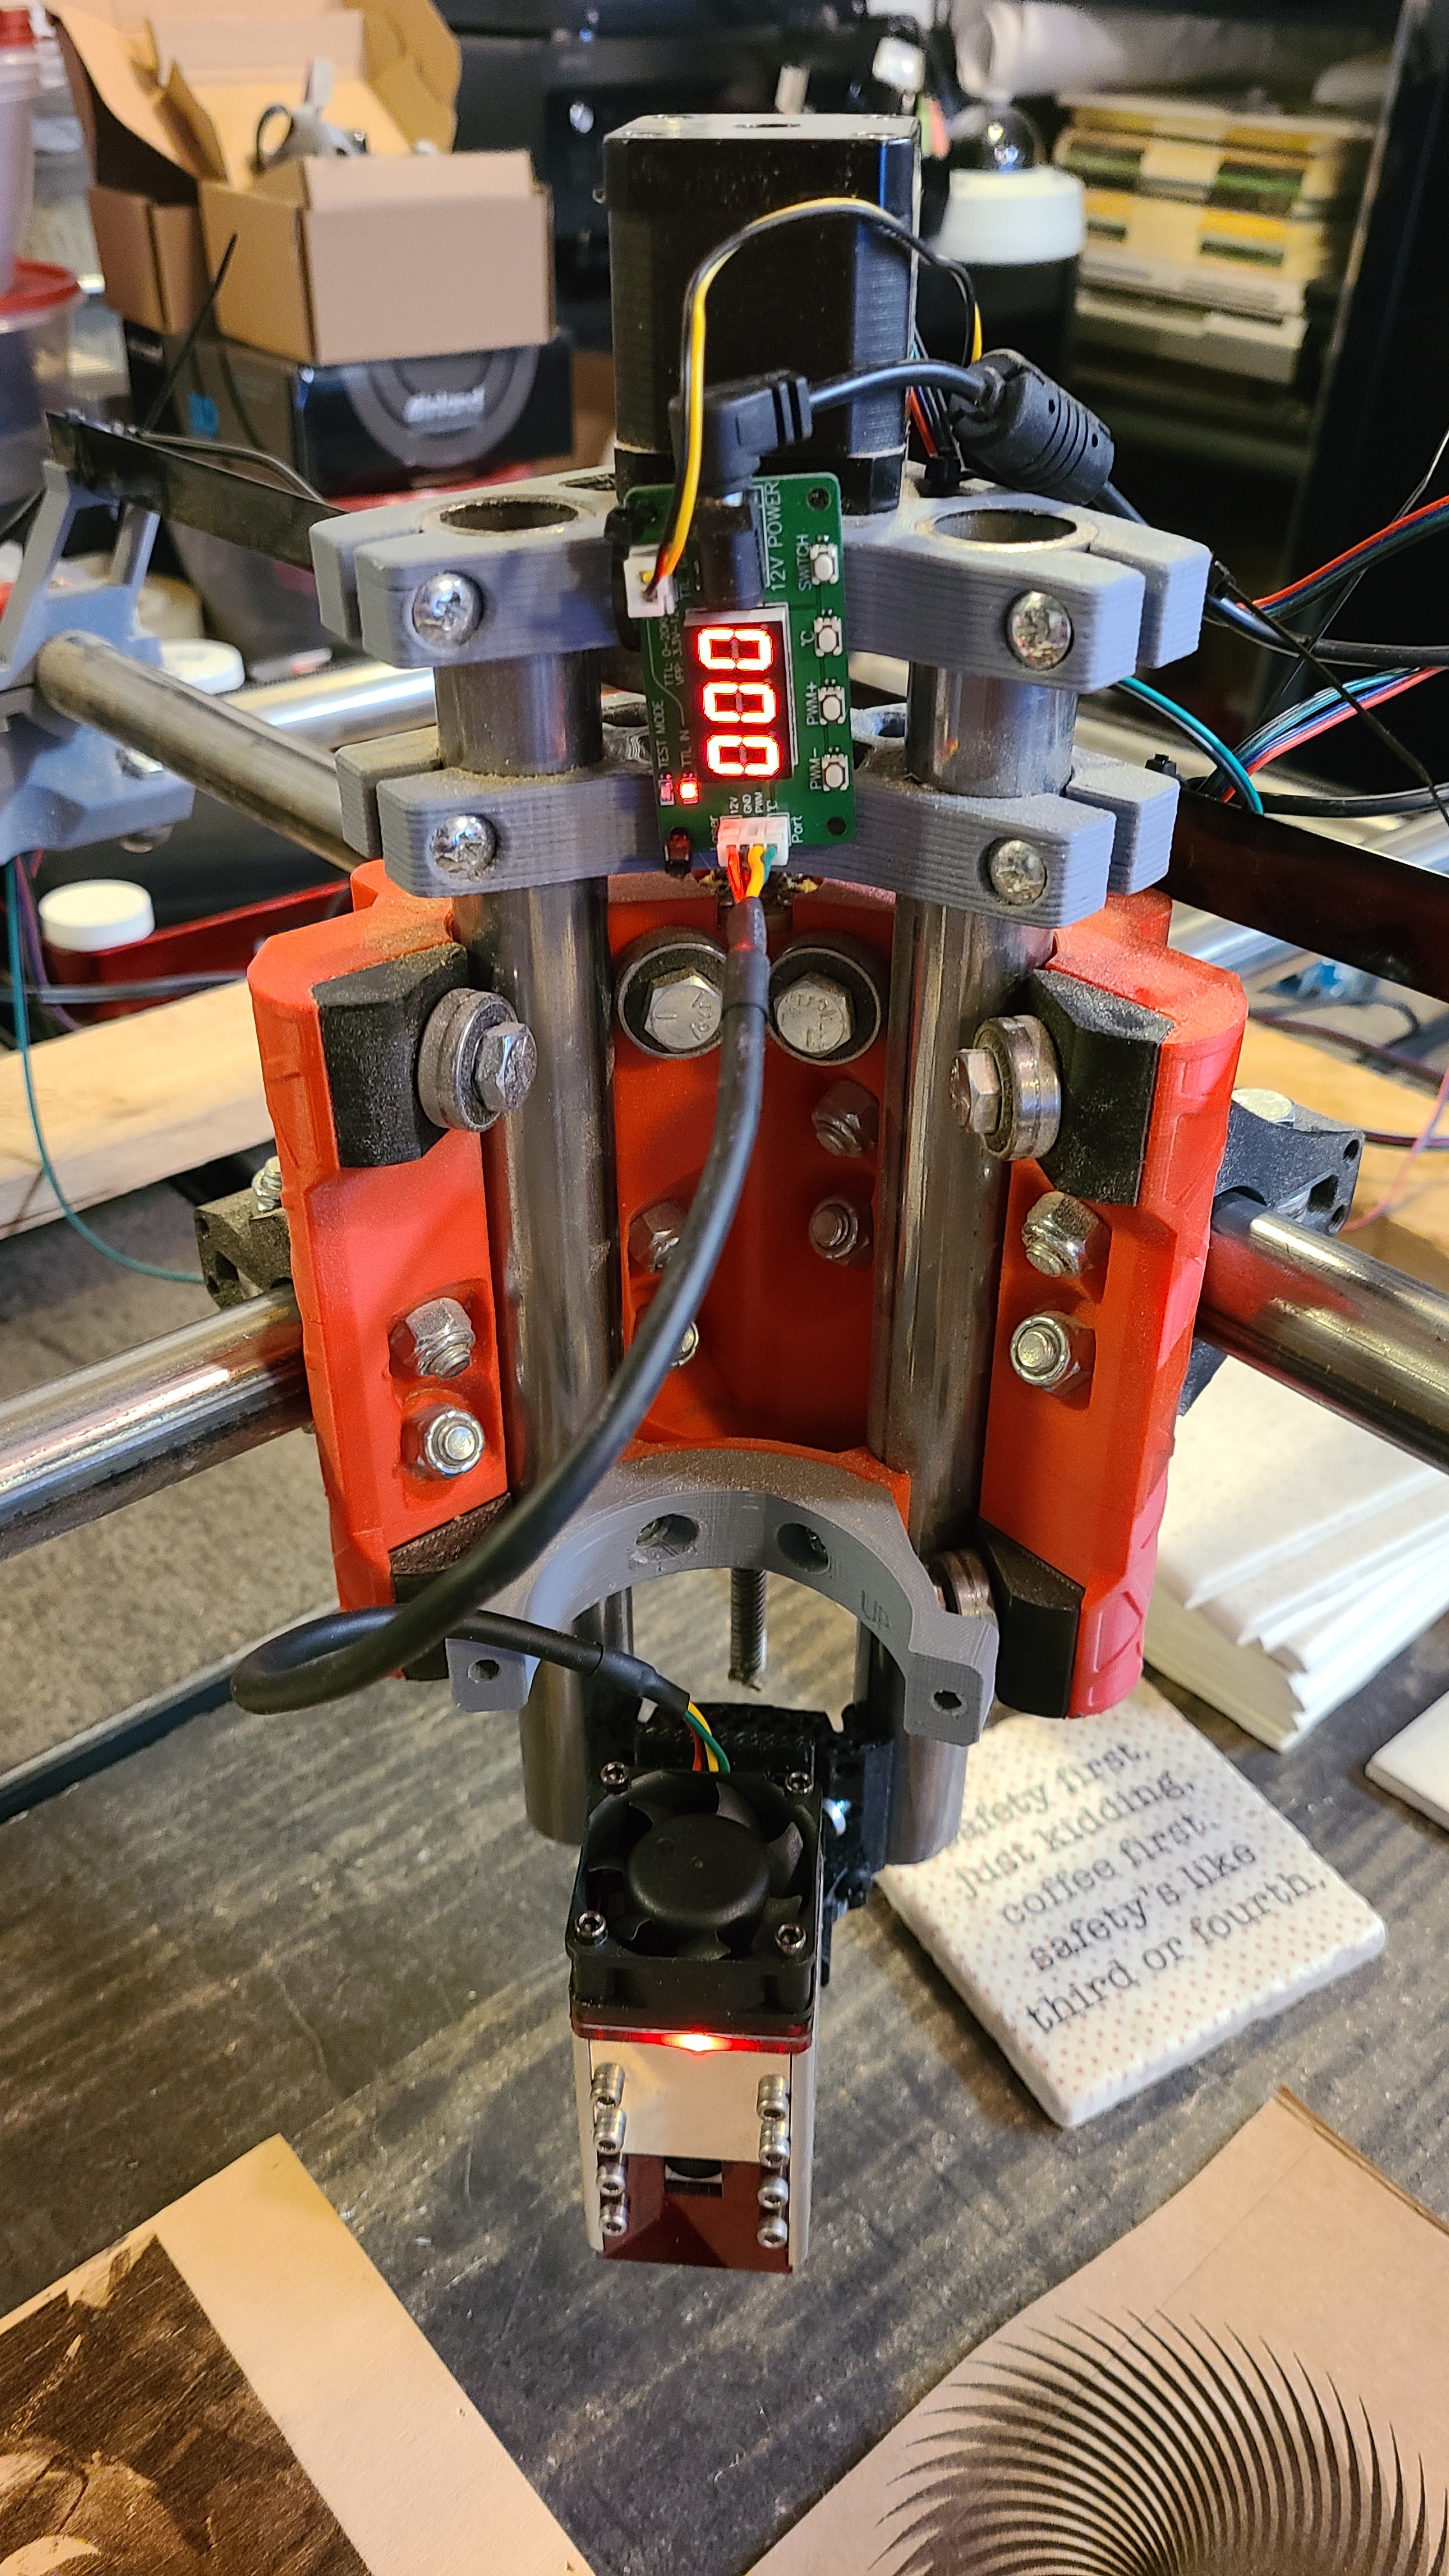
I got my first laser last week and have been trying to get it dialed in. I originally was trying to use GRBL Mega5X on my now out of work ramps stacks, but I wasn’t able to get the TTL working for the good greyscaling. So I just flashed the same UNO/CNCShield stack I use with ESTLCam and it’s much better now. Here’s what I managed to turn out this evening.

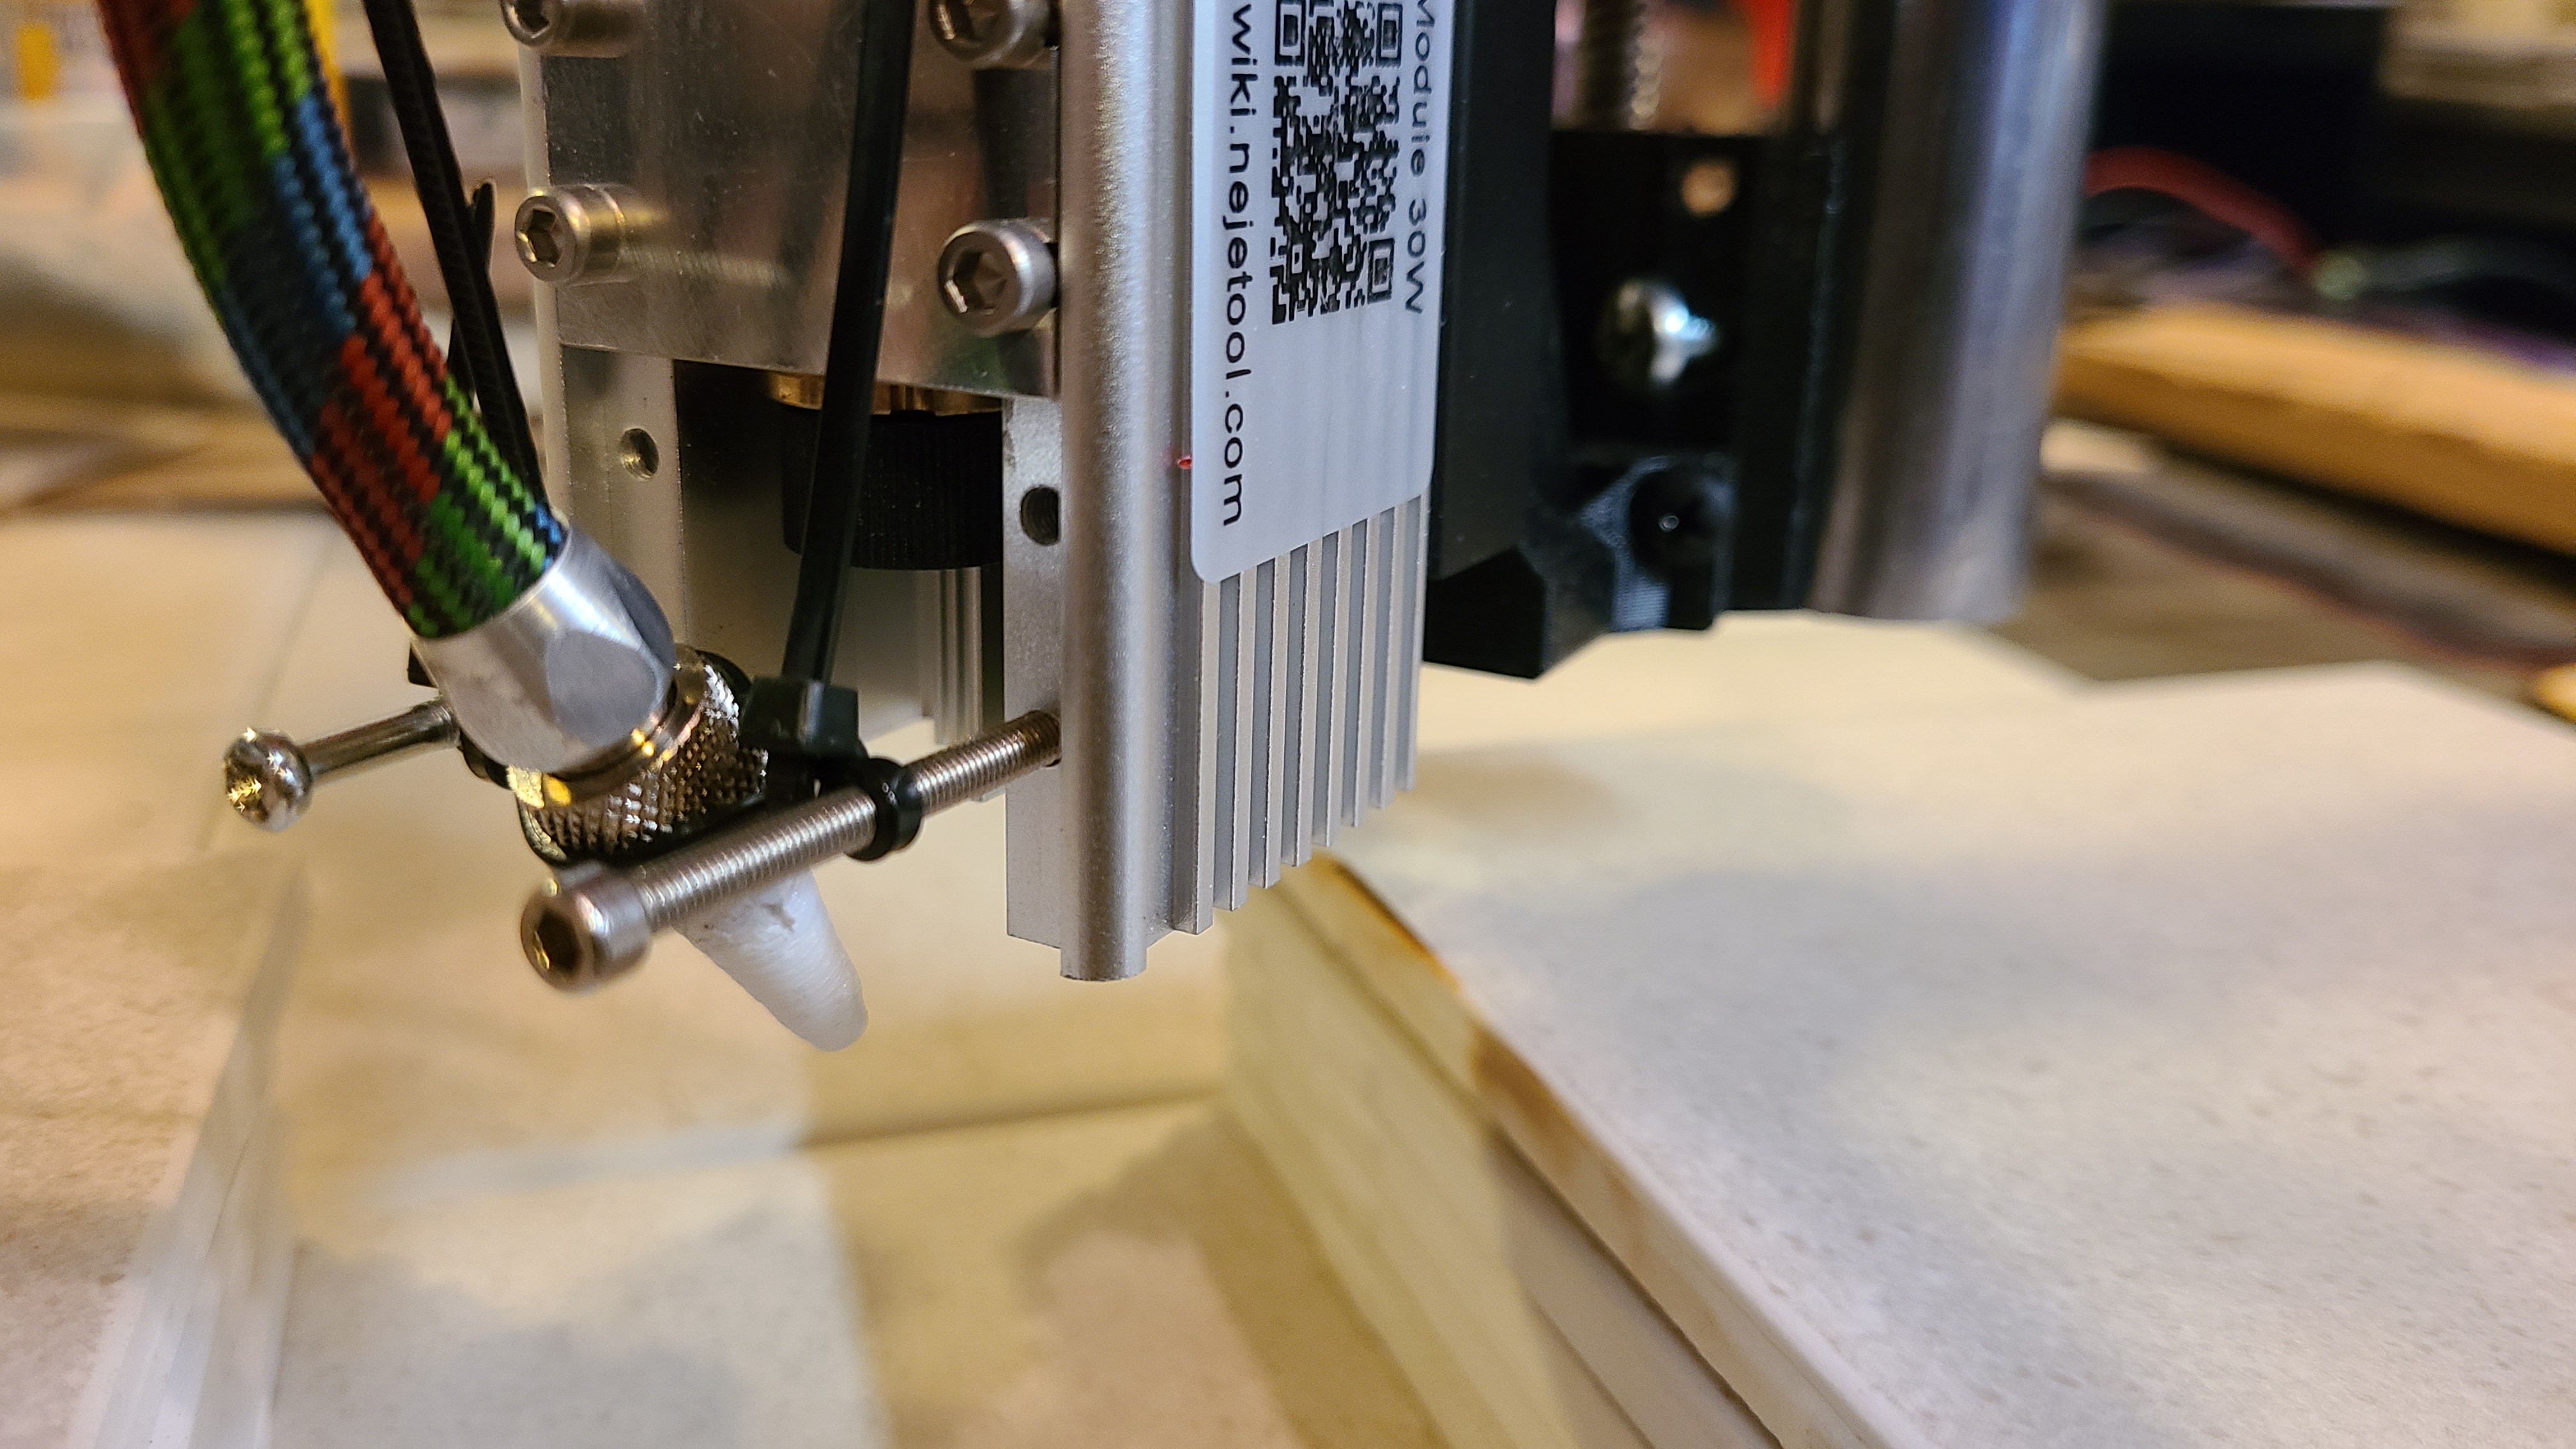
Took a while to arrive but the laser seems to be working pretty well. This of course, being my first interaction with a laser more powerful that a pointing device, so maybe it’s OK, I don’t know. NEJE 30watt (7.5 watt optical output) from AliExpress HERE.
My hope is that I can get near the quality @dkj4linux has, he’s really making some nice stuff!
As always, any suggestions are appreciated!
8 Likes
I just wanted to say hi from Wadworth and nice build!
2 Likes
Thank you!
Howdy from Youngstown! Build is looking good.
1 Like
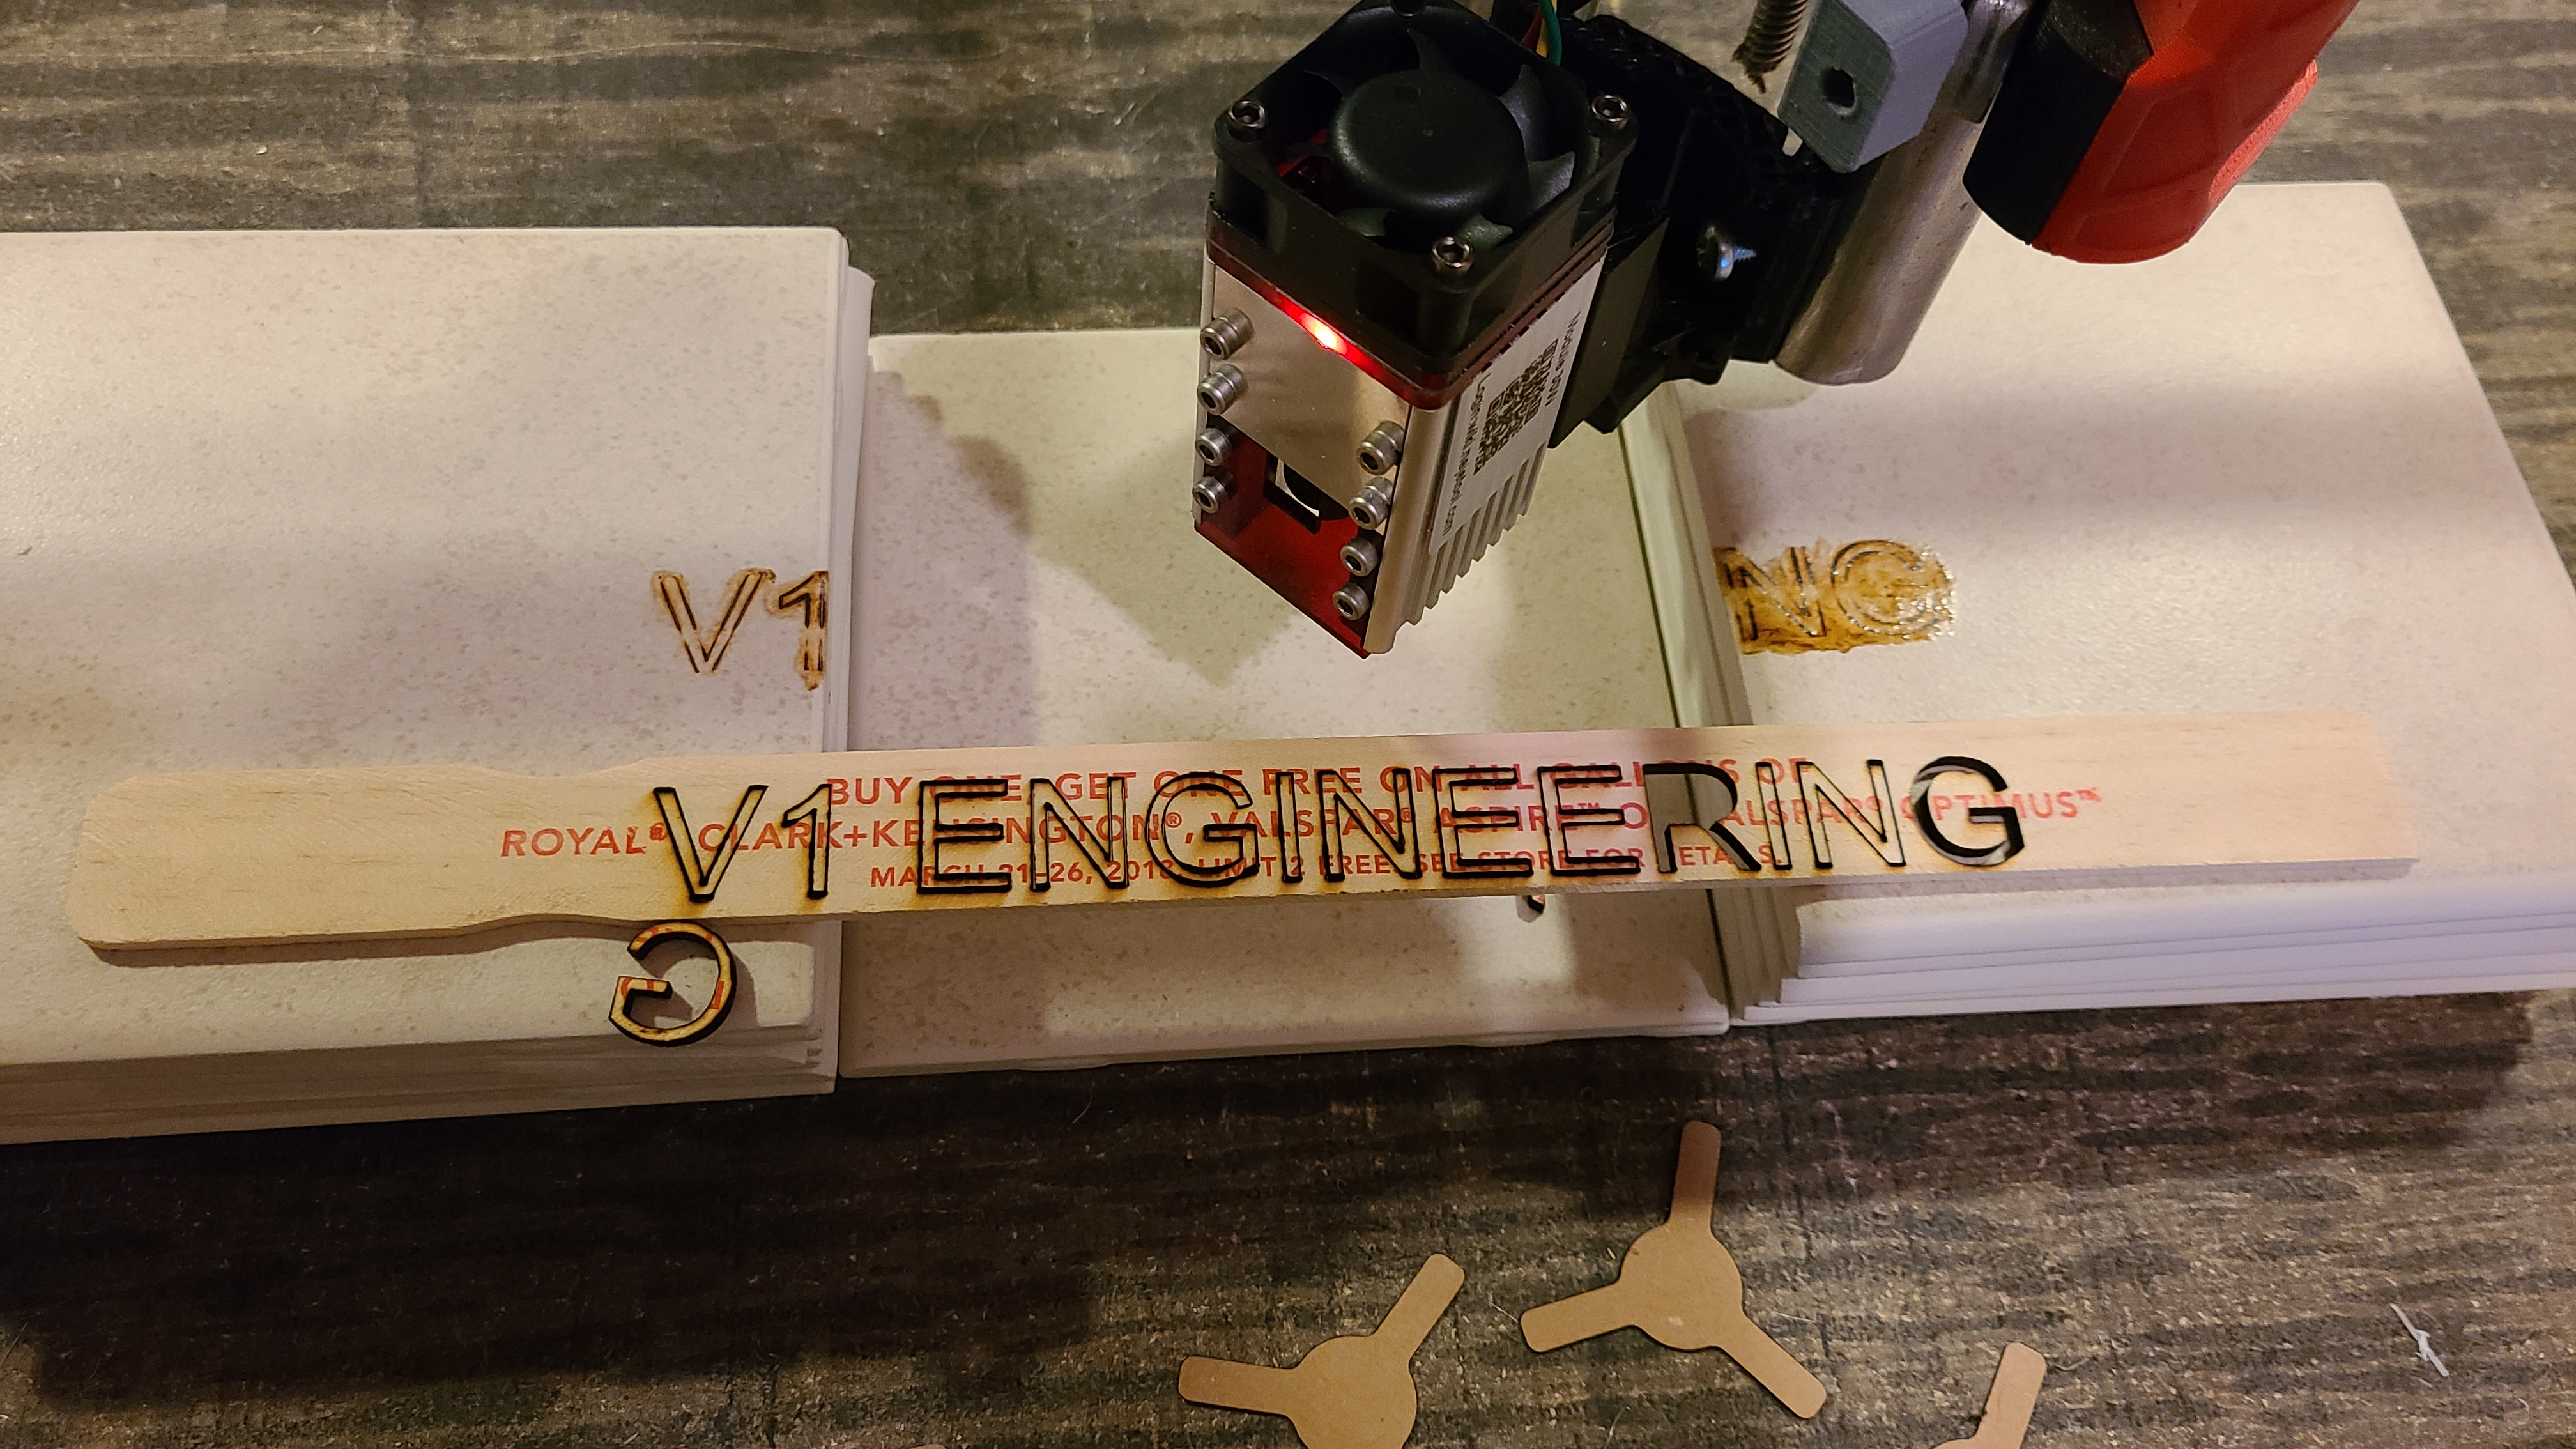
Thanks! Here are some more tests from tonight. Cutting through paint stirrer. Approximately 2.75mm thick.
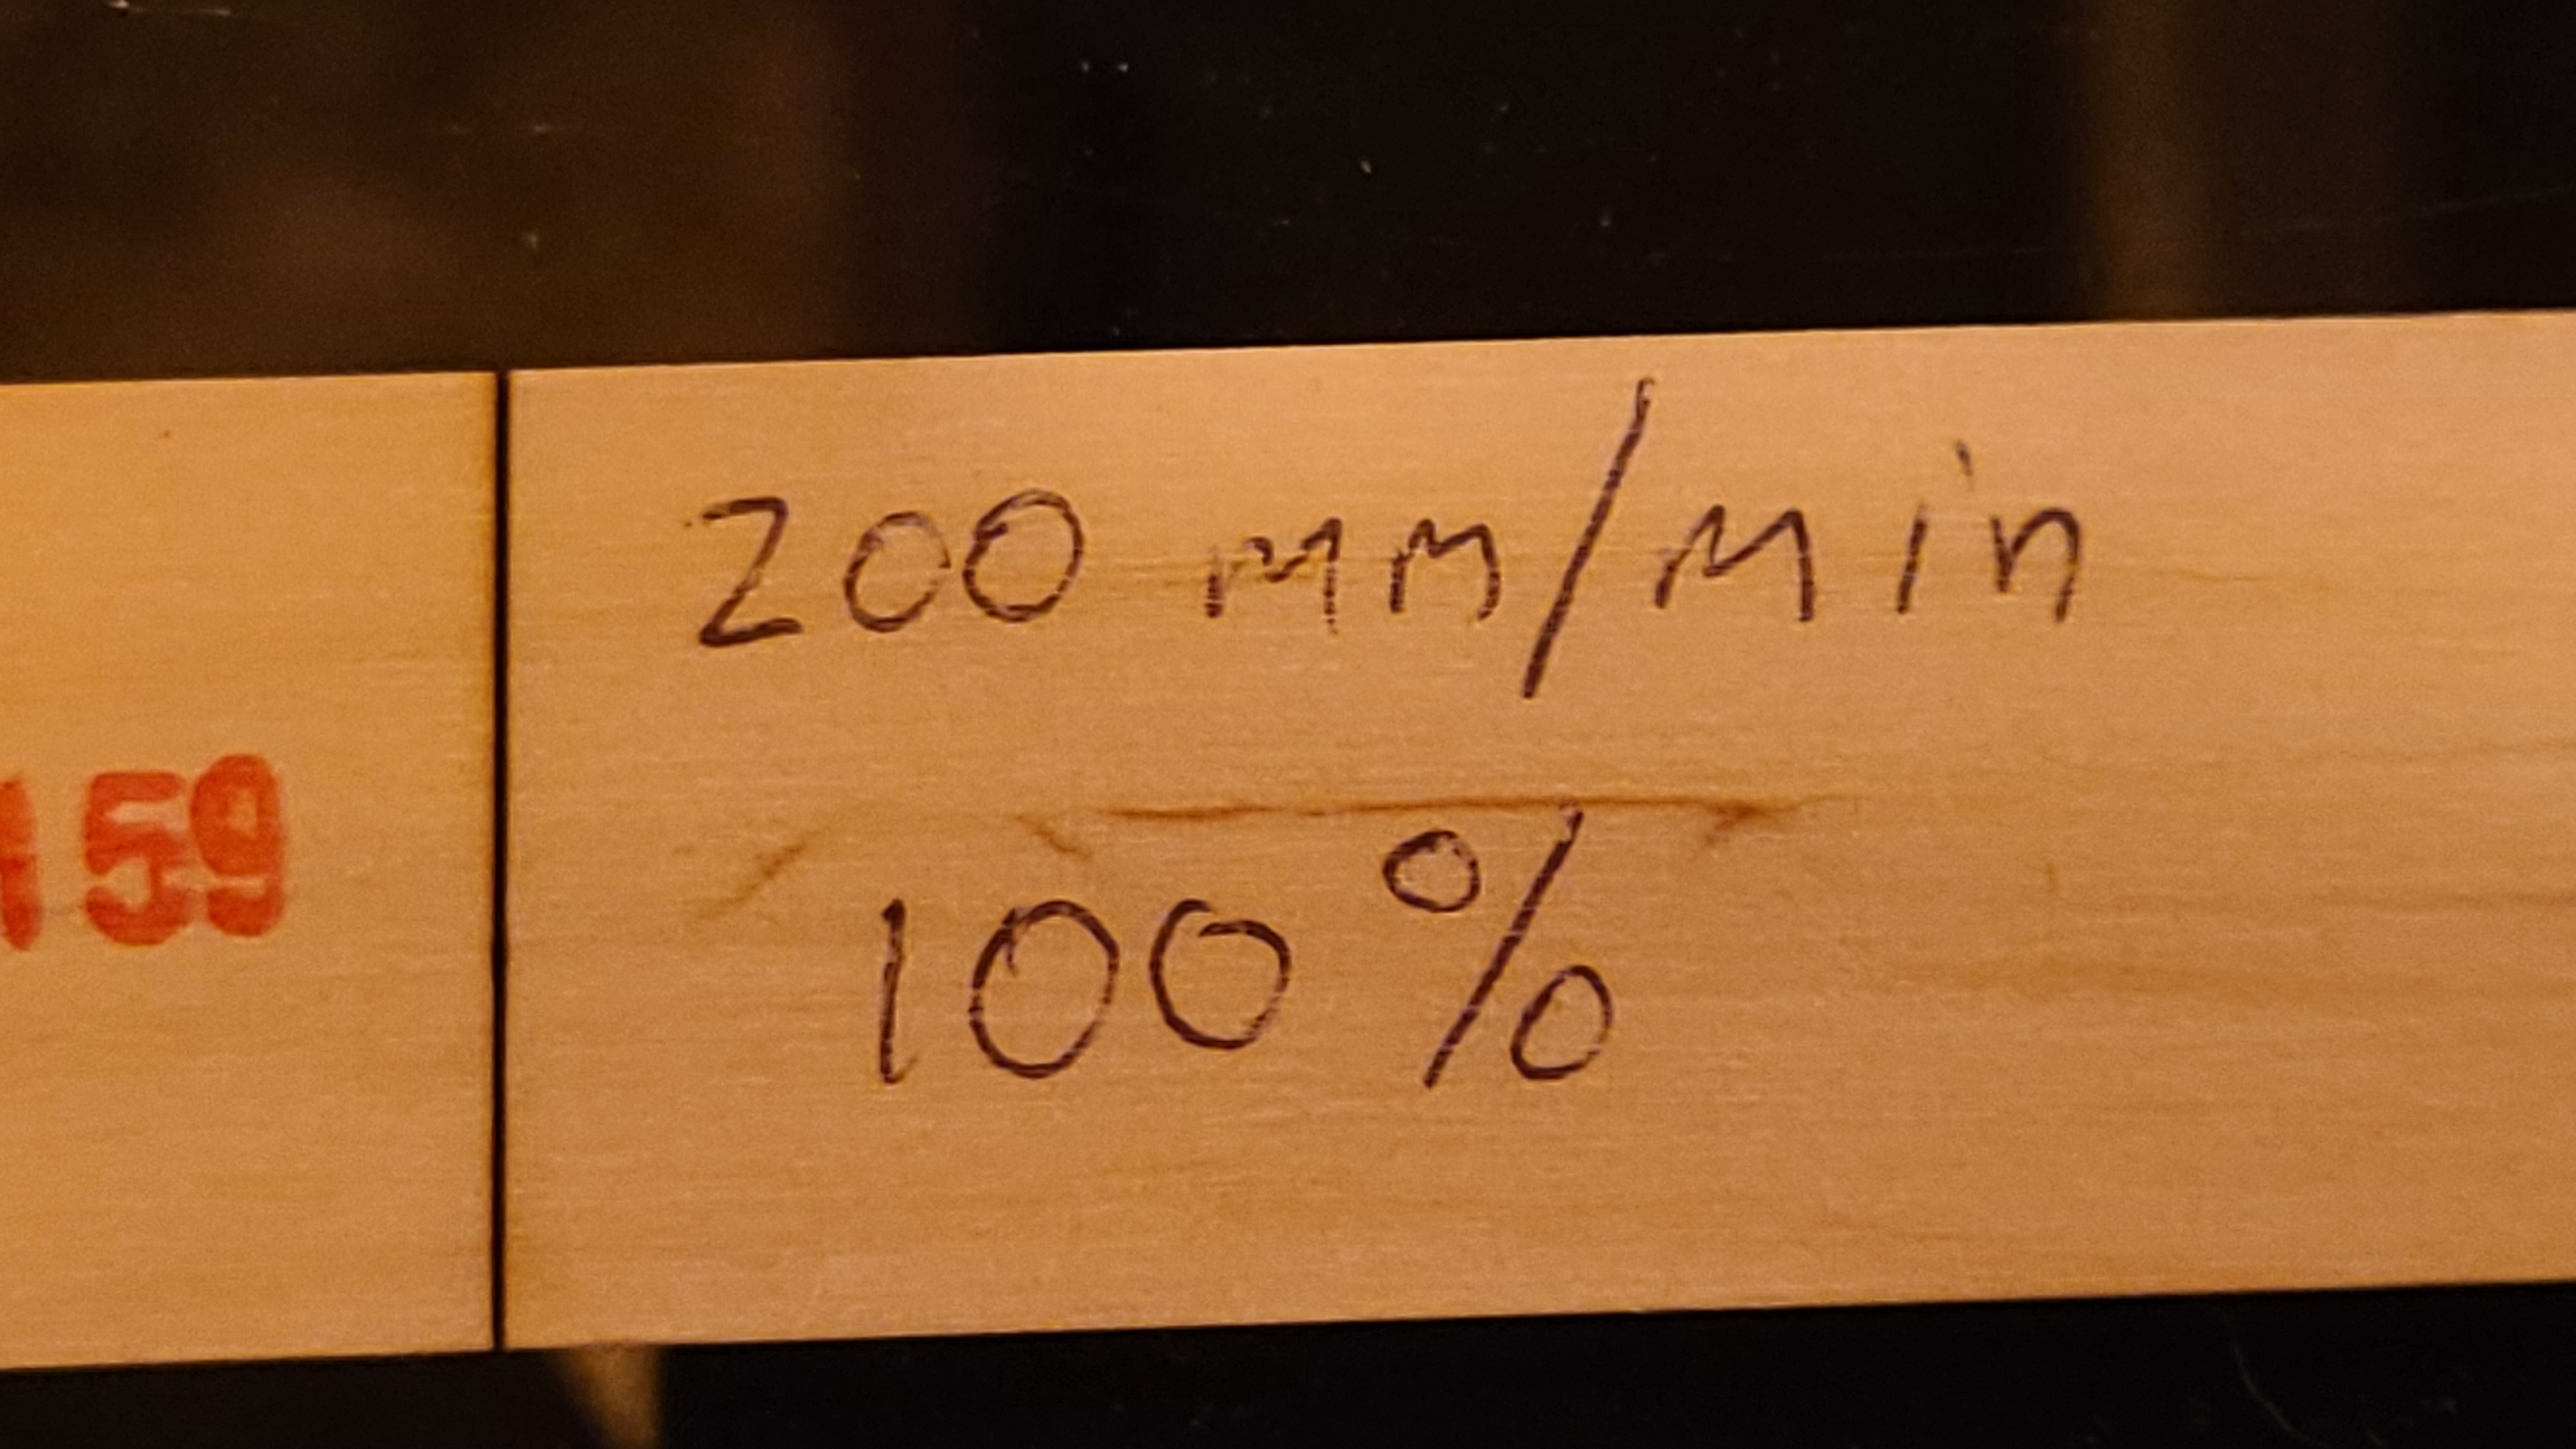
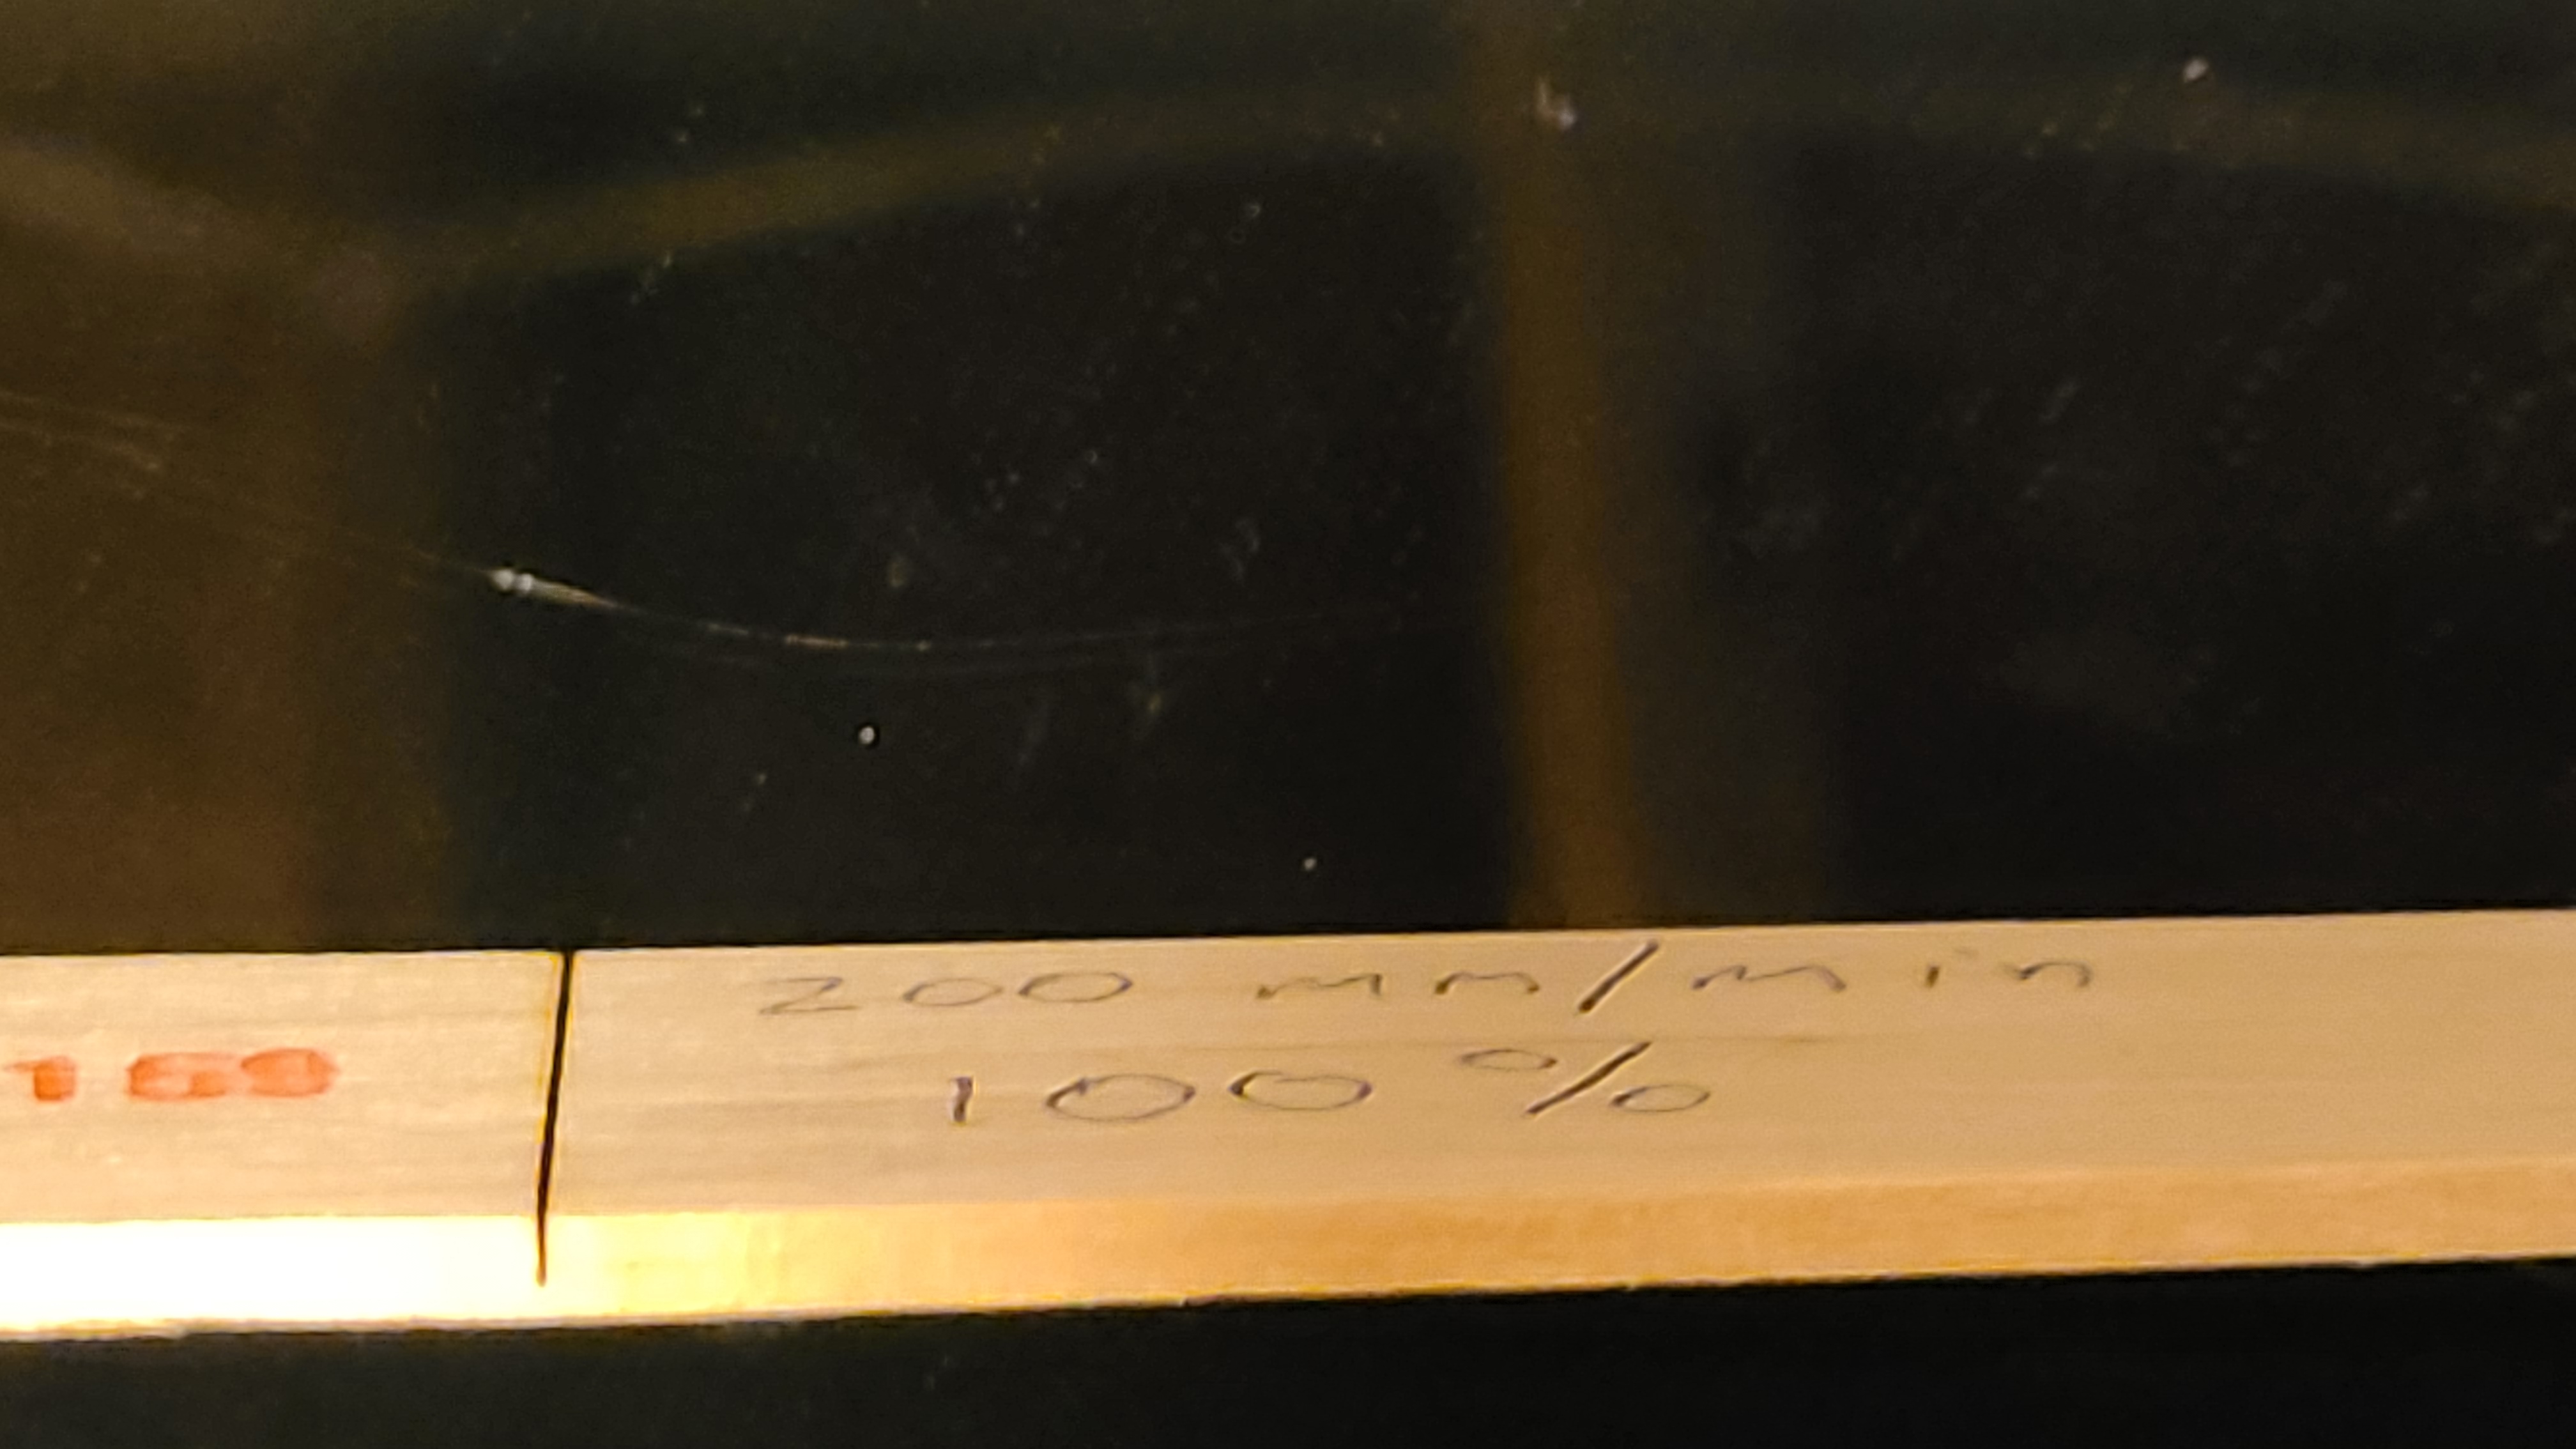
Went about 75% of the way through at 200mm/min@100% power.
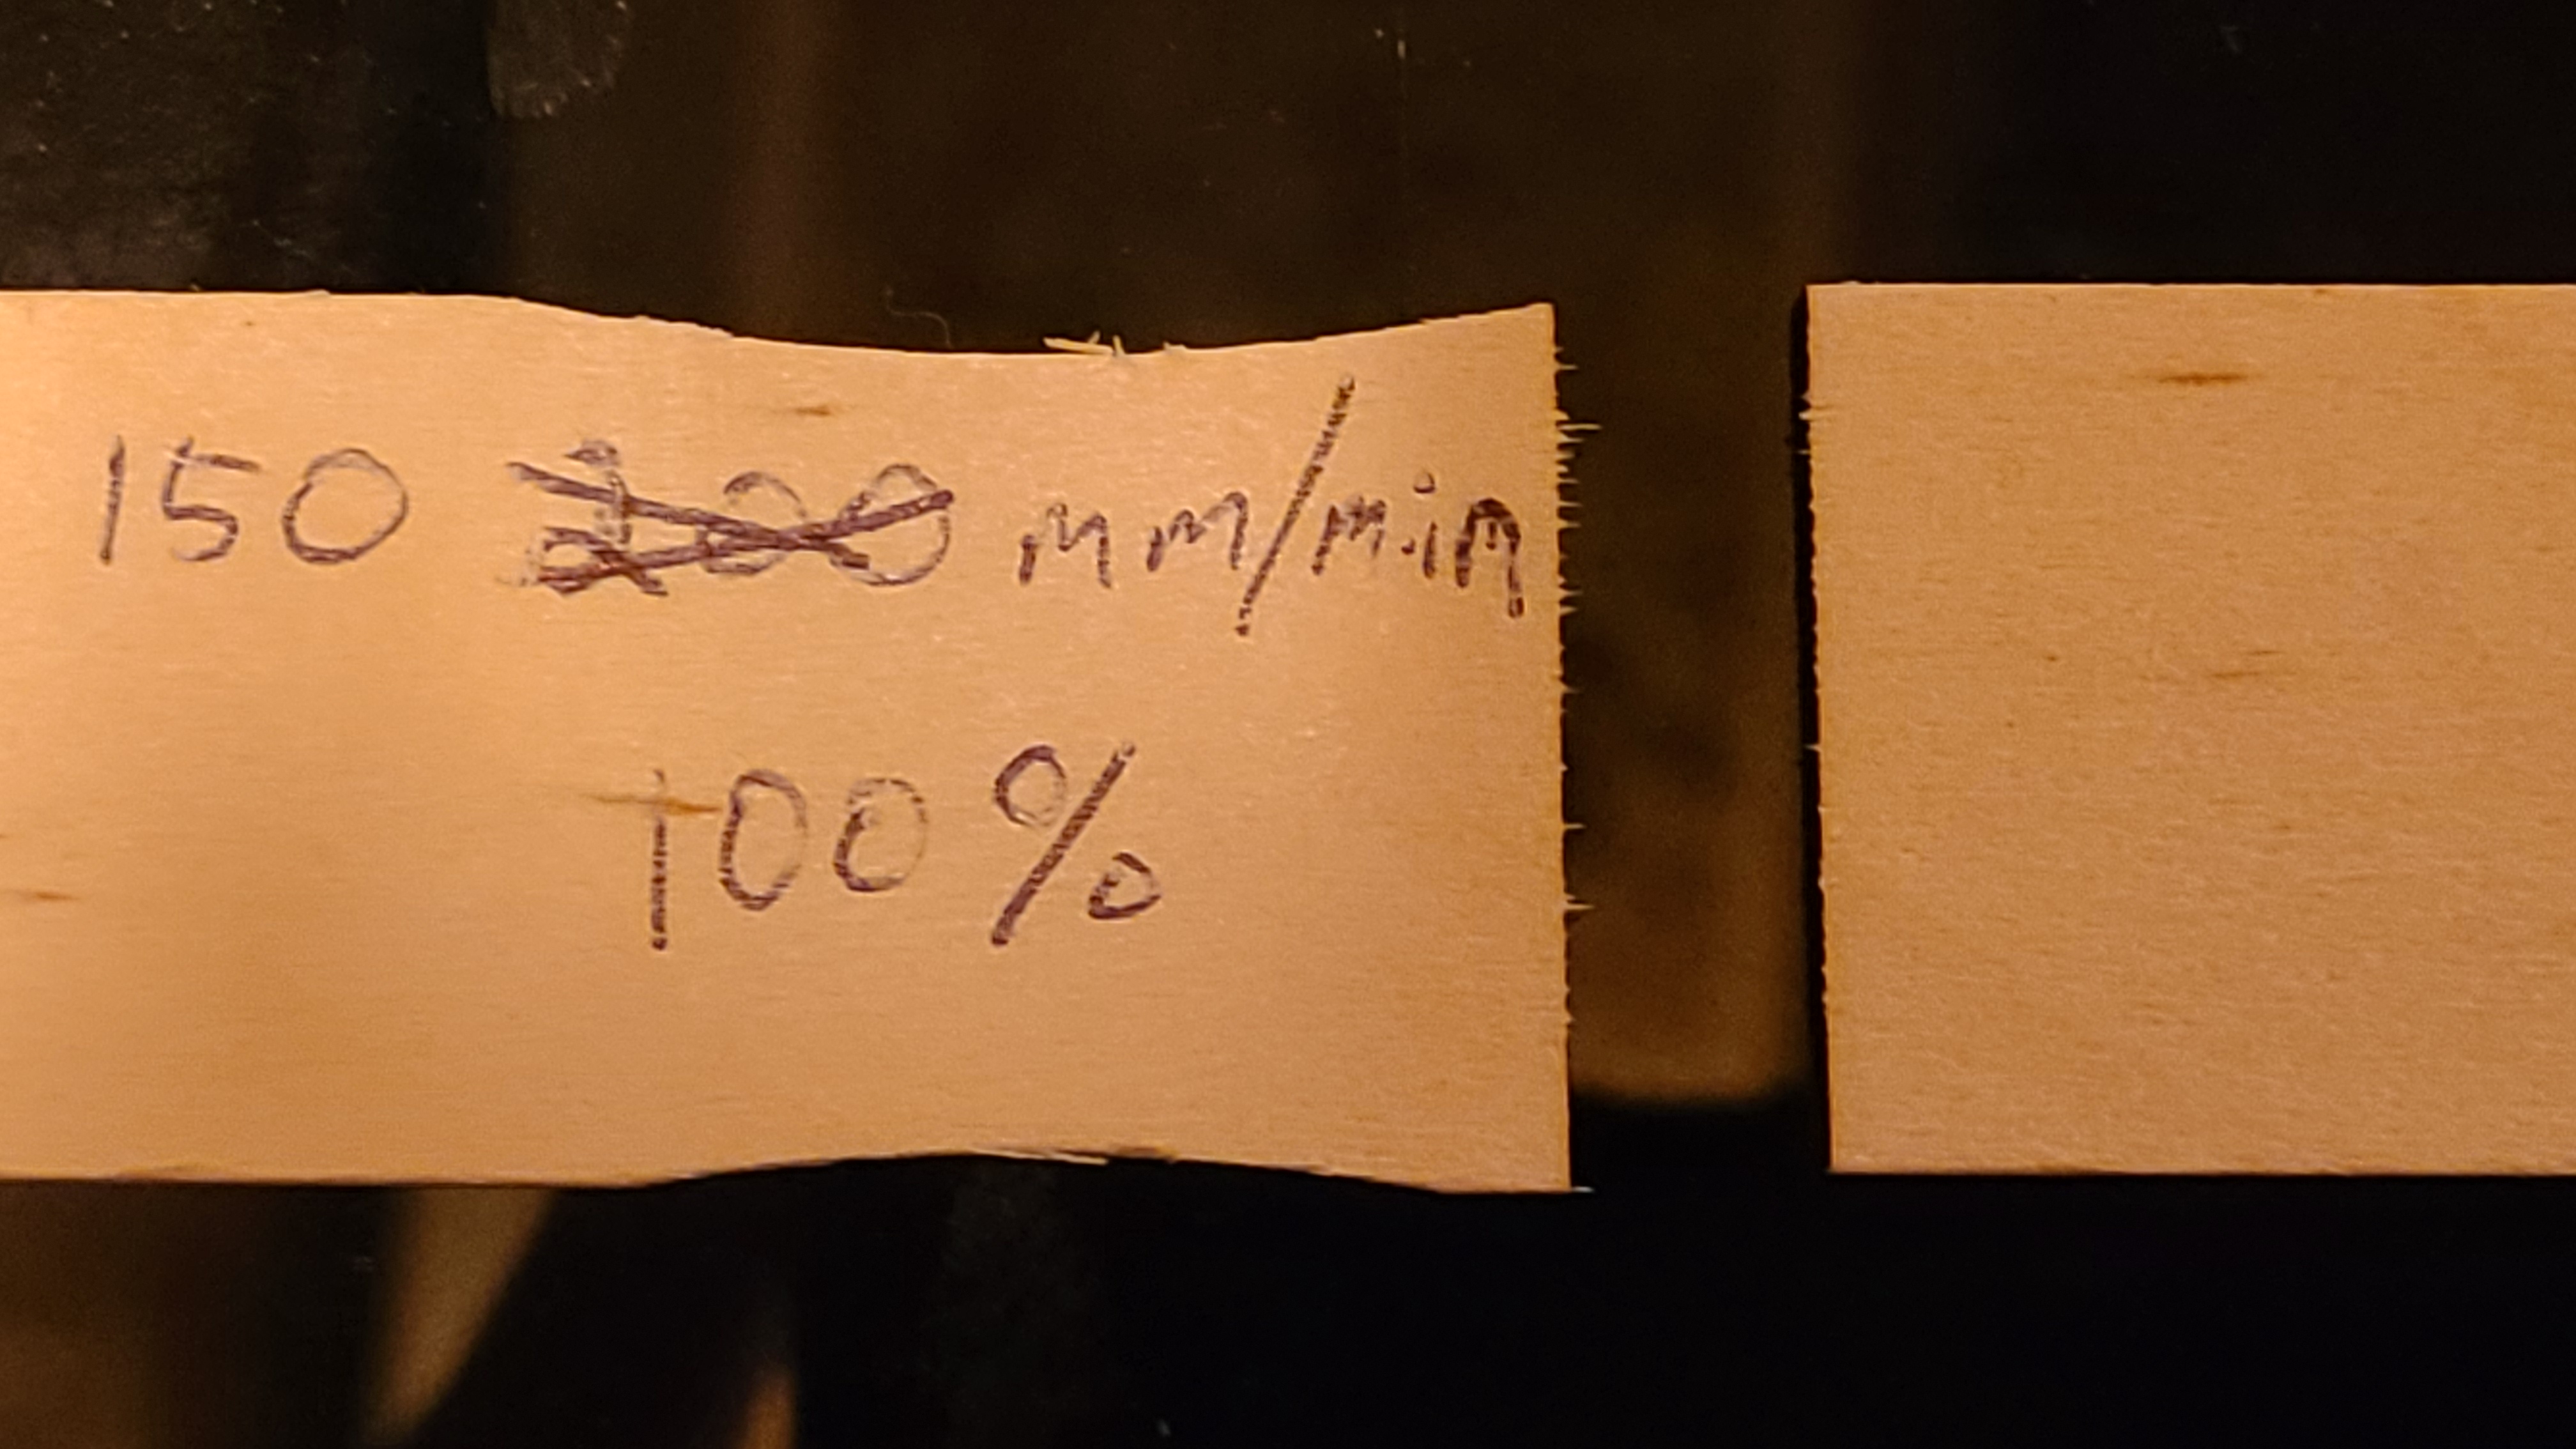
Went all the way through, but with a little bit of splintering at the bottom of the cut at 150mm/min@100% power.
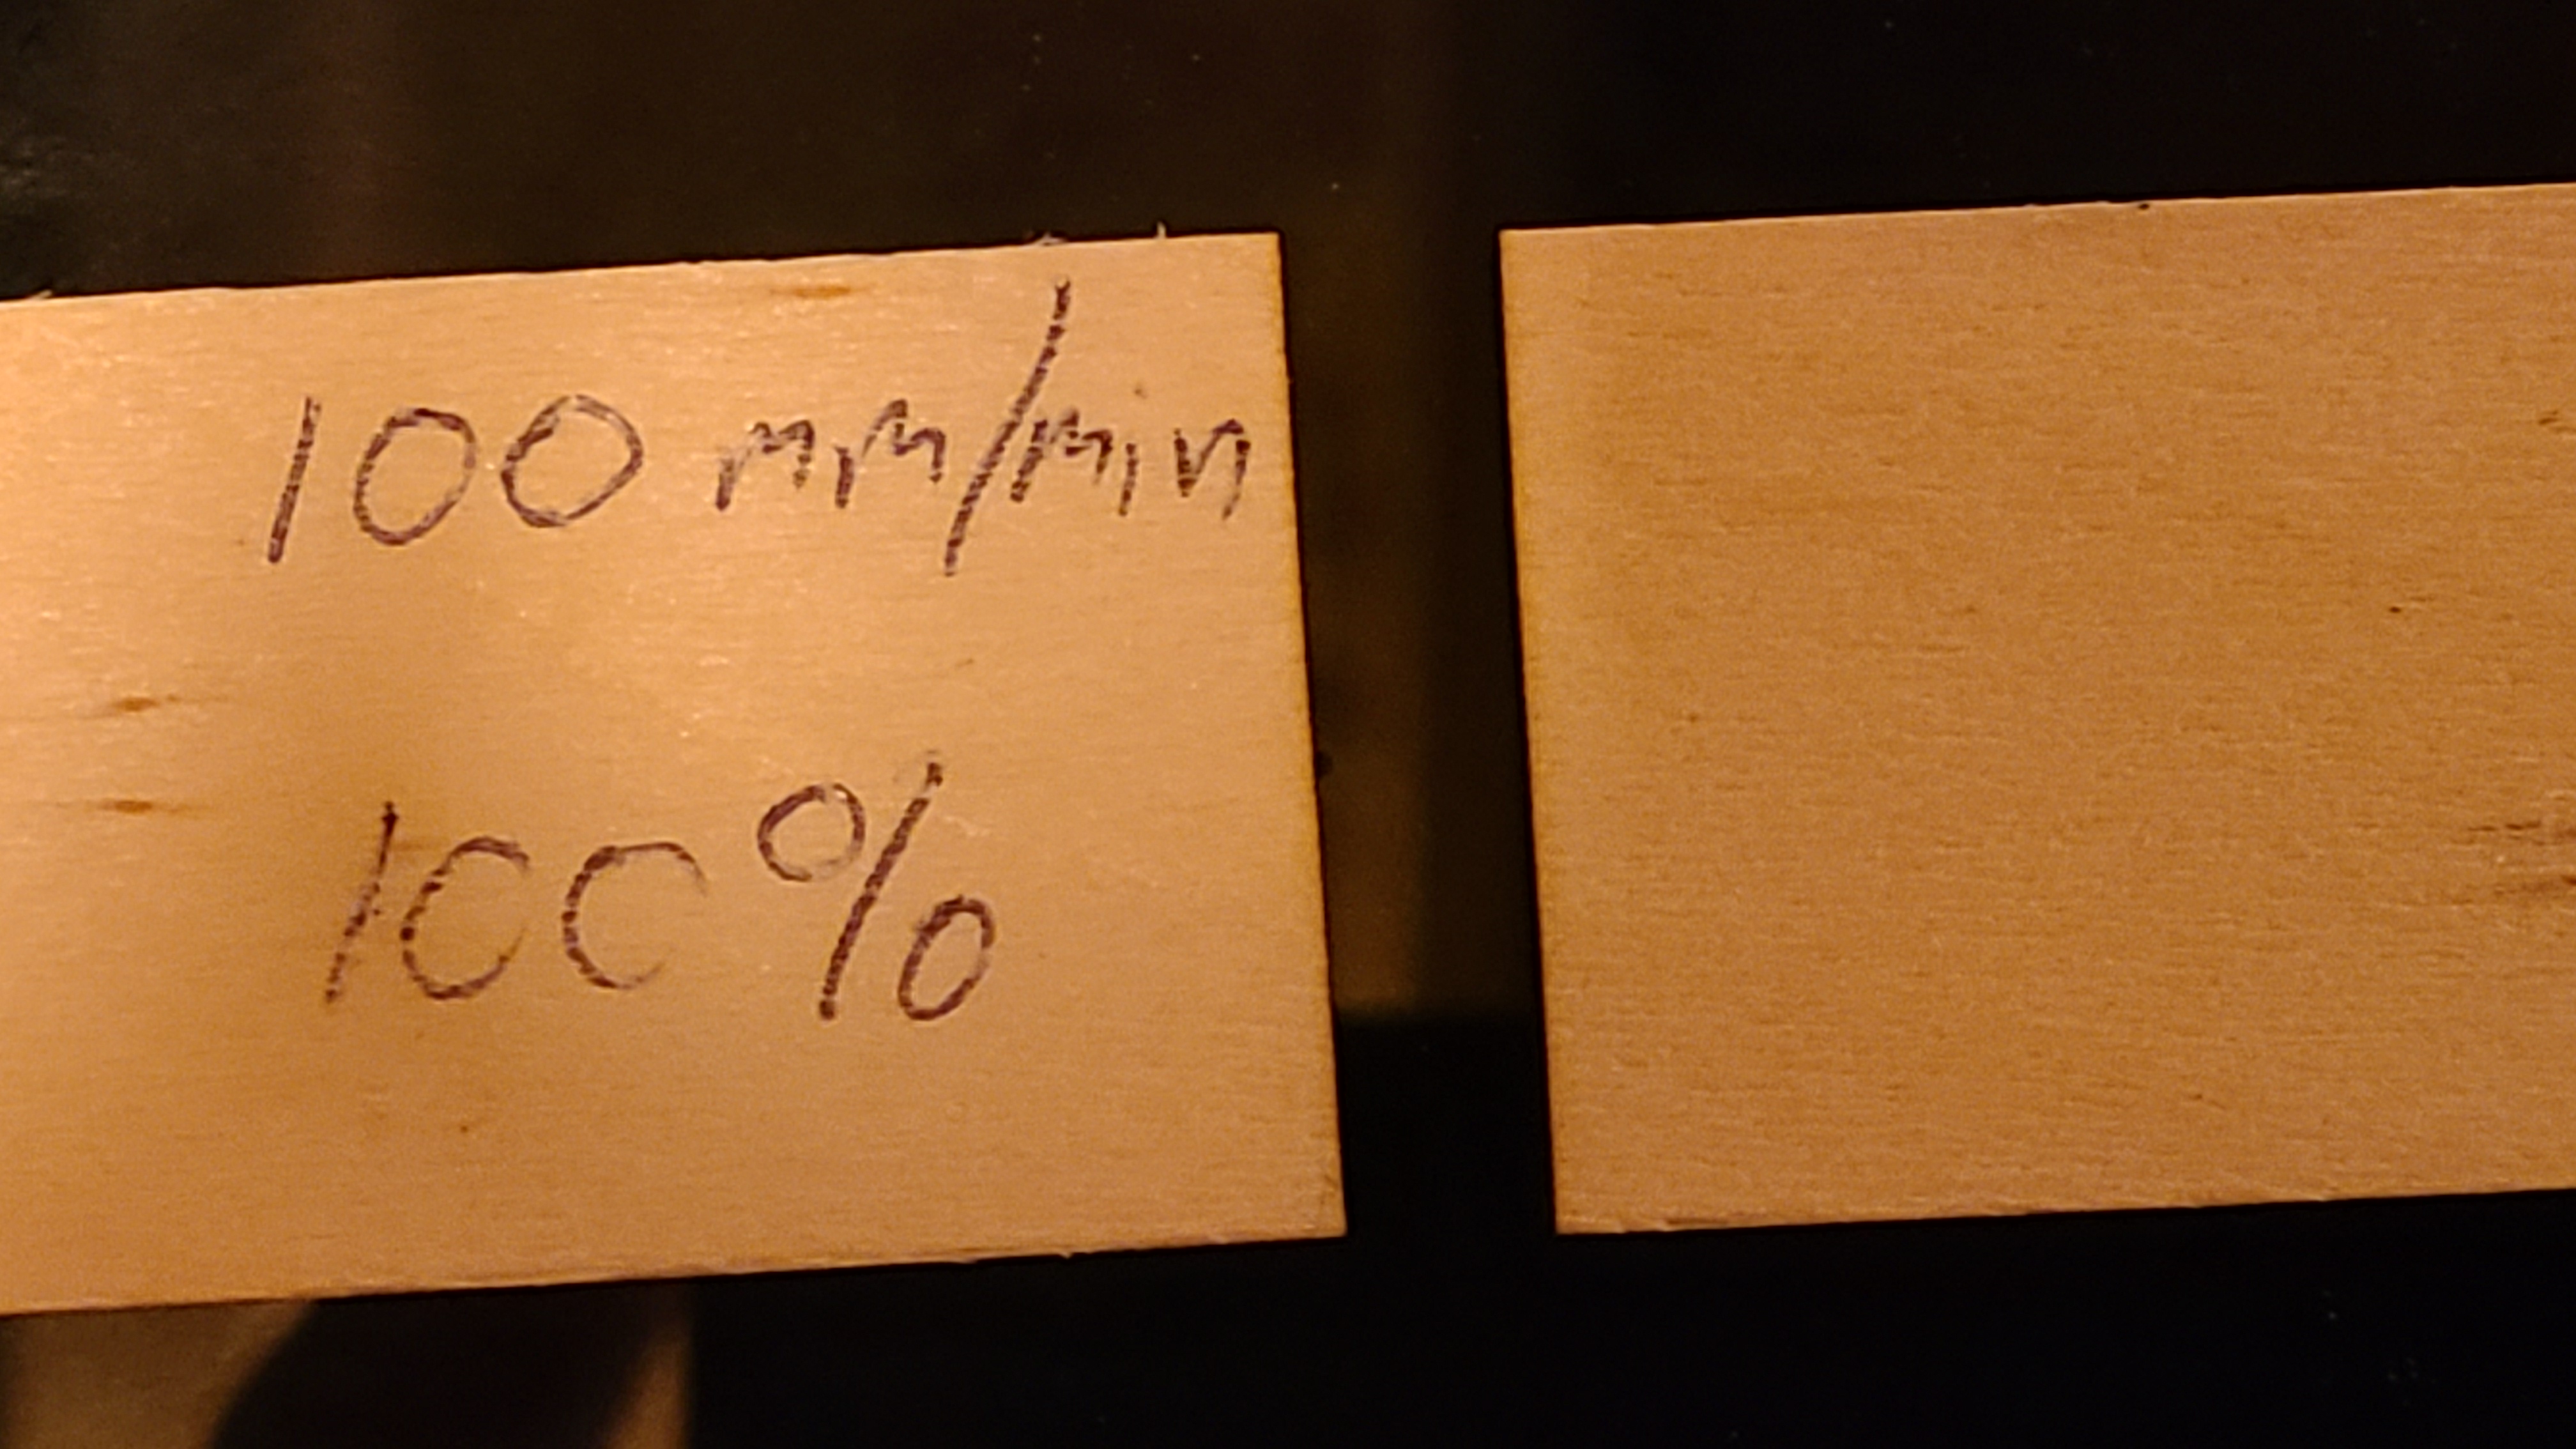
At 100mm/min@100% power it cut clean through. Watching the video on AliExpress, it can cut 4mm clean at this rate. But I’m just trying to reproduce this in the real world. I have to source some 4mm-ish stock. I tried some 1/4" luan, but it just made a bunch of smoke and char, but then again, I overcut these so I’ll try that in a minute.
1 Like
Well, the 1/4" was a bust. Barely made it half way through. Can’t even get a decent picture with all the charring. But otherwise…
Some letters just fell out, most needed a little help with a pokey tool, but pretty clean results. This was at the same 100/100 settings, but with no overcut for obvious reasons.
2 Likes
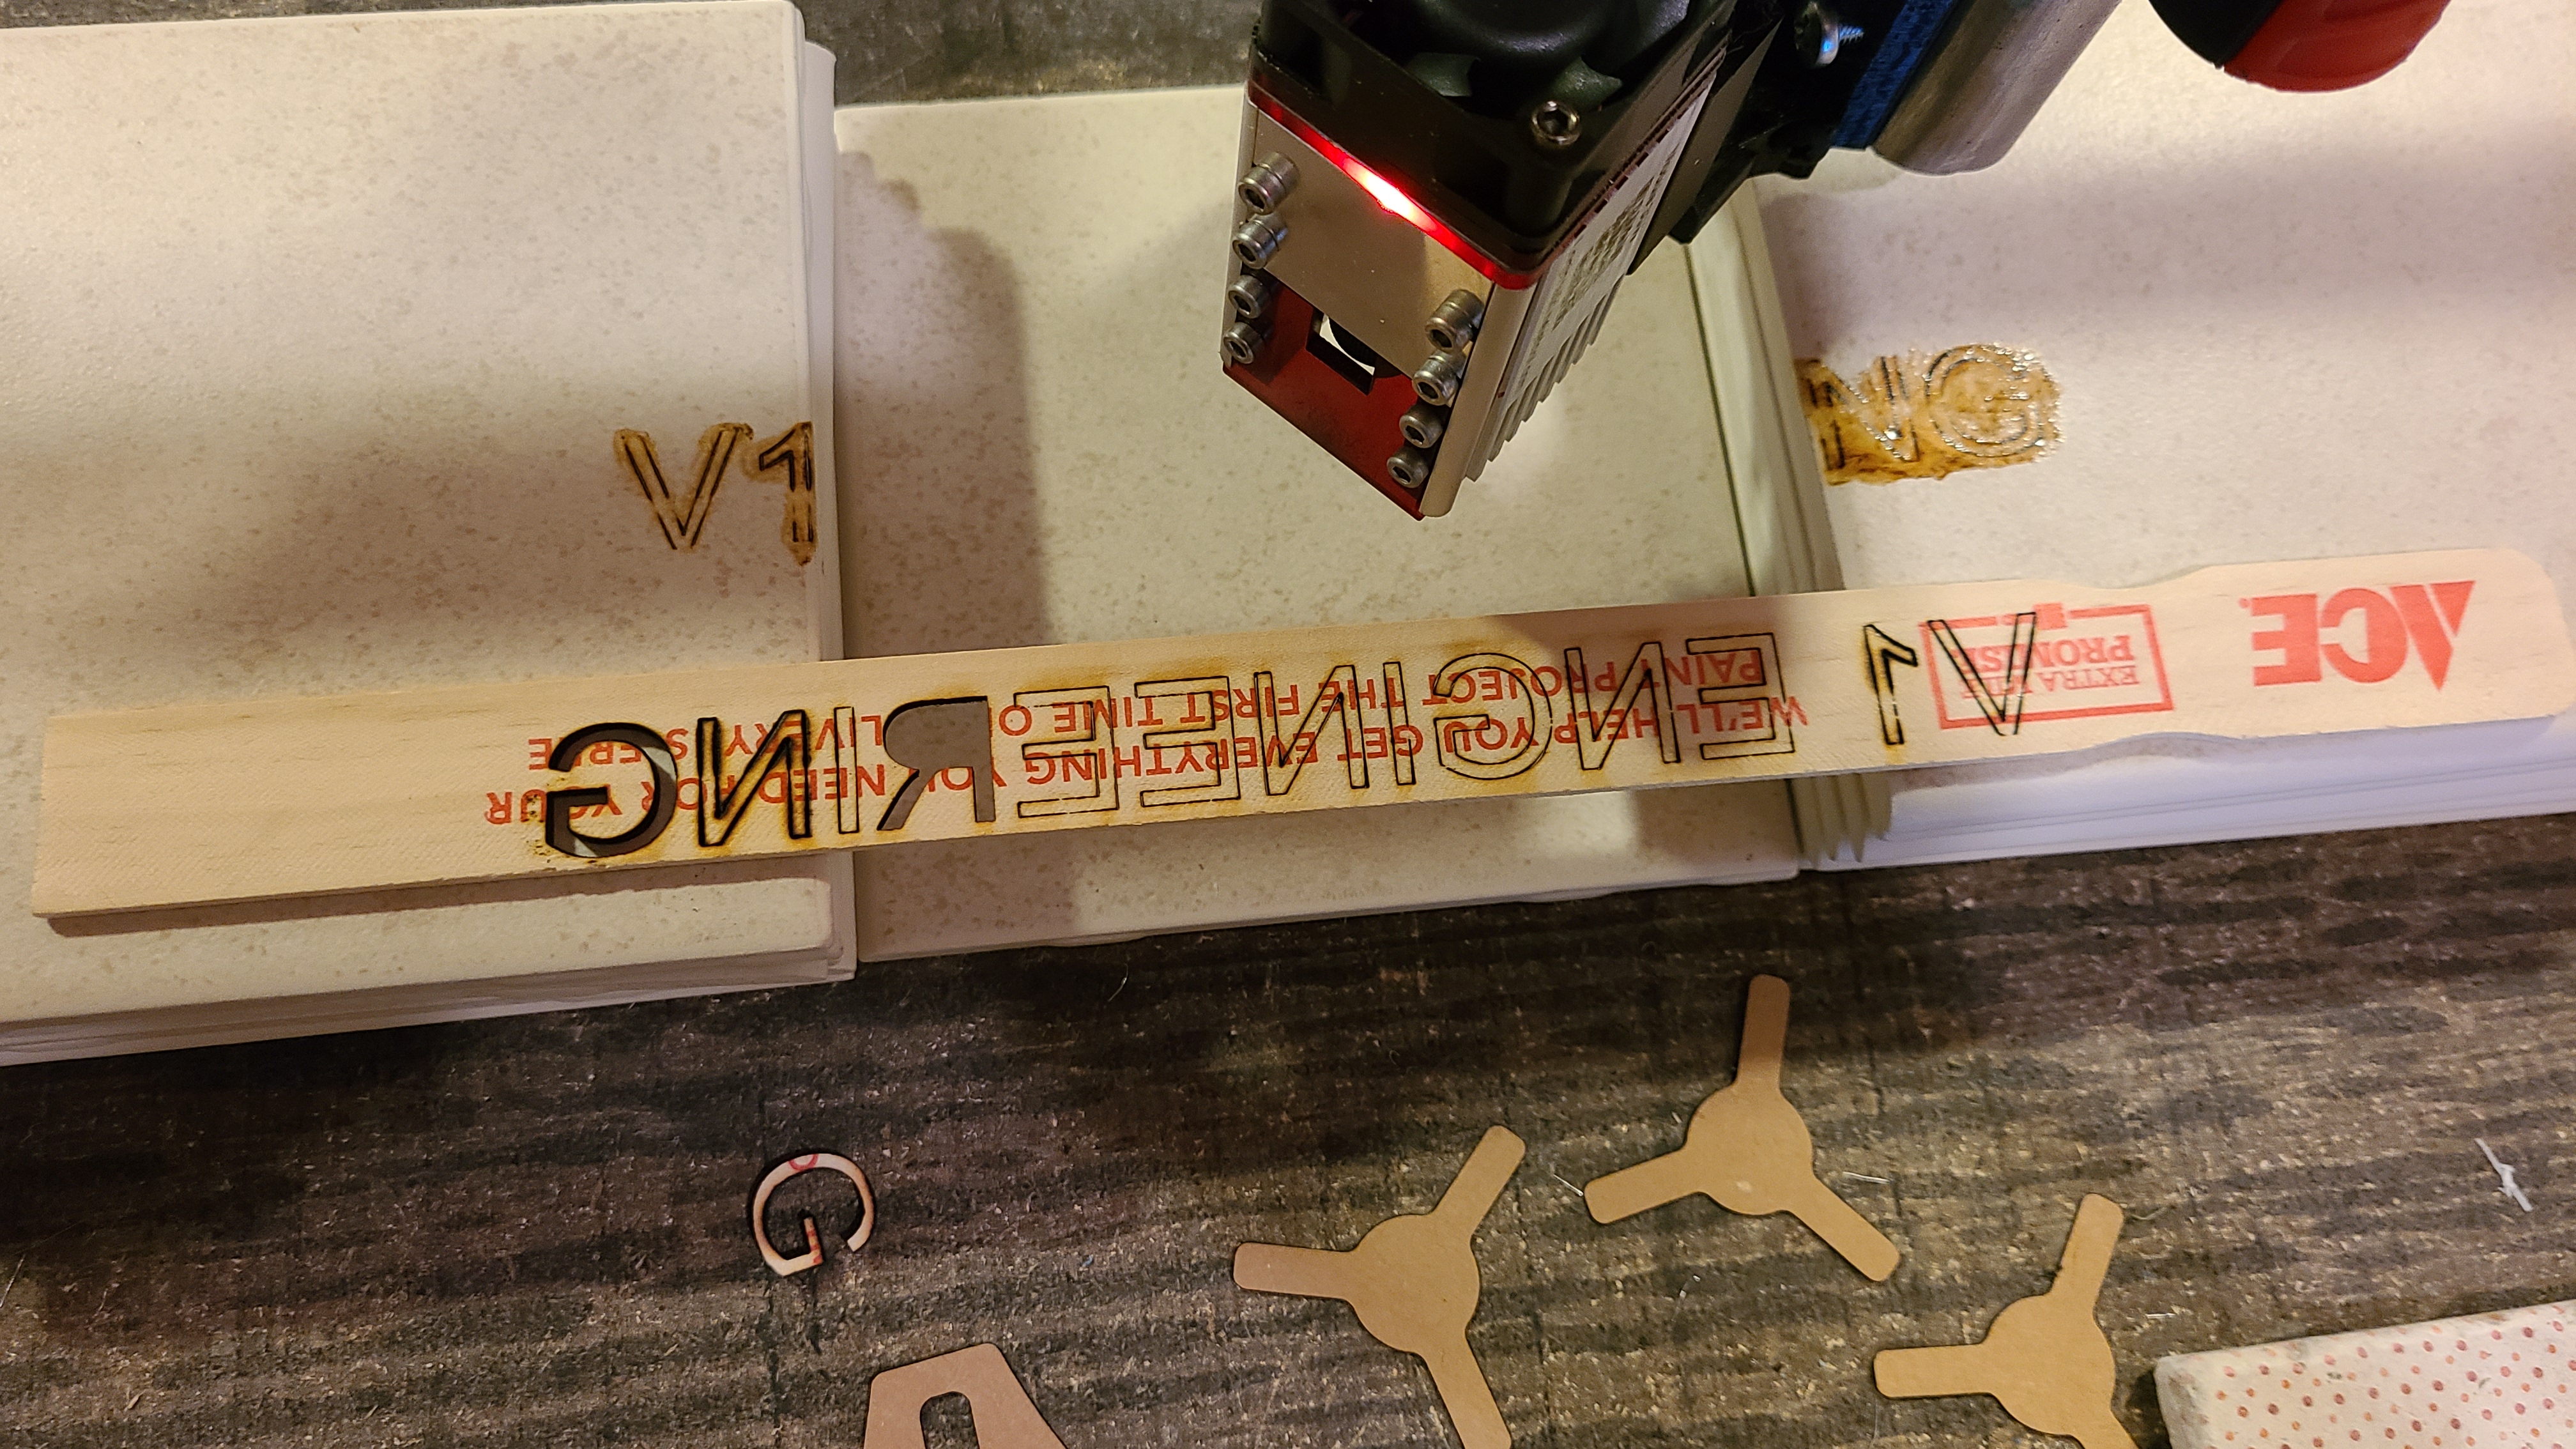
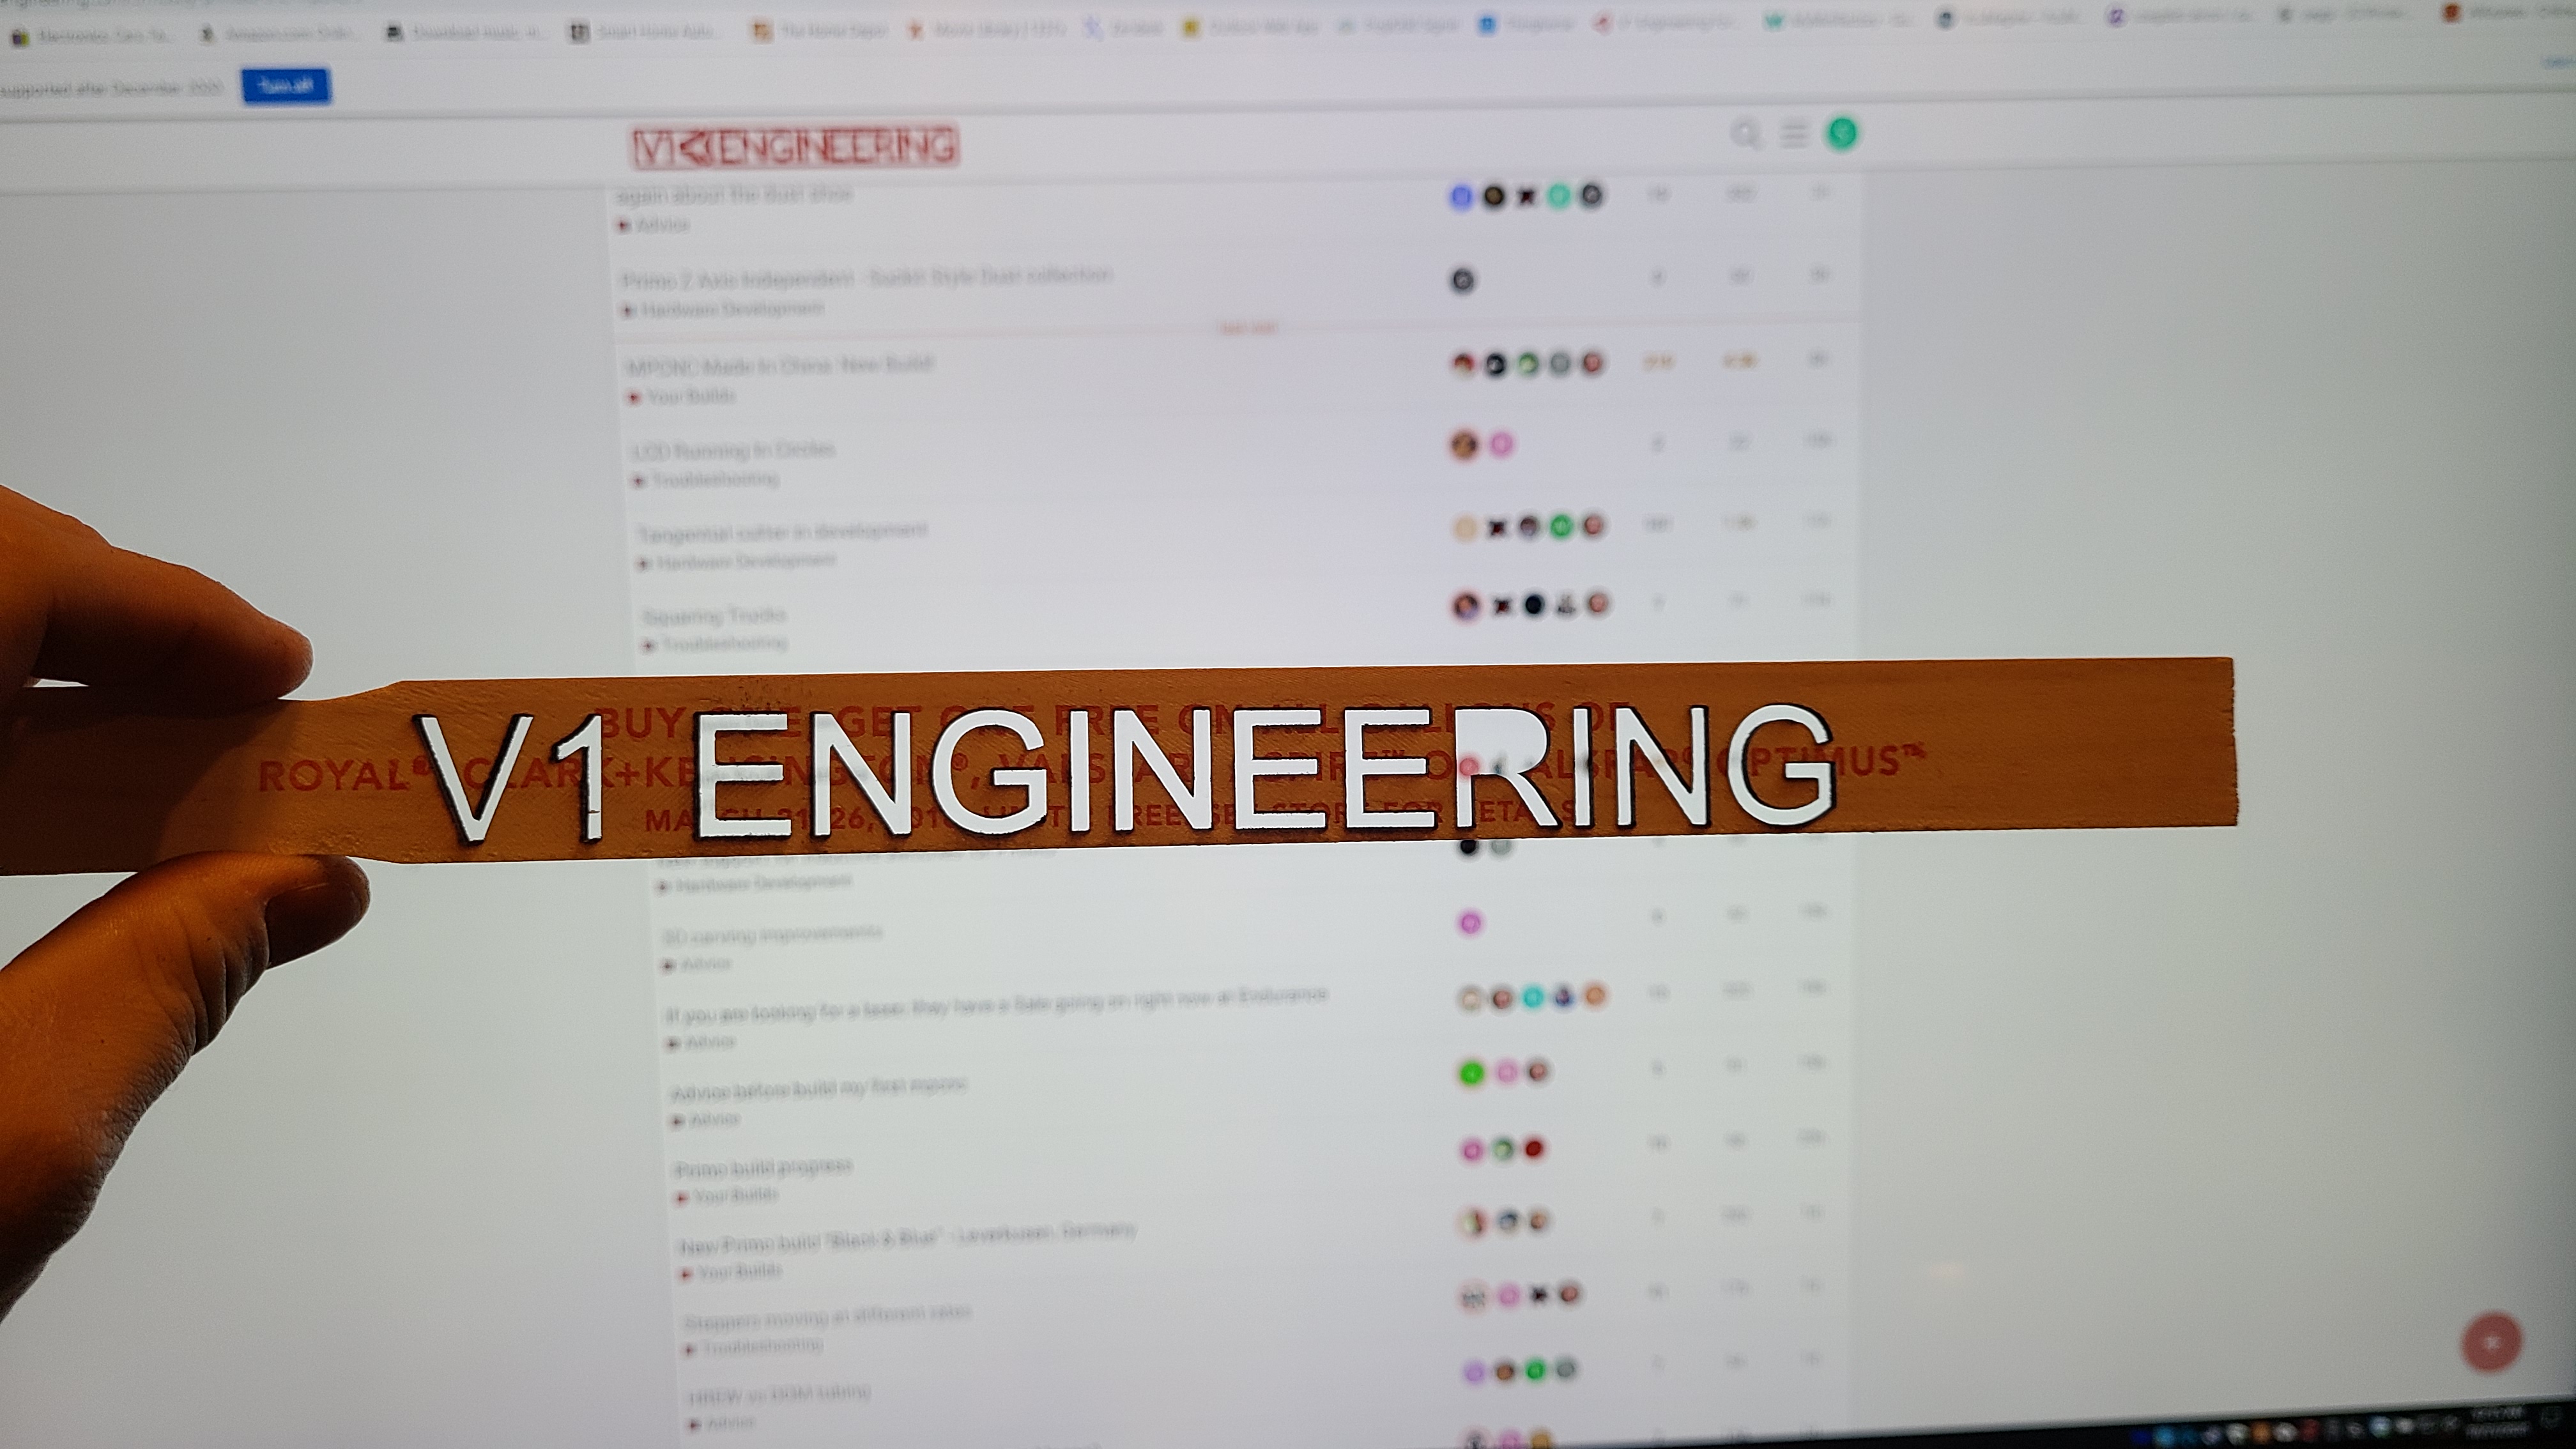
So the bleed on my tiles reminded me of a post from @dkj4linux where he’s using a paint wash for a transfer mask on tiles, if I remember correctly. I washed the bleeds with acetone and the lines remained. So I figured I’d try it with some painters tape as the transfer mask.
Well that worked too! After washing the residue away with acetone I tried scraping it with a razor blade and the lines remained. Super Cool! I used the same 100/100 setting but I’m going to run more tests to see how fast I can get and still get a good transfer. I’m guessing I don’t need cutting settings to fuse tape. I’m also going to guess that with a thinner mask, that resolution will be better. Sorry if this is old news, but it’s new to me

2 Likes
No paint just the tape? And it left permanent marks?
Wow! Nice work… and thanks for the kind words! Playing with lasers! What fun… ![]()
Actually, I’m a little confused with your last posts as to what material(s) you are working with. I was pretty sure you were engraving and cutting different woods; i.e. paint stirrers, etc… but then you are mentioning tiles, white-washing, and scraping on the line work?
You might check back in this thread… it may jog your memory and I think it follows the same/similar progression you seem to be following
I went from engraving/cutting chipboard (cereal box cardboard) to Walmart jumbo craft sticks (birch, I think) and then to a broken piece of ceramic tile, and finally white-washed craft-sticks again.
The Norton tile method is a distinct method and the white-washed wood is a different one. It appears to me that you are mixing them up a bit. Read through that thread and see if it doesn’t clear things up for you. These methods are not original with me… they were “borrowed” from @Bulldog over on the Lightburn forum and I was just trying to replicate his work.
The same/similar/different laser related information is also sprinkled through several other threads… here’s a couple
You are using a more powerful laser than my 2.5W Eleksmaker and Neje units… so your actual feeds and power settings will probably be a bit different than mine, but hopefully they’ll be in the ballpark.
Exciting stuff! I’m anxious to hear/see more… ![]()
– David
2 Likes
Yep!
Sorry, I kinda switched gears rapidly there. I was cutting paint sticks using some tiles left over from our home being built as a way to raise the workpiece and also as a backstop so the laser doesn’t burn through the shelves I have the machine resting on. After cutting the lettering and it leaving the marks on the tiles it reminded me of your post using the paint on tiles you mentioned in your 3rd link.
3 Likes
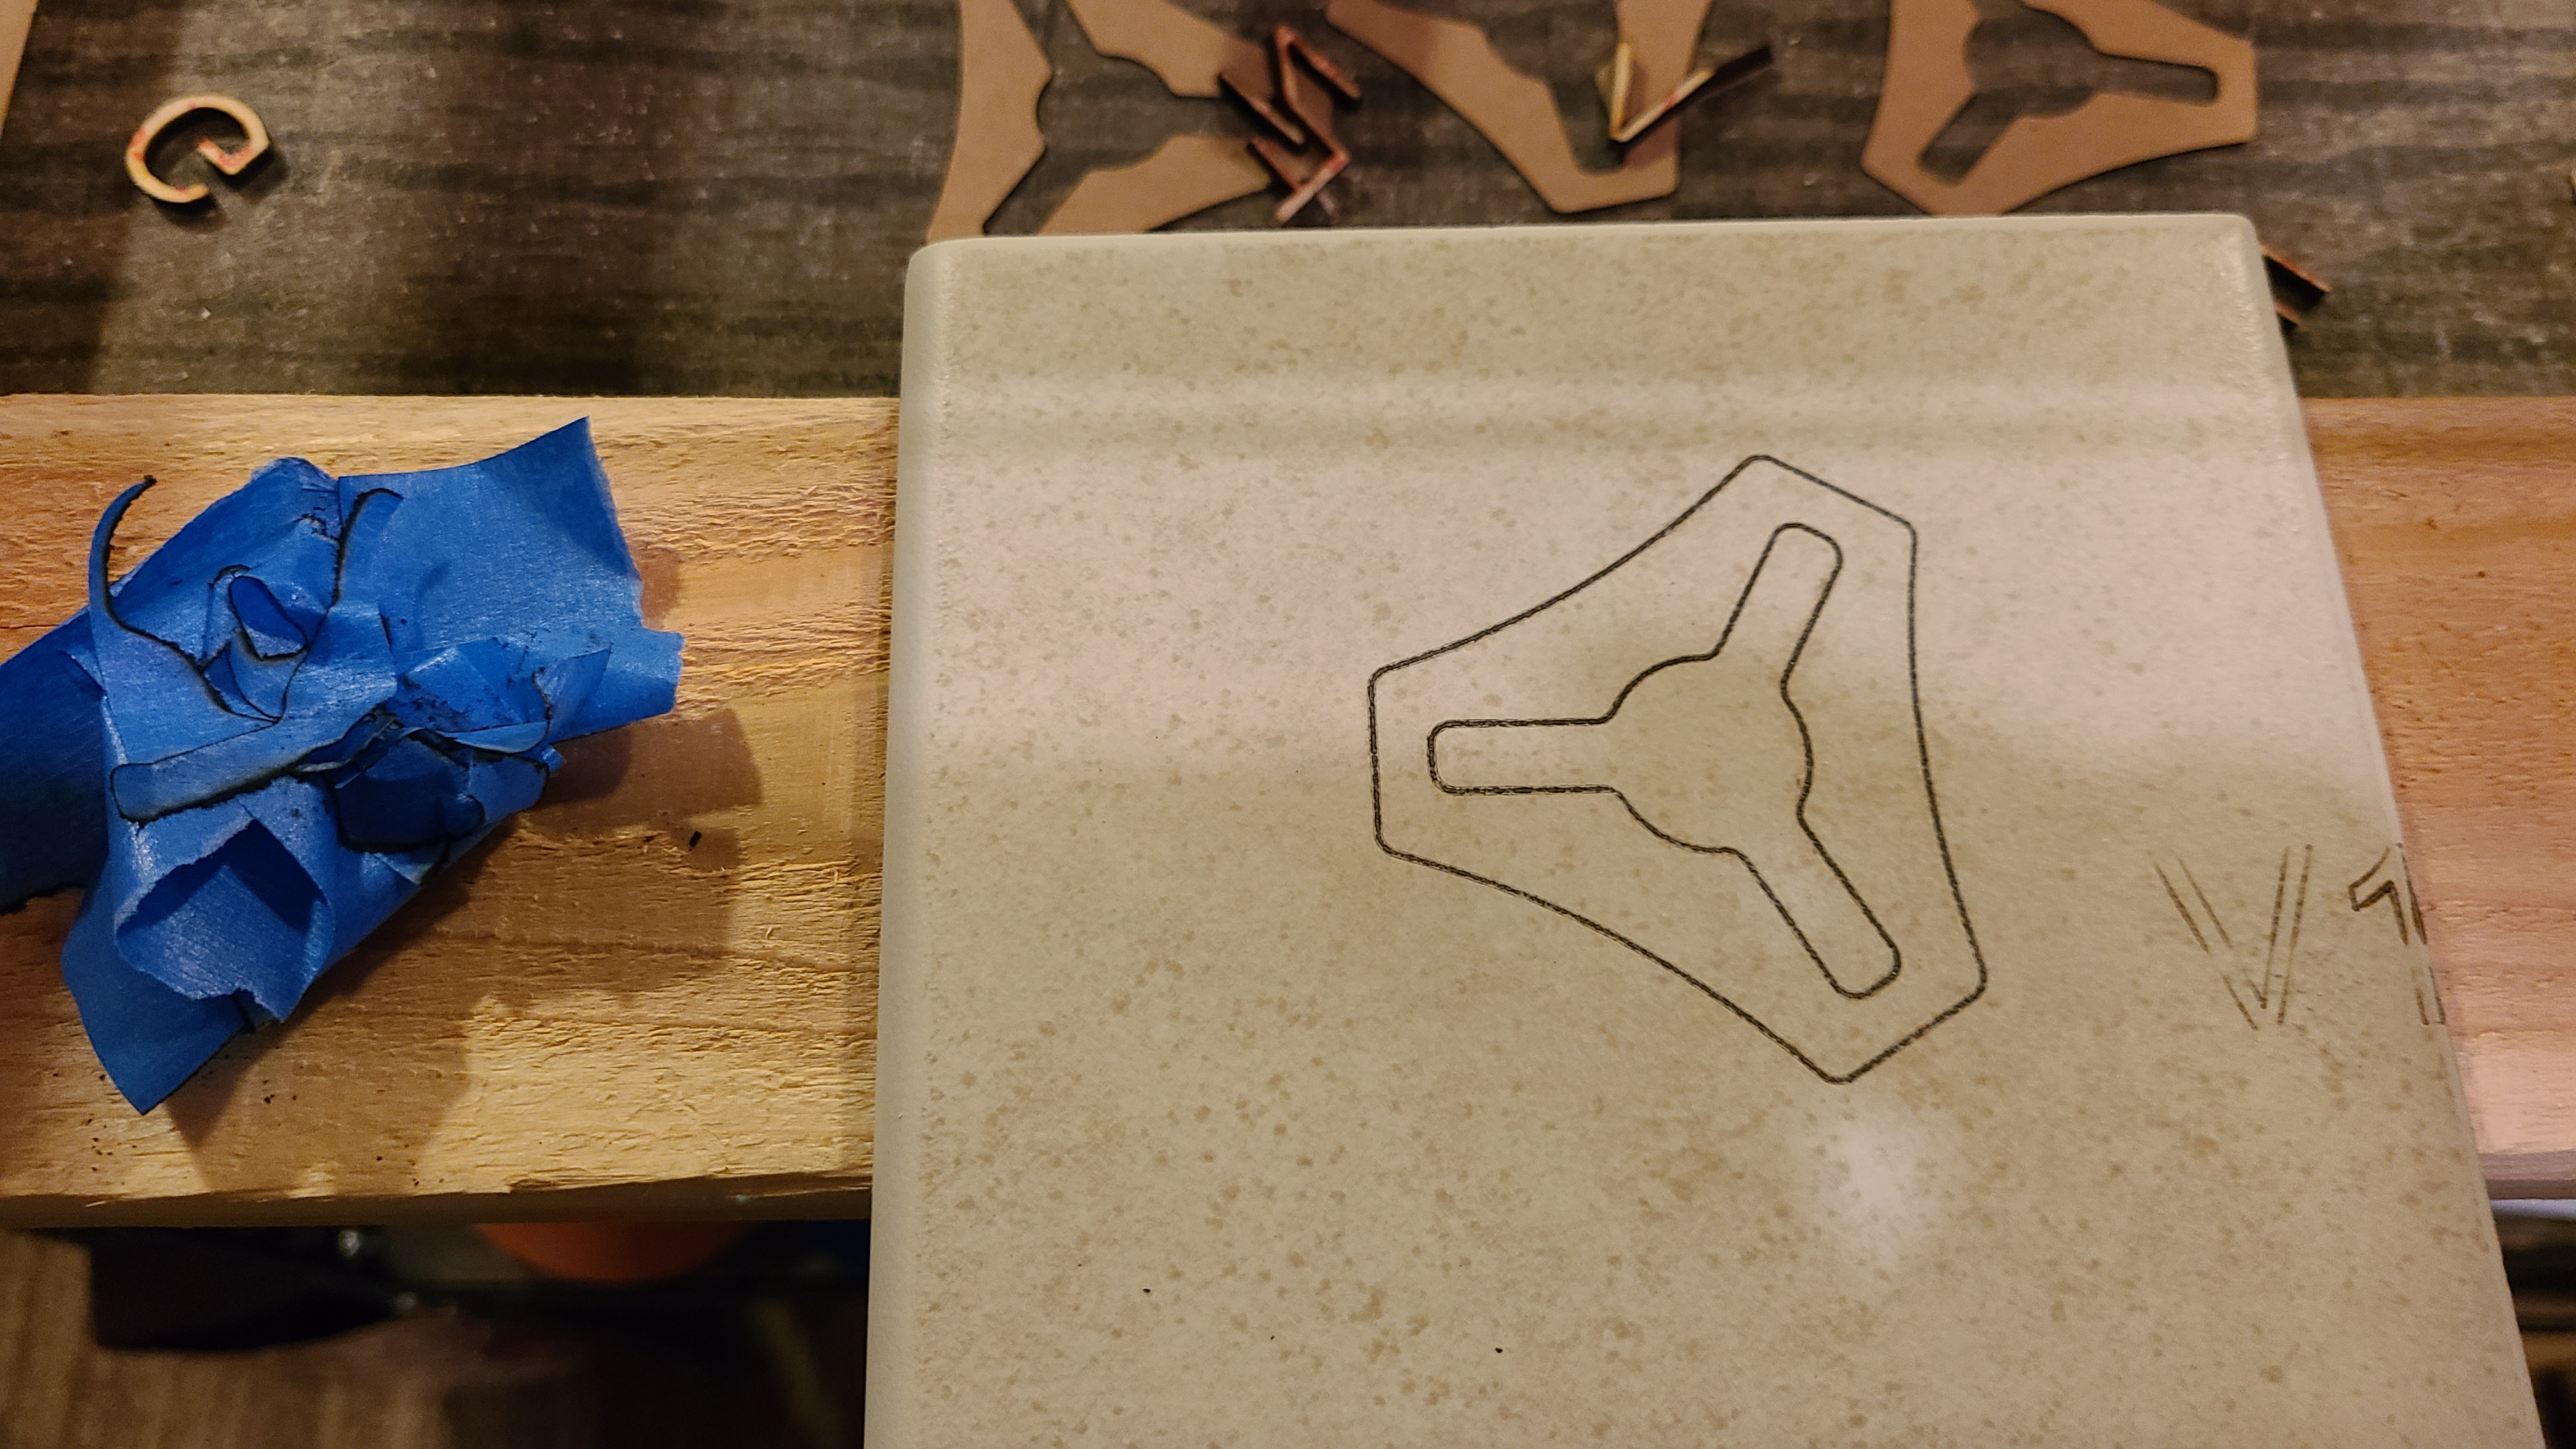
Tried the paint the tile process. Man, I need some ventilation. I think I can actually feel the nervous system damage happening.  Not the best tiles for this I’m sure, this is my first attempt.
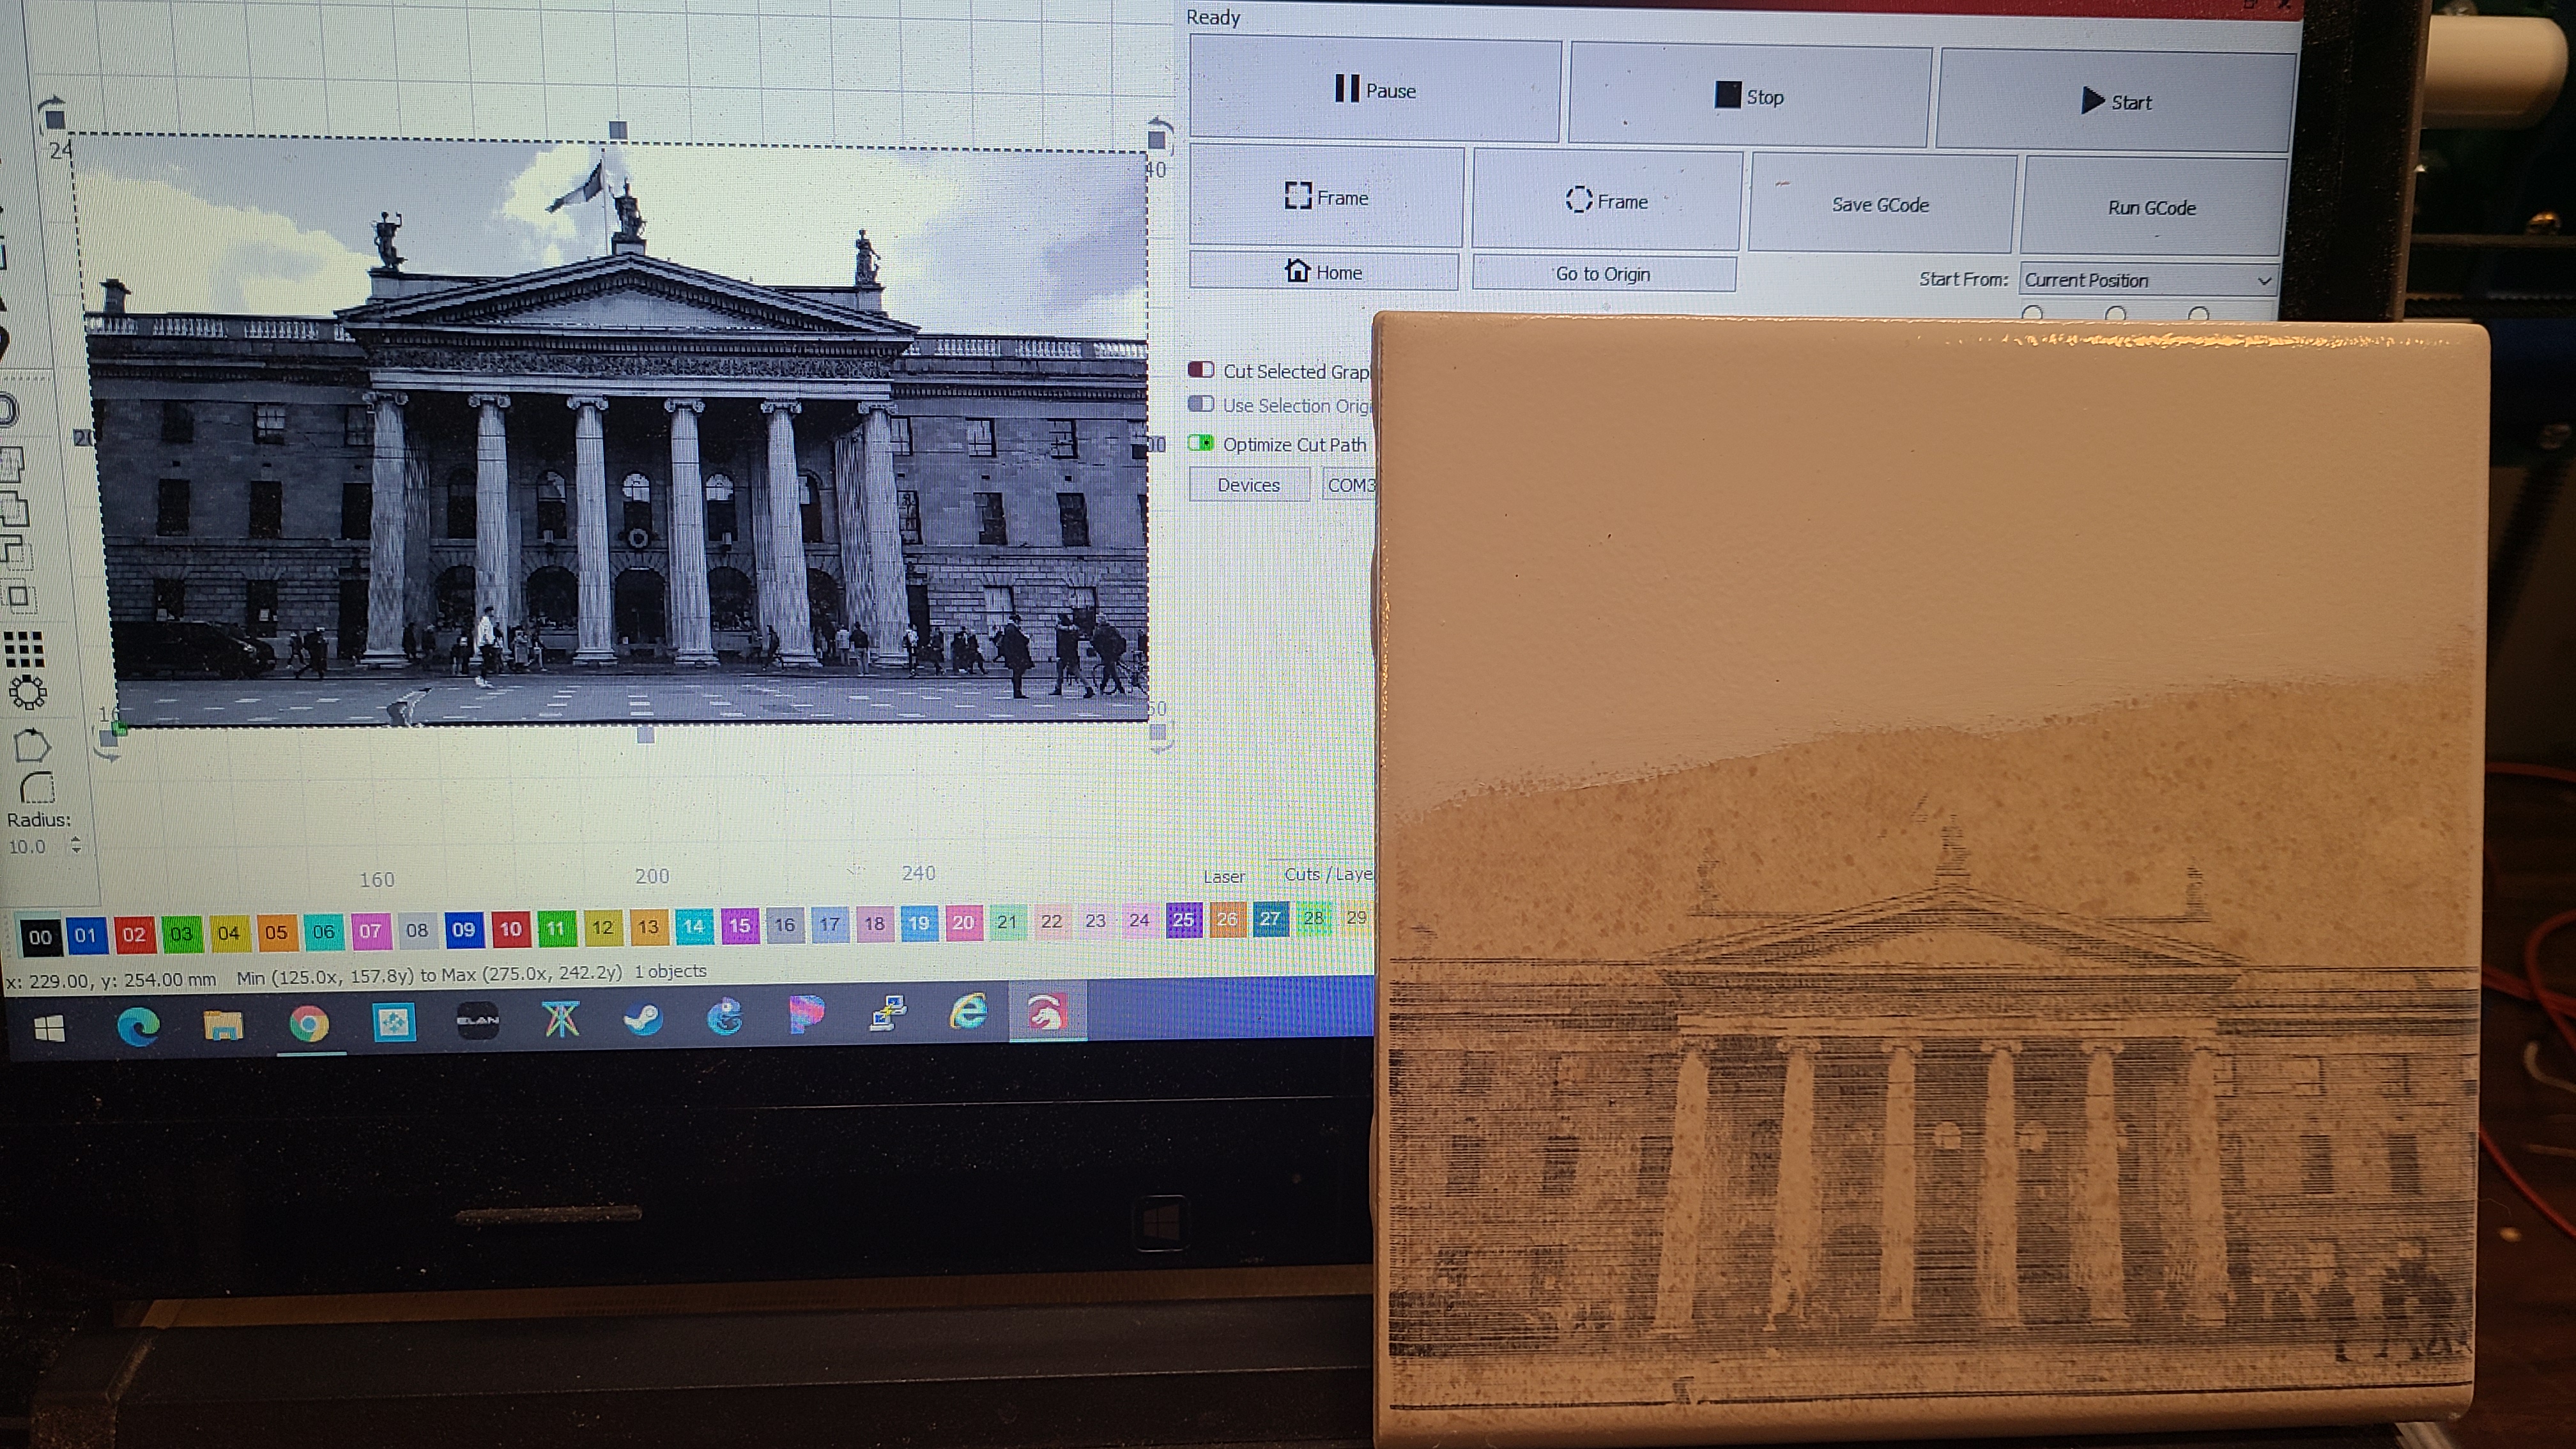
This was 1500mm/min@80% power, grayscale. I don’t know if the paint still being tacky or not matters.
It does have that sepia tone, old timey look though. Yeah, we’ll go with that…
8 Likes
I’m still setting up my laser and would love to see yours, I’m in Salem,OH.
would you be willing to let me take a peak? and get some more understanding?
Kyle
As much as I enjoy entertaining, the Missus and I aren’t hosting any guests for the foreseeable future. 
 But if you have any questions or would like to see more pictures and settings I’d be happy to oblige.