My printer (Ender 3) seemed to be working fairly consistently and all of a sudden started printing very bumpy, rough bottom layers before smoothing out after additional layers. I changed no settings and don’t know where to start looking?
It looks like you may have issues with the edges curling up off the bed. The nozzle then smushes into the curled area until the Z height gets sufficient to create proper clearance for extrusion. Try a brim (~3mm wide), and an Elmers glue stick.
1 Like
Thanks, makes sense as it sounded a bit different. I think first thing I’ll do is re-level the table. I slacked off doing so as it’d been working fine and I’d replaced the springs which was supposed to make the adjustment longer lasting.
Adjusted bed-level same way I’ve been doing with good results and the problem persists. I have doubts the edges are curling. bed adhesion seems quite strong.
Hmm. Is there something you can correlate about the slice with the extend of the issue? (for instance, does it stop when you get to the infill?)
It almost looks like overextruding that stops after some time. Do you have level dependent flow settings? Drastic change in speed around that level?
Just spitballing. I shot my shot and was wrong, lol.
Any anomalies in the slicer preview at the bottom layers?
Me too! What confuses me (a very long list) is I changed no settings and there are no level dependent changes. I could see it being over extrusion, I only ran 4-5 layers after re-leveling and there are a few blobs in interior sections, not having changed temps, speeds, filament, etc. I’m just at a loss where to look and still being relatively inexperienced with printing doesn’t help…
You know, this problem looked familiar, but I couldnt put my finger on it. I certainly couldnt remember dealing with it personally, until I googled it and saw some articles and forum posts that jogged my memory. (side note, my memory SUCKS)
I think I DID have this problem, and the issue ended up being a sagging Z axis. The check your eccentric nuts on the rollers, especially on the right side of the frame (I also have the Ender 3, and this problem came from the factory).
What is happening is that the first N number of Z layers are not actually raising the gantry, even though the Z-axis screw is turning. The first N number of turns is simply taking up slop. Once the z axis “racks” such that it is physically constrained against sagging any more, the axis starts raising and the layers even out.
You can confirm this by homing in z, then slowly raising the carriage in Z manually. Check the height of the nozzle above the bed after each step. You can do this with an index card, feeler gauge, shim stock (or if you are super fancy, a dial indicator if you have one) Once you fix this, level your bed again. My guess is that the bed is parallel to the “sloppy” X-axis, and will need to be re-set once everything is tight again.
See this post. https://3dprinting.stackexchange.com/questions/8022/first-3-mm-prints-poorly-then-fine-after-that
I think you may be on to something. I have to go out and run a few errands but I grabbed the gantry on the right side and it does seem a bit sloppy in the Z axis. I’ll fool with it when I get home later. Thanks for pointing this out, at least I have a direction to head in.
Is this happening on all prints, or just this one?
I tried a print that had worked fine before with the same result so it appears to be the machine.
1 Like
From the look of it the problem appears to be isolated to the first 5 mm closest to the bed which means a temp issue or adhesion issue.
Naybe try lowering temp of bed. I had this issue when the was a large temp difference between the bed and ambient room temp or if there is a breeze blowing.
Also check your nozzle head and replace if you have a spare. If you print too many prints with the nozzle smashed against the bed you can actually wear through the brass nozzle and increase the nozzle width.
Weighed the current spool and should have just enough filament left to finish up something, waiting for a new spool to show up to try to hopefully cure the issue.
I’ve had issues that look similar when i get a partially clogged nozzle, or cooked bowden tube in the hot end.
I have not read the whole thread but I will tell you this much is certain.
It is extruding too much plastic into too small of an area.
Possible reasons in order of most likely to least likely:
- Z homed too close to the bed at the start of this print
- Bed is unlevel causing this section of bed to be closer to the nozzle
- Filament spool is cheap and it went through a really thick section.
- Print pealing up off of the bed.
- Many other smaller reasons.
2 Likes

So I made some adjustments to the eccentric wheels on the gantry.
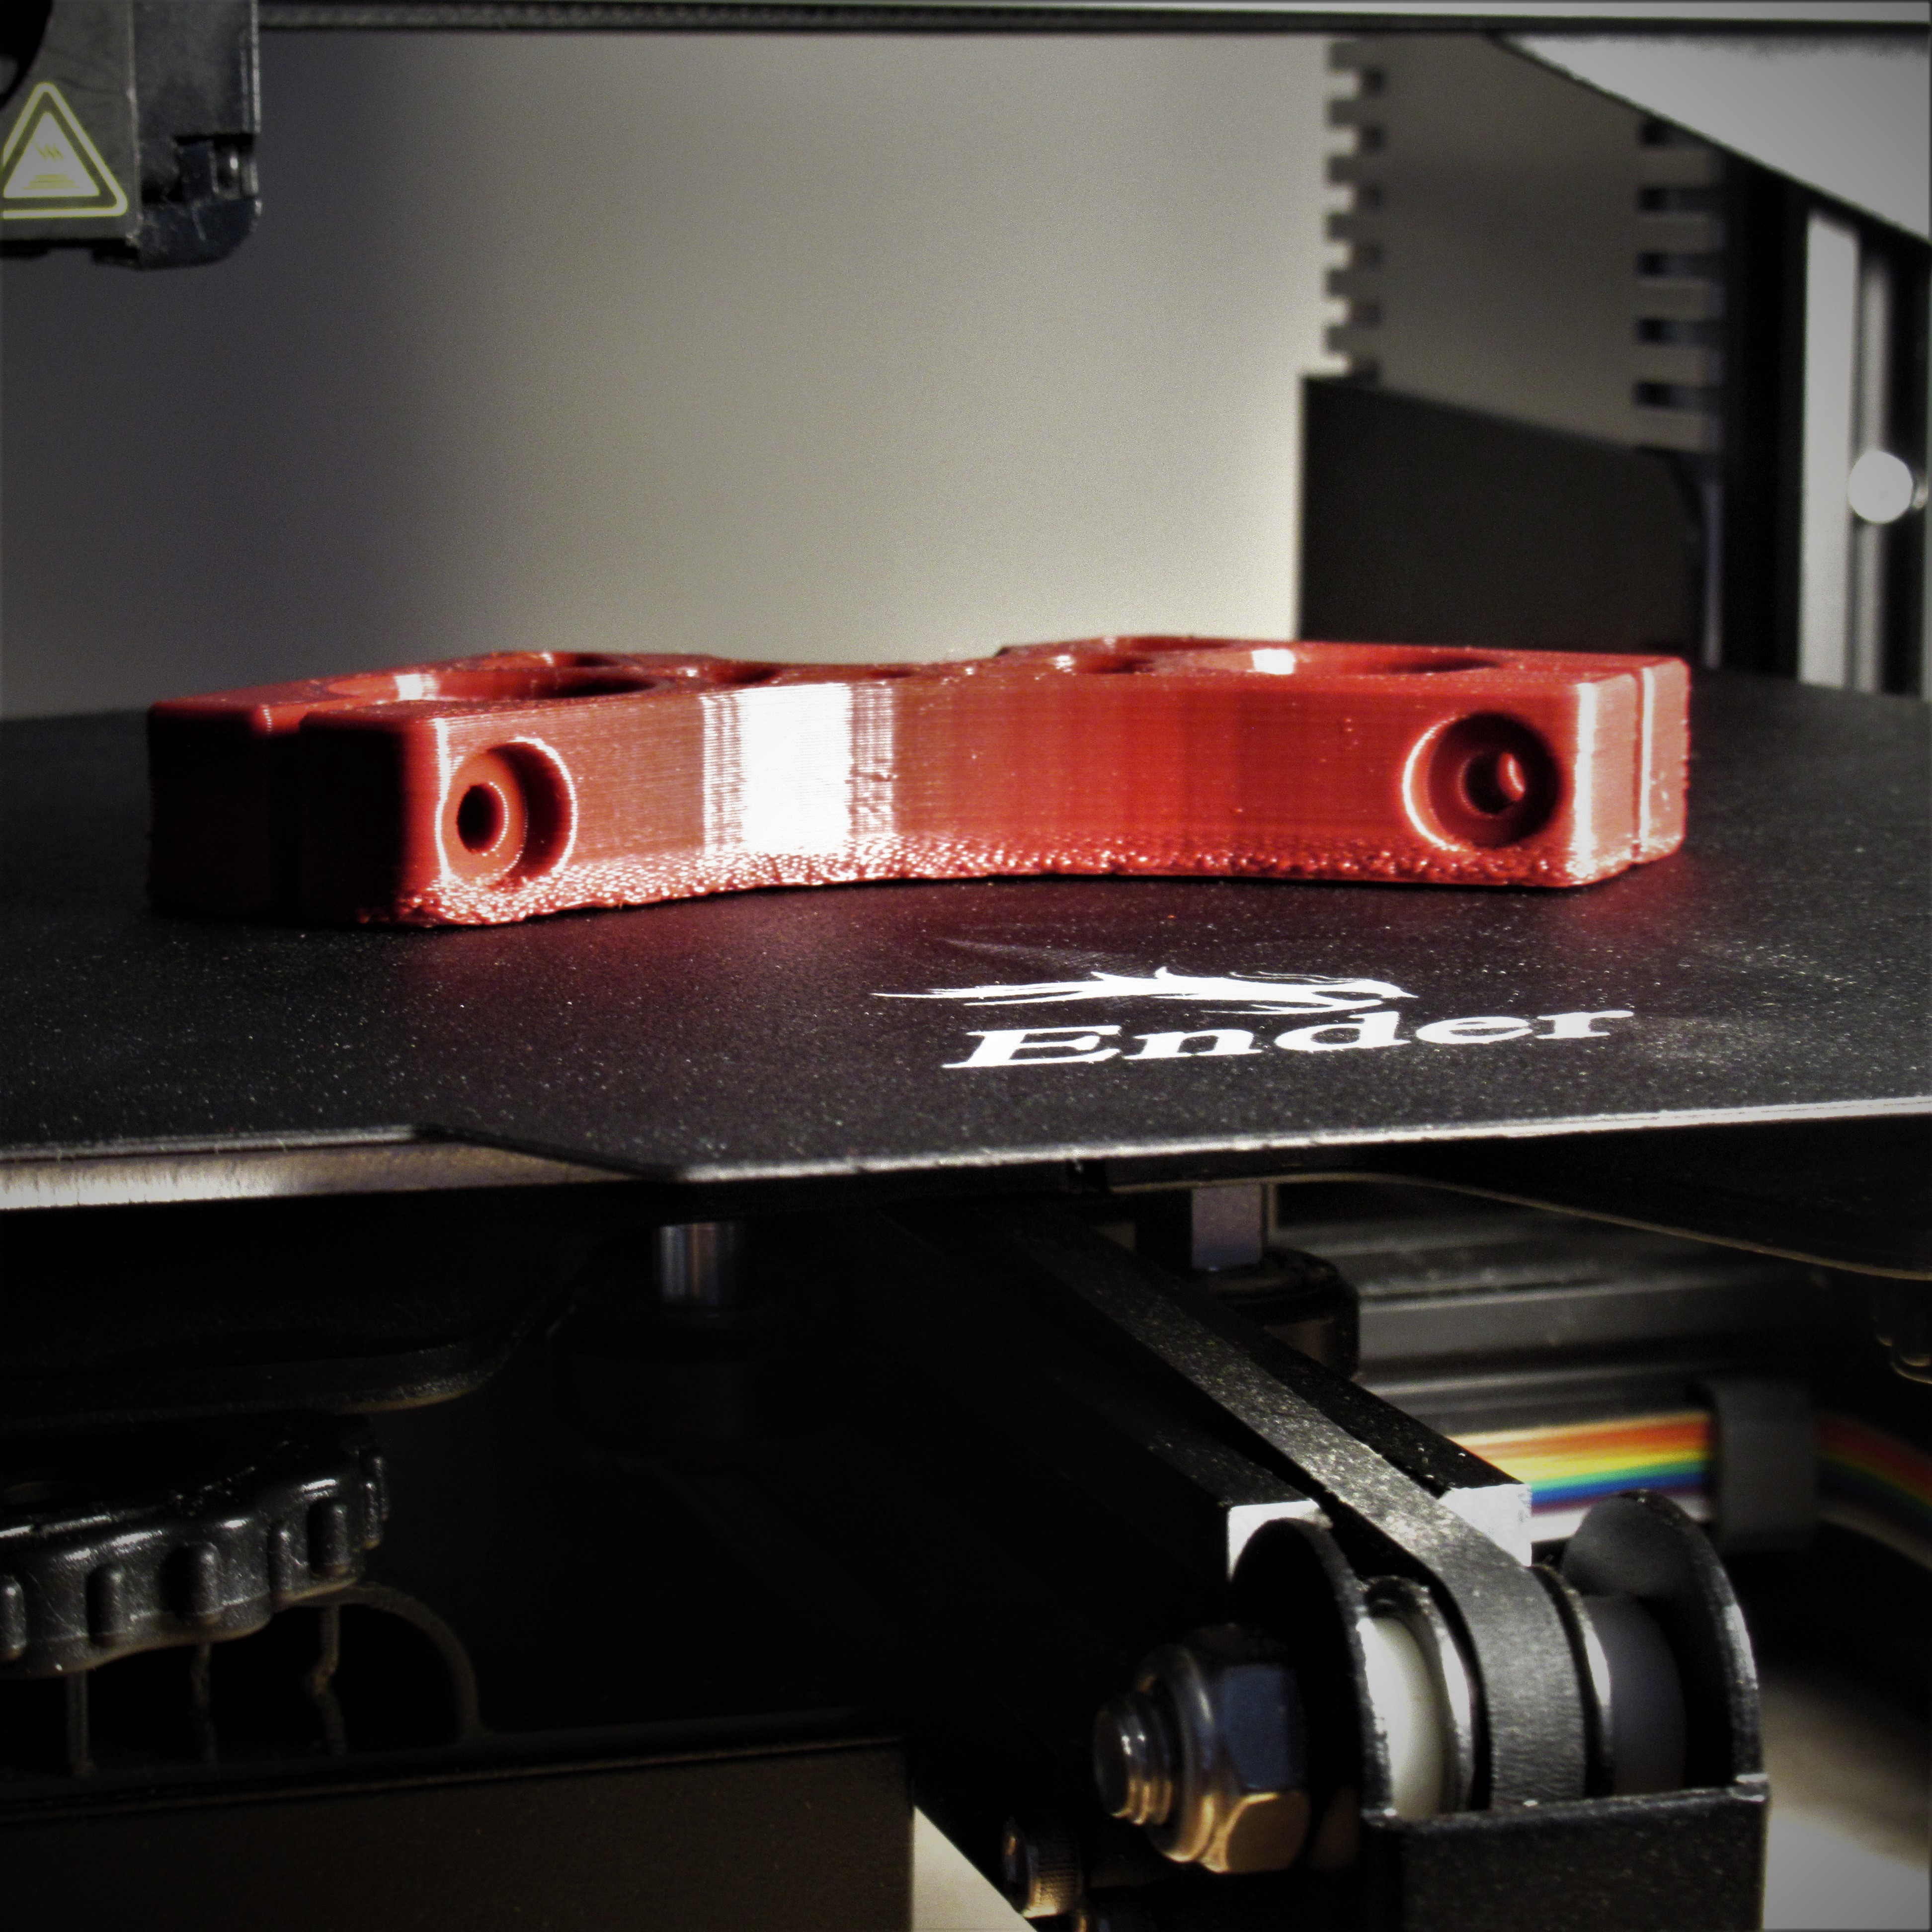
The piece on the left is just a little test piece I tinkered up and the bottom layers are much improved. The piece on the right is a Primo Z core clamp. While I think it’s useable, it has that noticeable bumpiness on the right side where it changes direction. Is there something(s) specific that causes this that can be adjusted out? I’m still pretty new to 3D printing and at times it’s hard to figure out. And while likely not the case here I know sometimes I probably expect something that looks injection molded, as unrealistic as that may be.
I knew it would be the eccentric nuts. You print looks good (on the left).
I have similar issues with the seam on the part on the right. I have not been able to eliminate it, but there are some things you can do. First, calibrate your extruder E-steps and flow rate. (here: https://teachingtechyt.github.io/calibration.html#esteps) You may be over extruding a bit. Second, your slicer may have the option to move the seam around. Putting on a corner minimizes its effect.
I have to find out what’s going on, I just tried to start a print several times and it just stopped before printing anything. I’ve been getting a Windows 10 message when I put a card adaptor in a USB port that there’s a problem with the D drive and that I should scan it, be darned if I can find how to do that and I heard from someone in a computer forum that they have the same issue and it doesn’t have any effect on things. I know I’ve successfully loaded/printed after receiving that message. It may be time for a mystical incantation.
My confusion deepens. The little half-cylinder test piece I printed did so well I was going to print a Primo Z Motor piece, the one that first showed the problem with the bottom layers, didn’t get far and I could see it’d gone to crap again. Reloaded the test piece and it again printed like I’d like all my prints to look. In addition, in the past, when I loaded Gcode in the printer and hit print, the bed and extruder would heat at the same time and start printing when both were up to temp. Now the bed heats first and then the extruder comes online. With such inconsistencies I’m unsure where to look. Need to find out how long I’ve had the Ender and if there’s any warranty left.
My bed has always heated before the nozzle. Do you print via USB or SD card? Have you changed your slicer recently? The issue could actually be in the G-code itself.
Check your actual G-code files for something that looks like this (//comments are mine)
M140 S60 (//heat the bed to 60C)
M105 (//report the temp)
M190 S60 (//wait for the bed to reach 60C before proceeding)
M104 S230 (//heat the nozzle to 230C)
M105 (//report the temp)
M109 S230 (//wait for the nozzle to reach 230C before proceeding)
See if one or more of your M190 lines are missing.