Repetier Connection Problems / Z-Homing / Z-Probe

Hi guys,

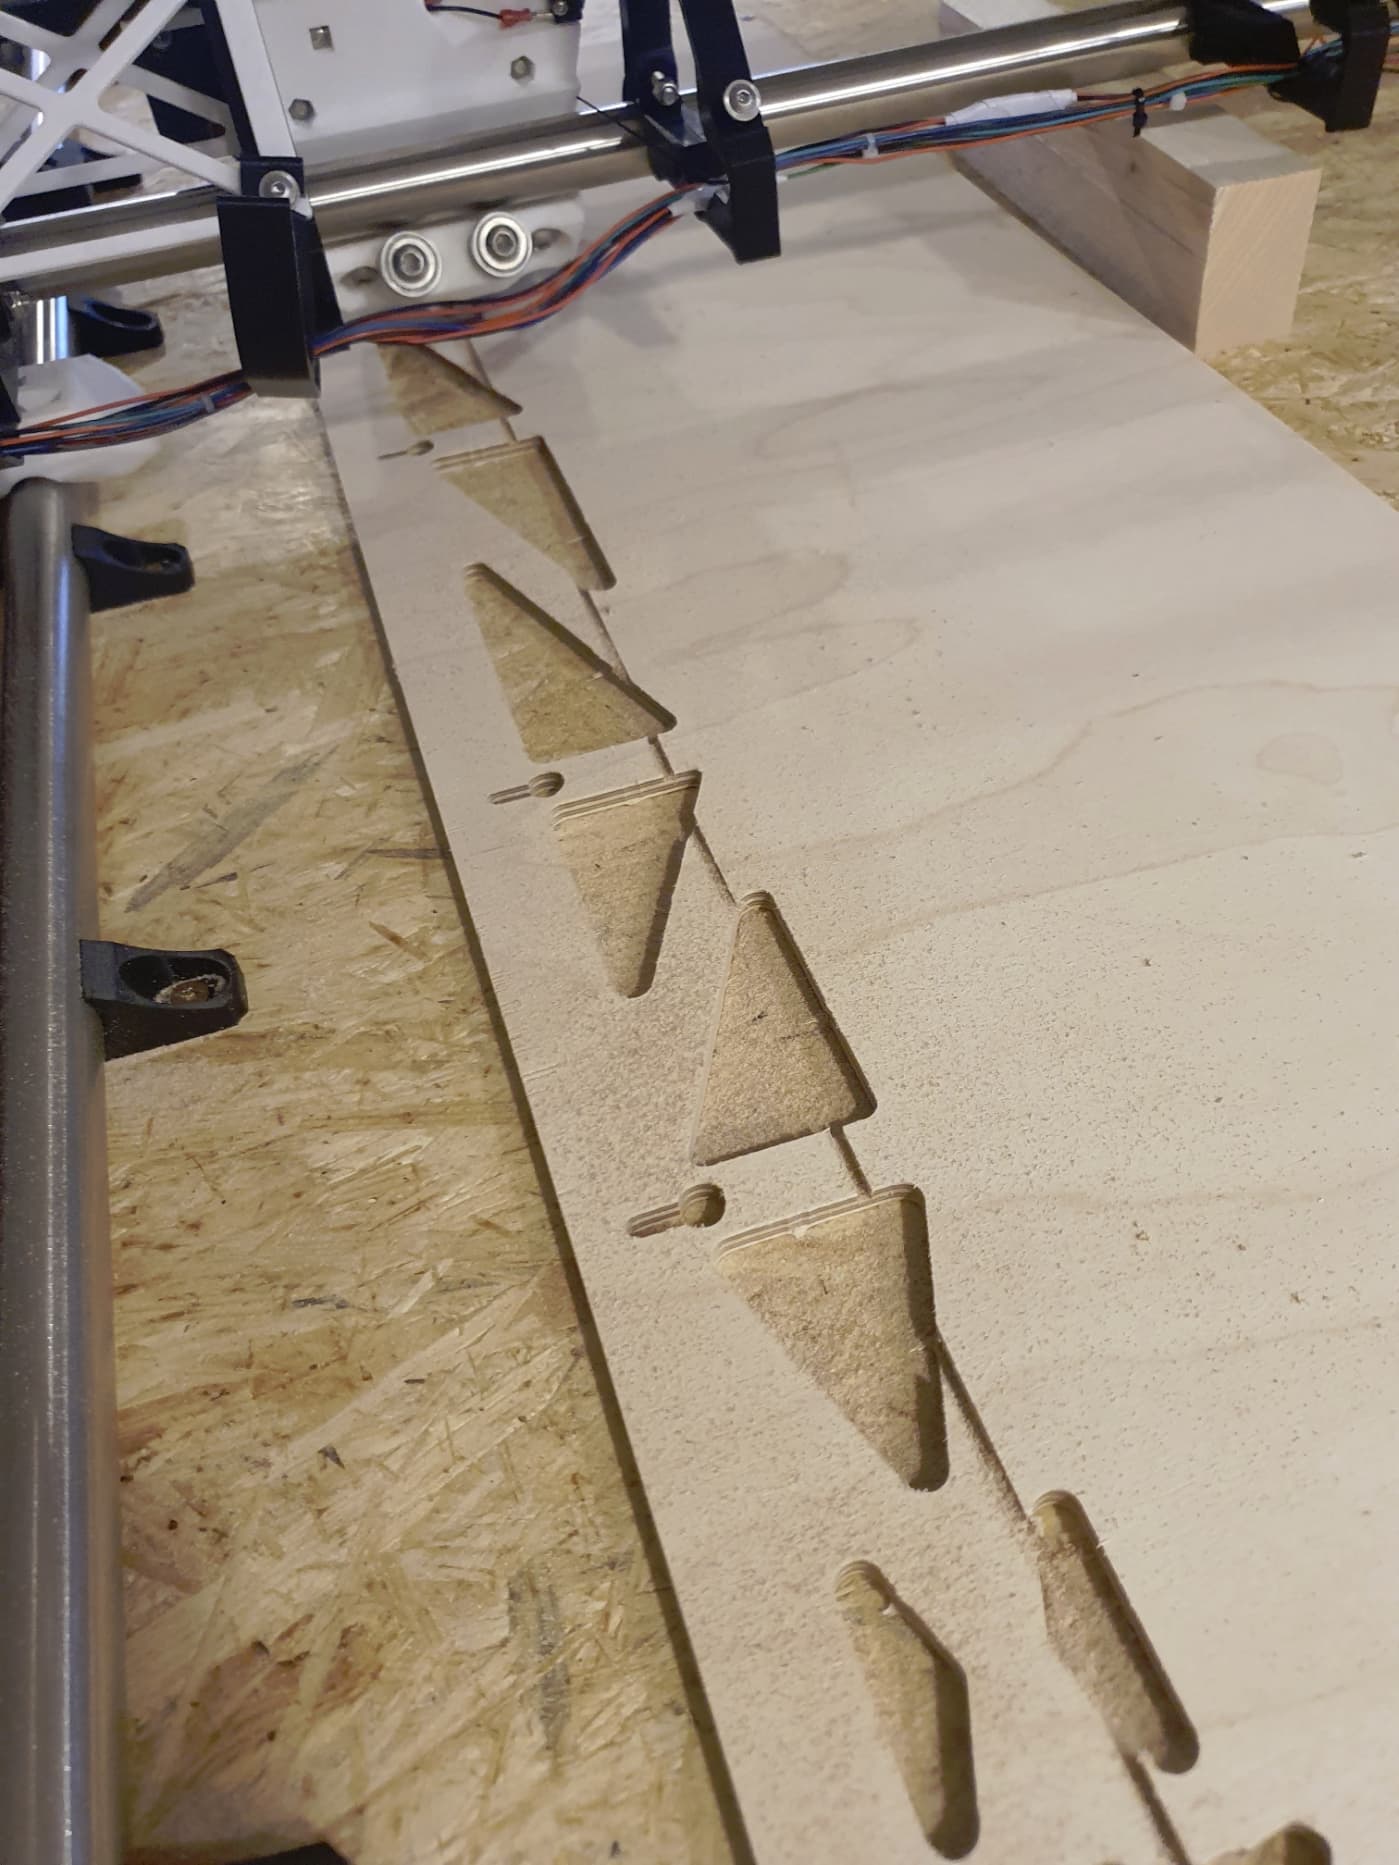
I have my build set up so far, large 3050mm x 1505mm cut size + table. Came to some little things like snapping Y belt endstops, maybe the lenght is a problem, just printing some new parts with 100% infill of the base. Maybe these need to be improved somehow or I have to build some metal holder.

Anyways, I have some troubles getting the machine up and running.

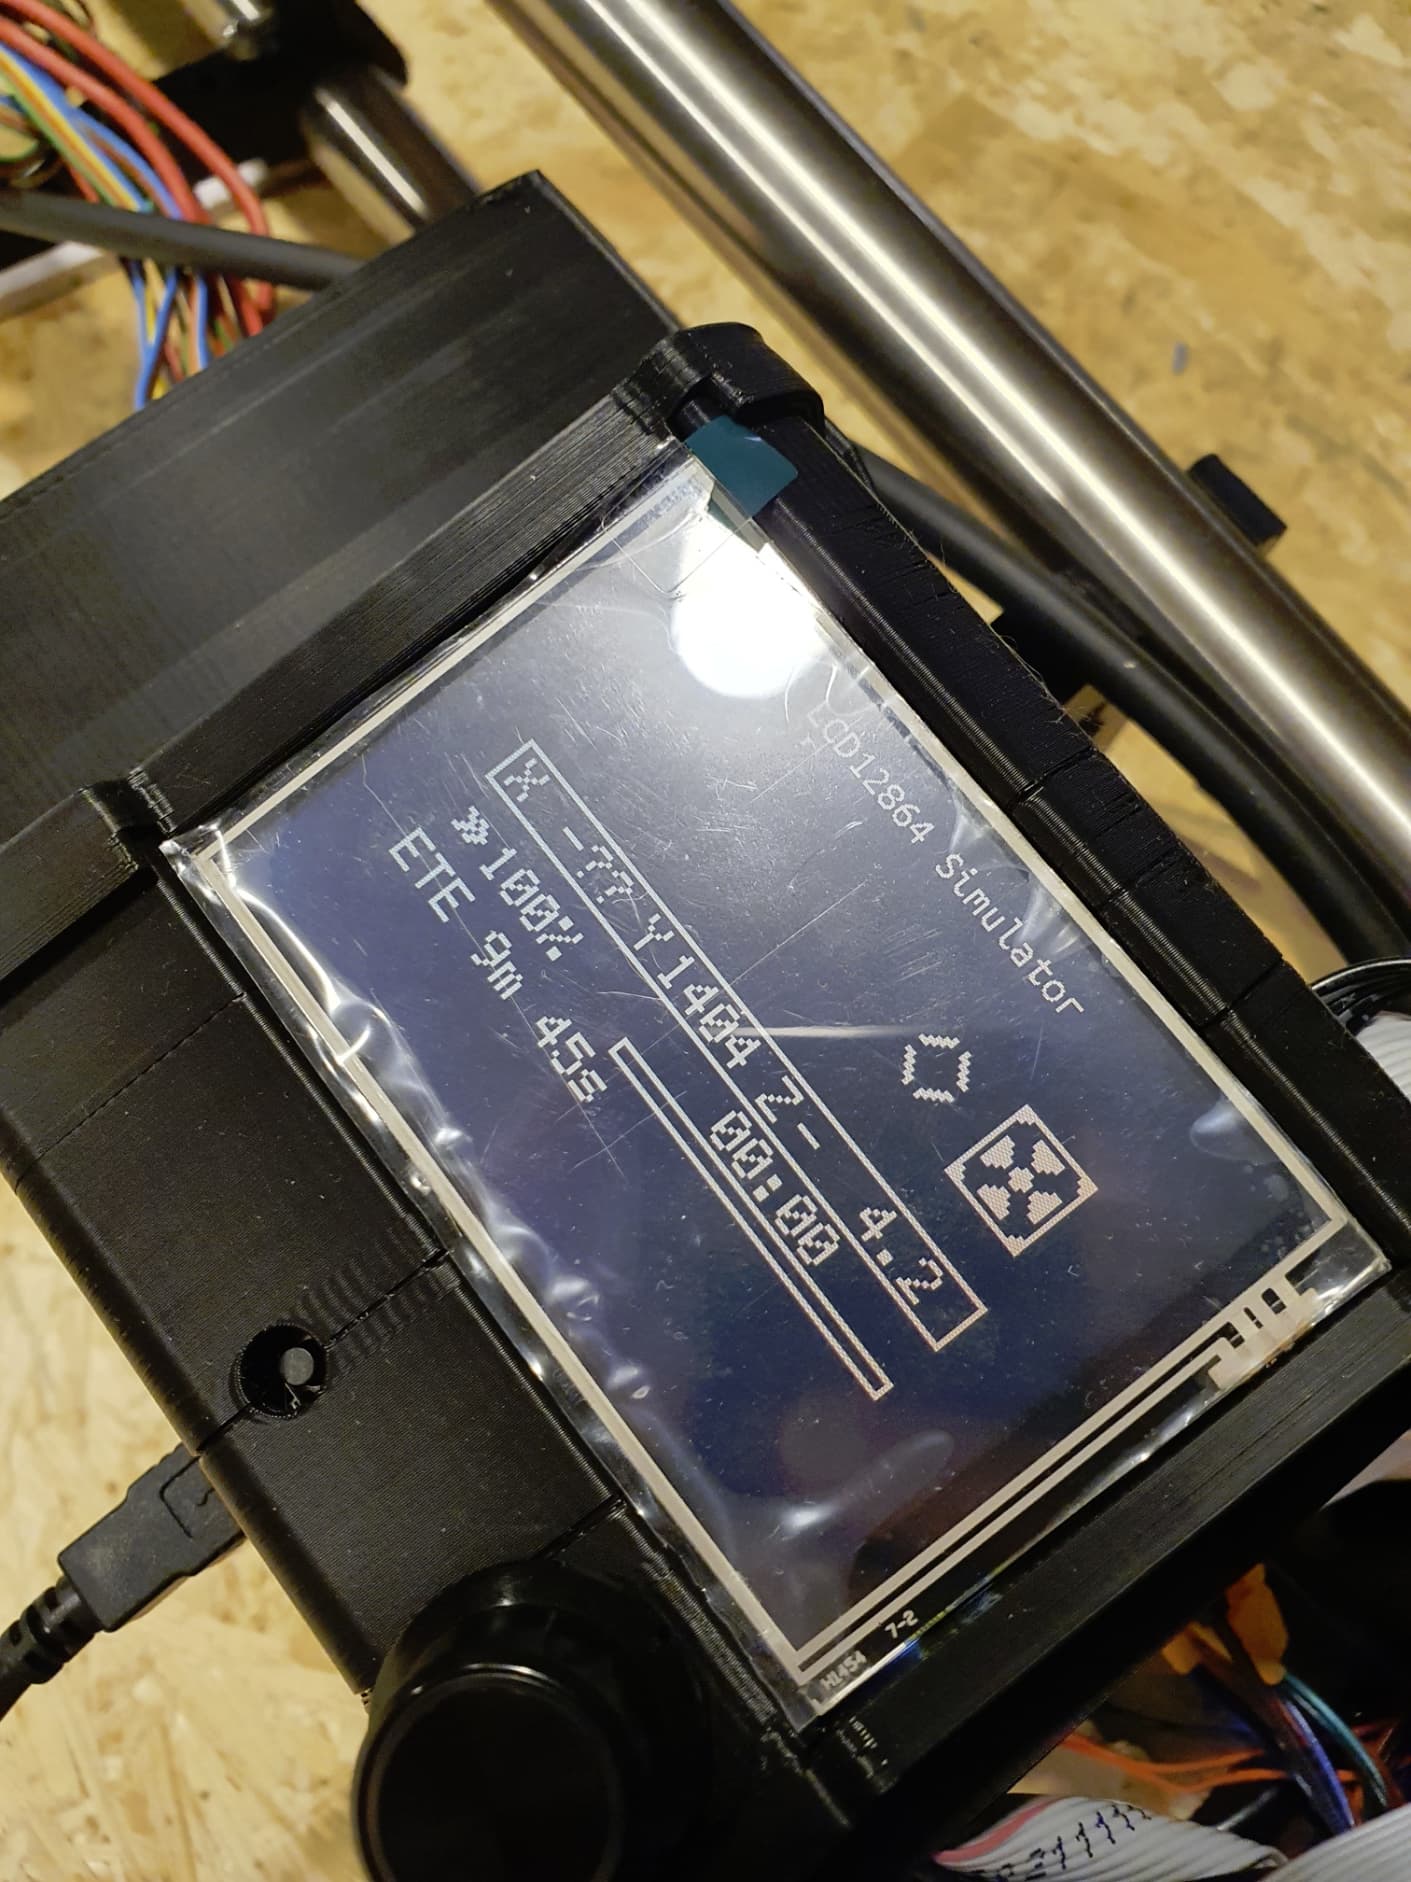
Everything is assembled, I’m using the proposed SKR Pro 1.2 with Touch TFT in its specific cases. I dont yet understand how to connect the closed cases with my PC, I guess its through the USB slot of the TFT? This was not very deeply covered in the setup instructions, nor the use of the TFT. What does it mean that “TFT is in listening mode”? As I cant control any movement with the TFT at all.

Connection issue:

I have some connection trouble with Repetier, therefor tried to set the baud rate in the TFT settings menu, with no luck.

I ordered a new 10m USB A to USB B cable as my old one might be too old, I’m given a 115000 baud error in Repetier Host. I could connect once but the machine wouldnt move, now I cant connect at all anymore. I guess I will wait for that cable which should arrive today to see if that works.

Z-Homing:

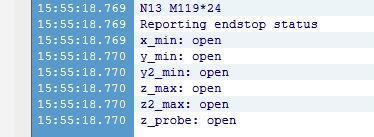
X and Y homing does work properly, Z does not. I found the proper pins (I guess), namely X2 and the empty PIN. Z is shown as +200 in the lowest position, I have to lower the value to +120 max (top position) which looks strange to me (but default settings in the LR dual firmware). If I reverse the motors its wrong, obviously. If I start HOME Z it now moves up but does not stop when hitting the Z endstops.

→ sounds kind of correct to me as its not going up in numbers but down and therefor might not expect any endstops??

Z-Probe:

I tried setting up the Z-probe by adding a touchplate (those round ones, maybe 15mm high) to the touch pin. I raised the Z axis (lowered the value to sth like 140) and started HOME Z. The axis went down and I closed the Z-probe by touching the plate with the clamp - no result, no stop.

Any ideas what I’m doing wrong?

As I dont have a proper PC connection I tried to use the SKR / TFT terminal with some G code snippets but with no luck :rofl: Guess its not working this way :wink:

Looking forward to your help :heart:

Niko

Process so far. Beer (empty) for size comparison.

3 Likes

Didn’t need that living room anyway!

Connect the skr to your pc from the skr’s usb port.

Haha, yep, kind of.
Why leave too much space unused when you still barely fit getting to the toilet :smiley:

Yes, I did connect the SKR already to the PC directly via USB B, but no luck, can a cable be too old? I used a 10m cable I normally use for a cutting plotter at I guess 9600 baud.

The question as well is, how to connect it when the board is in the case, there is no opening to connect the USB… :thinking: The only opening is in the TFT case, for TF card or USB A…
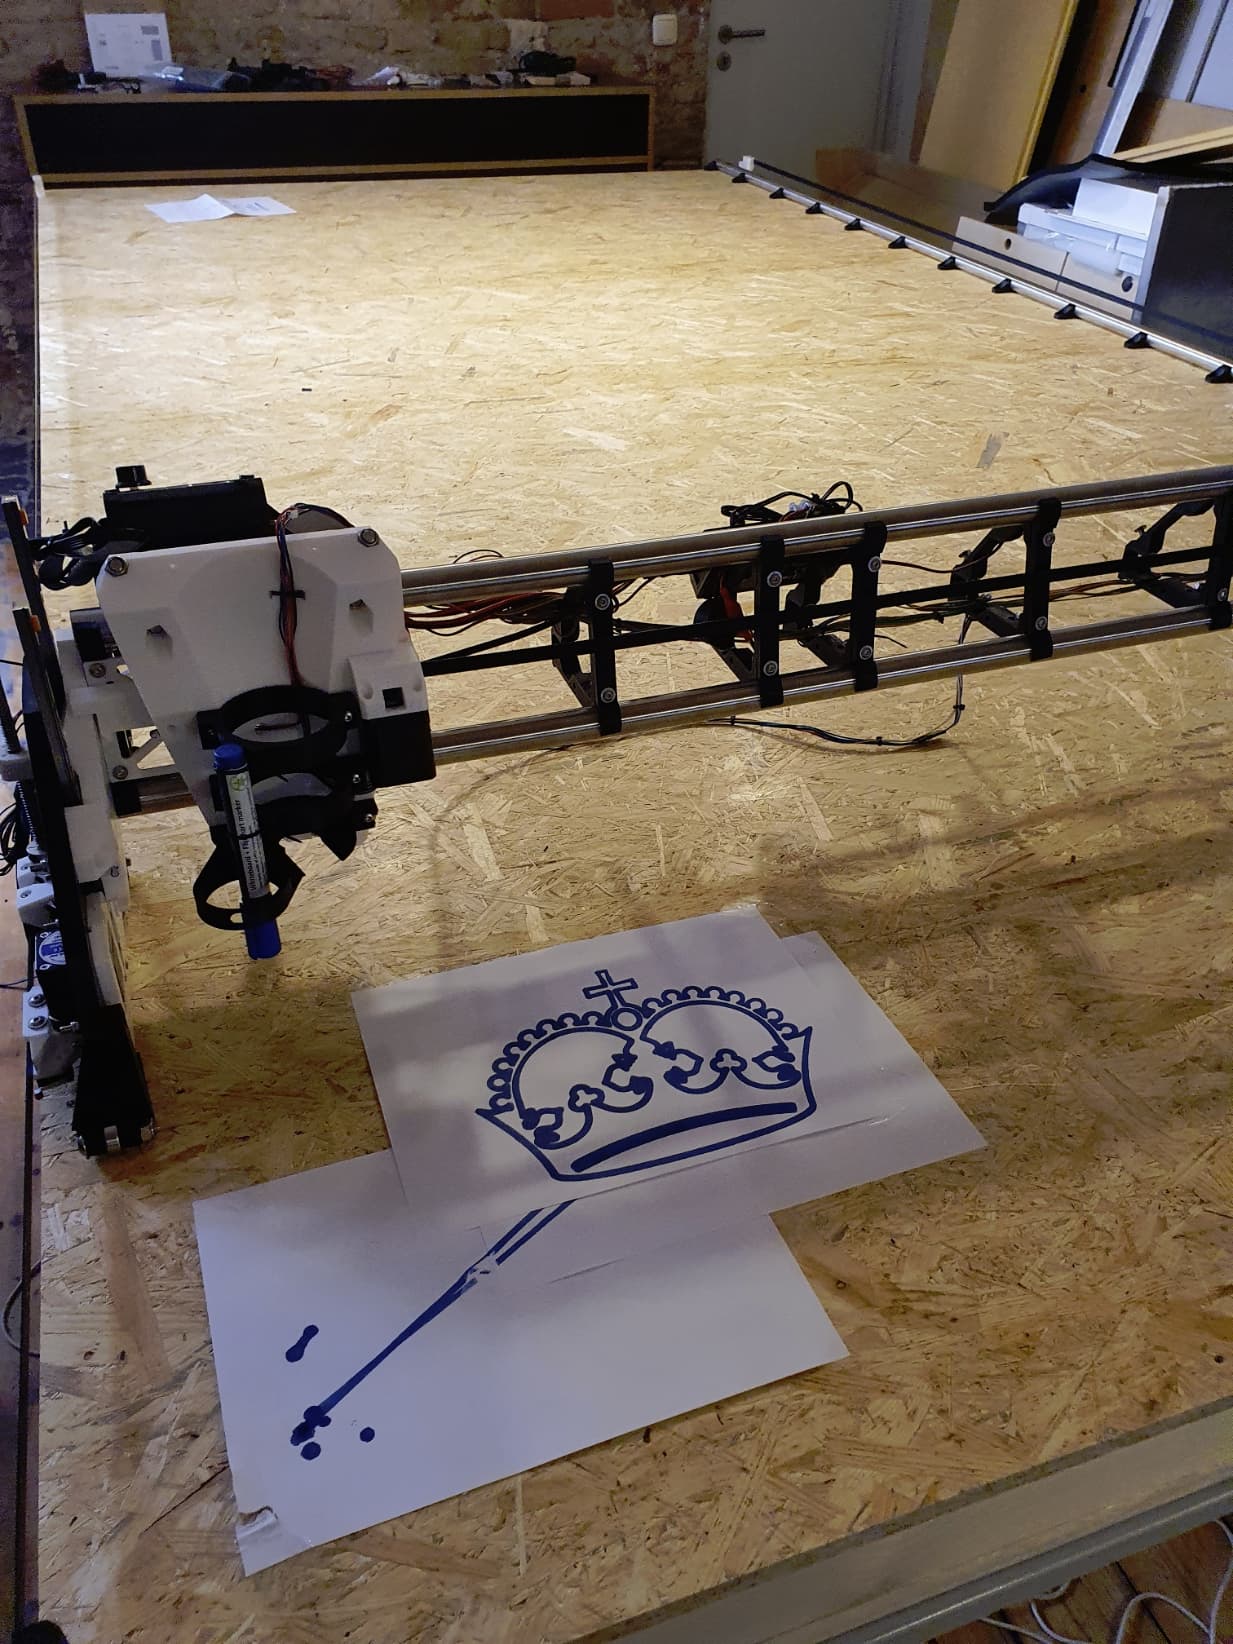
Hey,

I got the cable yesterday and could connect to the SKR with it. So it seems like the older cable (10m without repeater) wasnt working even though it works fine with the cutting plotter.

I’m still lost a bit getting homing and probing working.

The red light next to the Z driver on the SKR indicates the probe circuit to be open (goes out if closed), all other circuits are open and the lights are off.

So I assume there is some *-1 in the code and the representation in the lights is correct. (or endstops work the other way round, they are always closed and when triggered they’re open)

But the left Z endstop is showing the red light next to the last port (E2) on the SKR, so its not triggering the Z2 motor to halt. All motors are moving correctly, plugging the Z2 motor into the E2 port did not do it, motor didnt move (as expected).

The Z endstops are plugged in to X2 and the unnamed port on the right as I read it somewhere in the forums (stated by Jeff).

https://www.v1engineering.com/wp-content/uploads/2020/07/endstops-scaled.jpg

So, what am I doing wrong here??

Well, crown test passed.

I set ESTLCAM to “invert z”, otherwise it would push down instead of going up (lines on paper below crown) and used G92 Z0 to reset the Z position I set up manually before.

Its really tricky not to mess up things…

I cant use a spindle unless I get that sorted out - and it does not seem ideal for me to adopt to setting things up like I did for the crown test ^^

Right now I dont know how to tackle the Z home / Z probe issue…

Before trying any homing it probing, you need:

  • The axis moving in the right direction. You said you had to invest the direction of Z in estlcam. Undo that, and reverse the motor cables to reverse the direction of the Z motors. +Z goes up. +X goes right. +Y goes away.
  • M119 needs to show the correct endstop state. Don’t trust the leds. Check that each endstop is open or triggered. Post close attention to which endstop is next to the Z2 motor. You don’t want them swapped.

You can home individual axis first.

Hi Jeff,

thank you! Yes, I did already reverse the motor direction on the board and disabled the “inverse z direction” setting in ESTLCAM. This was an obvious :man_facepalming:

M119 shows

grafik

Looks correct to me.

After I changed the Z motor direction I was hoping that the software now would expect to hit the endstop (which might have been different from the setting before as it was going “down” instead of up) but still, the motors would run over the endpoint making those really uncomfortable sounds…

edit btw, I checked the endstops with the lights on the board, they light up when triggered, so they should work properly…

You need to make sure the correct endstop triggers when the correct one is pressed. If you got Z2 and Z1 mixed up, it would stop the wrong motor and crunch instead of stopping.

Those hardware signals are fine, but the real info is in the software. M119 is more reliable. The flipped zprobe is a good example of how they are different. If there is any change of logic between hardware and firmware, M119 will show you what Marlin thinks.

2 Likes

Oh man… Jeff, thank you.

Maybe I was a little blind after setting things up. You were right, the Z endstops were in the wrong order.
Didnt expect that, for whatever reason :smiley:

IT’S ALIVE!

When auto-homing all axes it gives an error when reaching 100cm distance and needs to be resetted.
Is that a set limitation or can this be overcome in the firmware?

Z probing works as well, what a cool tool!

Thanks to you, thanks to Ryan and all the collaborators, its a real gift.

:heart:

Next step is to get the offsets properly and the spindle running, hope to get some big parts cut next week already… ^^

Best,
Niko

2 Likes

There is a set bed size, that can’t be changed unless you recompile the firmware. The consequence is that it will fall if you are further than that from the endstops. You can’t can just move it inside that envelope before homing, or just home again.

I’m not sure if I understand that correctly,

You can’t just move it inside that envelope before homing, or just home again.

I guess you mean I should get into that envelope first, then home? No problem to do that then.

Well, I got everything set up, the 1,5kw spindle is attached and wired, works fine so far.

I have an issue with one Z side falling down when homing Z, probably of the weight of the spindle.
The LR should be able to handle that weight I assume, its about 4kg.
I did raise the current(?) to 1100 instead of 900, that seems to help (not 100%) but I’m not sure if thats the correct way. UPDATE: Maybe at least solved that, seems like some cables got tangled up which kept the Z from reaching the top. ^^

Anyways I started the strut plate cut, looks good so far - but stops mid-cut!

Repetier says

12:03:56.518 : Communication timeout - reset send buffer block
12:04:09.080 : Der Anschluss COM4 ist nicht vorhanden. (COM4 not available)

I had a little hard time to redo the gcode and get the origin set, but it worked - it did cut a little further, until it stopped again…!

Any idea why?


Uploading: 20220620_121431.jpg…

The info screen is alternating between a number and “??” at the X position…

UPDATE: I added the M84 S0 timeout and moved it in free air. Looks like it works. But when I tried to cut it again, a piece came loose, got tangled in the drill and I had to shut down the machine. NOW I have another problem, when I try to home Y (or sometimes X) it goes down on Z, crashing into the table.

Its hard to see through whats going on there, could find anything in the M119.

Is it possible to mess up the installation with an accident like that?

Another timeout mid-cut… :confused:

…tried it with the same file, but with SD card and cut from TFT.
(Origin and probe height set in advance in Repetier.)

Started, encouraging, went down, moved a few mm (correctly, it seemed) and just went all the way straight through the already cut piece in the Y direction. Had to emergency stop it…

Something seems really messed up.

Yes. Sorry for the confusing typo.

I put my big big vise on top of mine and it lifted it with a jog command. It has the leverage. Glad you figured out it was a tangled cable. Did you put the current back at 900mA?

Maybe a bad USB cable? Do you have dust collection? Is it grounded? The static can be pretty mean.

That just means it hasn’t been homed yet. IIRC, G92 or a home command will fix it. If that happened in the middle of the cut, then Marlin reset.

Is this consistent? Does it always move down? How much?

If the Z skipped steps, a travel move could end up in the work. But you would see an identical move in the gcode (look at it in ncviewer), just higher up.

If you had some EMI (interference), then a command might have gotten a 0 instead of a 100, which can make it drive the wrong way. That has happened 2-3x in the forums before. I would want to see a few more examples before I would say for sure. Keep the screen cables a bit away from the other wires, where you can.

Driving through the work like that is definitely a big concern. Skipping Z steps and not clearing the work is a simple issue. But if the machine created this wild move on its own, that is very weird.

You’re having a rough day… That sucks.

Hi Jeff,

thanks for your quick reply and support.

I just tried another cut, no success. Got further, but not through and all is cut very messy.

Did you put the current back at 900mA?

Yep.

Maybe a bad USB cable? Do you have dust collection? Is it grounded? The static can be pretty mean.

The USB is brand new with a repeater in it, works good so far when it comes to connecting to Repetier and controlling the machine remotely.

I have the printed dust collector attached but my shop vac hose doesnt really fit (I’d like to add some “brush” as well as it does not seem to be effective enough without). I for now follow the spindle with the vac. Plugged it into another socket already, too. > No grounding in the hose so far.

Is this consistent? Does it always move down? How much?

No, its not consistent and I havent yet figured out when and why. It looks like if I leave the machine off for about a minute, I might work. Actually it did work again after lunch. Thats when I tried the last (failed) cut.
It moves down completely, wouldnt stop at 0, motors would rattle through. Always had to cut power.

If the Z skipped steps

Dont know if it does, yet. It got quite deep in the further part, but maybe the bed is bend upwards in the Y axis. (Will have to check that later too)

If you had some EMI (interference), then a command might have gotten a 0 instead of a 100, which
can make it drive the wrong way. That has happened 2-3x in the forums before. I would want to see a few more examples before I would say for sure. Keep the screen cables a bit away from the other wires, where you can.

YES, I think we might get close to something (something I really have little knowledge about).

I had the spindle cable tied together with the X-carrier cables. I removed the spindle cable (4 wires, but not expecially isolated) and put it under the table, coming out from the other side, so the wires are seperated. (Did that before the last cut as I hoped that might have been it)

Before I started the cut I found out that Repetier Host lost connection as soon as I turned on the spindle (chinese frequency inverter, attached to the table, power plugged into the same extension plug that the SKR is plugged in). This could be reproduced. When I started the spindle BEFORE connecting to Repetier it worked.

So I GUESS there is the dog buried… (as we say in German :D)

As I said, the cut didnt pass through, and the cut was really a mess, look at the picture. Wouldnt call that precise. So, I dont know if this is lost steps or some missing information (probably last).

I will plug the SKR into some other socket as I dont know about power frequency witchcraft…

Does that maybe lead to a solution?

…when I plug the frequency inverter into an extending cable and into a socket of another room (probably different circuit) it does not cut the connection to Repetier when the spindle is started.

I tried cutting a simple hexagon, looks alright, a little messy, but might be tuned.

I’m a bit still afraid starting another cut as long as its not validated…
Could that be, some circuit interference causing connection problems?

That motor rattling sound is skipped steps. The stepper motors don’t have any gears inside, but they can skip from one step to another (4 steps away). Doing that makes them sound like they are crunching. It’s important to listen for that sound when the machine does something undesirable. If it doesn’t make that sound, then the steppers are still on track (and the problem is in software, or something flexing).

EMI is hard to fix and measure. I sure hope that isn’t your issue, but it sounds like it might be.

That’s a bad sign. Marlin is probably resetting. It may be that the ground for Marlin is jumping up (because they share a ground), the voltage is dipping (but it would have to dip on the A/C), or there is a large EMI spike. It would have to be a huge spike to cause the microcontroller to reset. More likely some interference with the power supply.

This is an entirely different issue. With its own set of possible causes. The machine doesn’t have any sensor feedback for where it is. All the control is “open loop”. That means that if the software, or the steppers were off, even by a little, they would not know it and they would never return to being “on track”. This error is leaving the path, but only by a little, and then recovering. That is probably caused by some flex. Either in the gantry, the spindle mount, the spindle itself, the bit in the collet, the work on the table, or the machine to the table. If you drive your machine very very hard, this will happen every time, even when the machine is built to spec. So you have to sort of work out where the flex is coming from, look for gross errors, and then slow down until you are inside the working envelope. If you have a cracked part, or a loose screw, then this is an easy fix. If everything is fine, then you have to slow down. Every machine is different, but if you post your DOC and speed, we can give you a sense if you are in the right ballpark.

The other bad news is that we have seen cheap chinese spindles have a lot of runout. Some of the worst ones use rubber bushings (IIRC, that was the problem) and they don’t keep the bit straight when used under load. You’ll really have to baby it if the issue is inside the spindle.

I’m not sure what to tell you. Most of the signals are digital, so they can handle a lot of noise. But once the noise is over the threshold, they completely mess up. If you fixed more than half of the noise, that might be enough to never have a problem again. But you might also have moved it from happening every hour, to happening every 20 hours. It isn’t a common problem, but it is really annoying, because we don’t have a good way to see it.