Thanks! It was also around half the price of the DeWalt one at Home Depot. $129 cdn, probably similar to the DeWalt 611 in the US.
I mispoke, it’s just a longer version of what is in the parts list, I click on the amazon link and it brought me there, same mm and such. $20 cdn for a pair, bought two of them.
I have various tables around I can test with first, before deciding what to go with. I expect I will make many mistakes along the way, but at least there are English speaking people here who I can get help from.
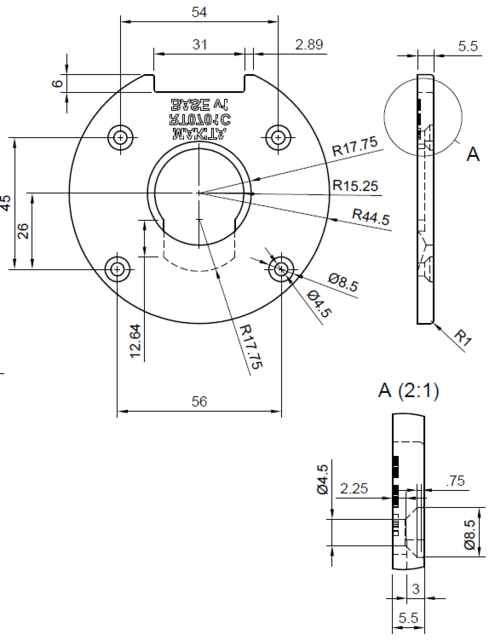
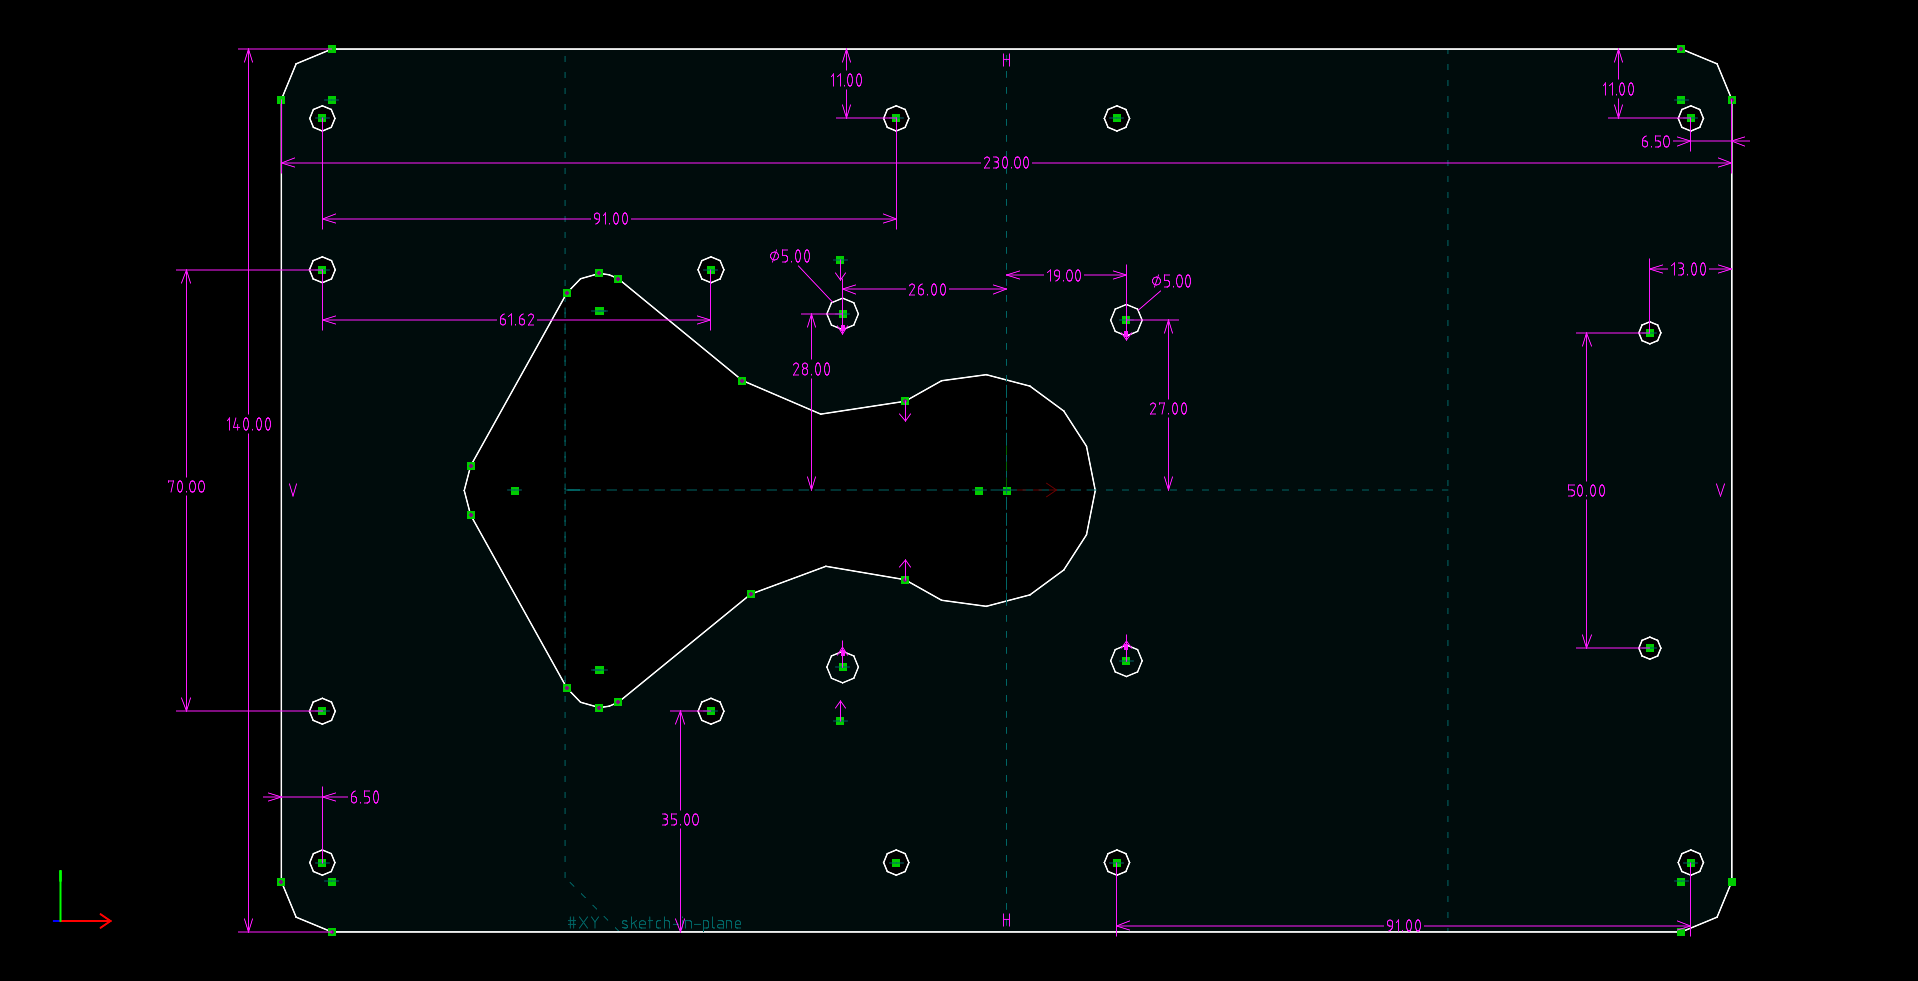
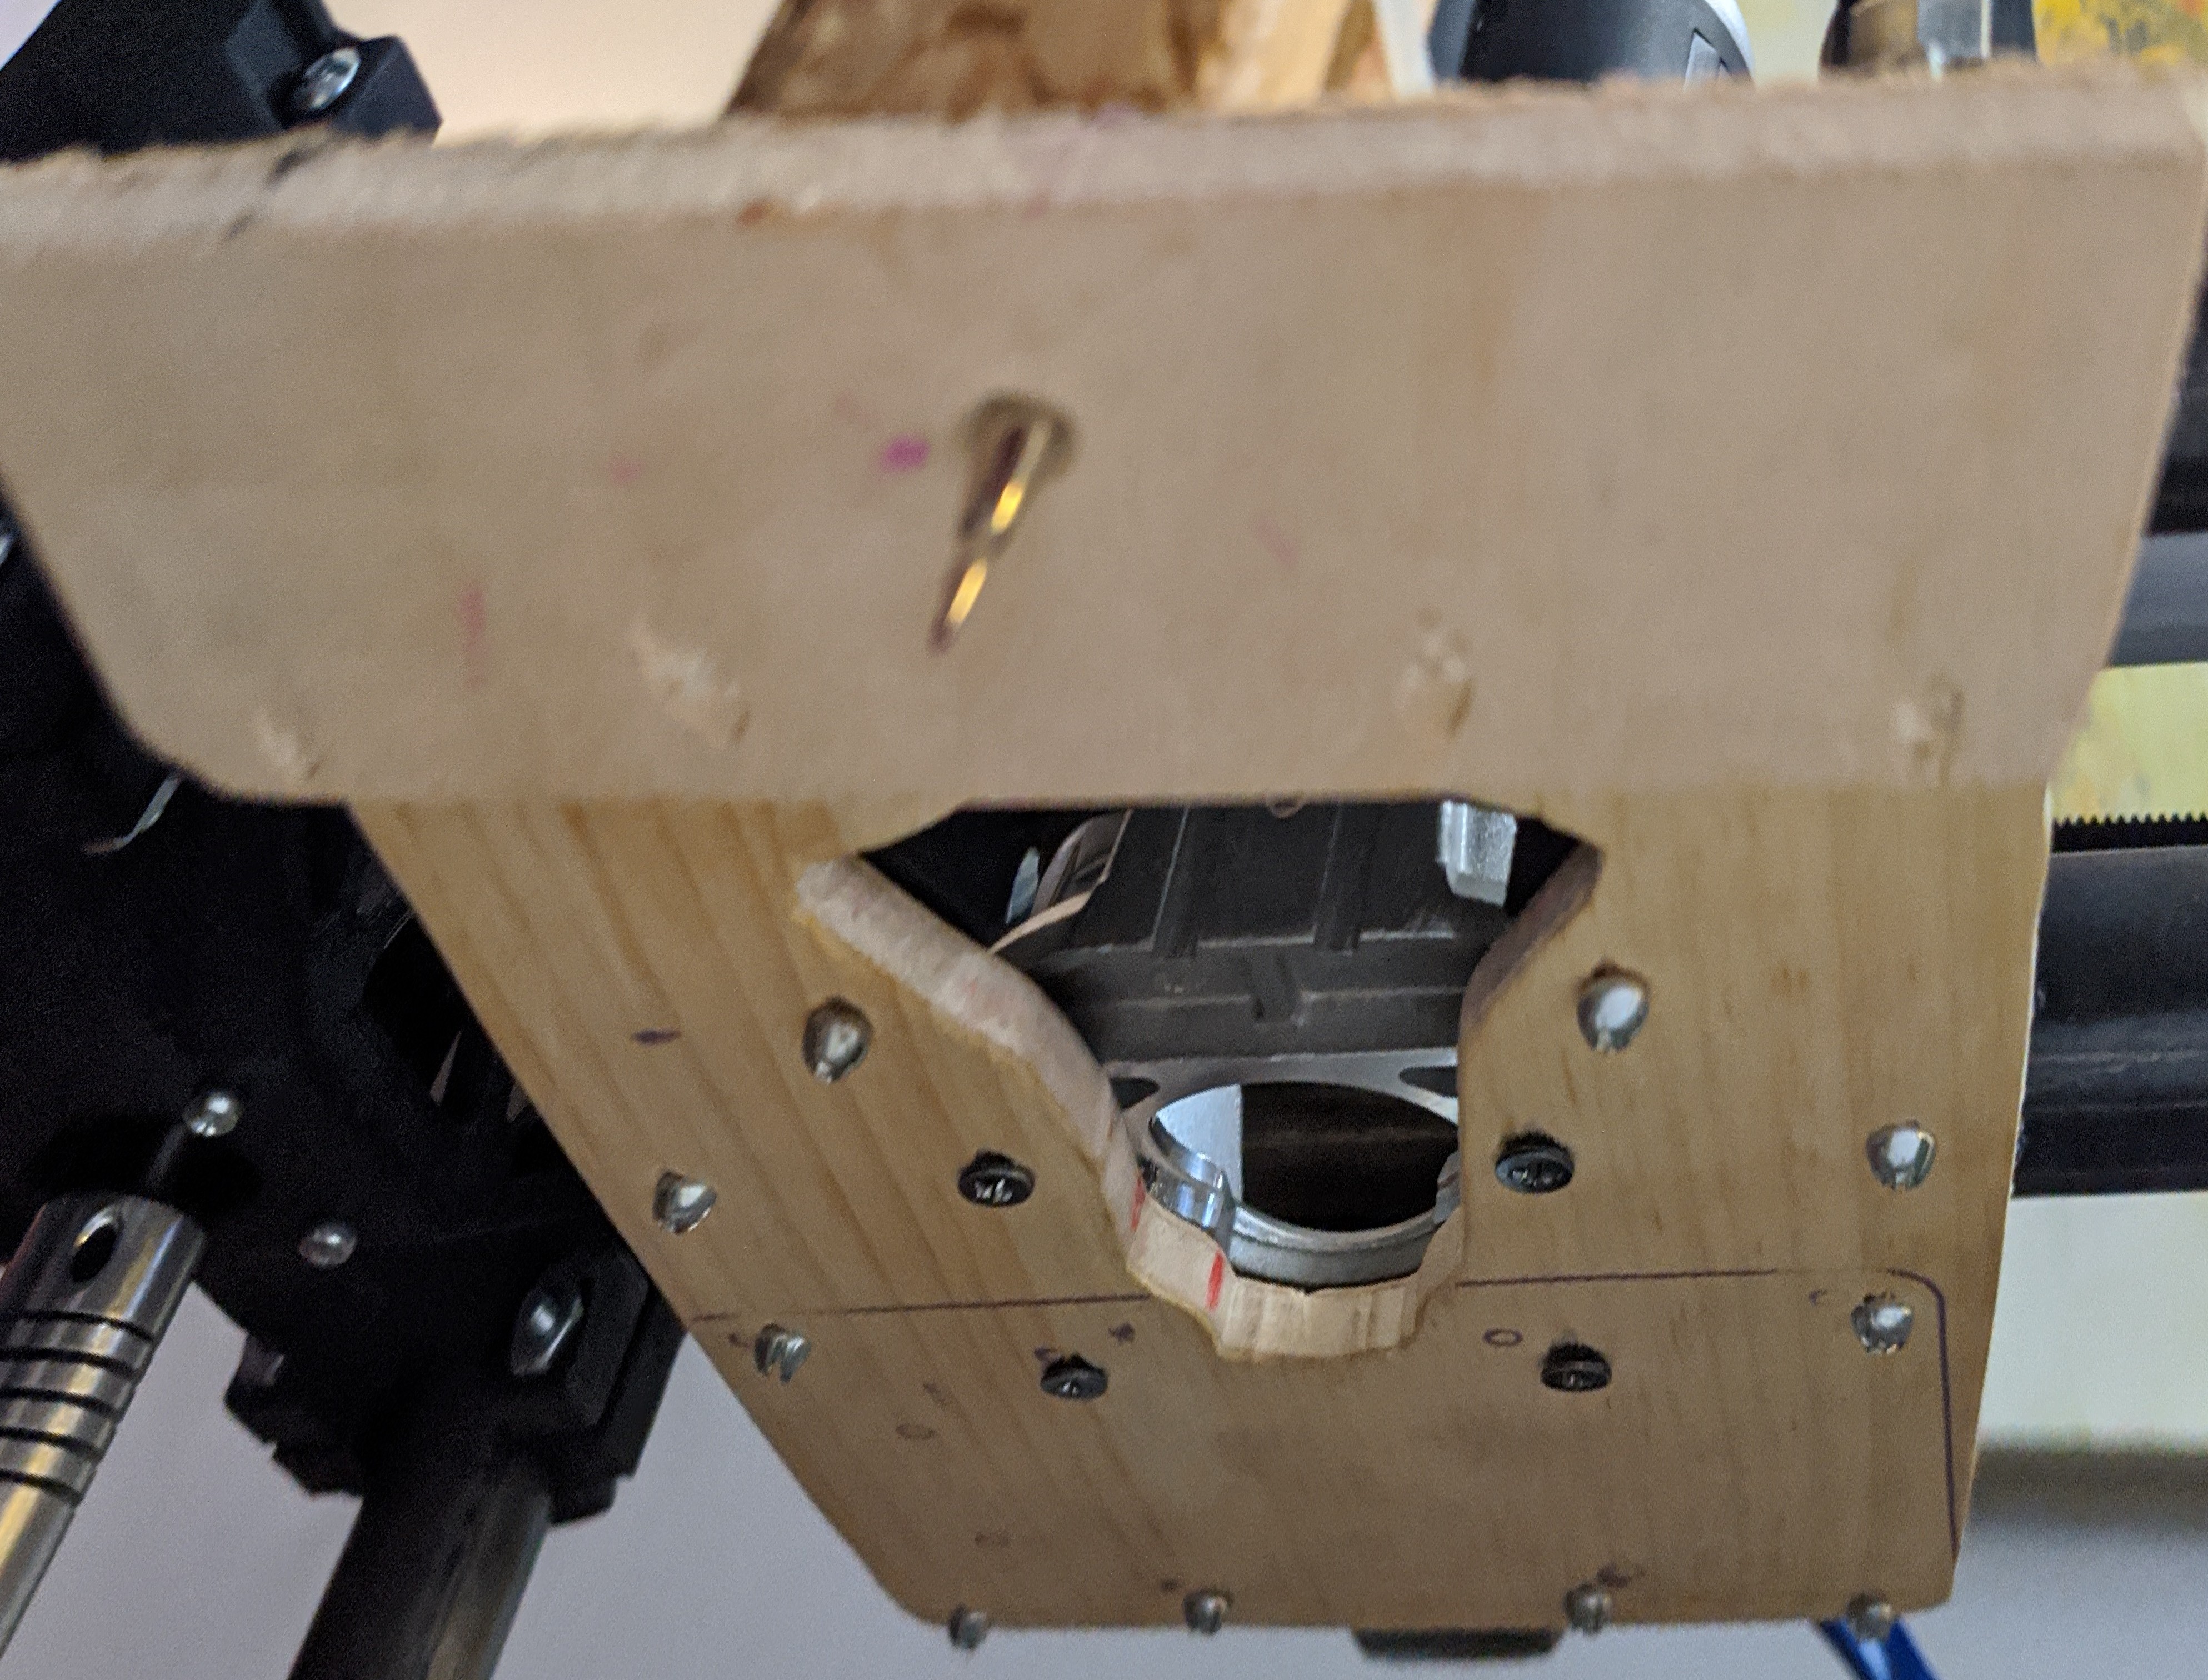
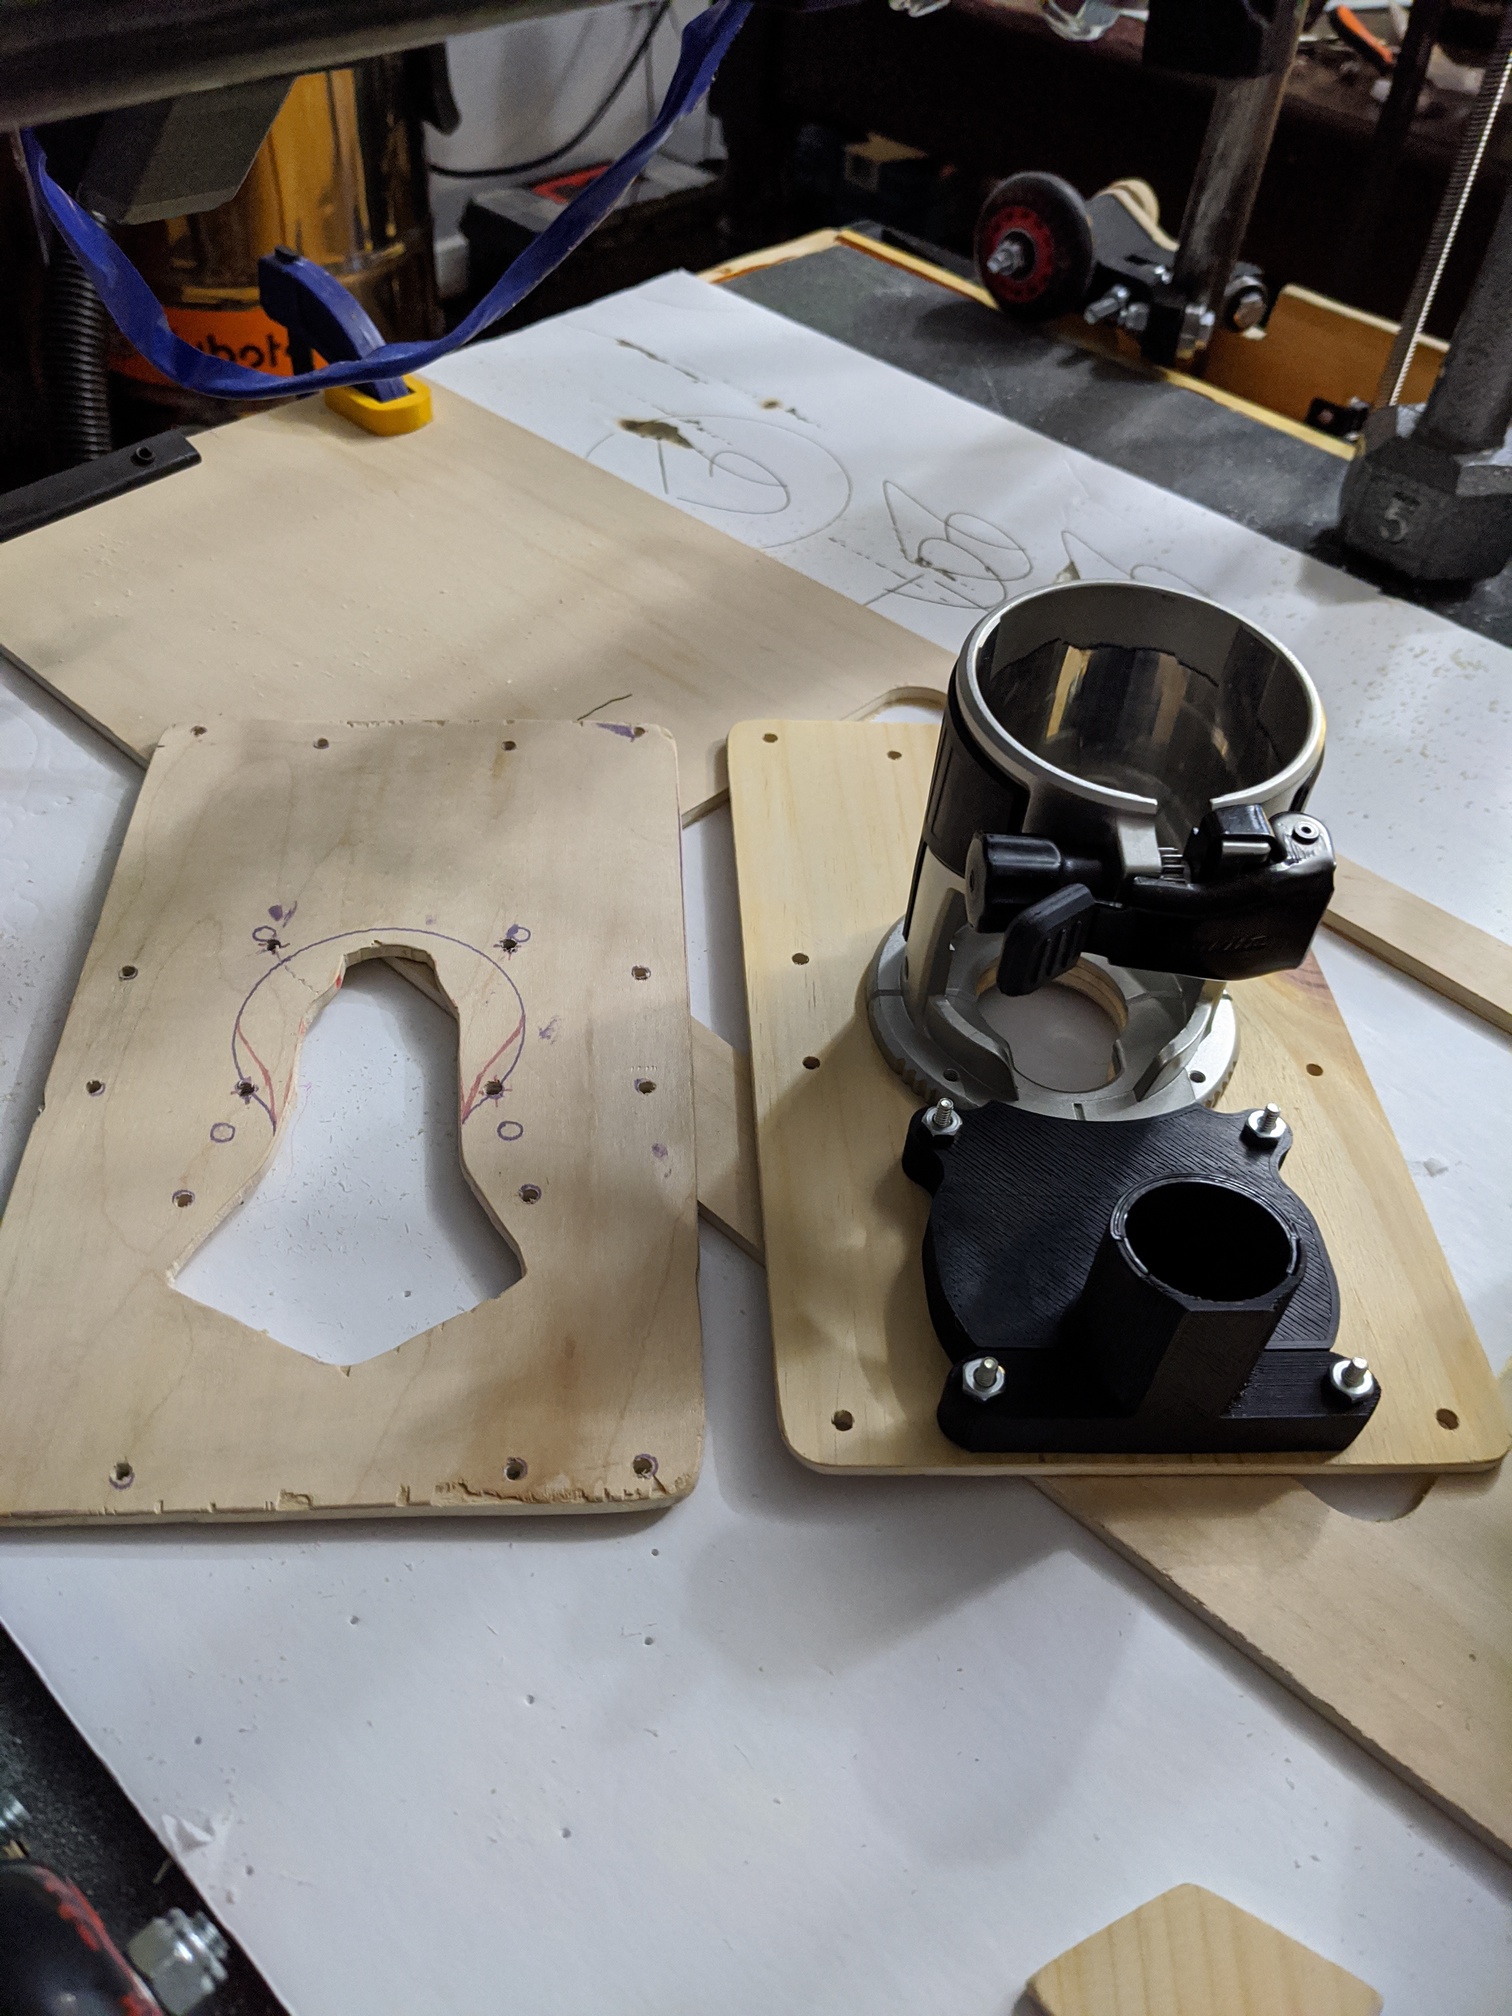
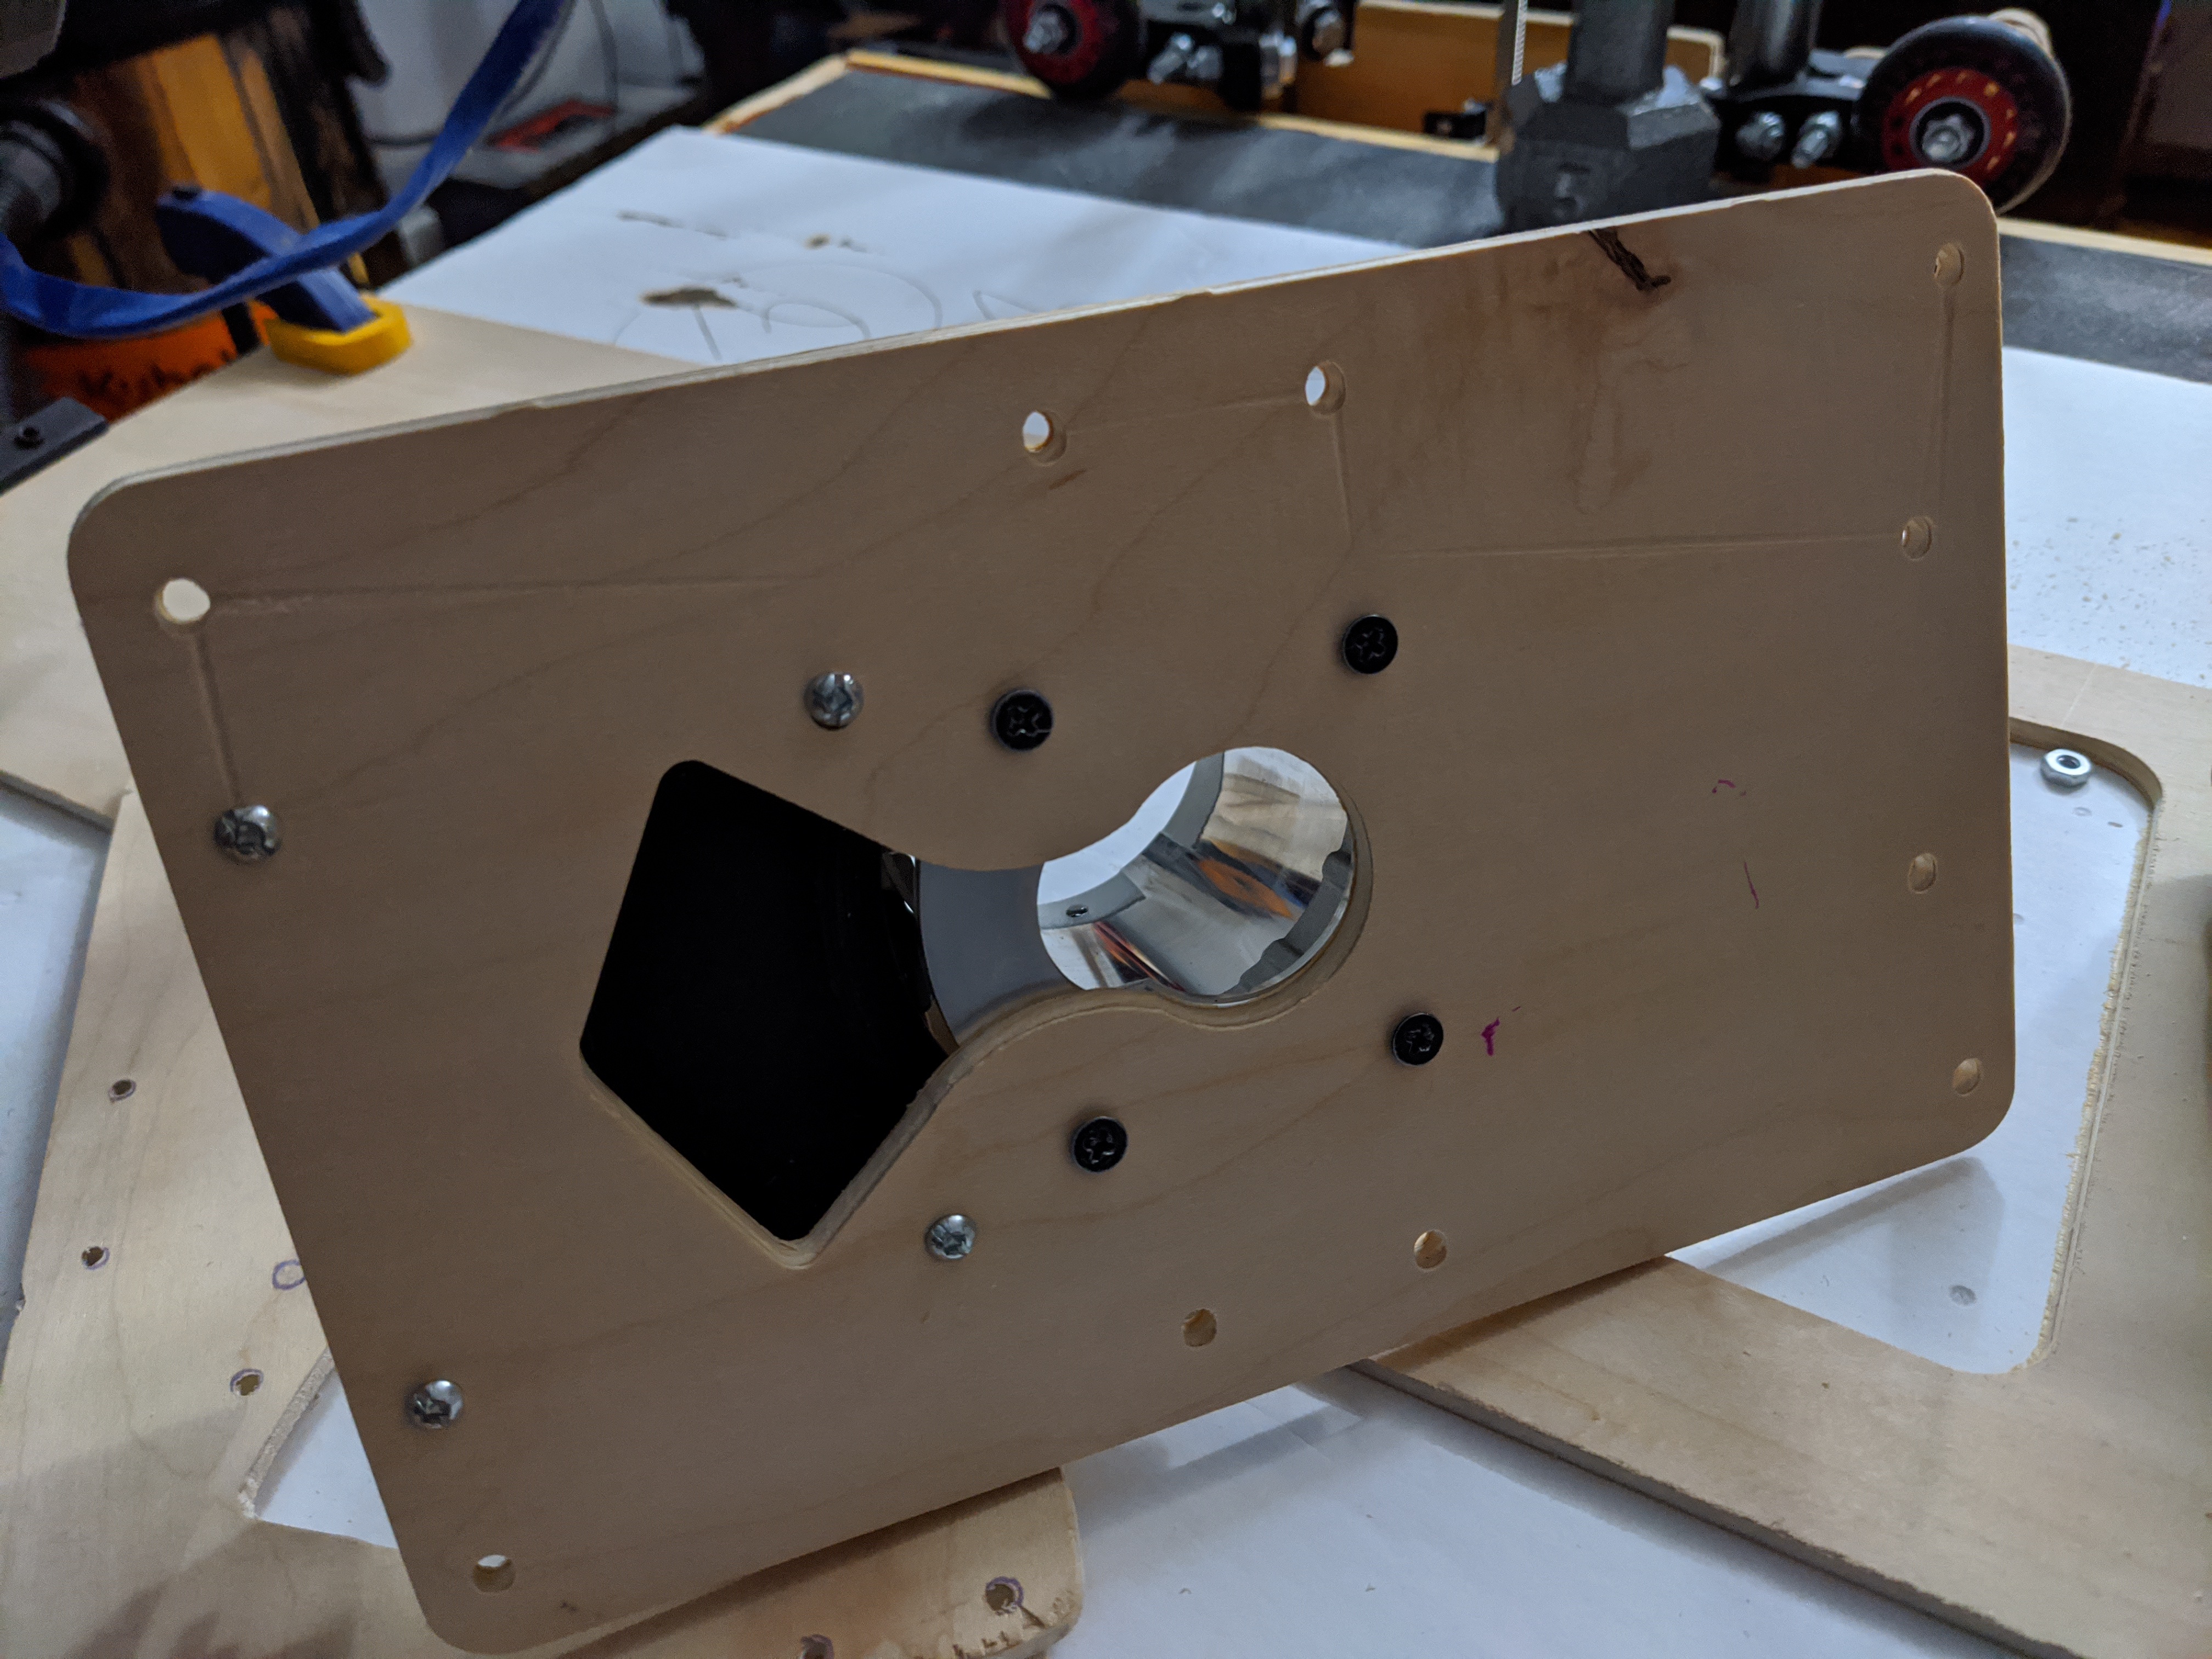
Did up another base plate, drew the stock plate outline on plywood using my drawbot, found the center of the hole using the screw holes around it and then used the jog function of Ocroprint to land on the center…From there I used the cad design for the makita RT0701C base plate and moved the pen to the spots for the holes of the base of the router, using G91 relative positioning and G1 moves. From there I drilled the holes and screwed in the router holder with no issues, I then traced the inner hole and then cut it out. Worked out well, maybe it’s backwords, but it worked.
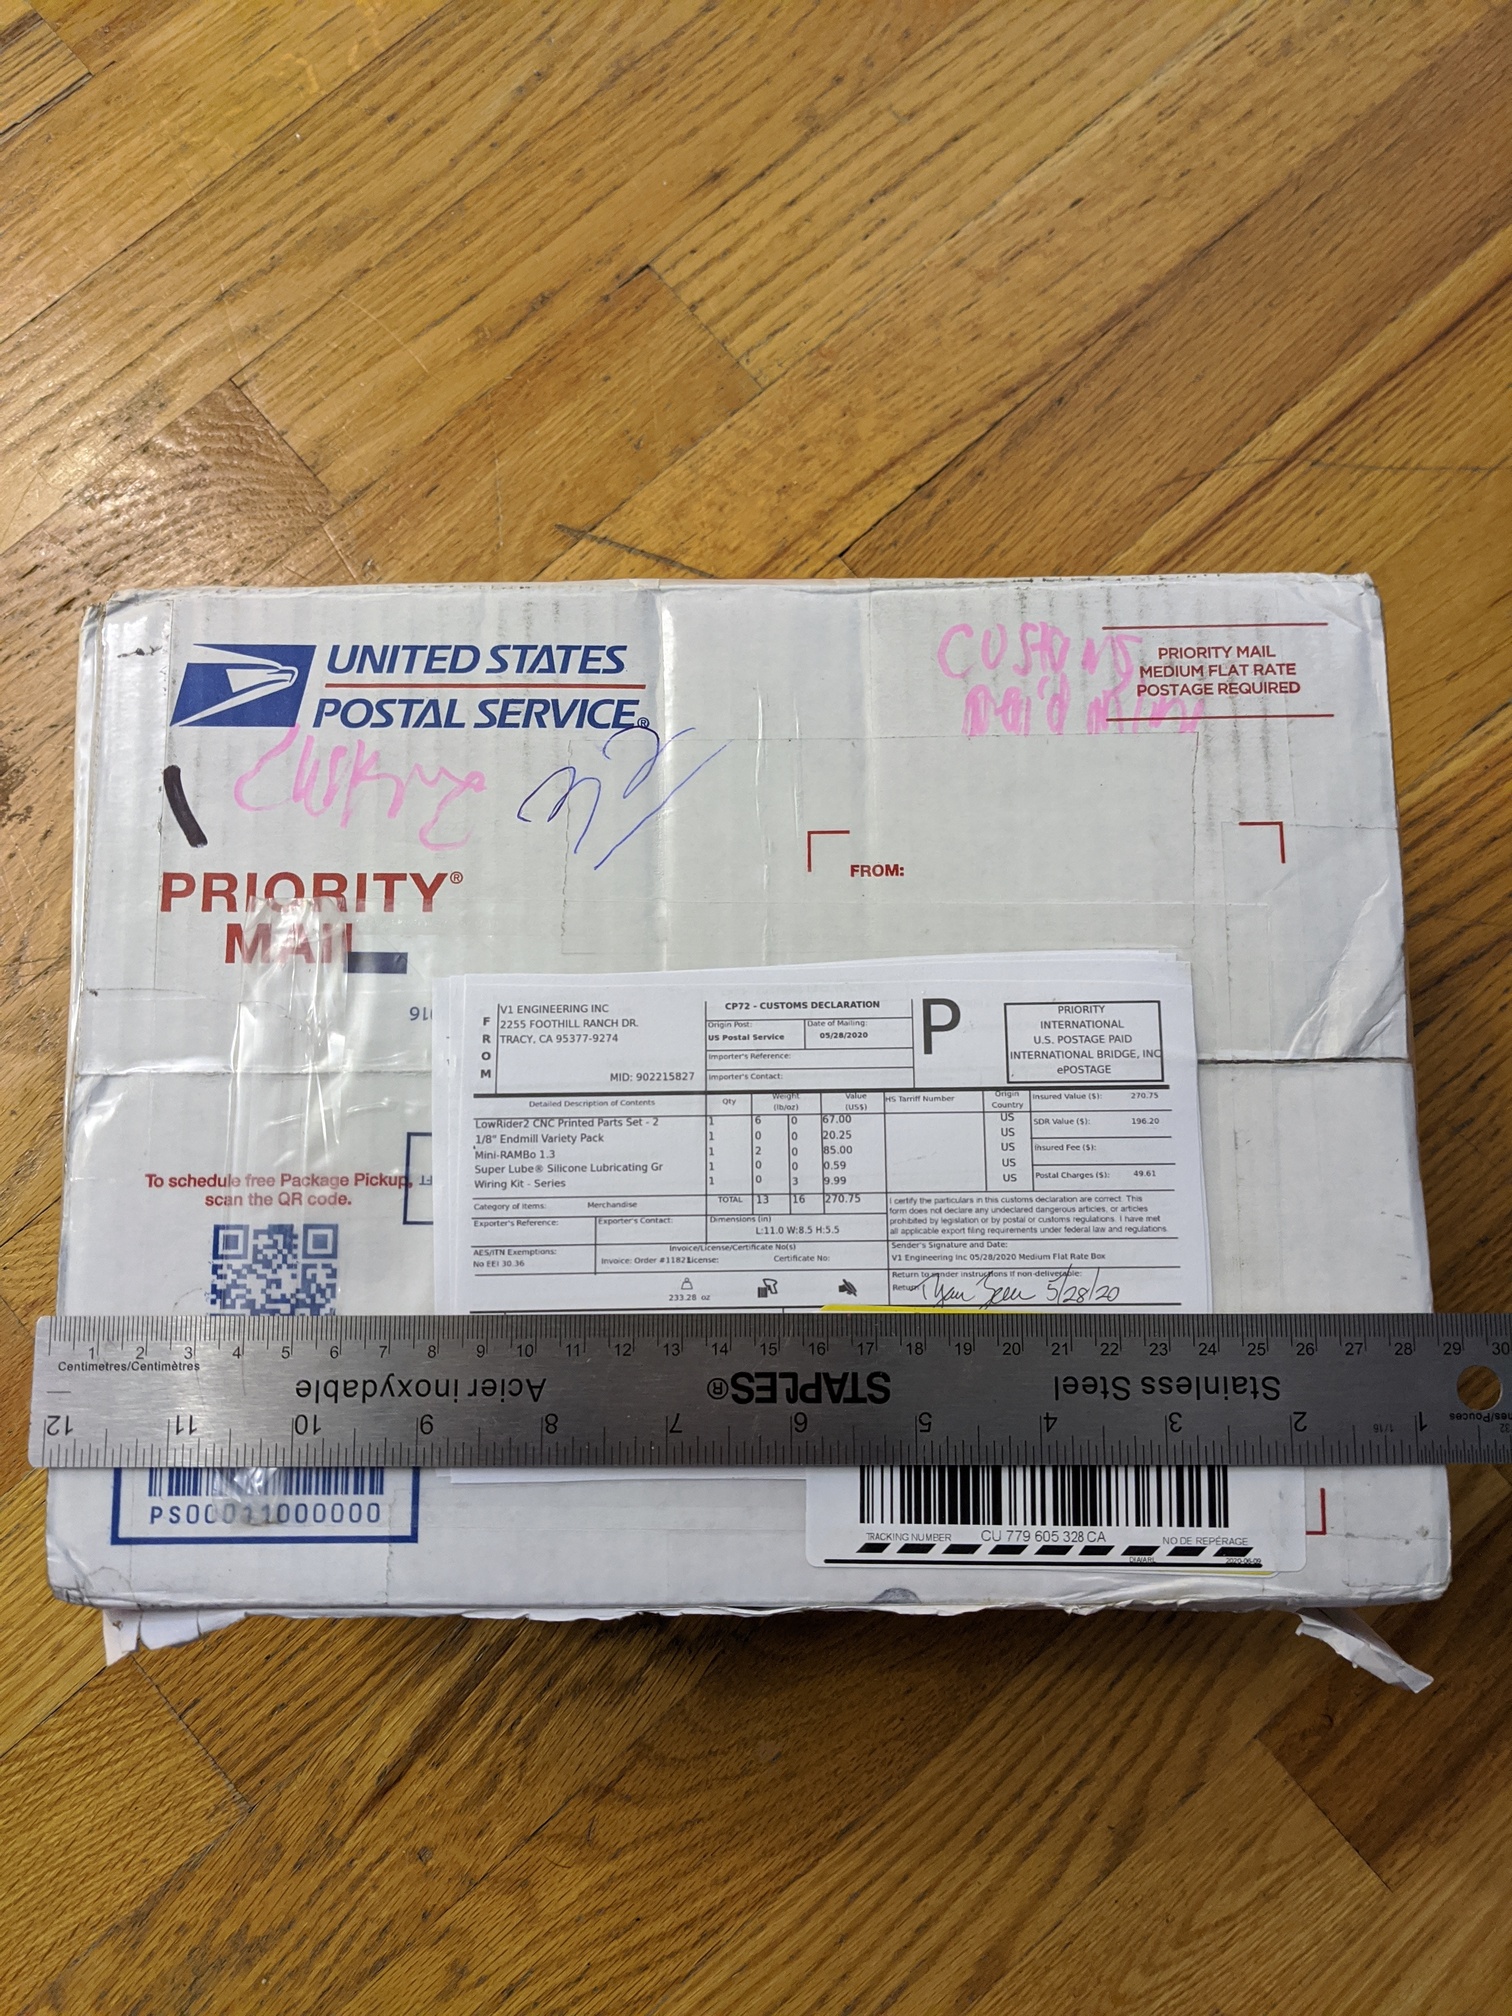
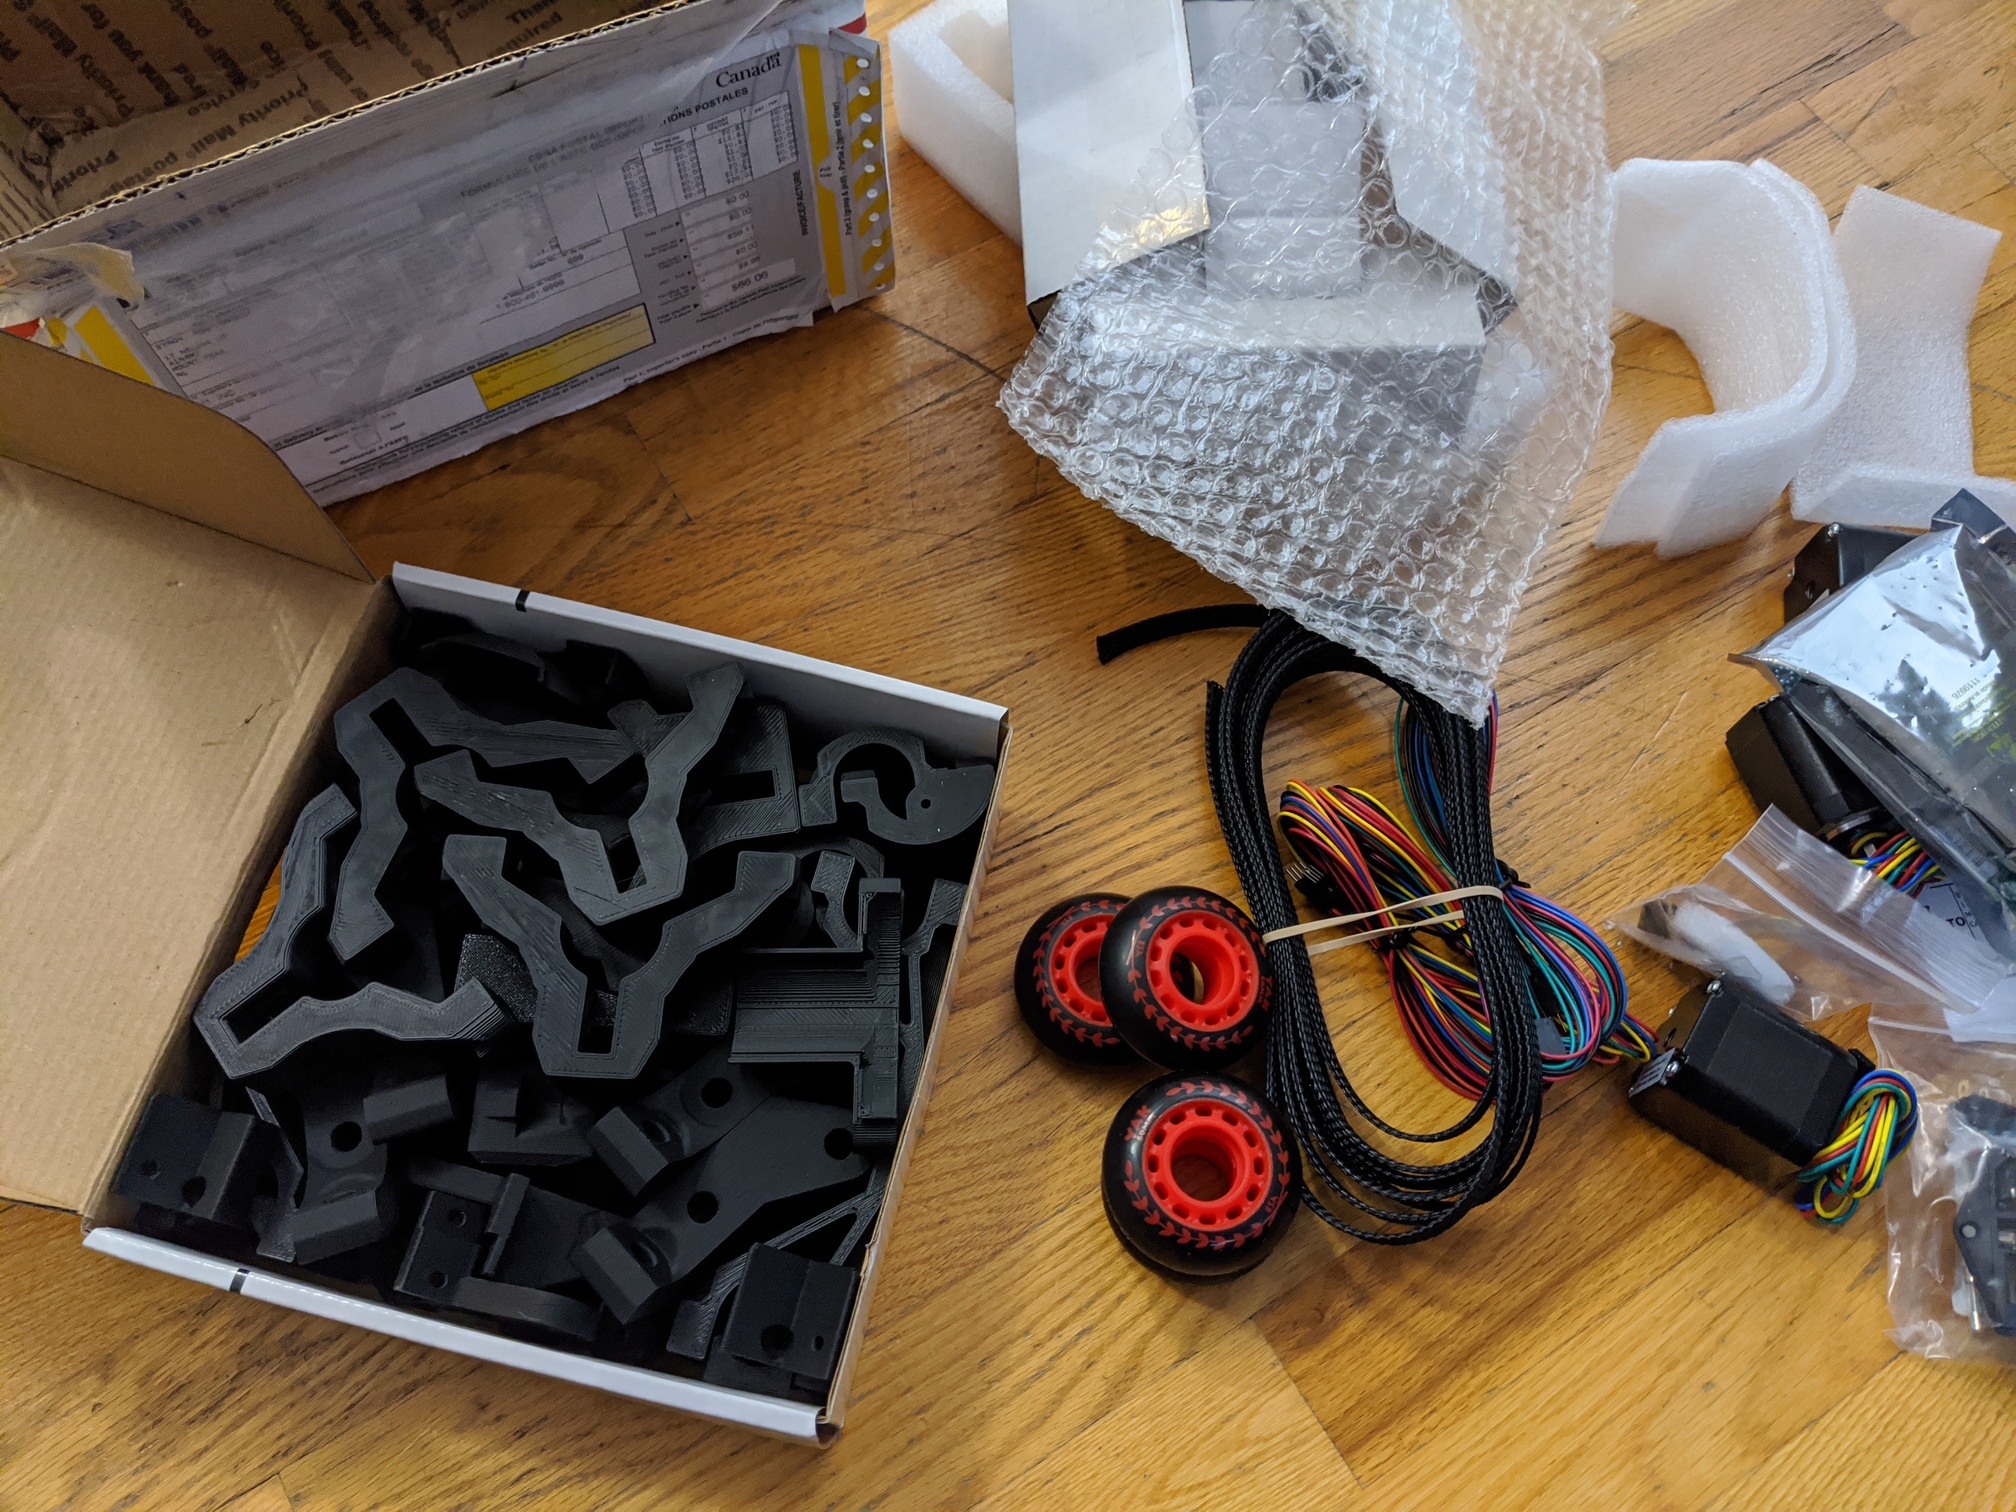
Bunch of stuff showing up next week, just paid the toll at the border, for me it was $66.06 cdn, good omen.
Bits and bolts cost around $70 cdn at Kents all told. but I doubled up on one size for some reason, lol. Also, wasn’t able to get exact sizes for the longer bolts, went half inch longer for 4 instead of 3.5, figure I can add something in between if it’s a problem.
Have two sets of belts and timing and pulleys coming 6mm from Amazon and 10mm from Aliexpress (availability). Kinda wondering about the 3mm vs 5mm bore in the list of lowrider 2 pulley options , the 3d printed bits must go with one or the other, should be OK for now if I go up in size.
I got ones that start off smooth, still over an inch of thread at the end.
EDIT: I took the rectangular cutouts from the y frames (They were cut using one of those vibrating cutters you buy on sale and don’t know what to do with, meant for outlet holes, baseboard trim, etc, so I had these almost perfect rectangles afterword.) and did up some wooden nuts, around looney sized… Clamped the rectangles together, drilled to holes on either either roughtly the same distance from the corners, then used a hacksaw to cut them in half. Lined them all up by putting them on one of the bolts and inserted into my drill, while that was spiining touched a pen to the wood to draw a circle on top. From there I clamped the lot to a table and used my angle grinder to get rid of most of the extra wood, then back on the drill with some sand paper, turned out well.
I am the unfortunate son with a radeon hd 7850, so there are no video card drivers besides the ones in the kernel, so onshape kinda runs like I do at this time in the morning before I have my coffee.
SolveSpace is faster for me, it’s an app, with some minor menu bar refresh problems with version 3.0, on my desktop, but after watching a few videos I got the gist of it, it supports dxf imports and seems to do an OK job of it, exports pdf and images fine, it did generate gcode, but I didn’t investigate that too much as I didn’t set up a tool, saw a bunch of coordinates, seemed gcodey. It’s a constraint system, everything can be set to relate to something else, that works and seems designed by someone who thinks more like me than some others, some proper programming in there. It has some unfortunate placement of controls when trying to set an exact position / dimension, you have to zoom in and drag it out of the way. Overall, it seems like a usable tool for base plates / 2d cutout design (all I have tried), not too big and overburdened with extras, I would liken it to the wordpad of cad like software I’ve found so far, it loads fast does it’s thing and you are done.
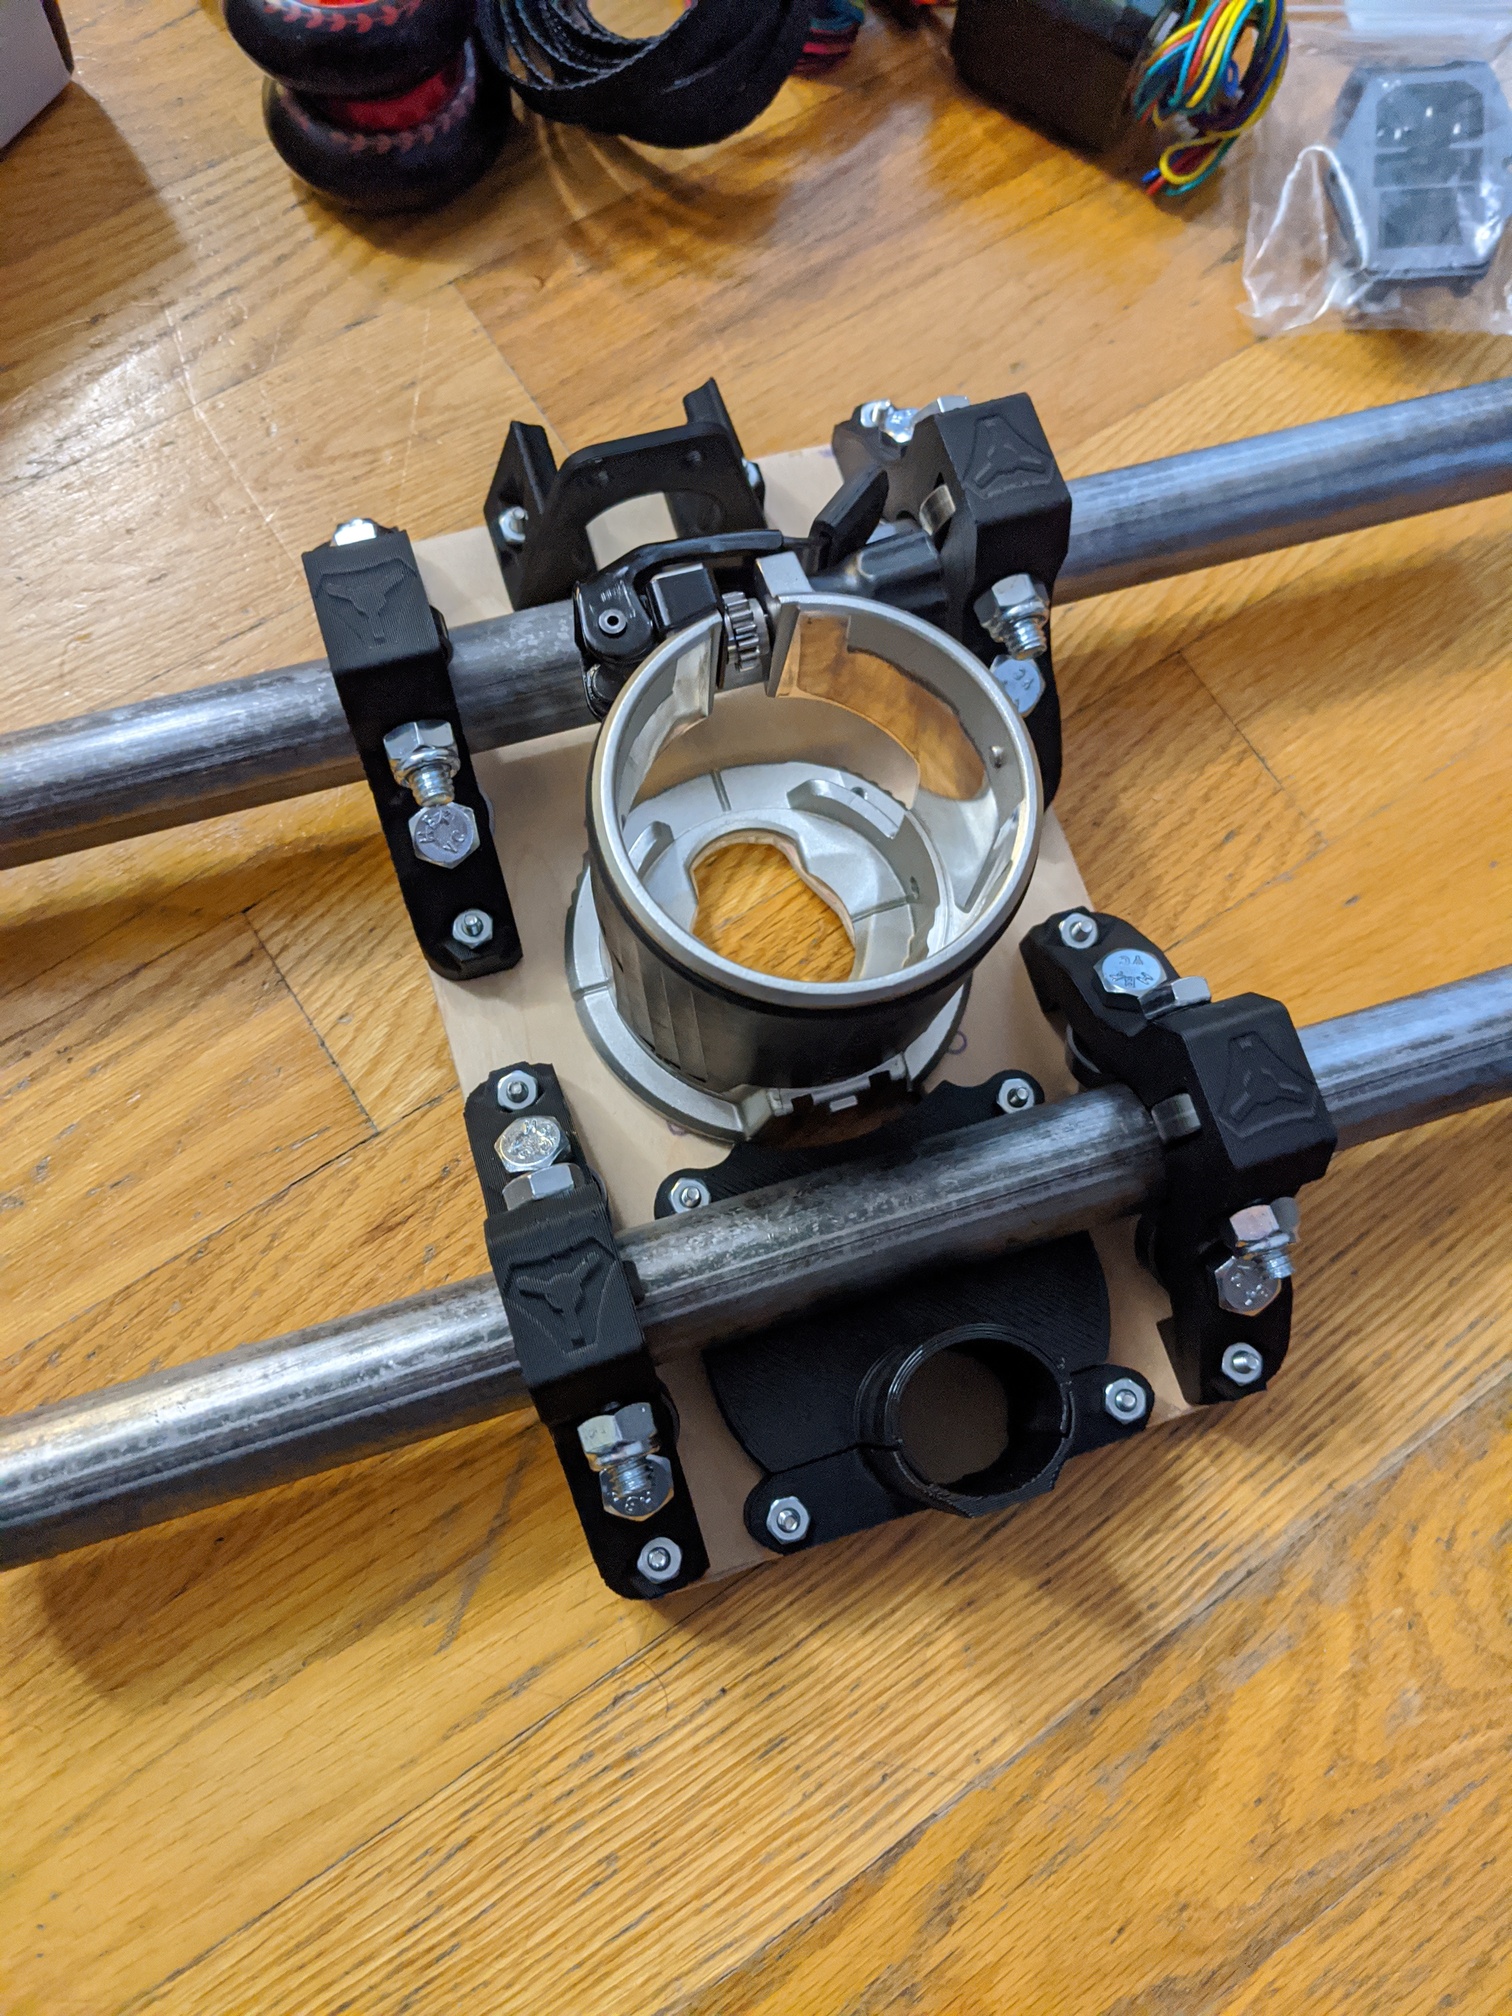
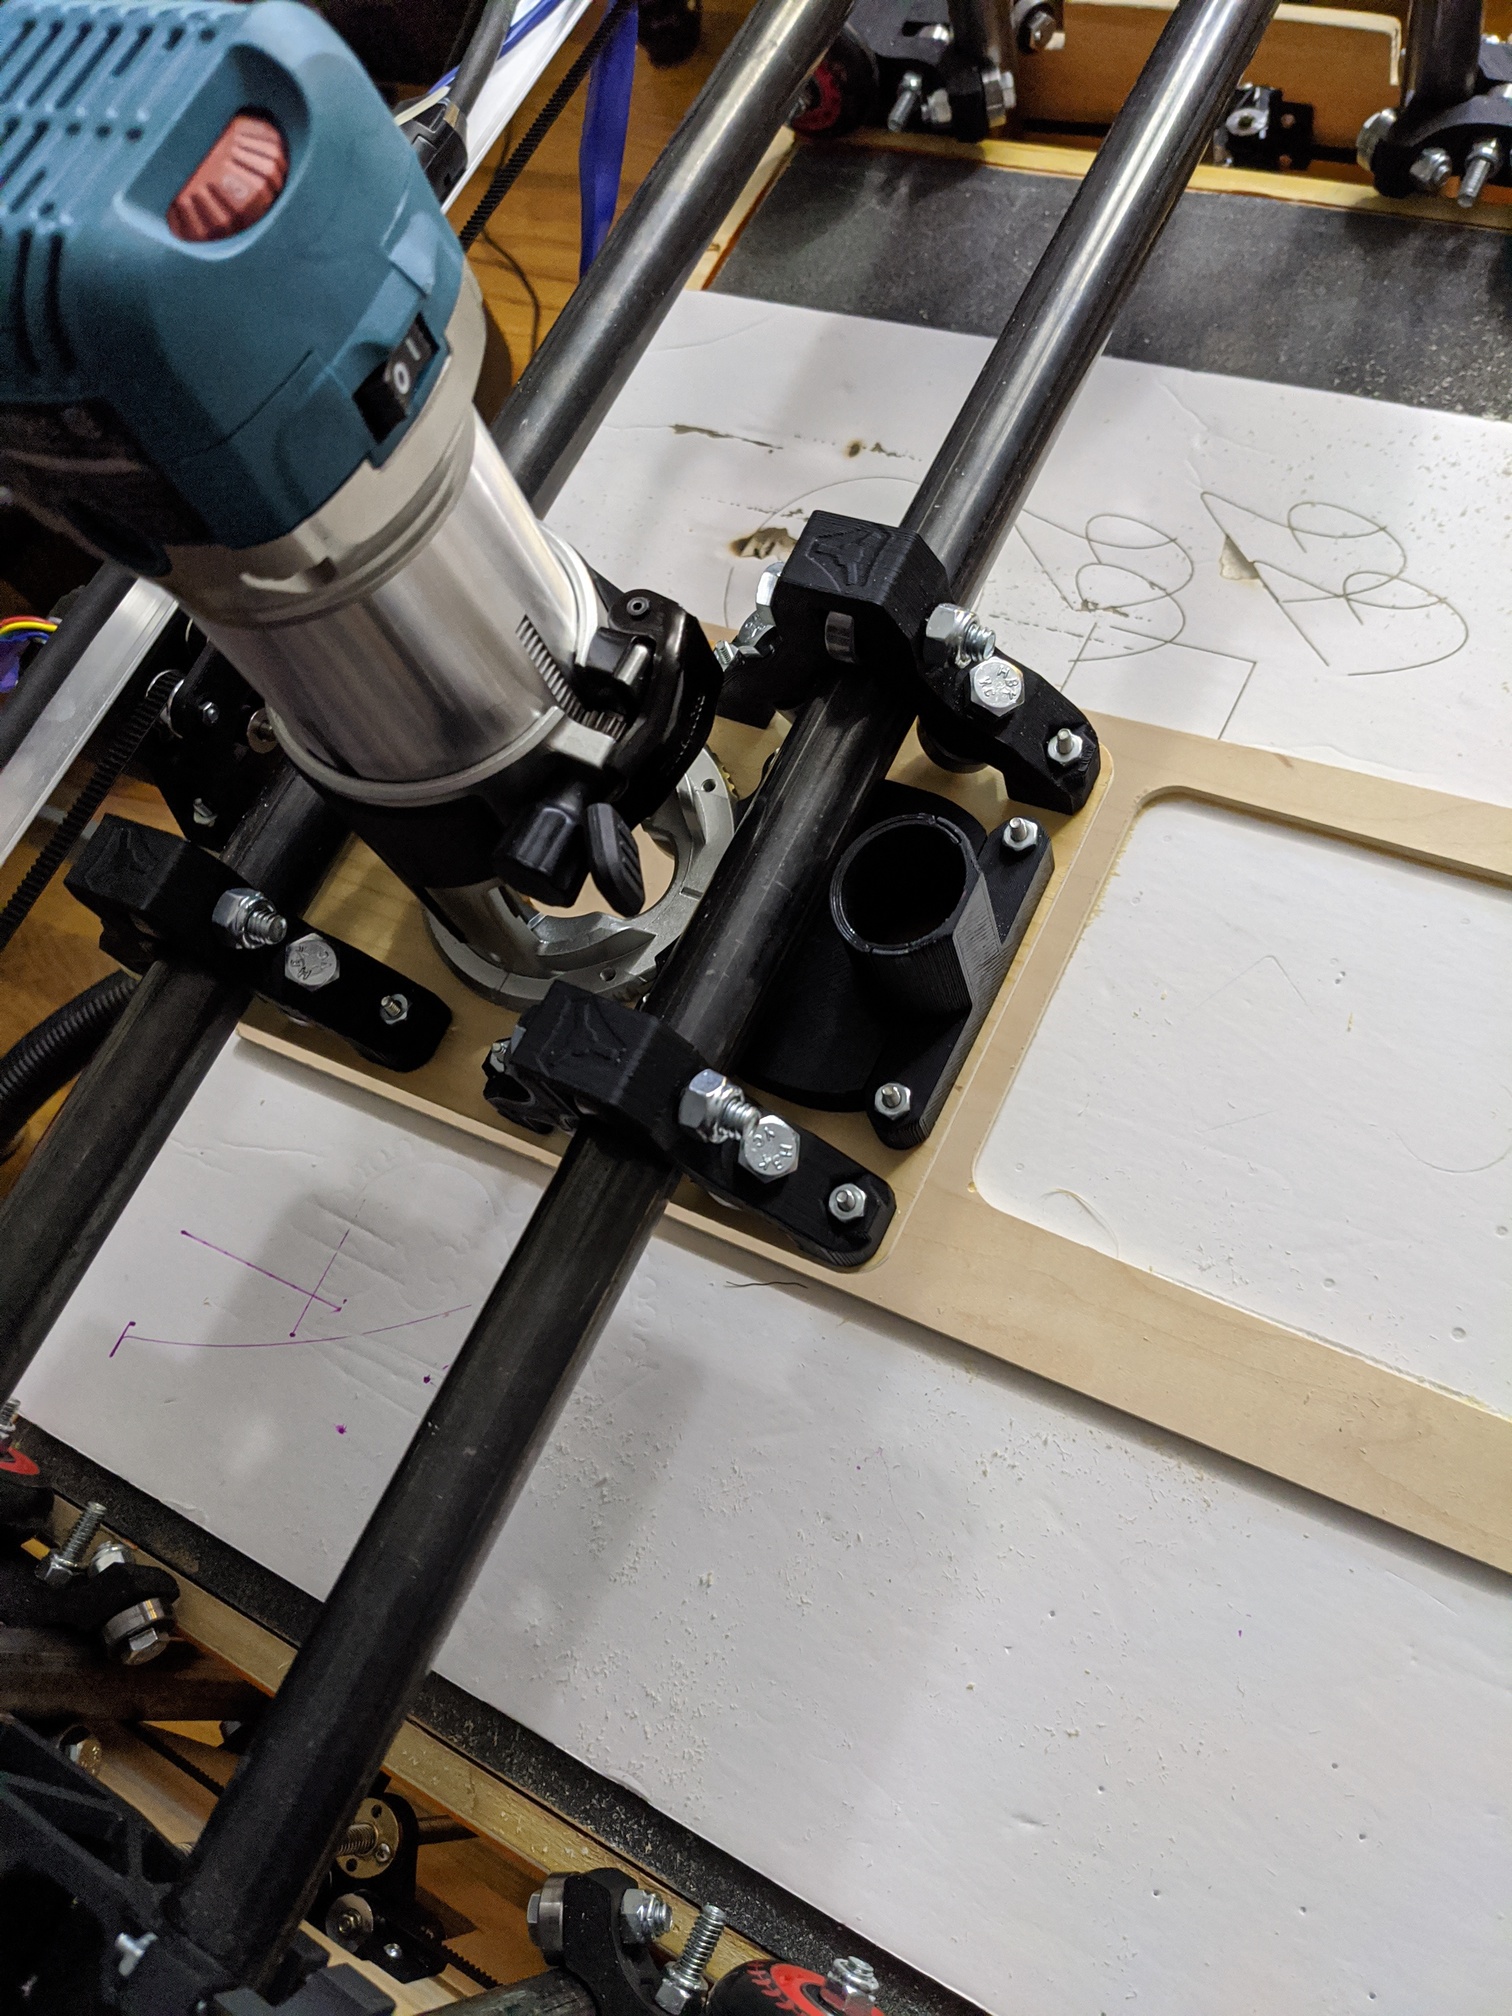
Funny enough, most of the bits arrived at the same time, v1 order, belts and pulleys. Taking a break, the base is pretty much done, tubes fit, holes I drilled worked, see pics:
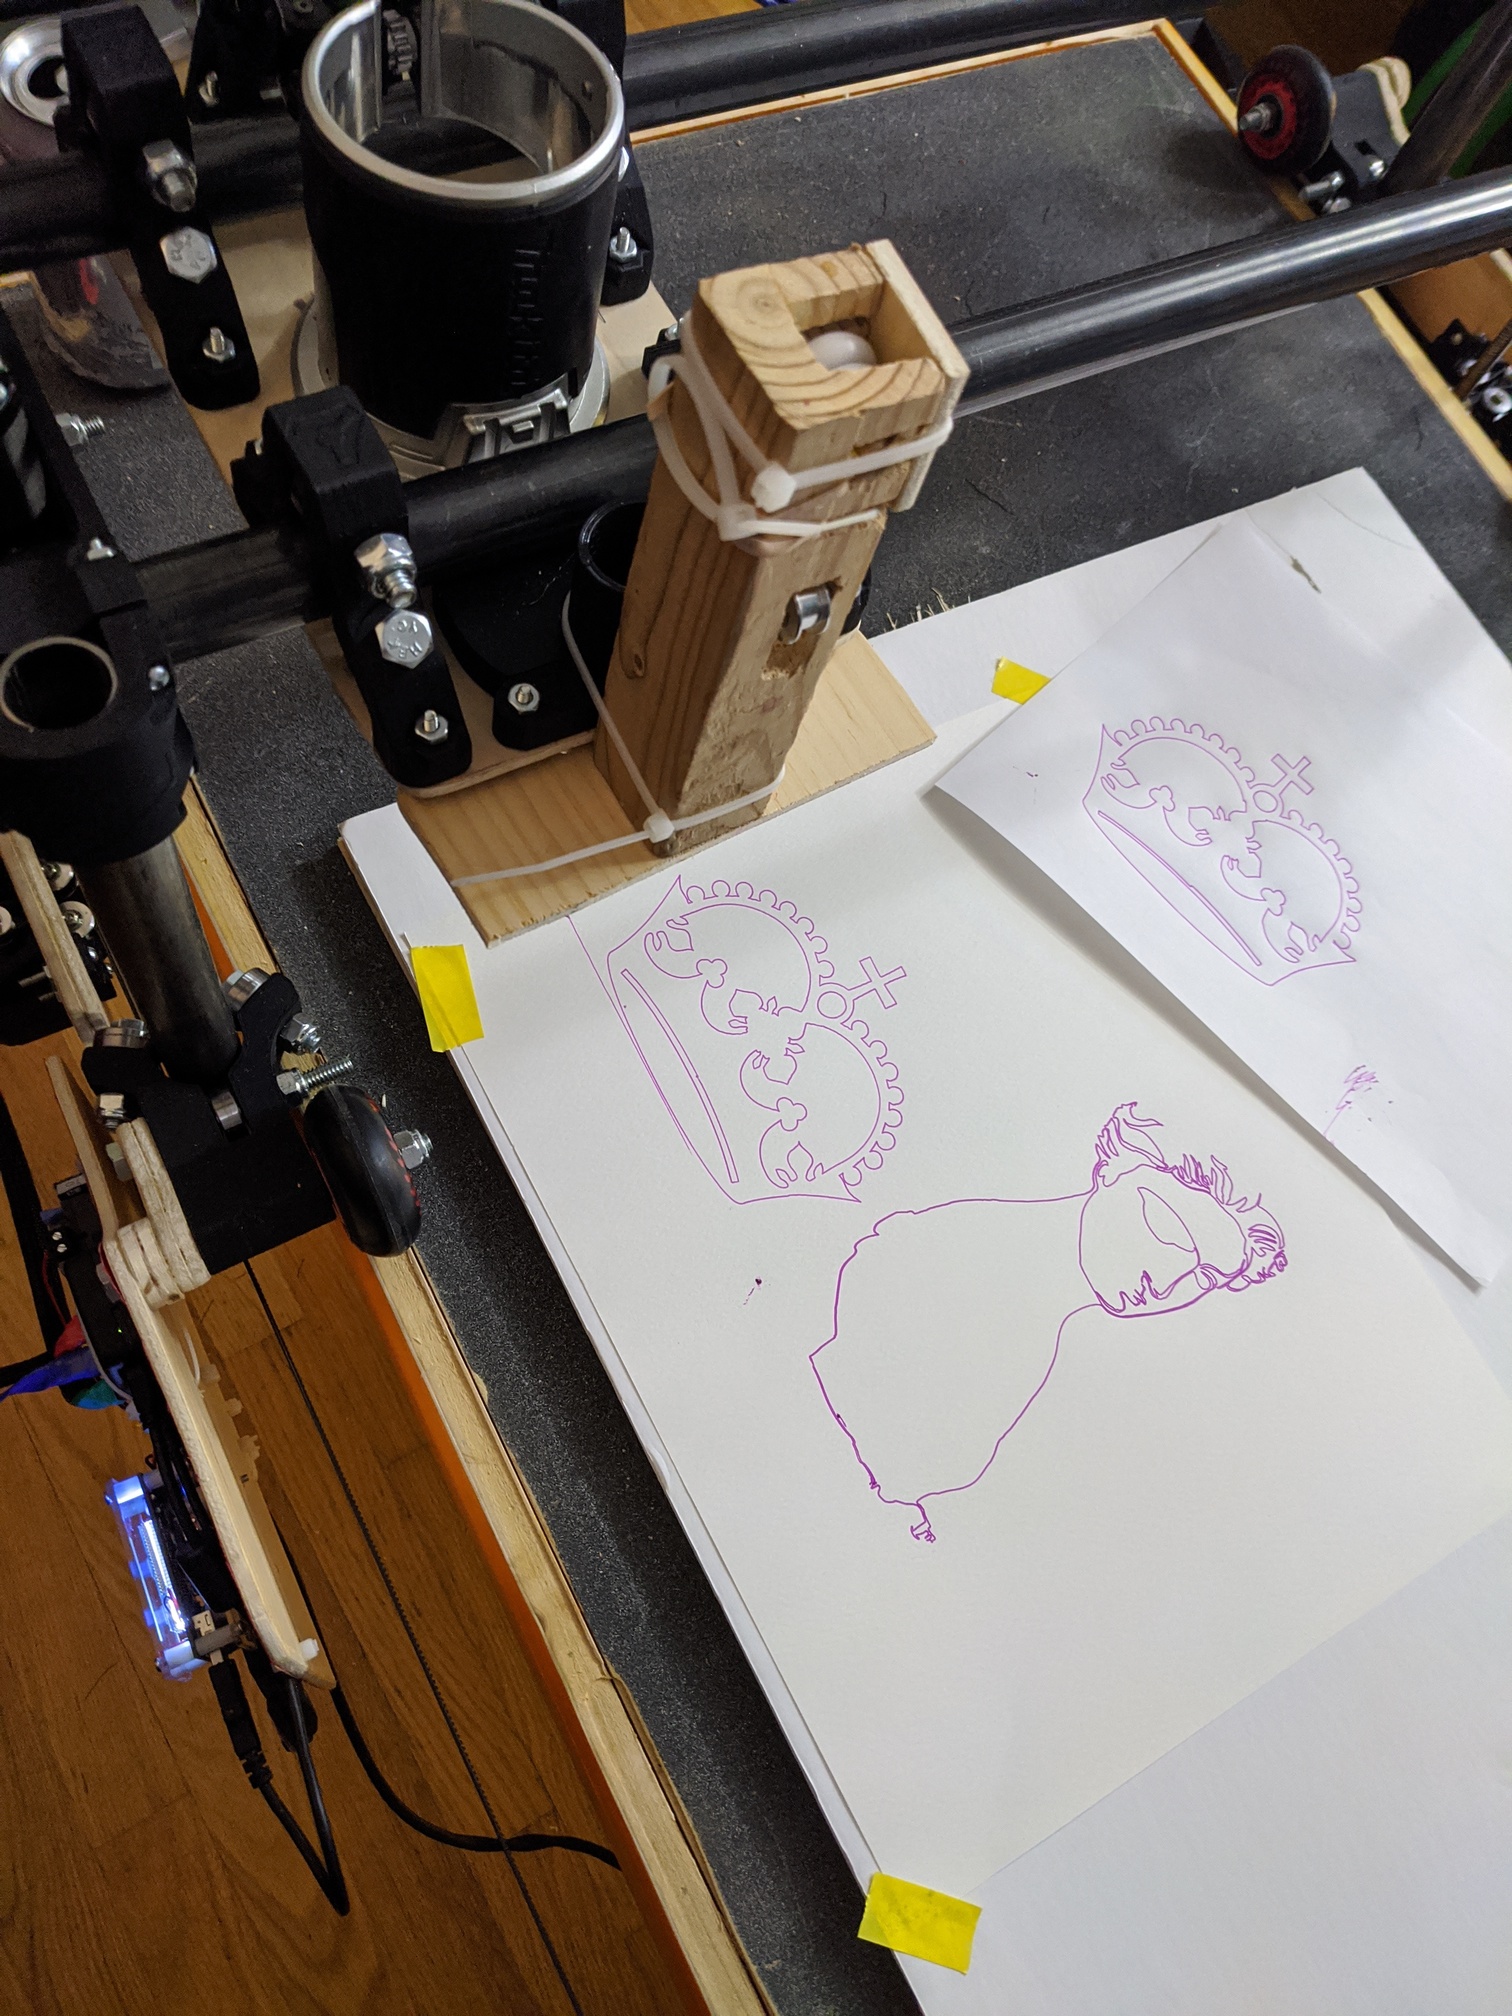
Just about done, no crown yet, my rubber band pen combo isn’t quite good enough, x vs y alignment seems good can draw 100 mm square accurately. I didn’t order enough braid, so used electrical tape to keep the insanity in check. Go for 50 ft.
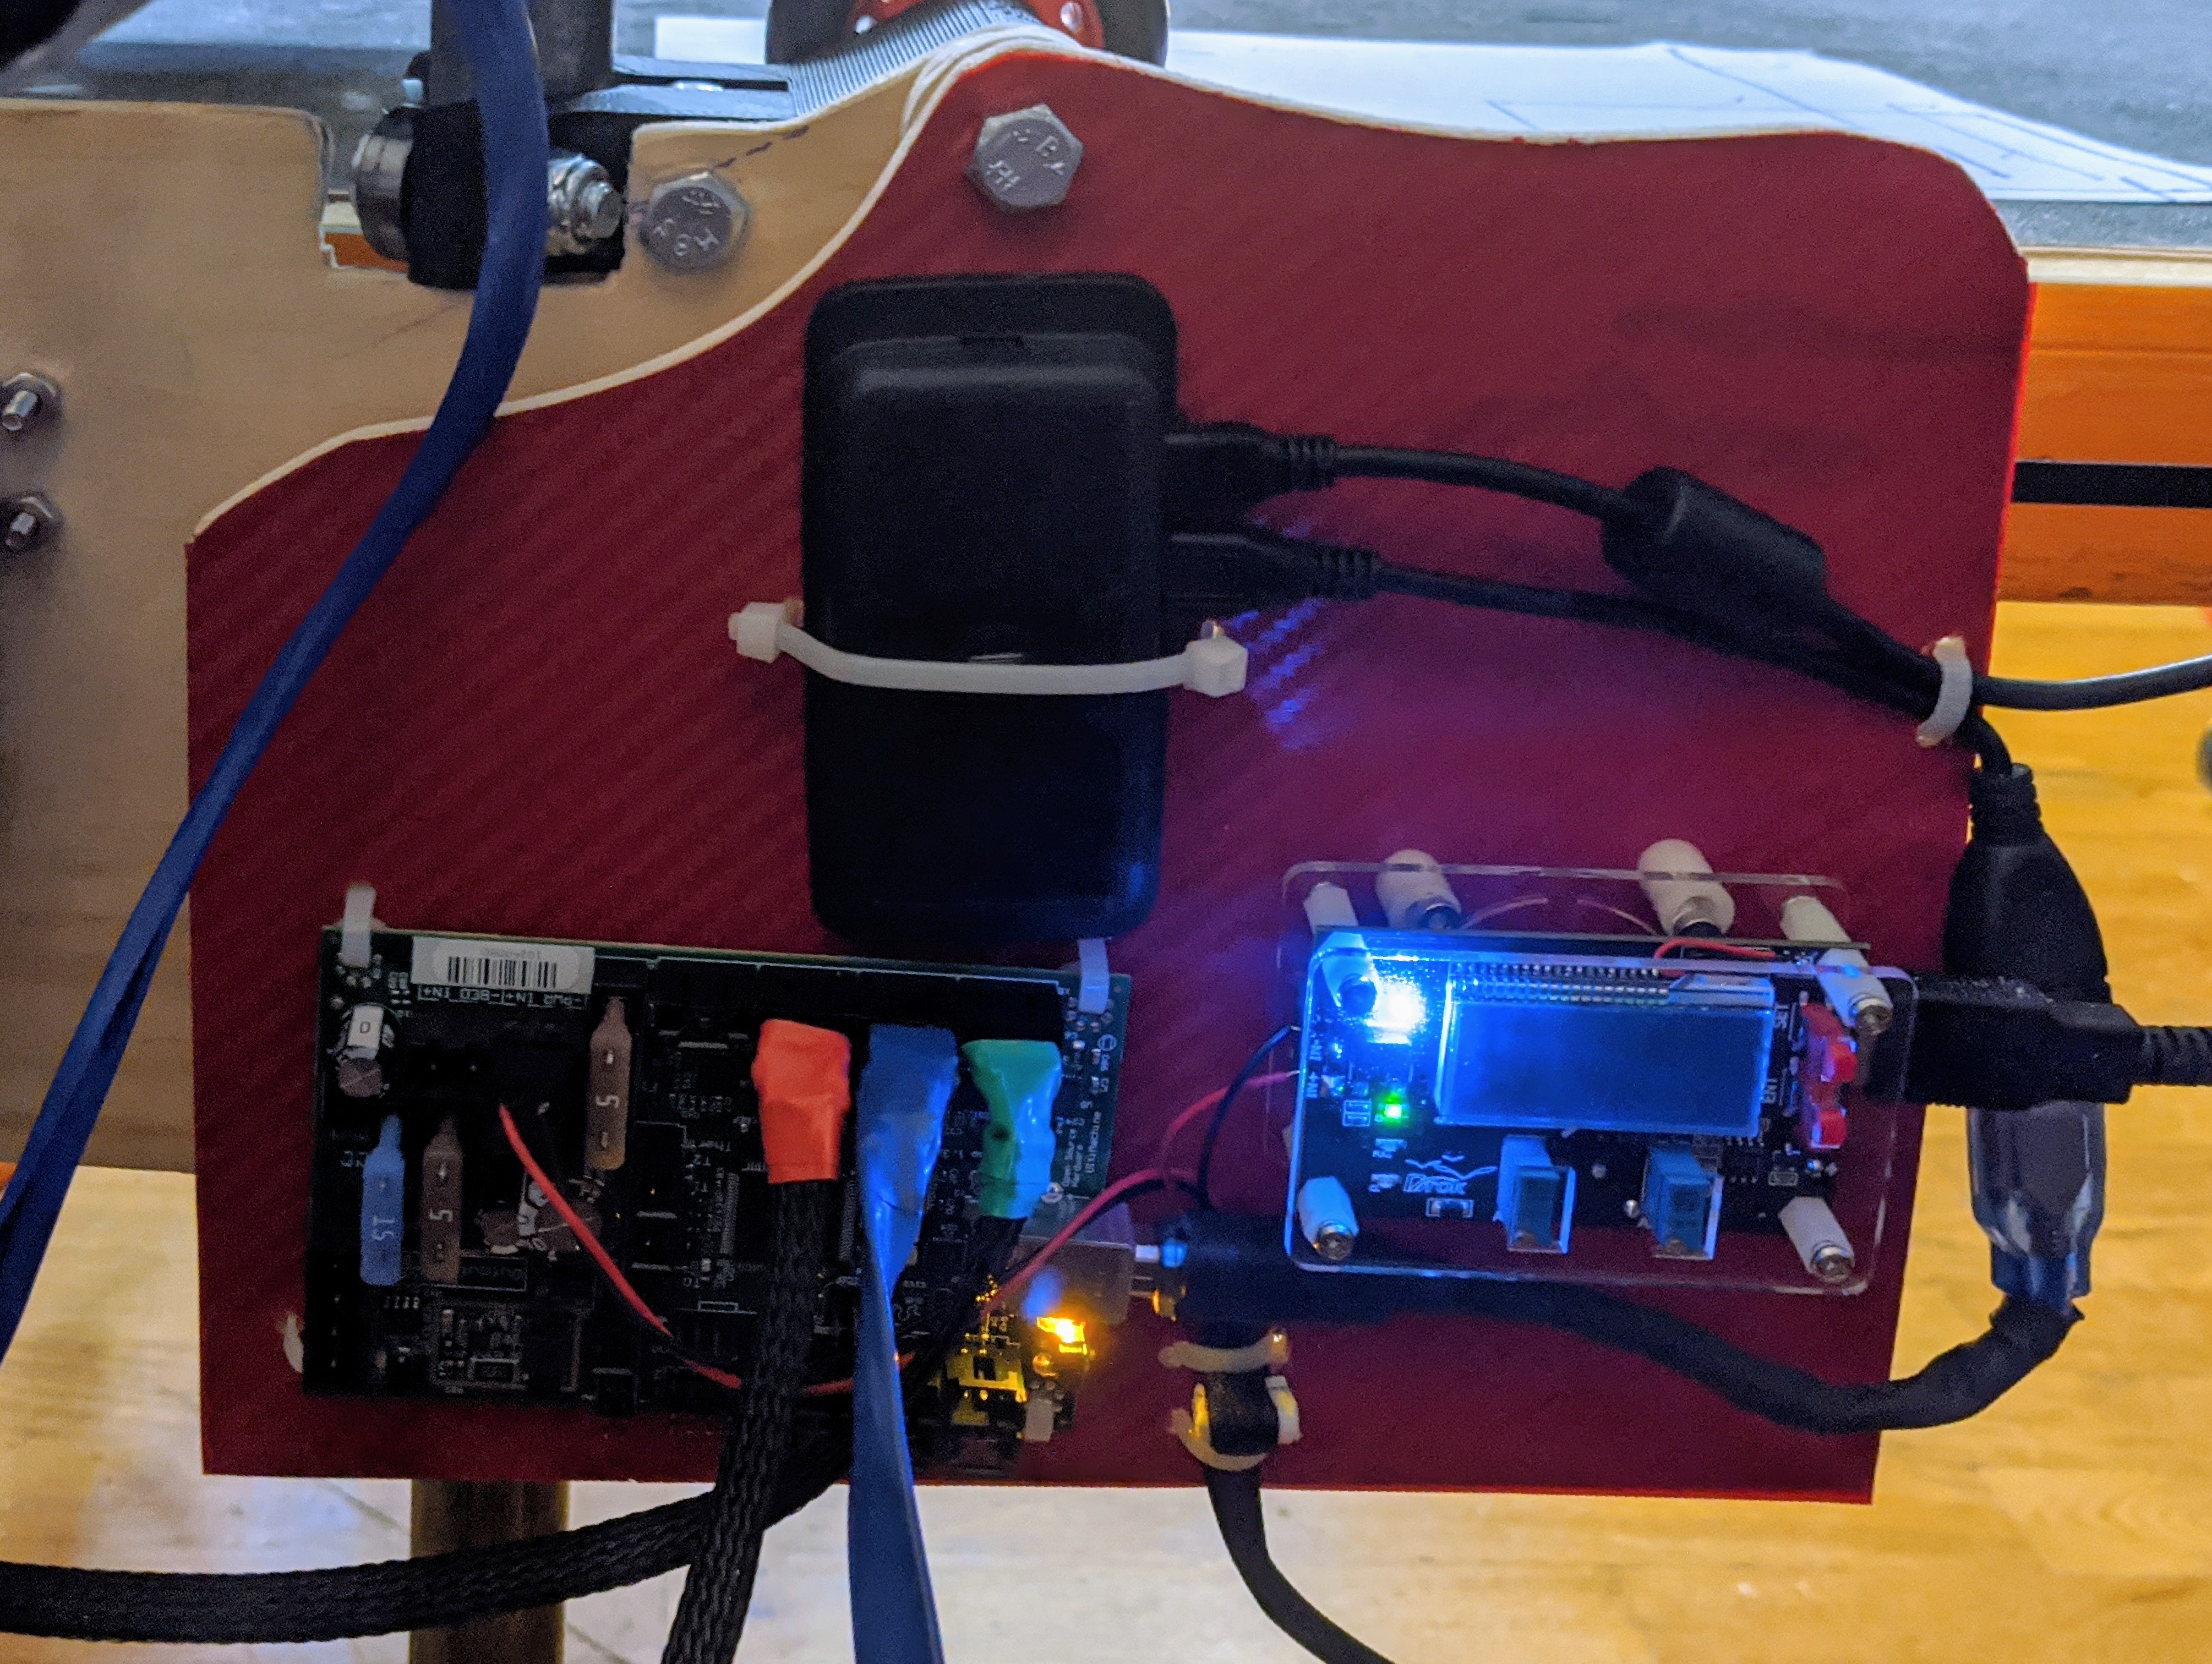
That’s just a fancier buck converter, I have more basic ones on the way, once they arrive, I can rewire so I can monitor current draw, possibly constant current source for laser, or for charging a power bank that powers the pi.
My quick glue job for a power outlet, yes the switch is upside down:
8A 12V brick plus power bar, both switched with a 10A fuse, will see if the router and the electronics go over 10A, it all turns on, but haven’t tested under load or different speeds.
Closer view, turned off backlit display. The color is just some vynal I had lying around, if nothing else, it kept the splintering down when cutting and drilling. Note the zip tie strain relief, the power is just a couple sets of 12V in a cable, two sets, small gauge, hopefully it won’t catch on fire, short distance though.
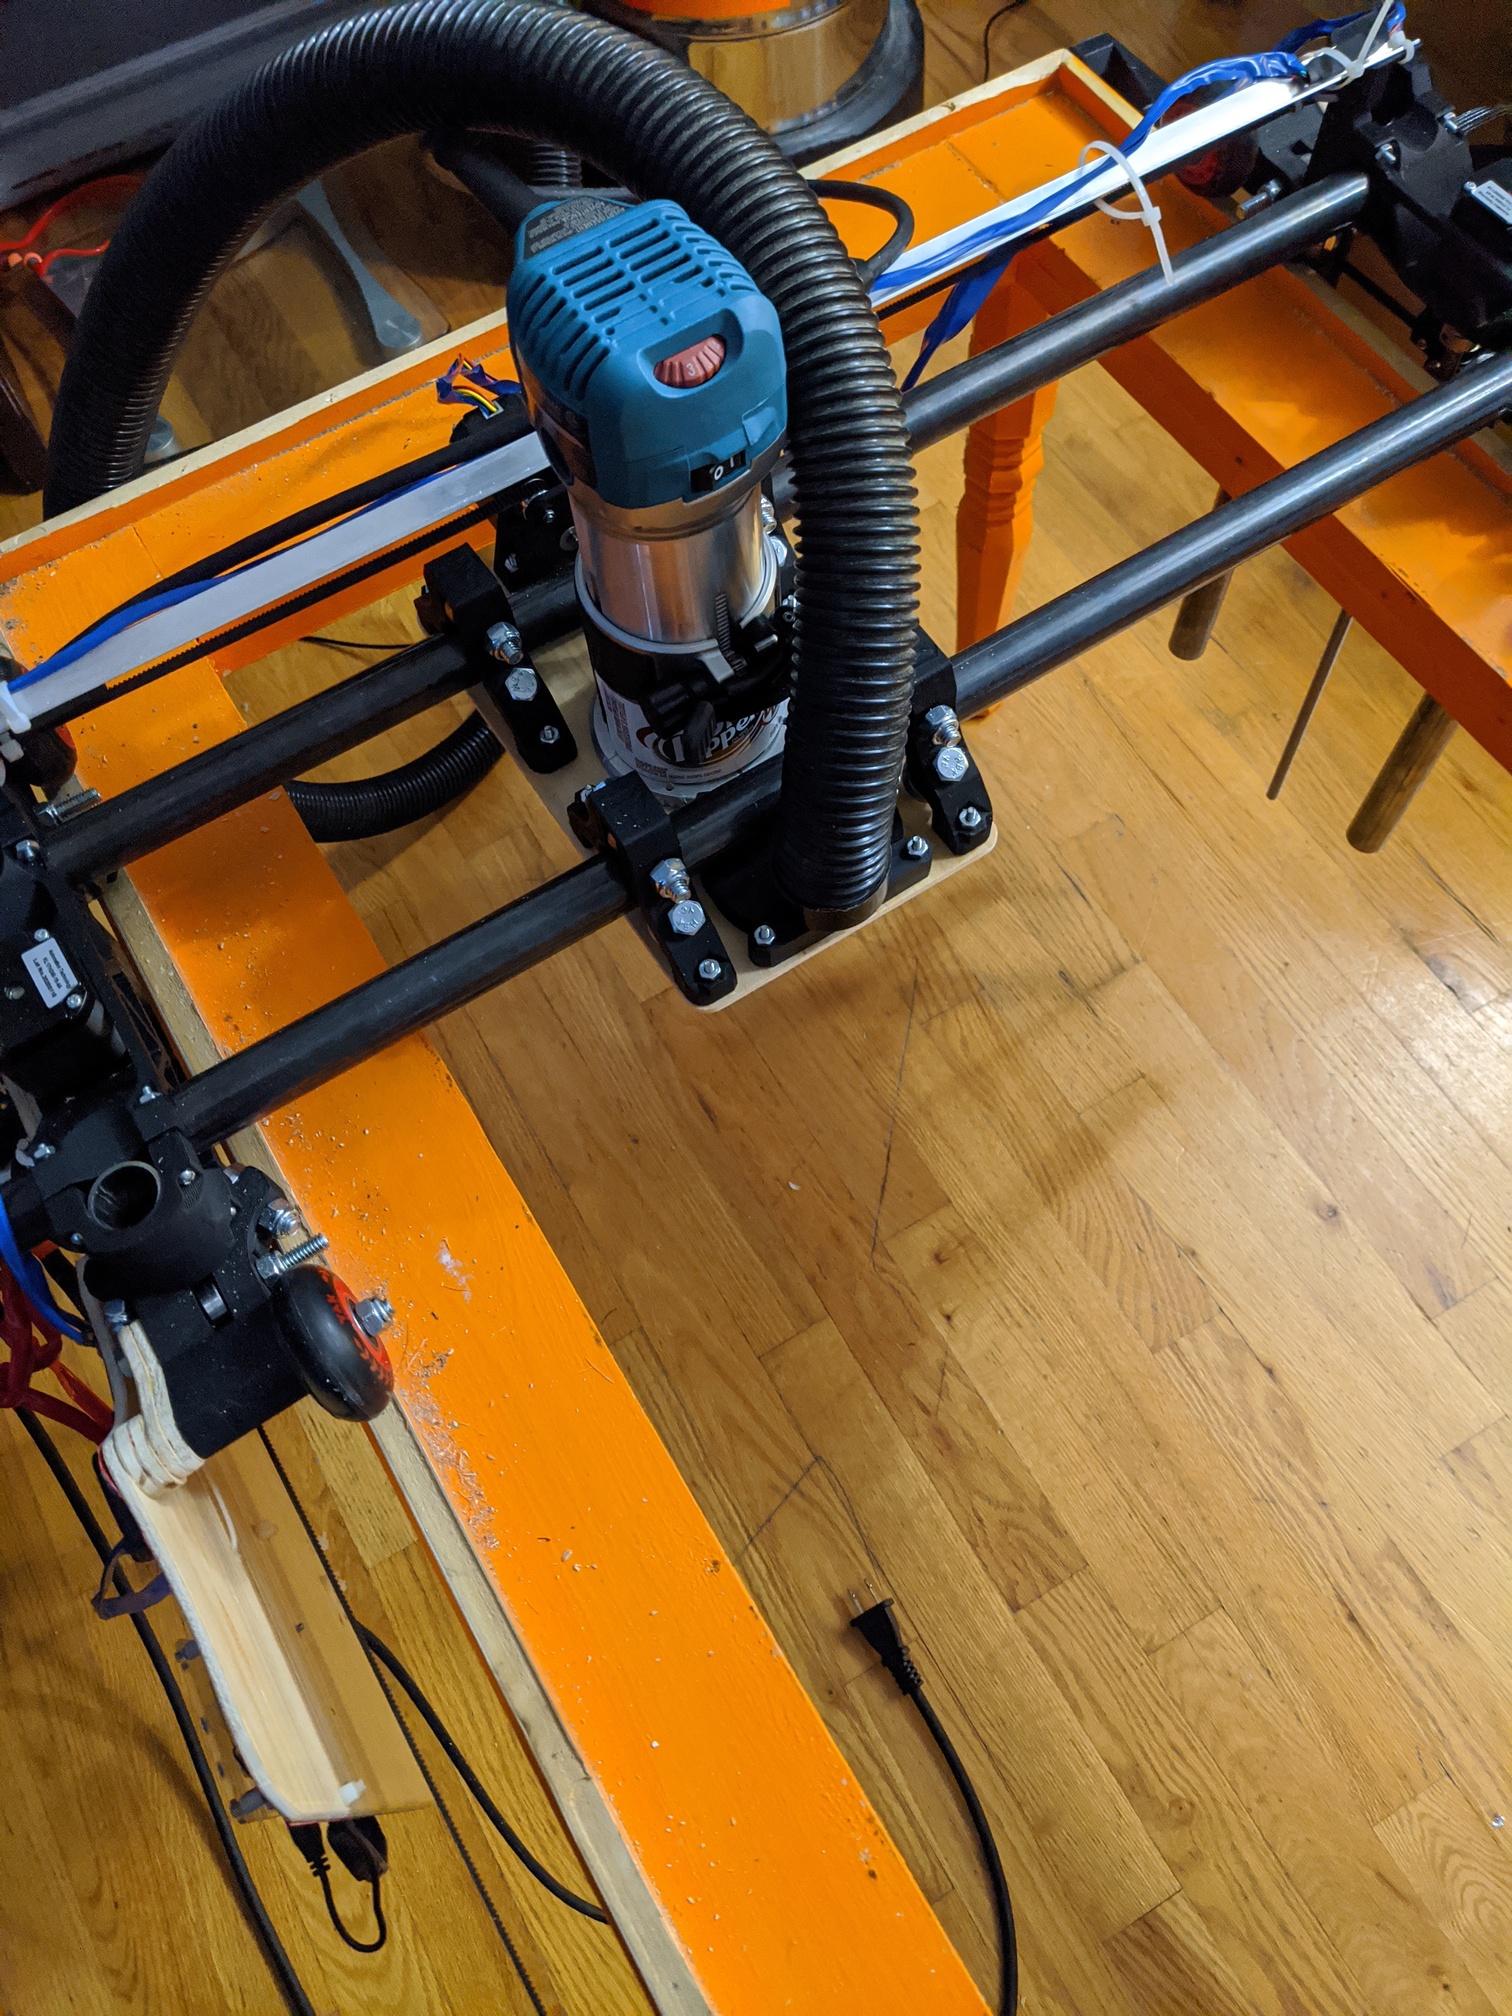
All in all, x and y are smooth, the removable mdf sheet in the center of the table is slightly higher so it guides the wheels. It was bordered by some quarter round, but that was not doable at all, riding the tip just didn’t work, so I got the plunge router out with the bit that was left in it and tried to flatten the edges. Z works but is noisy, and it doesn’t auto drop when the power goes off, hopefully I can cut some more precise wooden bits and rebuild.
This was a table I made for a wooden train set that my 9 year old doesn’t use, and was just taking up space. The legs come off, it is fairly sturdy, but has no mass. It isn’t the intended destination for the low rider.
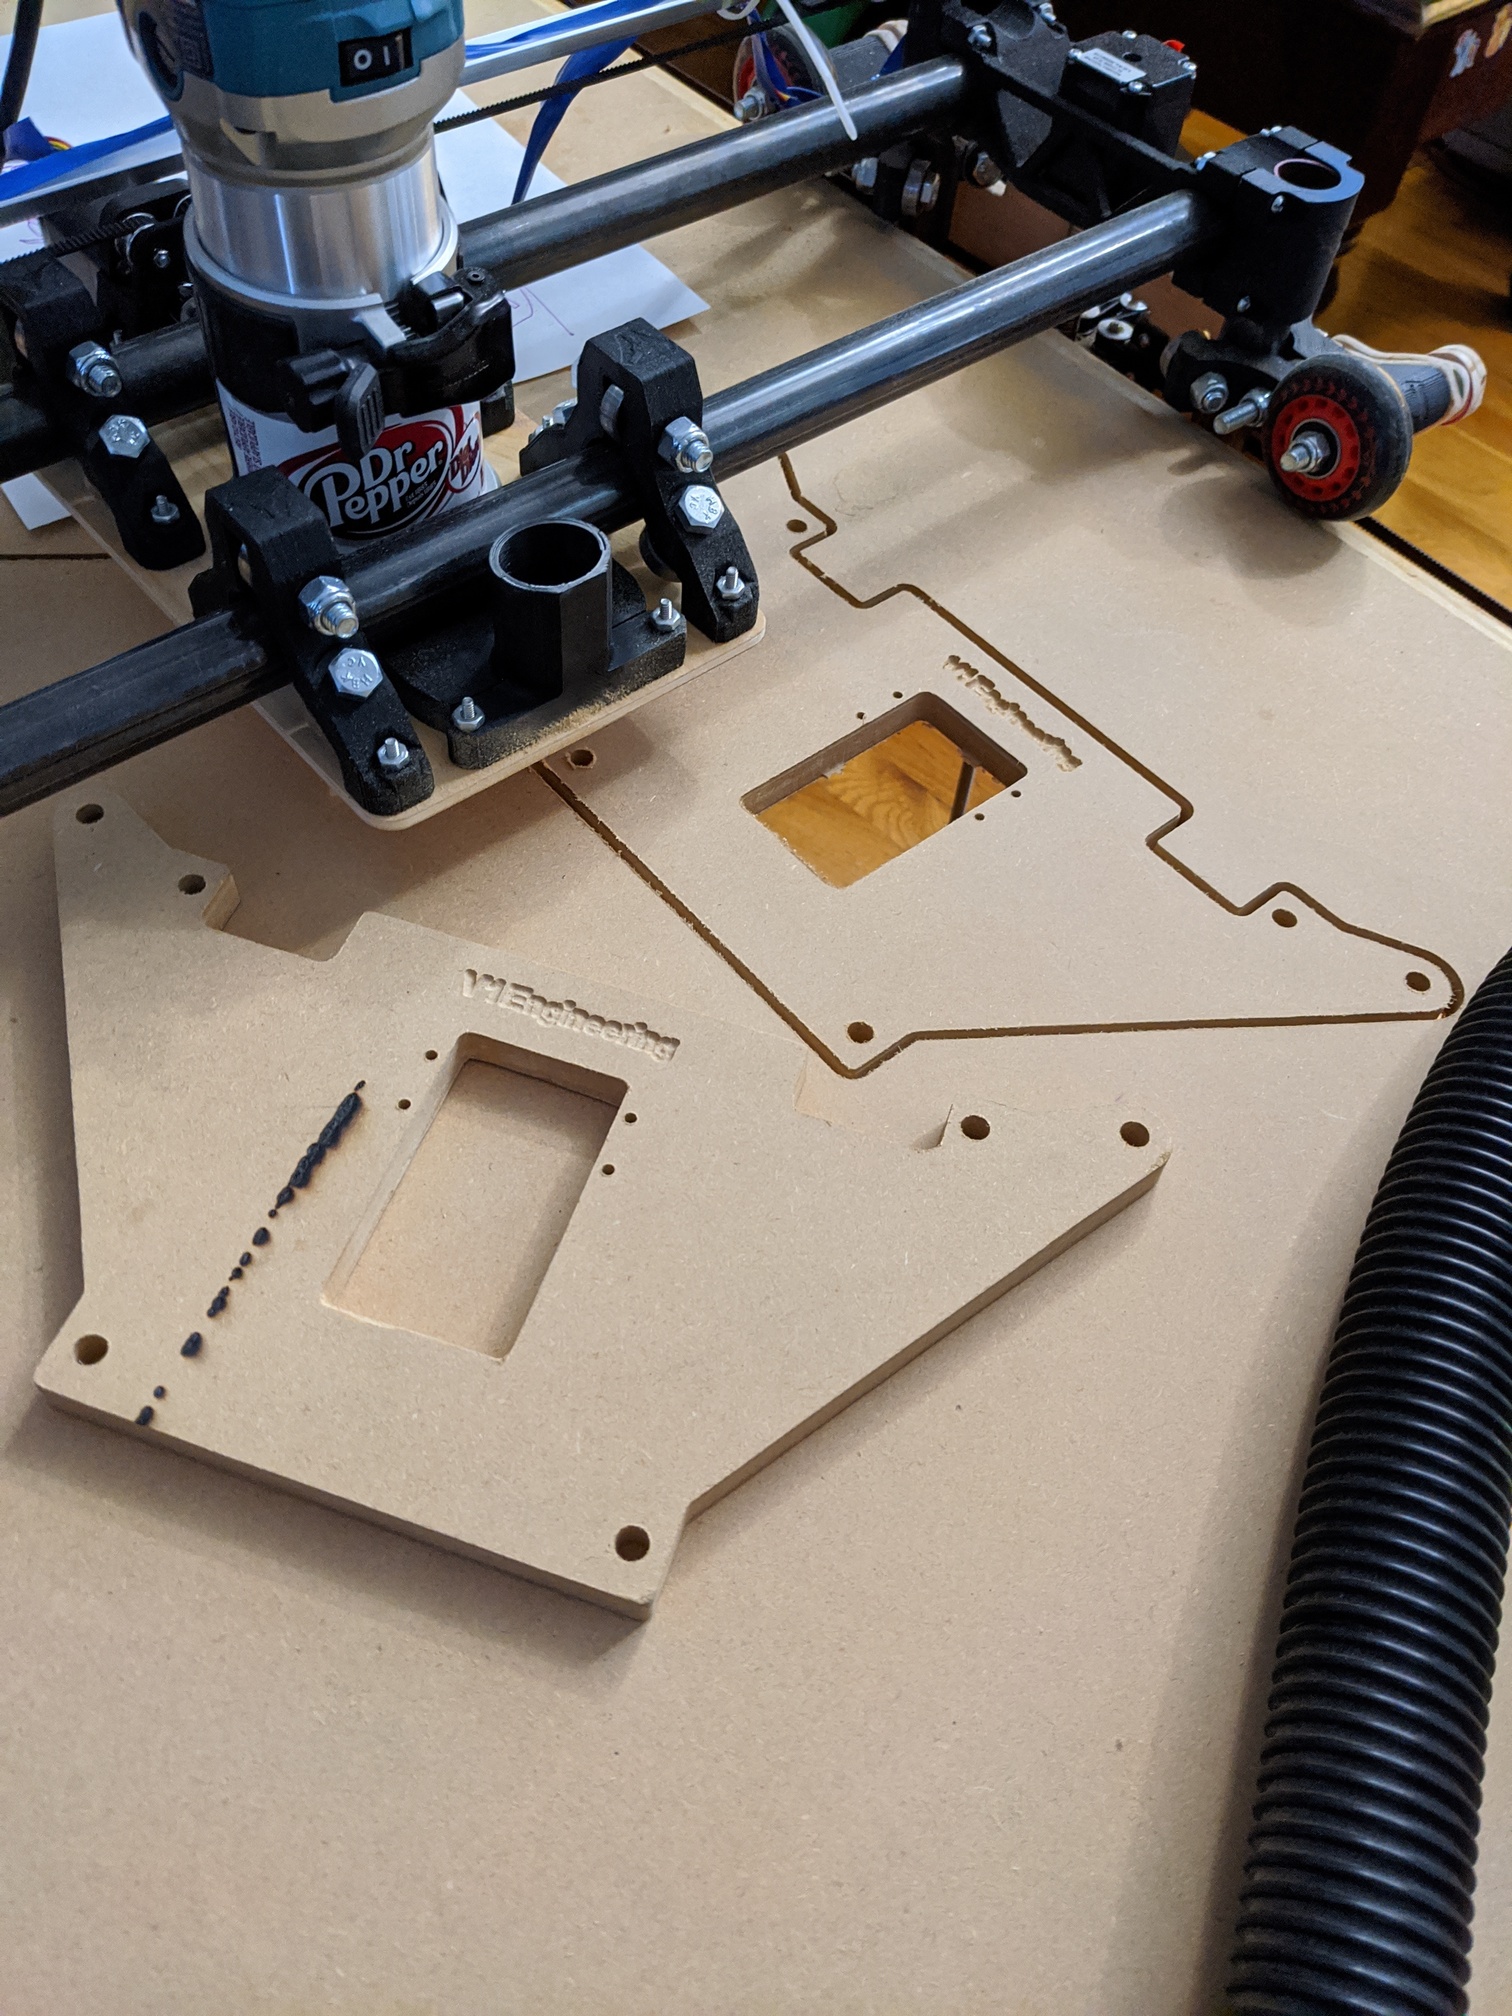
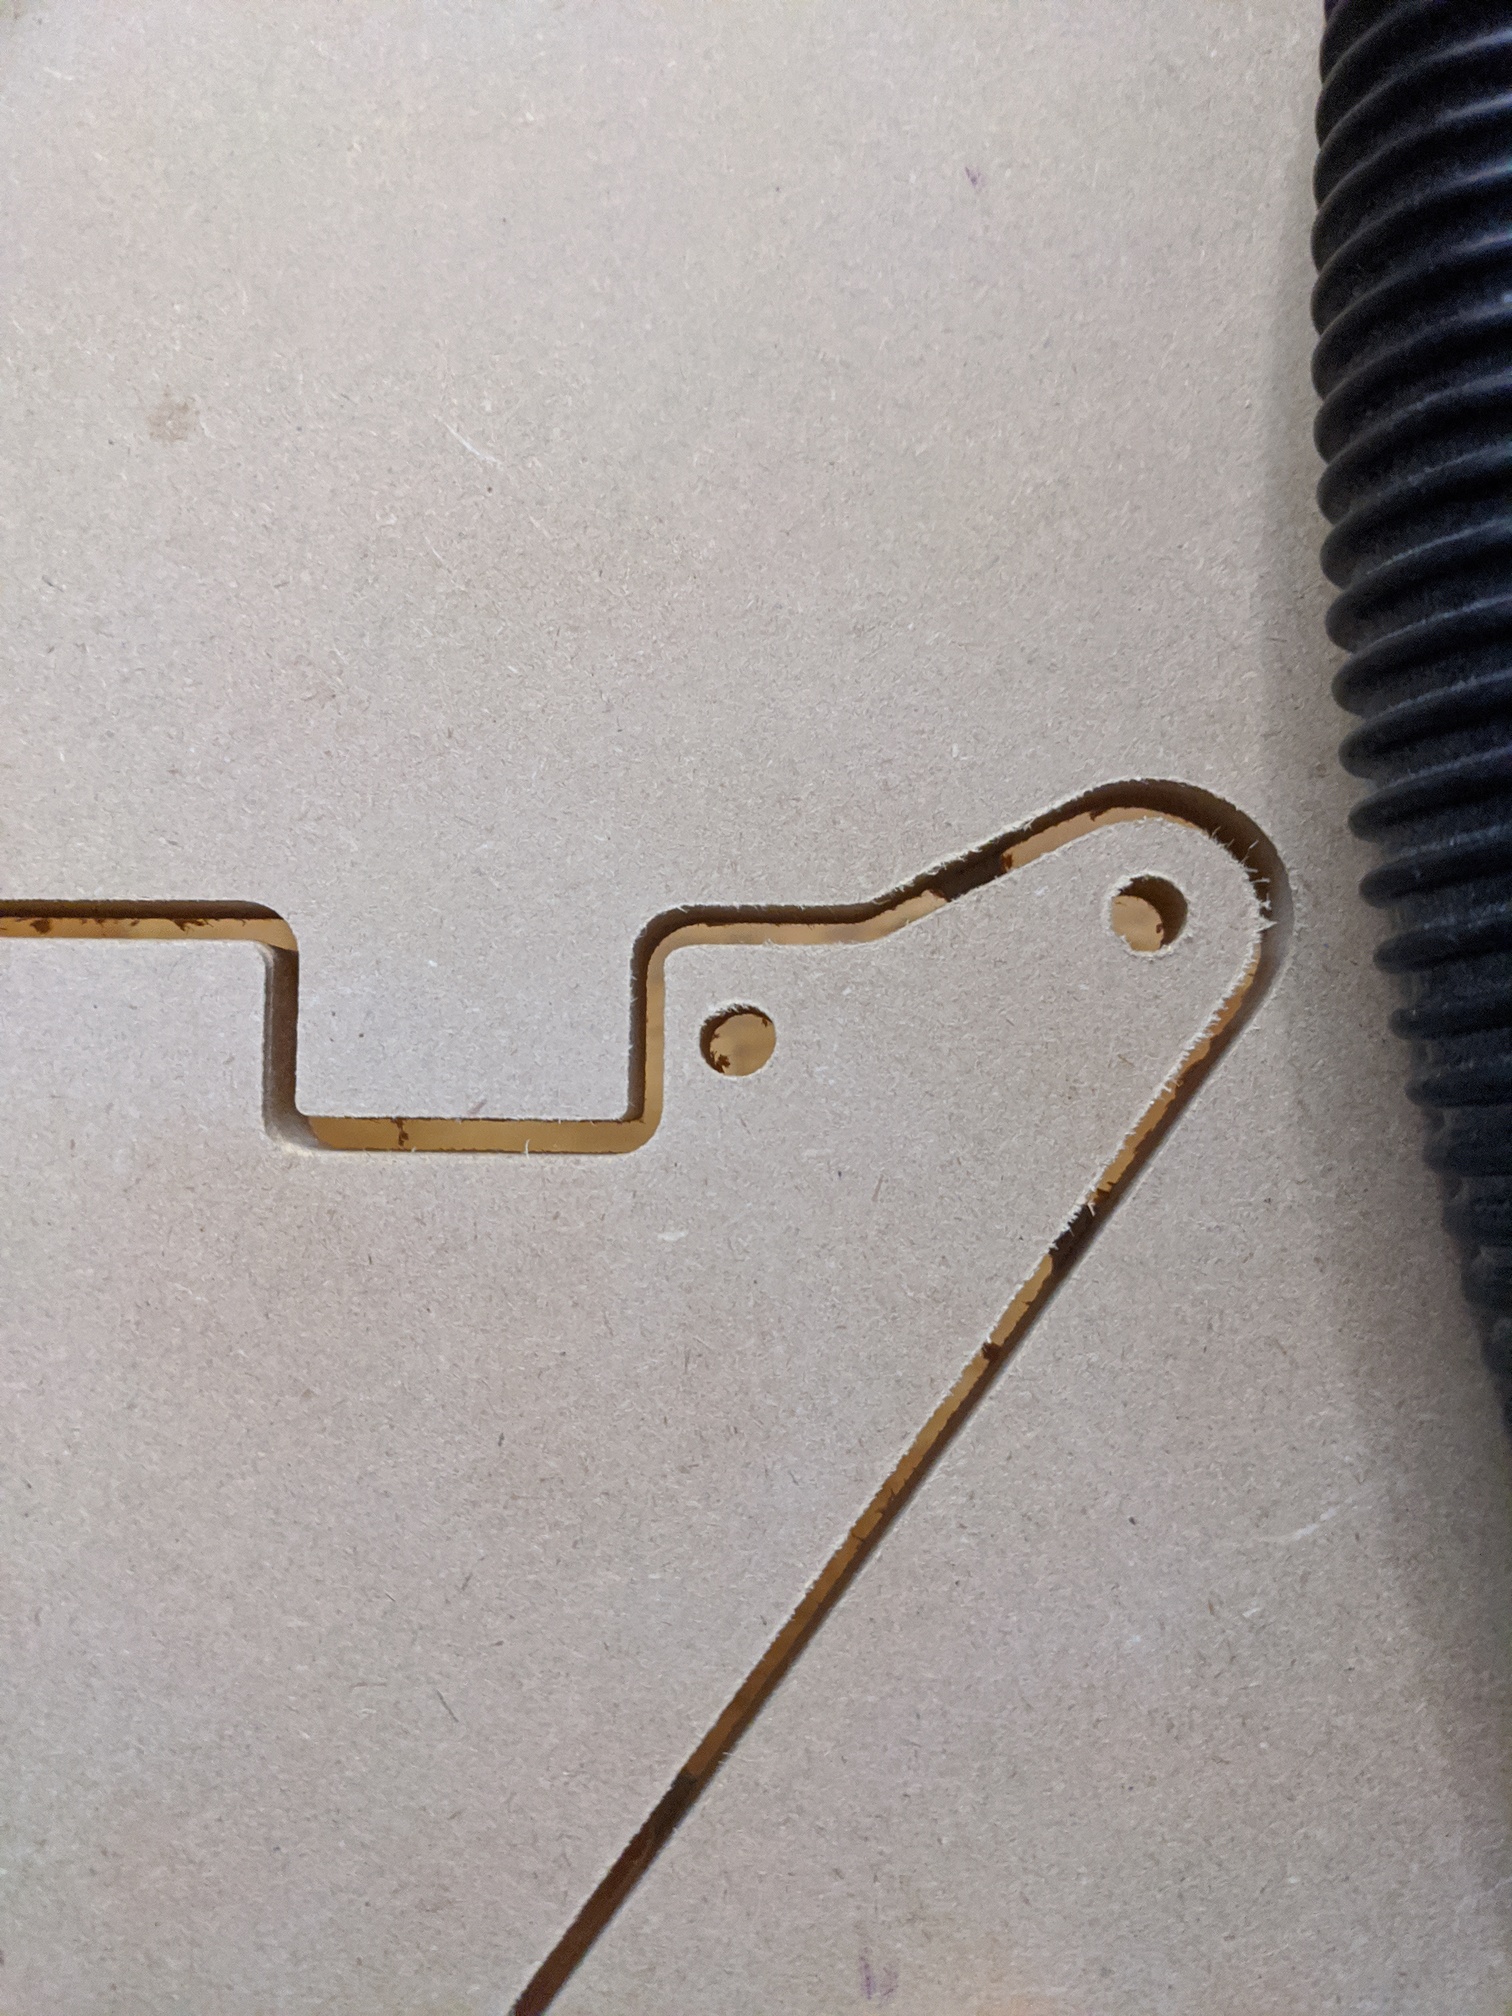
First cut. It’s a beauty. The scratches are my arsing with depths in estlcam and it not working so I jogged the bit closer by hand. Powering the router by the power bar was a non issue, must be under 10A.
Had to really push the length of the bit to get through the 13 mm wood, just using a 1/8th collet insert for now, have an extender on the way, which will likely solve that issue. Tried 2 mm high tabs, wasn’t enough to fight gravity, went with 4 mm and that was OK, but essentially got 2 mm results.