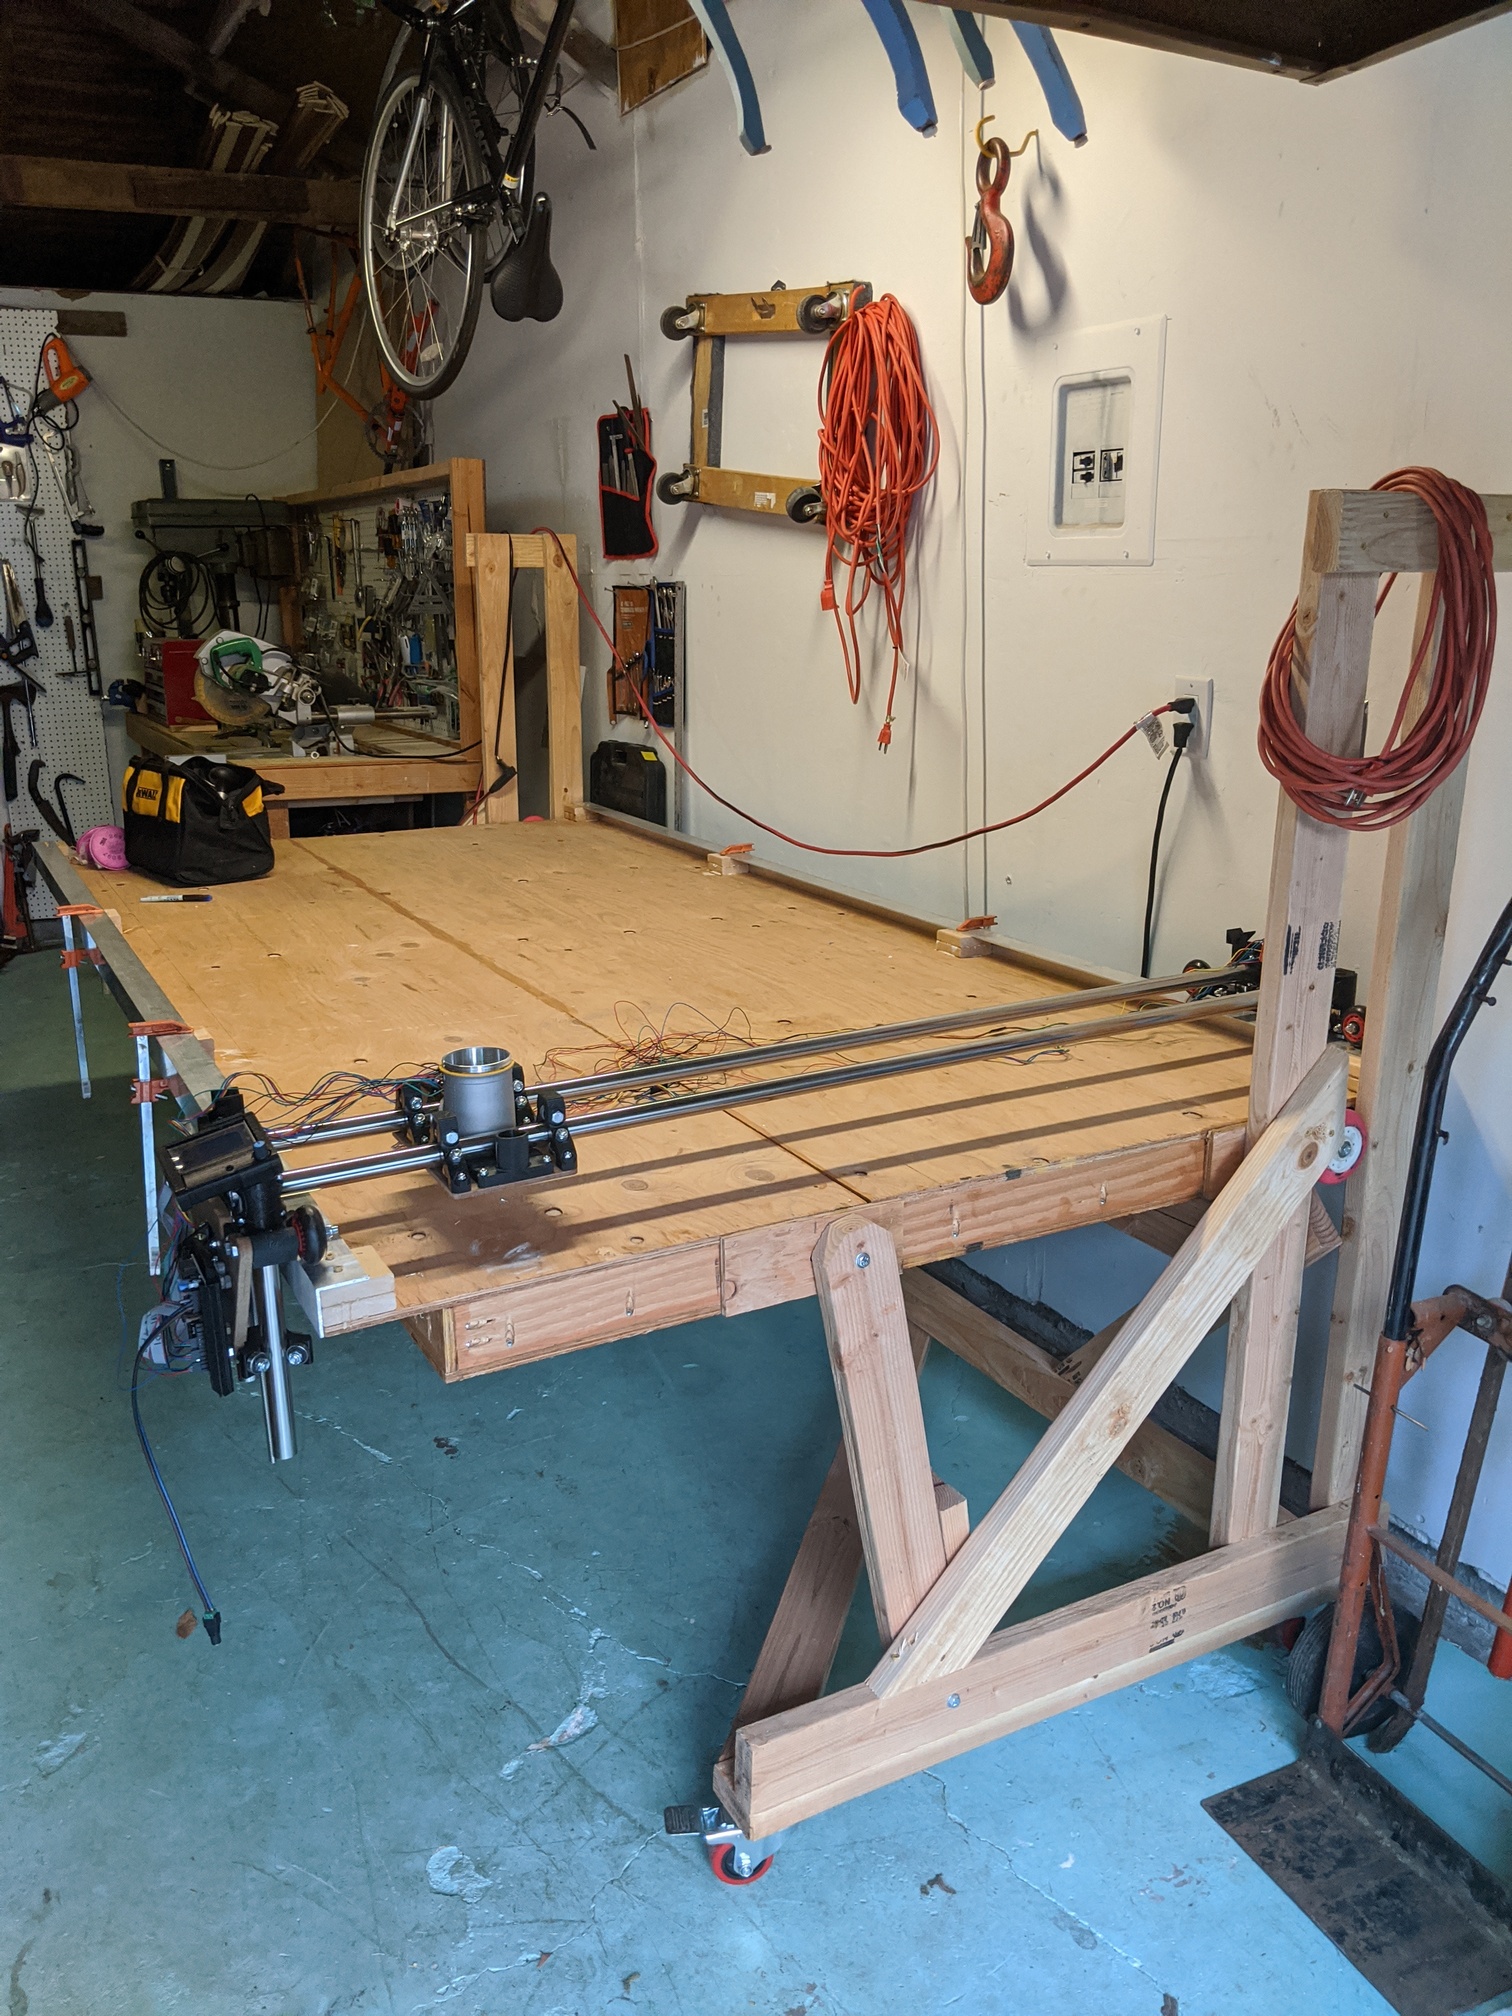
It’s been a long winter, and there have been many projects, but it’s time to get back at this build. My goal for today was to get the suffer rails mounted so I could more properly fit the rig on top and start working on the belts and cable routing.
1 Like
It’s an ambitious idea, one that a few people have been able to make work. I do miss the ability of my big table but not the space it occupied. I’ll always check-in on these smart stow away ideas though so best of luck with it.
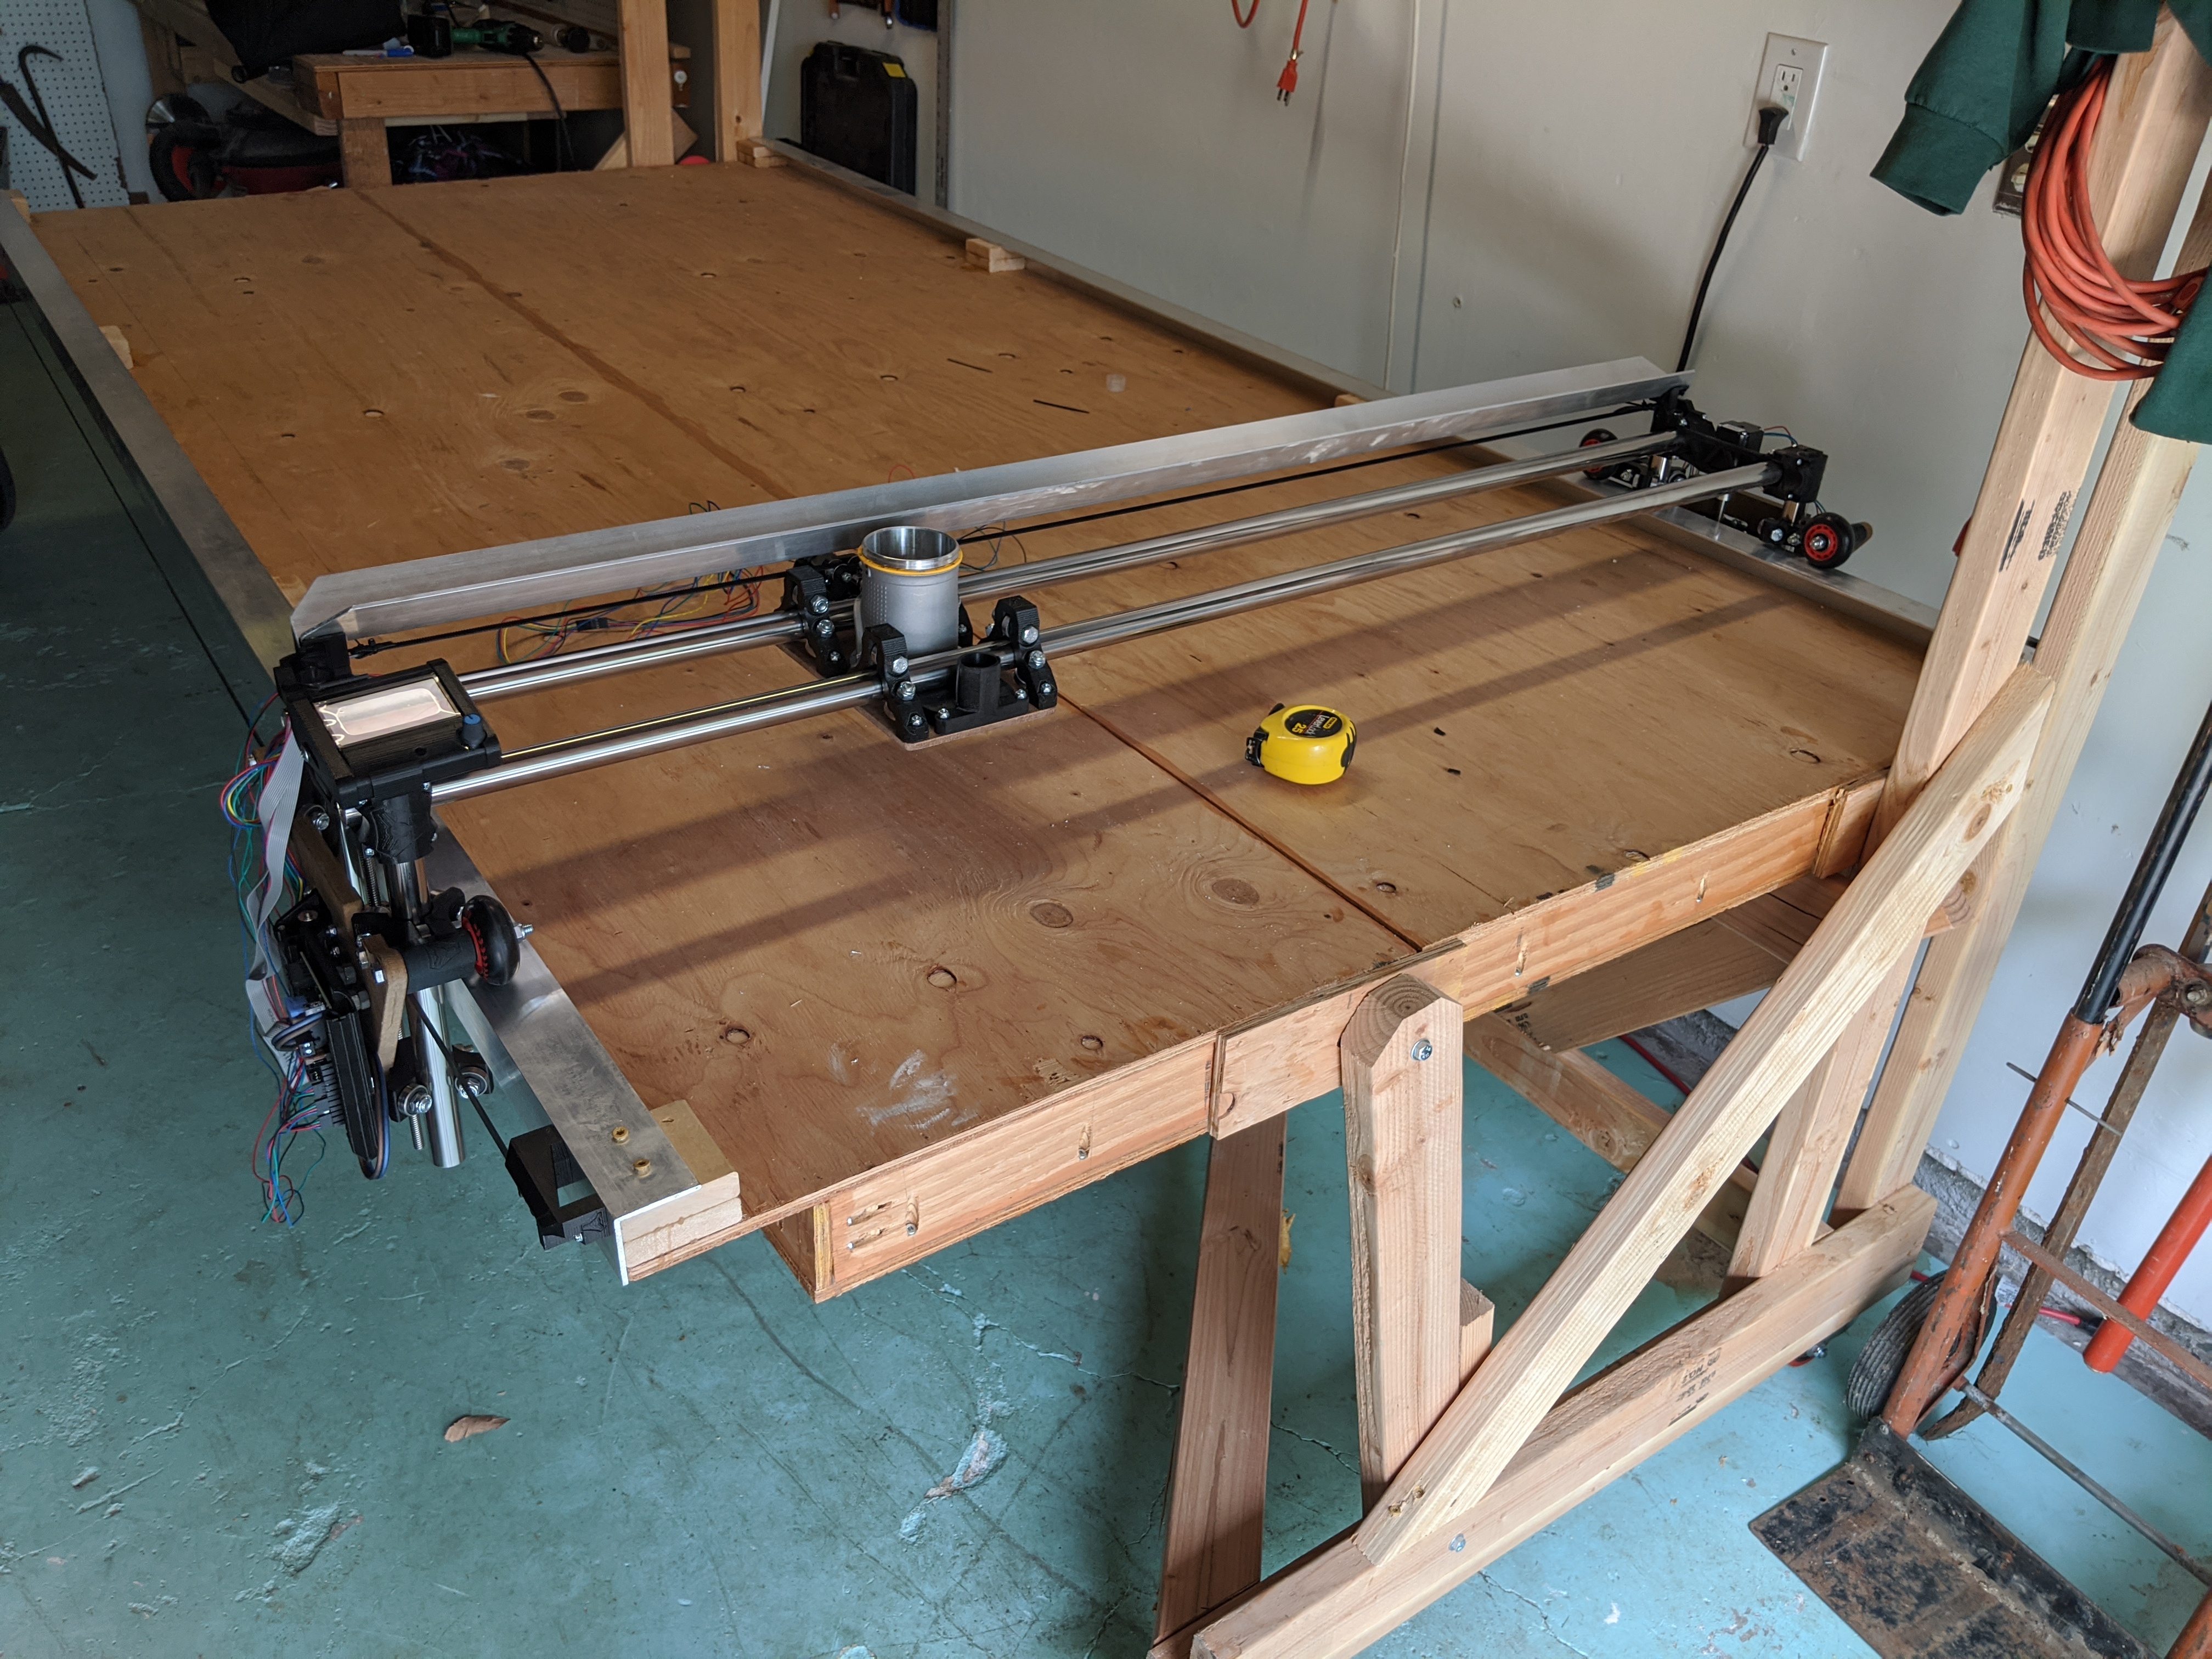
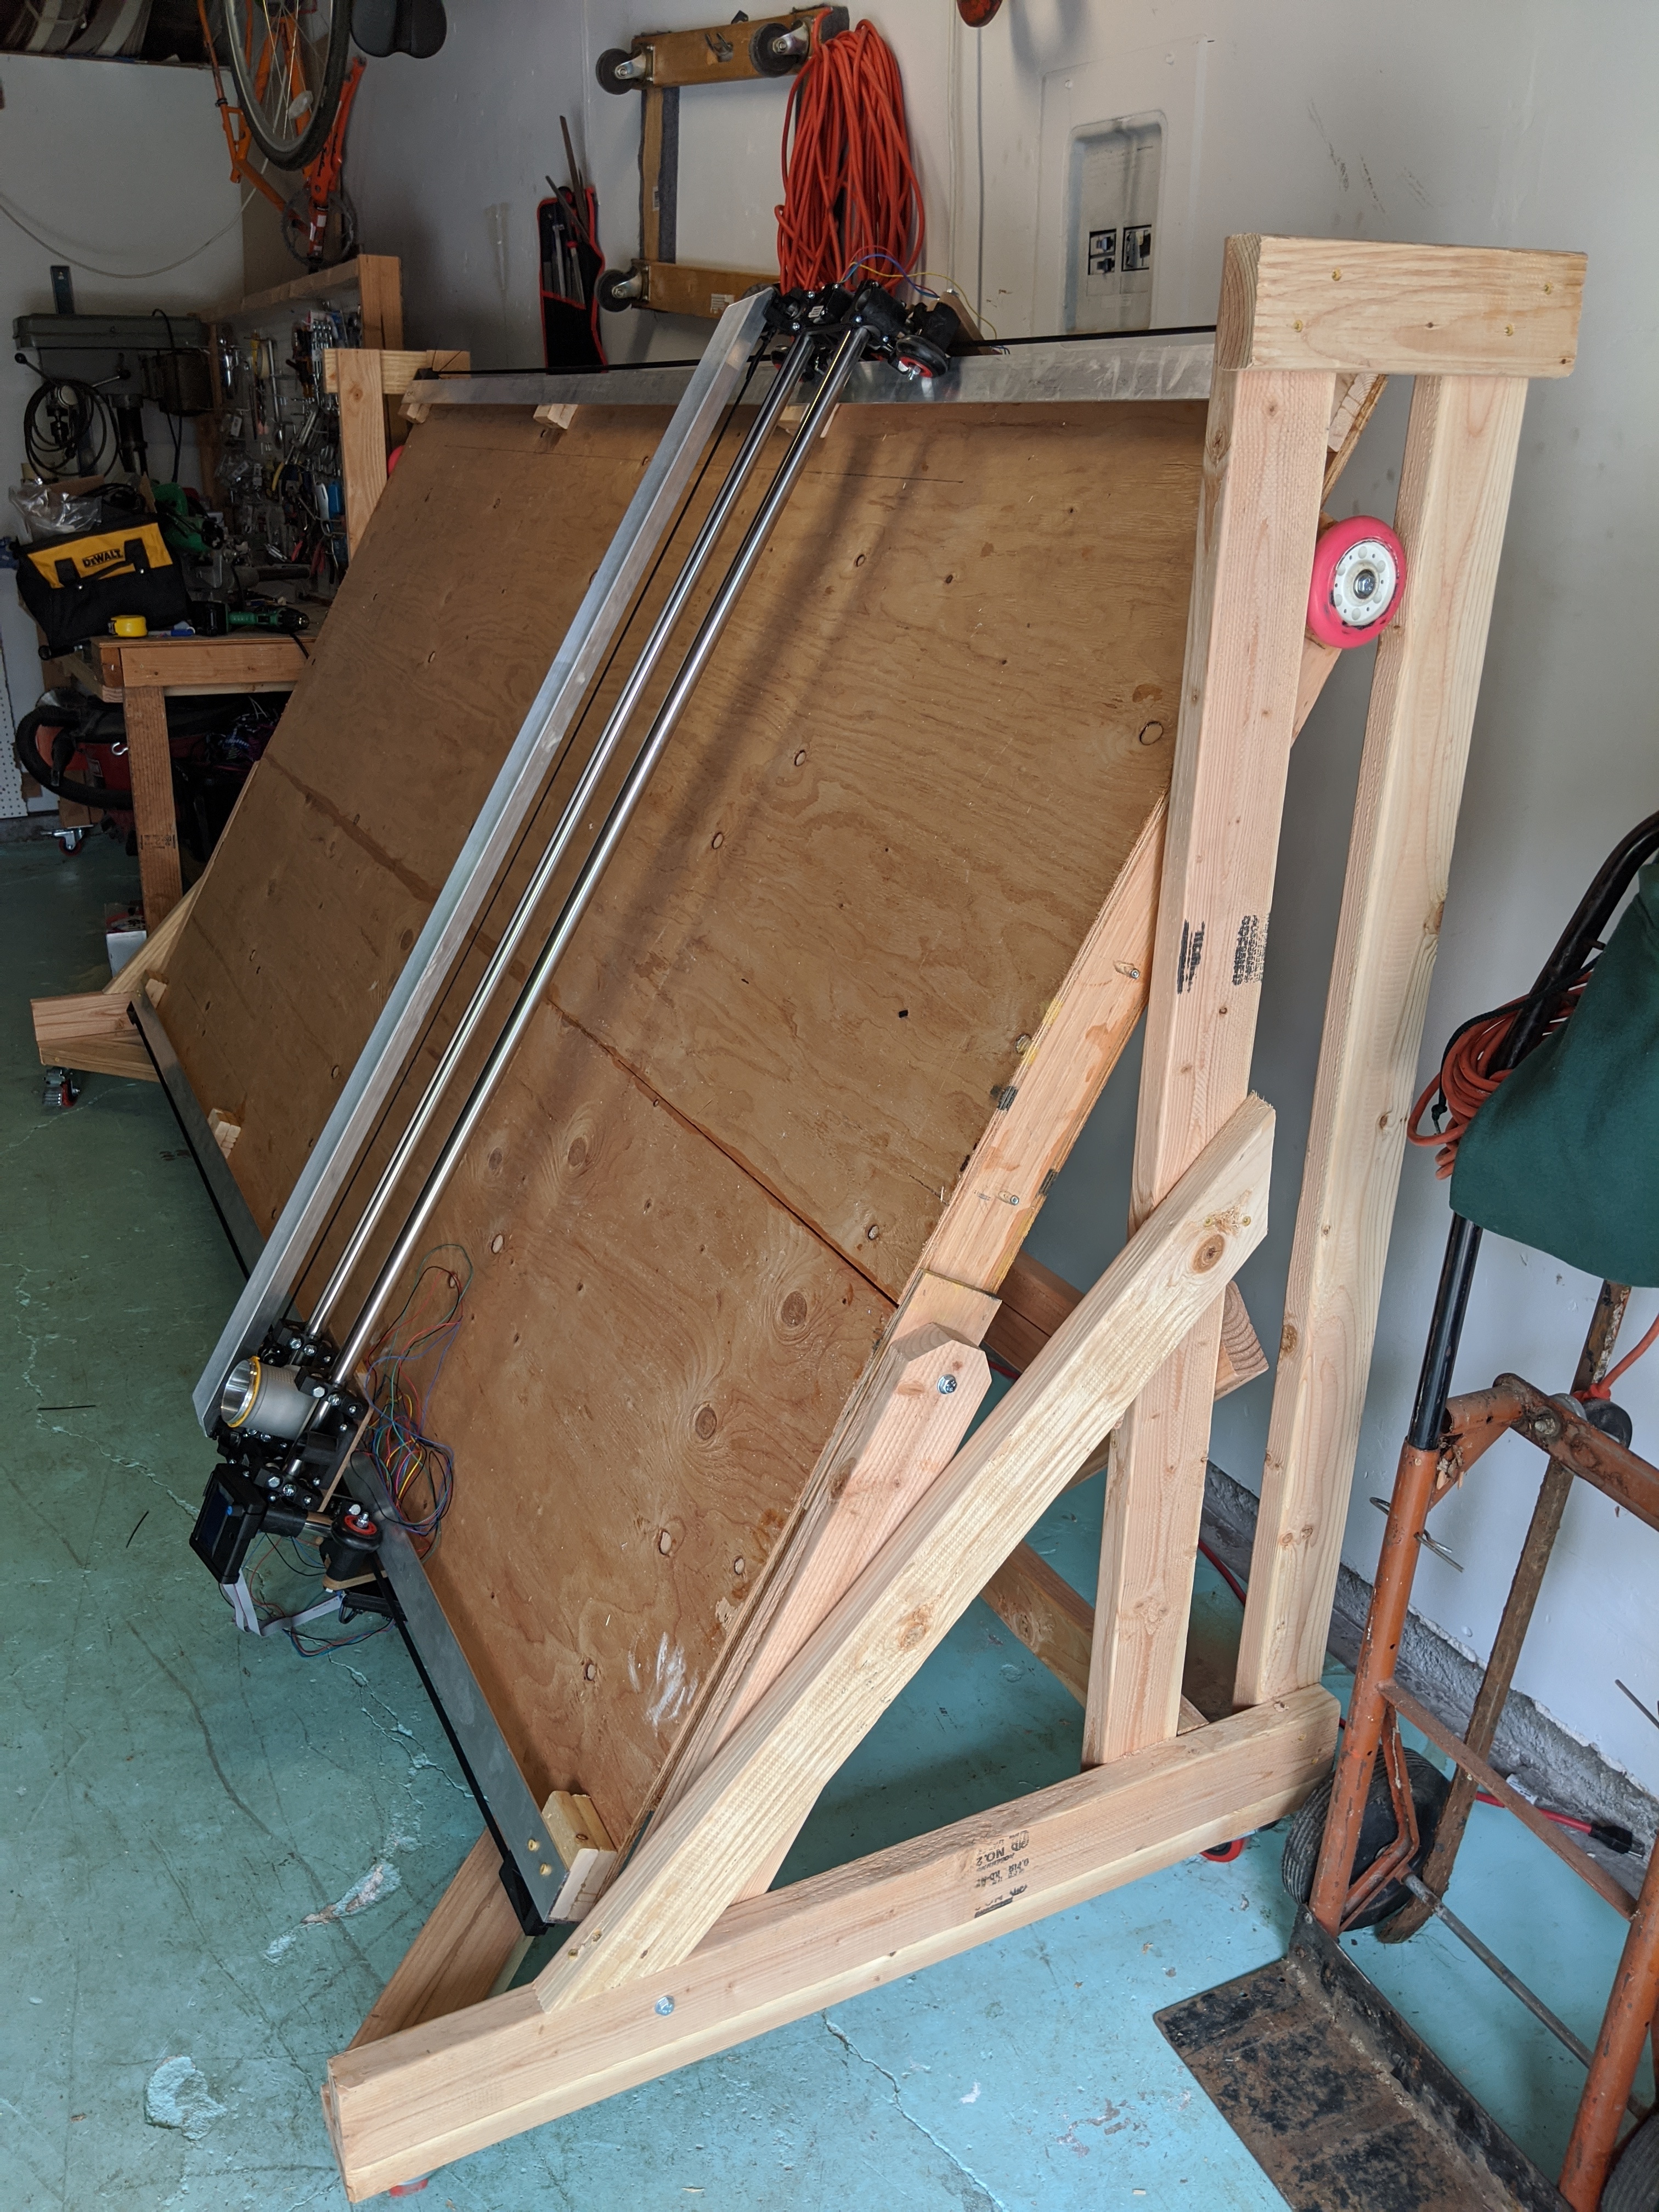
Little more progress today. All of the belts are installed. Getting wires routed, did a motor test. Confirmed the fold up up actually works with everything attached!
3 Likes
Slow and steady, right? I added a wire tray along one side of the table for the power cord, started putting wrap on the stepper wires, and strapped the pi and the power adapters to one end of the gantry.

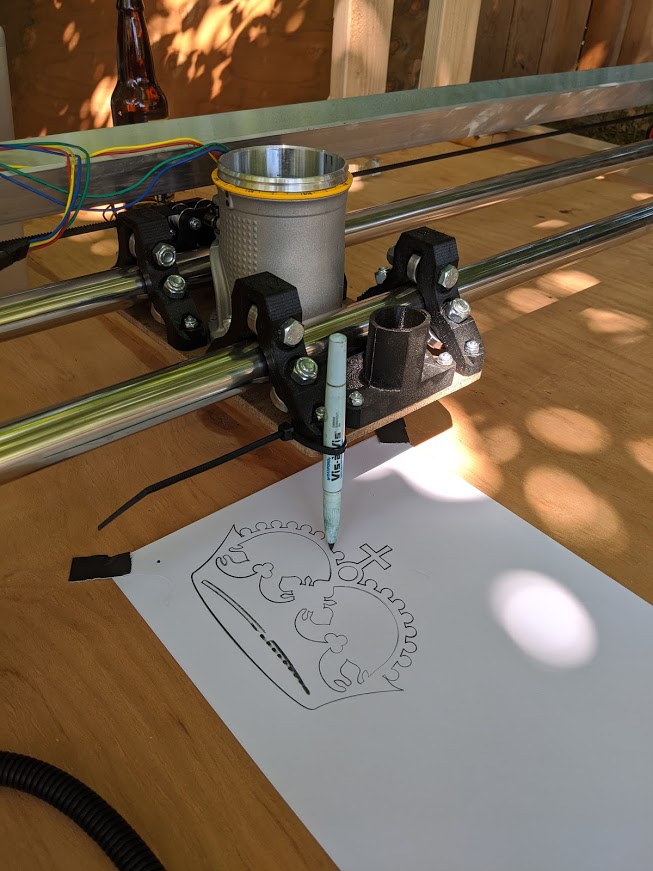
And did a first run with the crown gcode!
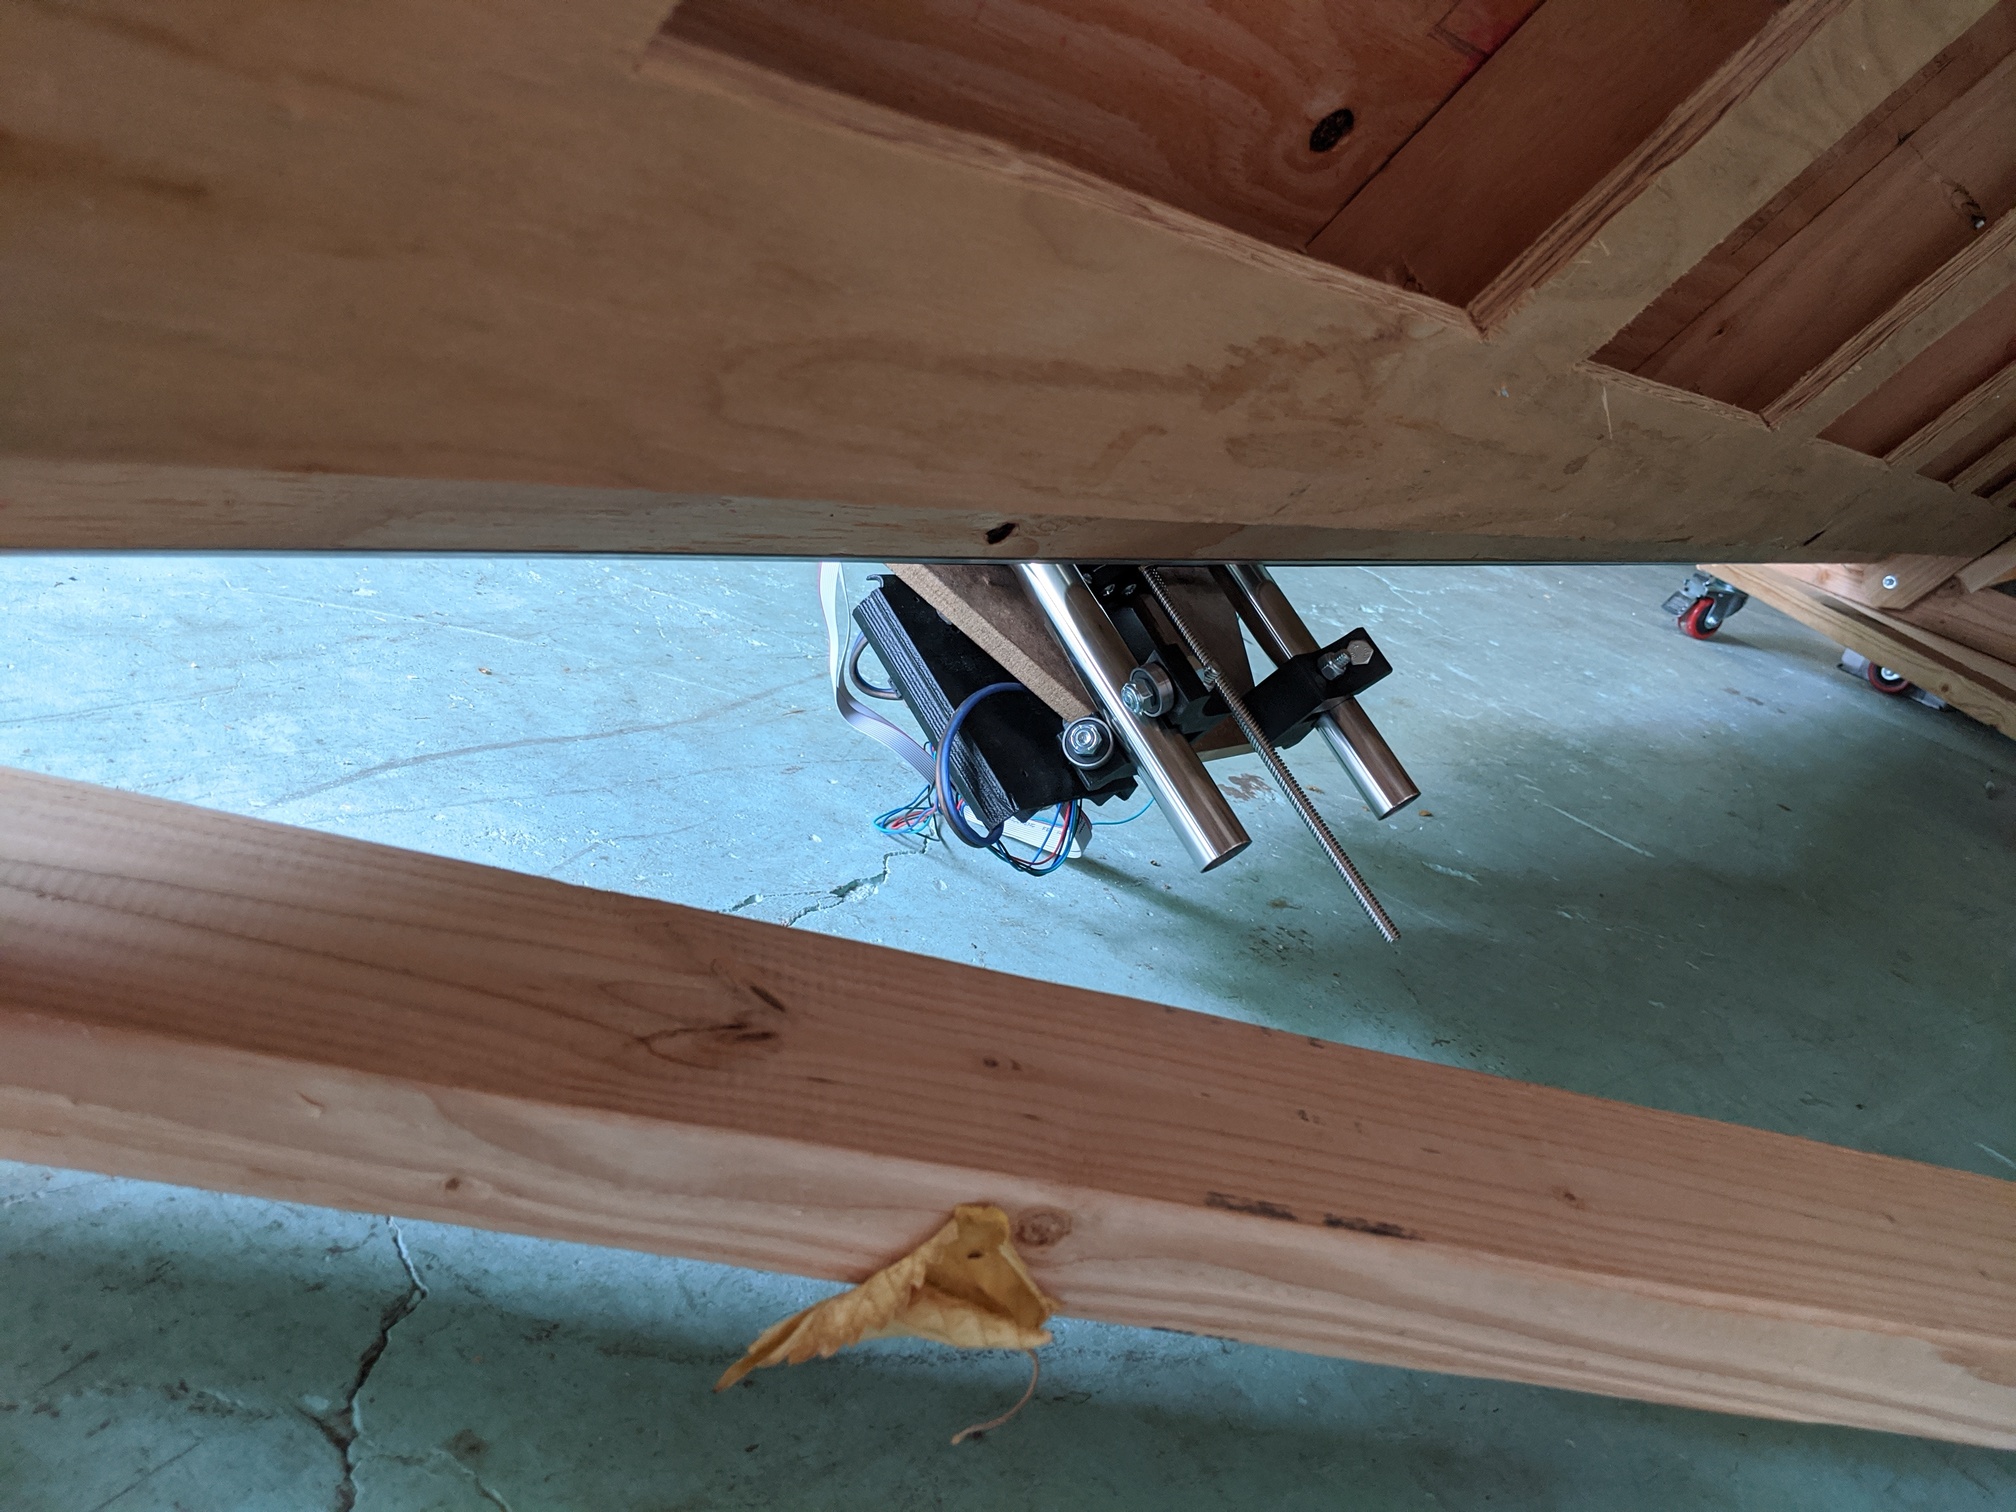
I think I can mount the shop vac and dust separator under the table, so that’s next on the list. Along with routing wires along with the vacuum hose… need to find some vacuum hose, too!
Side note… The wire tray in the top picture is metal drywall stud, from lowes. They’re cheap, lightweight, and easy to cut and work with. They’d probably make a nice lightweight table with several rows of them strapped between layers of plywood. https://www.lowes.com/pd/3-625-in-W-x-120-in-L-x-1-25-in-D-ProTRAK-Galvanized-Steel-Track/3369242
Barry did not have good luck with building a LR table from metal studs. Seems like a good fit for a wire caddy though.
Yea, they’re too floppy.
It’s been a long while, but I’m finally getting back to this thing. I moved and have finally settled down enough on house work to have some time. Small update - I got a MKS TinyBee board flashed with FluidNC and am getting rdy to install it for separate control of the x-axis motors and endstops…
1 Like