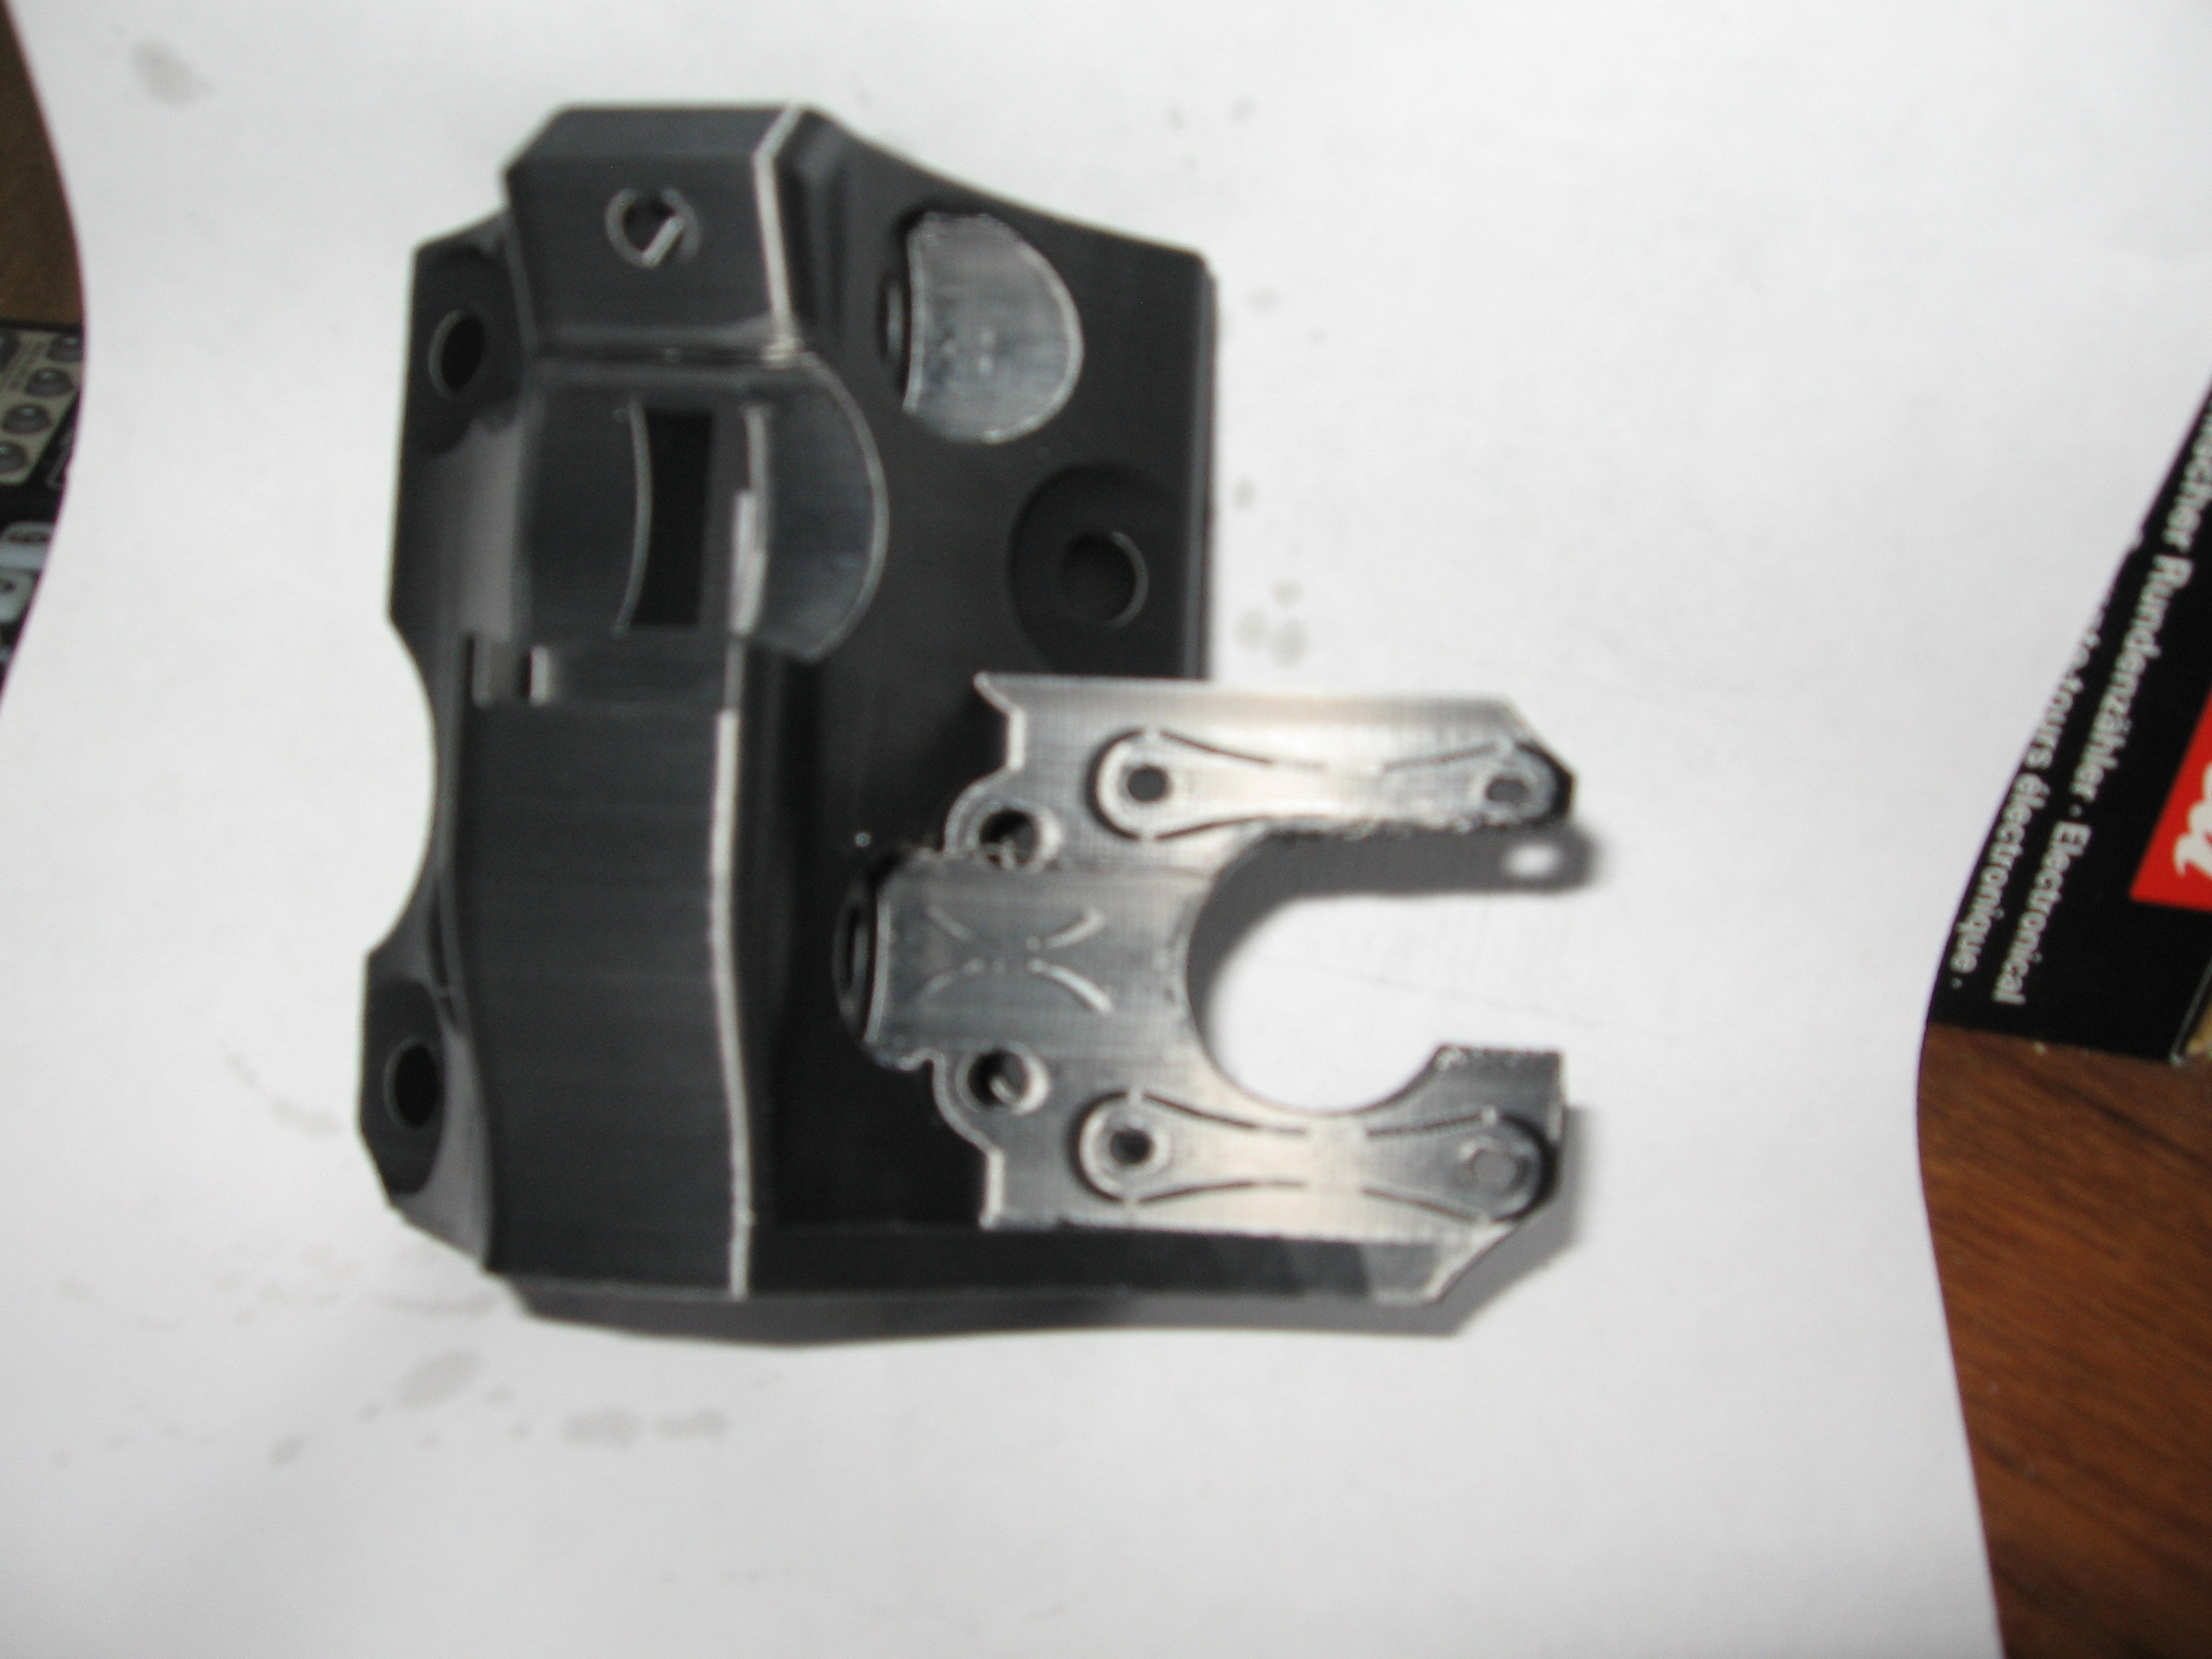
This is how my first truck printed and I’m curious if it will work like this? Also wondering if someone knows what went wrong? It was stringy in that bad area but I pulled the strings off.
I’m using a creality ender3 V2 and have printed many of the other parts and they have all turned out fine
material sunlu PLA,nozzle temp 207,bed temp 70,.4 nozzle,.2 layer height Not sure what else you might want to know. I’m not real experienced with various settings. I have an 8" makerfarm pegasus printer for 5 years or so,don’t print many parts but the pegasus was all pre set so every part i printed on that just printed. Now with the ender I’m using cura to slice it using their settings for the ender pro 3 but went up slightly on the temps. I was having problems with adhesion, I think because in my basement where the printer is it’s about 62 farenheit so i upped the temps slightly to compensate for it being that low of an ambient temp. I also made a sort of enclosure just putting 2" thick styrofoam panels around the printer. Inside the enclosure at bed level it’s around 75 to 80 farenheit. I had thought the base of the parts were getting too cool and that was causing the parts to come unstuck from the bed. Upping my temps slightly and enclosure I now get very good adhesion. Thanks in advance.
Based on the picture, description and knowing the Creality anemic parts cooling fan, I’d say you didn’t have enough part cooling. The lower part of the non-printed circle seems like it was smushed by the too high heat input --> layer hight became lower than expected --> no base to print the following layers.
Only thing not making sense is that the layer time should be sufficient cooling-wise as that narrow piece of the circle is not the only feature on that layer - which leads me to think that you have something like “optimum layer starting point” turned on. Which would mean that the printer might finish the layer n on that feature and right away continue from there on layer n+1 to eliminate the travel move between layers. So I’d start by looking for a setting for layer starting point and try to force it to always start in one point.
1 Like
I had this happen also. I already had cooling at full so I slowed my print speed down and the others came out alright. I ended up using the misprint anyway because with the motor screwed on it feels solid and the same as the others. I haven’t used the machine yet so it may cause issues later.
1 Like
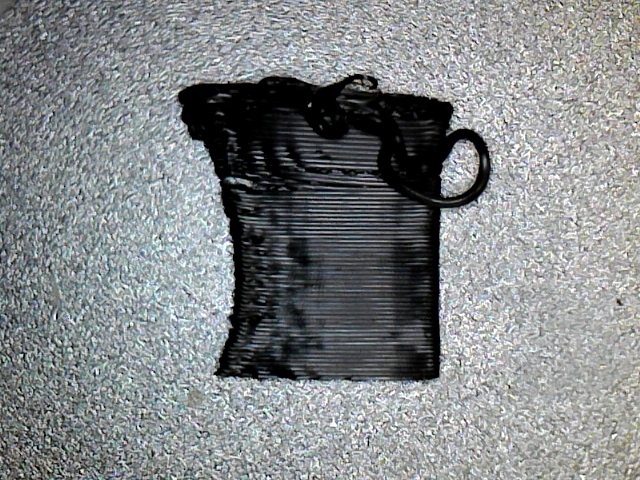
didn’t know if this would help any but I found this portion of it next to my print bed this morning. I suppose at one time it was attached. While it was printing I couldn’t really tell what had went on because there were so many threads.I’ll look for that setting and I’ll slow the speed down, right now my speed is 50mm/sec,i’ll go down to 40 for the next one,but I’m waiting on a new roll of filament,hopefully have that in a couple days.Thanks for the replies,didn’t think I’d get them that fast.
1 Like
Yeah, definitely looks like things were getting soft at the top. Maybe the curling stacked up and the print nozzle collided with it, snapping it off. Looks like heat. I had some sunlu and only printed 205 on the first layer, 195 for the rest.
That is just about the speeds I changed. The rest of the parts were ok around 50. I am printing on a highly moded anet a8, your milage may vary. My build thread for pics: Slow upgrade 525 to Primo
I have no evidence of this, but I think it will be fine to use without that chunk. The motor will be mounted to those screw locations, and the motor is rigid. The more important section is where that arm meets the trunk, which looks solid enough to me.
1 Like
Just wanted to say i printed a good one using 207 nozzle temp and 65 bed temp with a speed of 40 mm/sec. Just started to print another one to replace the bad one so hopefully I can continue to get good ones. I didn’t measure that area but it is thin.