First off, i’m super excited to start this build. I’d been lurking and following the LR2 design for a while, and decided to finally pull the trigger when i saw how slick the LR3 was… I just needed to have it in my life… lol…
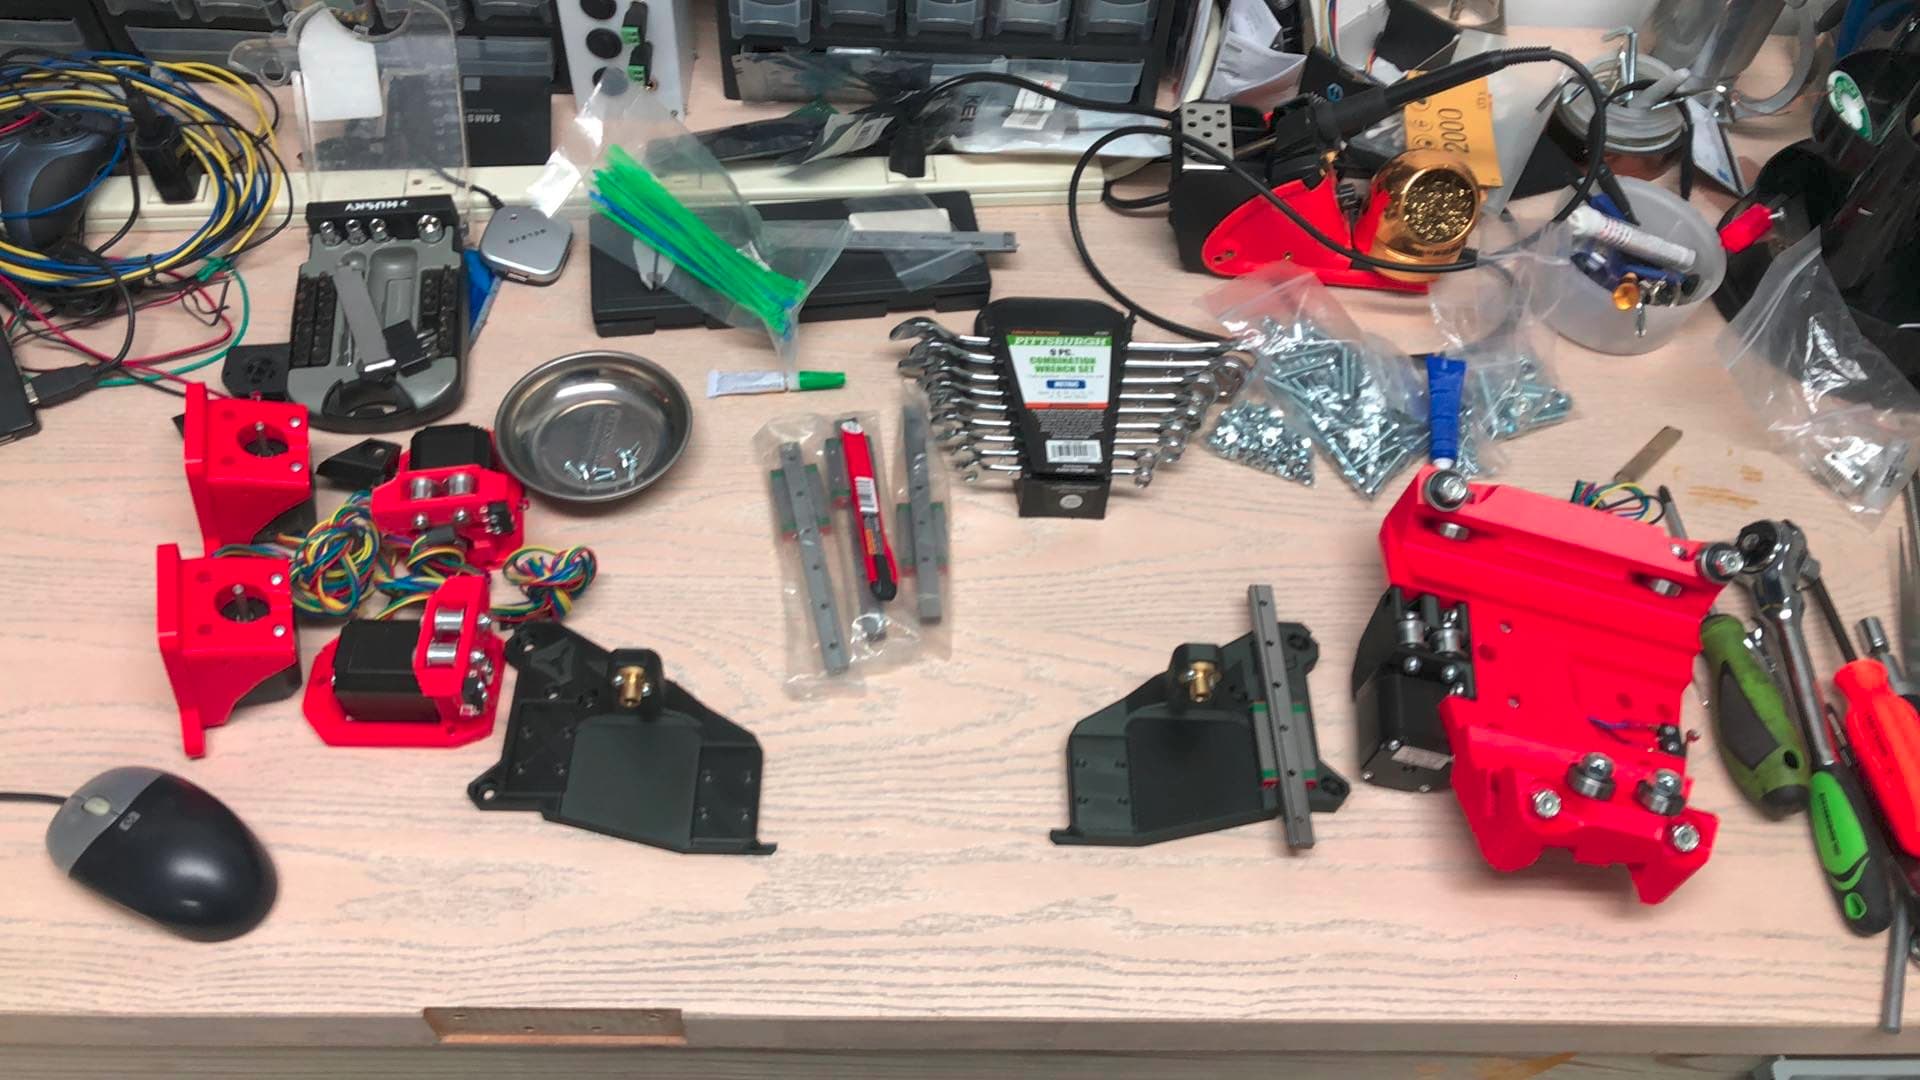
I’ve been collecting bits and pieces while i’ve been waiting for my kit to get delivered, which showed up yesterday. Shout to Ryan for the sweet sticker.
The soundtrack for this post is a UK ragga jungle banger from 1994 by M Beat & General Levy called ‘Incredible’. I think it’s fitting for the start of the build of this incredible machine. https://www.youtube.com/watch?v=mL2Bgj-za5k
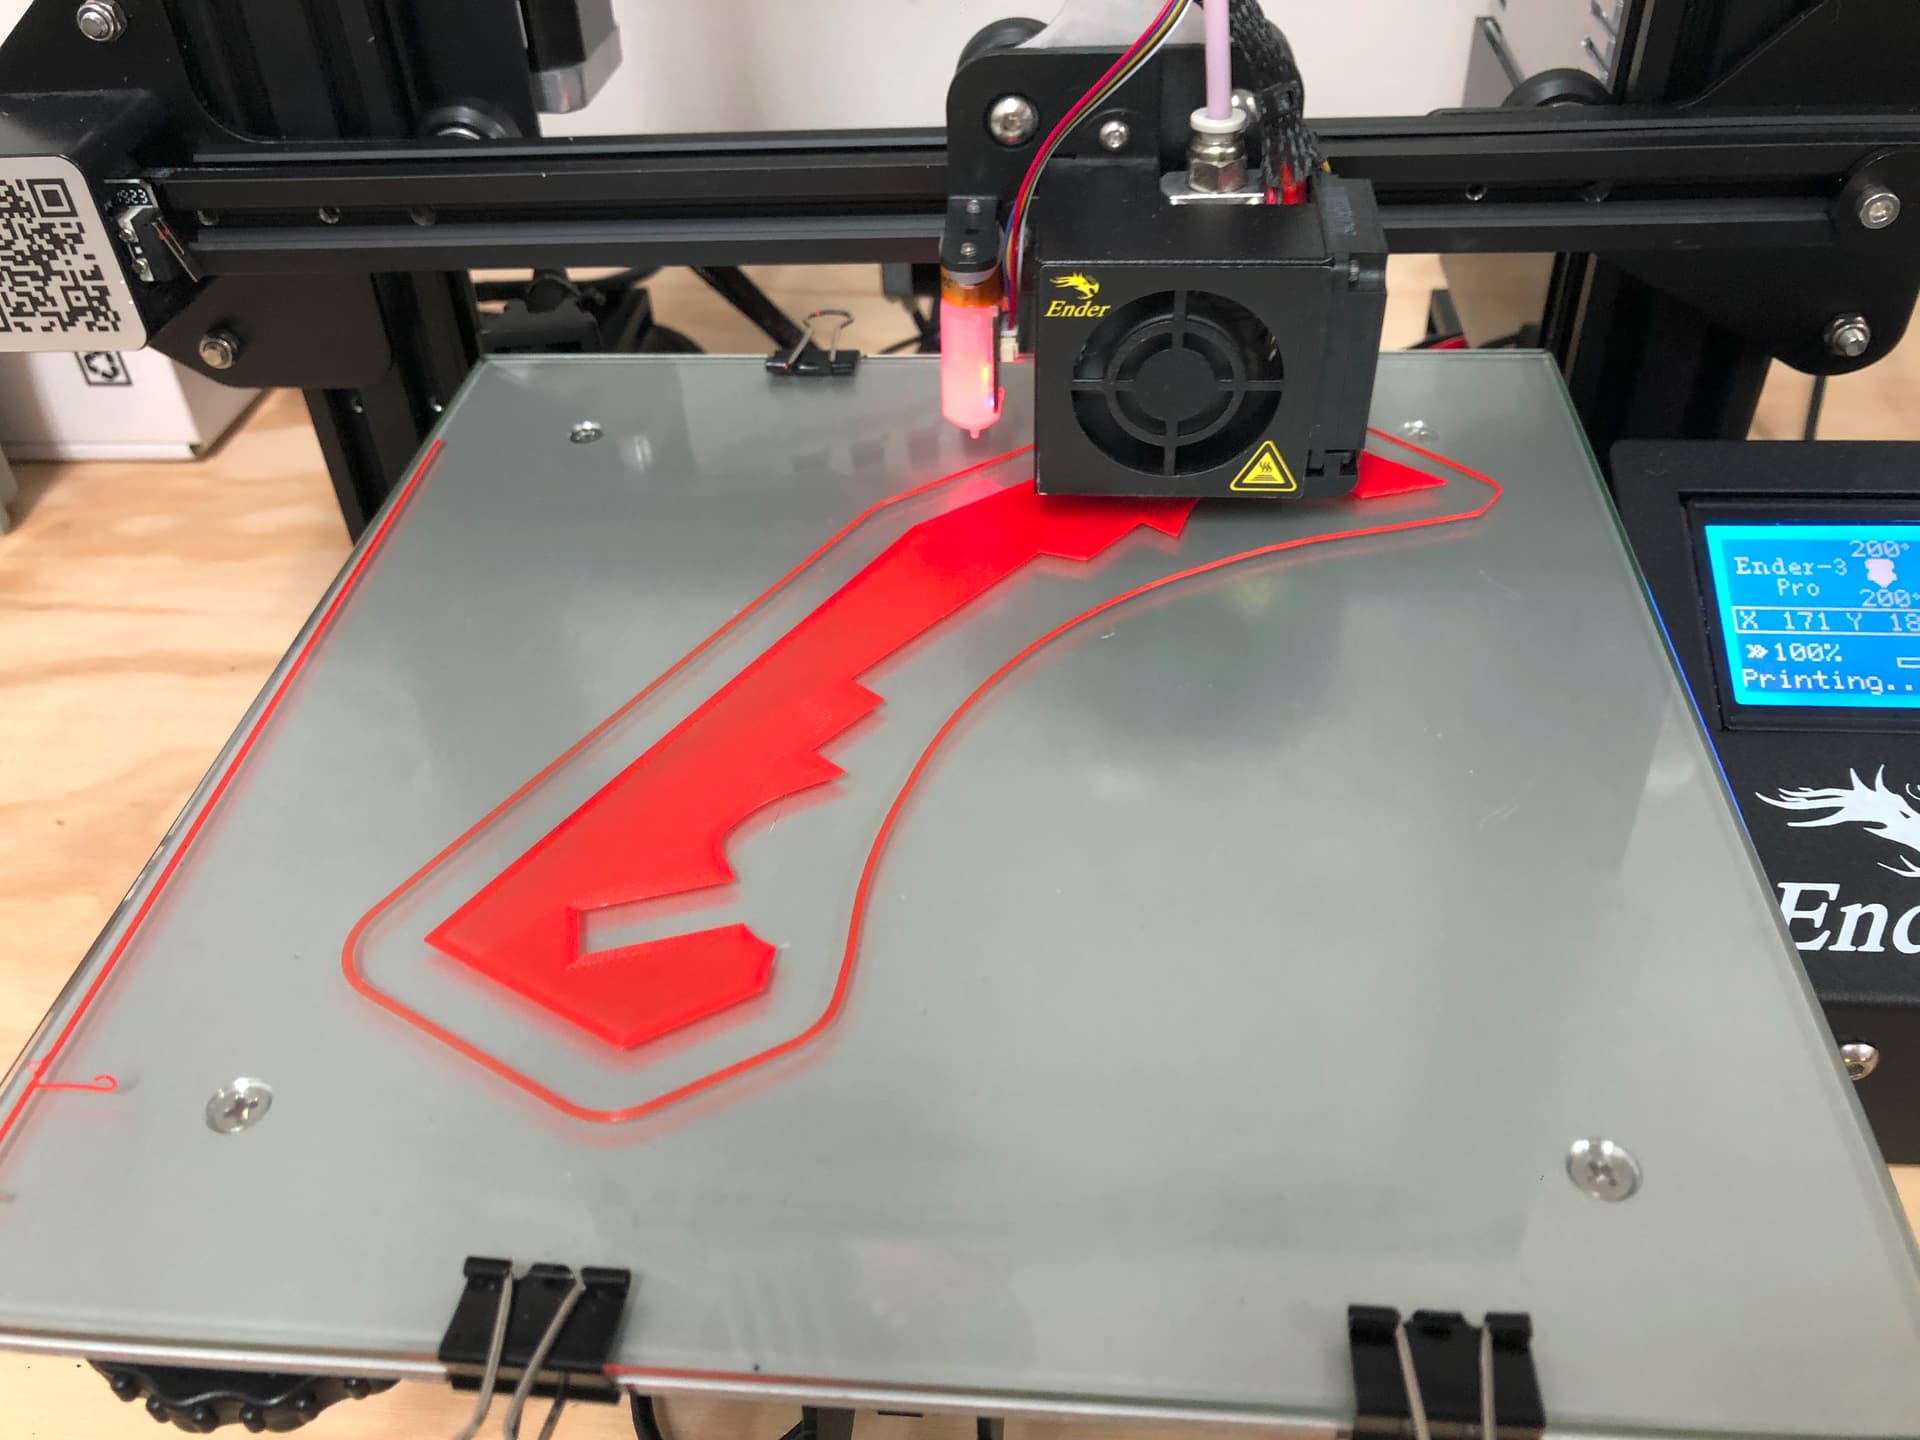
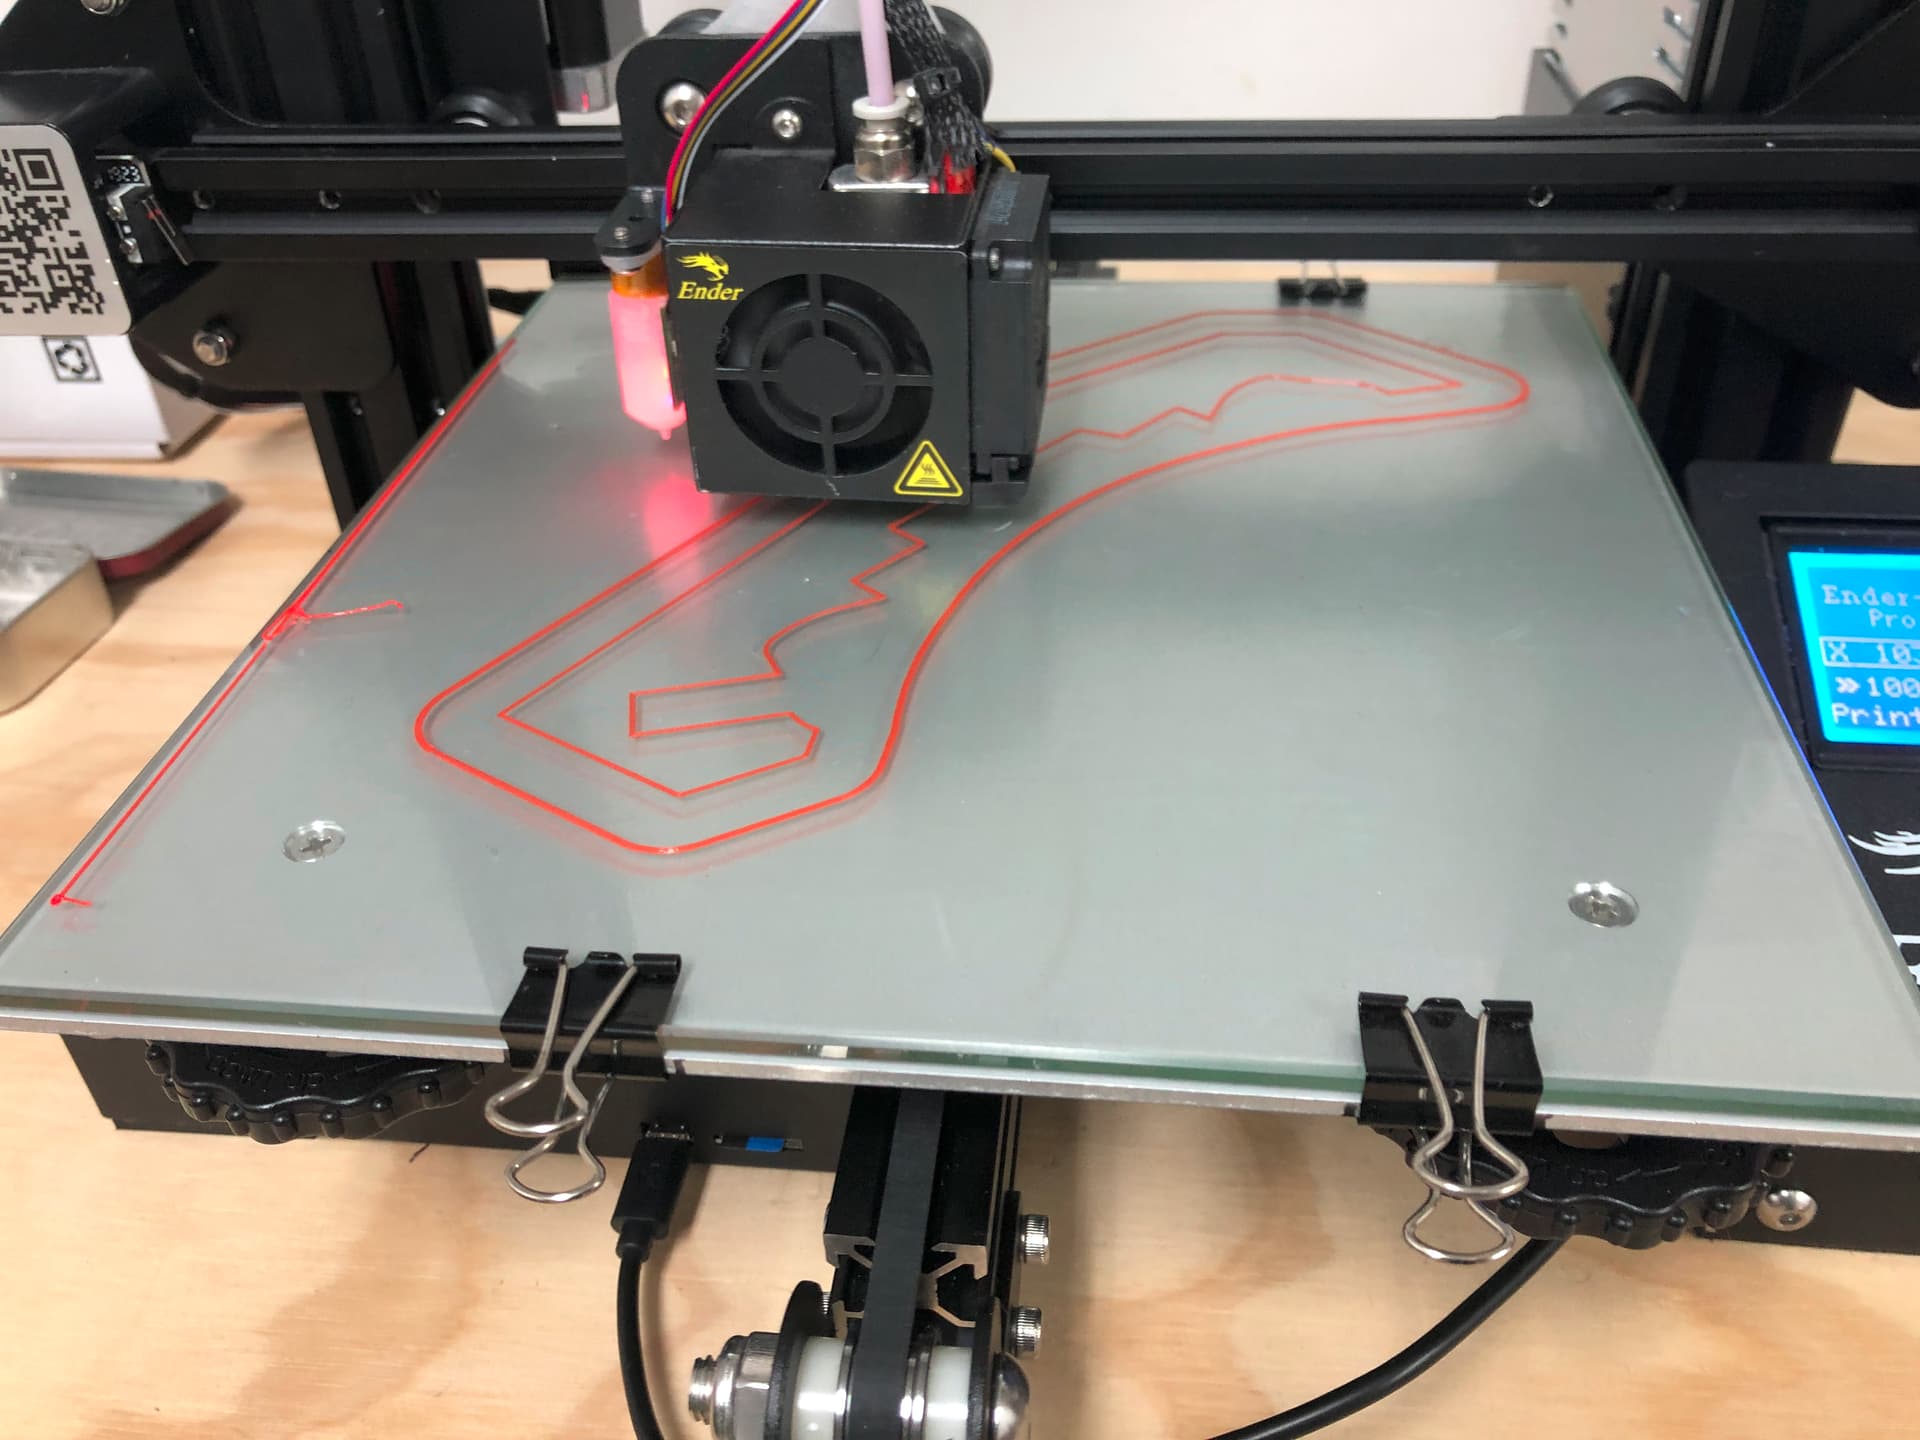
It lifted a little more last night, so i killed it. Noticed the bed was a little wonky… This is a Ender3 i got stupid cheap that was an Amazon return, and i apparently didn’t pay close enough attention to square when i slapped it together a few weeks ago. It was close enough for my small test prints, but apparently not for larger stuff. At that point i was about 4 beers in, and didn’t feel like ripping it apart.
Got up this morning and tore the whole thing down. Re-squared everything and it looks much better now… Just kicked off the core, so… Here. We. Go… Again! lol…
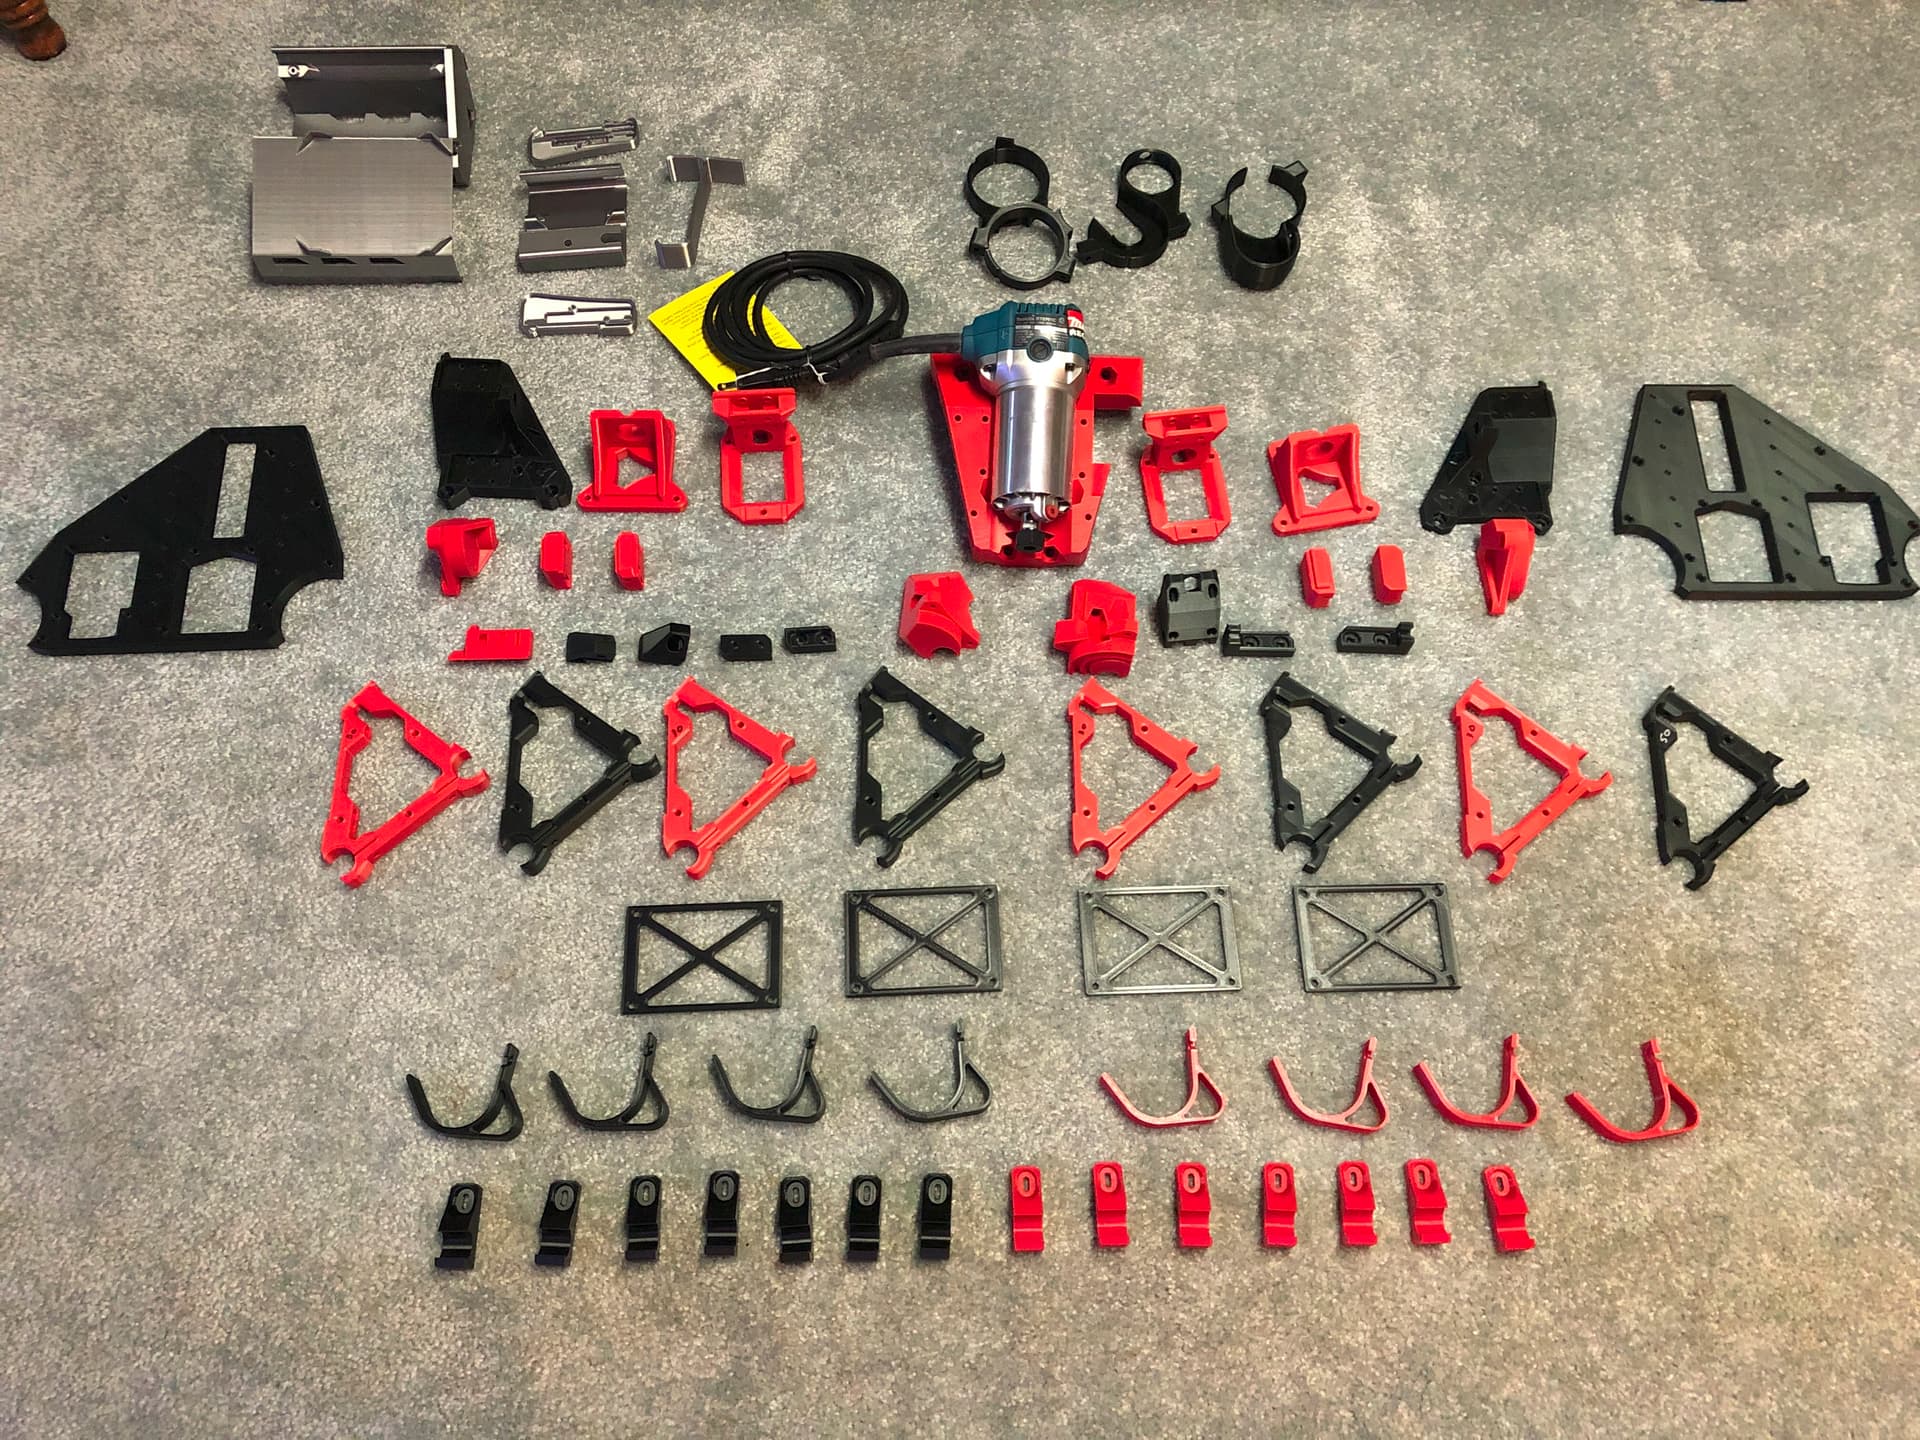
Okay… I’m pretty sure i have all my parts printed. I’ve included print times below in case that helps anyone plan. My SKR, screen, stepper drivers, and Makita router showed up while i was printing, so i think the only thing i’m missing (besides a table) is the EMT, and a vacuum hose for the dust collection.
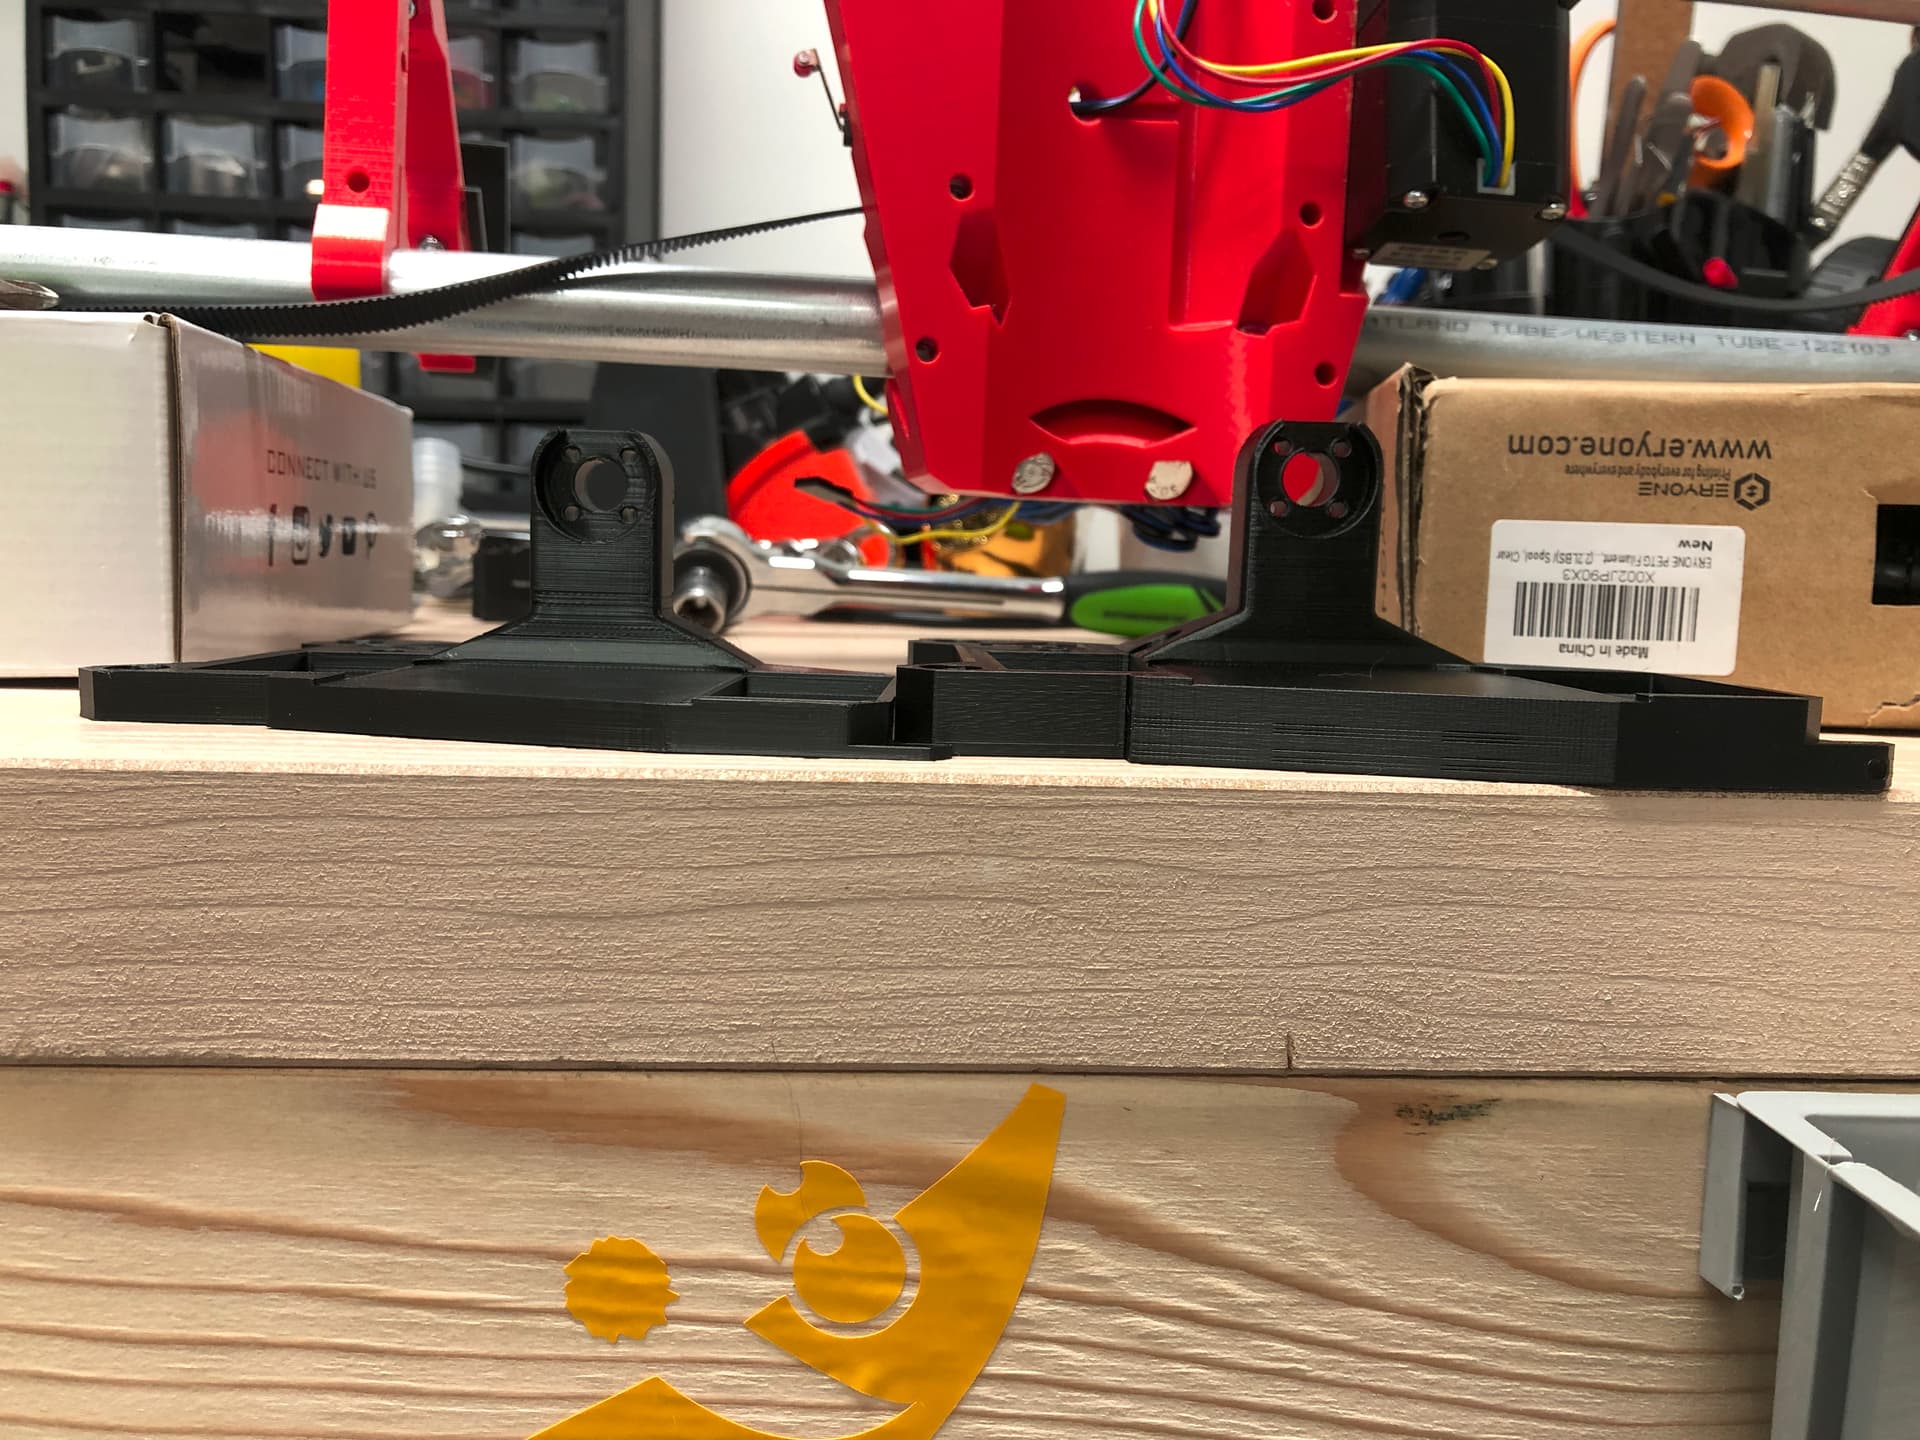
I think i’m going to go with the knock down style table @Mcunn made in this thread:
Has anyone adapted the cradle for a full size LR3 build yet? I think i’m going to try to tackle that next week or the week after, depending on how assembly goes.
Yea, that was with standard print settings at the infill densities called out in the instructions. The only pieces i didn’t print on the Ender3 are the end plates… Did those on my LK1 just because of size.
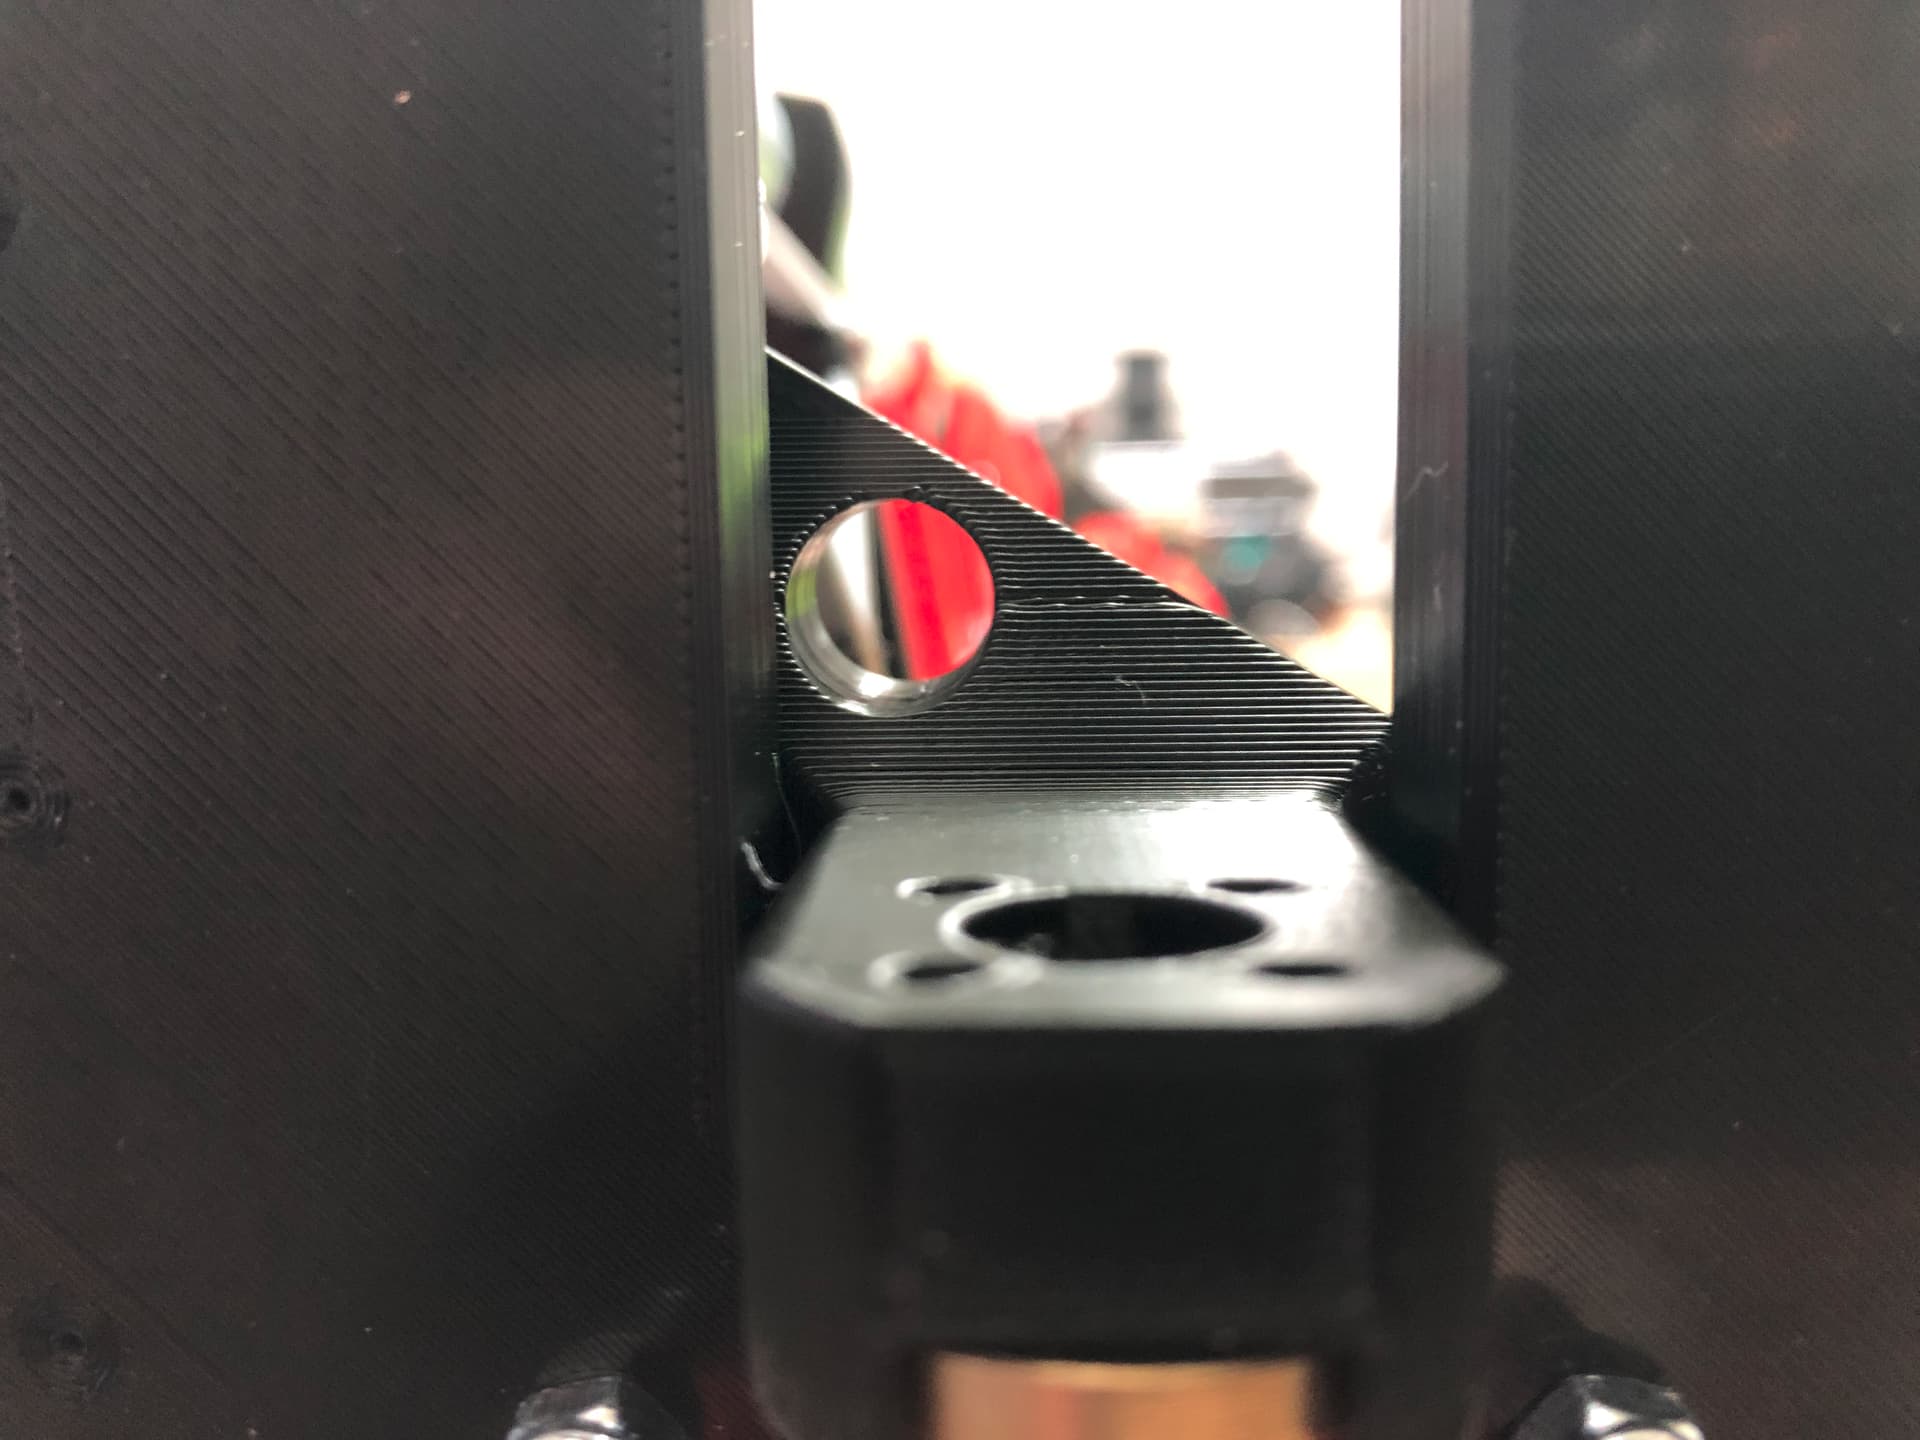
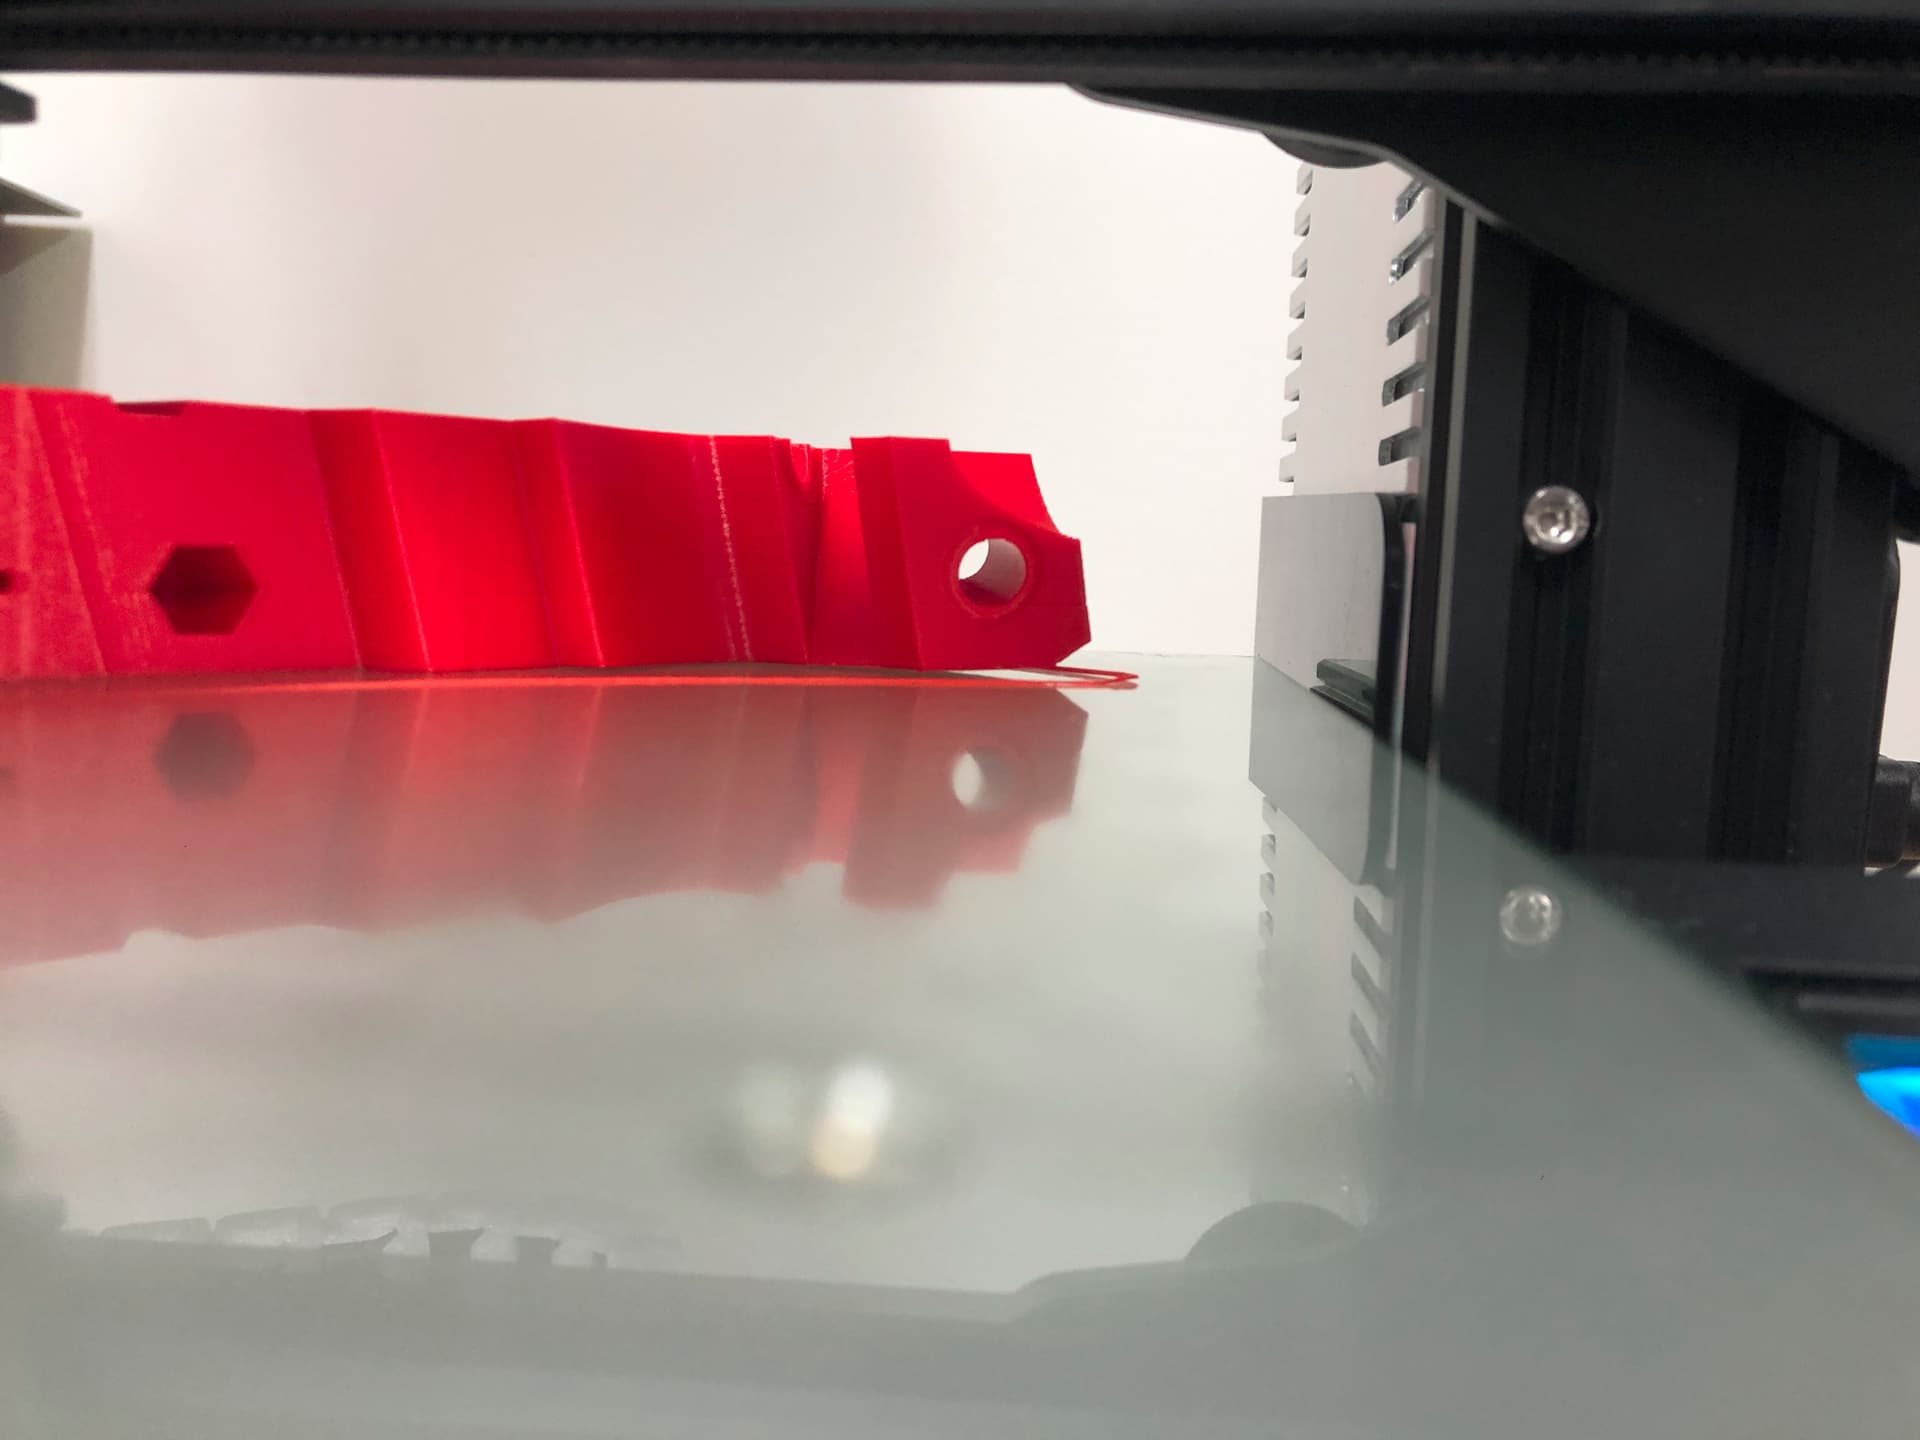
So kind of bizarre… Maybe I’m just missing something? It looks like this part printed wrong and I’m hoping someone can just verify for me. Trying to attach the X tensioner and it looks like there should be a lip in this hole for the screw to grab onto, but it’s just a straight through hole. I double checked the models in Cura and it does seem like there’s a lip there… Just making sure I’m not an idiot and completely missing something.
Yeah there should be. Is that from me? How the heck does that happen? That actually looks like the small hole is just missing and you have a counter bore all the way through.
So i just went back and checked the gcode file i printed, and it doesn’t have a lip in that hole. I re-sliced, and now it does…so I’m not really sure what happened there. About all i have is that i somehow had it aligned below the print bed plane when i sliced and just didn’t notice… I’ll compare the two once i get the new one printed. This has to just be user error…
Definitely didn’t have it lined up with the build plate when i printed, and completely missed it in the slicer. 100% user error. Side by side pic of old and new:


 [Official]")