I have a SKR 1.3 with TMC2130’s and dual endstops on Y and Z and sensorless homing on all axis. I havent tried stall detection yet though.
With the LR2, there are a couple things to watch out for before you ruin your CNC, as it’s not designed for sensorless homing (or homing in general)
sensorless Z with lead screws is generally considered to not be a thing you should try. It works, but you need to watch out! Prusa does it on Z Max so that they can drive the carriage up, and the coupler will be in compression when it hits the limit. To do that, you will need to put some clamps on your Z tubes to create a hard stop on the Z axis.
OR
you need to put a few spacers on your Z rods BETWEEN your coupler and stepper. I found 2 of the wheel bearing spacers to work well. Then you need to adjust your rod and coupler to take up the slack, so that when you home Z, there is no slack between the coupler and the spacers and the Z nut. I did this this way:
- loosening ALL the coupler grub screws,
- lower Z to home,
- clamp the gantry down so it wont move
- bring the lead screw UP until it makes contact with the stepper
- lower the coupler as far as it will go so there is no gap beween it, the spacers and the nut
- tighten the coupler to the lead screw and the motor.
Now you can home Z and it works great... EXCEPT if you have just homed X, as when X is homed, you cant home Z as the x gantry hits the top bearing mounts on the Y plate! and when you do that, it will stretch the shit out of your coupler, to the point of having to replace it (ask me how i know grrr!)

so, some solutions...
- dont home all axis with G28 command and home manually
- change the homing custom command in marlin to do G28 X, G1 X20, G28 Y Z (or whatever the right codes are) but that wont help if you press 'home all' on repetier or something.
- Put a spacer onto the x rails so it homes 10-20mm away from the mount but lose some work area
- home Z higher, so it clears the mount (just add a spacer or 2 to the lead screw?
- modify the marlin code to move X 20mm away from the home position after homing X and before homing Z
- i think there might be room to cut away part of the X plate to allow it to home all the way?
Thats what i found anyway... hope that helps? The wiring is a WHOLE LOT neater though without end stops!
I wasn’t really looking for Z homing as I just assumed that the leverage from the Z screw mixed with a very pointy bit would inevitably mean that the cutting edge sinks into the material a tiny amount before it registers, leaving a mark and potentially throwing off measurements. Gotta run power to the spindle anyway so I don’t mind having an extra wire for a touch plate there too much. The idea that it’s possible seems quite intriguing.
Just don’t try homing z with a v bit endmill. I did that once, and it buried it up to the collet. Didn’t even slow down. This was in half inch plywood. MDF might have broken the endmill.
I have a Z homing setup with a pressure disc and an aluminum plate on top. Could probably do the same thing with this setup but just with a soft metal plate and maybe one of those cnc lead screw couplers that isn’t so springy. Not sure how hard the triaminic would be on the tip of the mill though.
Saw an MPCNC burn to death on the V1 Facebook page due to the Z-axis plunging into the work surface unexpectedly (power loss? bad g-code? interference?). I think that’s a great example of why stall detection is a good idea, especially with a relay controlled spindle that can be immediately powered off.
That is a good lesson in not leaving your machine alone. Stall detection won’t help if you have bad gcode, or you mount the bit at the wrong depth. These are way more dangerous than 3D printers and they need to be watched by humans.
I think we can all agree that you should keep your machine attended, but the reality is also that many machines will be left unattended for short periods of time (bathroom break, phone call) or aren’t monitored extremely closely (via a webcam, while busy on a computer in the same room, etc.). I think the majority of g-code errors would be caught, but of course, the number of errors that could occur is pretty much limitless. Errors that prevent X/Y movement, don’t turn off the spindle, or a DOC that’s large enough to light tinder but not skip a step would, of course, go unnoticed. A missed Z-axis raise, DOC that prevents movement, etc. would get caught. The idea definitely isn’t to encourage or enable leaving a machine alone.
Until you’re milling out a piece of hardwood and stall detection decides that knot you just hit is a stall and stops everything. I can’t remember if it kills motor power or just stops. If it just stops, might be alright, if it kills stepper power then it will ruin your workpiece. Even if it kills the spindle power, there will be enough enertia to drill into it a little bit, or a lot bit, depending on the mill diameter. I’ve already done the fire thing, so I’ll preach not leaving it alone until the sun goes out. Don’t take our preaching as your ideas aren’t good ideas, we’re just making sure everyone knows we don’t recommend leaving these things alone. Stall detection on the big machines are more for the safety of the machine, not the work piece or the endmill. Broken bit detection is hard to do on the big guys, probably impossible to do on these machines. Unless you do a John Saunders and try to home between operations.
Colton, did you get your firmware built? I’m just in the process of parts procurement for an MPCNC build, and ordered the SKR 1.1 Pro board with 2209 drivers. Just curious if you had a starting point for me, firmware-wise.
Unfortunately, no. I have the machine put together but am waiting on having garage space to finish the table. I would be happy to help you code it, though.
Thanks, Colton. I might take you up on that. So far, I’ve got Marlin compiled, and the TFT3.5 screen connected. I can use the screen to make jog the motors connected to the X and Y ports, which is all I’ve connected for now.
Things to do include setting up dual X and Y drivers, along with one Z driver. I’ve also got a laser on the way, so I’ll be looking through the laser posts to see if I can figure out how to use some of the extra pins for controlling the laser output. I’ve also got end stops that I can wire up and test, as well as an “auto z-level” block.
Still churning through printing the required pieces to assemble. Figure that should be done in another day or two. So fudging with the electronics gives me something tangible to work on.
I haven’t had a chance to read anything more than the first post but this sounds like crash detection in the Prusa firmware. If the printed part gets warped and curls up and the nozzle crashes into it the printer will lift the nozzle. Home x and y then resume.
It is. The difference is that 3D printers generally receive nearly no force as they are additive processes rather than subtractive. With a CNC you have to differentiate between the normal forces of pressing a bit into wood as it’s removed and the bit being lodged into the wood by accident/error.
Hi all, I just created a post where this is working on a new Marlin build with minimal changes to just configuration.h and configuration_adv.h. Here is the link:
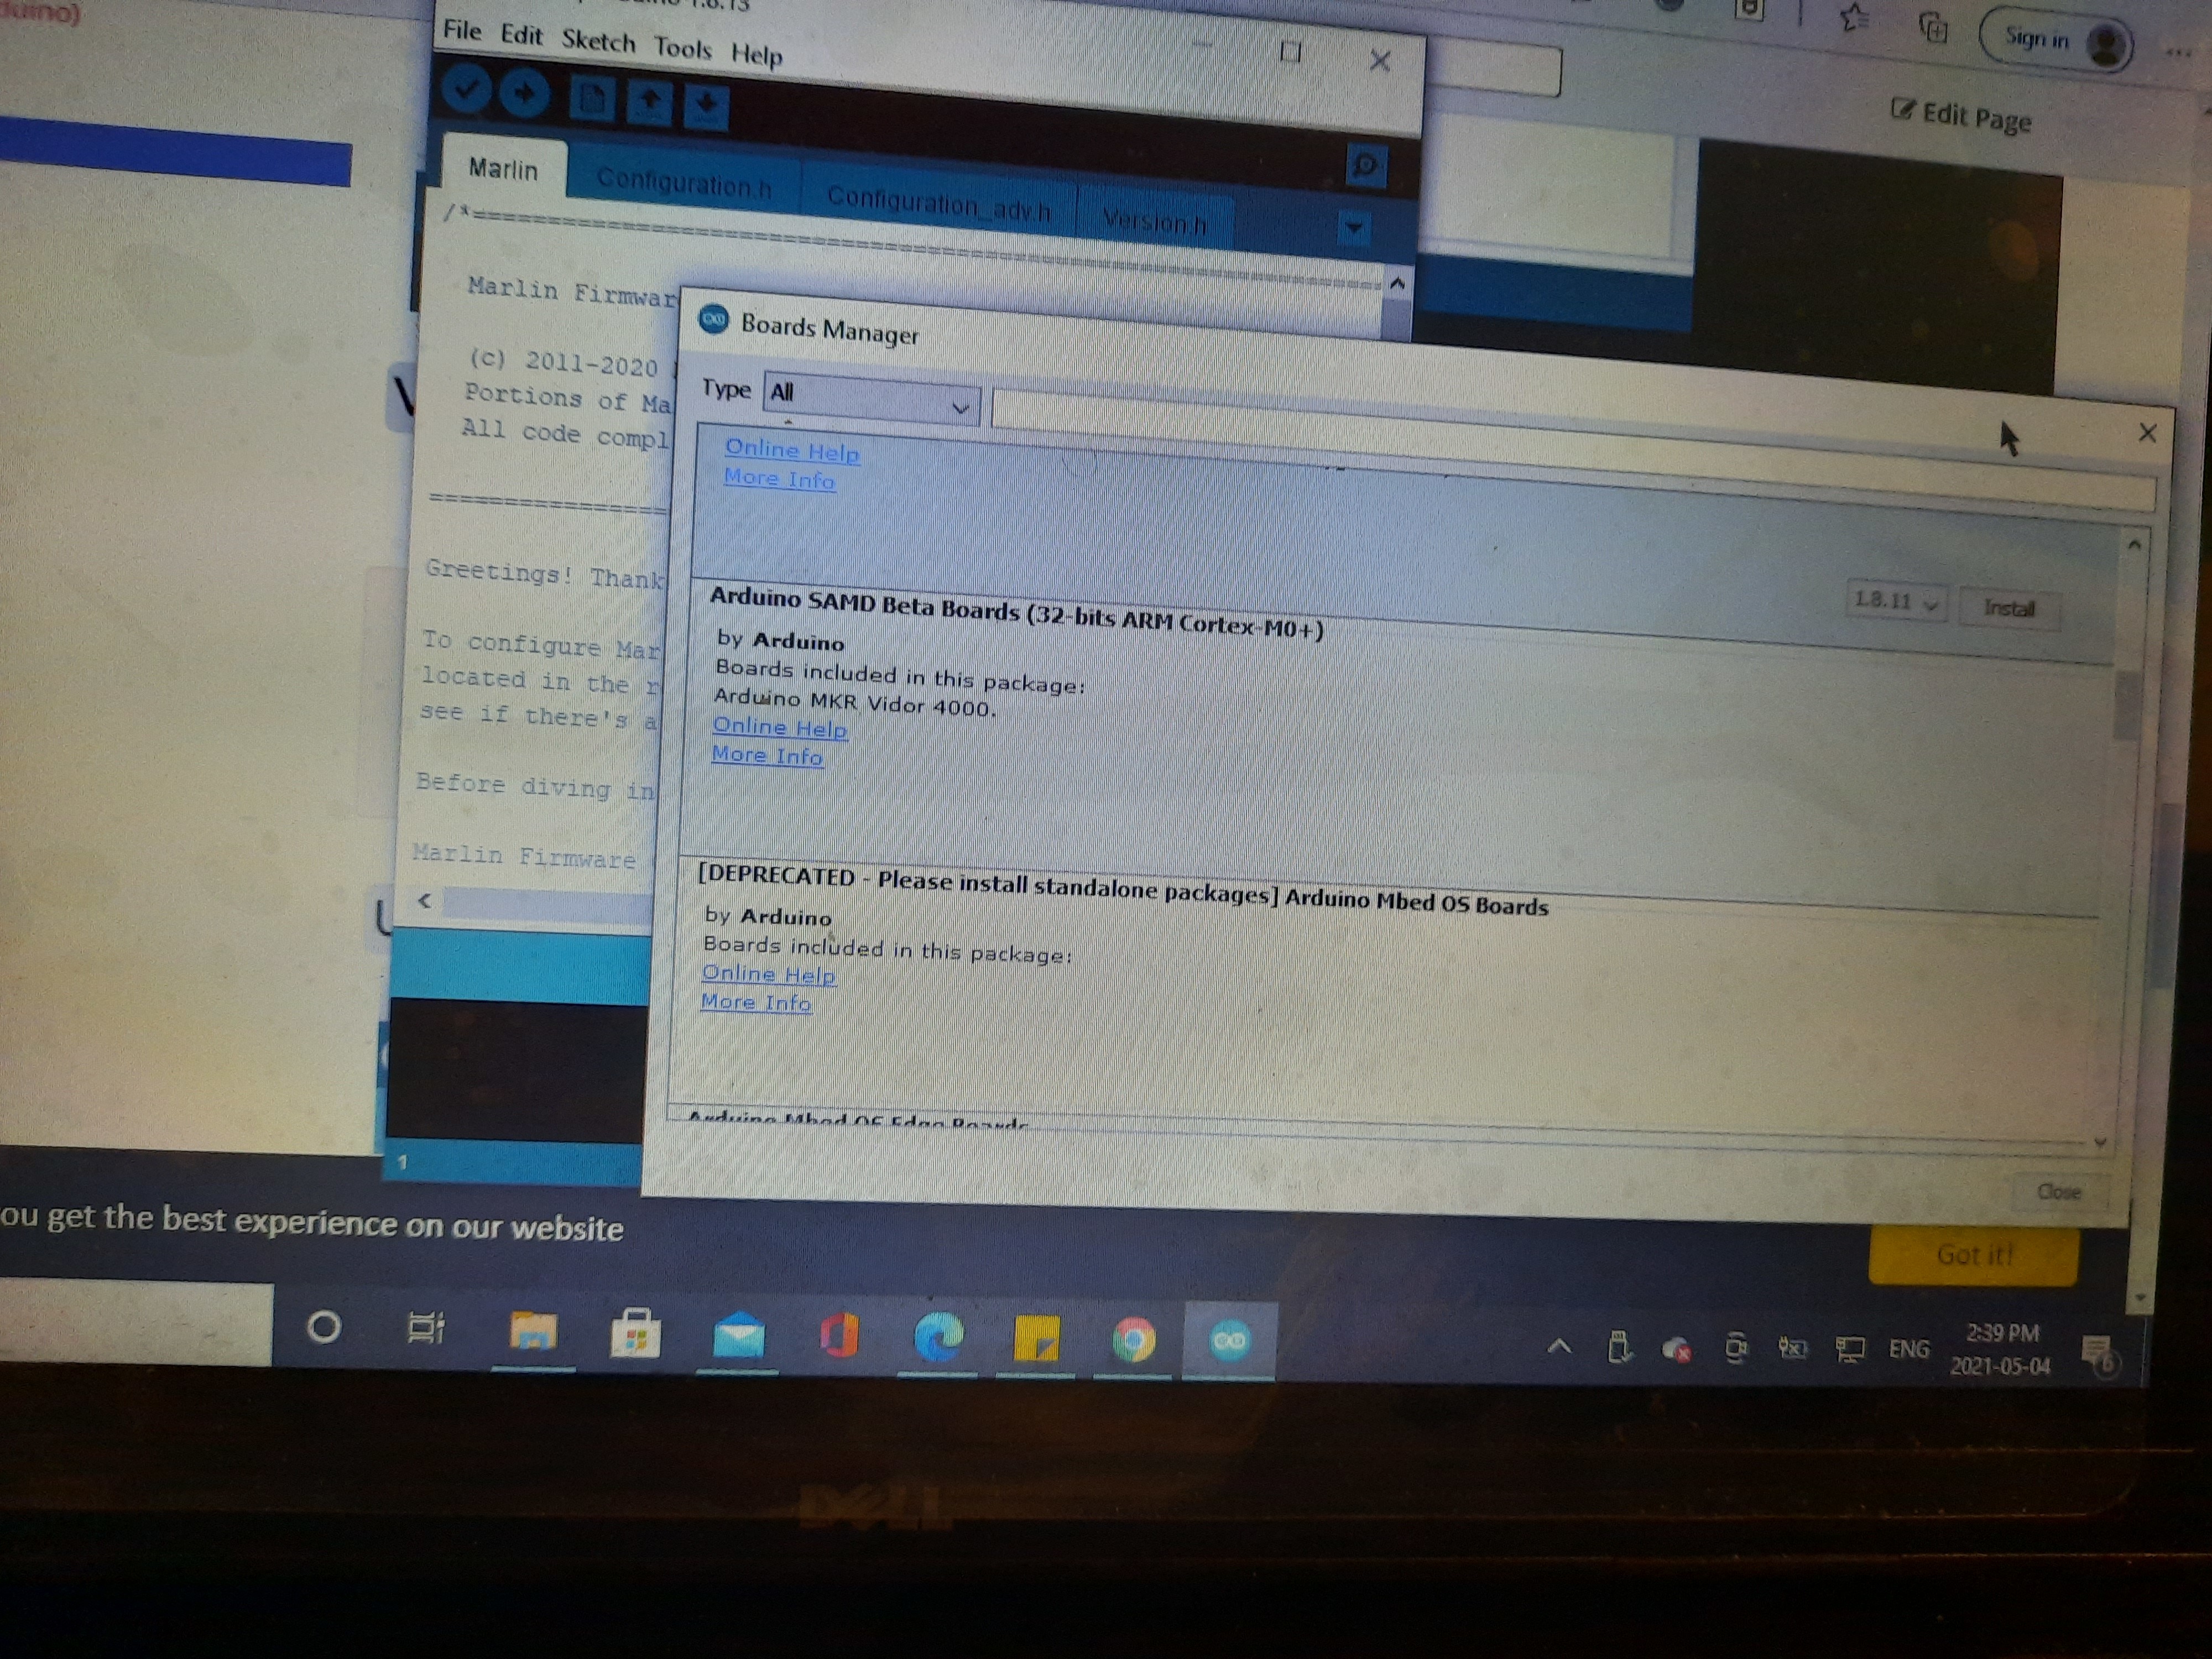
Hey everyone I’m not a coder & my build is the Lowrider 2. I’m having trouble finding my board so I went to board manager & I’m stuck can I please get help at this part and a better idea of where to go to finish this up please y’all
Here’s what I have
I got the SKR Pro v1.2 32-bit high-Frequency 3D
BIGTREETECH TMC2209 V1.2 Stepper Motor Driver 2.8A Peak Driver 3D Printer
BIGTREETECH TFT35 E3 V3.0 Graphic Smart Display Control Board for Creality Ender 3
Hi, this thread is very old and not related to what you are trying to do (flash an skr pro). It would be better to make your own topic, we will help.
But you need to grab the firmware from MarlinBuilder releases and flash it by just putting the firmware.bin on the skr microsd card and powering it on. The tft also needs to be flashed. It is a little different.