Hi. I have always used the top of my material to set the Z-axis origin, and then added .5mm or so to ensure cut-through. As a result, my spoilboard looks like a battlefield. I know that Estlcam allows one to set the Z-axis origin to the machine bed, but what then? Does one have to specify the depth of the material being cut to a negative value? Does this affect the depth per pass also?
Confused.
1 Like
Yes precisely. I think it’s useful if your material isn’t flat and to need a known z reference I’ve only tried it once and that was thickness planing a cupped board. Took forever but worked ok. If you try this remember you will have to plane both sides so don’t set the first cut to your finished thickness.
I’m sure there are other uses as well.
1 Like
Concerning contour cuts, I handle this process manually. First I measure my stock in multiple places with calipers then I add just a bit to that number for the stock thickness in my CAD software. If my 3/4" plywood has a max measured thickness of 18.1mm, I’ll specify 18.4mm in CAD for the thickness of the stock. When doing the cut, I zero against the spoil board using a touch plate, move up 18.4mm, and then zero Z again. I then setup the X,Y origin for the cut. The bit should just kiss the spoil board on the final pass. The only downside to this process is that I have to remember the 18.4mm (or whatever) number for each contour cut.
1 Like
Thank you gentlemen.
1 Like
After quite a lot of experimenting and then cutting parts using Estlcam and setting the z-axis origin to the Machine bed with the aid of my z-probe (Setup/Basic settings…) I still have an almost perfectly unblemished spoilboard. If you set the z-axis origin to the Machine bed, Estlcam does the rest. The only difference is Estlcam asks you how thick your stock is.
It is vital, however, that you surface your spoilboard very well (I did so three times, just to make sure, taking off .5mm each time).
It certainly beats having to measure your stock in various places, and then add a “safety factor over-cut depth” just to make certain you cut all the way through your stock.
2 Likes
Just to be clear, when I wrote about measuring in several places and adding a safety factor, that was to assure that the router would clear the stock when doing the setup or other moves. I often use the center of my stock as my origin point, and I cannot put a caliper on the center, and most clamps don’t reach the center. If center is high, I can scrape or scar the wood during setup since I put the router at the level I defined in CAM. Note I don’t have a planer, and often do projects using less than perfect wood, so this became my workaround for less than perfect wood.
I still have an almost perfectly unblemished spoilboard.
![]()
1 Like
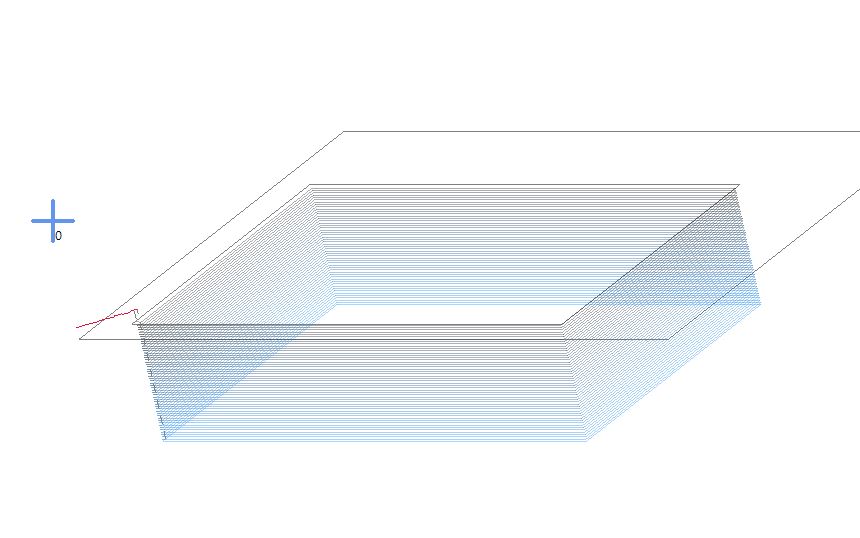
Could you explain how you got estlcam to cut to the spoil board surface and not any farther. I’ve set the Z-axis origin to machine bed and it always wants to start the cut at the spoil board. As if I used workpiece top side Z-axis origin and then probed to the spoil board…? And estlcam doesn’t allow for any negative start depth. Here’s what it looks like. The blue x is the material surface origin and the black line is the spoil board surface where it starts to cut. Thanks