I´m totally new to cnc. I have my lowrider built, all axes home properly and I would like to make the crown test. Unfortunately I have no idea how to set the Estlcam to proper use.The instructions on the website are out of date and don´t match the current version I have installed. I have some basic experiences with klipper from 3d printing, but none with marlin.
I would highly appreciate if anyone shared the settings with me for each section and tell me what I need to have in my basic gcode? Once I need to make some setting changes I´d learn what is for what a bit by bit.
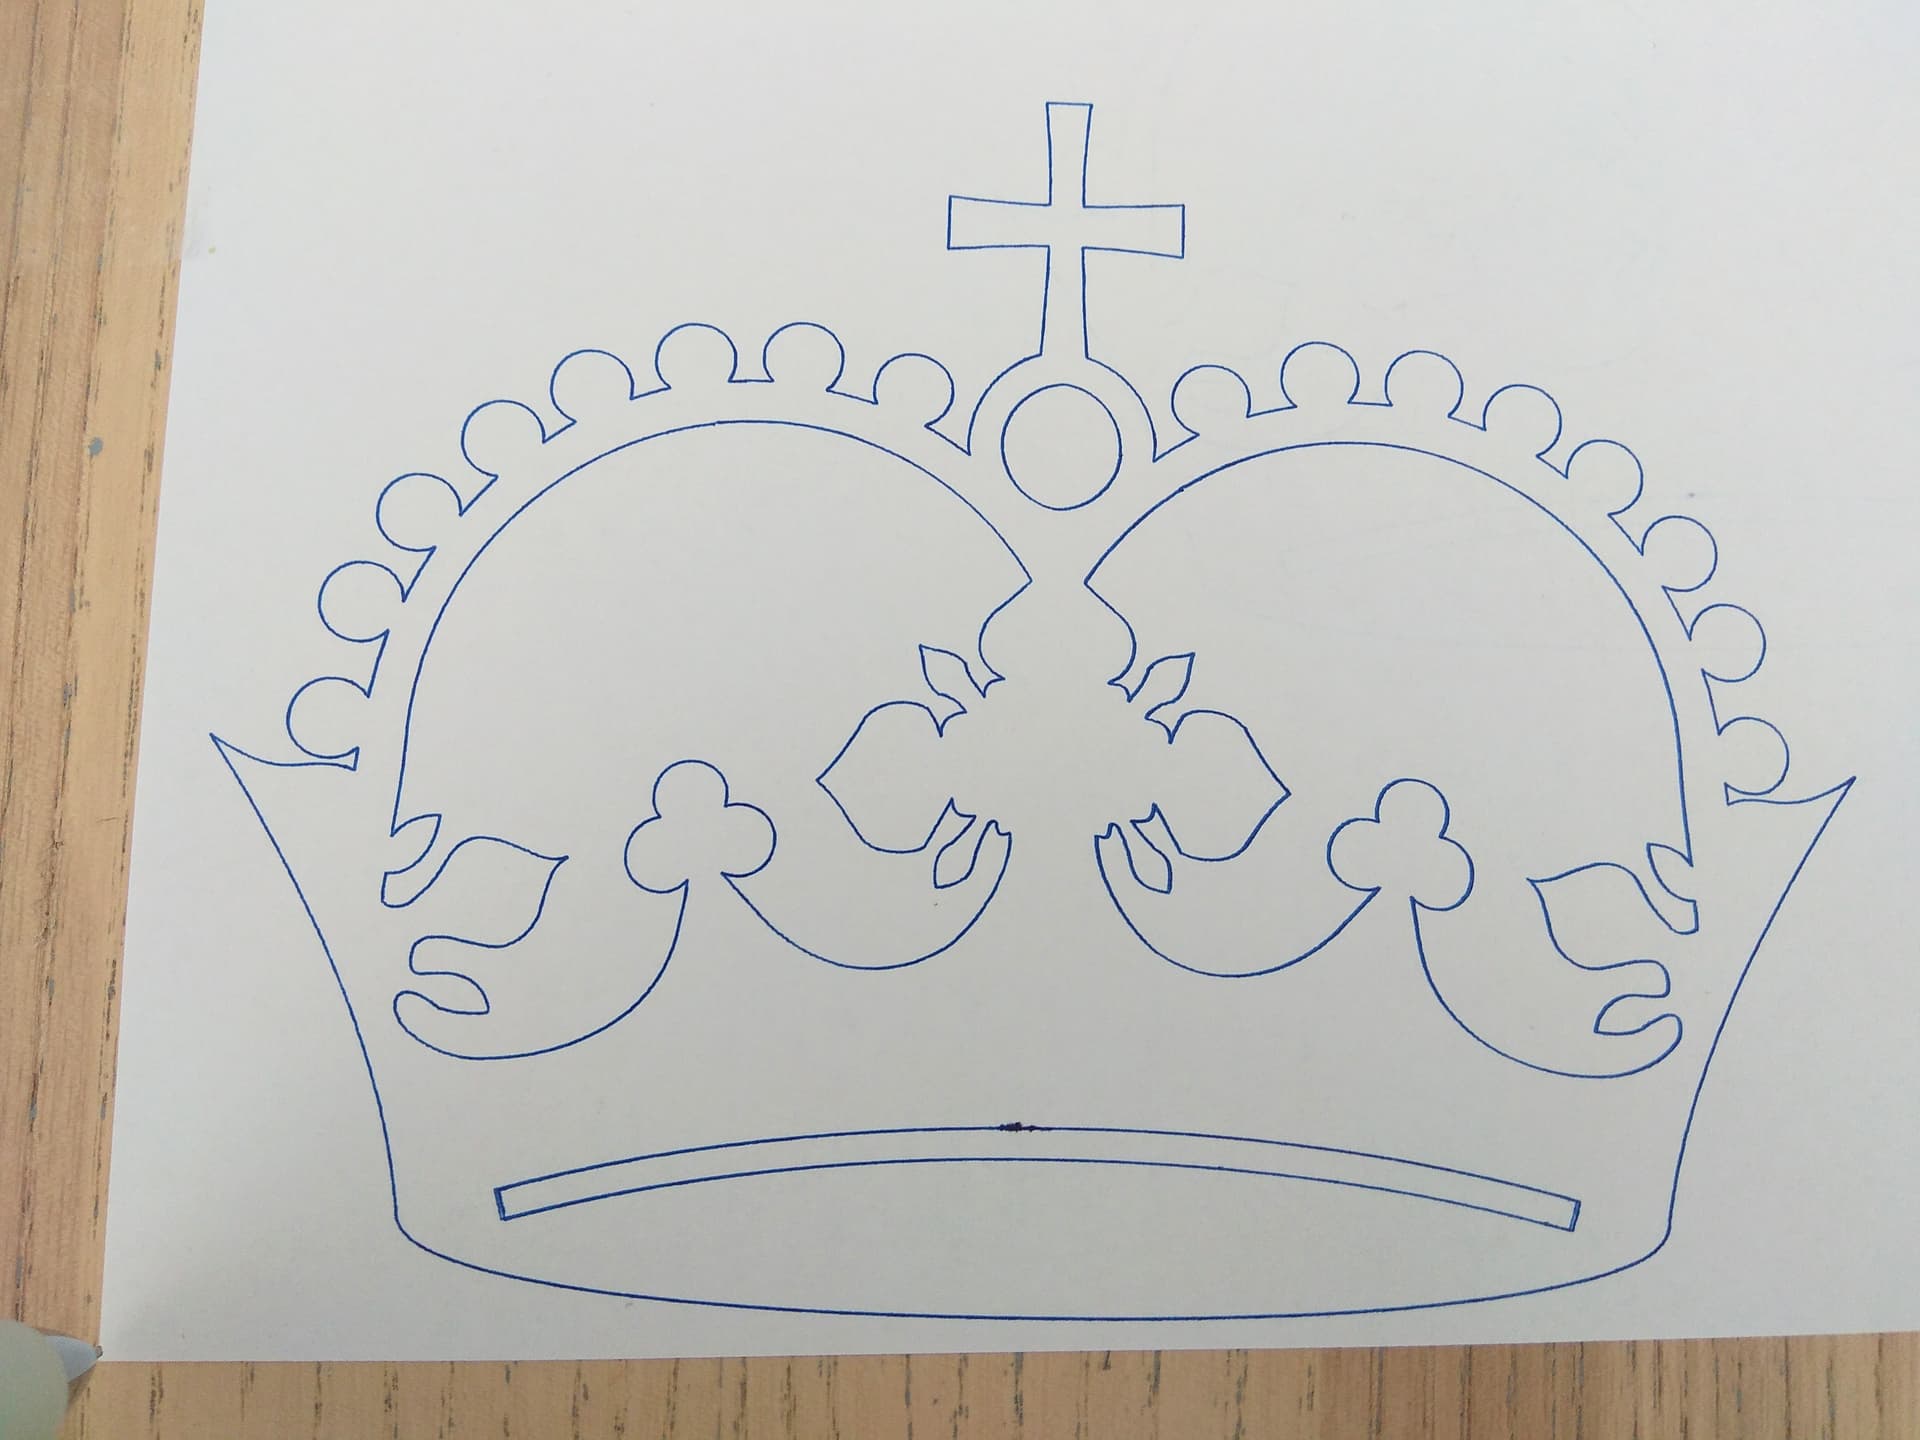
First off, there is a premade gcode test crown. Try that first. Download the gcode straight from that link.
Make sure you don’t use any of the controller settings in estlcam. That requires flashing the controller, and you either can’t, or worse, it won’t work.
The settings have definitely moved around a little. But the settings still have the same name. We really should update them. But you should still be able to follow them. Just stay out of the controller settings pages.
Erm…ashamed to admit it but I was looking at the cnc controller settinghs rather than Estlcam. Took me too long to realize. I just found out. Setting it all up according to the instructions. Sorry and thanks. 
1 Like
Keep asking questions. Its how you get going. Looking forward to seeing your crown?
I will.
I followed the instructions for the crown test but once I pressed print, my Z went all the way up. I copied the idea of homing from Michael from TeachingTech on YT. What am I doing wrong? Does it have anything to do with gcode?
I’m not sure how Michael set things up. The primary purpose of homing is to square the axes. With that in mind, the Lowrider homes up in the V1 maintained versions of Marlin. For setting the bit position using a touch plate, the lowrider uses probing (G38.2). If you are not going to be using limit switches for homing, you can make a minor change to the firmware to get it to home down.
This is probably a much simpler problem of just not setting the Z=0 to the workpiece.
Don’t open estlcam, download the test crown gcode file. Jog the machine so the pen is on the paper and run the gcode file (not one you made, the one I linked). It should not drive up too high and it should draw a crown. If it doesn’t, then we can figure out why, but you have to start with the gcode I linked.
2 Likes
That worked well jeffeb3. When I did it, first a pen was drowing only on movements and was above the paper on actual drawing so I flipped the X motors connectors and all went well. I was not able to home the Z so I did that manually.
After the crown was done I did it again to see if it copies the first one but the pen was several mm above the paper. I guess that´s how it should be and I need to adjust the Z heigth for every cut?
What should I do next?

1 Like
The crown gcode zeros everything when it starts, so if the pen was a little above the paper, that’s the new zero when you hit go on that gcode.
You can try to make your own crown from estlcam. If you like. The main difference the test crown has is that Ryan put a G92 command at the top. If you like that workflow, then you should do the same.
Some more info on what the G92 is doing, and some other ways to set your coordinates are written in the docs:
https://docs.v1engineering.com/learn/coordinates/
The good news is, your machine is working fine. At least, as much as the crown can tell us.
1 Like
I read through the instructions and did this. I taped paper to the table, set the pen to the LLT, did G92 X0 Y0 Z0 and pressed print. Is that it?

And I did the same thing 4 times to see if it copies the same pattern
4 Likes
Looks good to me!
I´d like to try cutting plywood. In Estlcam, how do I set those small “holding areas” that wont cut all the way through on the bottom once cutting is finished?
")
2 Likes