I ordered a replacement through Amazon. I hate admitting that, but it’s hard to compete with the delivery speed.
Micro center sounds like a good place. I’m probably fortunate that there isn’t one close…
Unfortunately, I looked and found that there is a microcenter near ikea about 2hrs away. Now I just need to budget however long I’ll spend in microcenter on top of four hours of driving and three hours of wandering through ikea.
Well, I’m still patiently learning about printing. My zebra label printer is fading fast after about a few months of progressively losing functionality. I ordered a new/open-box one from hippodeals to replace the refurbished one I bought from them a couple years ago.
Oh, 3d printing… yeah. I’ve successfully installed the th3d ezboard on the ender 3. Seems like a good board. The ezabl pro is not working out as well though. It seems that my printer needs a larger edge offset for the sensor than is recommended in the guide. My bed has some battle wounds! I think the adjustment pot(?) inside the sensor broke during my third attempt to get things set up. I hate manual bed leveling, so I’ll wait until I get it figured out before I try again.
On the bright side, I’m learning quite a bit about squaring the machine and some of the challenges inherent in its design.
Incredibly, I’m being patient about printing primo parts while I learn this machine. Patience isn’t my strongest card.
Got the printer working. The EZABL system is back online and is working well. I abandoned the solid bed spacers and went back to stock springs on the ender 3. There is too much variation in the Y-plate / bed for the ABL to work without some significant adjustments.
The 150mm x-y test came out decent.
y: 149.95mm
x: 149.79mm
RearLeft-FrontRight: 149.79
RearRight-FrontLeft: 149.49
FALSE: I’m going to look into step calibration to see if I can adjust for the y axis.
TRUE: I tightened belts and reprinted. I also used a lower bed temp to help check elephants foot while I’m at it!
TRUE: Adjusted steps for y-axis after all!
I had some warping with the X-Y-Z test, probably related to the z-axis tower, but it’s printing clean and each axis is +/- 0.15 at 100mm. That’s 0.03% error and this is an ender 3, so I’m going with it. Elephants foot is all but nonexistent on these prints at 55 initial and 50 bed temps. I may reduce to 45 bed temp and or lower hotend temps from 220 to 215, but I’ll keep my testing to small parts and only make those small adjustments one at a time.
Also, it looks like I’m going to be printing with a 0.4mm nozzle at 0.3 initial and 0.2 layers. This will take a while, but I want to make progress on the mpcnc!
And first spool fail! The filament got stuck on itself. I hope the other nine rolls from coex3d are wound better! Makes me wonder if I should have a reroll machine for new filament. Fortunately I was sitting next to the print and caught it, but one of the core clamps may be missing a bit of one layer.
Update #12: The spool problem was probably me. I most likely tangled it when I let it get loose during the many trials and errors of assembling and modifying the ender 3. I do like the deep purple filament I’ve been learning with! Sadly, most of it is in a waste bucket.
Yeah. My work sometimes takes me within 30min of the microcenter, so I’m holding out until I’m in the area. Ikea is farther than I’m making out, but from my perspective both are about 2hrs from home and look close on the map!
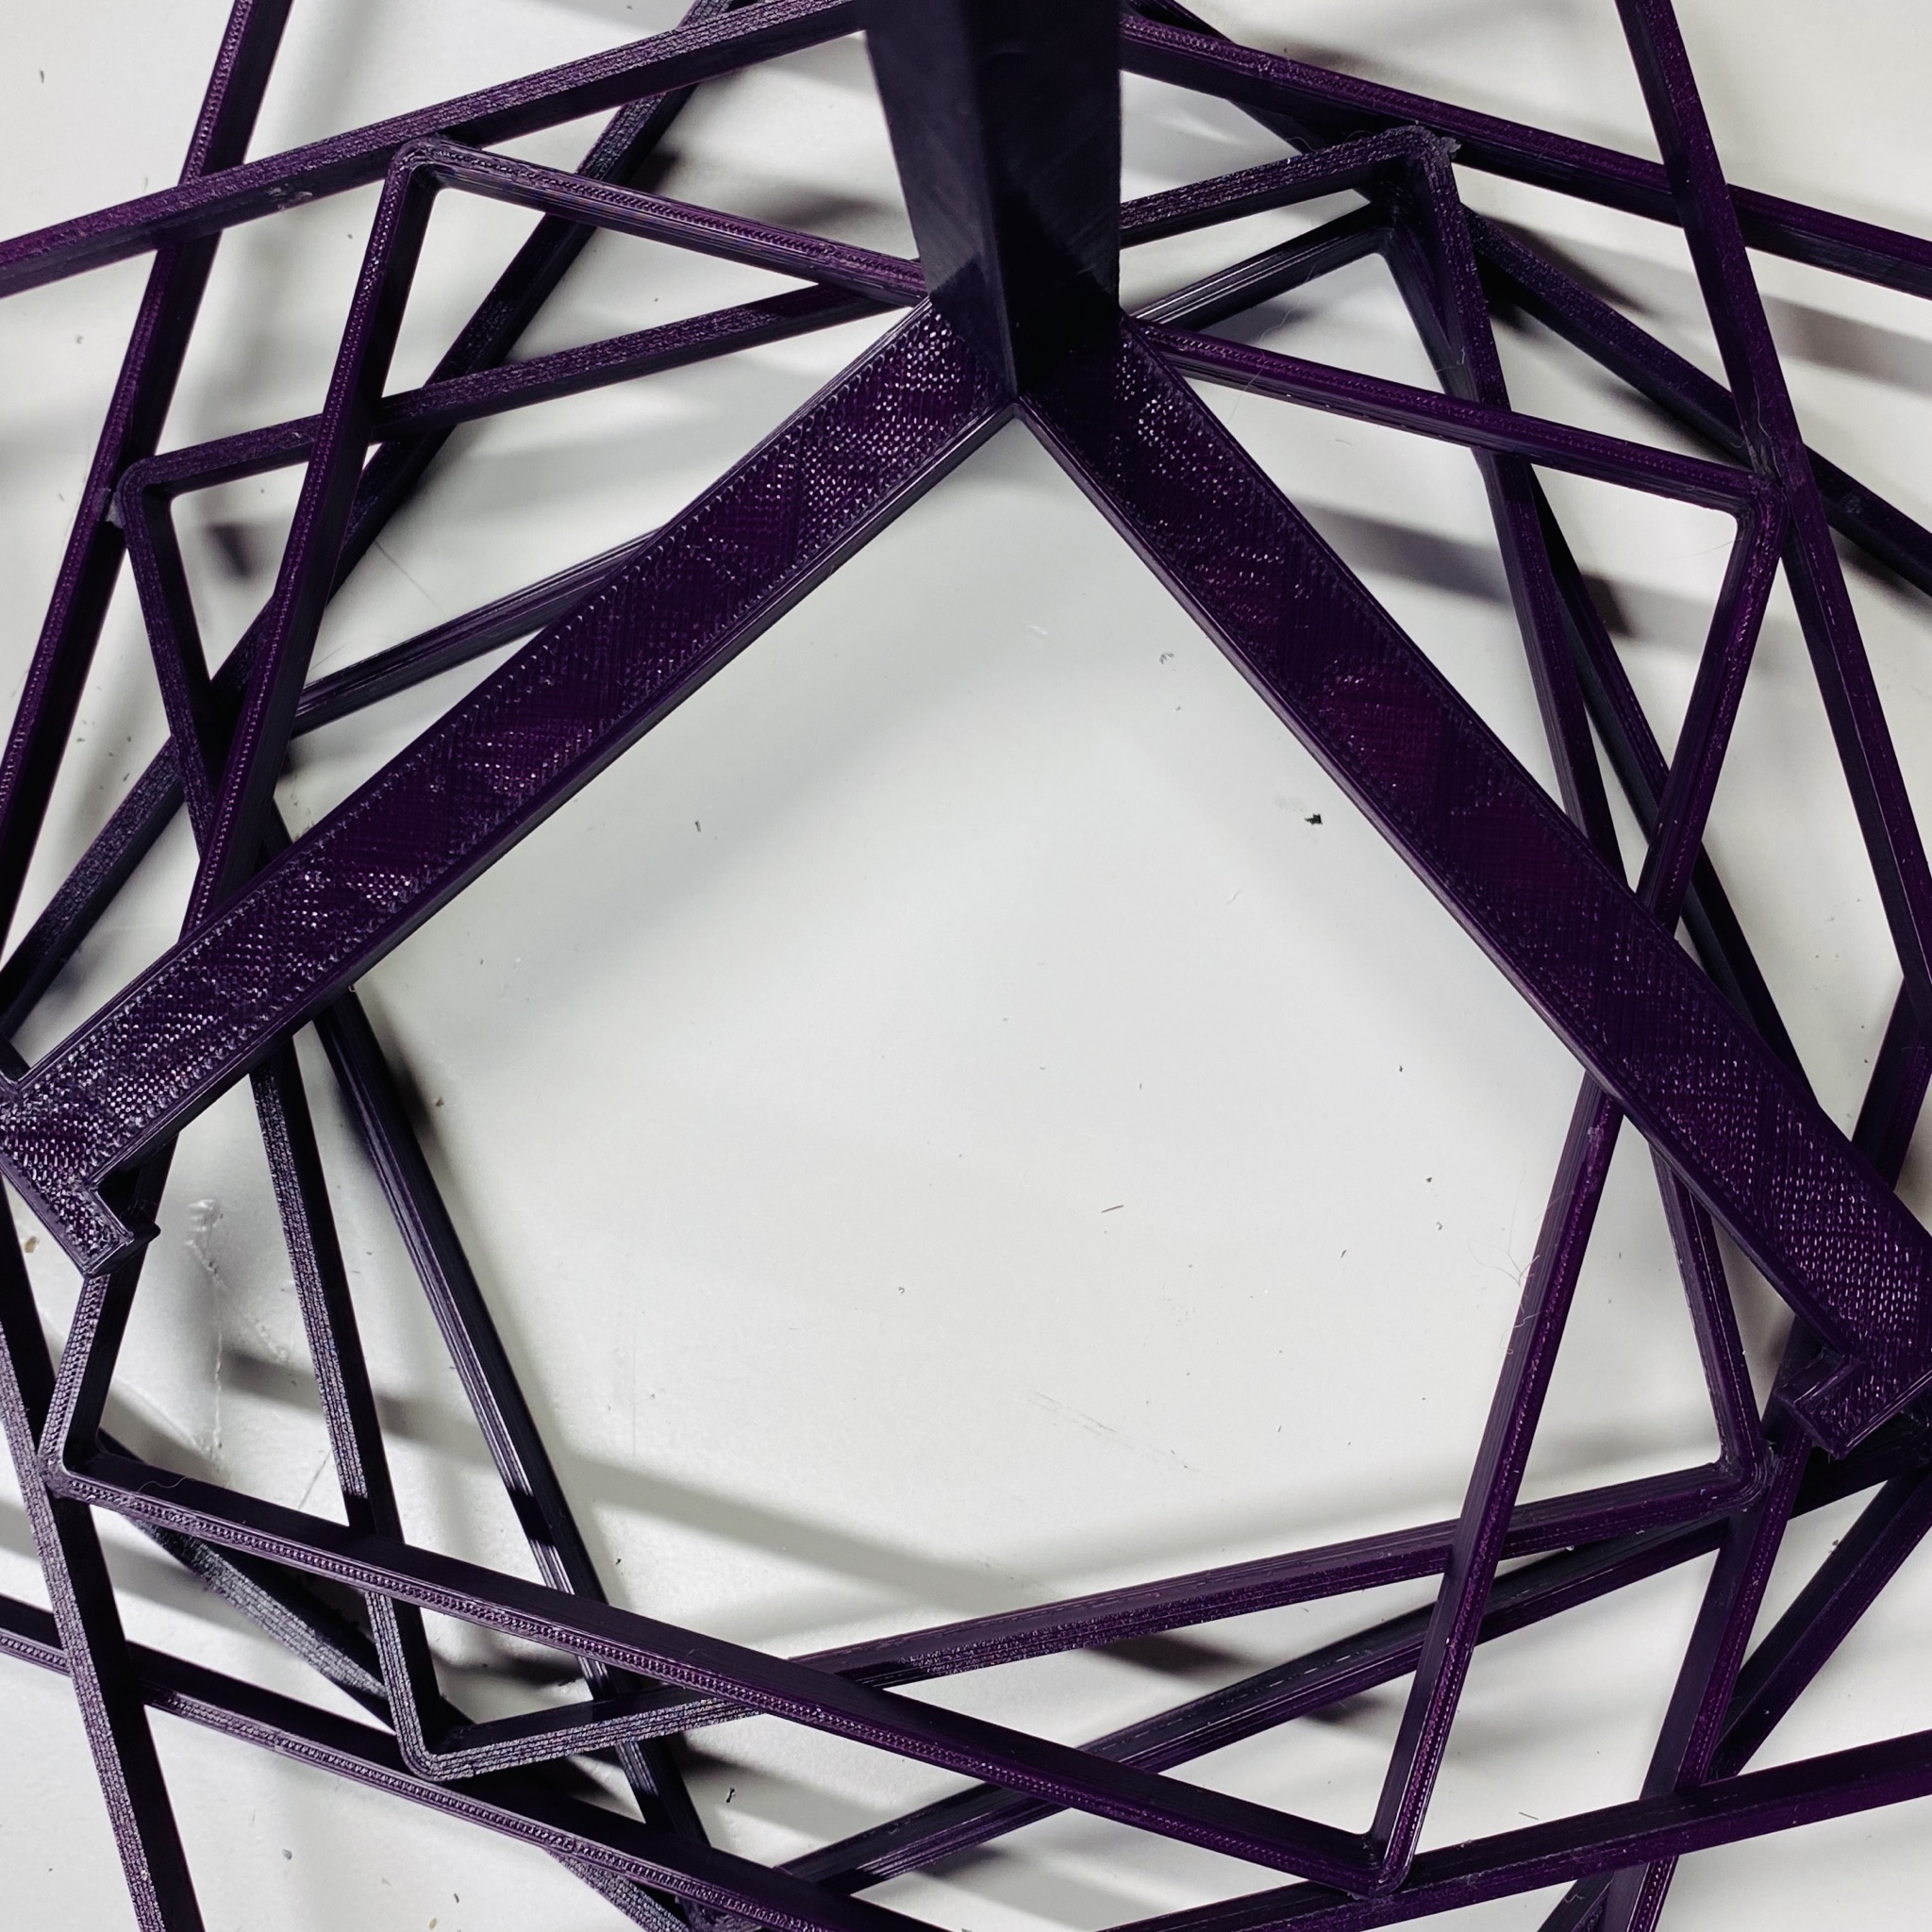
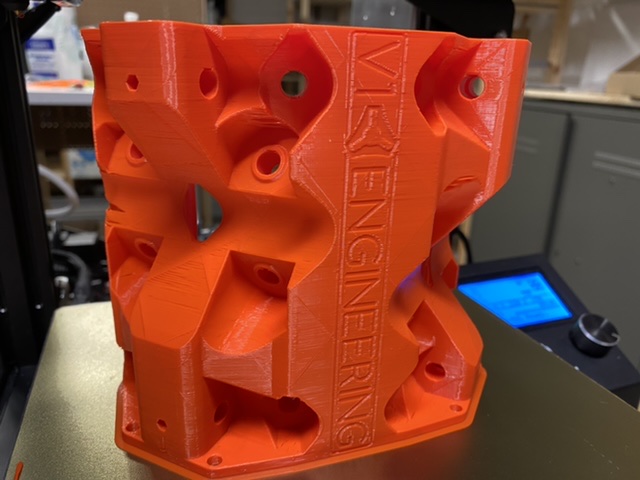
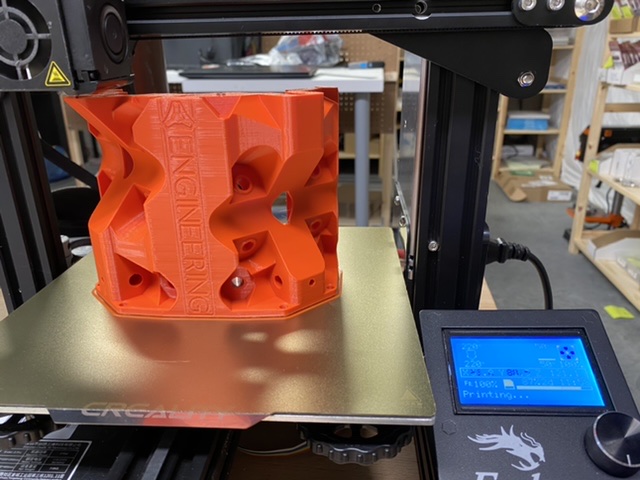
So, I printed a shell core at 0.3mm layers with a single wall layer and 5% infill using a 0.4mm nozzle. I’m pretty sure the defects shown are due to those settings. When I print the real core, I will use 0.3mm first layer, 0.2mm layers, 3 walls, and 70% gyro infill. I have the computer and printer on an ups with generator backup for the house, so we should make it even with a short power blip. Still, I’ll print other parts in the mean time in case anyone has recommendations to throw my way.
core height measures 139.65-139.85mm using digital calipers.
Sounds like a plan. I like watching the printer make gyroid infill layers. Printing the core at 70% was estimated at 52hrs, so if 50% is plenty strong enough, it works for me.
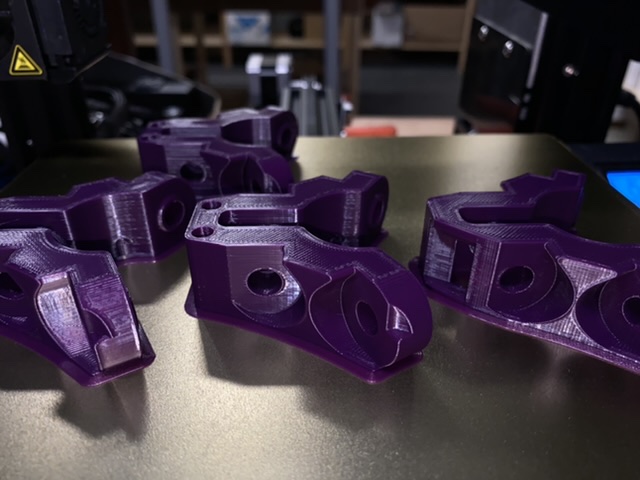
I’m printing the trucks now. I wanted to test the core in case there were some glaring z issues that I had missed. Test done. Punching forward.
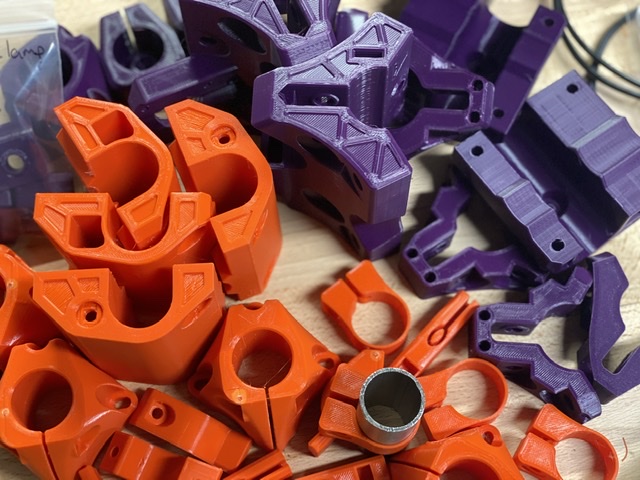
One more week (or two) of printing should see full collection of orange and purple parts! The ender 3 is chugging along. The prusa is doing a slow dance through customs.
I should get started on a table, but… this weekend I have bonus work and next weekend I get to learn how to make holes in my yard with an auger equipped bobcat!
Ordered a workbench/table from Lowes. I’d rather have made one, but I’m trying to take it easy on my shoulder. There’s little chance that could manage a sheet, or half sheet, of plywood without hurting myself. Even using the affected shoulder to balance myself is risky, so circular saw work is sadly out.
Since I’m not sure how long I’ll be on light duty, I decided to buy the table. It pains me to write this, but I plan to ask my wife for help.
The table is 72x30” so I‘ll have another half-table for clutter!
Be kind… Knowing you have a problem and asking for help are huge steps to take, and we’re here to support each other. Just know your limits and take it one day at a time.
Wait, did I get my forums confused again? Dammit, those guys are probably going to wonder how trochoidal milling will help with Step 4…
Last time I ignored the pain and barreled forward I spent two weeks on the couch instead of at work. Until I got a steroid shot I couldn’t sleep - when I’d doze off, my shoulder would move and the pain would wake me. Turned into something of a looney after several days… ordered a prusa mk3s, mpcnc parts, and a heap of wire forming tools.
The time before that when I ignored the pain, I ended up with elbow surgery to repair a torn?crushed? nerve. I’ll take snapped bone over nerve damage any day.
The time before that…
Rotor cuff surgery on the 21st. Doc says I’m packing the shoulder of a much older man… whatever that means.