Try it I think it will work fine even in wood unless more than the mill diam deep I will give it a go. Finish quality may suffer in wood but foam baa. Just watch total depth you cant cut deeper than the max of the mill anyway once. The finish pass will cut the the final depth in one pass. So if you cutting depth is 4mm and total depth of cut is 11 you need to rough
I did a few cosplay pieces out of 2" XPS foam shortly after I finished my first MPCNC. For a couple of the pieces I did adaptive clearing. Adaptive clearing did not introduce any issues. On one of the other pieces, I only did parallel passes with the maximum the bit was cutting of about 8mm and a stepover of half the bit diameter. Again no issues. I did have an issue on one piece with two deep 2D contour cuts at a fast feedrate. I don’t know if the issue was deflection or if I actually lost steps. I was able to salvage the piece, so I never went back to research the issue.
So there is likely a point where you exceed the ability of the bit to move through even this soft material and a roughing pass might be a good idea, but I don’t know if your wing with your feedrate choice crosses that point.
I have a good friend that is into RC flying. I’ve offered to cut him a wing, but he has yet to take me up on the offer. I’d love to see the wing you cut.
I think I’m going to do it with just the finishing pass. if it is too much I will stop it and then use the roughing pass. I’m guessing it will be fine.
I can’t get away with just roughing pass as I need the wing to nest with the fuse.
I gave your project a bit more thought last night. I still consider myself inexperienced, but I have more knowledge now than I had when I last cut foam. If I was cutting a foam wing today, this is what I would start with:
Cutting Feedrate high…say 4000mm/min for all operations using a 1/4" bit.
Adaptive clearing pass with a large stock to leave say 6mm for axial and 3mm for radial, 12mm maximum steptown and I’d jack up optimal load some. This operation assures that the finishing pass will not have to deal with too much overburden. Operations confined to the silhouette.
Parallel pass with an “Add Perpendicular Pass” and a stepover of 1/2 of the bit width (1/8"), with operations confined to the silhouette.
As necessary 2D contour pass. Multiple depths with a “Maximum Roughing Stepdown” of 6mm, and “Roughing Passes” with 2 Stepovers. Tabs as necessary. As soft as this material is, I’d make the tabs very large.
If it all works, this will leave the wing well formed but a little rough. Gentle sanding with a foam sanding block will smooth the wing in in a few minutes.
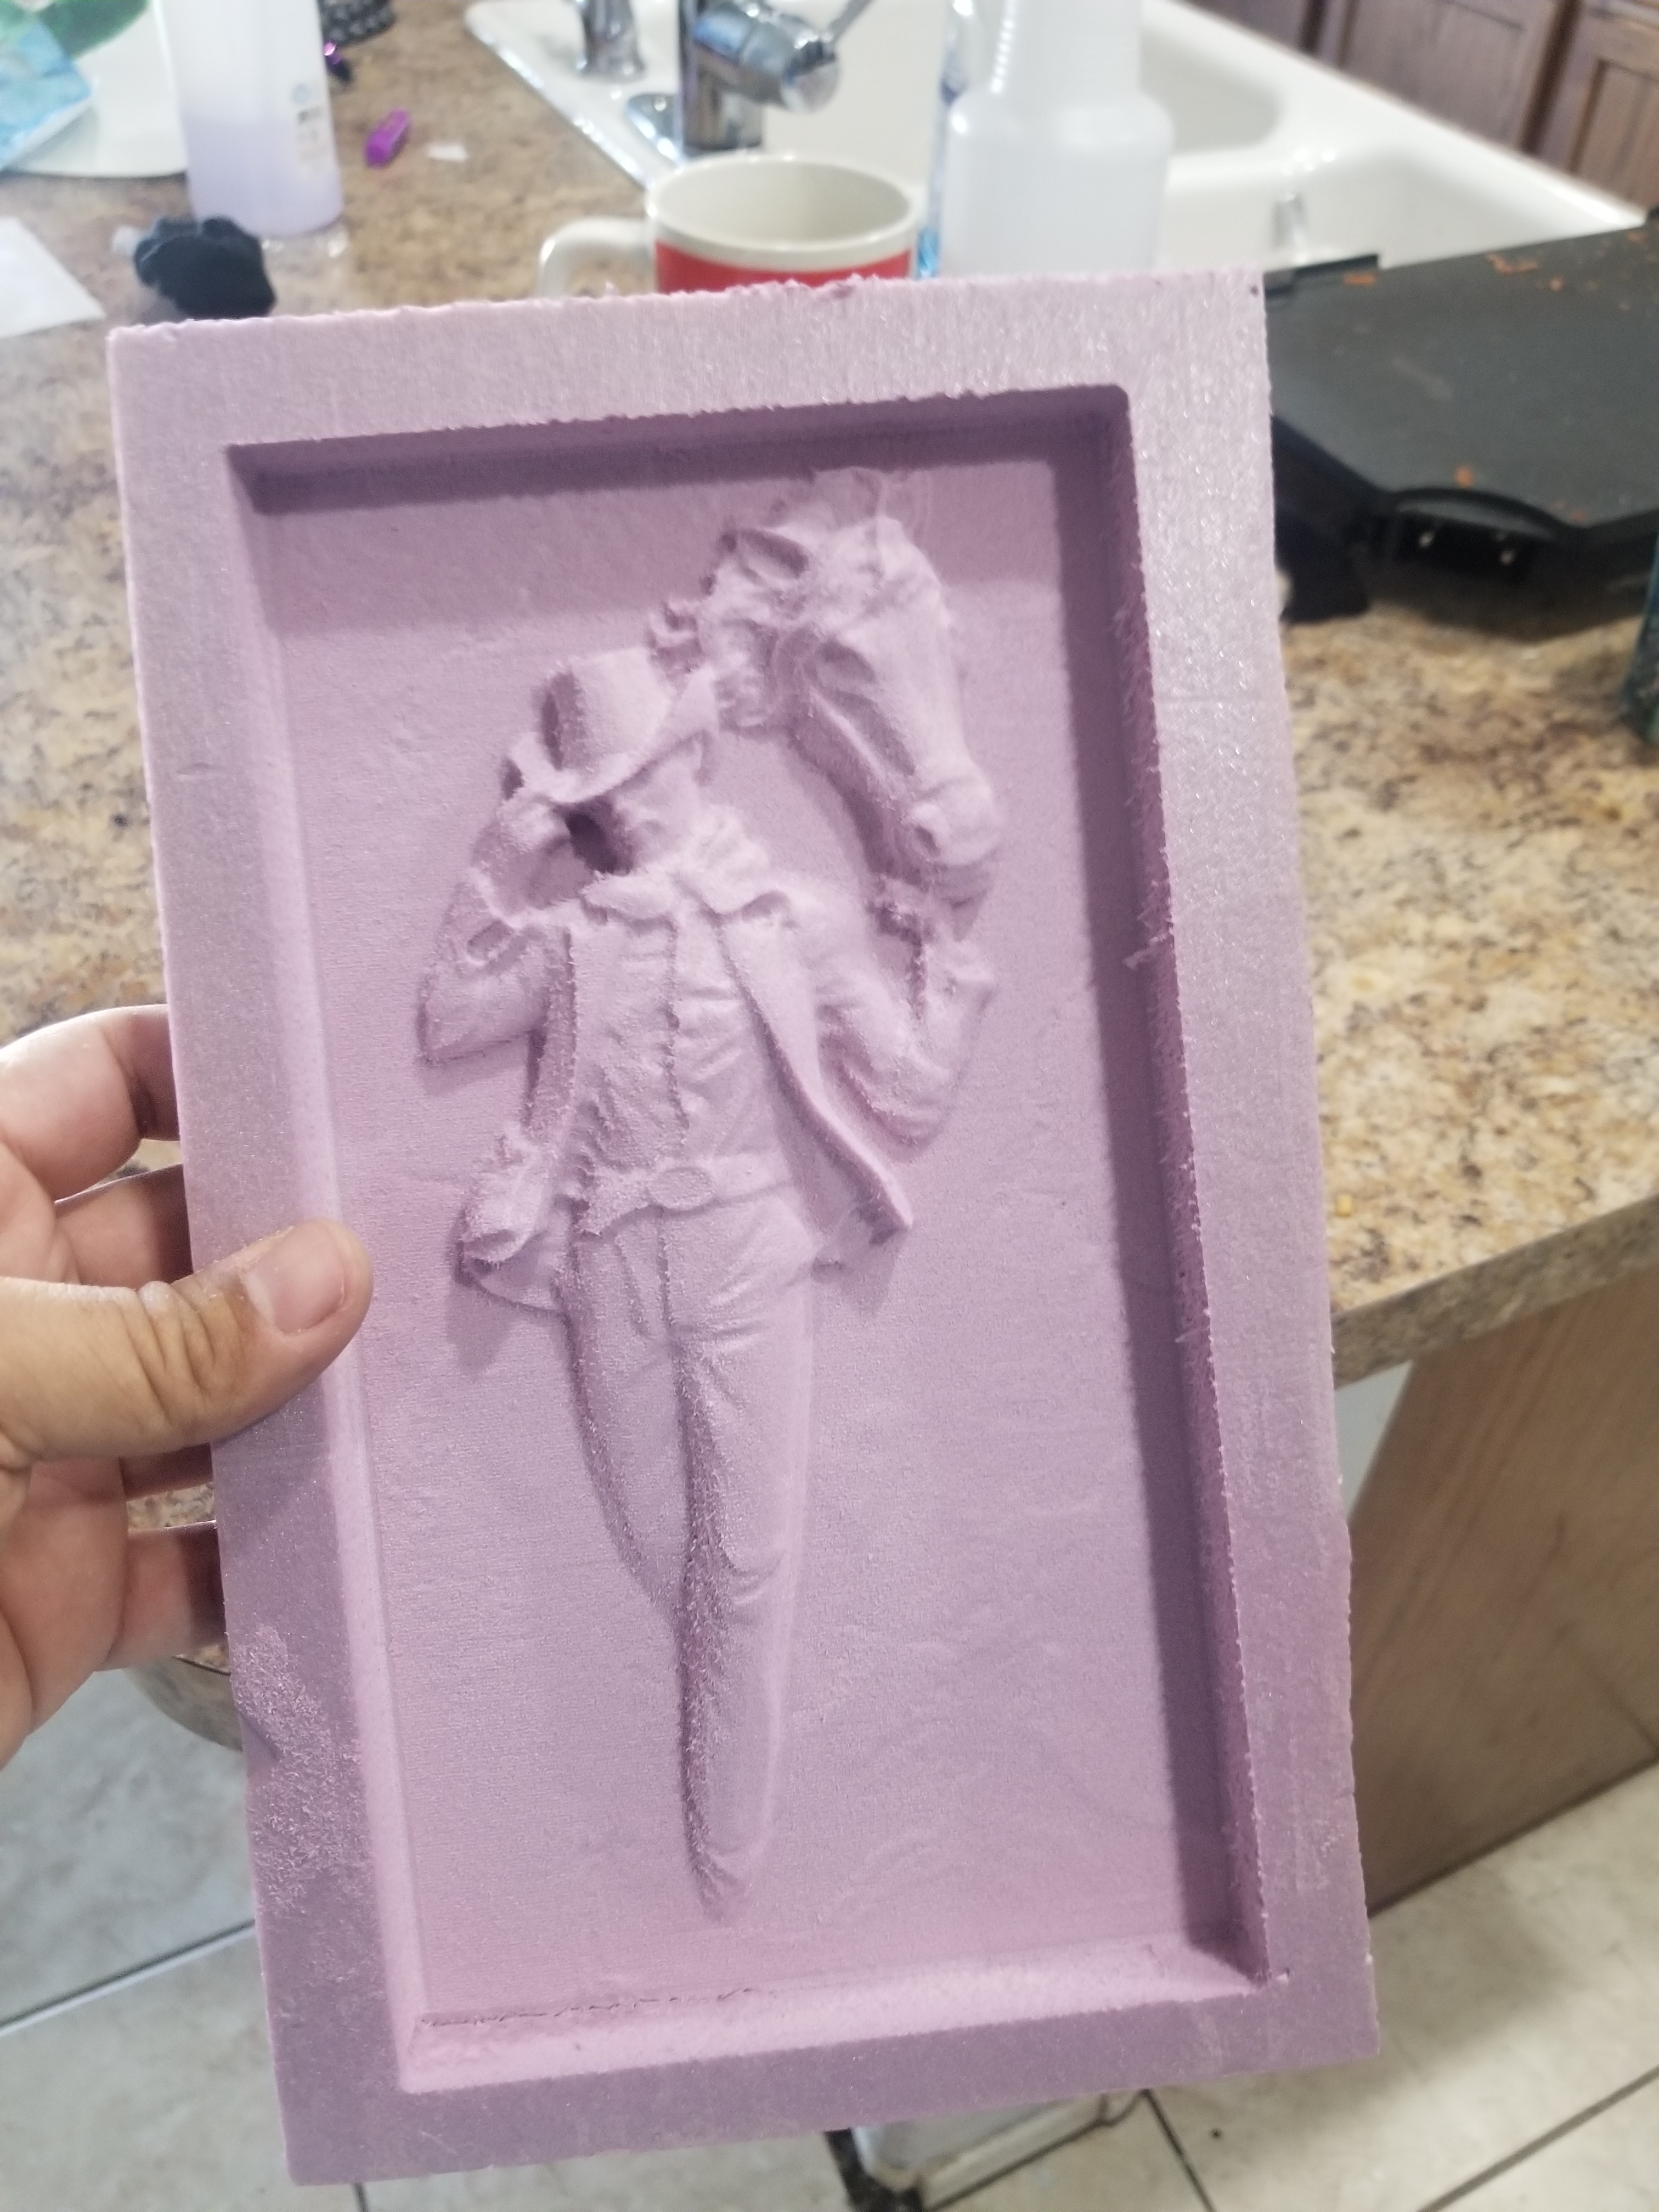
Very nice. I love the detail you captured in the foam. How deep was the maximum cut? What was the feedrate? I assume you were using a 1/8" ball nose bit? What was the stepover?
Been a while, but I think it was 8 thou stepover, probably a half inch at the deepest. The flutes on that endmill are only 0.6 inch, so it definitely wasn’t that deep. I gave the piece to one of my kids friends, so I can’t go measure it.
@robertbu Thanks for the advice. I am currently cutting at 2400mm/min; that is based on other advice from someone who has cut XPS. I was thinking of maybe bumping it up a bit; 3000 maybe.
I will input your settings and see what it does in Fusion.
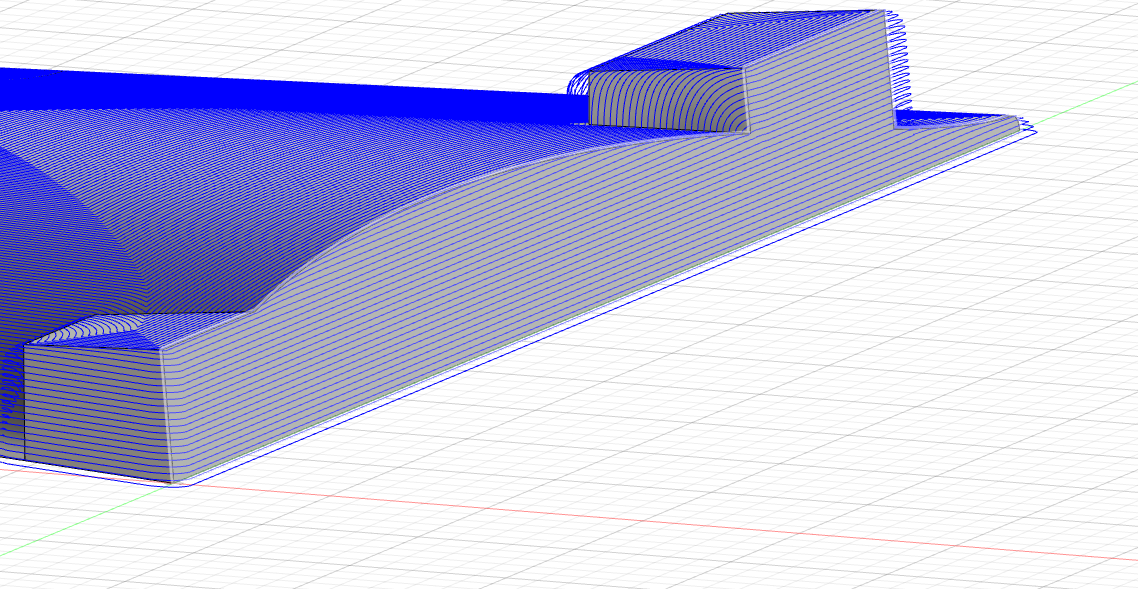
for the finishing pass I’m actually using a scallop toolpath. If follows the contour of the wing edge nicer.
I guess I should rephrase my statement… I only do a single pass in foam. I guess technically I’m skipping the roughing pass and only doing a finishing pass.
In my early cutting I found the estimated time so wildly off that I stopped looking at it. I believe there are ways to tune this number to be more accurate, but I never bothered. Maybe something to revisit.
Your 1mm step over is probably overkill for this application, but it cannot hurt (other than more time). I found this foam incredibly easy to sand…too easy…so for large smooth areas and simple geometry, cleanup is quick. I’ve wondered about the best method to protect the foam when I do a wing. When doing cosplay props, I use monster mud. Monster mud is a combination of latex paint and some form of spackle or drywall mud. It forms a nice hard surface, but it is probably too heavy for an RC wing.
I am currently cutting at 2400mm/min; that is based on other advice from someone who has cut XPS. I was thinking of maybe bumping it up a bit; 3000 maybe.
One of the cosplay pieces I did was a blunderbuss stock. It was about 28" and double sided with long straight cutting and gentile curves like a wing might have. I just looked at the at the CAM for that project, and found I used a feedrate of 5000mm/min! I remember purposely pushing things to see the limits when doing this project, but it was a successful cut even at that speed.
I’m finding that fusion is pretty close. the wood parts I cut for the plane have been right on for timing.
It is tight, going for as little hand finishing as I can. I did a test cut on a micro plane wing about 18" long) I used .5mm step over. that resulted in no finishing, but I don’t think I need to go that tight.
Weight is very important. need it as light as possible. A lot of times people will use brown paper bag type of paper with diluted wood glue. it is really strong and in then end very light weight.
I’ve have also done other projects with diluted wood glue and talcum (baby powder). The talcum allows it to be more sand-able. Smells nice as you sand it too . you can mix it in different thicknesses for different applications. its tricky getting the right combination of glue, water and talcum though.
I might not go 5000 but knowing you went that high gives me confidence of 4000.
After you made this comment, I started noting the estimated vs. actual machine times again. The next two jobs I did, the estimated time was right on. But today the two are way out of wack. Estimate time of 17:25 turned into 1:14:00…an almost five times different. Worse a 4:16 estimate turned into 54:07 actual run time. Note the jobs that matched the estimated time were primarily contour cuts. Today’s jobs were heavily weighted to adaptive clearing.
Poking around I found the following by the person who apparently wrote the estimation code:
Furthermore, I don’t consider the acceleration and block processing speed of the CNC so that would also give some difference from the actual machining time.
I expect that at least acceleration and possibly processing speed may be way slower for my MPCNC than the stock Fusion 360 values. And the difference would have little impact on long contour cuts but hit adaptive clearing heavily. And I don’t see a way of modifying the values for machining time so that I could get more accurate estimates.
This is following up on a different thread that ended up not being related. So i moved it back to this thread.
@robertbu - following up on the z axis issue from the other post.
So it makes sense to start from the spoil board, move it up and re-zero at the correct height.
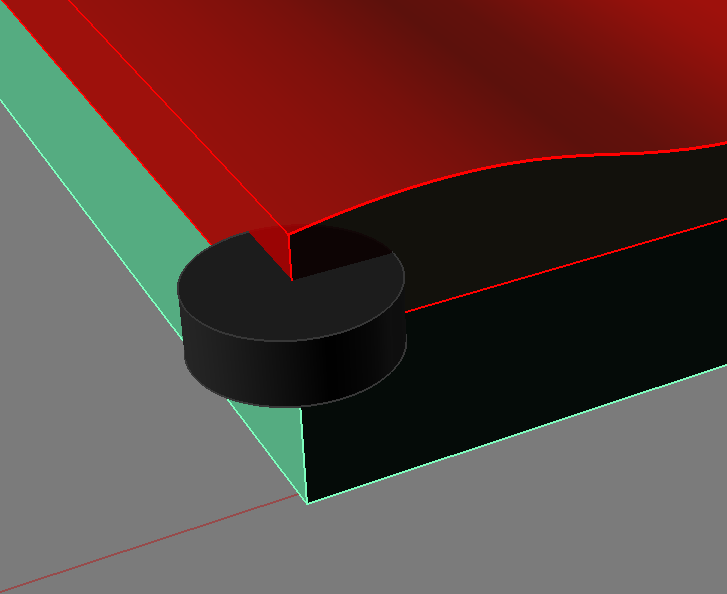
what i can’t figure out is how to set the X,Y.
I’m trying to shave off some of the material to get down to the the required thickness. if set my z axis to the desired height then I would not be able to set my X and Y for the facing mill to be centered at the corner of the stock.
It would intersect with the material I want to remove.
There are a number of ways of going about this problem, but the simplest for me is to just make sure that the home point I use in my authoring software is at least as high or higher than the highest point on my physical stock. So say I have a board that is around 20mm thick and I want to face it down so that I have a 17mm board. I might set the stock starting height in the software to 21mm and use a 17mm model. After I have set my home using the spoil board and the 21mm authored setting, I can move to my X and Y position without intersecting the stock. Your CAD calculation will then drive the router on passes to cut the stock down to the height of your model.
In practice I often do it the other way around. I find and zero out the X and Y for home. Then I move the bit off the material and set my Z, then I send the router back to (0,0).
Ok, so just to make sure I understand what you are saying…
Let’s say I want a part that is a precise 1" and say my non-precise stock varies from 1"-1.25 (for example only).
1 - in the software (fusion in this case) have my final part sized to 1"
2 - have a stock size that is 1.26 to clear the highest dimension of my non-precise stock. this allows the mill to clear it for X and Y.
3 - on the machine zero out at the spoil board
4 - move up to 1.26 (same as the stock part in fusion) and zero again
5 - set X and Y.
And one last question - how do you zero out the Z axis using the LCD screen? I know how when plugged into a laptop using repetier host.
how do you zero out the Z axis using the LCD screen?
That’s a good question. I don’t see a way to do it from the menu, so just put the GCode to zero these out (“G92 X0 Y0”) in a .gcode file on the SD card and run it. Or you can position your bit at your home position and power cycle your board. There is a small risk with the second method since your are de-powering the steppers.