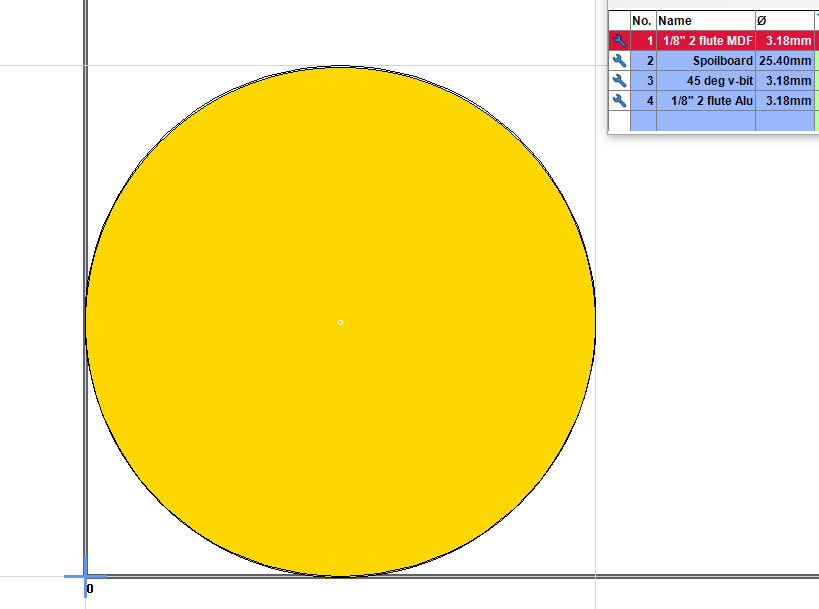
I designed a flat surface that I wanted to put 1/8" holes in (3.175mm). When I select Holes and choose the tool path to the inside…it nonetheless draws the tool path on the outside. I also tried the Drill function but it didn’t appear to display the hole as it should be either. I am using a 1/8" end mill. Am I doing something wrong? Thanks in advance!
Can you share your Estlcam settings and gcode of the file you are trying to cut?
If you want 1/8" holes with an 1/8" endmill, you want to use the Drill function. The Hole function could be set up to work, but not if the bit is the same or larger diameter than the Hole you are trying to carve.
Also, can you confirm your bit is 3.175mm - i’m not sure what you mean by “it didn’t appear to display the hole as it should be either”
1 Like
Thanks for your help. I didn’t get as far as creating gcode. I was using the software to make the toolpaths. When I chose “hole” and clicked inside the circle the software made a red toolpath representation…it not only colored the toolpath inside of the circle red…but also a red circle around the outside as well. I am new to Estlcam…I know this sounds rather dumb. When I chose “drill” it colored the inside on the circle and also made another circle a bit larger than the 1/8".
I am not sure I know how to send you the Estlcam settings…I will look. I did follow V1’s instructions and triple (even more!) checked. I don’t think there is a Sketchup problem.
Also…off subject…I have a license for Estlcam when I was using a different CNC machine. Do you know if you can upgrade to the latest version using the same license number? The version I am using is 11.119. I couldn’t find an answer online. Thanks again.
“it not only colored the toolpath inside of the circle red…but also a red circle around the outside as well.”
The reason why this happened is because you are trying to create a Hole using a bit diameter equal to the size of the “object” (in your case a 1/8" round circle). This won’t work and you need to instead choose the Drill function.
“When I chose “drill” it colored the inside on the circle and also made another circle a bit larger than the 1/8”."
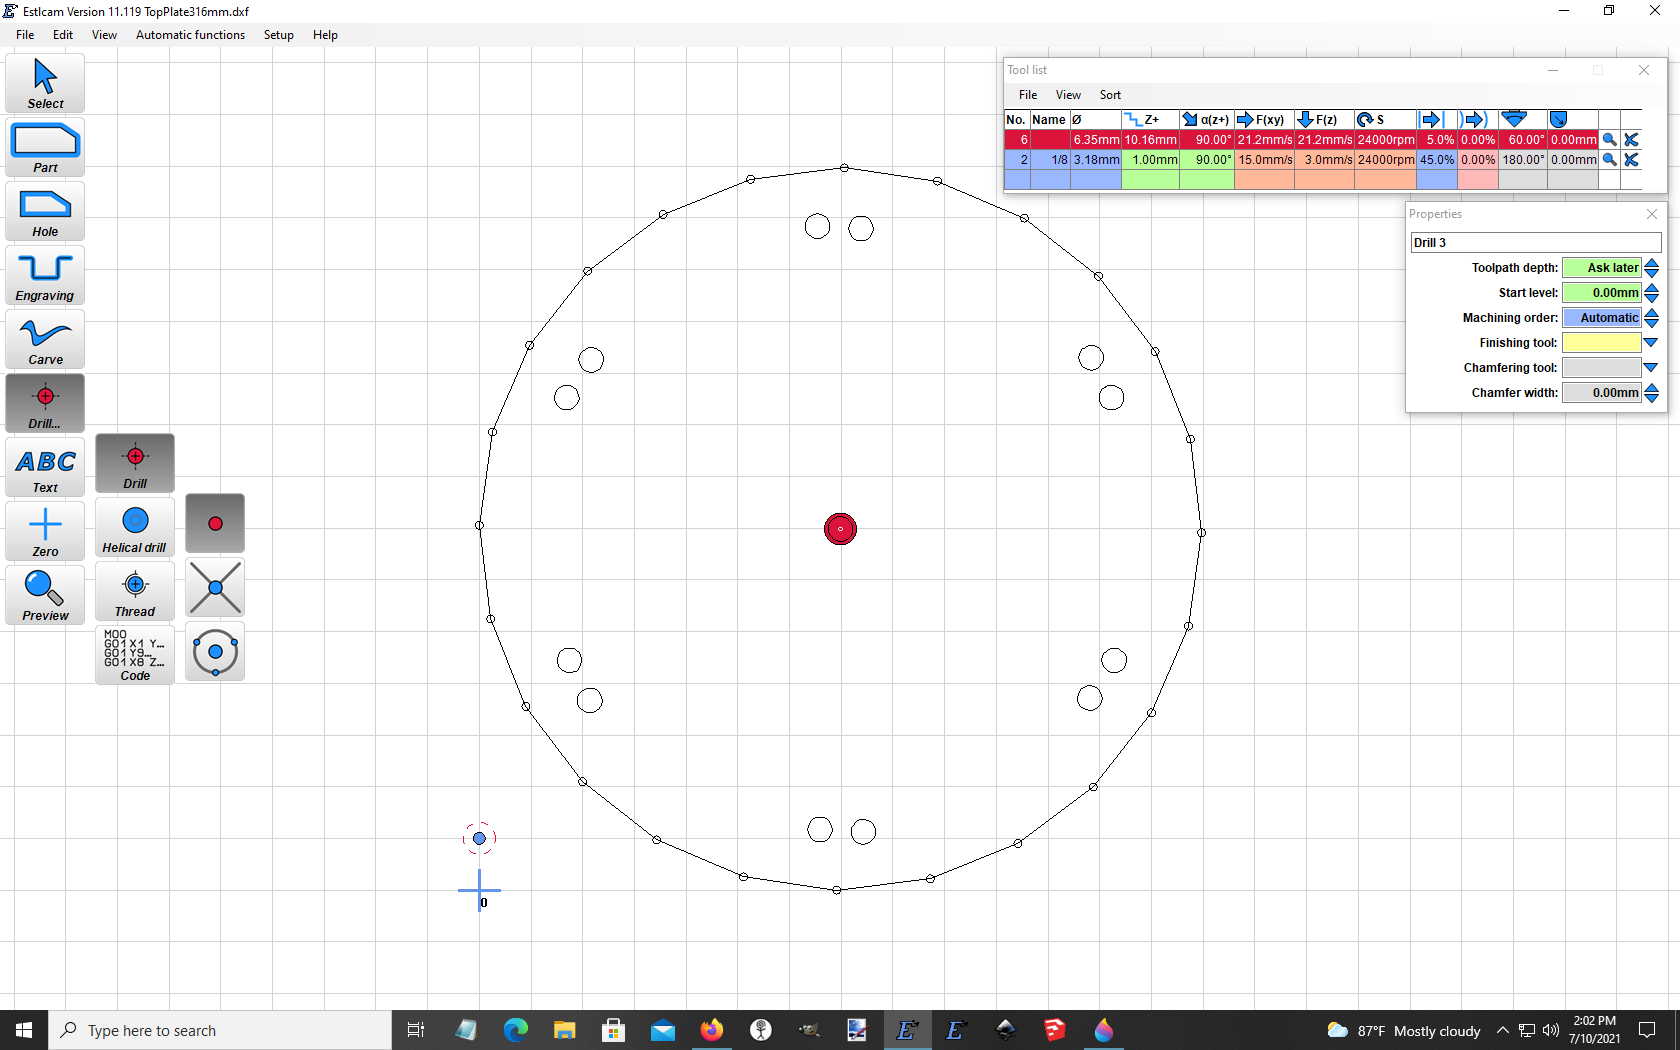
Can you post some screenshots of what you are doing, as this does not sound right. In the below screenshot, you can see that I am choosing to Drill with a 1/8" endmill and the circle is 1/8" in diameter (the blue XY grid pattern are each 3.18mm).
As for the licensing, yes you can upgrade to the latest (11.240) for no cost using your existing license. There have been a few bug fixes released since 11.119. Christian (the creator of Estlcam) always responds to email inquiries, so feel free to reach out him if you encounter any license hiccups.
There are two concentric circles…one slightly larger and added when I clicked on it to mark the drill location. Thanks!
You said the hole is 1/8"? You have a 1/4" bit selected.
2 Likes
Thanks for your trouble… I thought it was something dumb. I didn’t know to select the bit at the beginning. Now it makes perfect sense.
1 Like
No problem!
You could also fix it by choosing Select, highlight the hole and then click a different bit.
1 Like
Hi…could you recommend end mills to use with the Dewalt DW660? There are so many to choose from.
Thanks again for your invaluable help…I am ready to cut now!
Ryan sells some in his shop:
I had good luck with these as some starter end mills (cheap enough that I wouldn’t be upset if I broke or wore them out):
Whatever you choose, start out slow to get a feel for the speeds/feeds of your MPCNC and cut out some projects in foam board.
1 Like
Ryan actually has decent deals on bit in the V1 store if you’re in the US. Otherwise, you’d probably do well to steer clear of the really cheapo chinesium bits you can scrounge up on Amazon, EBay, or Alibaba. Maybe not go for the high-end Amana bits, until you get a really good feel for your machine, and need high-performance bits. Keep to the shallower end of the pool, like kcny said, and you won’t be too upset when you break a bit, but if you go too low, you’ll spend more time changing bits than flinging chips…
2 Likes
Thank you both…I ordered some of V1’s bits yesterday. I ran a few dry runs and the CNC seemed to do exactly as expected. However…I don’t know what happened…suddenly there was no communication between ESTLCAM and the CNC…I also tried Repetier which did connect but gave this message. “No start signal…forcing start”… then “Communication timeout… resending buffer block”…over and over at intervals. The LCD display connected to the Rambo 1.4 board was on but there was nothing displayed…just a blue screen…and nothing works. The only thing I know that I did was upgrade ESTLCAM to the latest version. Is there a hard reset on the board, or some other process that I can get Marlin back? I opened the board enclosure and there is a green as well as a red led on. Any help would be appreciated. This feels like something has really gone awry.
If you have Marlin, you should not be able to connect from Estlcam.
The rambo marlin firmware can be found at MarlinBuilder releases. You can flash it with xloader
Yes…you’re right. My brain isn’t functioning properly after getting this far and then it blows up on me. What, though, is the CNC controller section of ESTLCAM used for?
That would be so Estlcam can program/control your hardware.
For example instead of using Marlin, you would use the Estlcam “CNC control software”.
I see…and thanks. Any ideas why the whole thing seems to be kaput? I read about fuses…anything else? It was Pronterface I was trying to connect with…not Estlcam…as well as Repetier host. The actual message from Repetier is “Communications timeout…reset send buffer block” Pronterface just sticks at “Connecting…” They have both connected (yesterday) and moved the axes correctly. I am not getting any voltage across F3 fuse…I get 12.5V across F2. I can’t seem to find any info about the red LED that is lit on the board…and there is also an intermittent yellow LED flashing. There is also a green…but green usually means good. I reset the board to no change. I am out of ideas. I have double checked the connections, etc. It just happened suddenly. I fear the board has blown. If someone could assist me I surely would appreciate it…even if it is bad news. Thanks.
You should not get amy voltage across a good fuse. If the fuse is working, the voltage on both sides should be the same.
Also, that estlcam controller page? It has a button that will replace Marlin with it’s estlcam firmware. If you hit that, it may have replaced the firmware with estlcams.
1 Like
I assume the solution to the Estlcam overwrite would be to re-flash Marlin? I did change, in the controller, the machine from Bob’sCNC (my old machine) to Arduino Mega.
I probably checked the fuse wrong…old fuses had filaments in them that melted when blown so no voltage could cross them from one end to the other. That’s all I checked. Thanks.
1 Like
I re-flashed Marlin and it came back up. The steppers won’t move…so it crashes saying it failed to home.
Could someone tell me how to test the fuses? Powered on/off…on/off the board…or some other way? I ordered new fuses from V1 but I also want to make sure I know how to replace them…they look removable…right? Just pop them out with a small screwdriver or what? Thanks.