This will be my first MPCNC build and will be 24"x24"x4". I plan on building a table as well as enclosure. I will then in the near future setup a proper dust collection which has been in mind for a little while now for my 2 car garage workshop.
I figure i will need a 48"x48" (not sure how much smaller I can really go) table that way I have enough room to put on an enclosure and still have a little breathing room within the space. I am going to build the top enclosure part so that it can be lifted off with two people if I need to get inside and work. I will also put the entire bench on casters so I can move around the shop if I need to.
Table
I plan to use 2x4s with and MDF top. I am still undecided if I should cut out the workspace center and use and MDF spoil board or place another piece of MDF on top and use that as a spoil board. I was going to do 4x4s for the legs but based on other builds it seems that 2x4s should be fine. There will be a lower shelf towards the bottom and either another shelf closer to the top or drawers still undecided.
Enclosure
Frame out of 2x4s and the walls will be as follows OSB>Rock Wool> OSB, Drywall, or something else. Handles will be on the outside and hopefully not be to heavy for two people to lift up if needed to be removed. May also attach Barrel bolts on the outside to secure the enclosure to the table if i feel it may move.
MPCNC
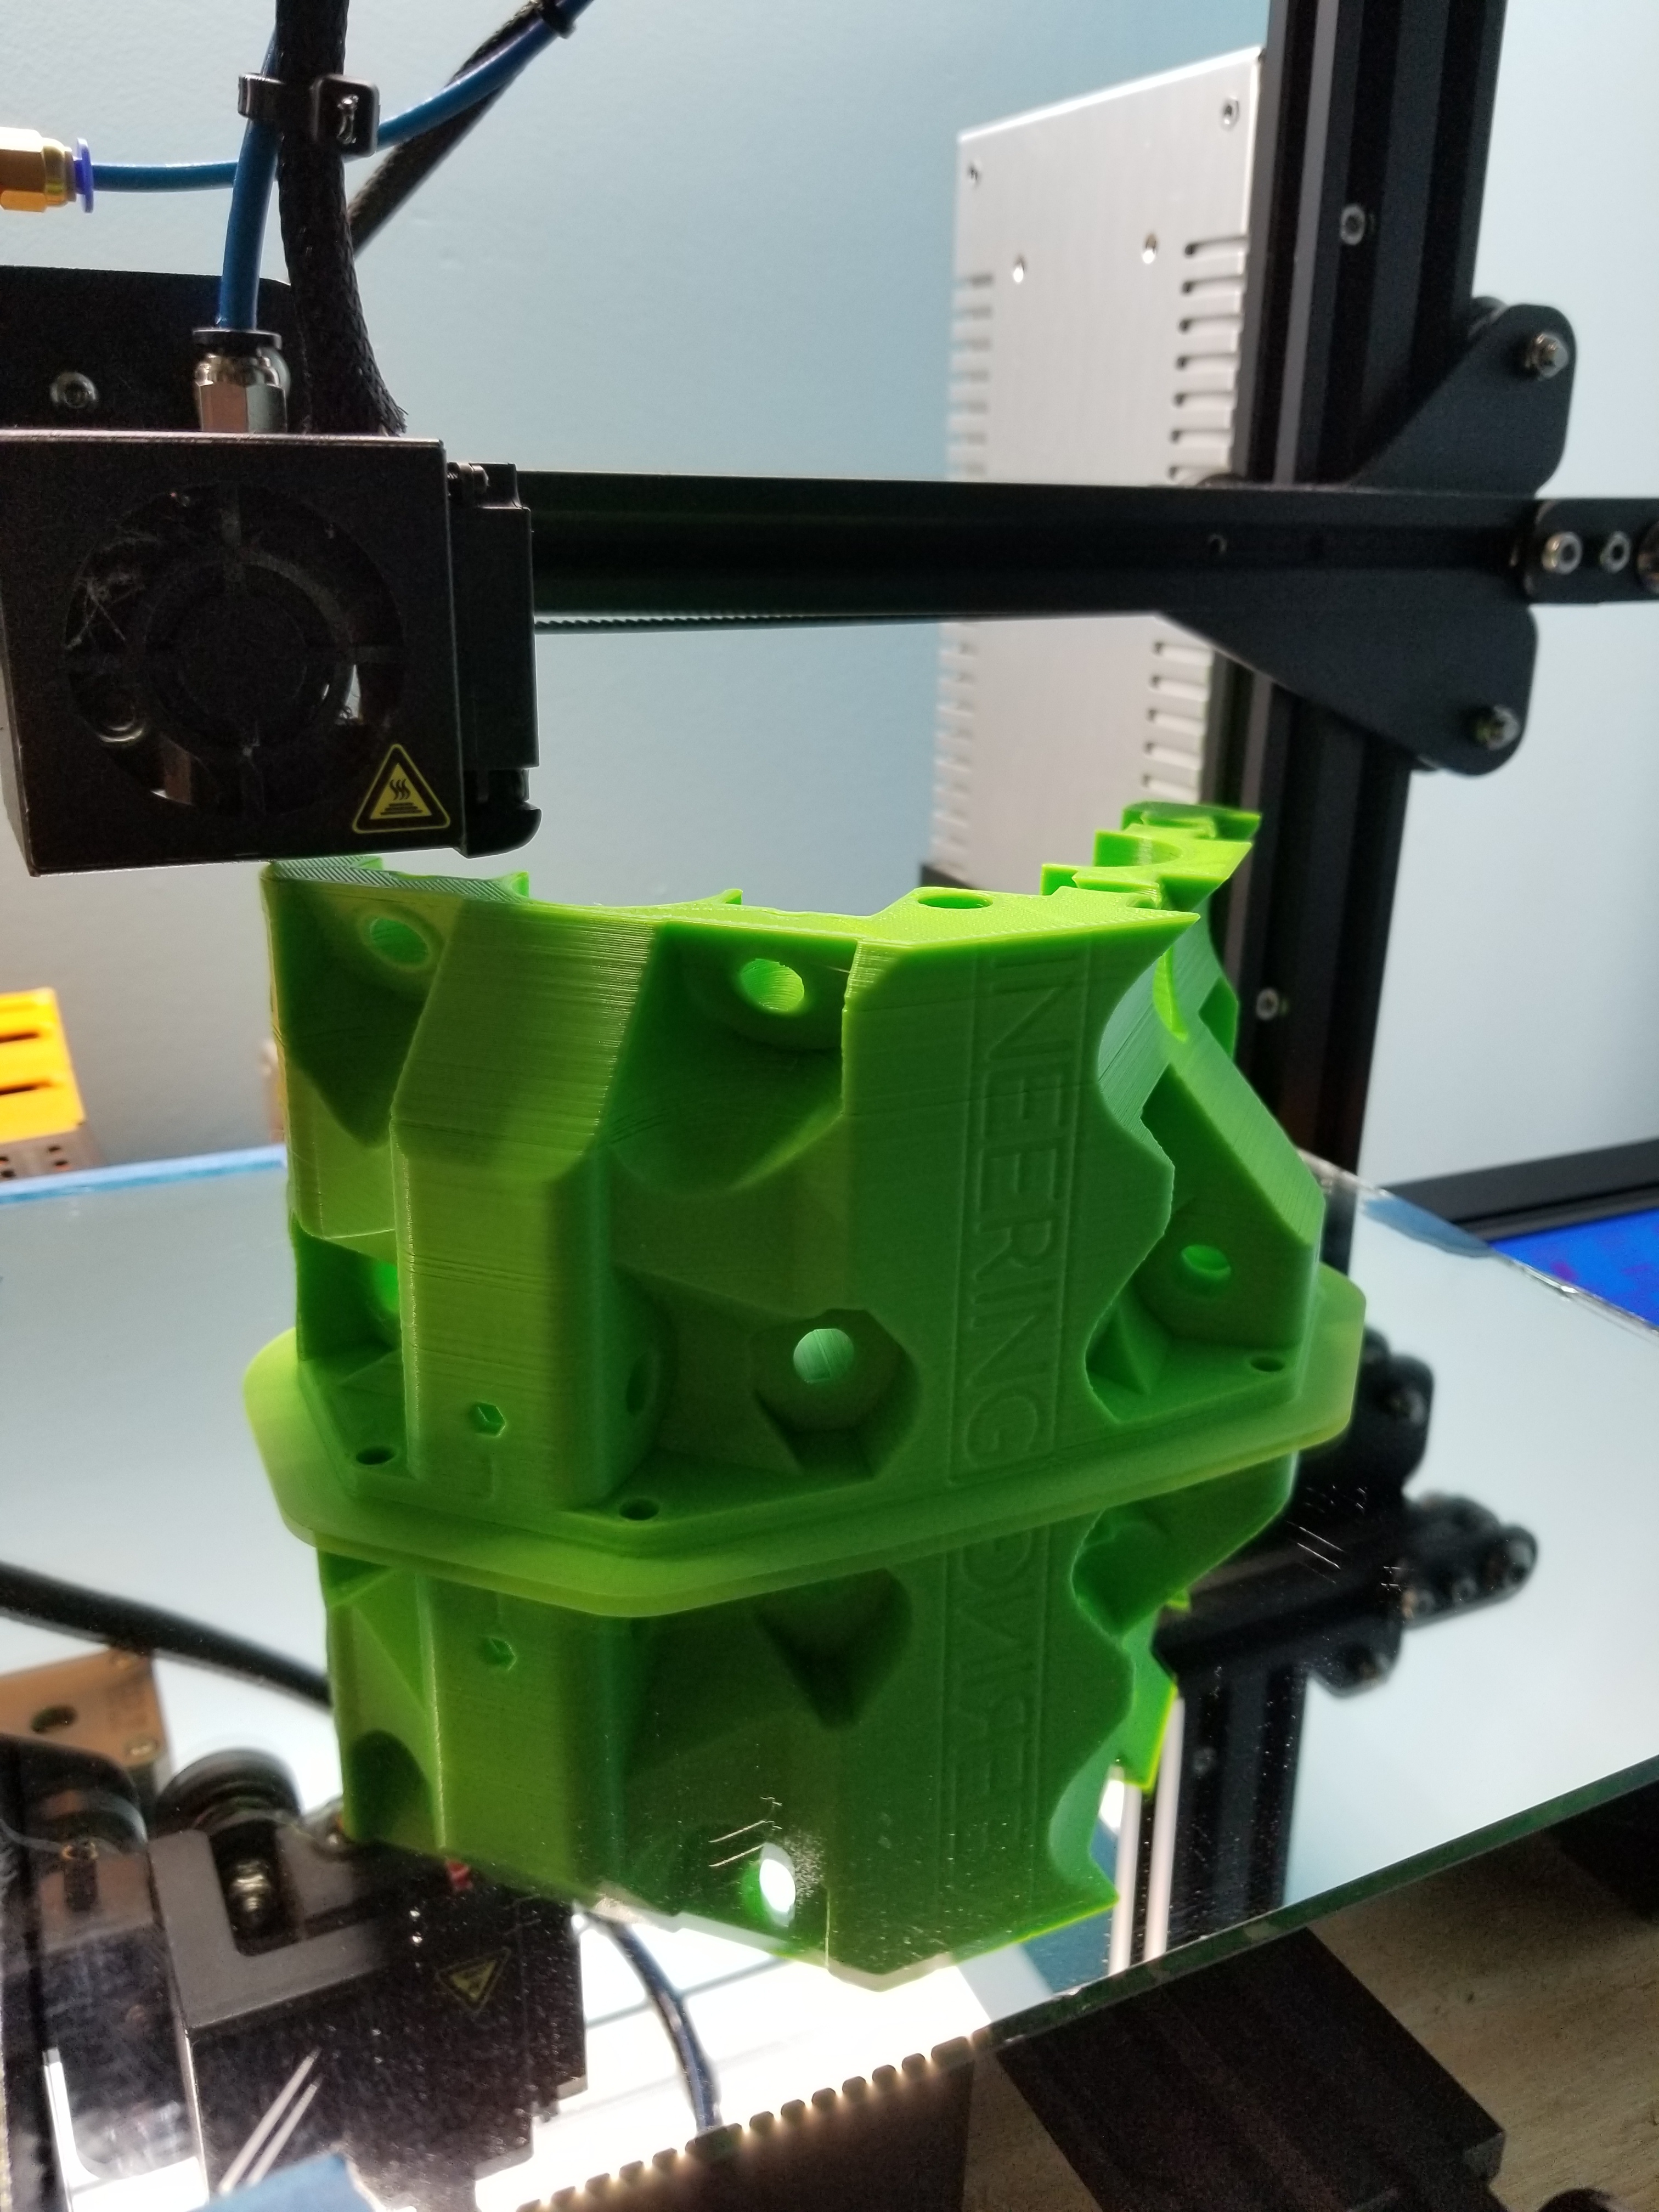
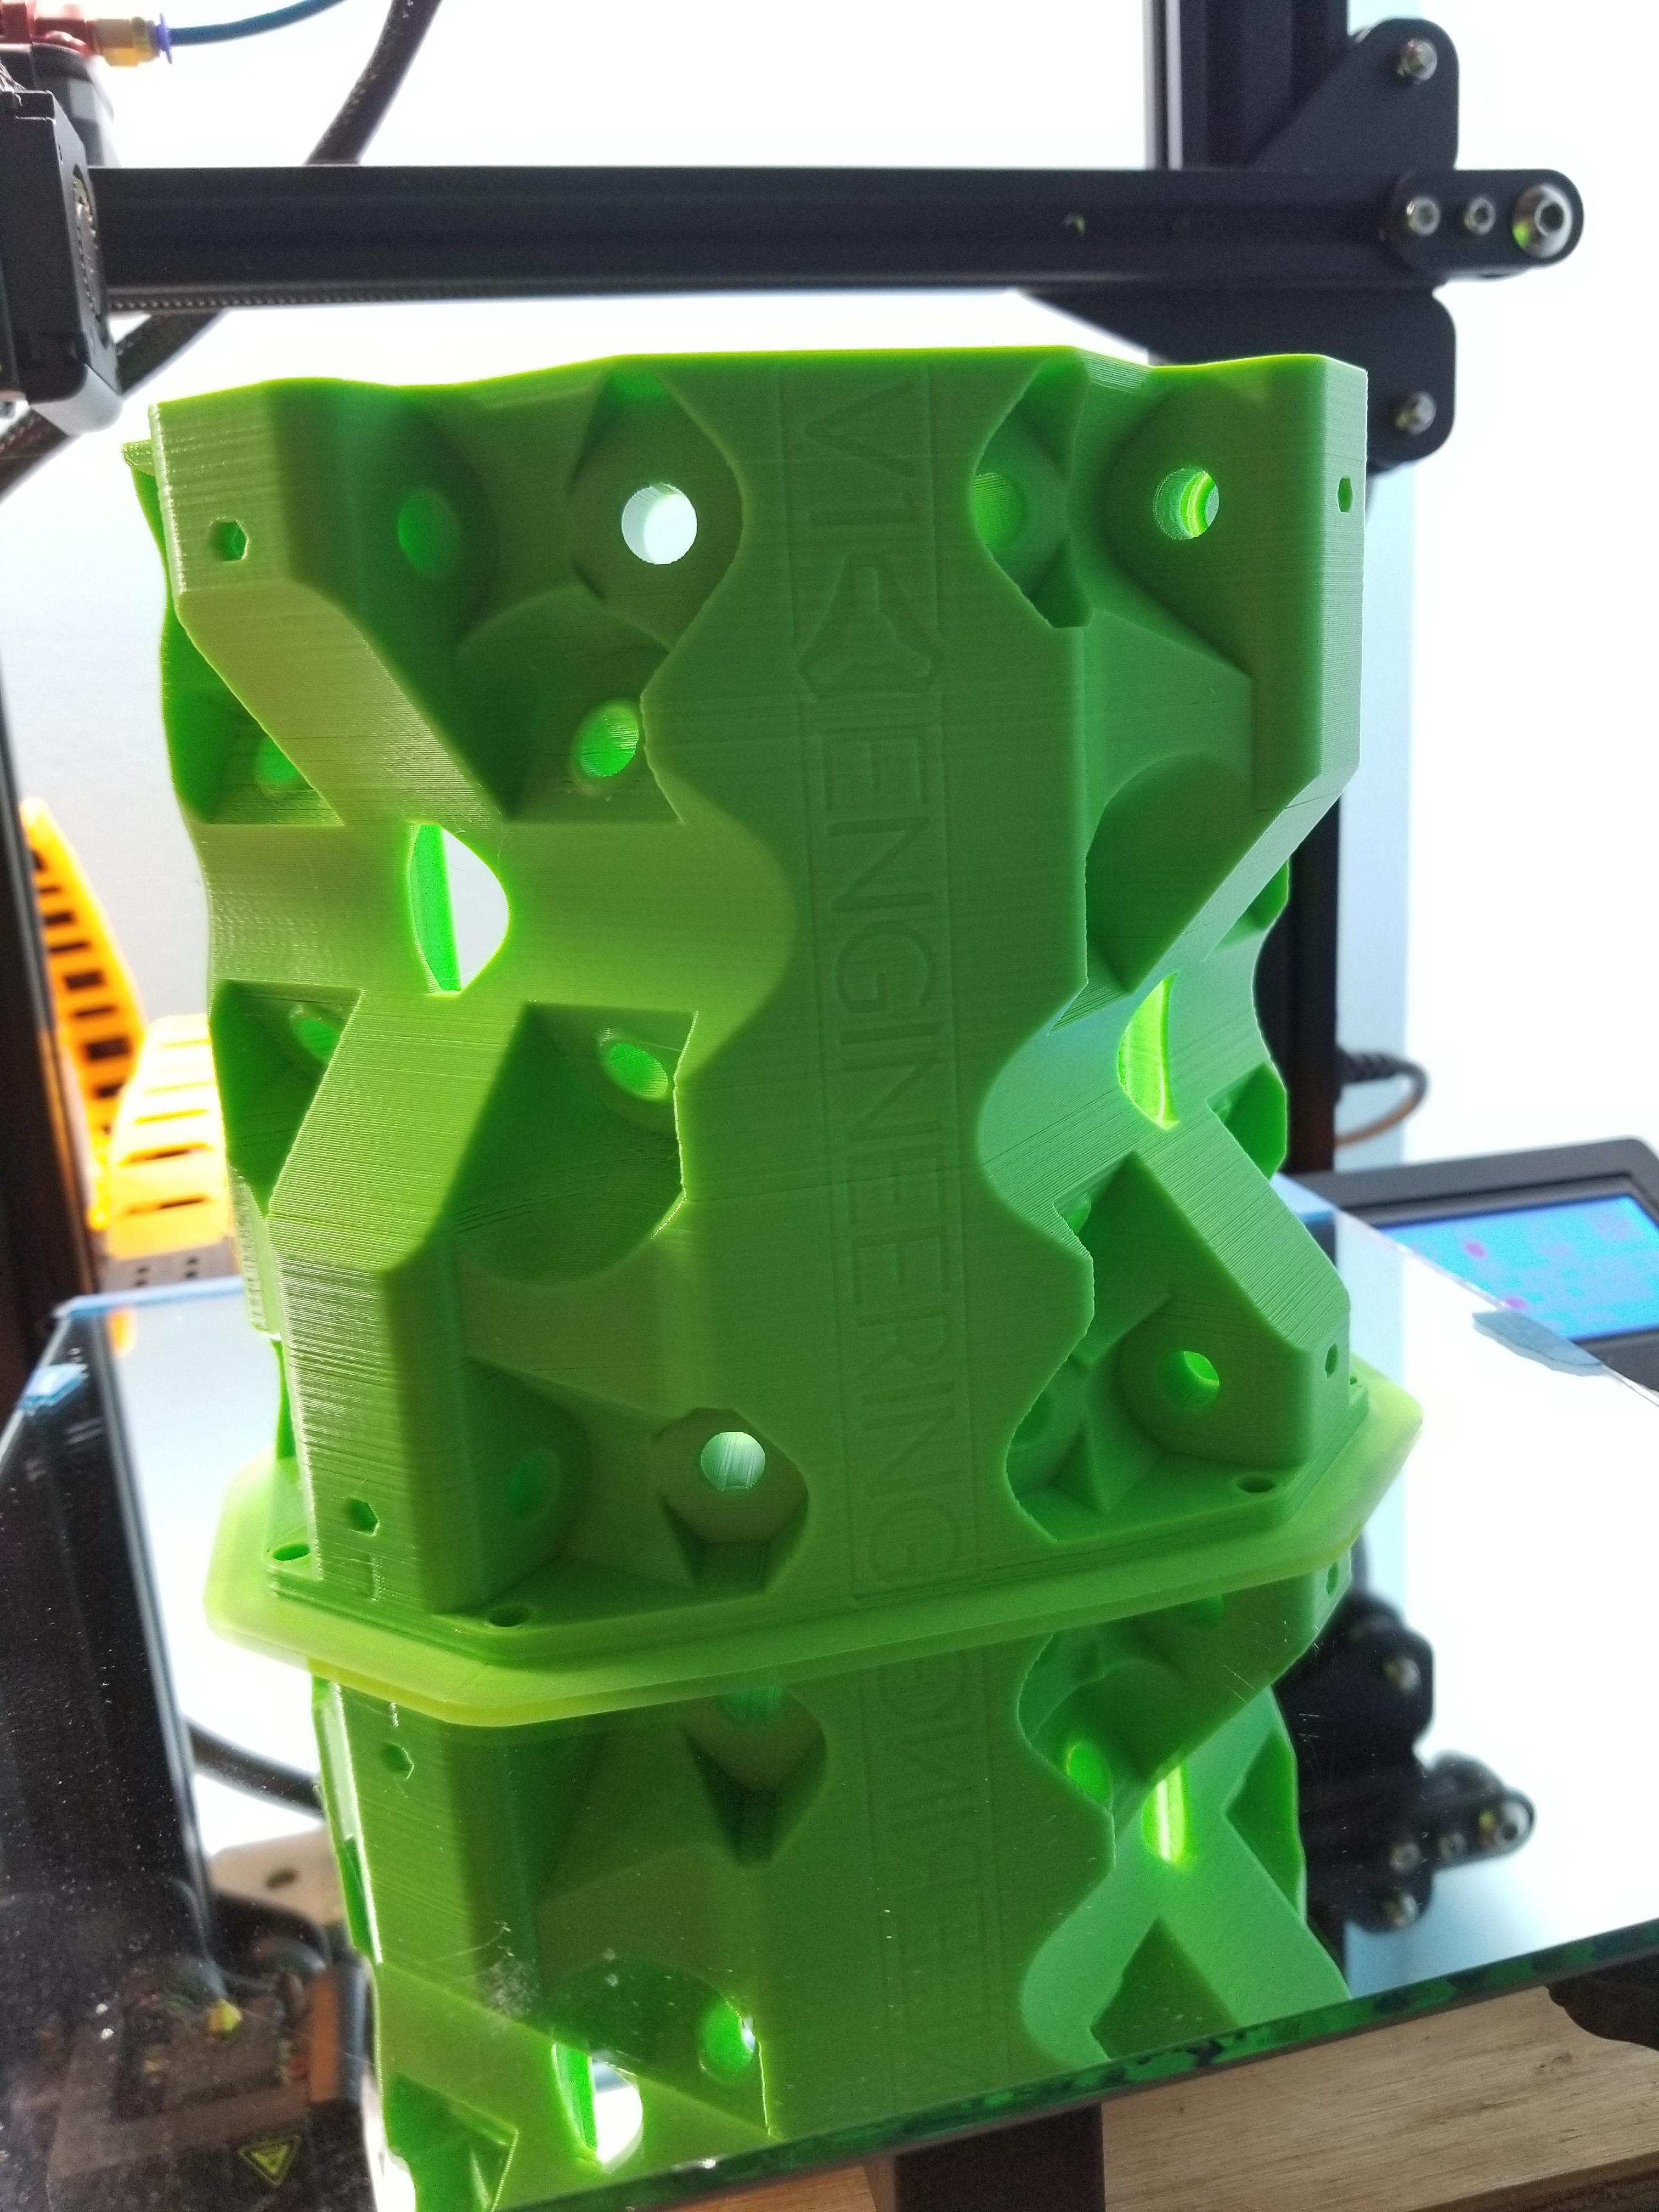
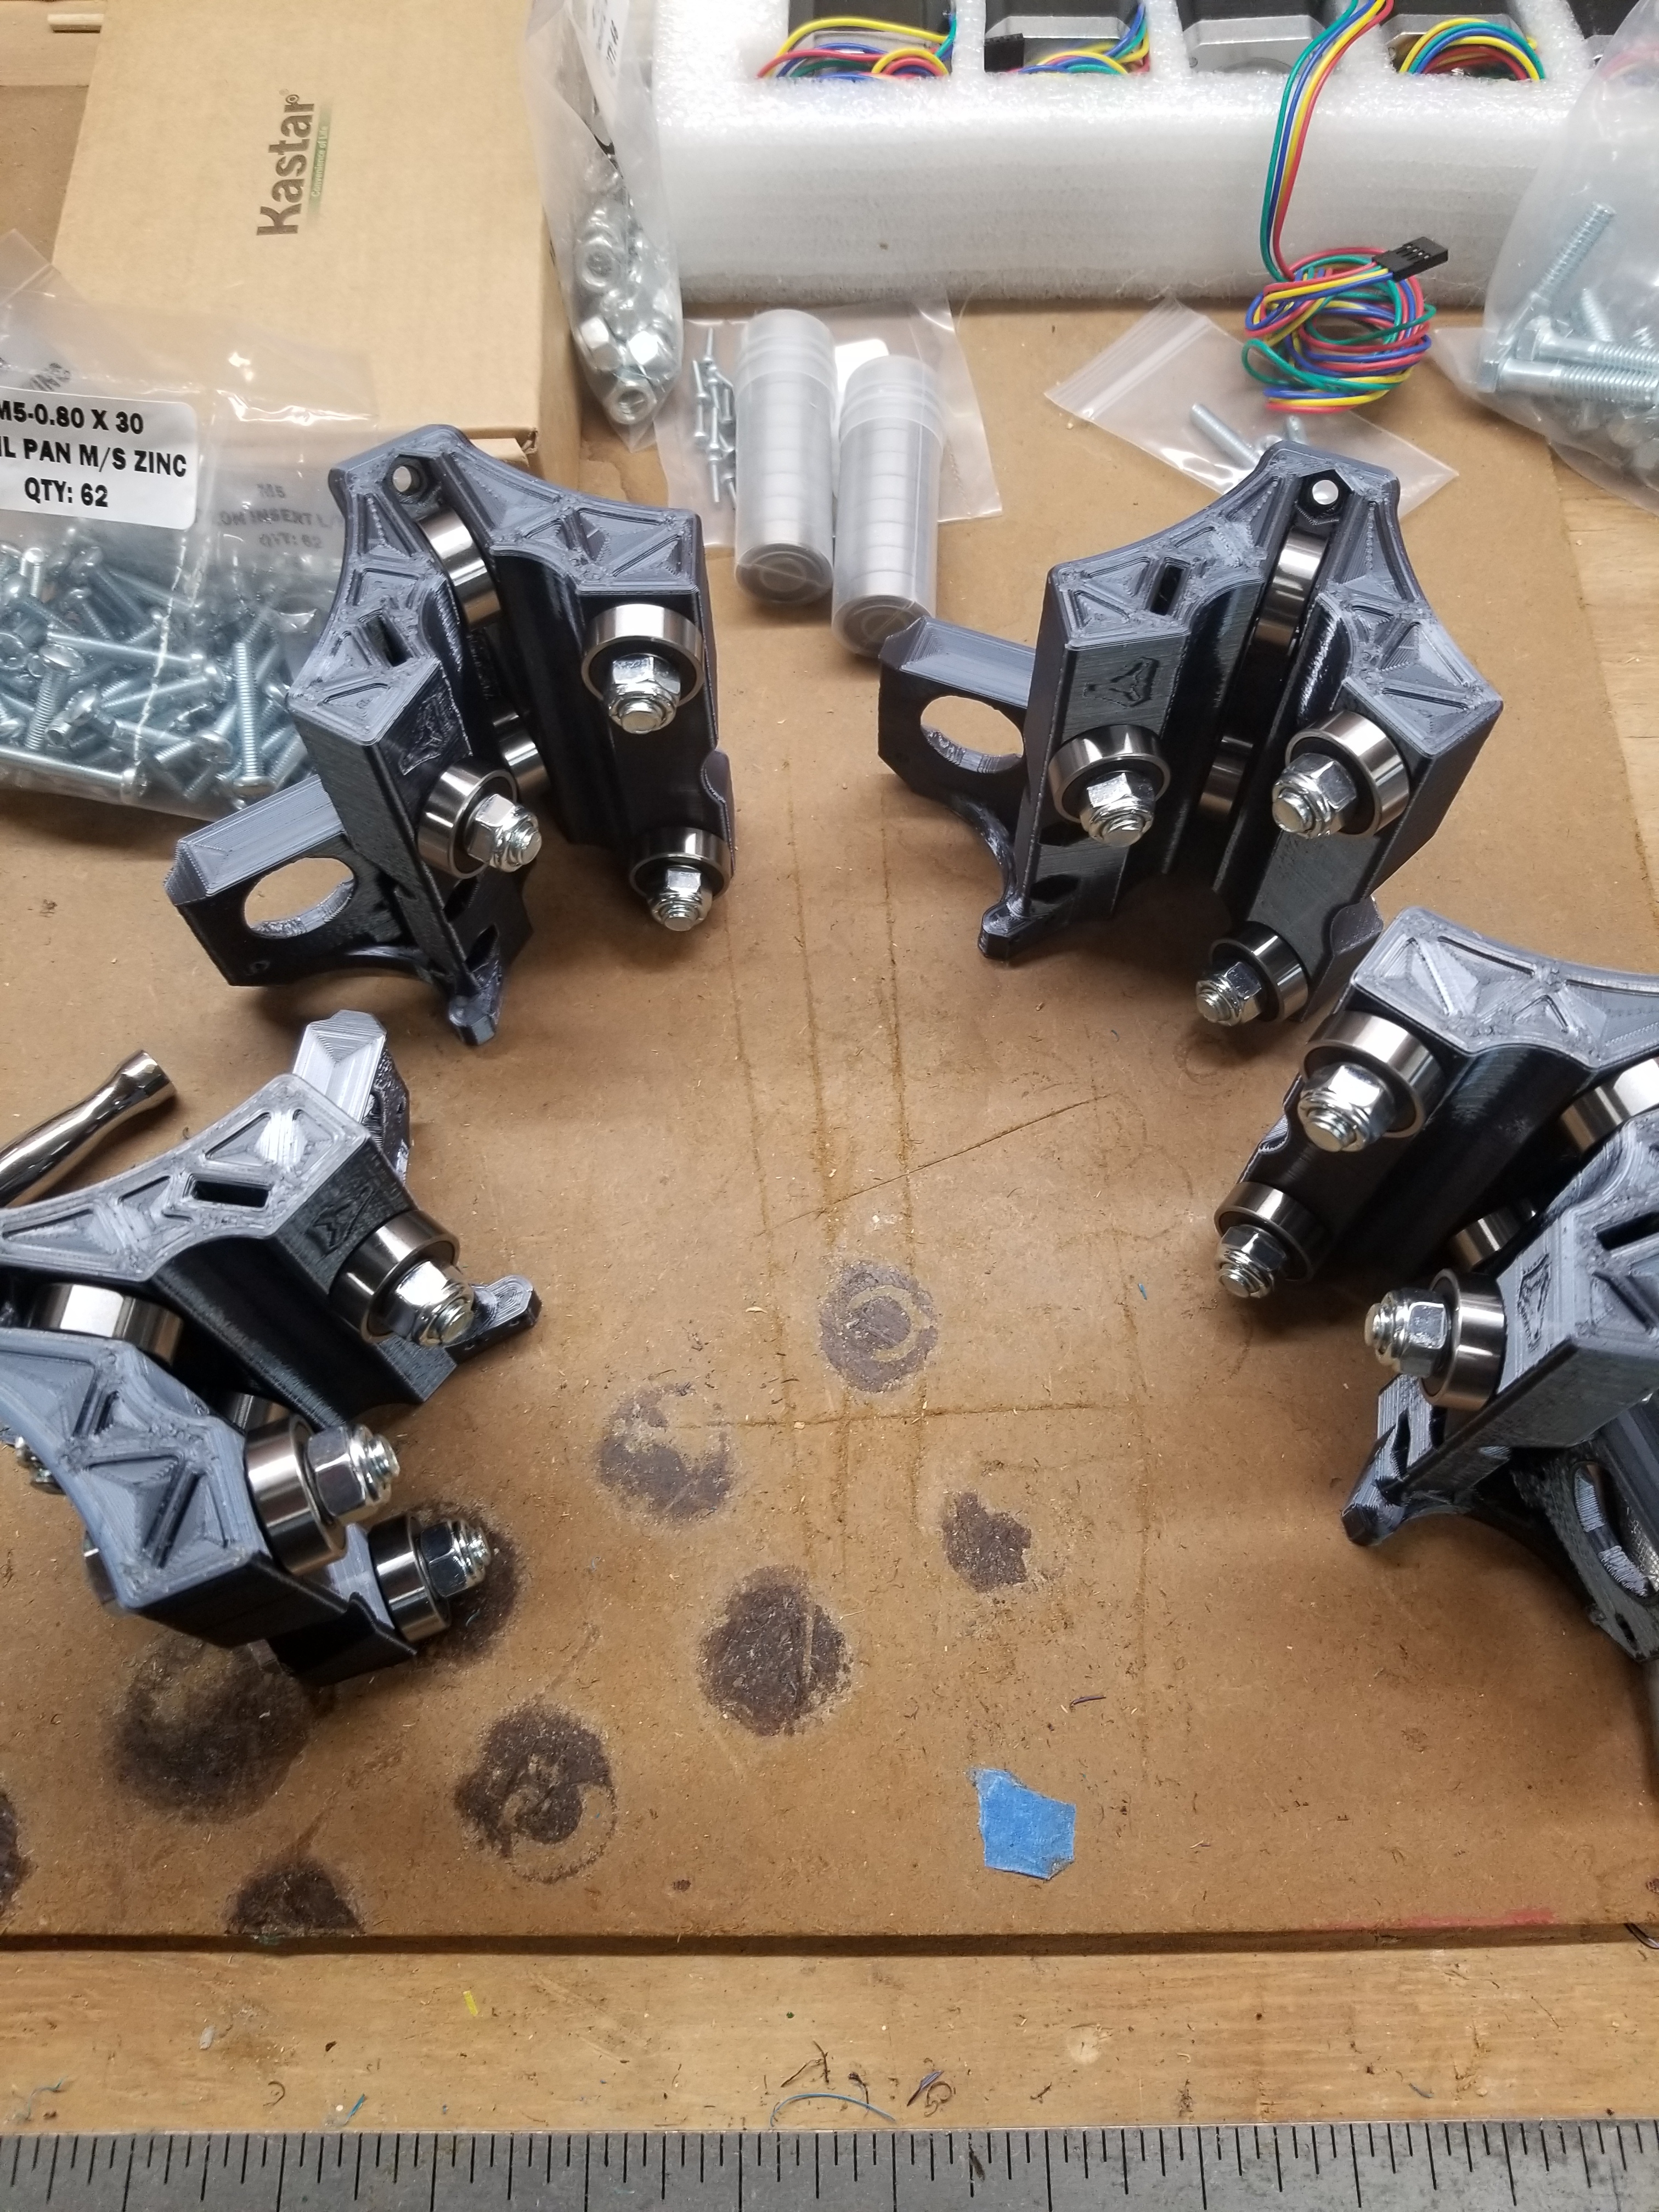
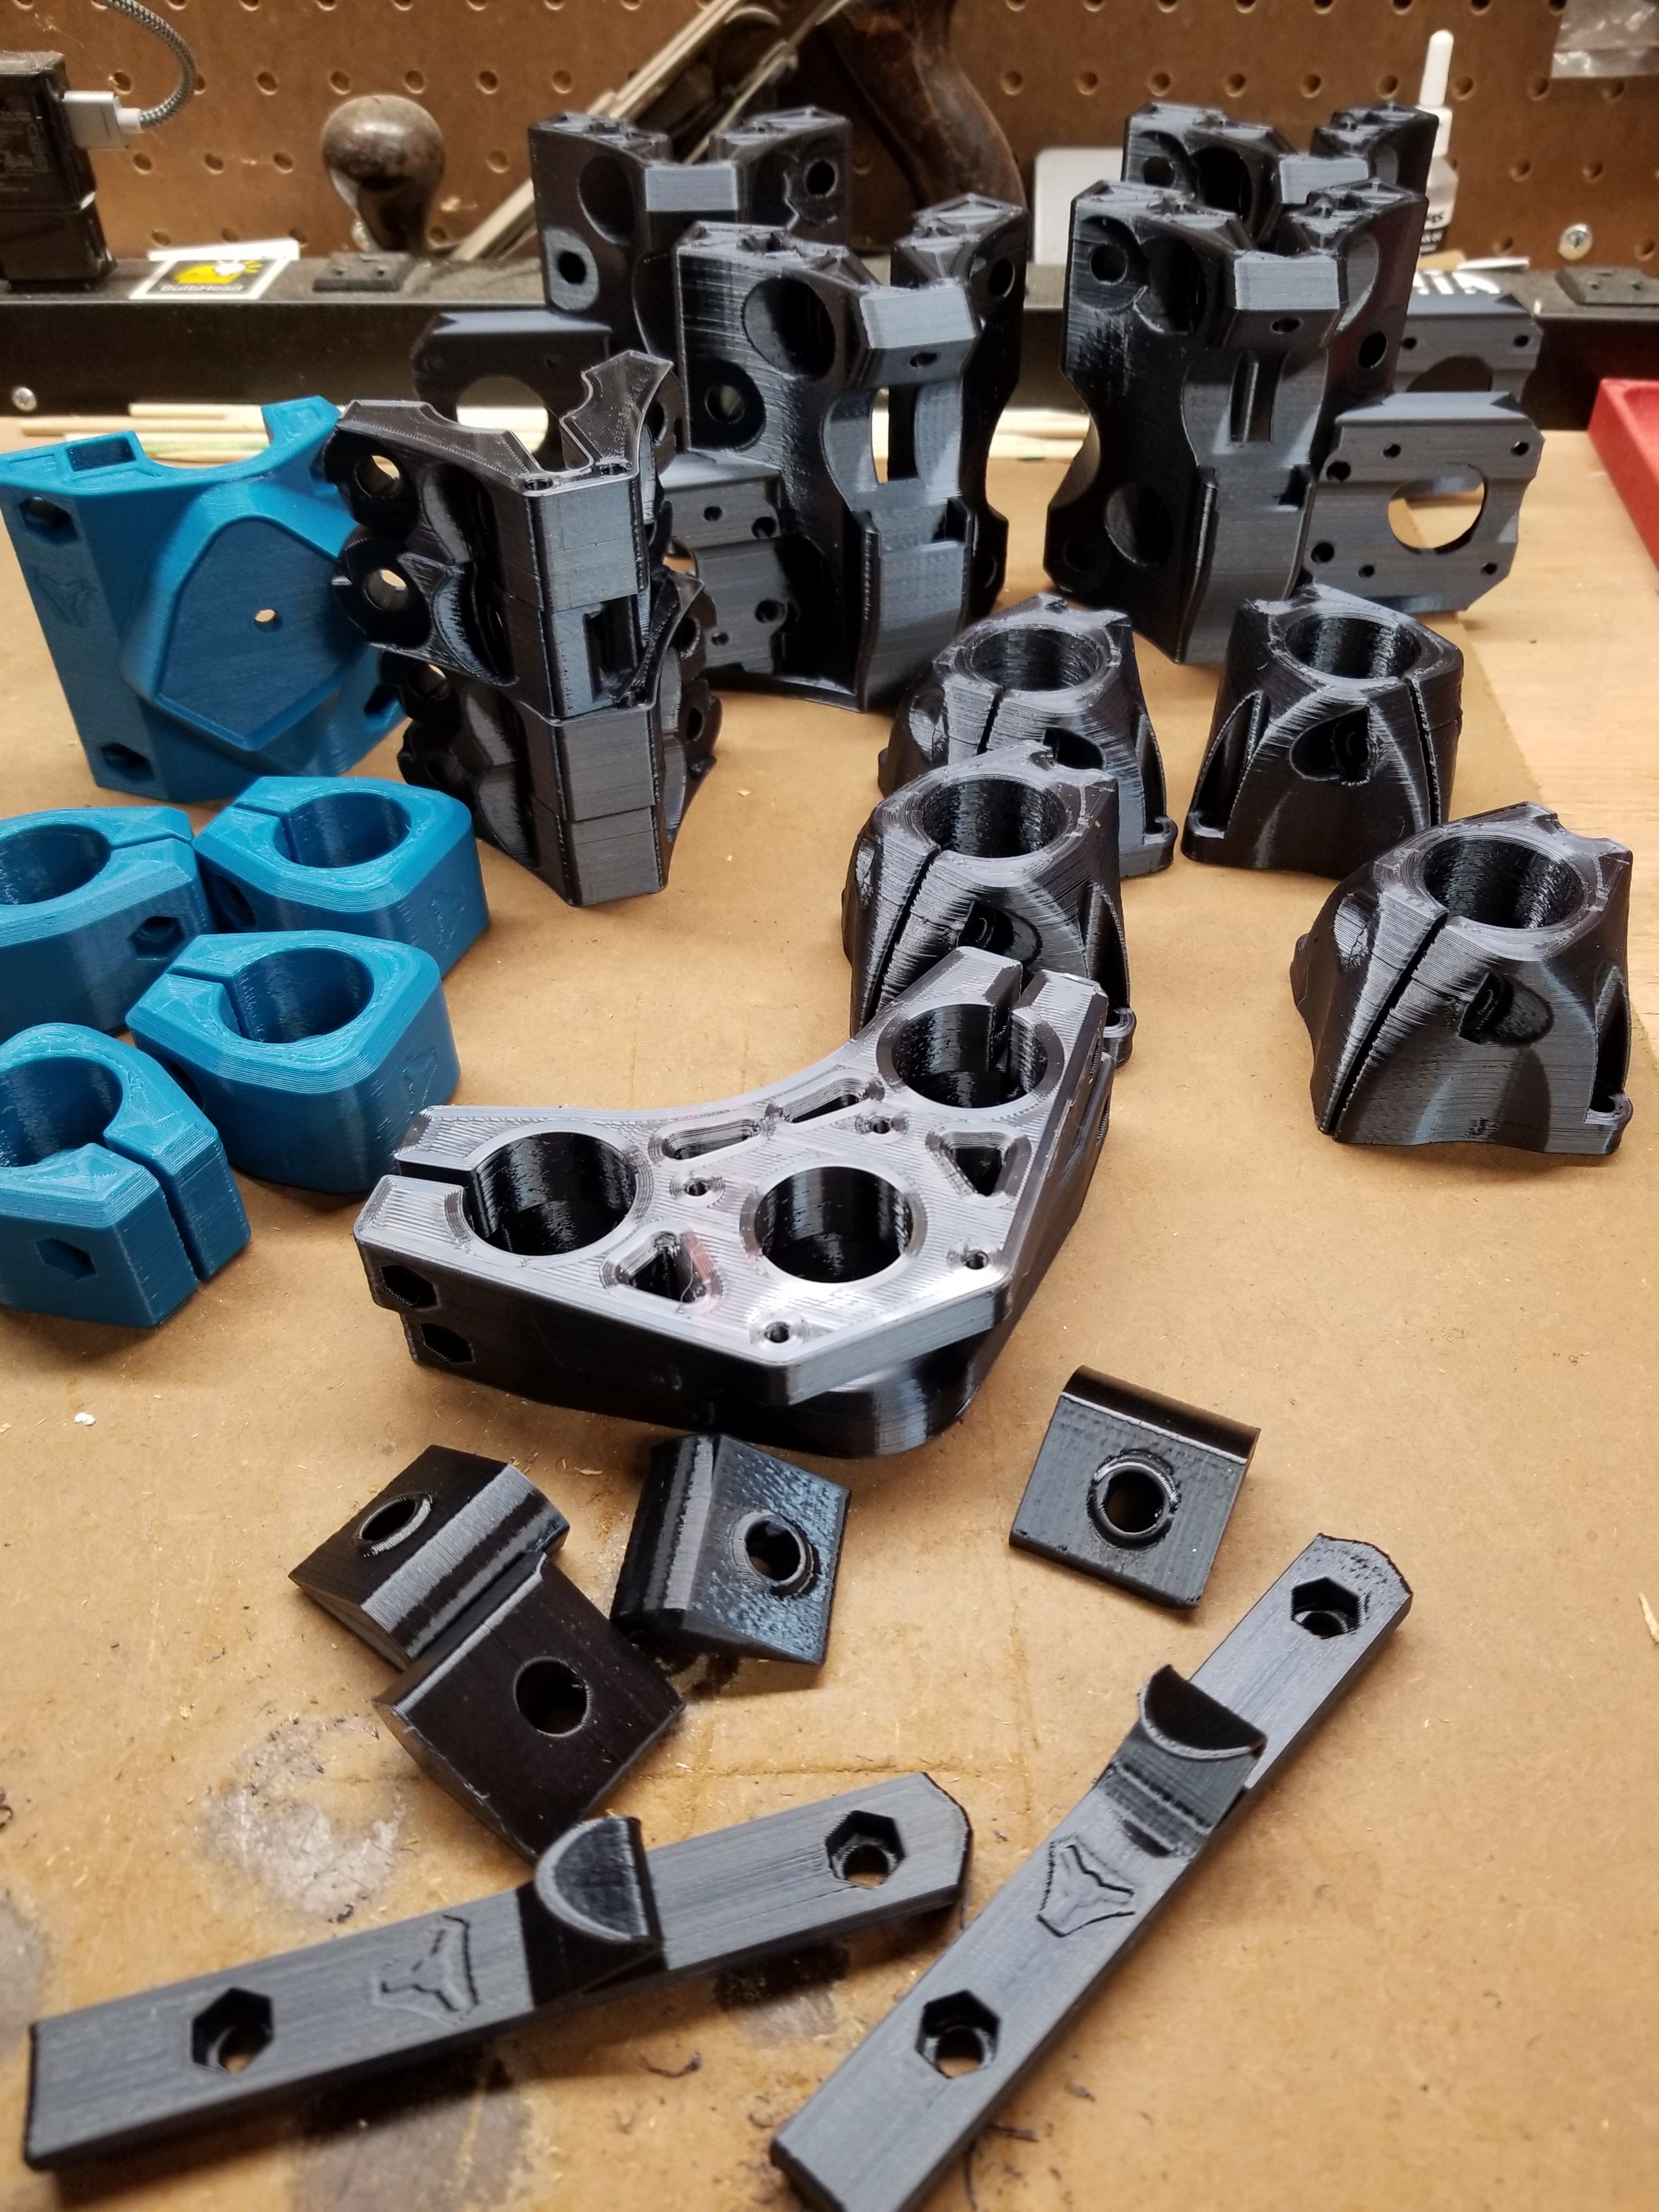
Currently printing the parts on an Ender 3 with .4mm nozzle and .24 Layer Height. I was originally just using my one Ender but have since started using the other to print the other color. Little nervous as to the how well the tolerances are set on both machine and hopefully will not run into any weird conflicts in matching up A parts that need to go to B parts.
A parts = Black PLA 3dSolutech
B parts = Teal Blue PLA 3dSolutech
Core =Apple Green (not sure yet to give it some pop and green is my fave color) PLA 3dSolutech
Pipe = 3 - 8’ 1" pipe from Jegs
Waiting for the kit to become available in the shop instead of sourcing all the parts on my own.
I have some old desktops/laptops collecting dust and will resurrect one to be used for the MPCNC was going to go with Linux based OS but seems that the majority of the software used is on Windows.
Thanks for reading and feel free to give me any advice or tips!
Looking forward to yet another rabbit hole I have decided to go down.
I use only Linux. I use onshape for cad, estlcam in wine, although I am keeping an eye on kiri:moto. There is also freecad, linuxcnc, bcnc, and I’m sure a bunch of others. Fusion is windows only, although, I did try it in a virtualbox foe a while.
The foot looks great, and your plans seem good to go.
Thanks I will probably experiment with setting the shop computer up with Linux. Worst case scenario I got my main windows laptop to use. Just would rather have a shop computer I don’t have to worry about to much.
Got distracted with other things I had to end up doing. Wasn’t able to build the frame or finish cutting the pipes.
Should be finished with all the printed parts tonight. Then on to printing the core.
I was able to bring life into an old laptop and installed Linux Mint been awhile since I played around on Linux. Trying to get estlcam to work through playon and have been unsuccessful so far. Going to do some more searching and hopefully find a solution.
If there’s something you need from my machine’s config, let me know. I am not very experienced with wine (the program, reasonably experienced with wine the drink). I just used it a few days ago.
Nice! I kinda did the same thing, but rather sold an old laptop and some other extra computer bits and picked up a deskmini since I have a thing for SFF pcs. Also installed linux mint. I’m using cura to slice for the 3d printer. Please let us know what you work out for modeling. I’ll be paying attention.
Cut some of the pipe last night got 2 more rails and the 4 legs to go as well as trying to make the pipes flatter. Hoping i cut the legs perfect That’s why I saved them for last.
Placed my order for the hardware kit tonight got the following
Dual End Stop Wiring
Rambo
1/8" Endmill Variety Pack
Was going to provide my own board but decided against it after doing some searching and figure I didn’t want to deal with the headache of not installing the firmware properly or possibly buying one that isn’t as compatible or something. However, I figured I would give the dual end stop setup a try. I believe I will have to make some changes in Marlin to activate that or does it already ship enabled? I believe I ordered what I needed still need to order the Dewalt though. Slowly getting there…
This is probably a dumb noob question but are the part files for the Primo the same as the Burly parts? When I look on the Link at thingiverse, all I can find are the Burly Parts
I was able to get Estcam installed as well as repetier host. My problem was i was missing mono devlop but all seems good now. Haven’t setup them up yet but they are launching.
I am behind on my table build I couldn’t decide how I wanted it but it is coming a long now and think I have finally decided. Tonight I Worked on laminating x2 2x4s for each leg to make it more sturdy and hopefully work on the top frame tomorrow and attach the legs and wheels.

 That’s why I saved them for last.