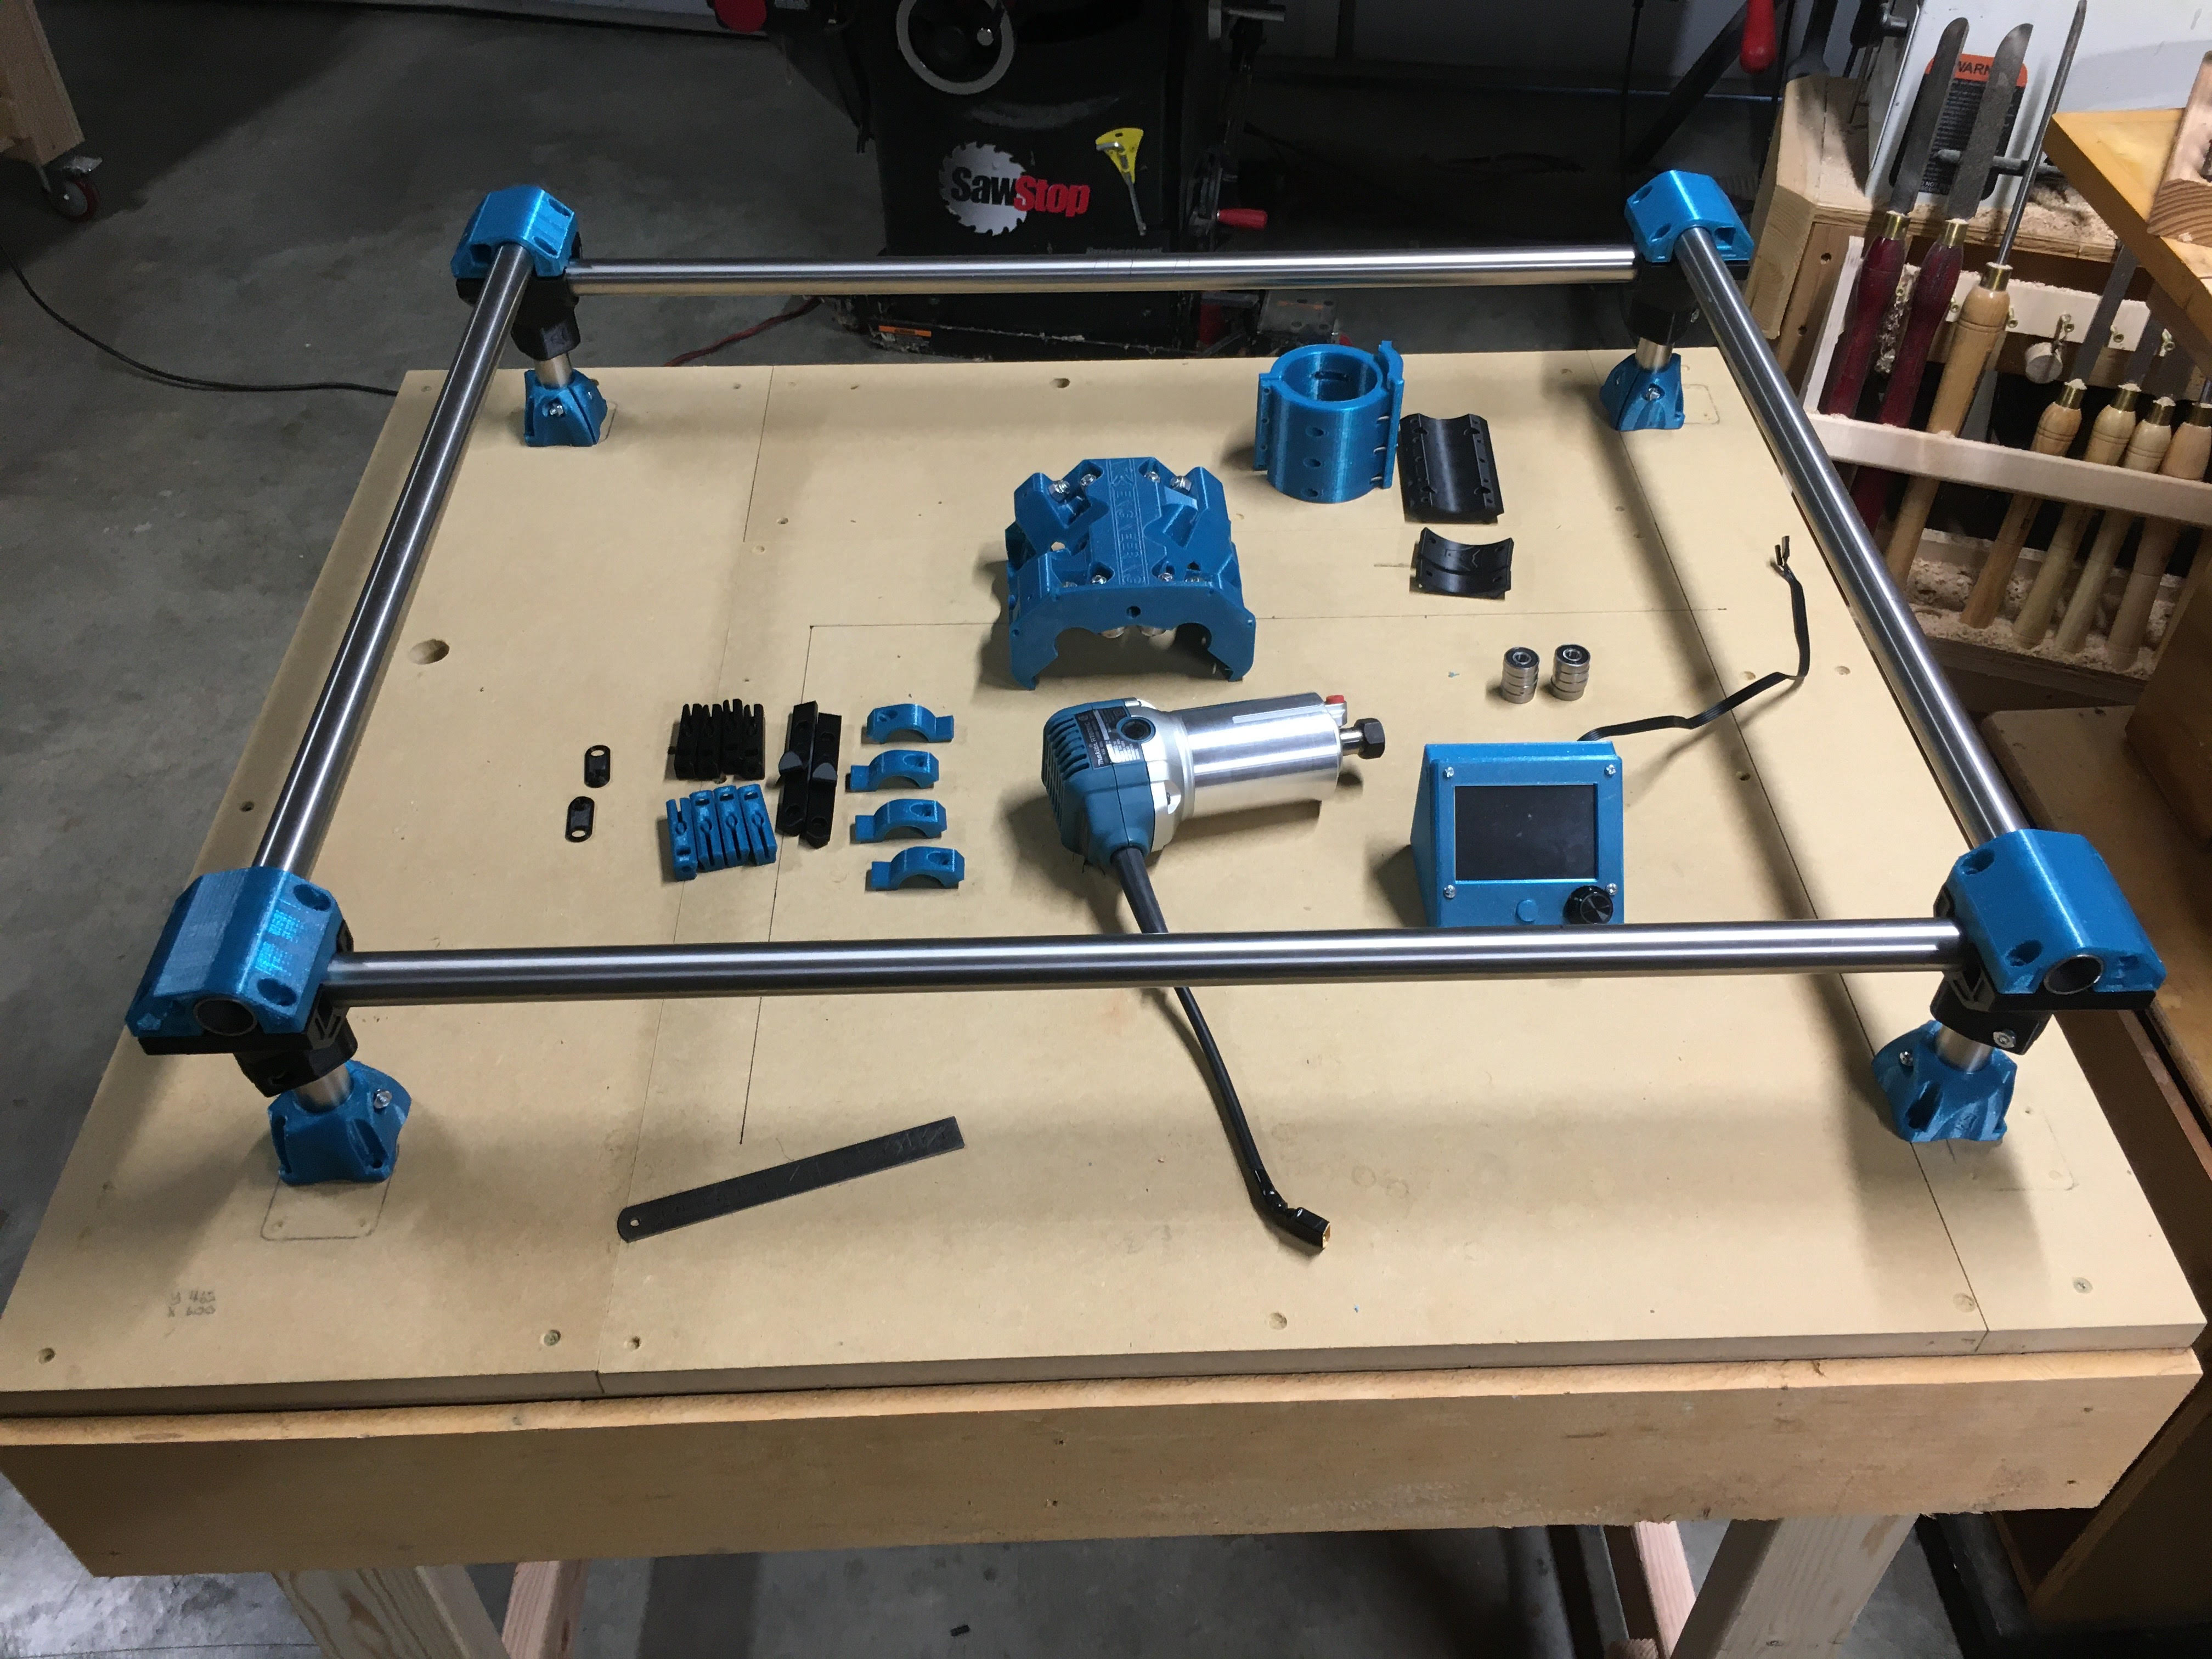
I’m a Makita guy, all my battery powered tools are Makita. The sparkling blue filament from Hatchback goes well with the Makita blue of my router. Two more days of printing to get through the slow part. Upgrade kit from Ryan shipped yesterday. Will be having some serious fun early next week. I’m running on stainless steel tubes and using a Bigtreetech SKRv1.3 board with TFT35 display running Marlin. I will use the z axis from my Burly build. Checked it already and fits well in the core. Looks like we are going to lose around 1 1/2 inches of x,y travel from the burly build. I’m using the same tube lengths I had in the burly.
17 Likes
I do like the looks of those Makita spindles.
Makita router on Amazon(here), Home Depot (here).
Router is 1 1/4 horsepower,variable speed, 1/4 shank, and has a 65 mm diameter. Thingiverse has holders for it.
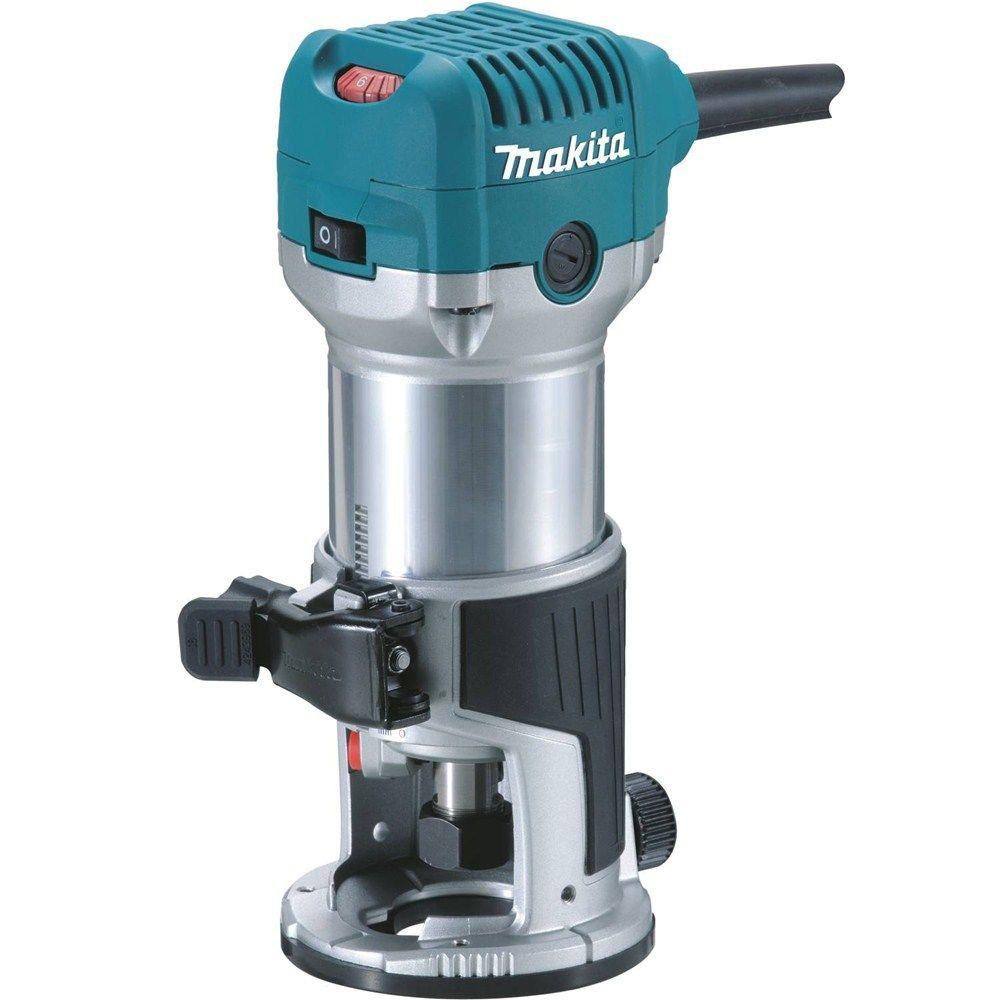
I have one of those routers sitting here. I hope to make a mount soon. You can use the rest of the Primo Z you just need the burly tool play and tool mount.
Love seeing a Primo so far along.
1 Like
I just finished printing the upper part of the primo z and will use it. Thanks. Tomorrow I will be finished printing all the primo parts and will be ready for the complete build. I have enough 1 1/2" 5/16 bolts(thanks to Tractor Supply. They sell them by the pound, all their grade five bolts are around $3/lb. Bought 60 for $5 and change. A great deal if you have one nearby.) I also have #10/24 1 1/4 inch machine screws that will substitute for the M5x30mm 's which I will use until your kit arrives. Nuts are a little to large but in most cases you can put the screw head where you intended the nut to go and it works just fine.
I never even considered making mine match the makita colors, that’s going to look great.
I did by accident. Sparkle blue was the only color by Hatchbox that was in stock so I ordered it back when I was building the burly. It surprised me at how well its goes with makita and with black. It is really more aquamarine than straight blue.
1 Like
Reprint the makita cap and it will match perfectly?
5 Likes
Beyond my pay grade, I’ll wait for you to do that one 
1 Like
Dammit Jim! It is a 3D printer, not a 3D copier!
5 Likes
You forgot the “Damn it Jim!”
3 Likes
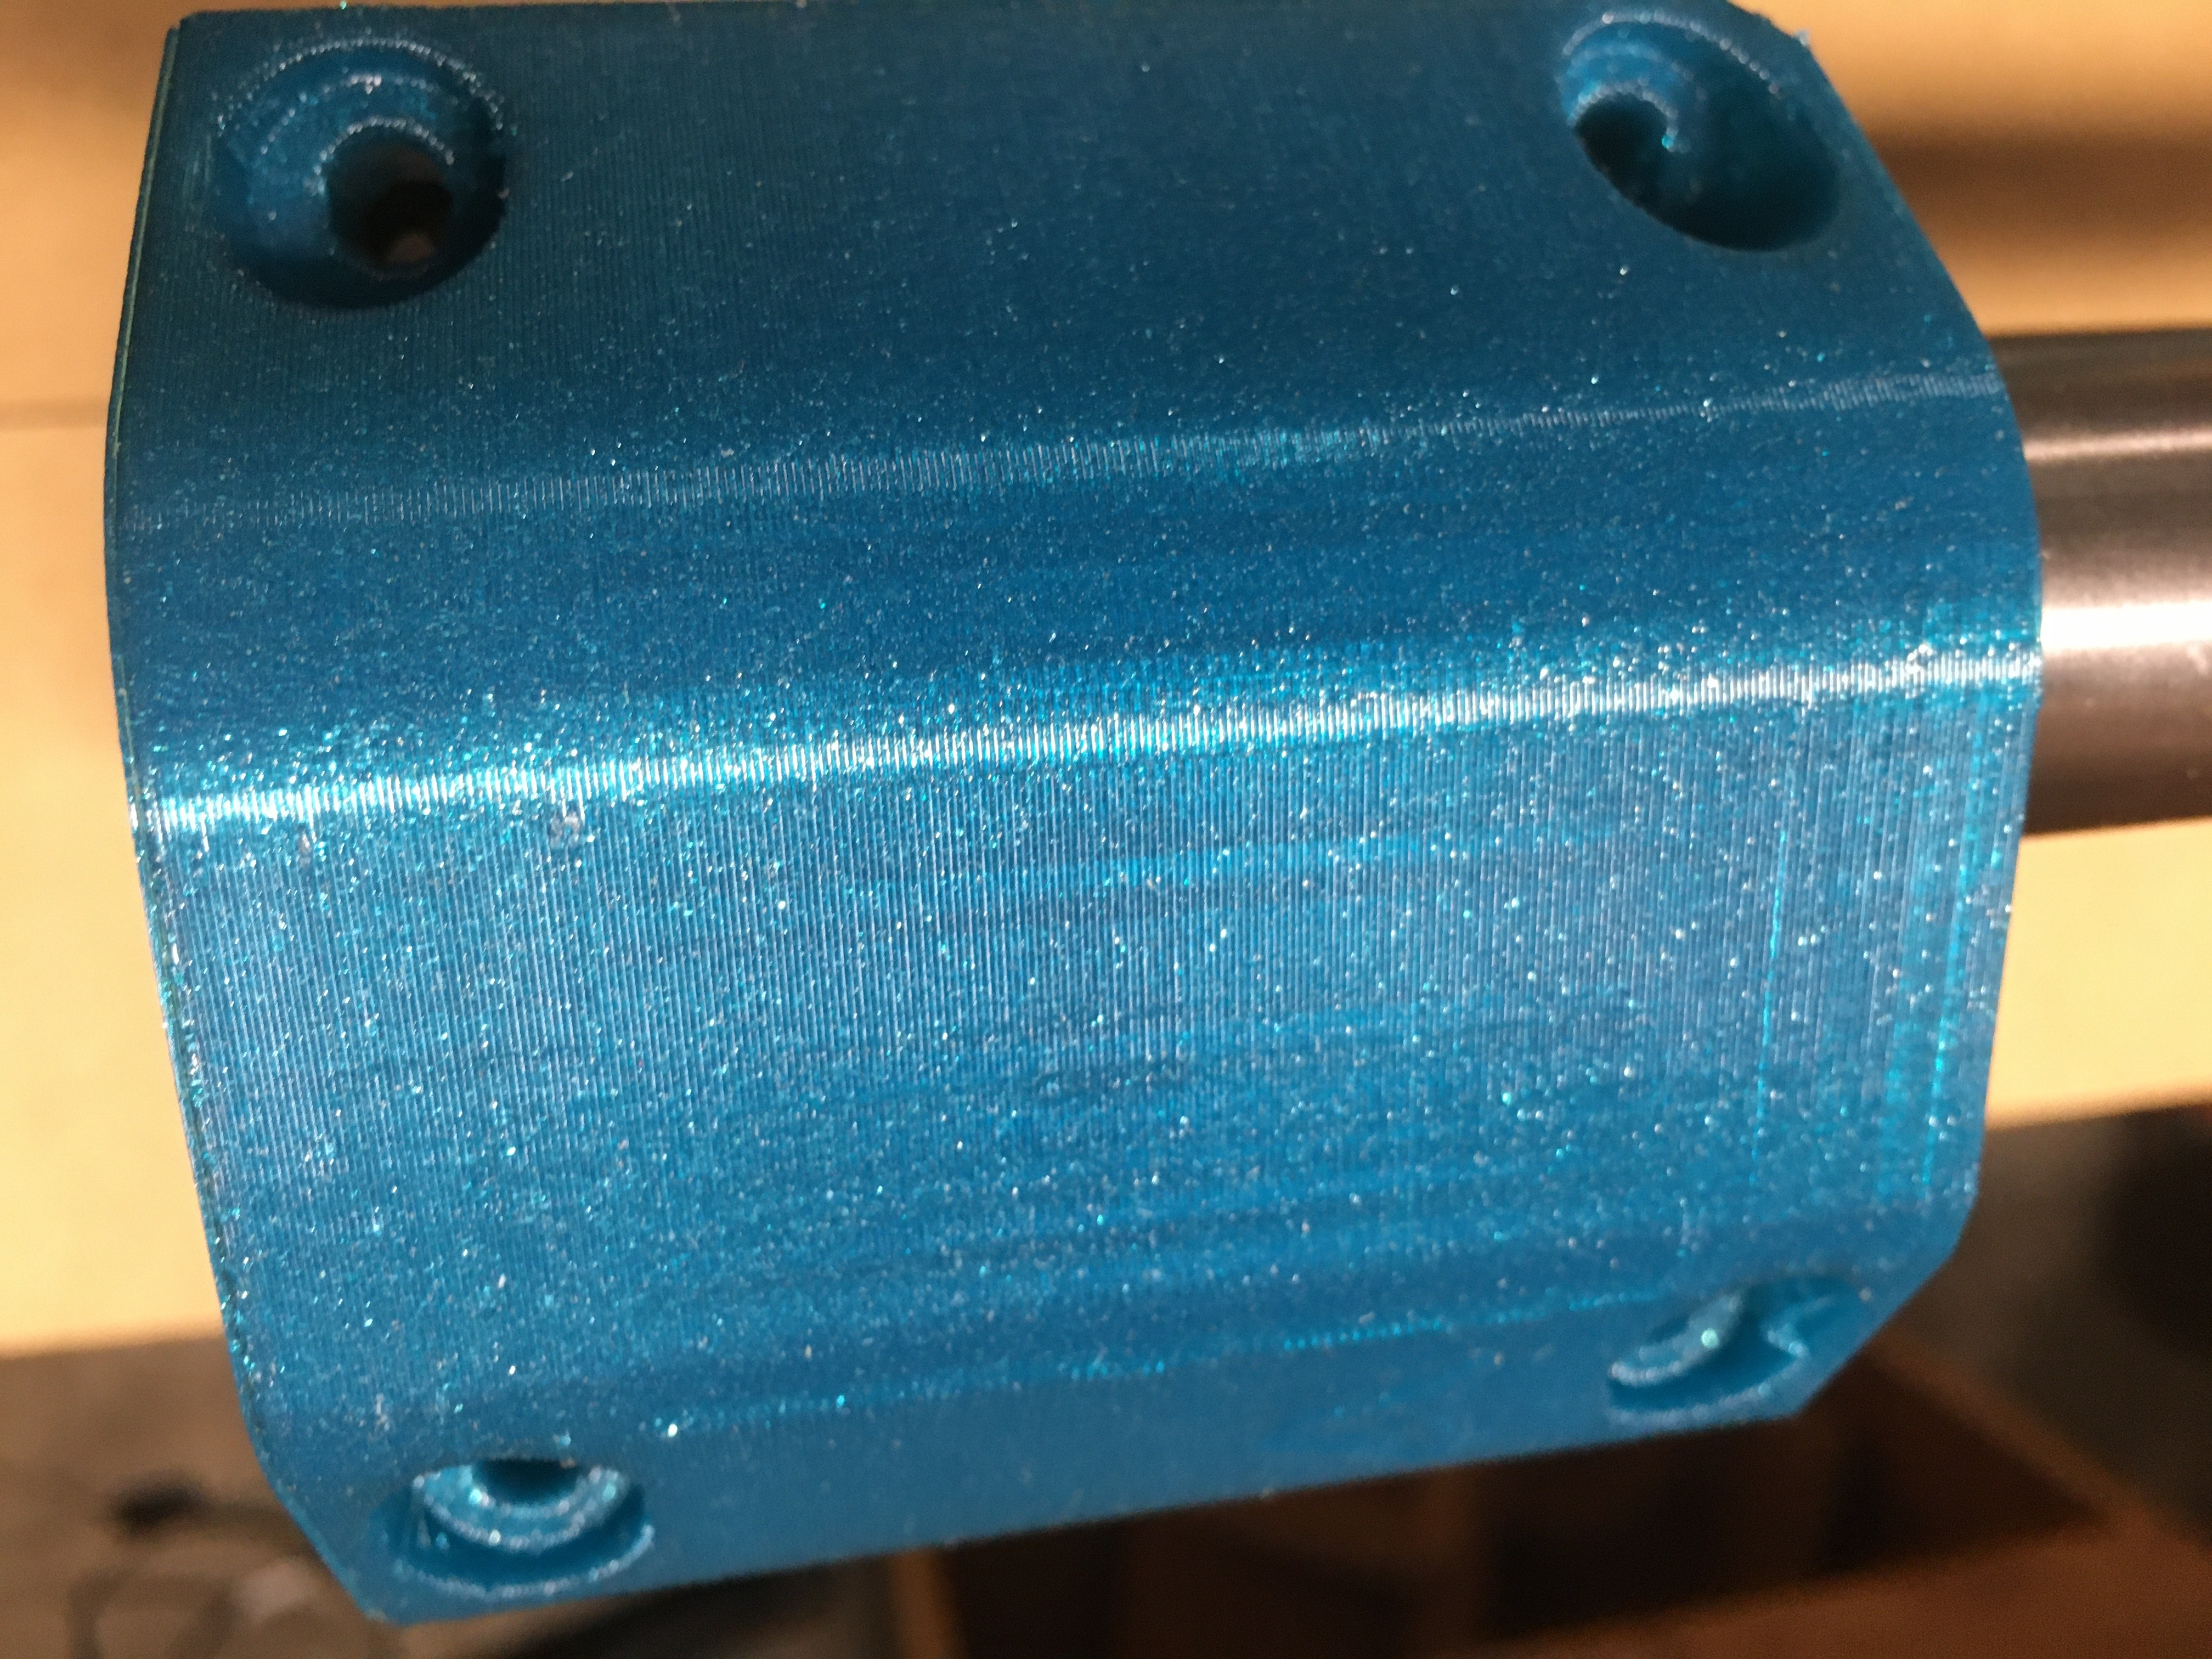
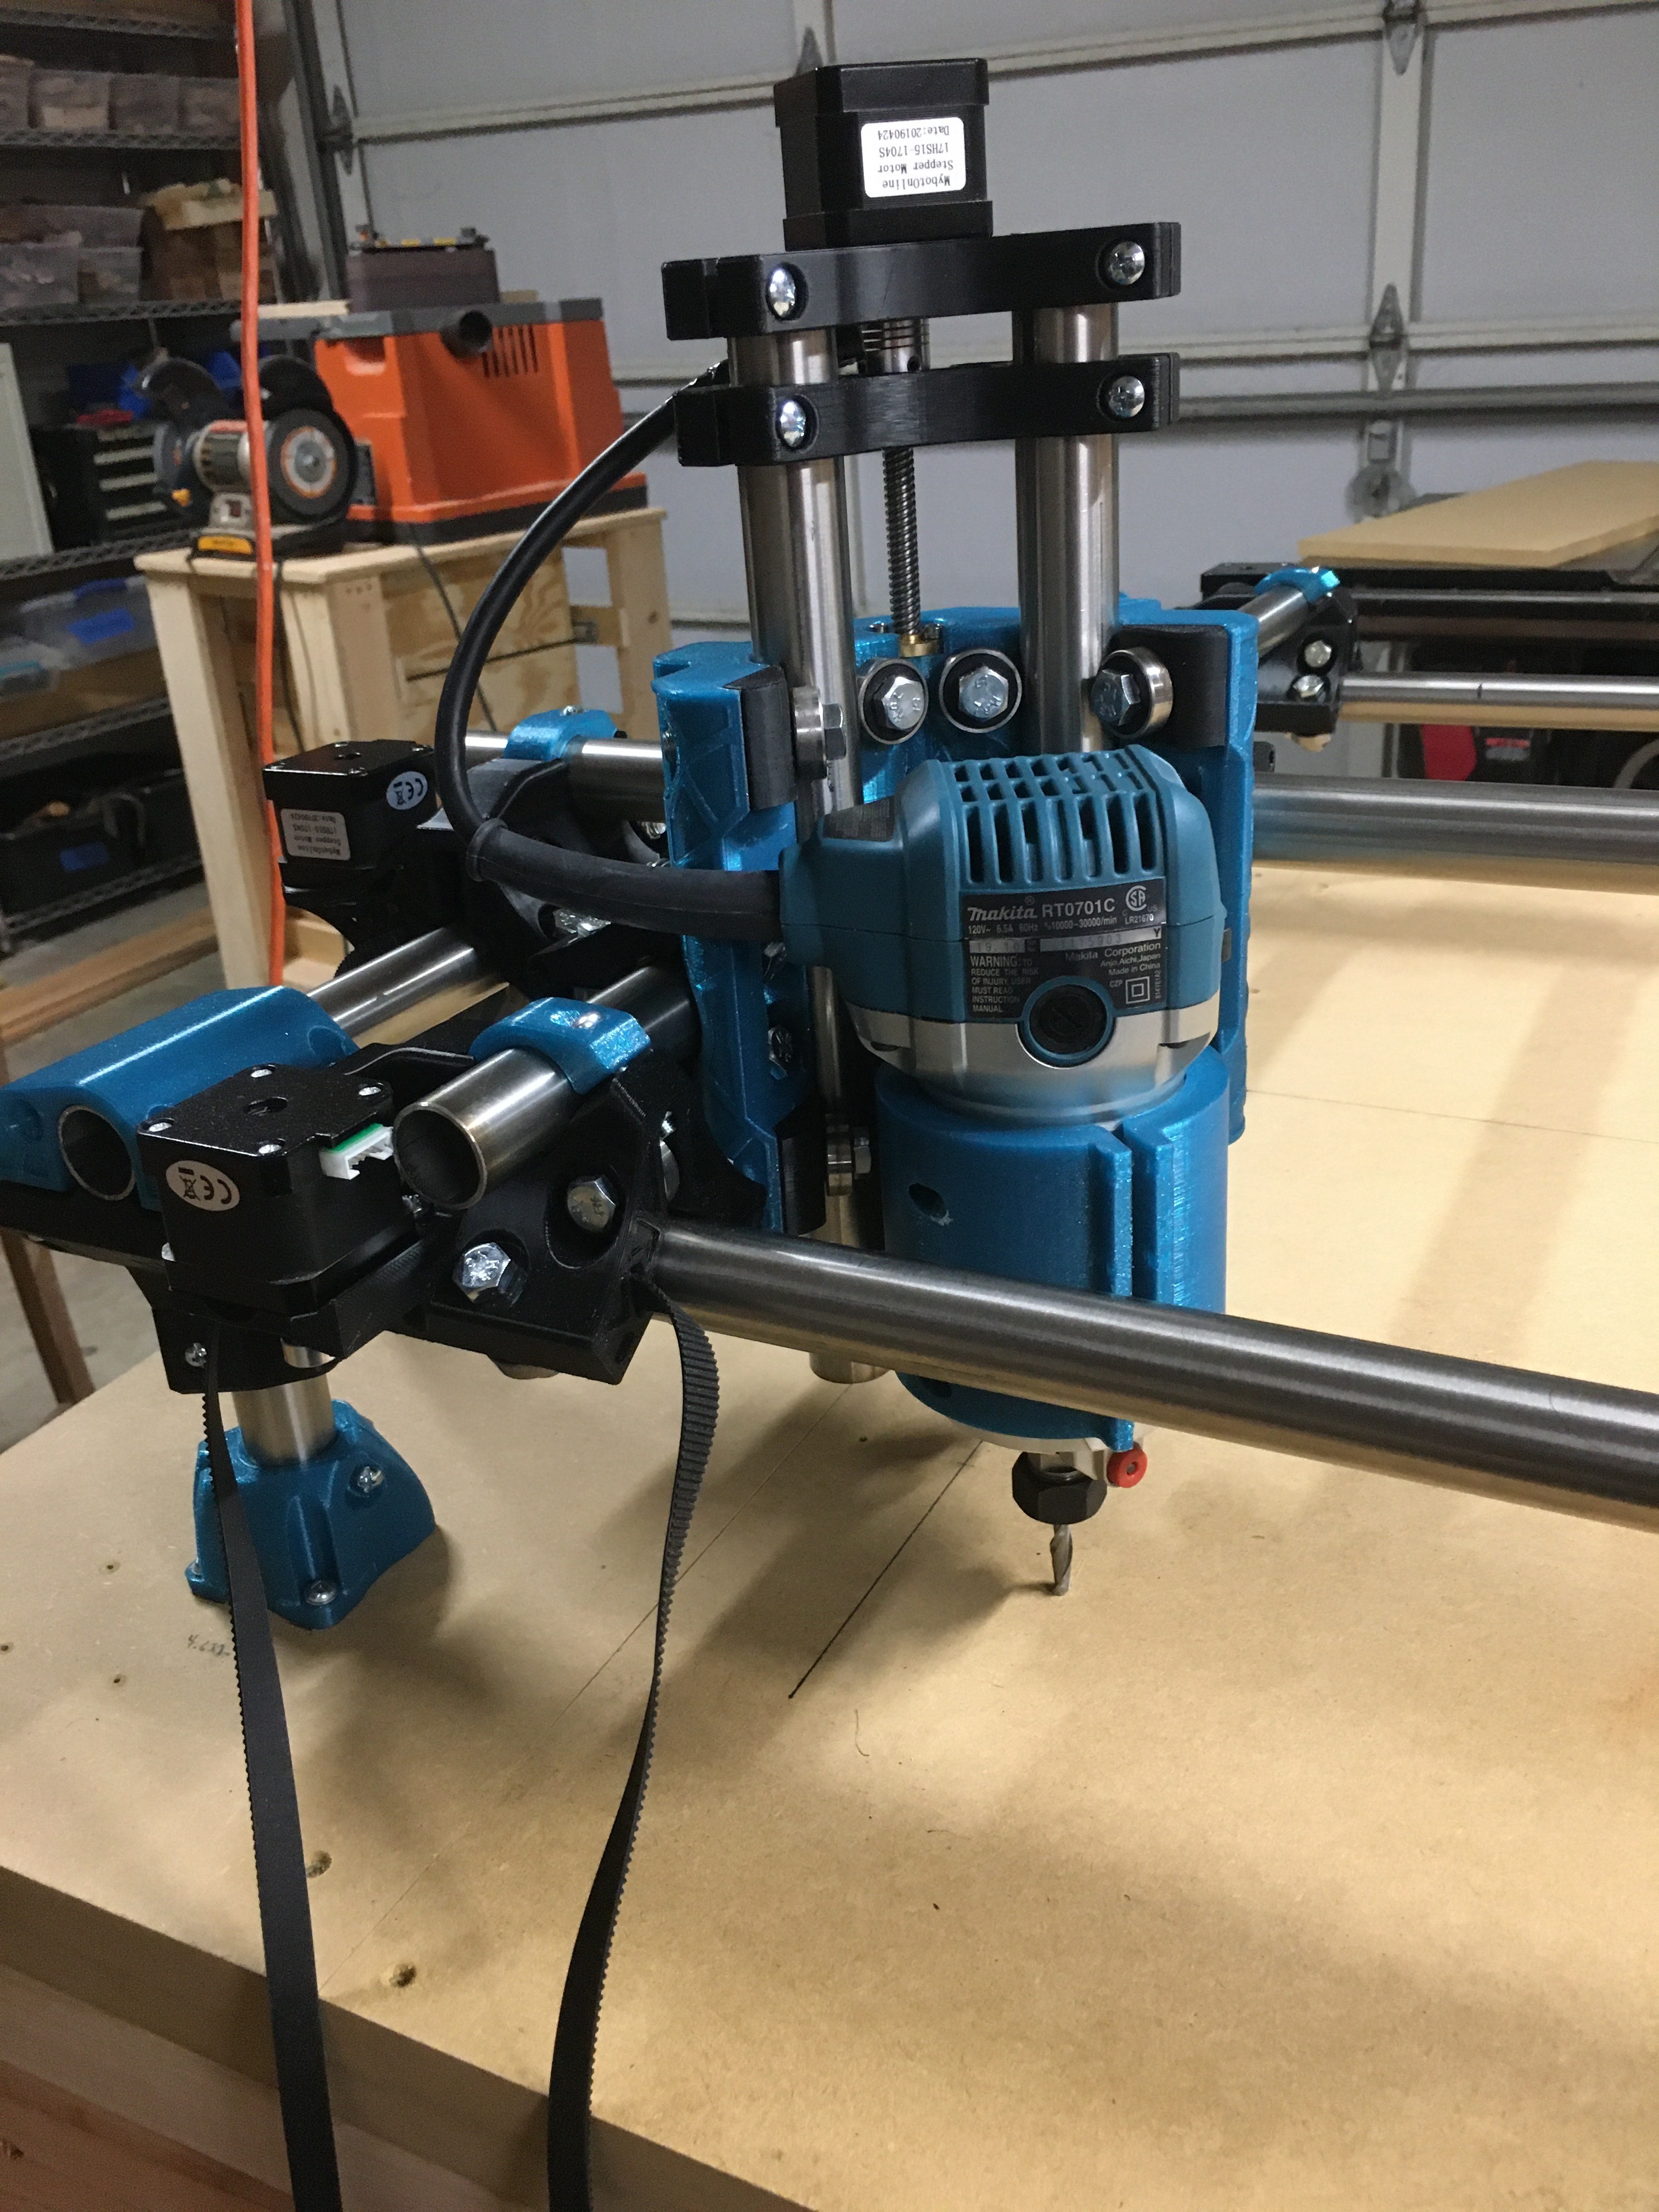
What a great job Ryan has done with this Primo build. I am amazed at how well engineered this machine is. The trucks and core are pieces of art. I had zero problems with build or alignment. Everything is square and fits well. I even popped the router in and its walls are dead on perpendicular to the bed.
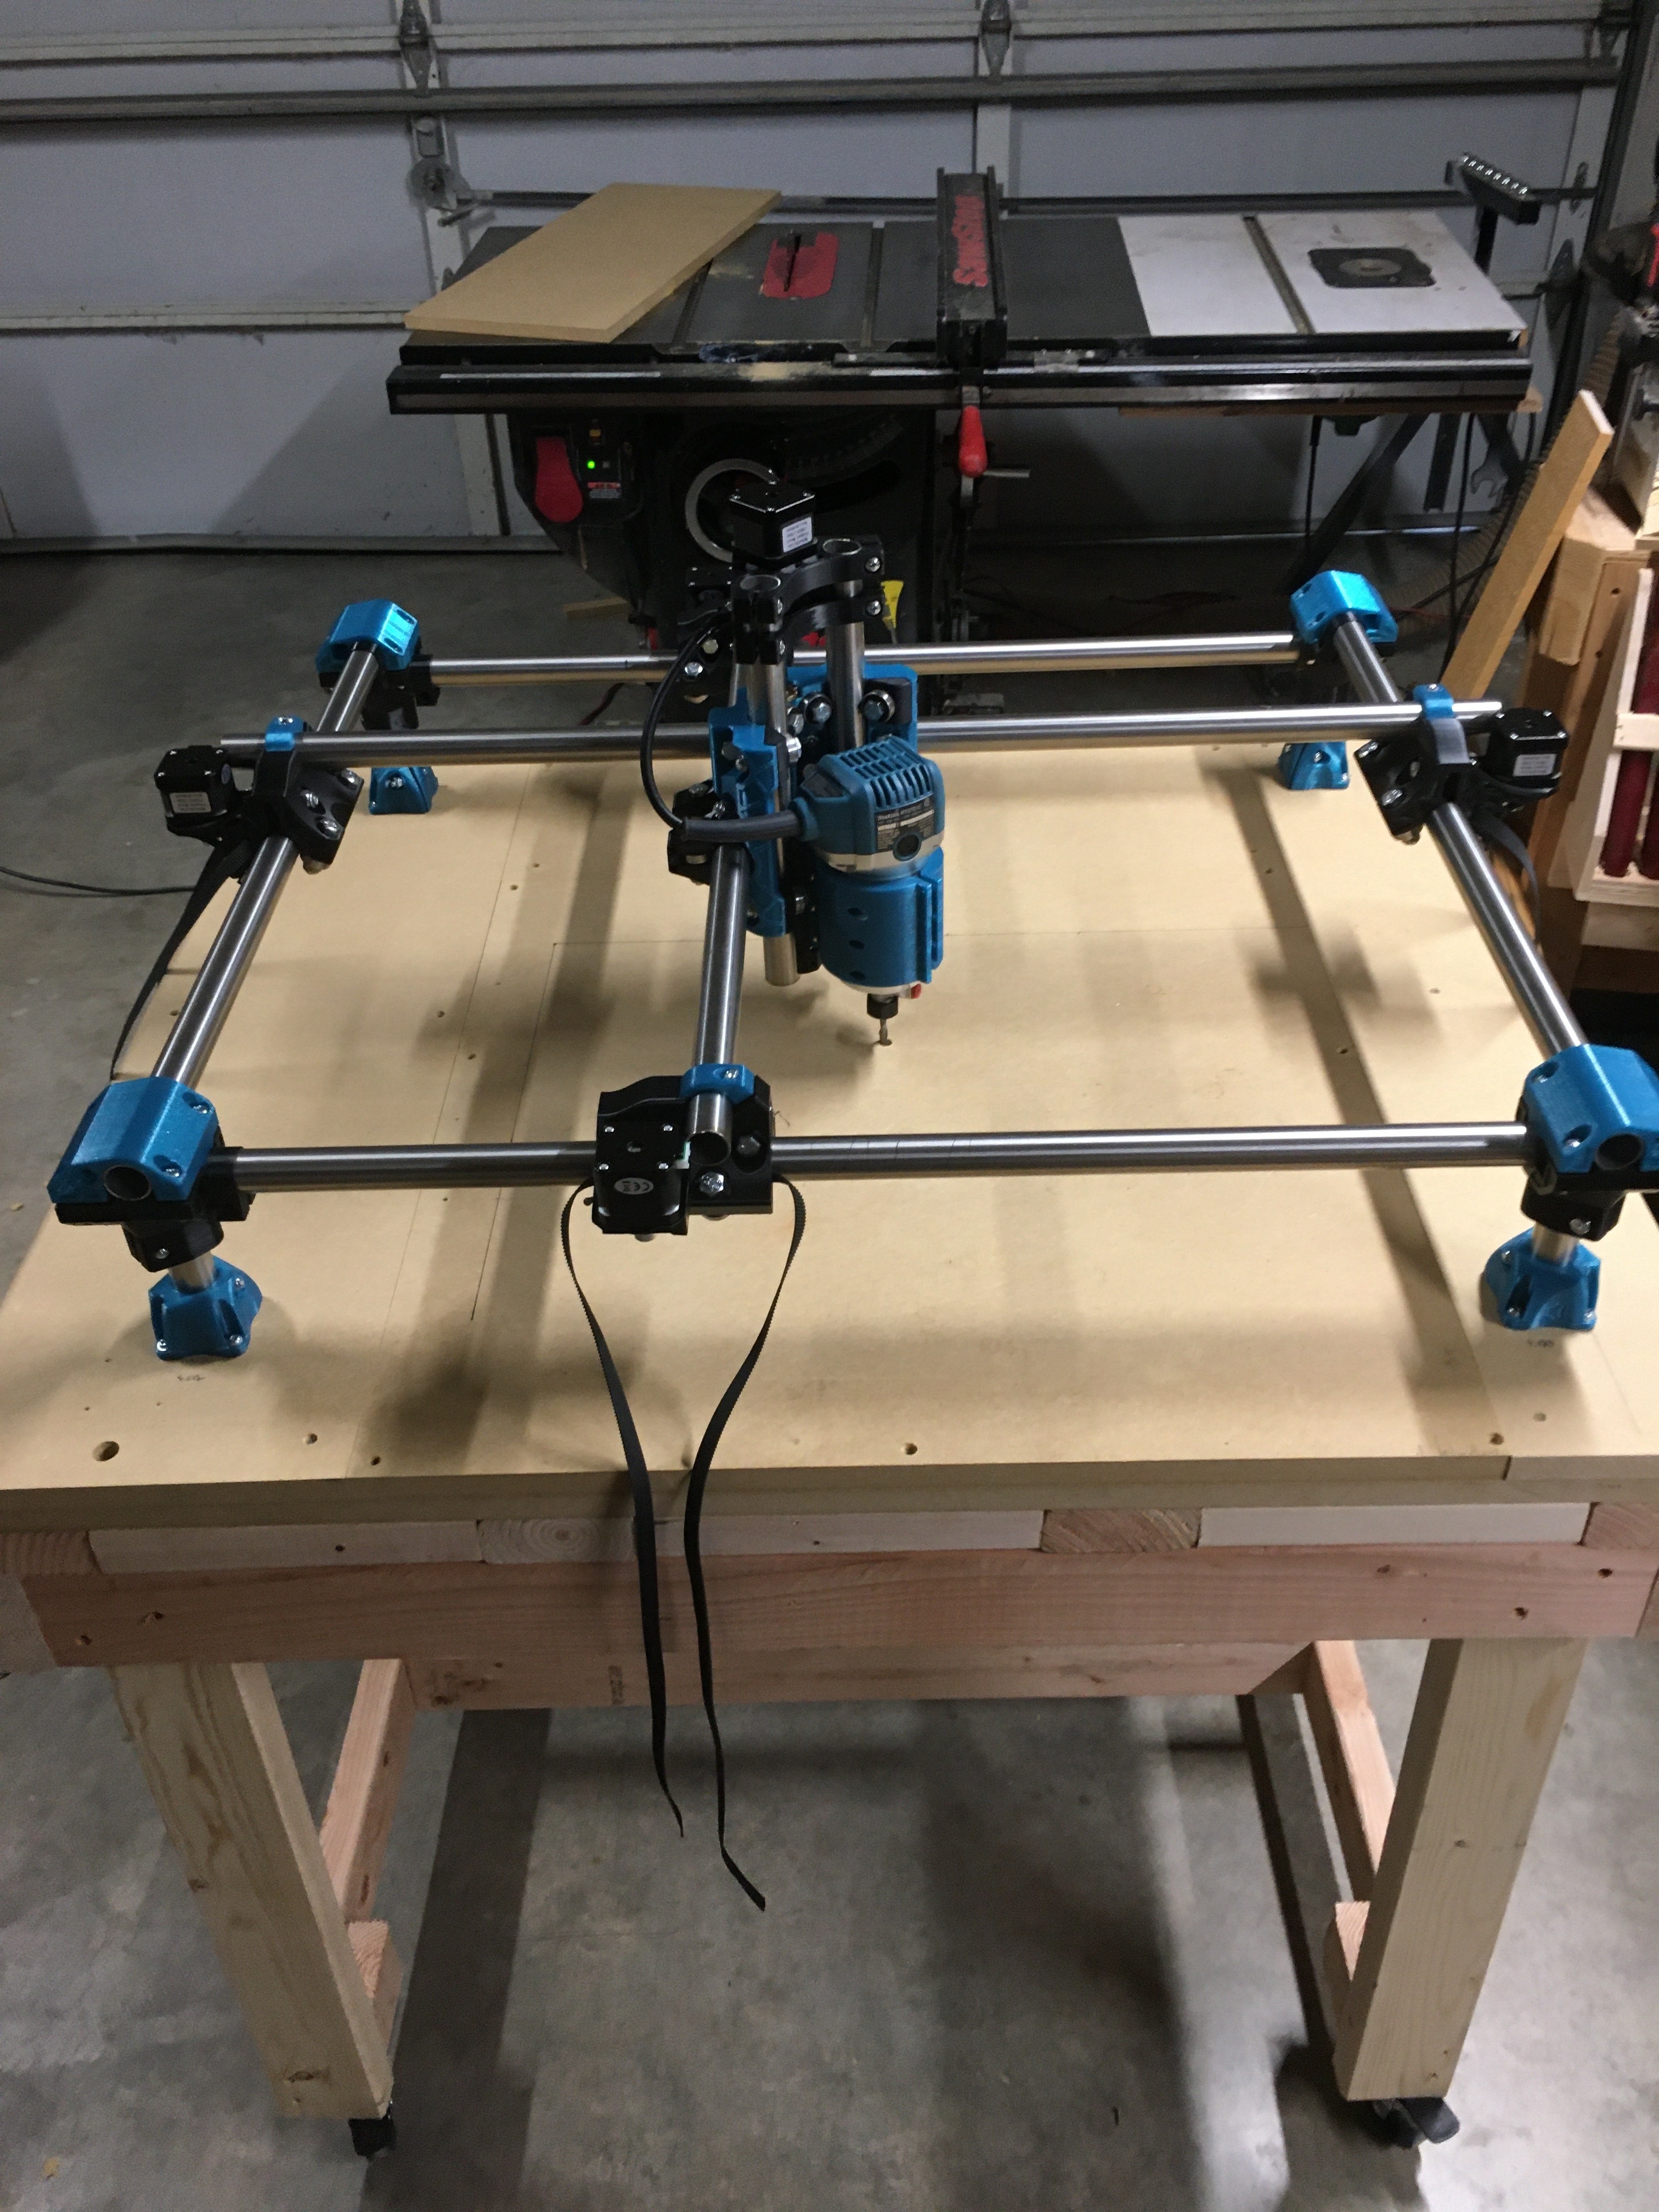
In the picture below you’ll notice I set mine up a bit different from the pictures and instructions. I am left handed and backwards and I like the access to the router in this configuration better. This is the left front of the machine where I’ll set it to home to.
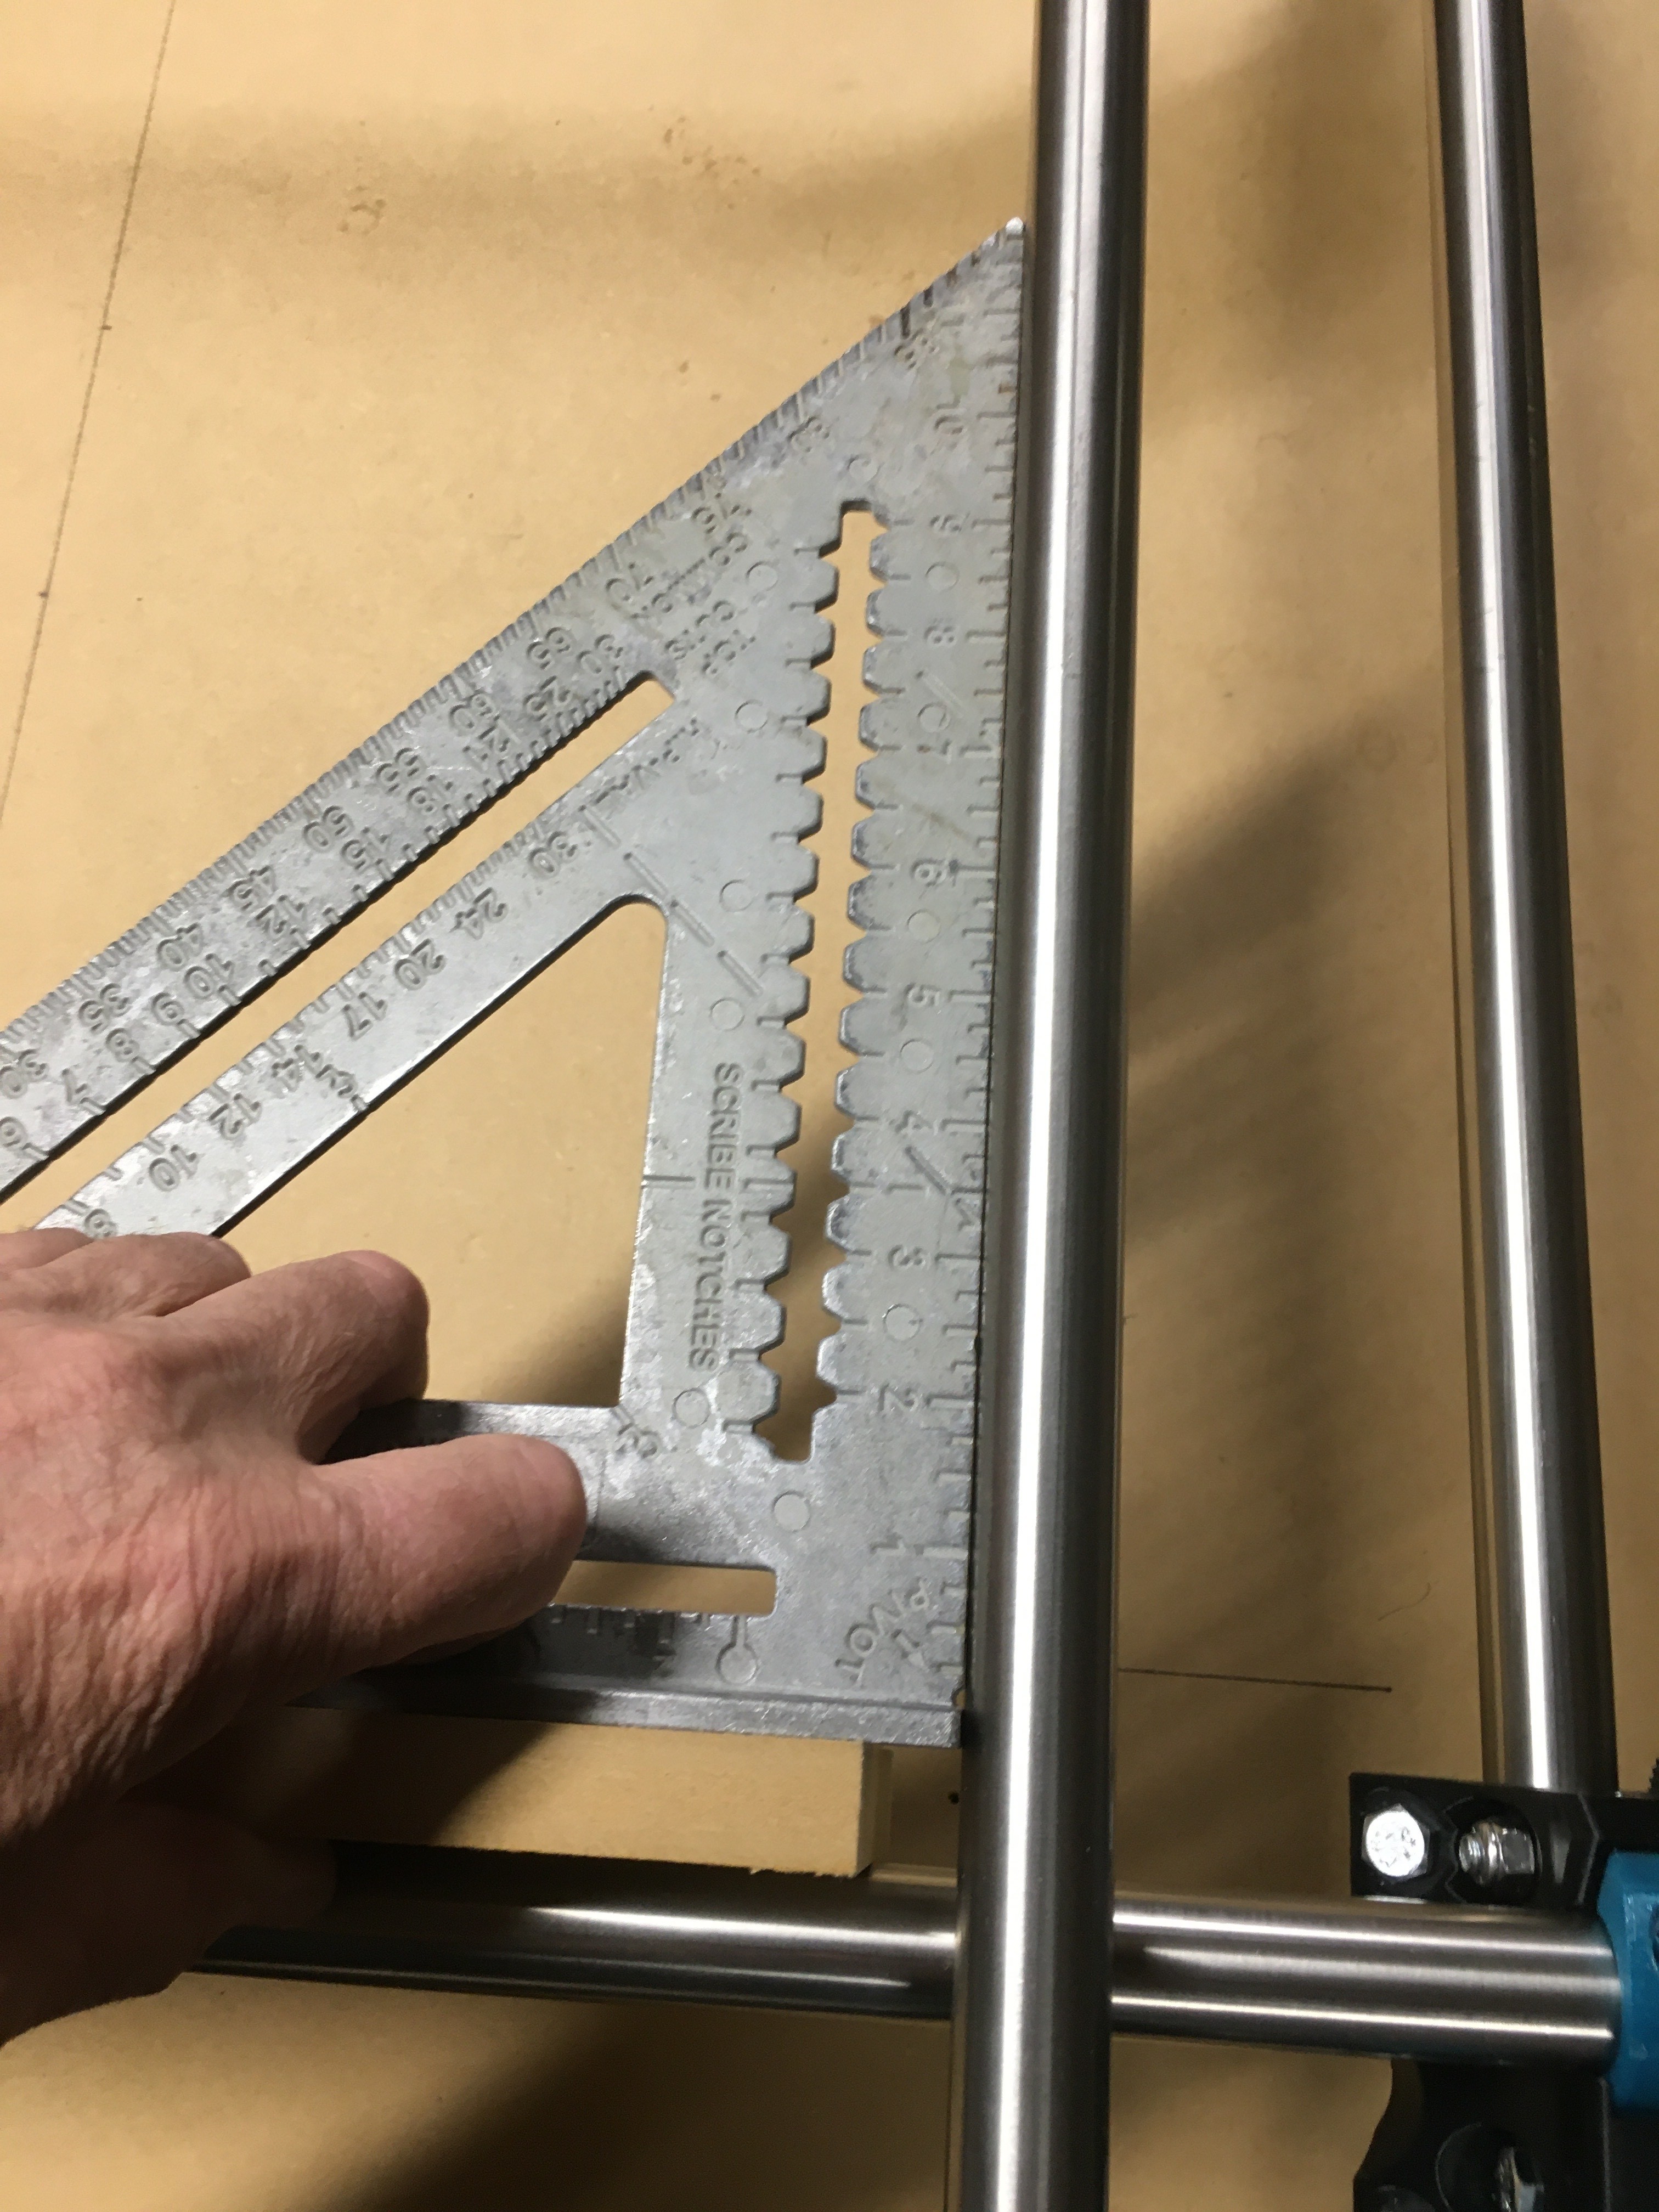
In squaring the gantry rails, I used the endstop clip ons on each side and adjusted the gantry until it was bumped up against both the clips in x and then y. Worked like a charm, no ruler involved.
Showing the squareness once all adjustments were made.
Finished all part printing today, and most of the assembly. Attaching and tensioning the belts are all that is left mechanically. Onward to wiring and electronics next.
Again, thank you Ryan for a great design,
10 Likes
That is extremely comforting to hear!!!
First public build, no coaching from me. Wow, I am on cloud nine right now!
Thanks you so much for sharing. Belt sliders make sense or should I finish up those instructions right now?
3 Likes
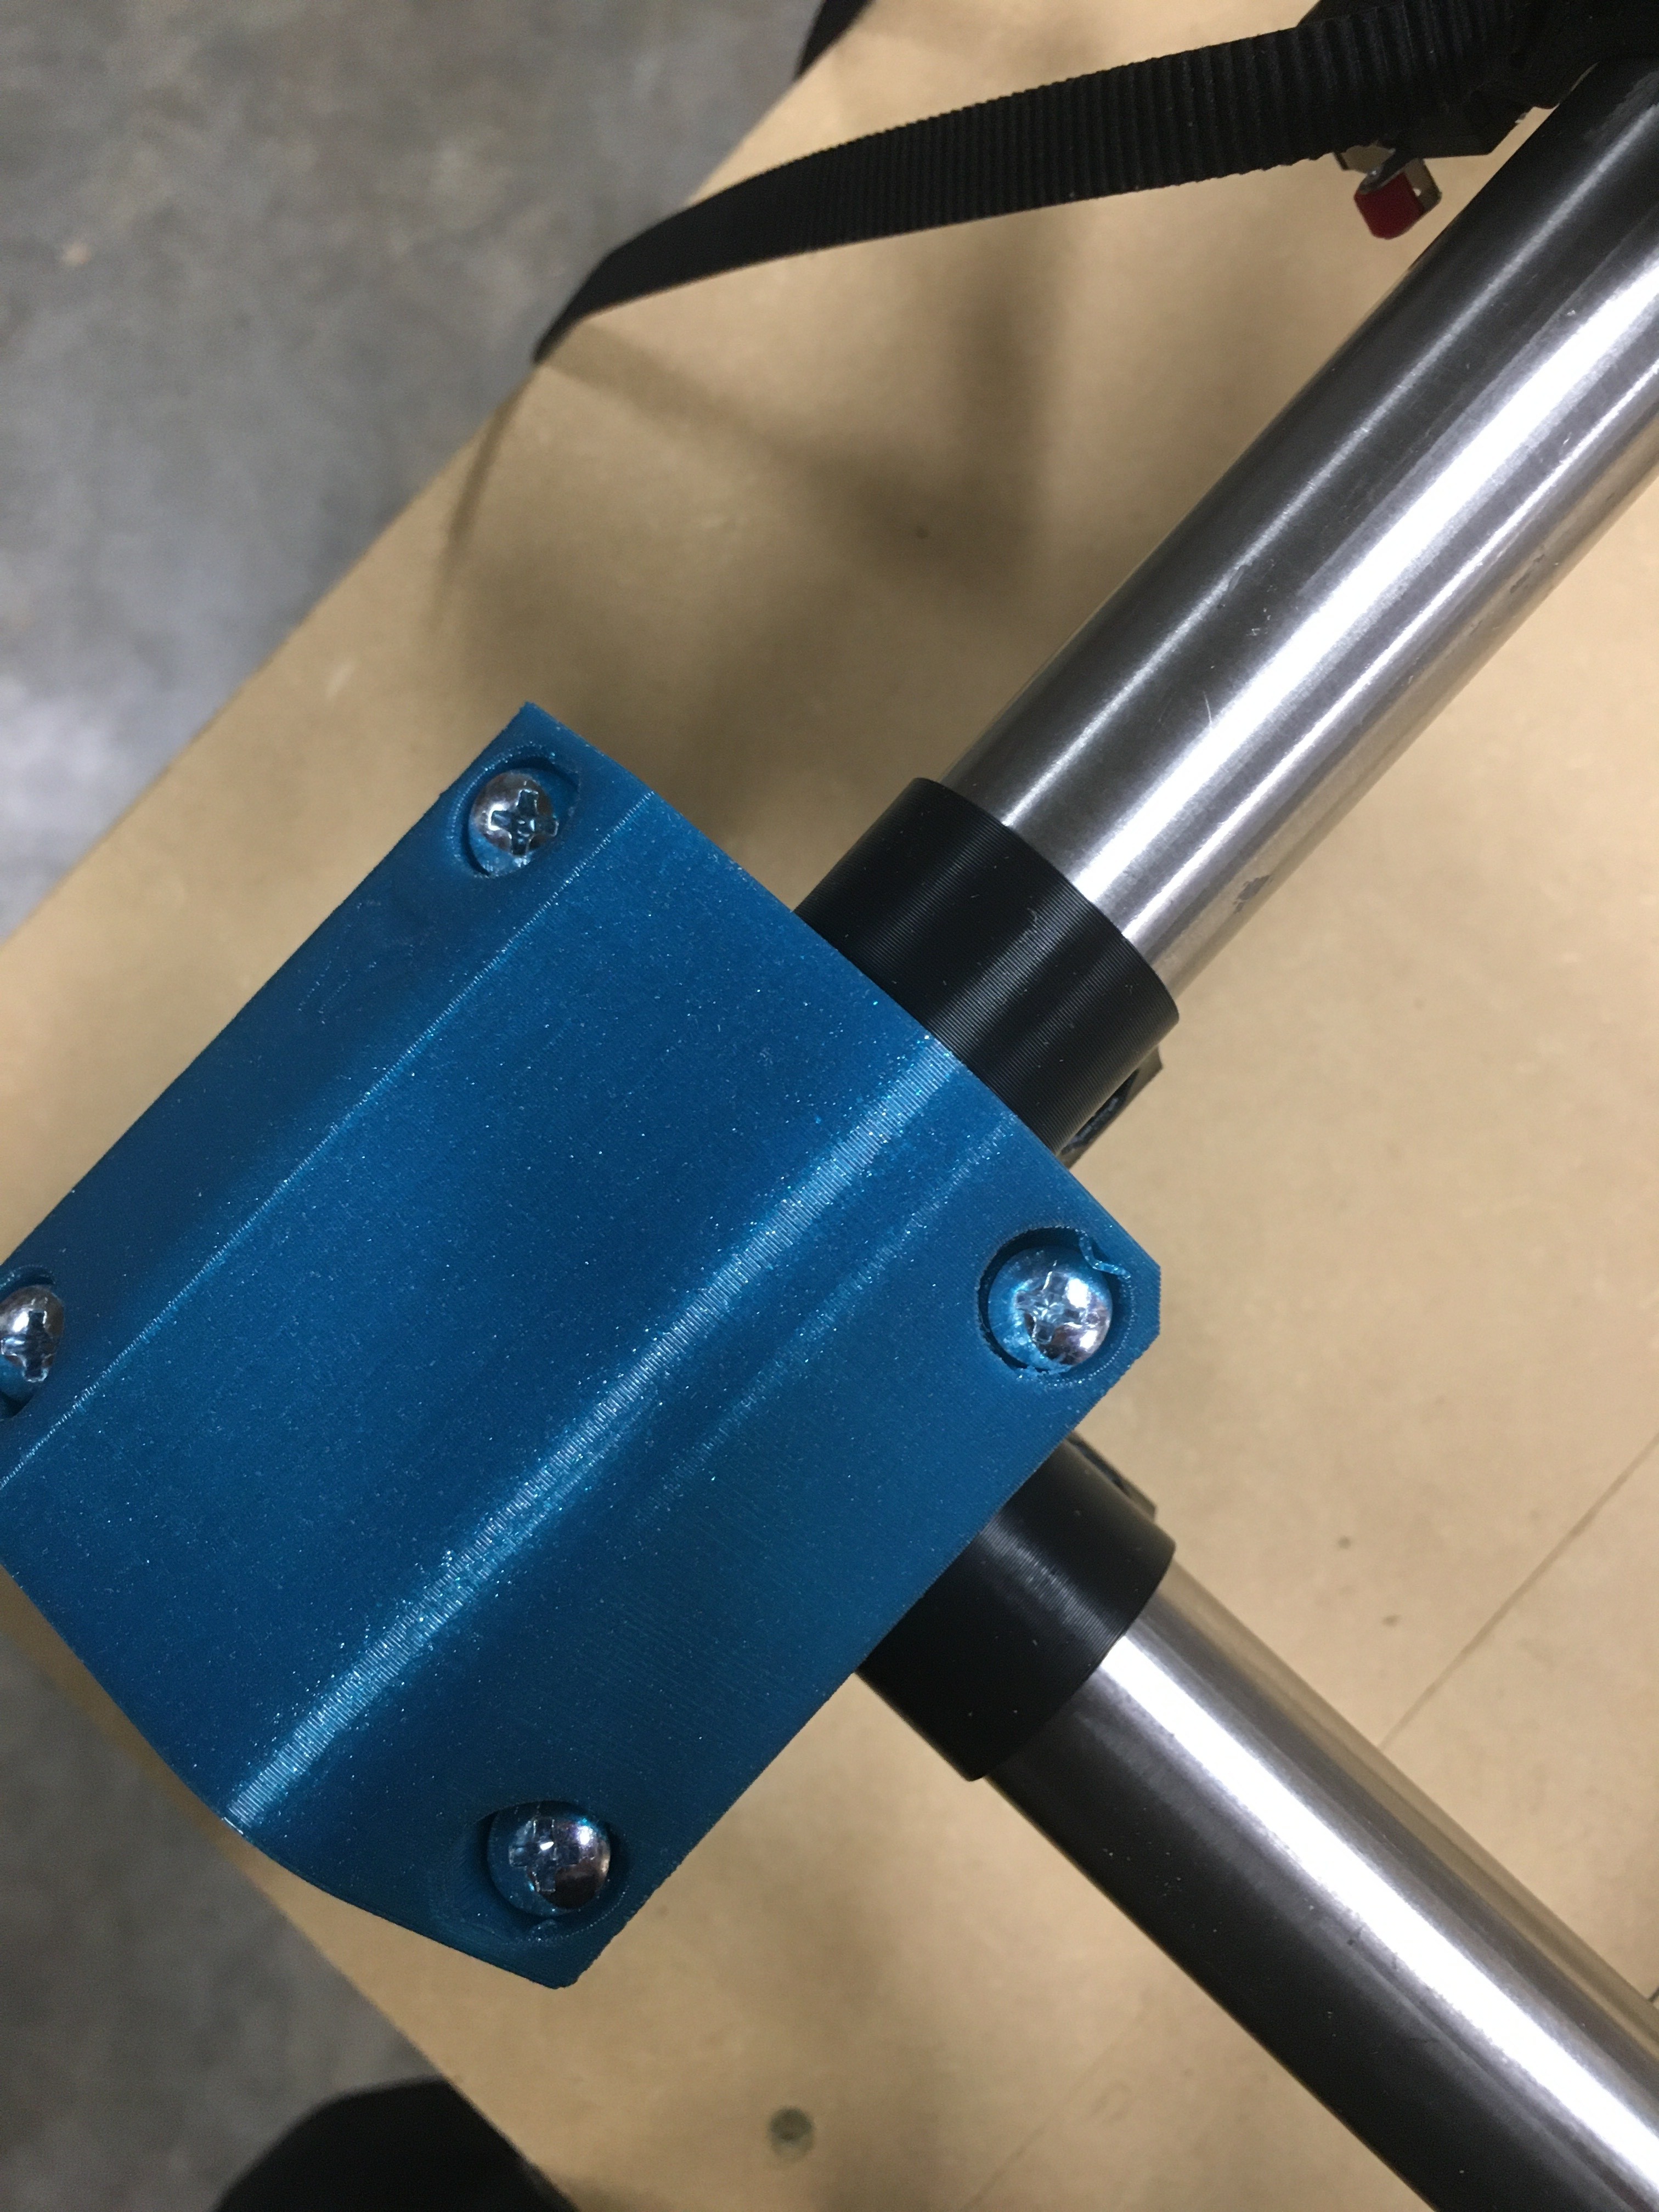
Small question about the orientation of the trucks. I have been assuming the motors go on the same side of the gantry rail as the router. This would give slightly more usable space. It looks like you did this on the Y axis but the X axis is opposite. The docs show the trucks oriented toward the origin and I am guessing it’s because the router is assumed to be on the same side.
I am also left handed and my first two MPCNC machines were facing front-right too.
Good catch, 2 of your trucks are on the wrong side.
In the first two pictures, the nearest and farthest trucks need to be swapped. The round notch in them fits the core.
Hmmmm, Need to add that to the instructions.
2 Likes
Yes I moved mine twice😀
Ahhha moment!!! Thanks for seeing that. I will indeed swap those to give more travel.
Well, there’s a slight hiccup to reversing those trucks, it will put the limit switches on the right side of the machine, not good. So, as I see it, I can leave it as is and lose some travel or mount the limit switches for that axis on the rails, not on the trucks. Rats!!! That’s what I get for thinking lefthandly! I think I will try it as is and consider alternatives if the need arises for more travel.
You could make it home to xmax, and set the bed size to make it home to the right, but still have the right orientation of XY.
Or, you could make +X go away from you and +Y go to the left. It would still home in that close right corner. But when you look at CAM, you’ll have to rotate it to imagine you are standing on the right edge of the machine.
Well, I switched the trucks as recommended to see what the difference is. There is 1 1/4 inch more travel in X and 3/8 inch in Y with the trucks in the recommended position, but with X limit switches sitting on the wrong side. I am going with the configuration I had to begin with as I like the limit switch mount to be on the truck rather than make a new set of endstop holders that attach to the rail. If I ever need that extra 1 1/4" I know how to get there.
My final configuration will have a 21 x 17 workspace. At the top of travel for Z and 1 1/2" of bit sticking out, I have 2 1/2" clearance from tip of bit to spoil board. I have 4 inch of Z travel which means I can go 1 1/2" below spoil board if necessary to drill holes through my two 3/4" pieces of mdf, spoil board piece plus permanent piece underneath it.