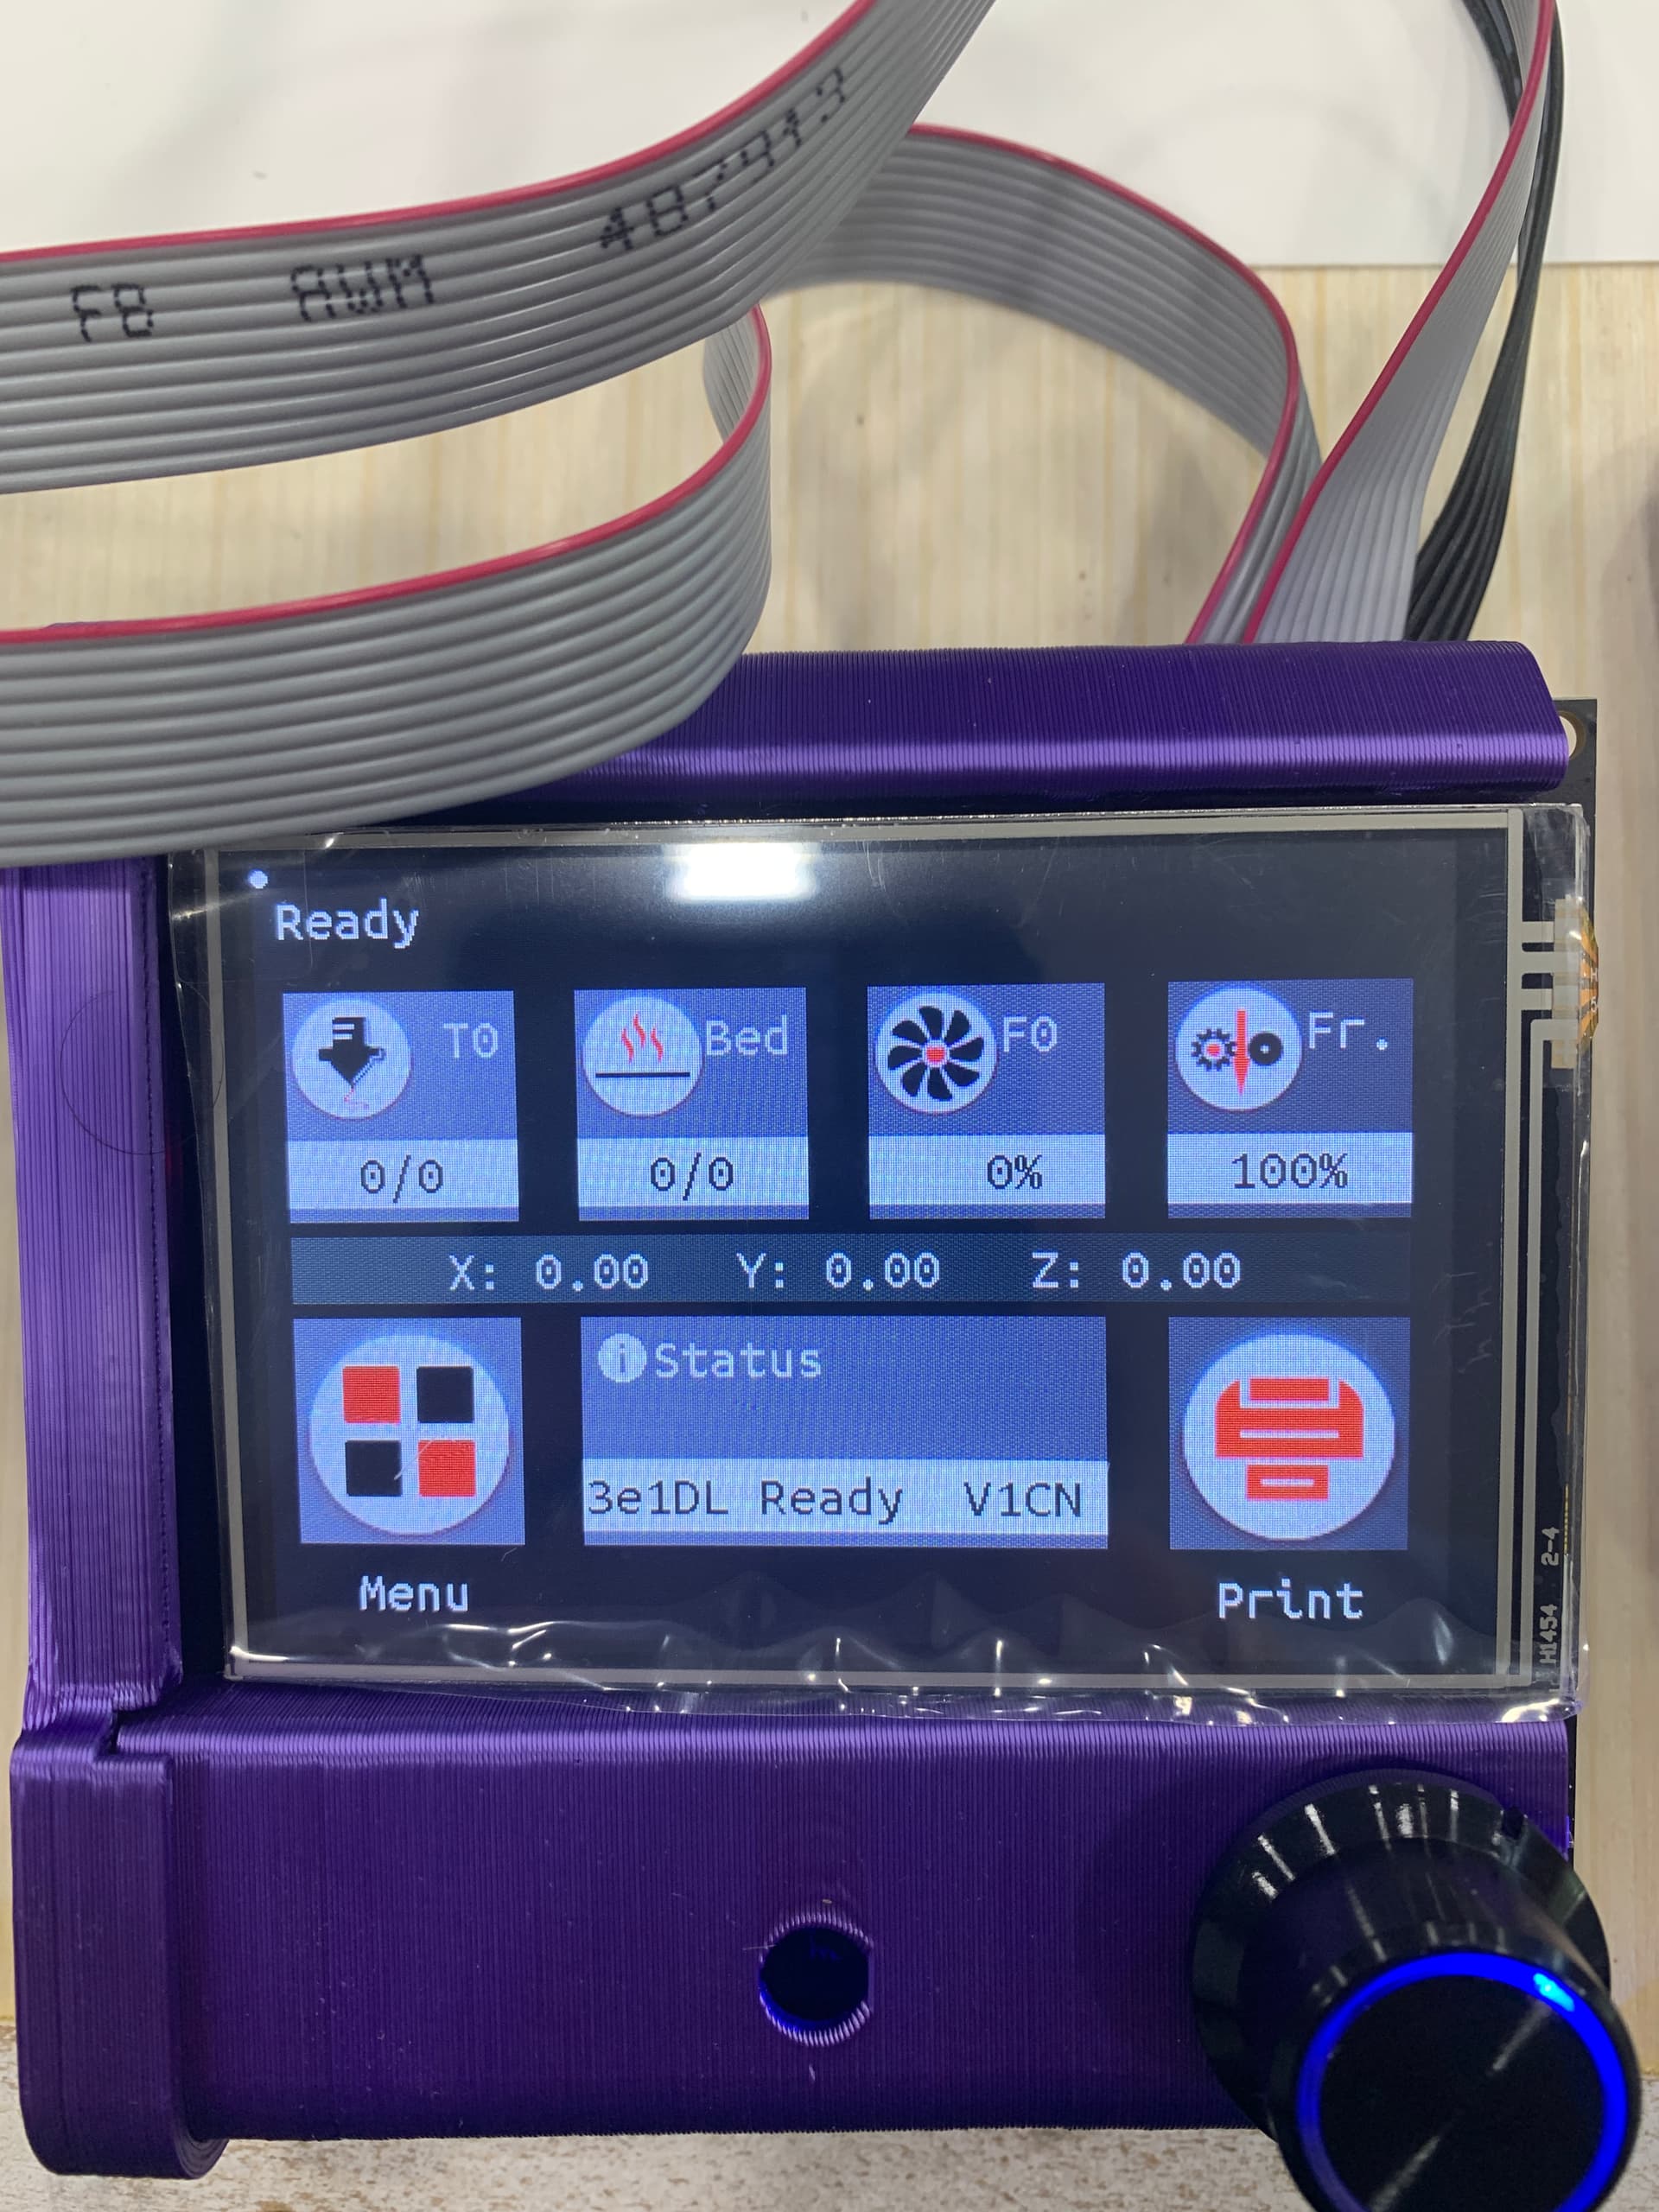
I was hoping for a CNC interface without the clutter of the 3d print commands- I mean, most of the pages and real estate is do so with fans, bed temp and extruder functions.
I was under the impression that the firmware builds had removed the extraneous 3d printer clutter and it was a cleaner interface.
If people just use the screen to jog to position or home, cool, but I didn’t expect to be seeing extruder and bed temps plastered all over the front screen from the outset, with no way to easily change it.
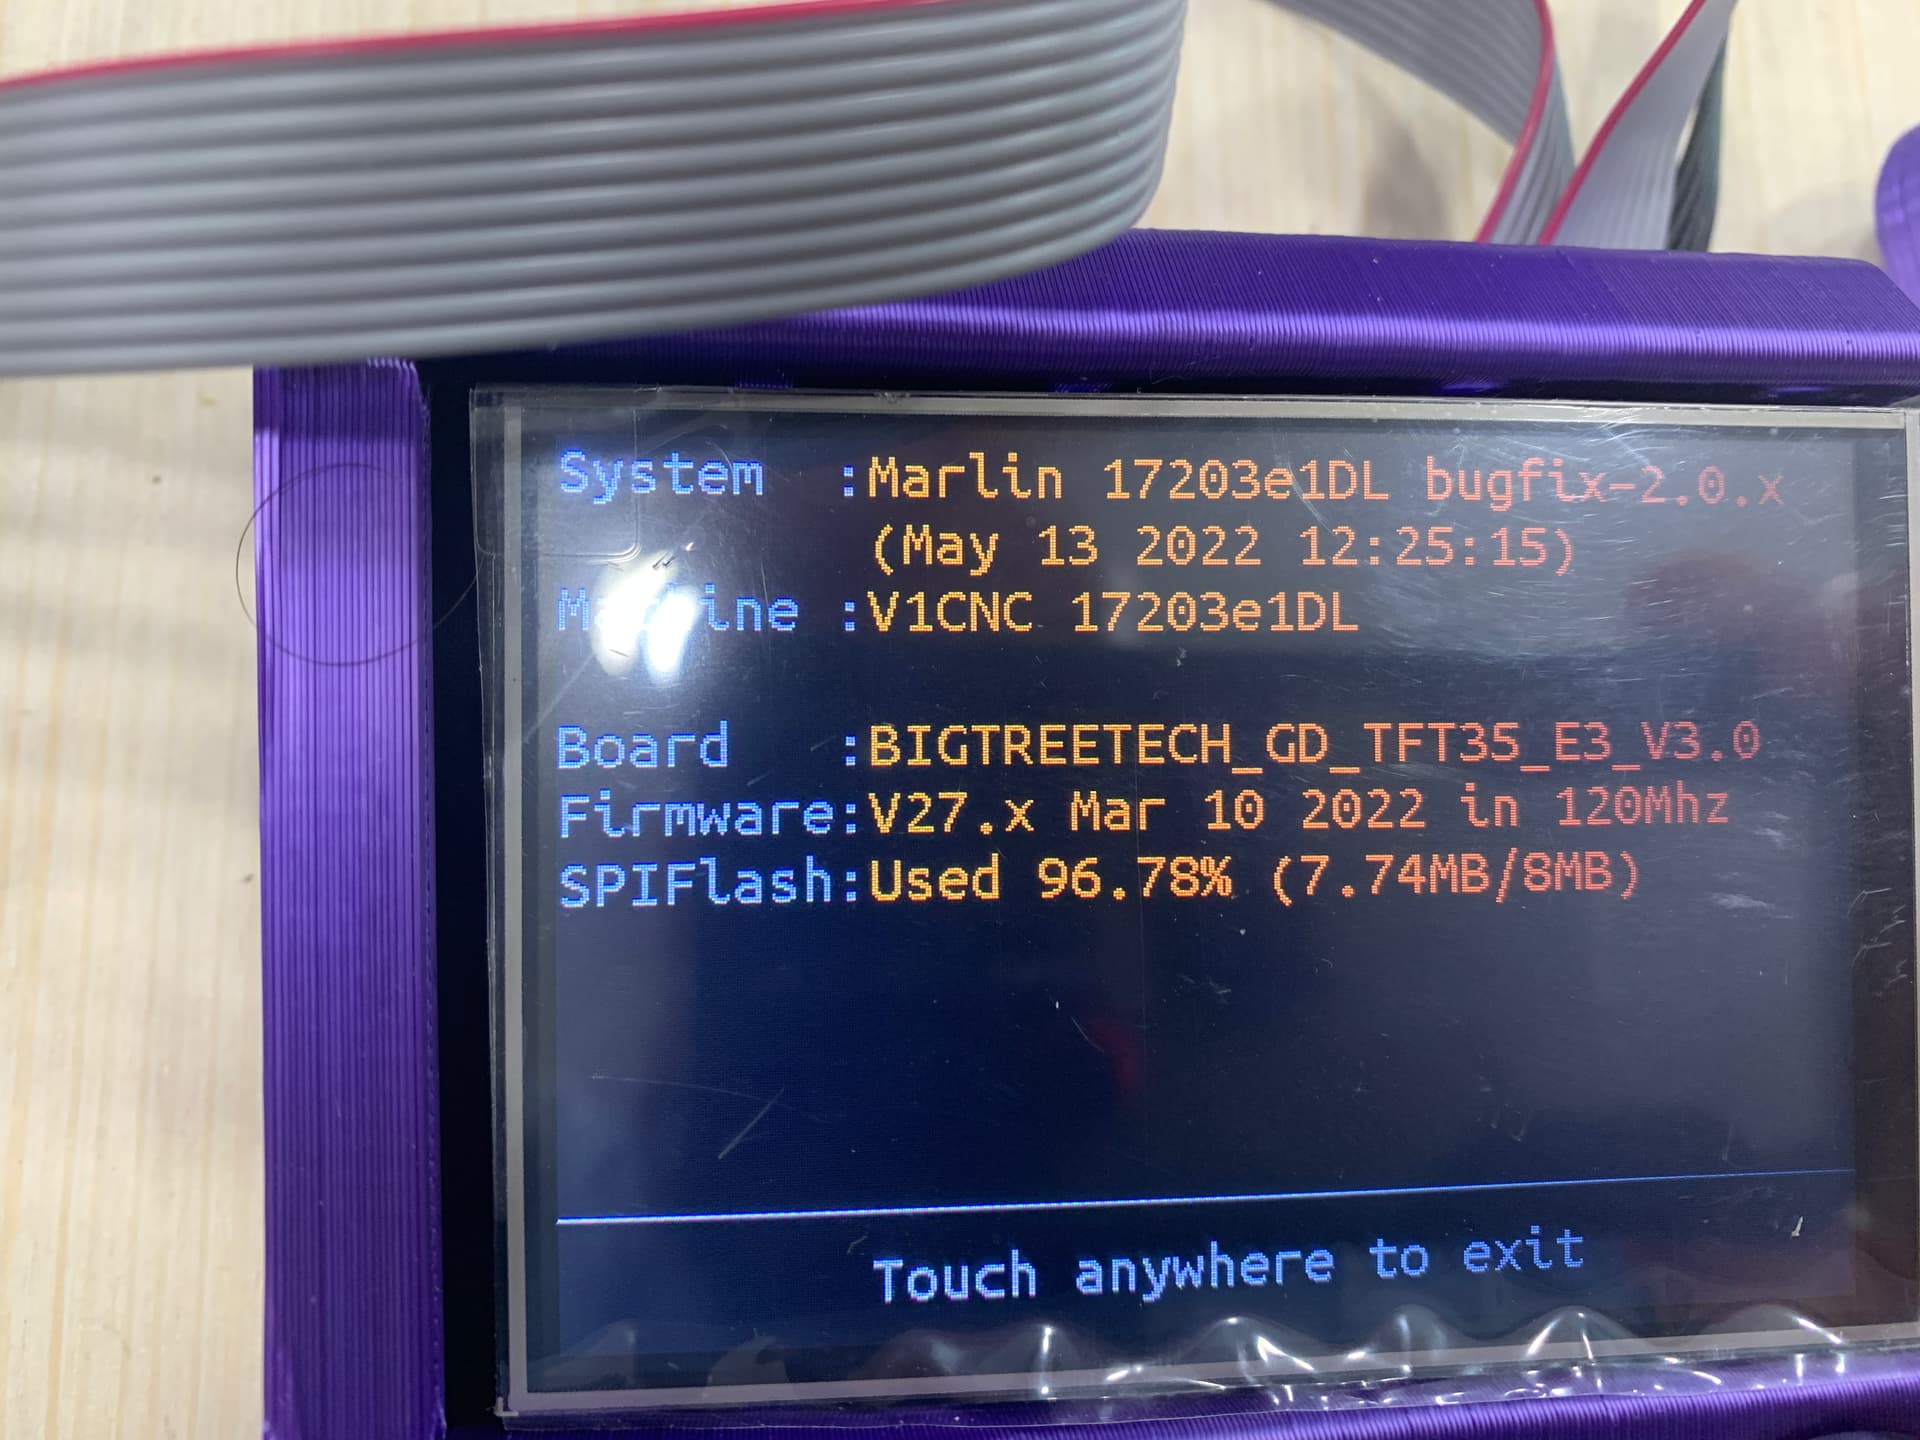
That is ready to run. It should have shown up in Marlin mode though.
No, there is even a note on one of the release pages you showed above that says, back to stock.
That is just it, it is far above my abilities at this time to even maintain it. Two guys have done it now but It took so much work it broke every update and I had zero clue how to fix it. Like I said, I don’t use that side and not it in the instructions Marlin mode is what you should be using so why spend time on the non stable side?
Most people just use the screen to start some gcode.
That interface is still in there. it was never the home page. That has not changed.
Understood- i just assumed ‘stock’ for a CNC controller wouldnt have tabs for Extruder or Bed temp controls on the first page.
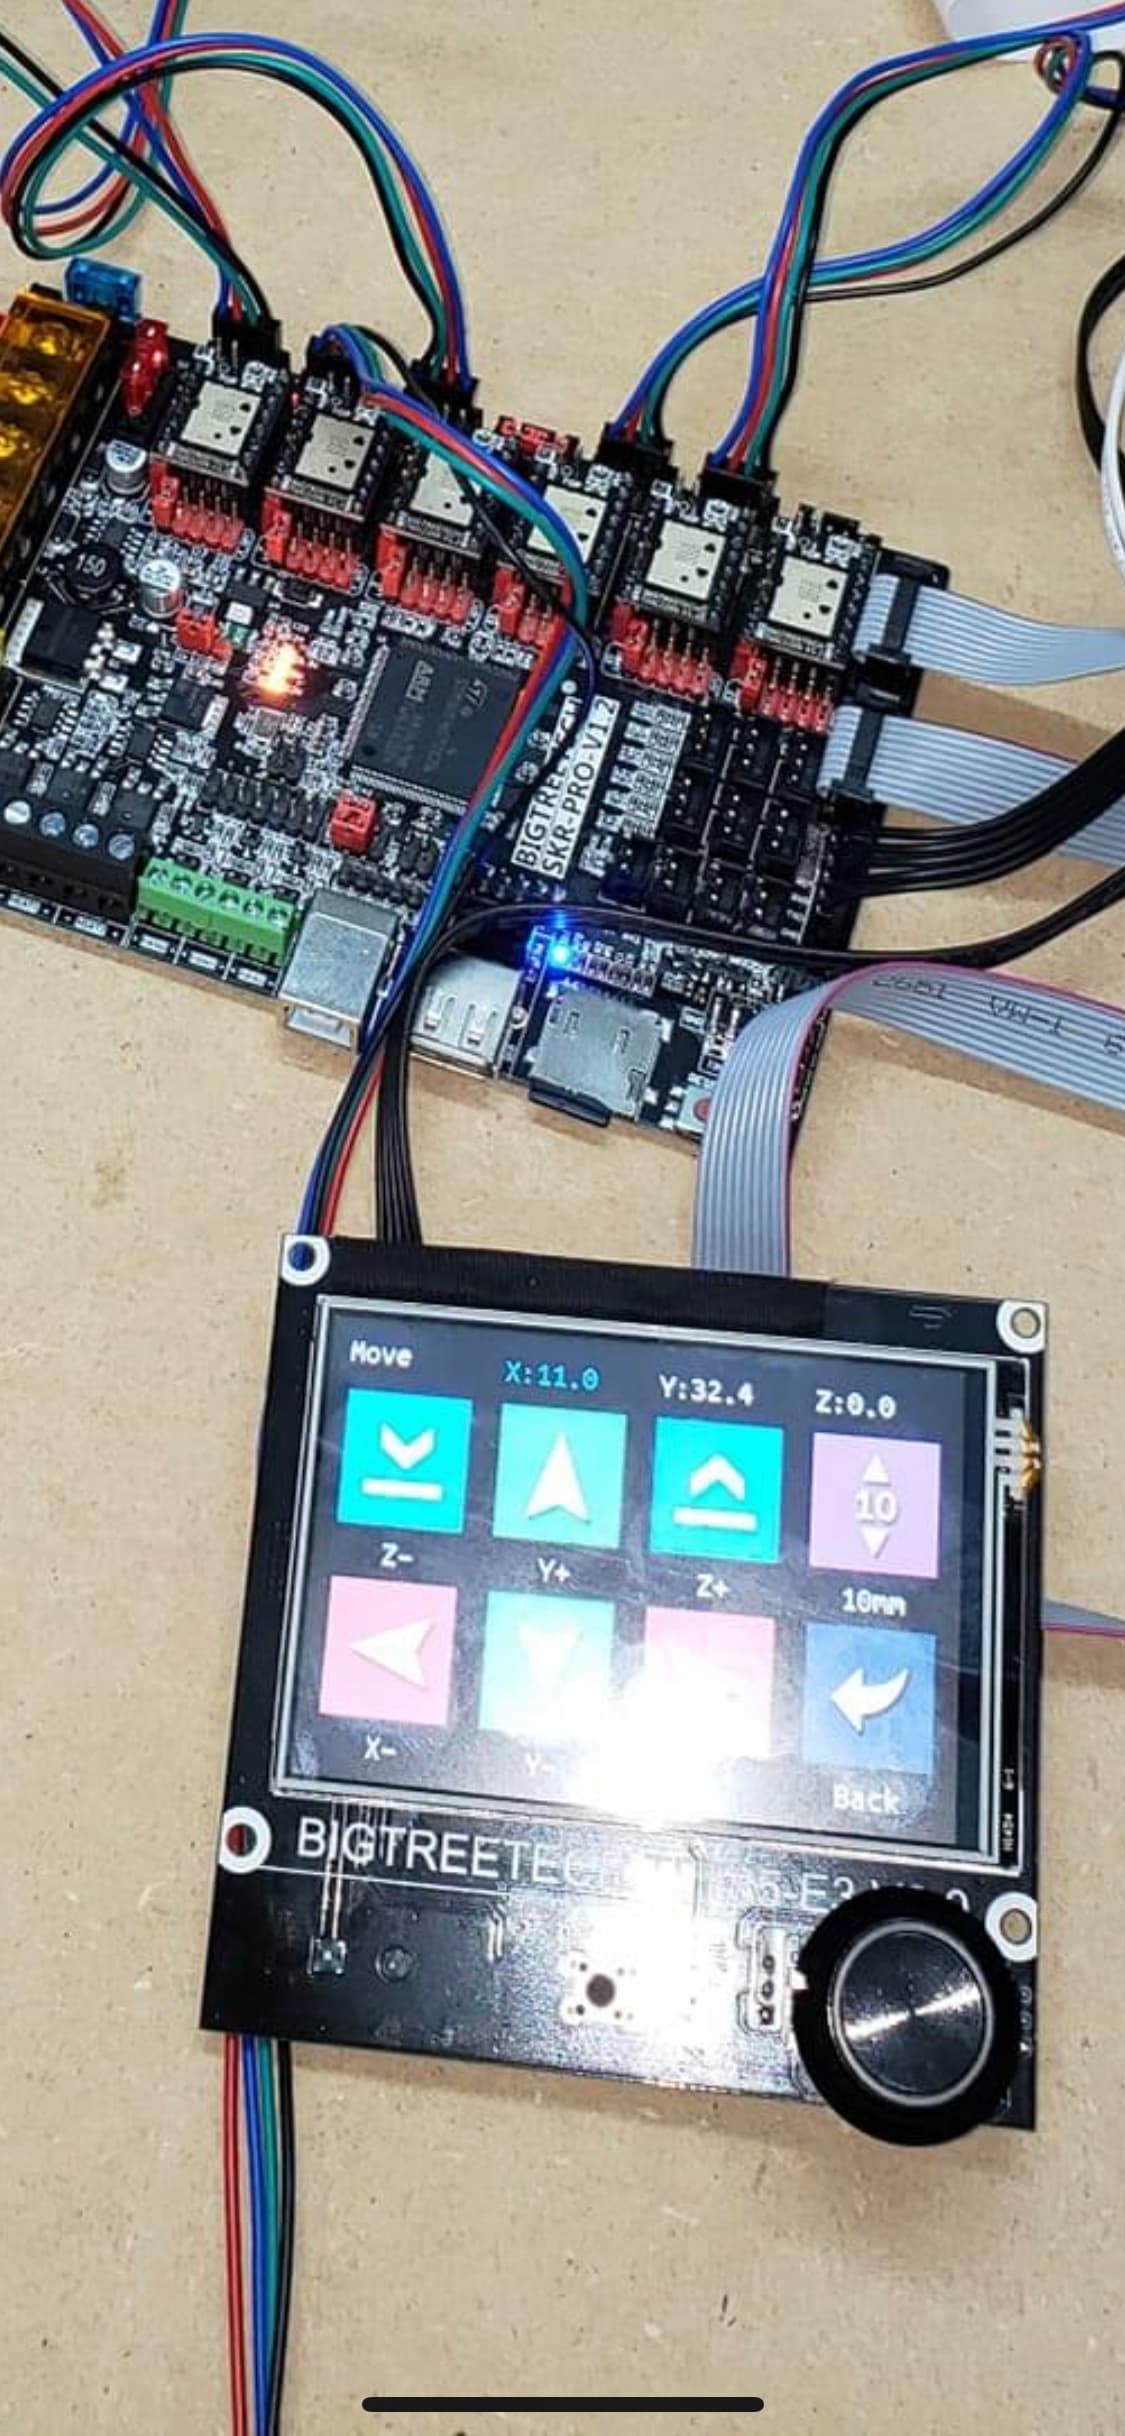
With regards to just using the screen to run gcode, how do you set home and utilise the functions of the endstops, something that is detailed heavily in the LR3 build?
Yep- found that interface. two menus deep in the movements tab. i assumed it would be front and center in a CNC interface
Thanks Ryan. I don’t want to seem upset or dismissive of everyone’s efforts- it’s just my expectations were different and it wasn’t clear in any of the docs that the touch interface was ‘unstable, or that my menus would be cluttered with 3d print tabs.
Was I supposed to receive a small capacity microSD card with the skr board? It wasn’t in the board or box I got from you.
When I reflashed, I used a reformatted 32gb from my GoPro- my understanding now is that the software is written for 8-bit boards, and the large capacity microSD cards cause issues. Not a coder, so I have no idea what impact that has, but that’s what someone communicated to me.
It’s possible I corrupted something when I reflashed using the 32gb card. Let me know if I was/wasn’t supposed to get a card, but I can find/order one and try again.
I’m seeing examples of the TFT screens which include ‘cut’ and ‘spindle’ icons, from the x.x.26 release- definitely not present on my TFT- which makes me think my software isn’t quite there yet.
No, they do not come with them. a few have…I keep losing my flashing cards.
If it flashed it is fine. Some large “newer” cards cause super slow performance when navigating menus. So if it works, you are fine. Only while the card is inserted, into the screen.
PS do not leave the microSD in the board, all bad.
We had them but now one had the time to maintain the extensive edits it took to get them and I simply do not understand the programming enough to even attempt it. I have tried for hours and hours. For some reason I can edit Marlin, pretty deeply, but that TFT side of things makes zero sense to me.
I understand the frustration but a lot of us have poured a lot of time and effort into it and then realized the only way forward is to slowly get the edits into the main program permanently. Step one is done and extruders=0 now works. At some ppoint the next step will be to change the icons, when extruders=0 then show movement instead of bed and extruder, or something.
The current issue is far more important than that though. Just stability. The TFT simply does not work as well. Even when printing, what it is supposed to do. I watch my printers have small random pauses constantly, can’t have that with a CNC. So for the time being, use the Marlin Mode. If you have some coding skill help us fix it and get the buttons in there. BTT is not all that good about looking at the PR’s though.
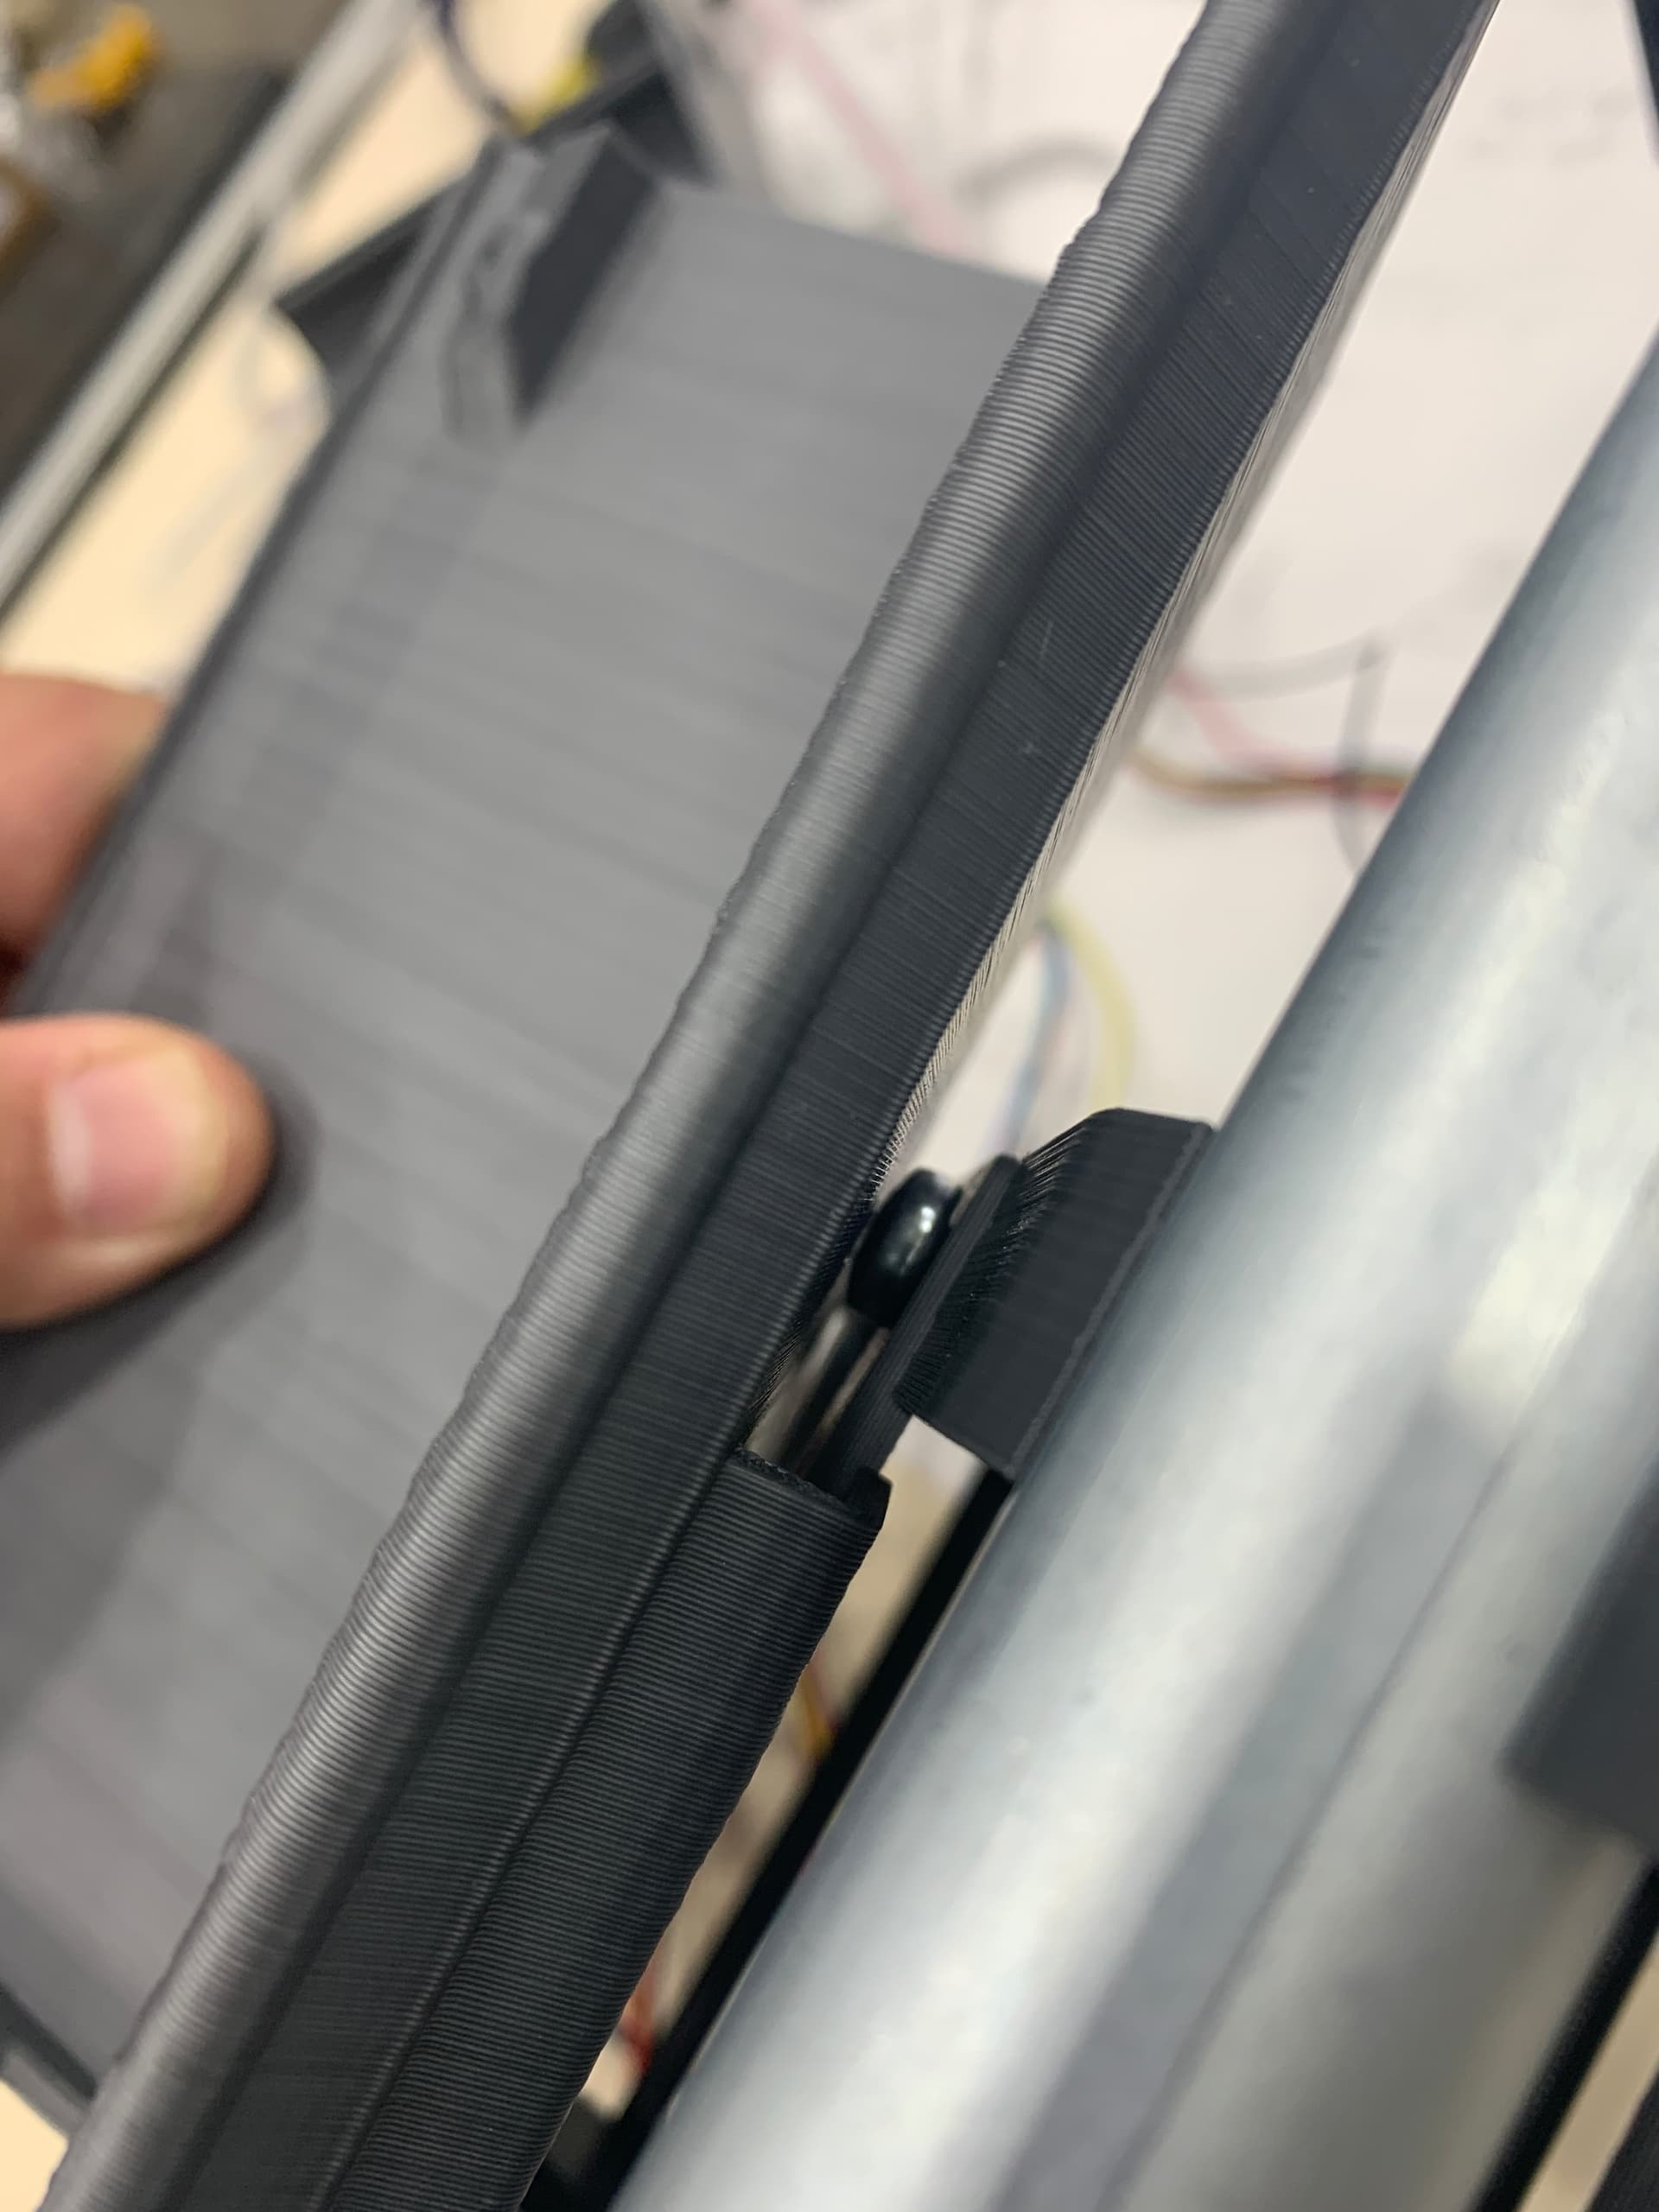
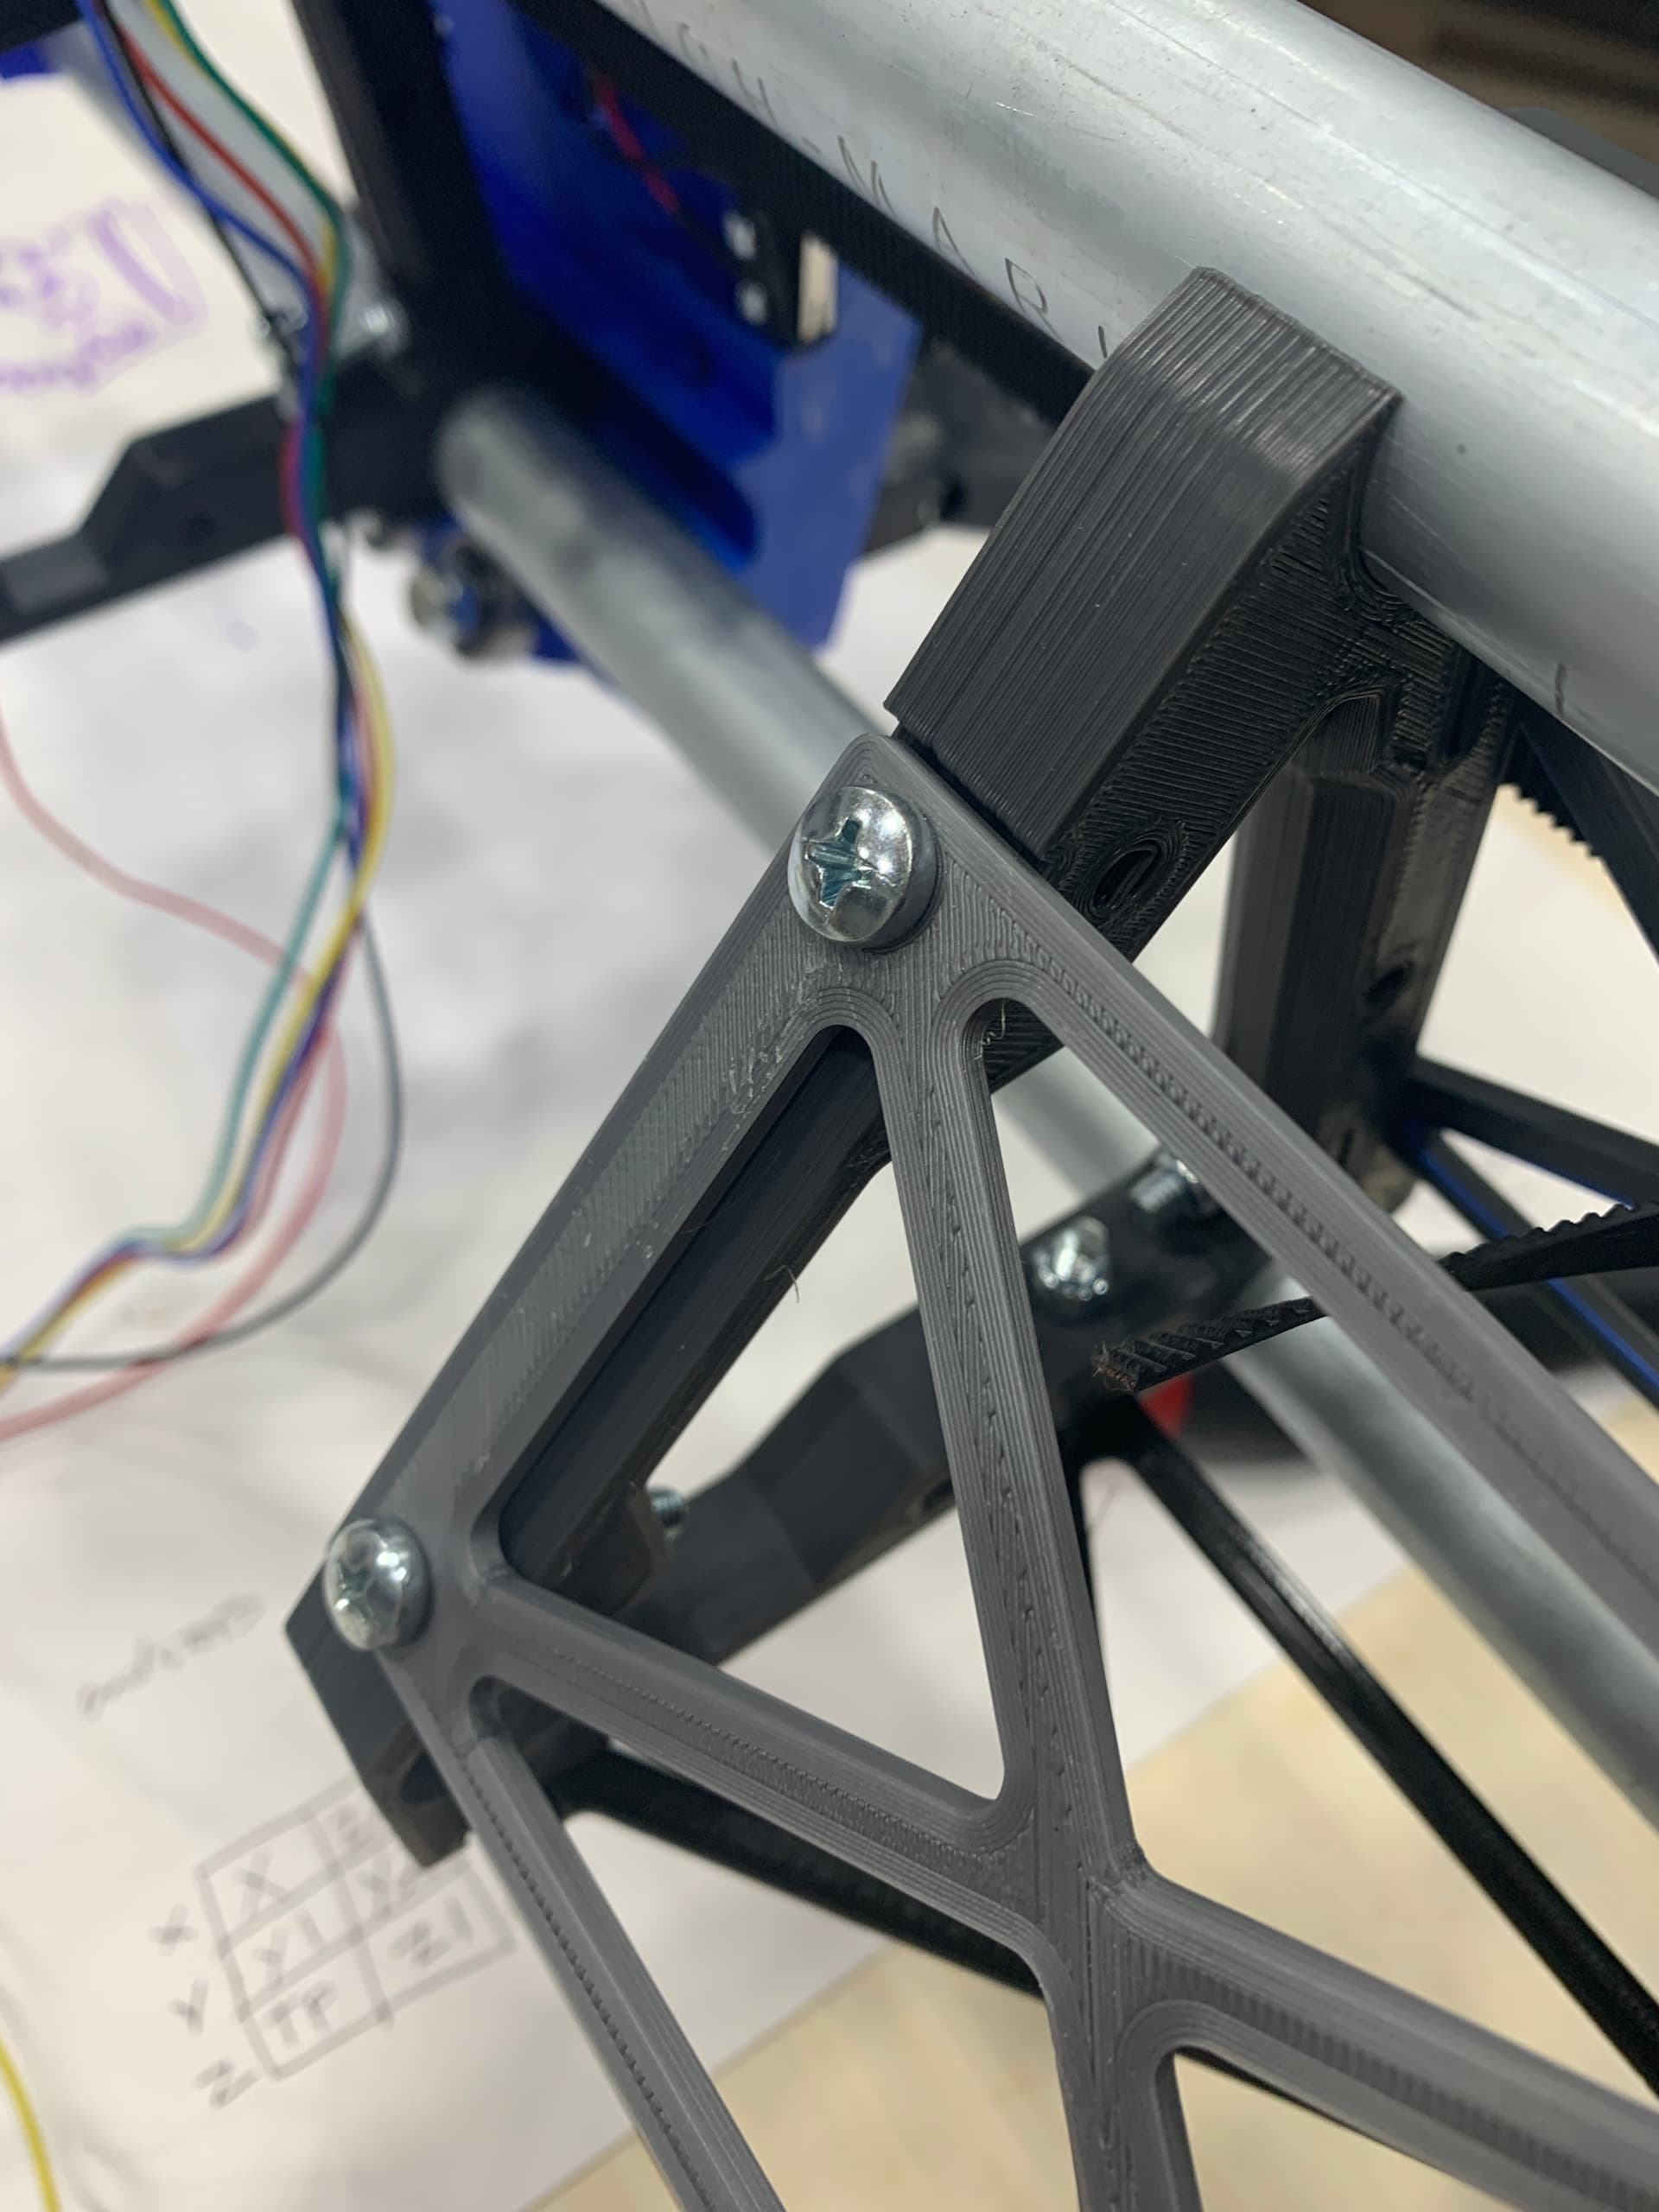
You hopefully will have no issue, but in case you do, be aware that I redesigned the dust shoe and republished it as a new edition, just so it would be narrower so as to eliminate any chance of it bumping something on the side parts.
I won’t need the revised one, as mine is fine just like it is. I think yours will be fine too, especially if you did not switch which side the Y rail is on.
I already printed the other version, and found a perfect m5 screw to use for the stop, so I’m good. I still need to design and print the collar adapter to fit my specific hose, which I’ll hopefully get time to do this week.
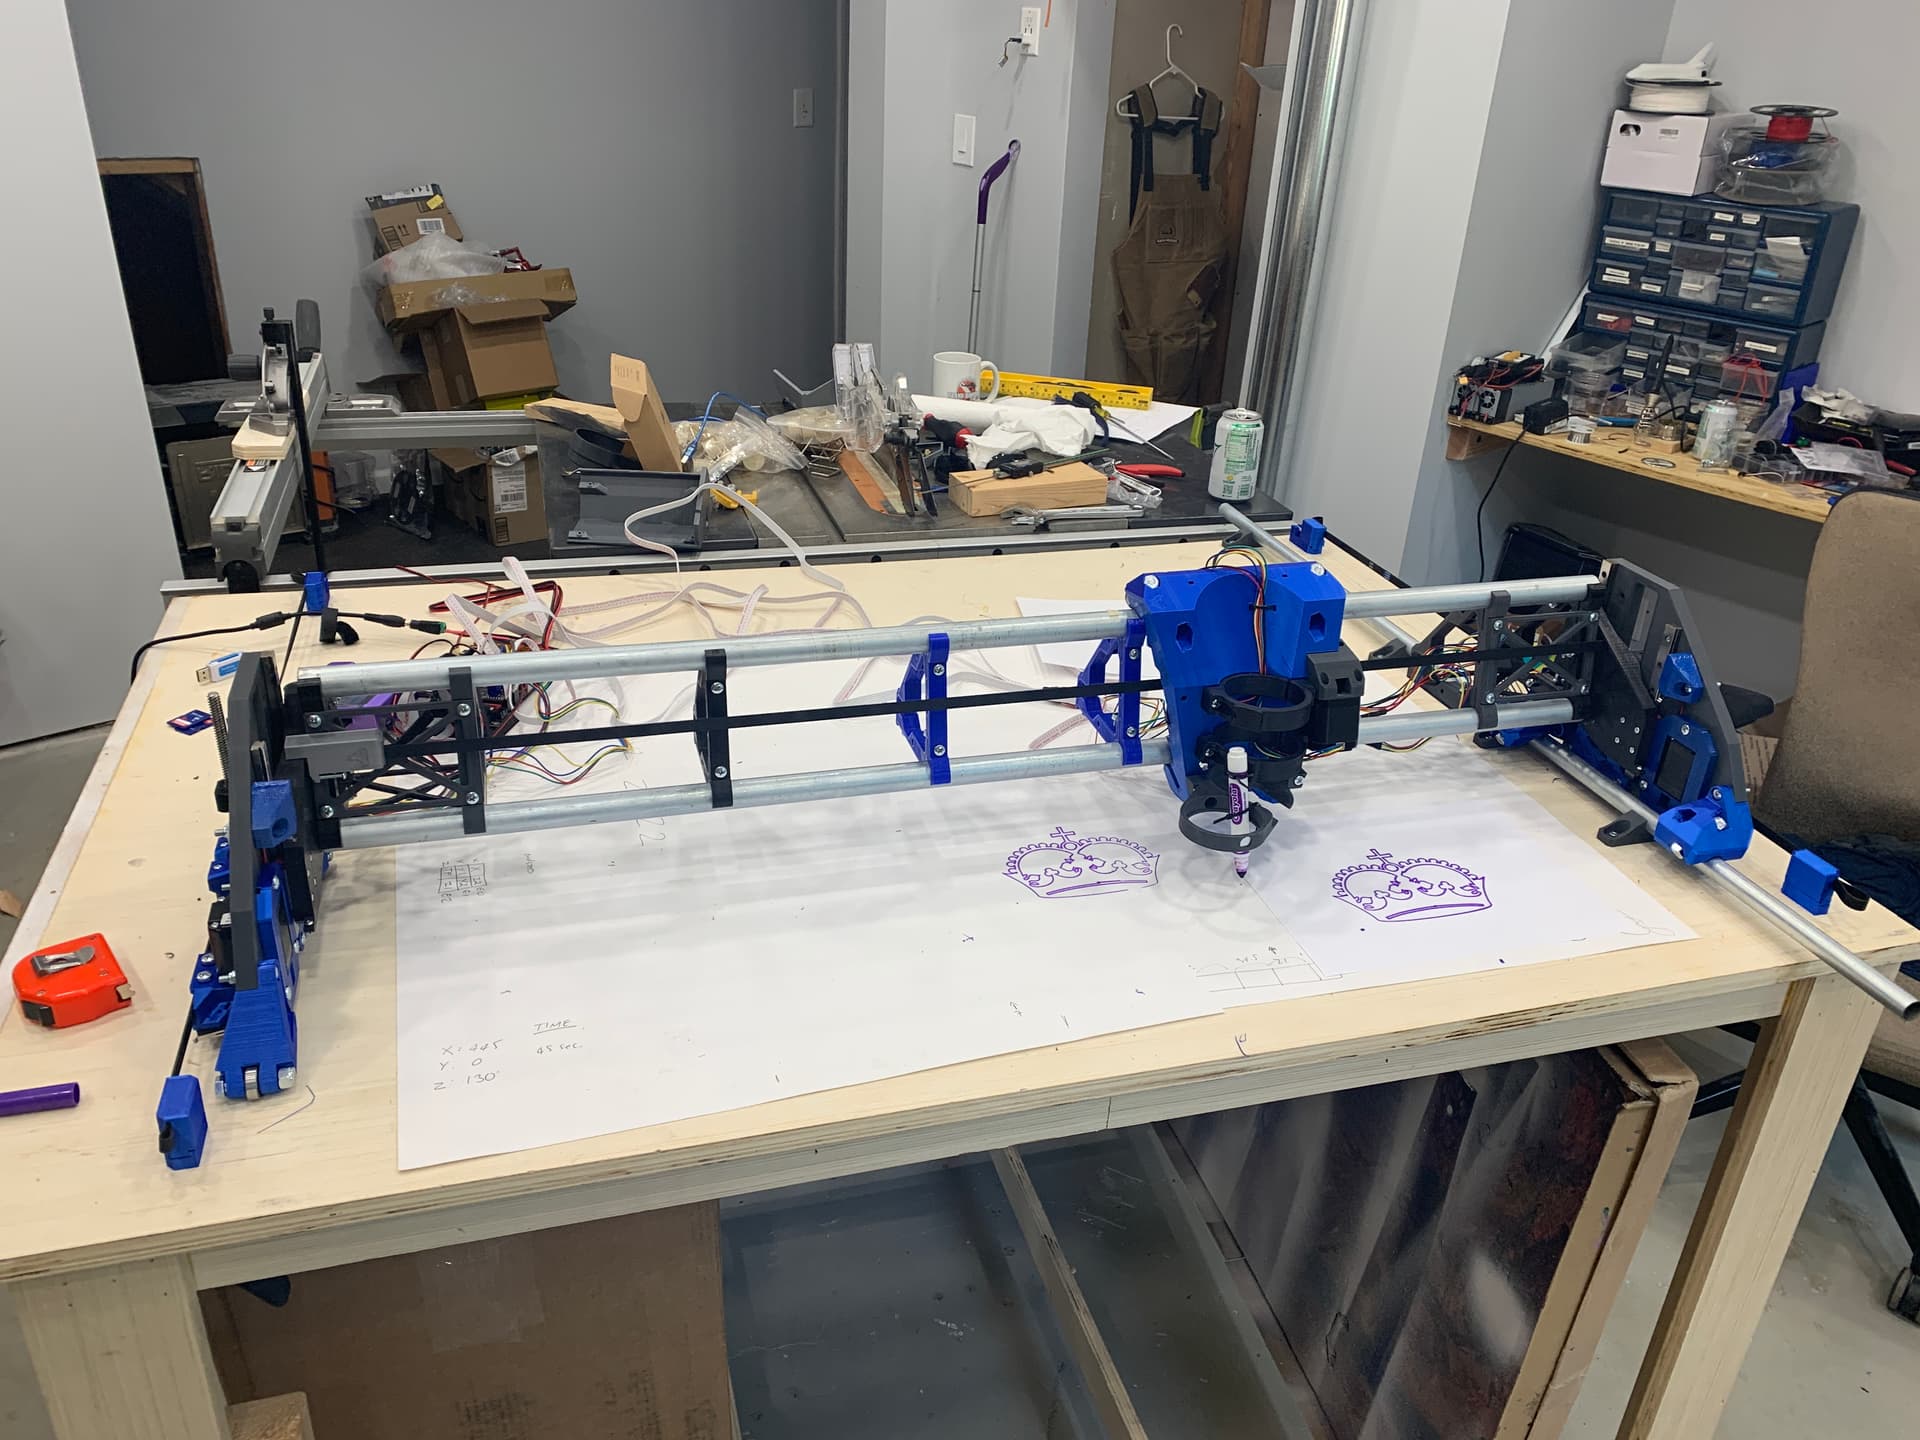
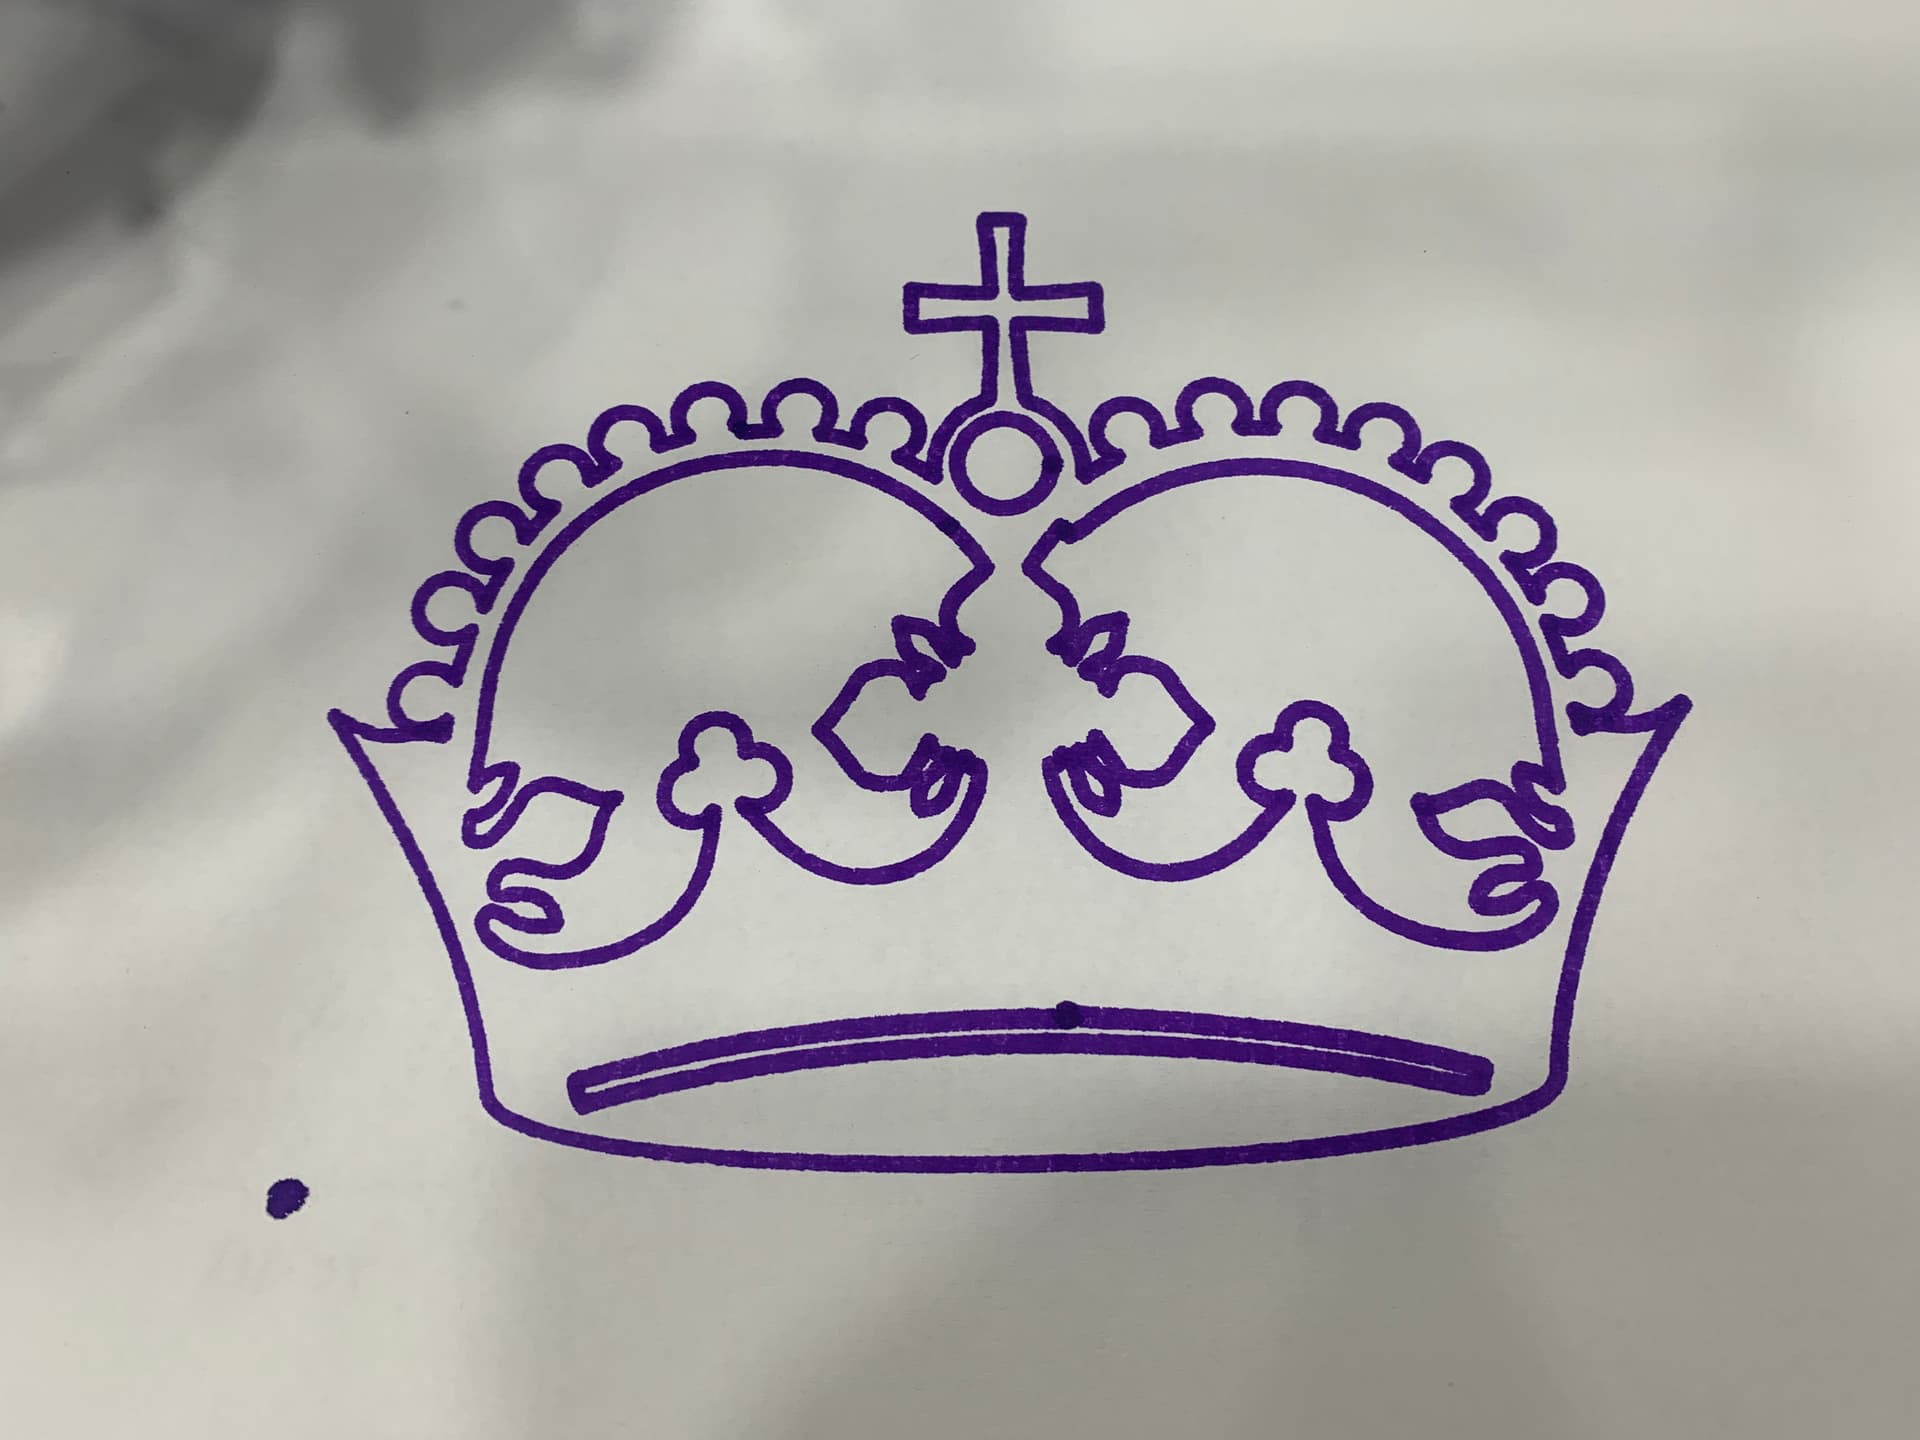
Temporary table (my table safe outfeed) so I could get everything checked for function. Sacrificed one cut off of the belt, but I have plenty for the final build. M
Everything seems to work like a dream. Endstops all rocking, so autohome is working.
Holding off on the diagonals and offsets until I build the real table, but other than a couple artifacts on the crown where the paper lifted (didn’t tape it down) it looks great!
Also- not sure I can cut my struts - since
My temporary table has the x axis as the long axis, and the Y is only 3 feet. It’s like a square, lol.
I’ll need to run a test and determine exactly how much cut area I have.
Silly oversight, but fixable- I can wait until the actual table is built. It’ll still be the first job
I did notice on some more crowns
That my right Z stop is higher than left- my crowns are a little light on the right side. I wasn’t planning to Determine the offsets and set them until after the table build, but something I’ll need to keep in mind