The not so definitive guide to getting Klipper on the Rambo 1.4 board:
This is not the only way to do things, but it’s how I chose to do it.
Getting started!
Start with a Raspberry Pi, and download the “Lite” version of RaspbianOS to flash to an SD card. (I used Raspberry Pi Imager)
My experience required me to hook a monitor and keyboard up and completing the initial pi setup, as it wouldn’t ever find an IP address doing things the old way, So before we can do things remotely, power up the pi with a keyboard and monitor so you can complete this. Once through the initial setup you can sudo raspi-config to add your wifi, enable ssh (minimum) then you’re ready to put it in your enclosure.
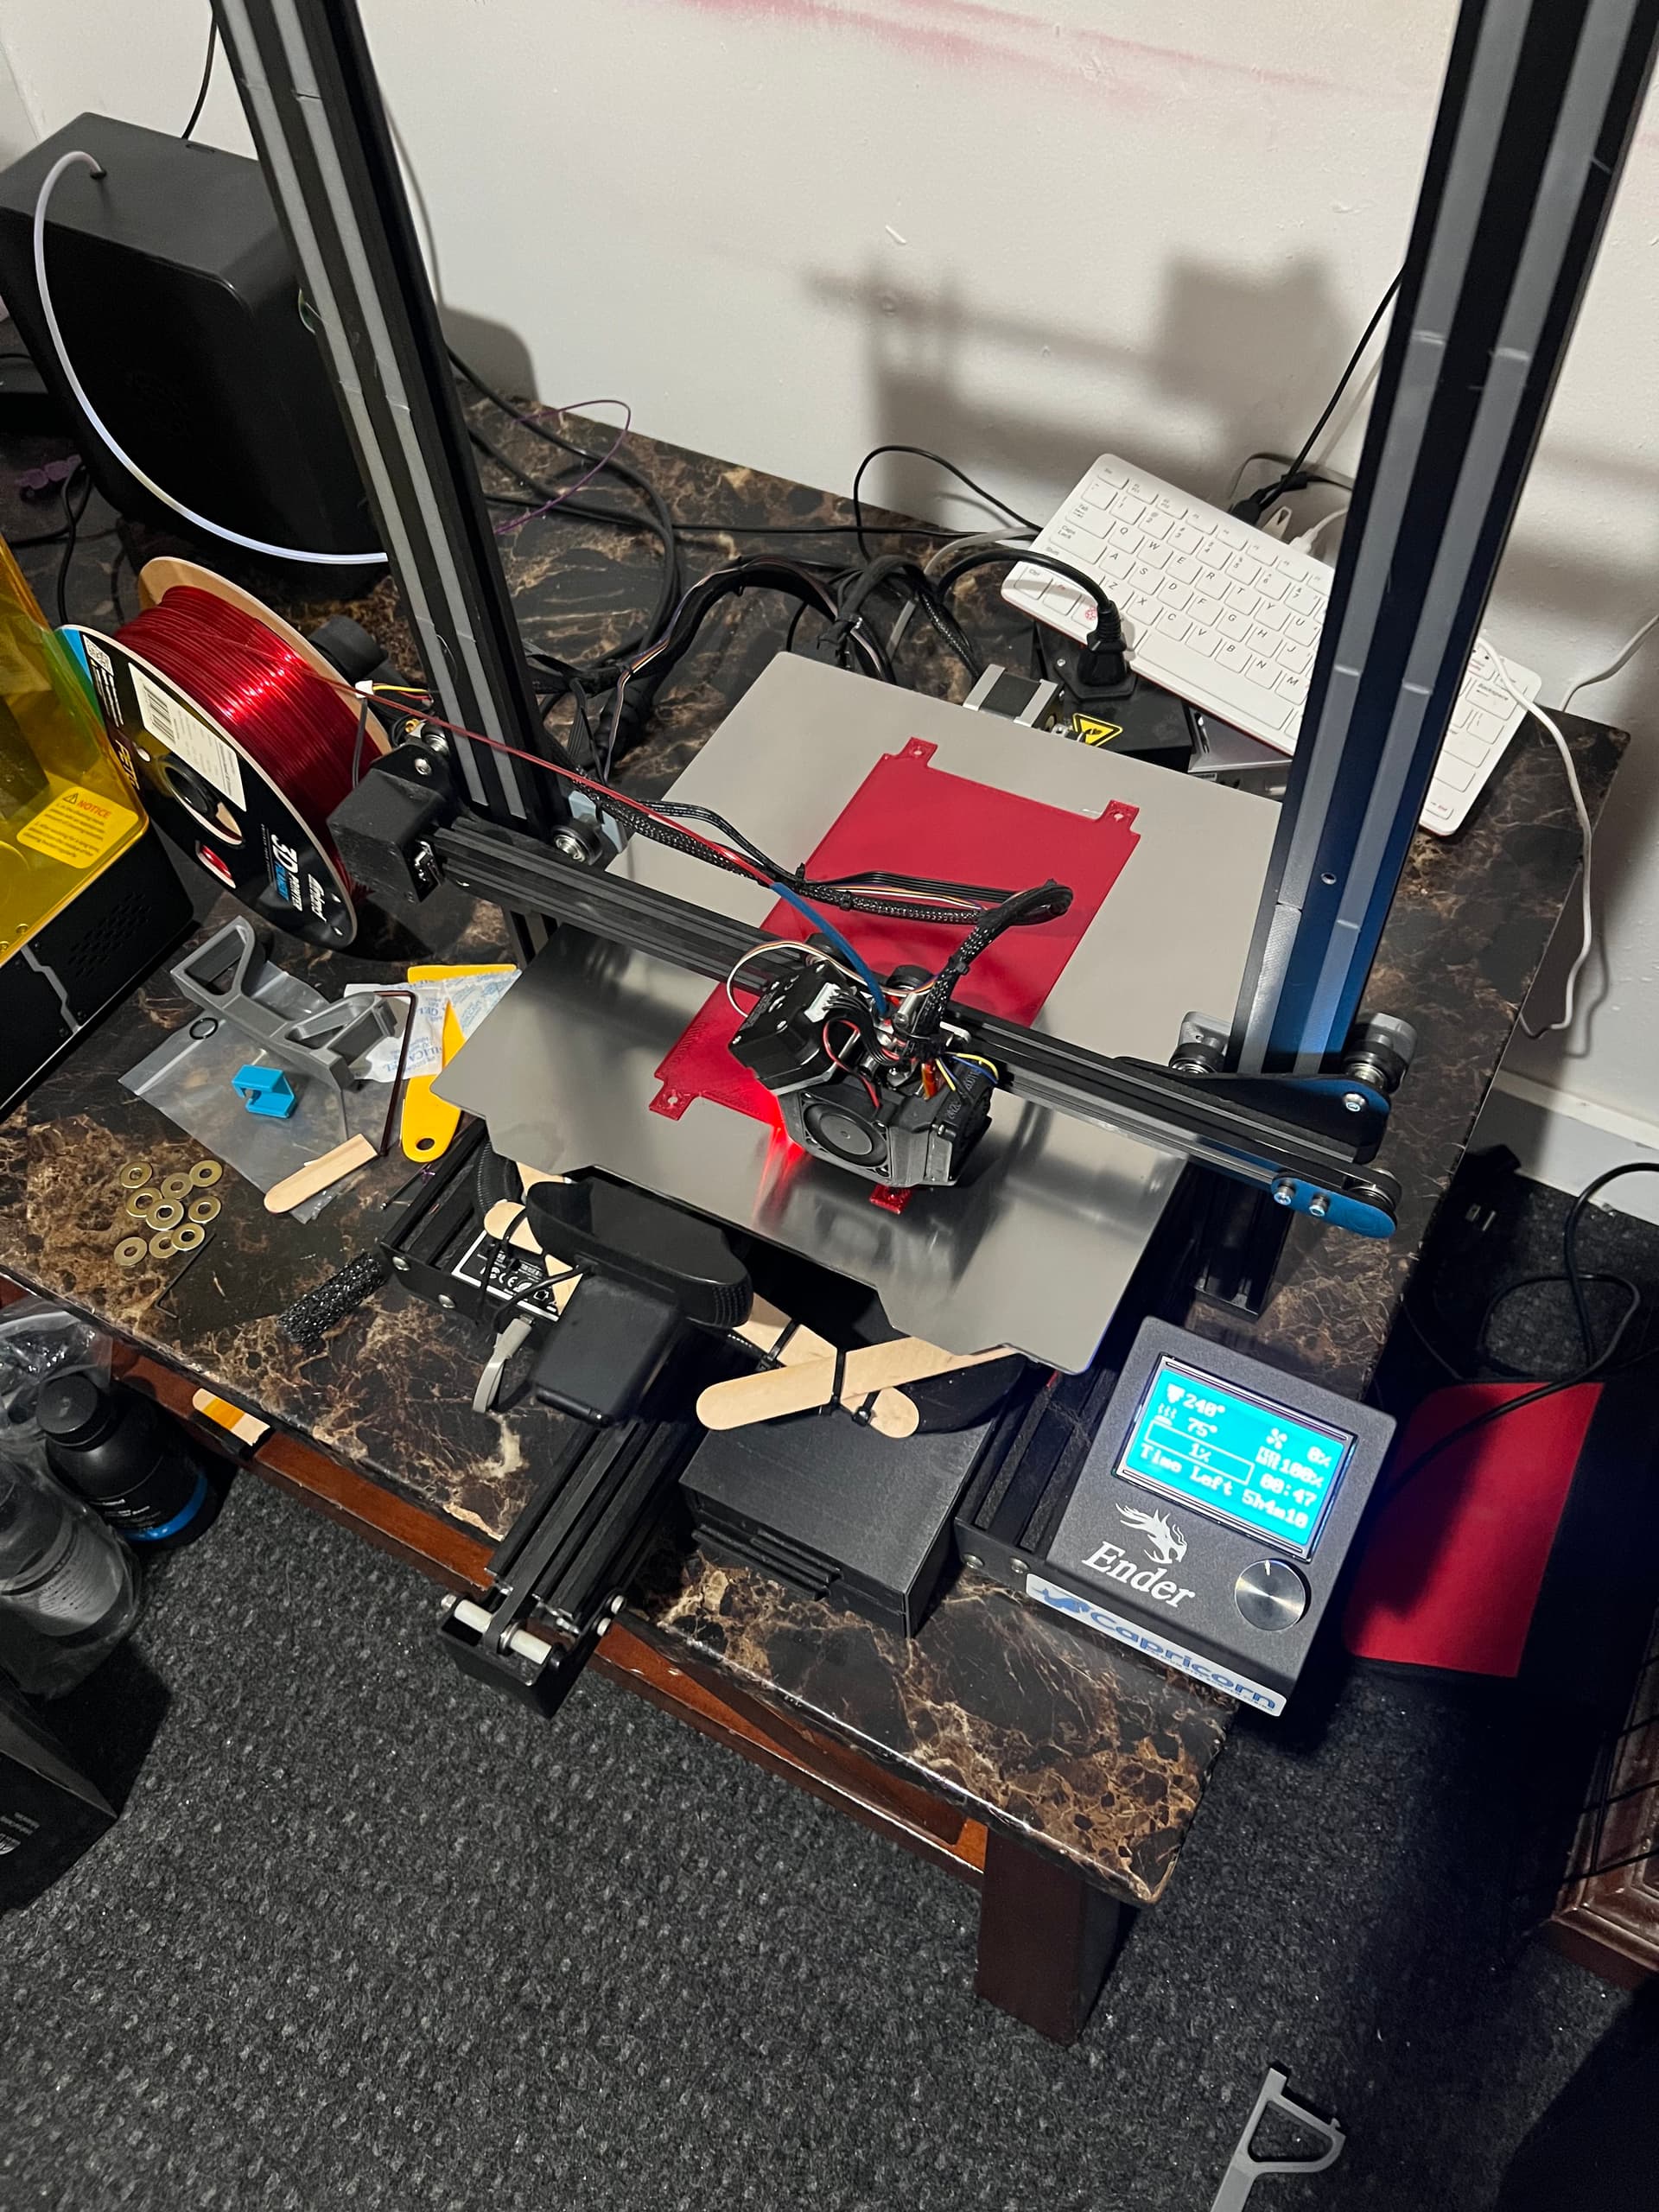
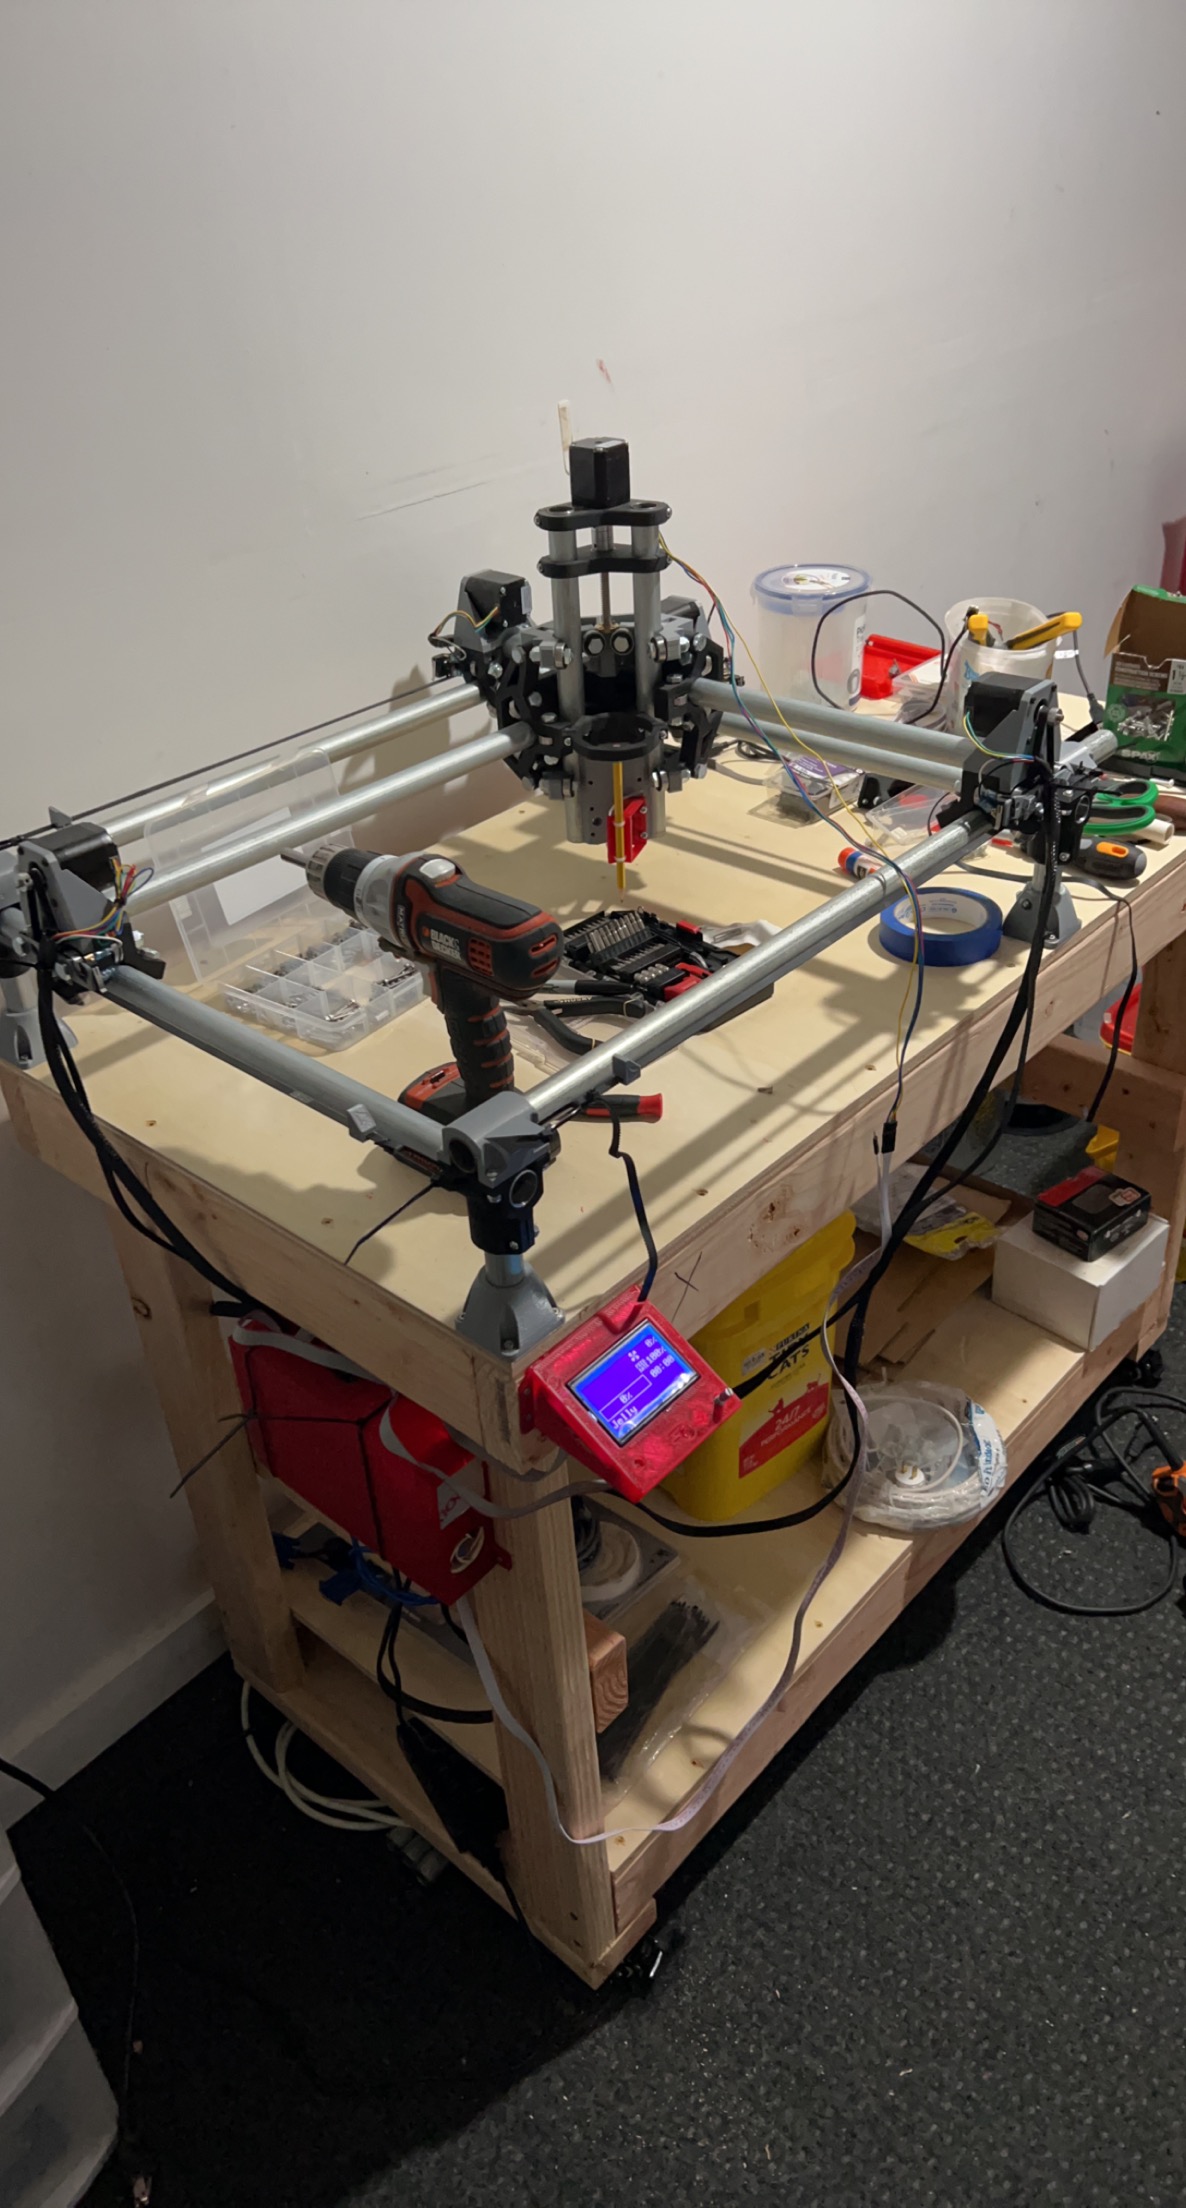
Take it to your machine, and hook it up. A usb cable to the rambo, power for the pi, and such. After reading about, you don’t want to try and power the Pi off the 5v accessory port on the Rambo, so I’m going to power it with a 12v-5v buck converter. This one has a right angle USB for the Pi2 that i’m using, it should also work on the Pi3. USBC wasn’t on pi’s until the 4 IIRC. Handy for space reasons especially in the enclosure i’ll be using.
Once you have it all hooked up and turned on, You’ll need to ssh into your pi. Login with Your Username and Your Password
I chose the easy route, and used KIAUH to install Klipper, Moonraker, and Fluid to the Pi. Everything is menu based and really simple to follow along, making this almost easy! I chose the defaults for all the questions IIRC. Once you have all that installed, You’re going to want build and flash Klipper itself. This can be accomplished by going to the Advanced menu option and selecting “Build and Flash” The menu should ask you a few questions, and away it’ll go. Take node of your /dev/serial/by-id/************* as you’ll need it when you set up your config later. If you forget you can always find it by
ls /dev/serial/by-id/*
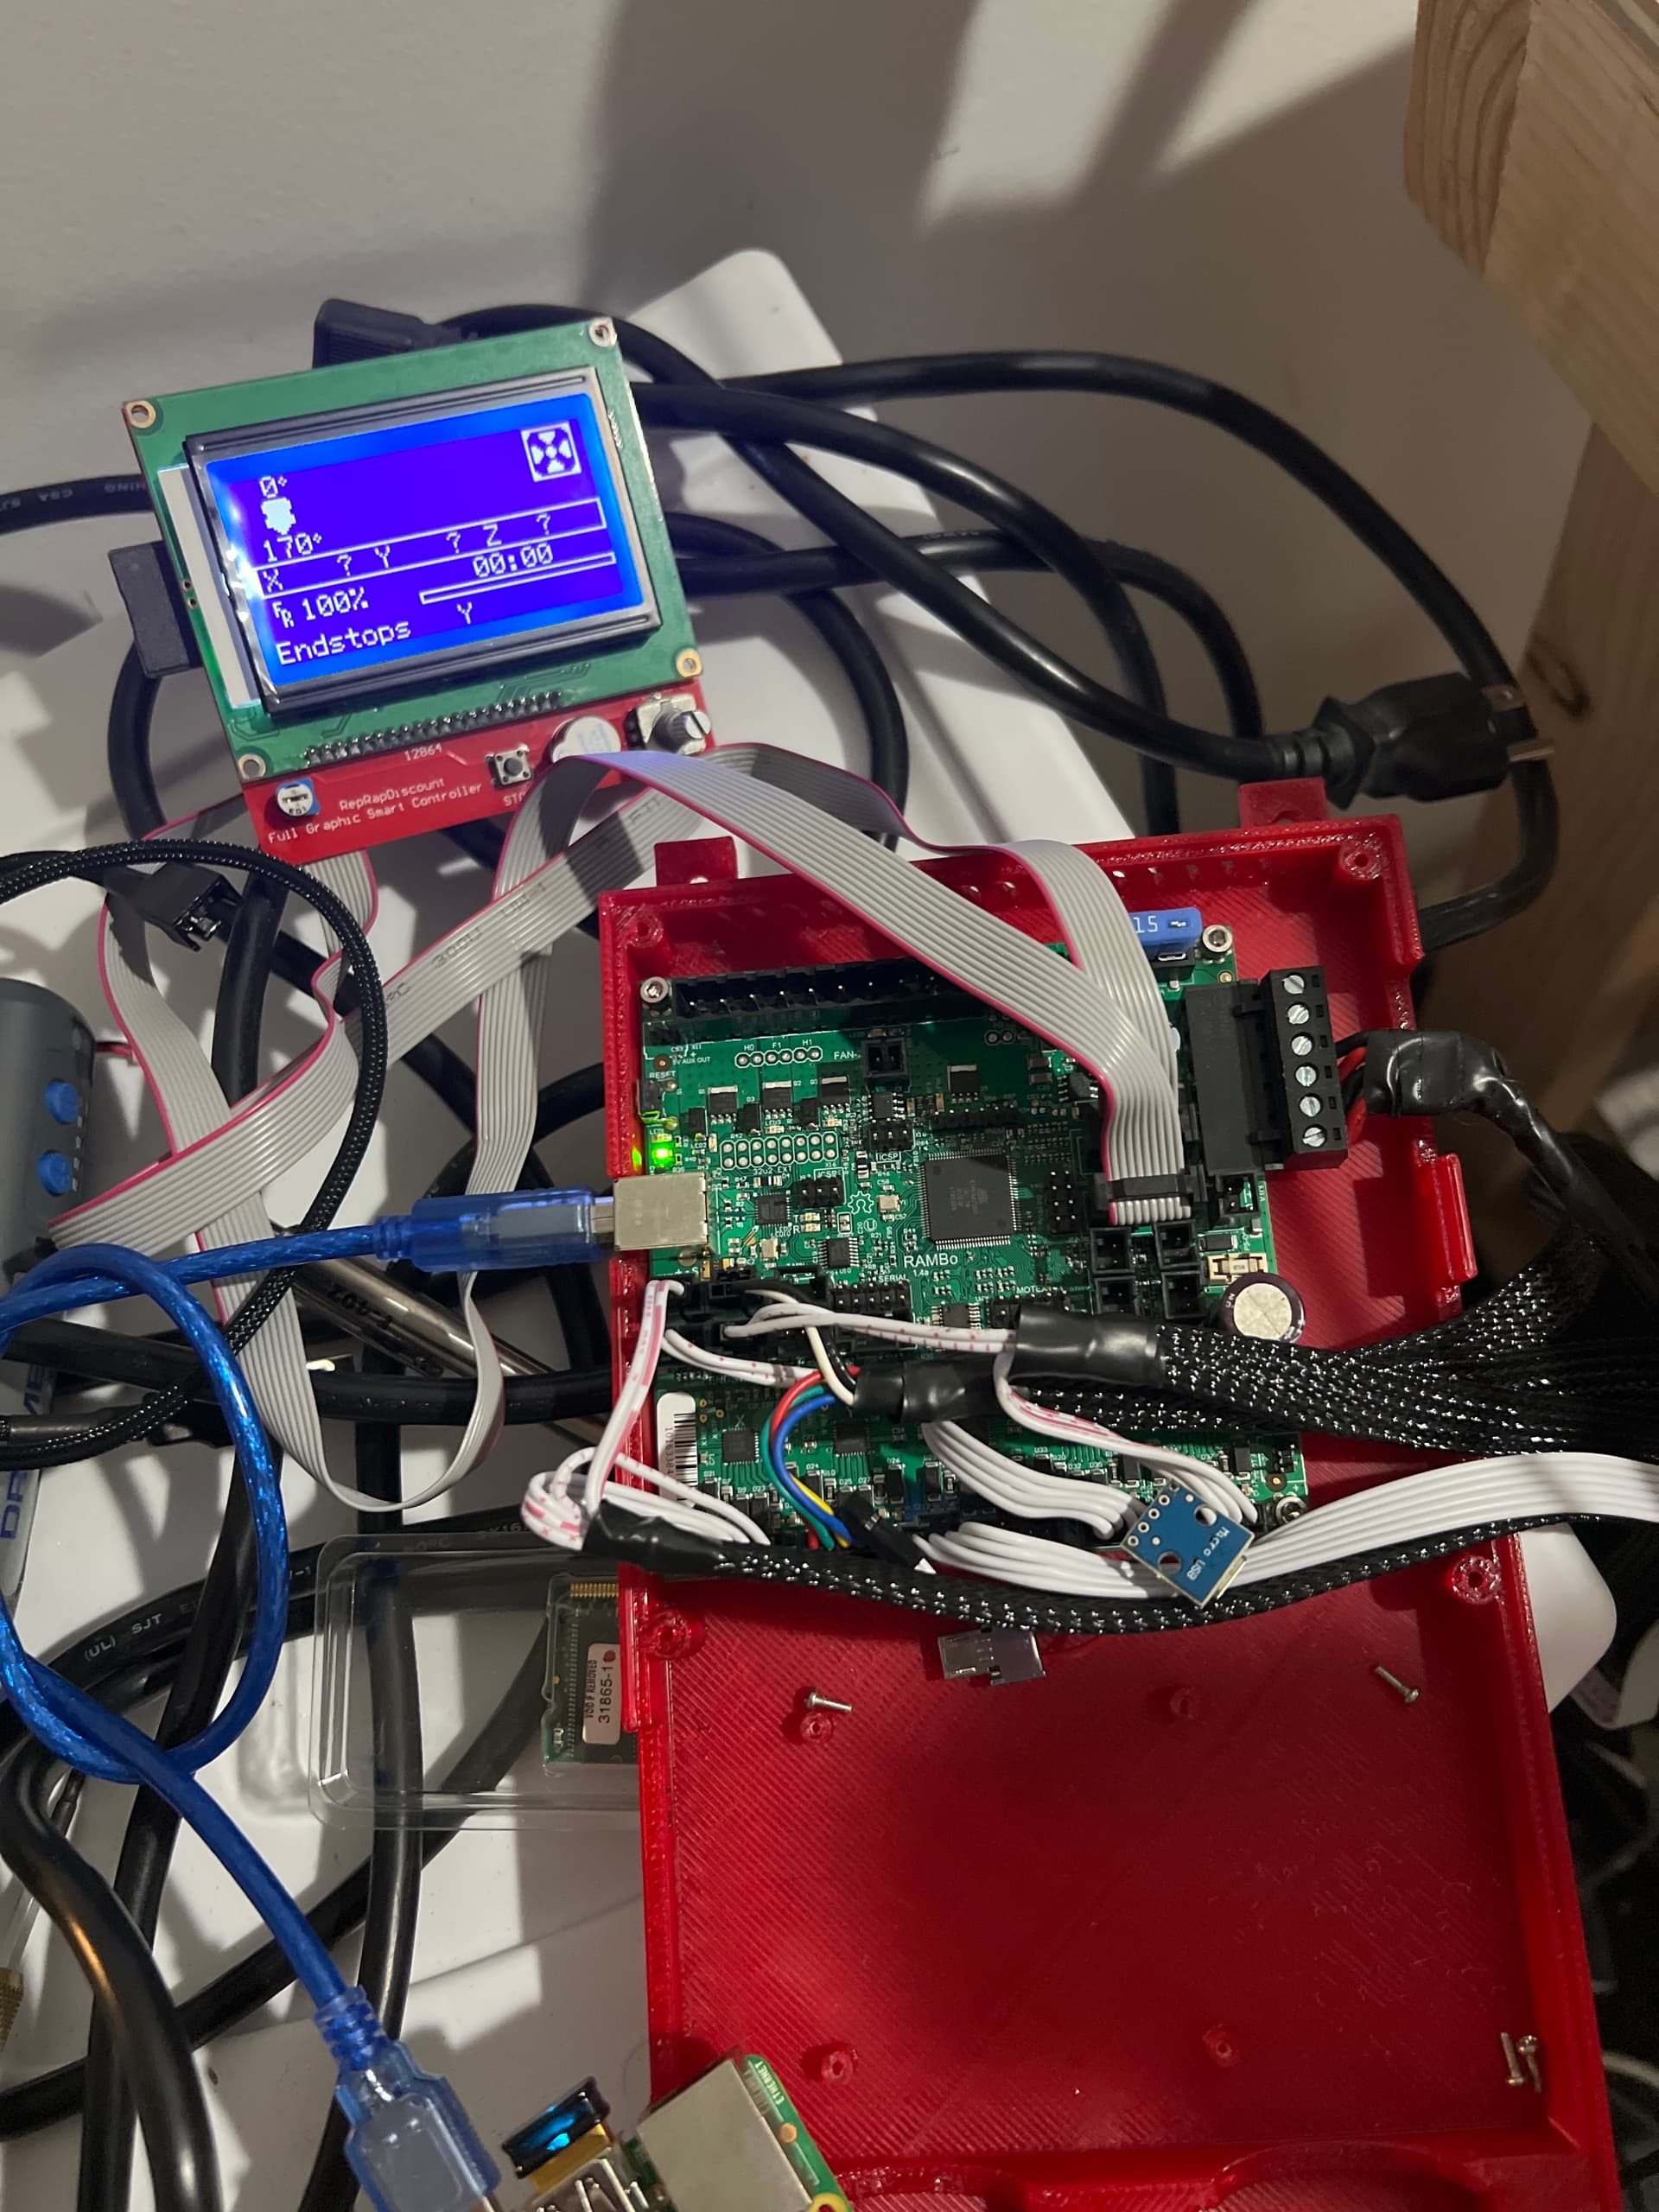
Great, now we have gotten that far. You should be able to go to your browser and type in the Pi’s IP address and Fluid (or Mainsail) will pop up. There will be warnings, you won’t have a fleshed out klipper config yet, but the page should at least load! If you use an LCD it will be blank at this time.
Configuration of printer.cfg
Now what we need to do, is grab a generic configuration off klipper’s github for the rambo. Save this to your desktop as printer.cfg Once this is edited, you’ll want to put it in /home/*username*/printer_data/config (if using Fluid, may be the same for mainsail)
Remember: after every edit you’ll need to restart your firmware!
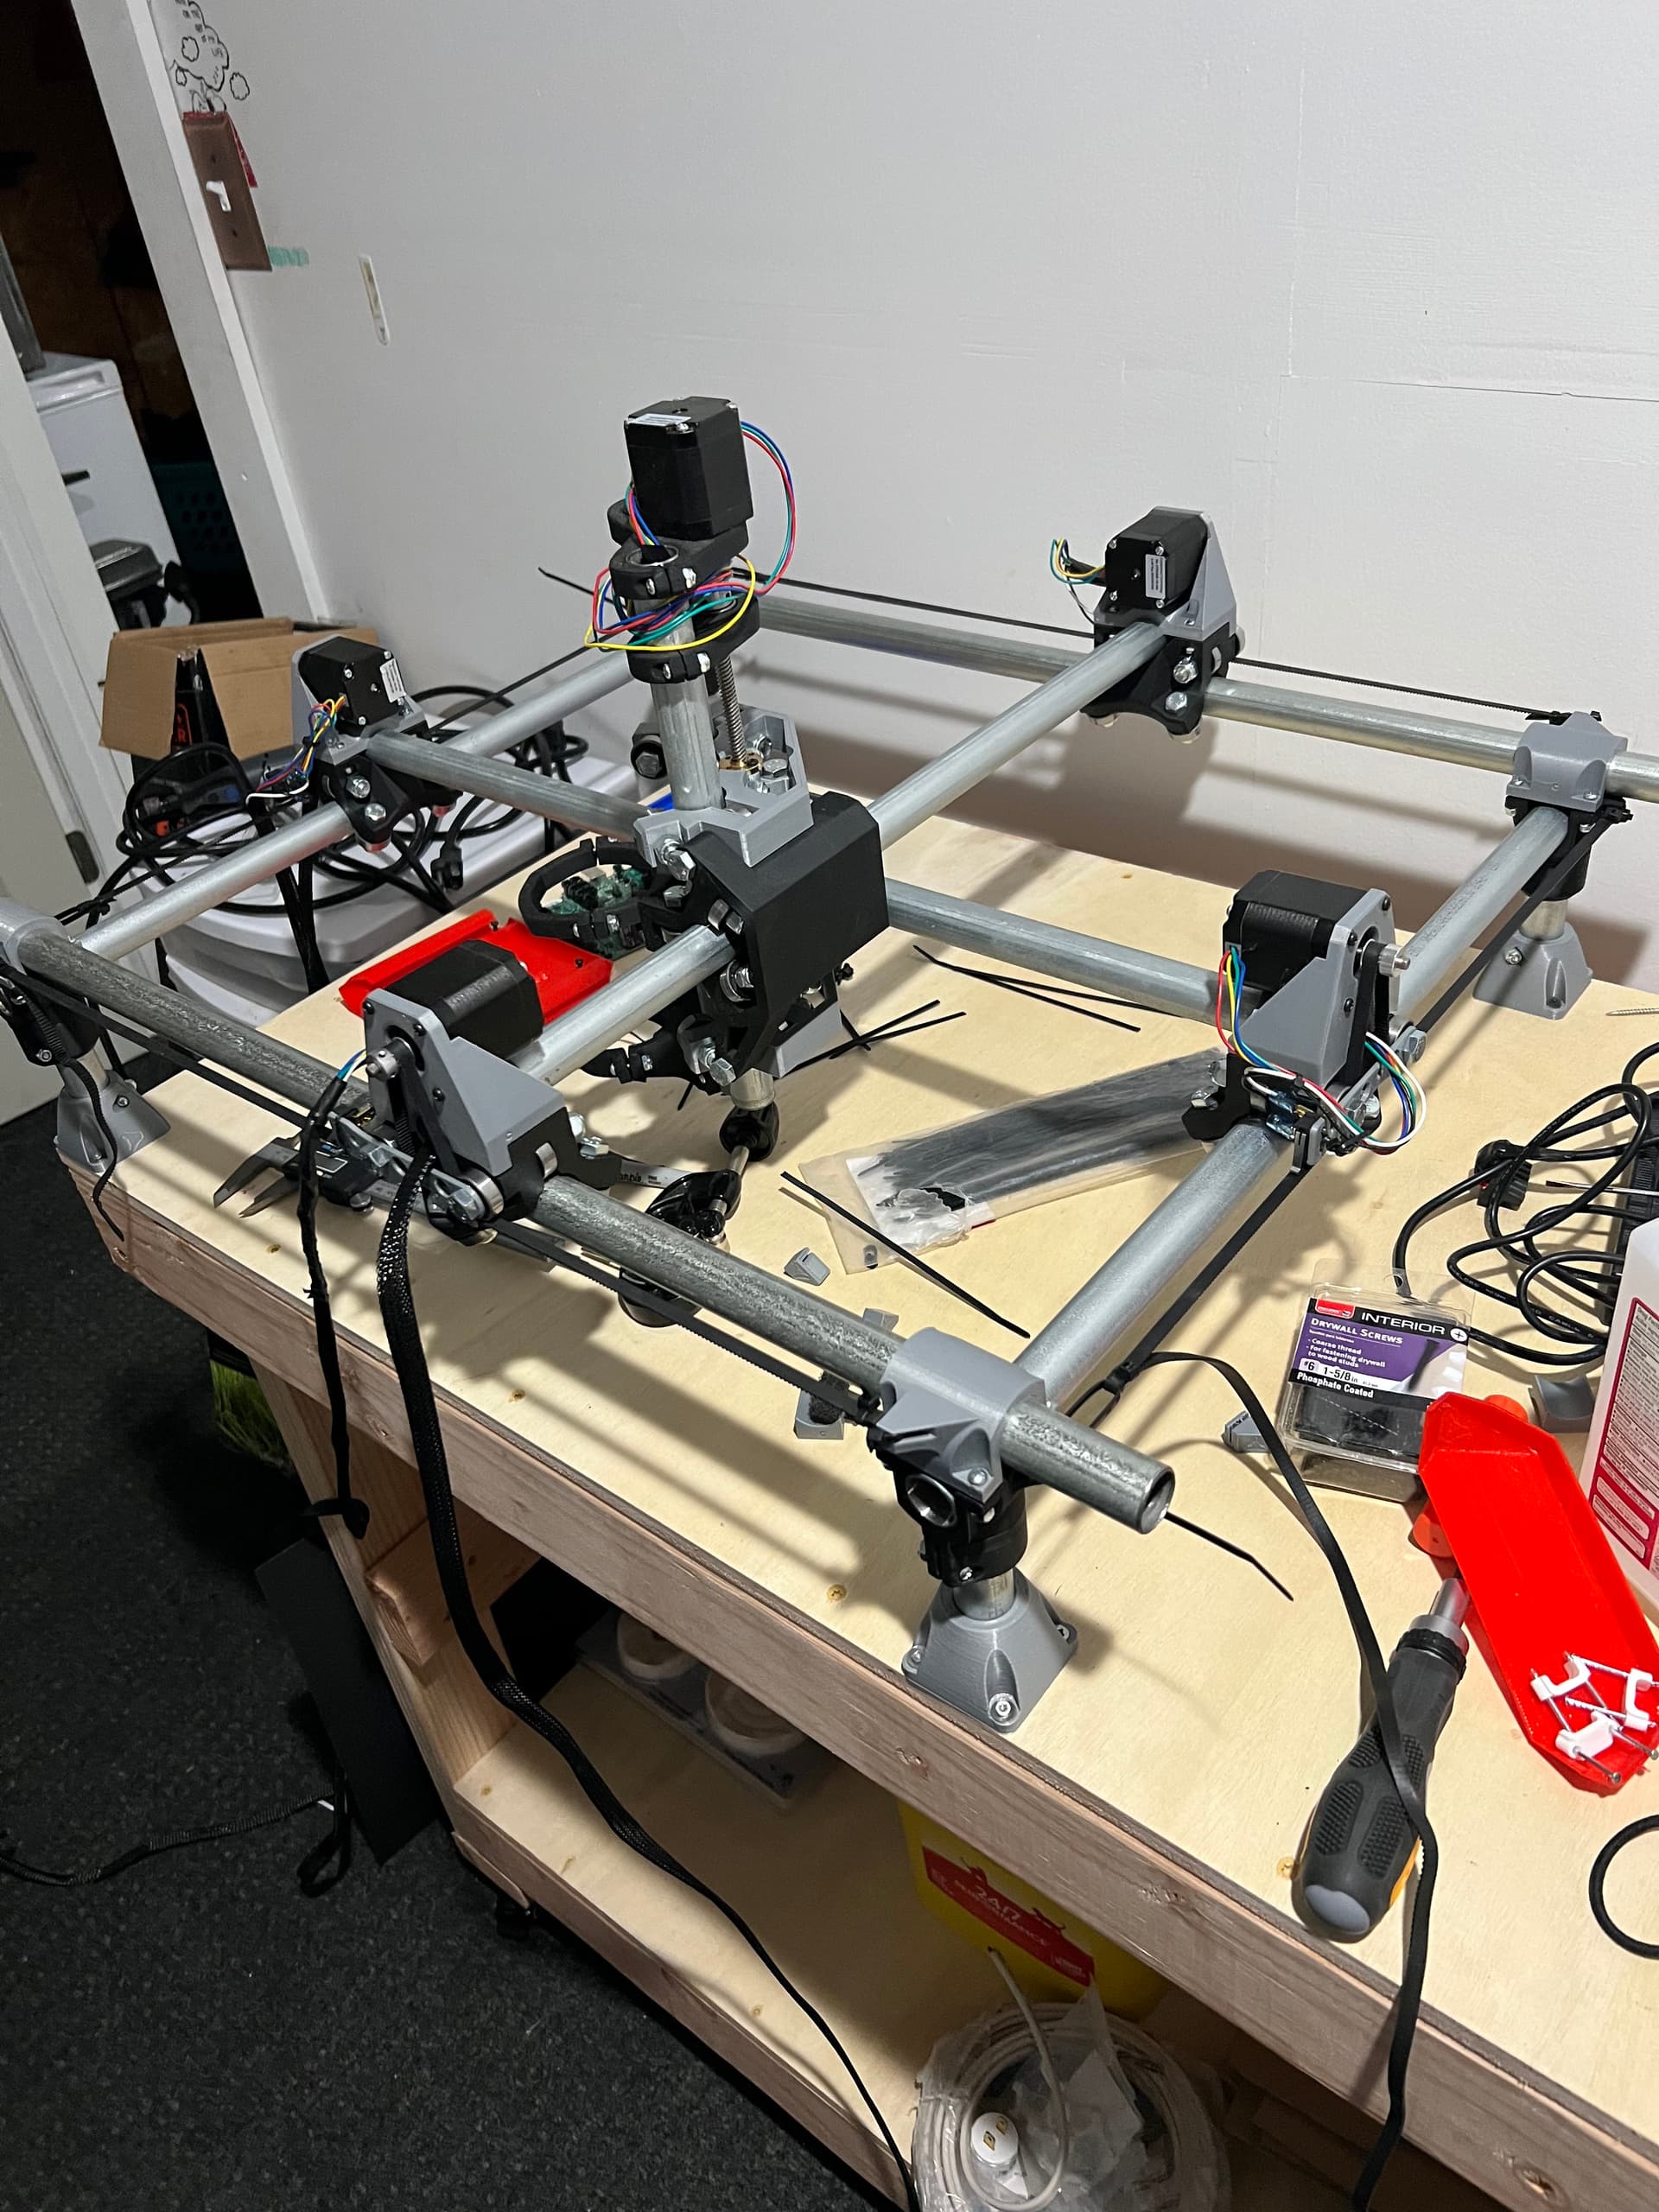
This was the hard/fun part. You’ll need the list of pins from the RepRap Wiki, and the schematic also. I found I could figure out most everything from the schematic vs trying to read the “pin list” You’ll need to set up the following.
- [stepper_x]
- [stepper_y]
- [stepper_z]
- [stepper_x1]
- [stepper_y1]
- [mcu]
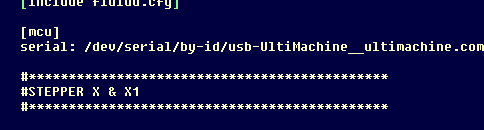
[mcu]
serial: /dev/serial/by-id/usb-UltiMachine__ultimachine.*************
your [mcu] block will be whatever the output of ls /dev/serial/by-id/* is.
Steppers X, Y, Z should have all the correct Step, Dir, Enable pins present. On the Rambo the E0, E1 ports become your X1, Y1 respectively. These sections also include endstop pins if you’re using them.
If you don’t use endstops, we have a workaround for that later on, comment out the endstop_pin block using a # before the line you don’t want to be included.
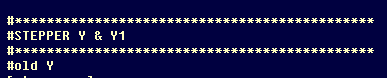
What I did, was copy X and Y, pasted below Z and renamed them to X1, Y1. You can use the Listed “Extruder” portion for pin reference, or reference the schematic to figure it all out.
Note: if you have a duplicate pin assignment, or an error in your config, Fluid/Moonsail will tell you something isn’t right. The config will stop loading so there’s no risk of mucking anything up.
I chose to group my motors in the config for easily finding them.
For your LCD to work, you’ll want to add this block in. Doesn’t matter where I don’t think but I chose to put it before the aliases. Since the generic rambo file came with aliases, you can use the aliases and it’ll take care of the actual pin assignments.
# "RepRapDiscount 128x64 Full Graphic Smart Controller" type displays
[display]
lcd_type: st7920
cs_pin: EXP1_4
sclk_pin: EXP1_5
sid_pin: EXP1_3
encoder_pins: ^EXP2_3, ^EXP2_5
click_pin: ^!EXP1_2
Now, this is THE MOST IMPORTANT PART!
There are two ways to deal with end stops/homing. If you’ve got your endstops defined, and have verified they work, you can add this to the very bottom of your config file, and it will make your life easier.
What this does, is anytime you press a homing button in Fluid/Mainsail it sets “home” as wherever you have your machine positioned. Note pressing ANY home button on the interface will zero everything and enable your motors.
[homing_override]
#This sets the "home position" of the machine.
gcode: G92 X0 Y0 Z0
axes: xyz
set_position_x: 0
set_position_y: 0
set_position_z: 0
I went a little different with mine, and chose to allow X and Y to automatically home, but leaves Z alone and zeros it out. (manually position Z, then click home) PAY ATTENTION to where your Z is, I’m not responsible if you break a bit 
AGAIN, THIS WILL MOVE YOUR X and Y so make sure you have enough clearance for your Z while it’s homing.
[homing_override]
#This sets the "home position" of the machine. Useful for when you want to manually position axis (Like with CNC)
gcode: G28 X0 Y0
gcode: G92 Z0
axes: z
#set_position_x: 0
#set_position_y: 0
set_position_z: 0
Last but not least:
Verify your machine moves in the correct directions.
Two ways to do this. Move your axis 1mm, if a motor doesn’t move as expected, you can either:
Power down and swap the plug around
OR
Invert the direction pin in klipper.cfg with a !
dir_pin: !PB5 (this is an inverted pin)
dir_pin: PB5 (this one is NOT inverted)
Macros:
These can make your life a little easier when using Klipper in ways it wasn’t designed for. They are added to your printer.cfg file at the end and upon firmware restart they will be available in the macro sections. This can also be used to replace functions!
Here’s some examples:
Gcode executed when the printer is ready
Once the machine is ready, this changes the idle timeout, and displays a line on the LCD in the typical “Status” area.
[delayed_gcode on_ready]
initial_duration: 10
gcode:
SET_IDLE_TIMEOUT TIMEOUT=3000
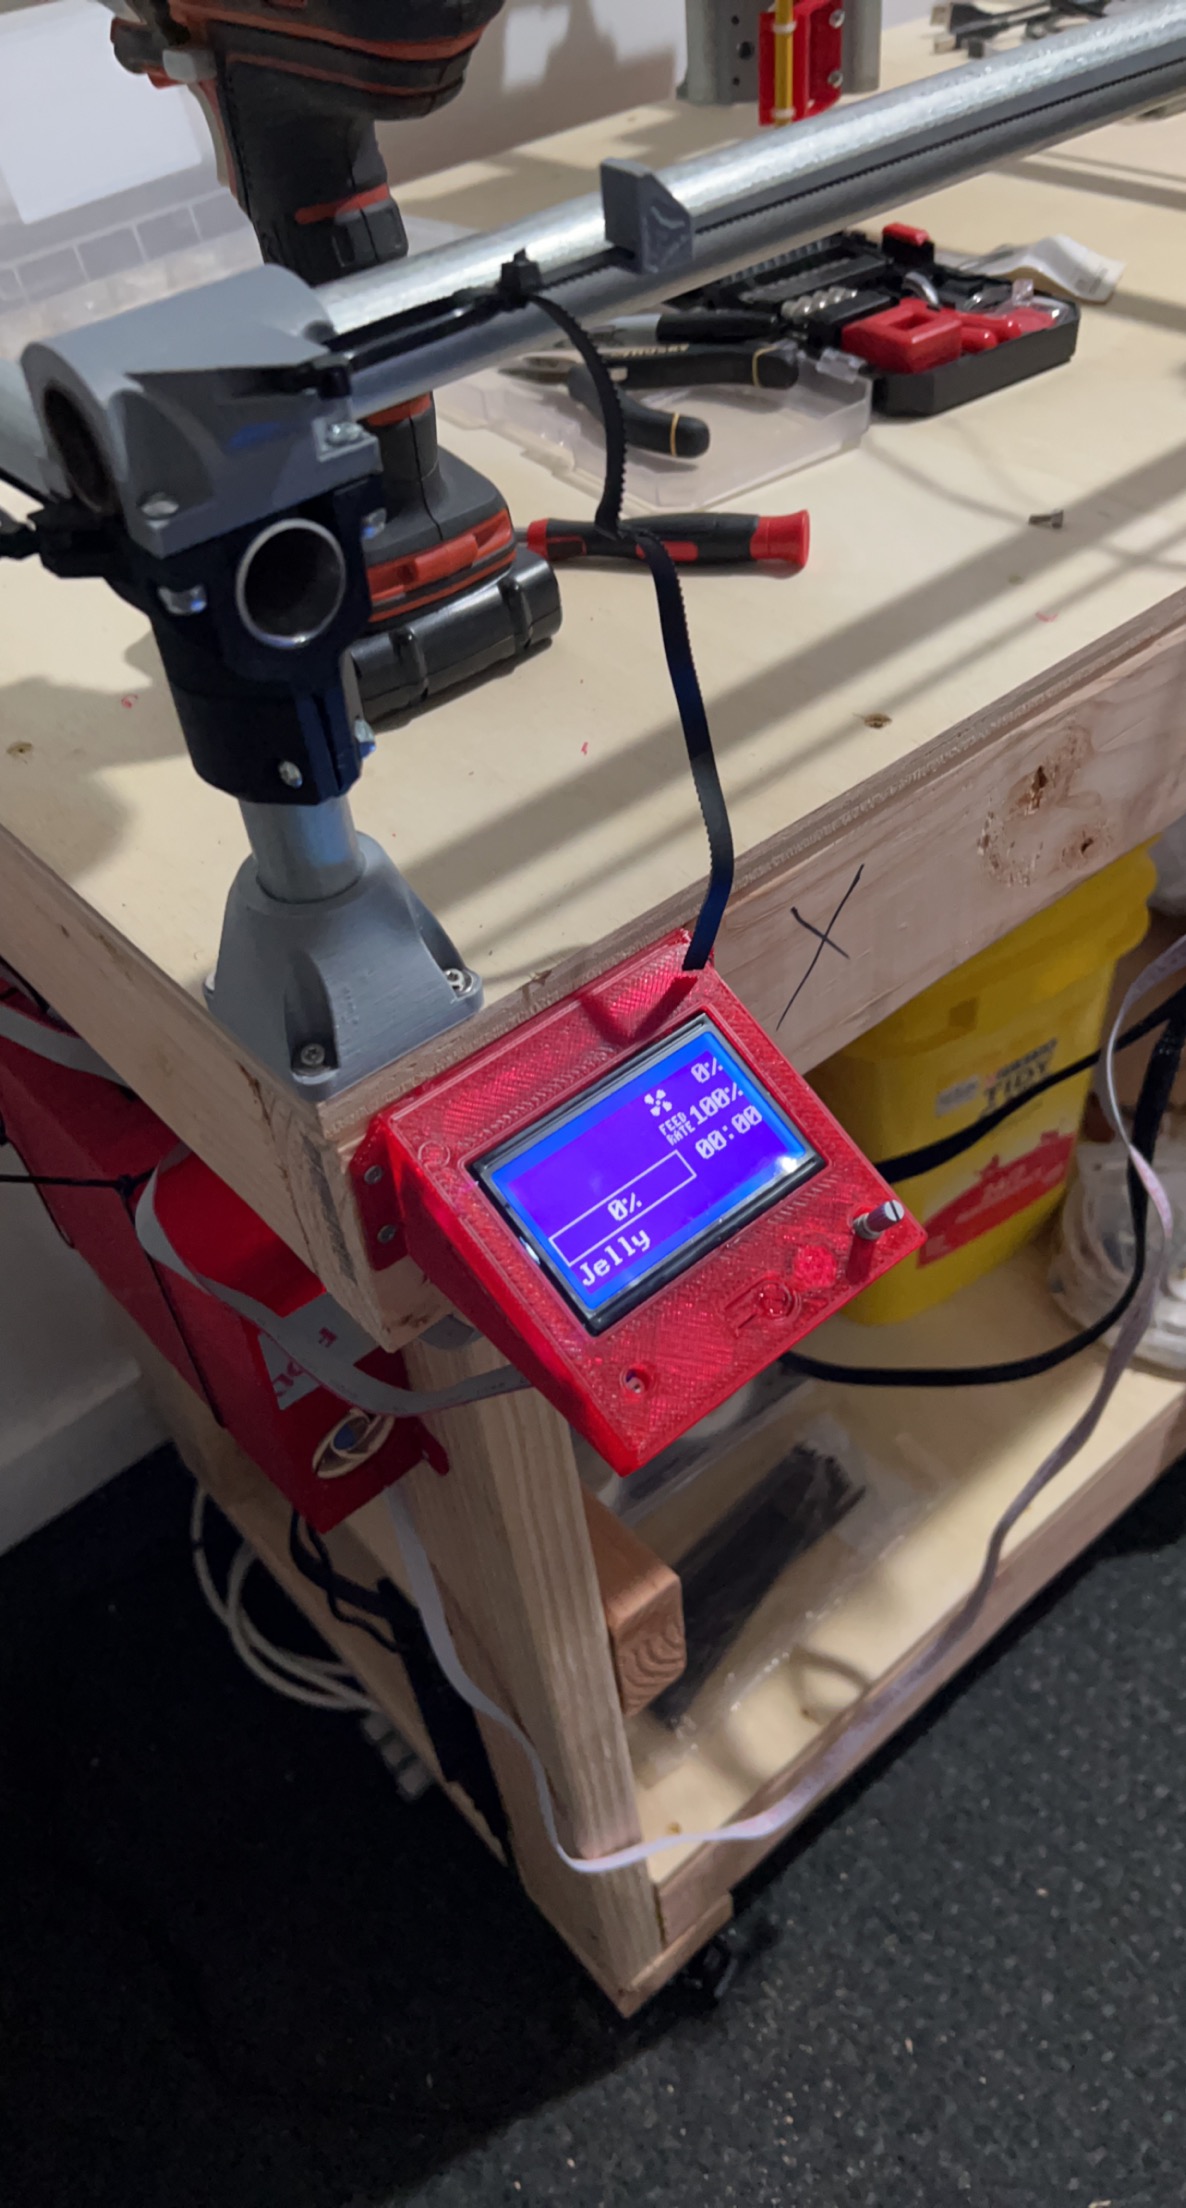
M117 Jelly
This one enables your motors.
[gcode_macro M17]
gcode:
  SET_STEPPER_ENABLE STEPPER=stepper_x ENABLE=1
  SET_STEPPER_ENABLE STEPPER=stepper_x1 ENABLE=1
  SET_STEPPER_ENABLE STEPPER=stepper_y ENABLE=1
  SET_STEPPER_ENABLE STEPPER=stepper_y1 ENABLE=1
  SET_STEPPER_ENABLE STEPPER=stepper_z ENABLE=1
Last thing! You’ll want to edit your post processor to not add extra stuff to your gcode that Klipper will complain about. I used the Marlin pp I found here on the forum and edited it to accommodate. This was trial and error for me, as I just removed things Klipper complained about.
I’m sure there will be questions, And I haven’t provided a config file because if you go this route, I’d like to assume you know the basics of Klipper and why you’d want to use it as motion control. Call it insurance, so I’m not responsible lol.
Sorry for the long post, But I wanted to share my process. Good luck, have fun, usual “I’m not responsible if you bork your machine”