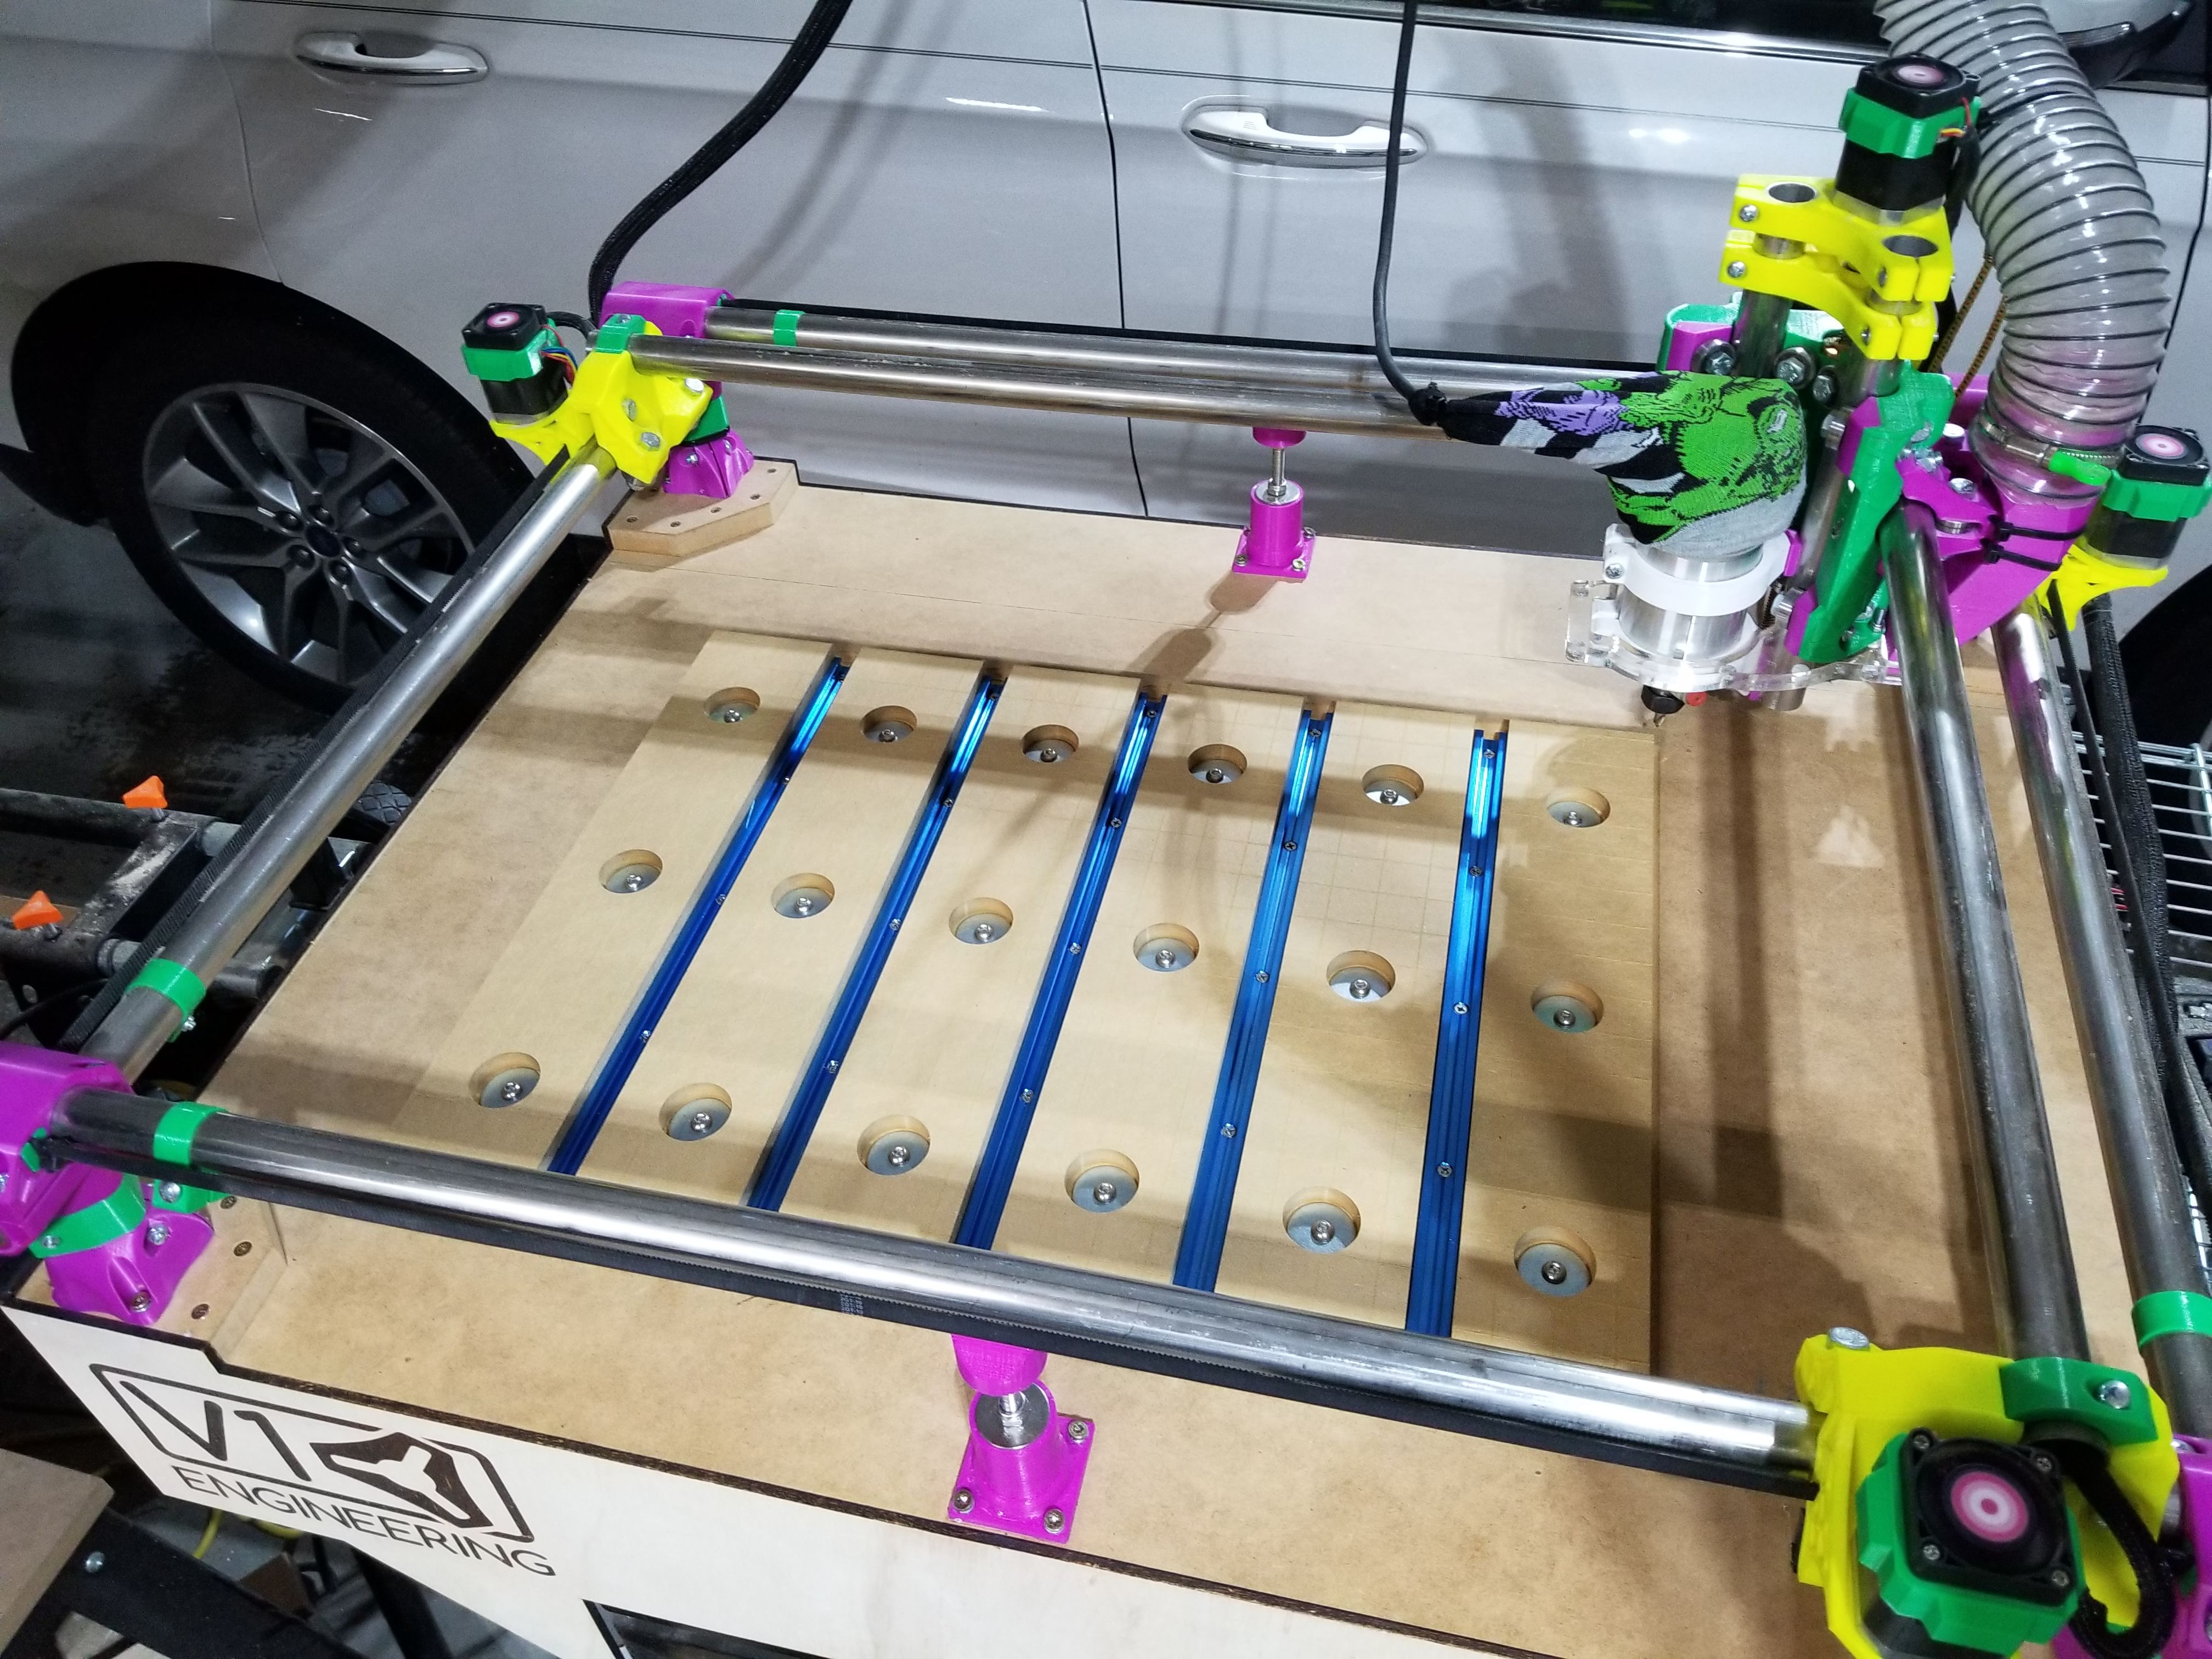
I finally got around to putting together a decent T-track spoilboard. The lighting doesn’t capture the grid very well — it’s very lightly carved (0.5mm) and covers the entire surface uniformly.
I’m also considering adding the option for bench dogs, but need to research the best hole orientations for the most options. The idea would be to have multiple origins programmed for various dog layouts, while using the least amount of holes. If anyone has any insight in this area, I’d love to hear your thoughts. Thanks!
DAMN!! this looks good! i love the color choice! i’m very impressed, and hope my build ends up looking half as good as yours. i would love to see some more detail on the table you build. it looks really good and i have been struggling trying to decide what type of table i want.
How the heck did nobody tell me about this build, DANG!!! Love it, love the logos, love the primo logo, love the fan logos…they even look good spinning.
I am 90% behind your vac shoe. Love it as well. I think if we combine ideas we could have the ideal shoe. Your height adjustment was the last piece of the puzzle for what I have been thinking. I planned on doing the duct around that nearest edge of the core instead of under it. That lets you concentrate the flow more right at the cutting area and minimizes the thickness of it all and gives more room to position the duct up the back. That in turn hopefully does not take a single mm from the work area and allows for the highest flow possible. I am assuming it would need to be in a few pieces to make it fit all three versions and let people choose standard vac of 4", and I am guessing a blank dust cover to let people fit it to their tools. Would you be cool with a colab or some sort of mashup of our ideas?
edit-Well…you don’t have a height adjustment other than long bristles…Shoot, gave me a great idea anyway.
Thank you so much! You designed an amazing machine. I’m really pleased with this build and its capabilities.
I’m happy to share anything related to the dust shoe and help in any way I can. 3D modeling is pretty new to me and I’m sure it could all be better with some additional tweaking. My primary goal was getting everything to fit without sacrificing usable workspace, and I’m pretty happy in that regard. Also, it has been working very well to capture dust — which is more than I can say for some of my earlier attempts, and is kind of the point of a dust shoe.
You’re right, I don’t have any height adjustment (other than different attachments with varying bristle lengths), but I’d love to hear more about the idea.
I’m curious if either of you have looked at the Koala Vac. It seems to tick a lot of the boxes you’re discussing - connected to the core, no loss of work space, adjustable height. I’ve been considering printing one but needed to increase my vertical travel by several mm before I could pull it off on my current printer, which led me down another set of rabbit holes.
That koala looks great for a Burly, and probably pretty similar to what will work on the Primo.
I really want to give this a shot today but there are just too many orders today since the ultimachine boards are here for the first time in two months.
I’ve seen that video, and while it looks good, since he’s the designer I’m thinking he may not be quick to point out any negatives. I’m wondering if anyone else here on the forums has tried this vacuum attachment.