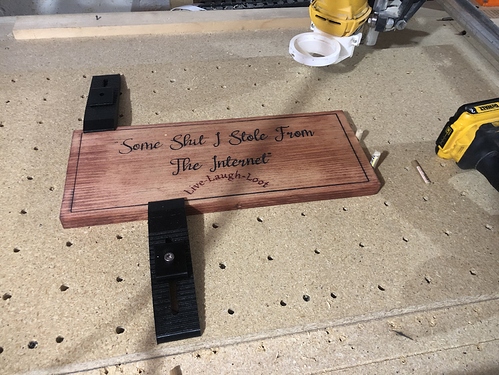
I’ve always had a bit of an issue with squareness Mostly doing the long X movements.
It would be super noticeable for some things like a flag that was already cut the size. You would see it in the stripes and it would drive me insane. The way I used to get around that would be to run the x and y end stop options on repetier host and then jog to the center of my material. Hit g92 X0 Y0 and cut out the shape I needed and everything would be pretty straight and square after. I’m trying something a bit different and going with a grid pattern to use as a reference to keep material square to the machine.
Asides from using a dial indicator to sweep across the edge of material I can’t think of a quicker way to line up stuff. I went with the countersink spill board vs my old method of Sheetrock screws everywhere. I’m hoping the grid lines up with the holes pretty closely but we’ll see.
Tonight I will be double checking my end stops distances from the corners and also double checking my conduit squaring with these as well MPCNC Squaring Aide . Yes should have printed these out before screwing down the feet to the wasteboard  hopefully I get lucky. Ill be doing the biggest shape with a sharpie I can do it which should be a 19" X 34" rectangle and checking the corners distance and adjusting end stops physically or tweaking the M666 code in the post processor.
Once thats all set ill be doing the grid on the countersunk wasteboard
TLDR:
If I run my dual end stops and then carve a grid pattern in my wasteboard with a end mill those lines on the grid should be pretty square to my machine right?? And as long as I always remember to run dual end stops every-time it should be consistent to the grid pattern correct as long as those steppers dont get powered off?
I dont have a physical way to line up the material at the moment that would make it square to machine so im thinking a visual like a grid or something might work. Or does anyone have any ideas on how to keep material that is already cut to size squared up? I know this isnt a super high precision machine but I believe with some extra work I can get it pretty squared up.
Thanks all!!
