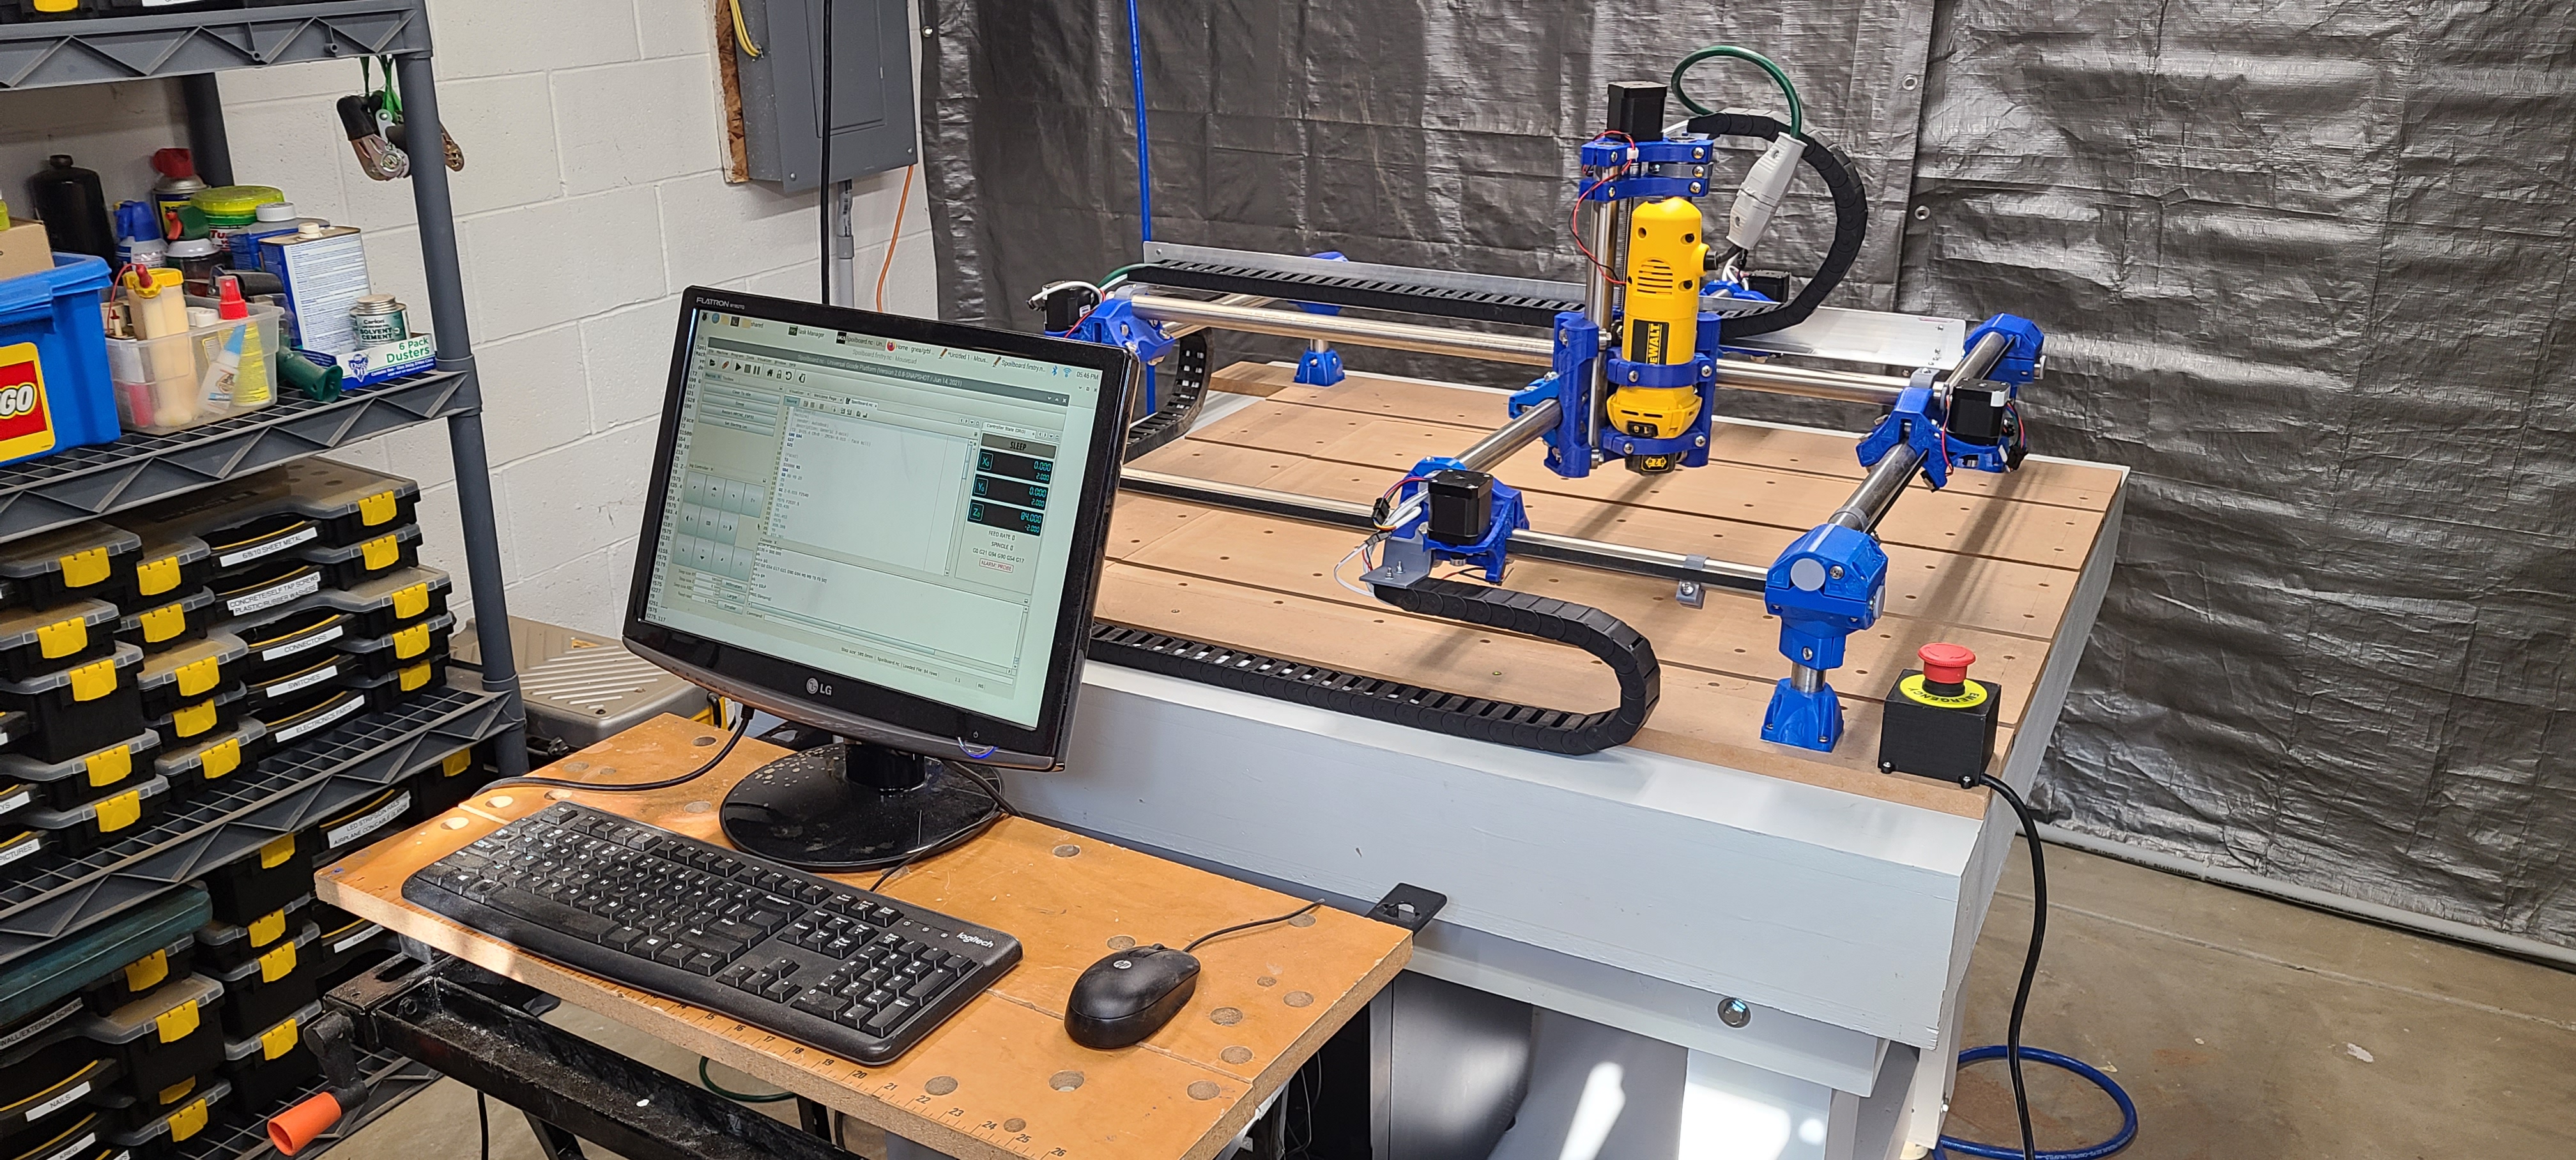
It is running GRBL 1.1f on the ESP32 MPCNC board from Bart Dring. Raspberry Pi 4 running Universal Gcode Sender, The electronics setup is totally custom, including a custom Hat for the PI for power and cooling.
Today, I finally skimmed the spoil board and used Fusion 360 to generate the Gcode. No crashes yet, spent a lot of time figuring out how to set Zero location and that helped alot.
OMG, did it make dust, I have a really small shop; dust collection and an air blower is in the near future. I have a bunch of custom parts for the cap ends, drag chain support, etc. These are new drawings of items from the community as well as new items. Am working on getting them posted to Thingiverse with the Fusion files, as a sort of an upgrade kit.
Thanks to the community for the help with the on and off dumb questions. Learned a lot. I really appreciate it.
I will post an update when I have the Blog update and more parts made.
Beautiful and impressive build! I just built my Primo Jan 1 of this year so am still learning so much.
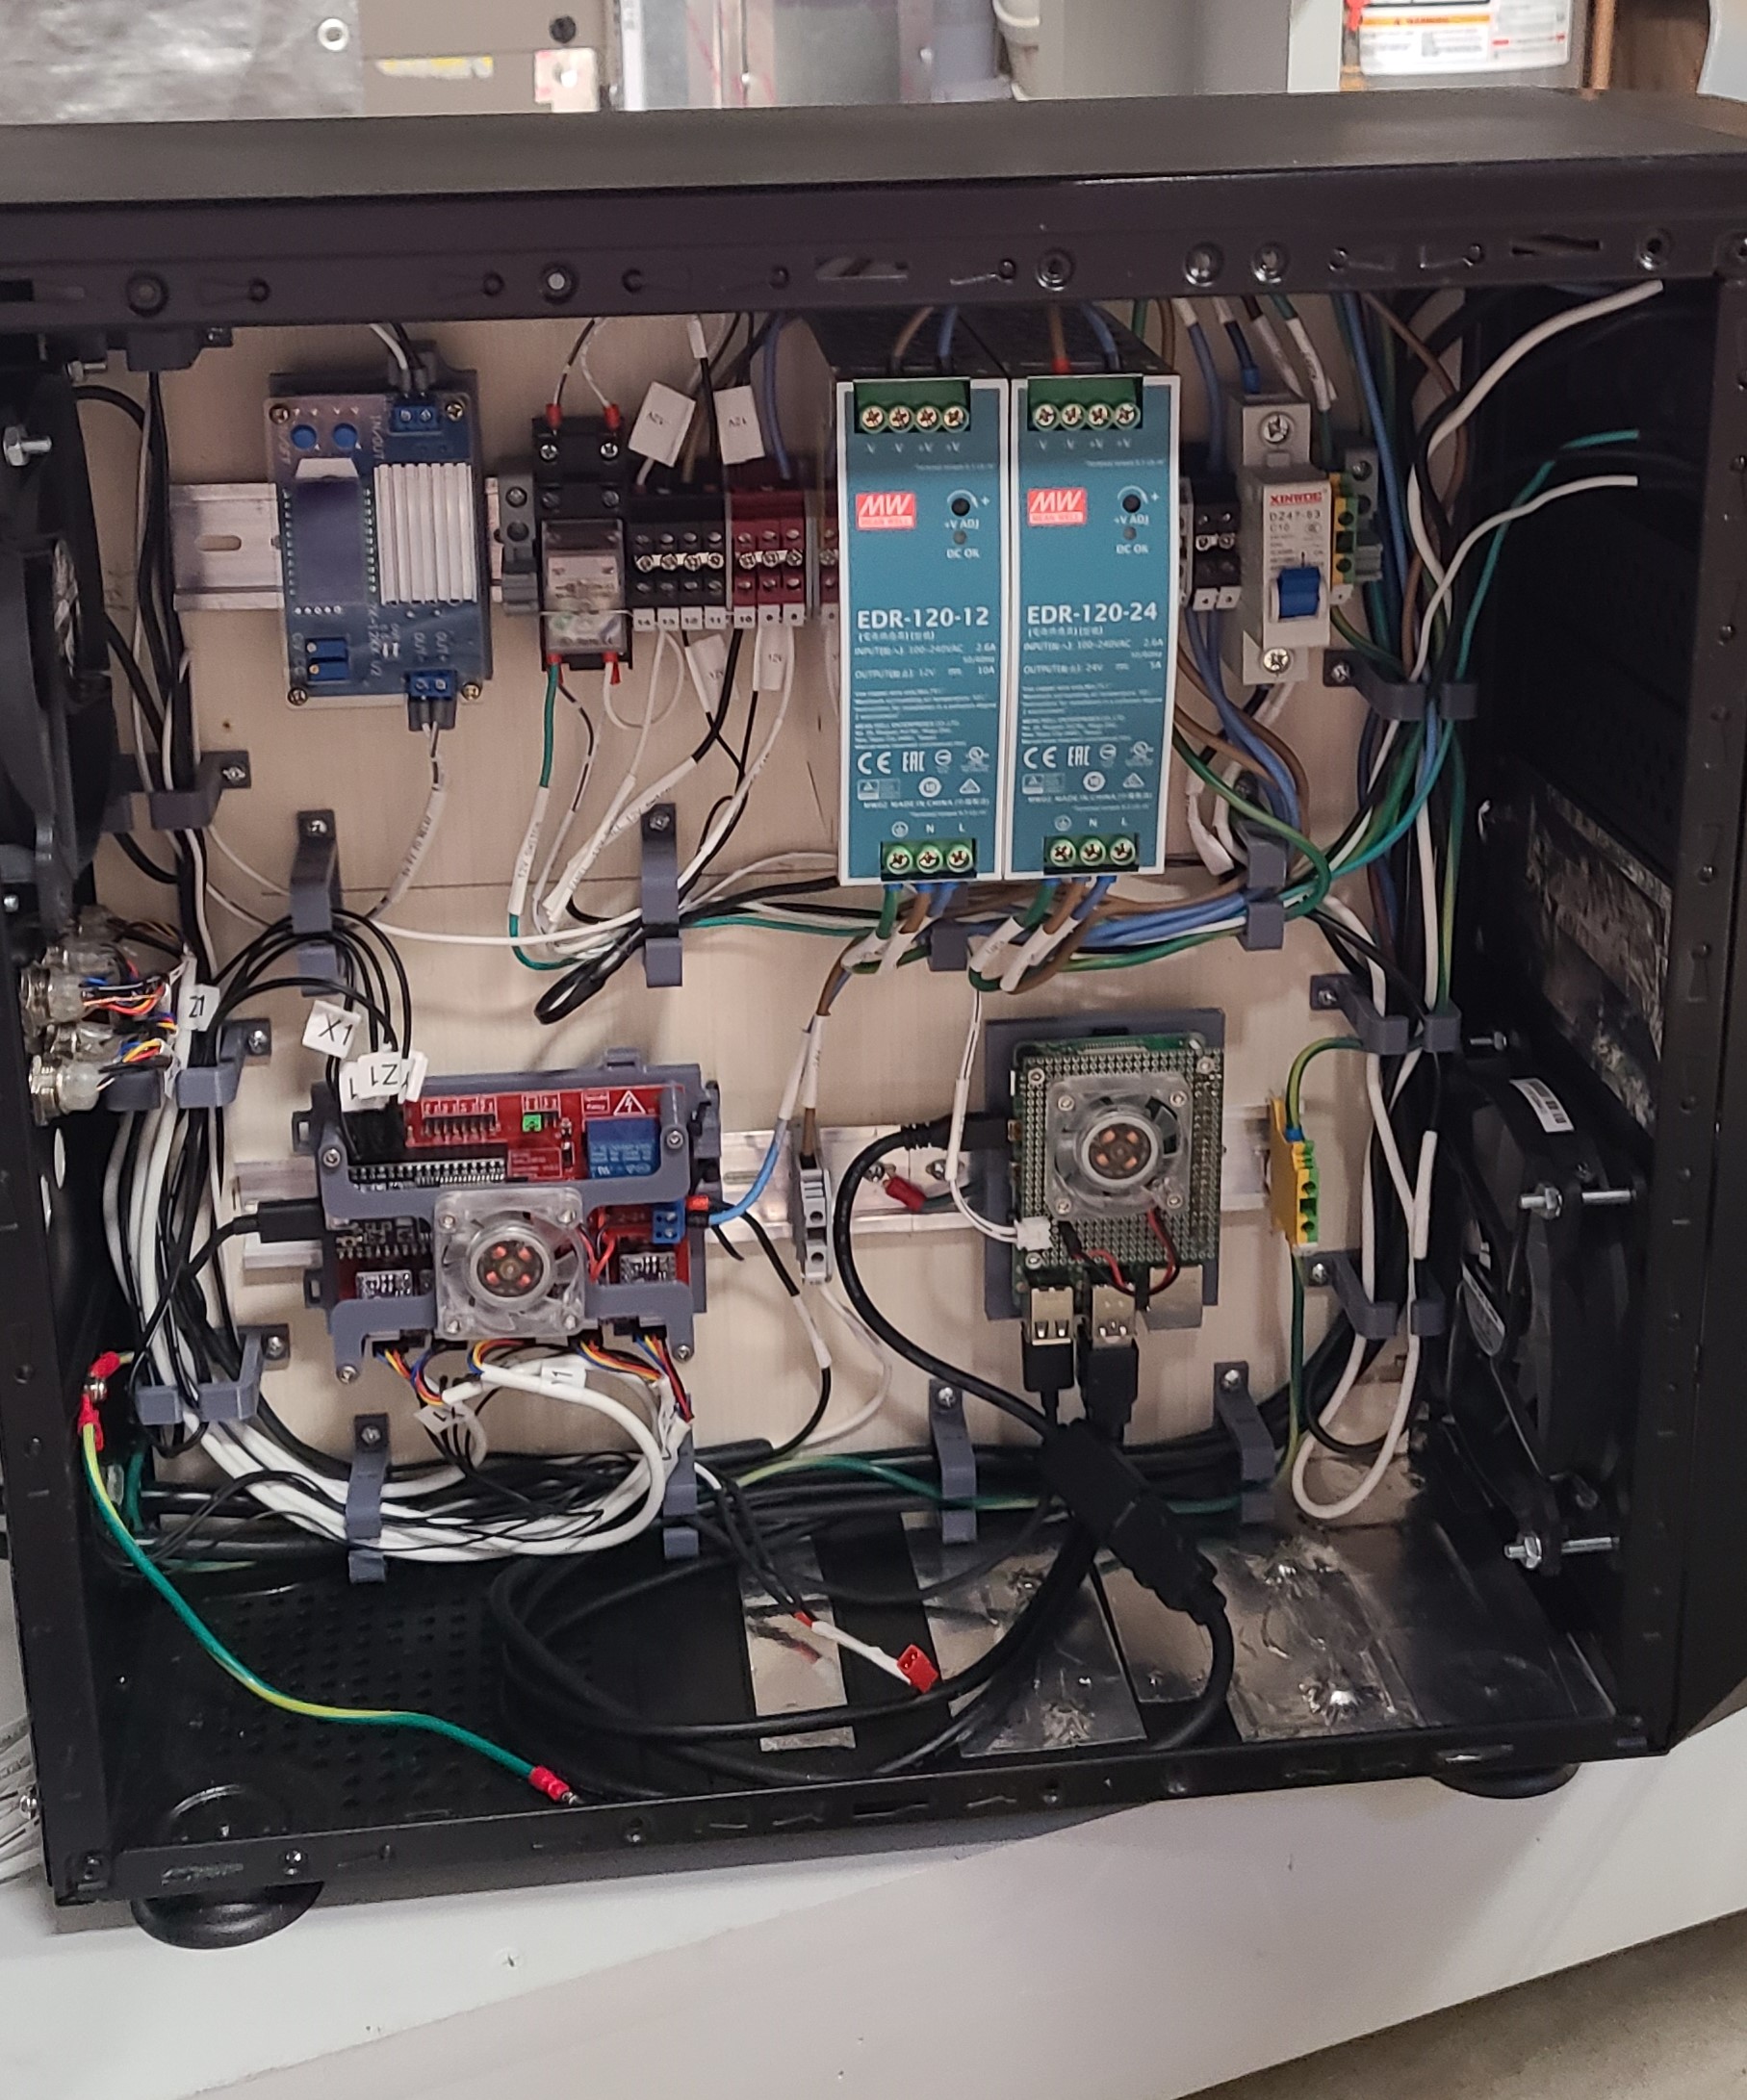
I am just curious I like your control(s) box and am curious what all of the devices are in the photo? Very neatly done. I just have a SKR Pro with he TFT. I am trying to print some nice Boses to hold them but right now they just lay on my table lightly covered…
Thanks for the note, the box itself is an old computer case that I gutted, removed everything, made a new plate for the back, 1/2" wood insert for mounting, custom 3d printed brackets for pretty much everything, DIN rails, two power meanwell supplies 12v/24v, buck converter for Pi4, ESP32 MPCNC, airplane connectors for the back plate, 3 - 12v fans - 3d Printed covers and filter housings, shielded cables for steppers, custom crip’ed/soldered cables, DIN junction connectors, etc. All of the computer monitor/Keyboard/Mouse ports are inserts that I made custom plates for the removal inserts on the from of the ATX case. The ESTOP shuts down the 24v power to the microcontroller for the steppers, etc. I spent alot of time working on the electronics and the software setup. I will take more pics and post them here and on my BLOG. I have not had time to write up the article. As a side note, all three axis have home switches (including Z), and GRBL is setup to home each rail independently. Pretty neat. I have so much to learn.
More to come, I will post more pictures.
Thanks
–BA
I look forward to that write-up! I’ve got one of @buildlog’s boards as well, and I’ve looked at the DIN rail power supplies and other bits and bobs. Usually after seeing a German build in all their Teutonic industrial glory…