If you want to use a GRBL board, feel free, no harm there. I just have no experince with it and someone that uses it will need to step in and help out.
If you have the recommended drive pulleys (16T), and your drivers are set for 16x microstepping (all 3 jumpers bridged under the drivers), then your X and Y settings should be 3200 steps per revolution, and 32mm distance per revolution.
If the pitch of your Z screw is 2mm, and again with the 16x microstepping on the driver, then your steps per revolution should be 3200, and your distance per revolution should be 2mm. I’m not sure what pitch is on the official kit Z screw.
1 Like
No need to change boards to run the pre-built crown test gcode. It worked perfectly on my CNC Shield/Arduino stack running grbl 1.1
I have the Rambo to but I like some of the features running Estlcam with Gbrl like the engraving on curved surfaces. homing using touch block ect… I appreciate all your help
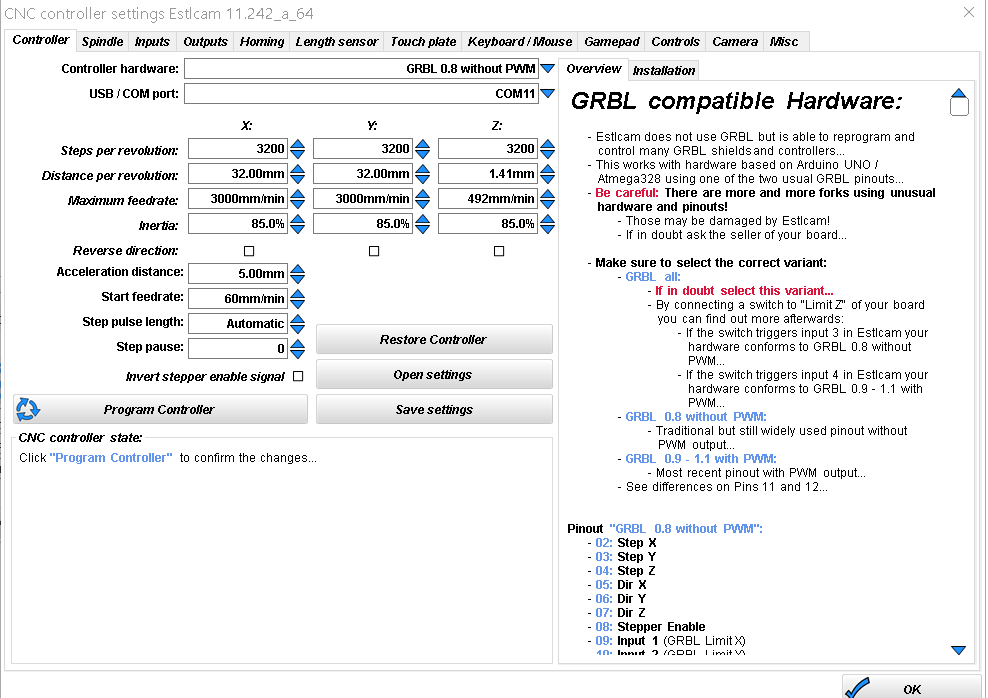
Looks good to me. You’ll want to change your Z Distance per rev. though. It’s going to be a whole number if you are using a standard metric screw. Start with 2mm. Manually move your gantry out to the center of your work area and raise your Z so you’ll have plenty of clearance if the numbers are wrong. Write that config to the controller, and then try moving the X and Y axes 10mm, and the Z 5mm. Set a ruler by your bit and see if everything moves correctly.
EDIT: I just went back through and realized your Z screw is a 4 start. So your distance per rev will be 8mm on the Z.
1 Like
Getting thier

4 Likes