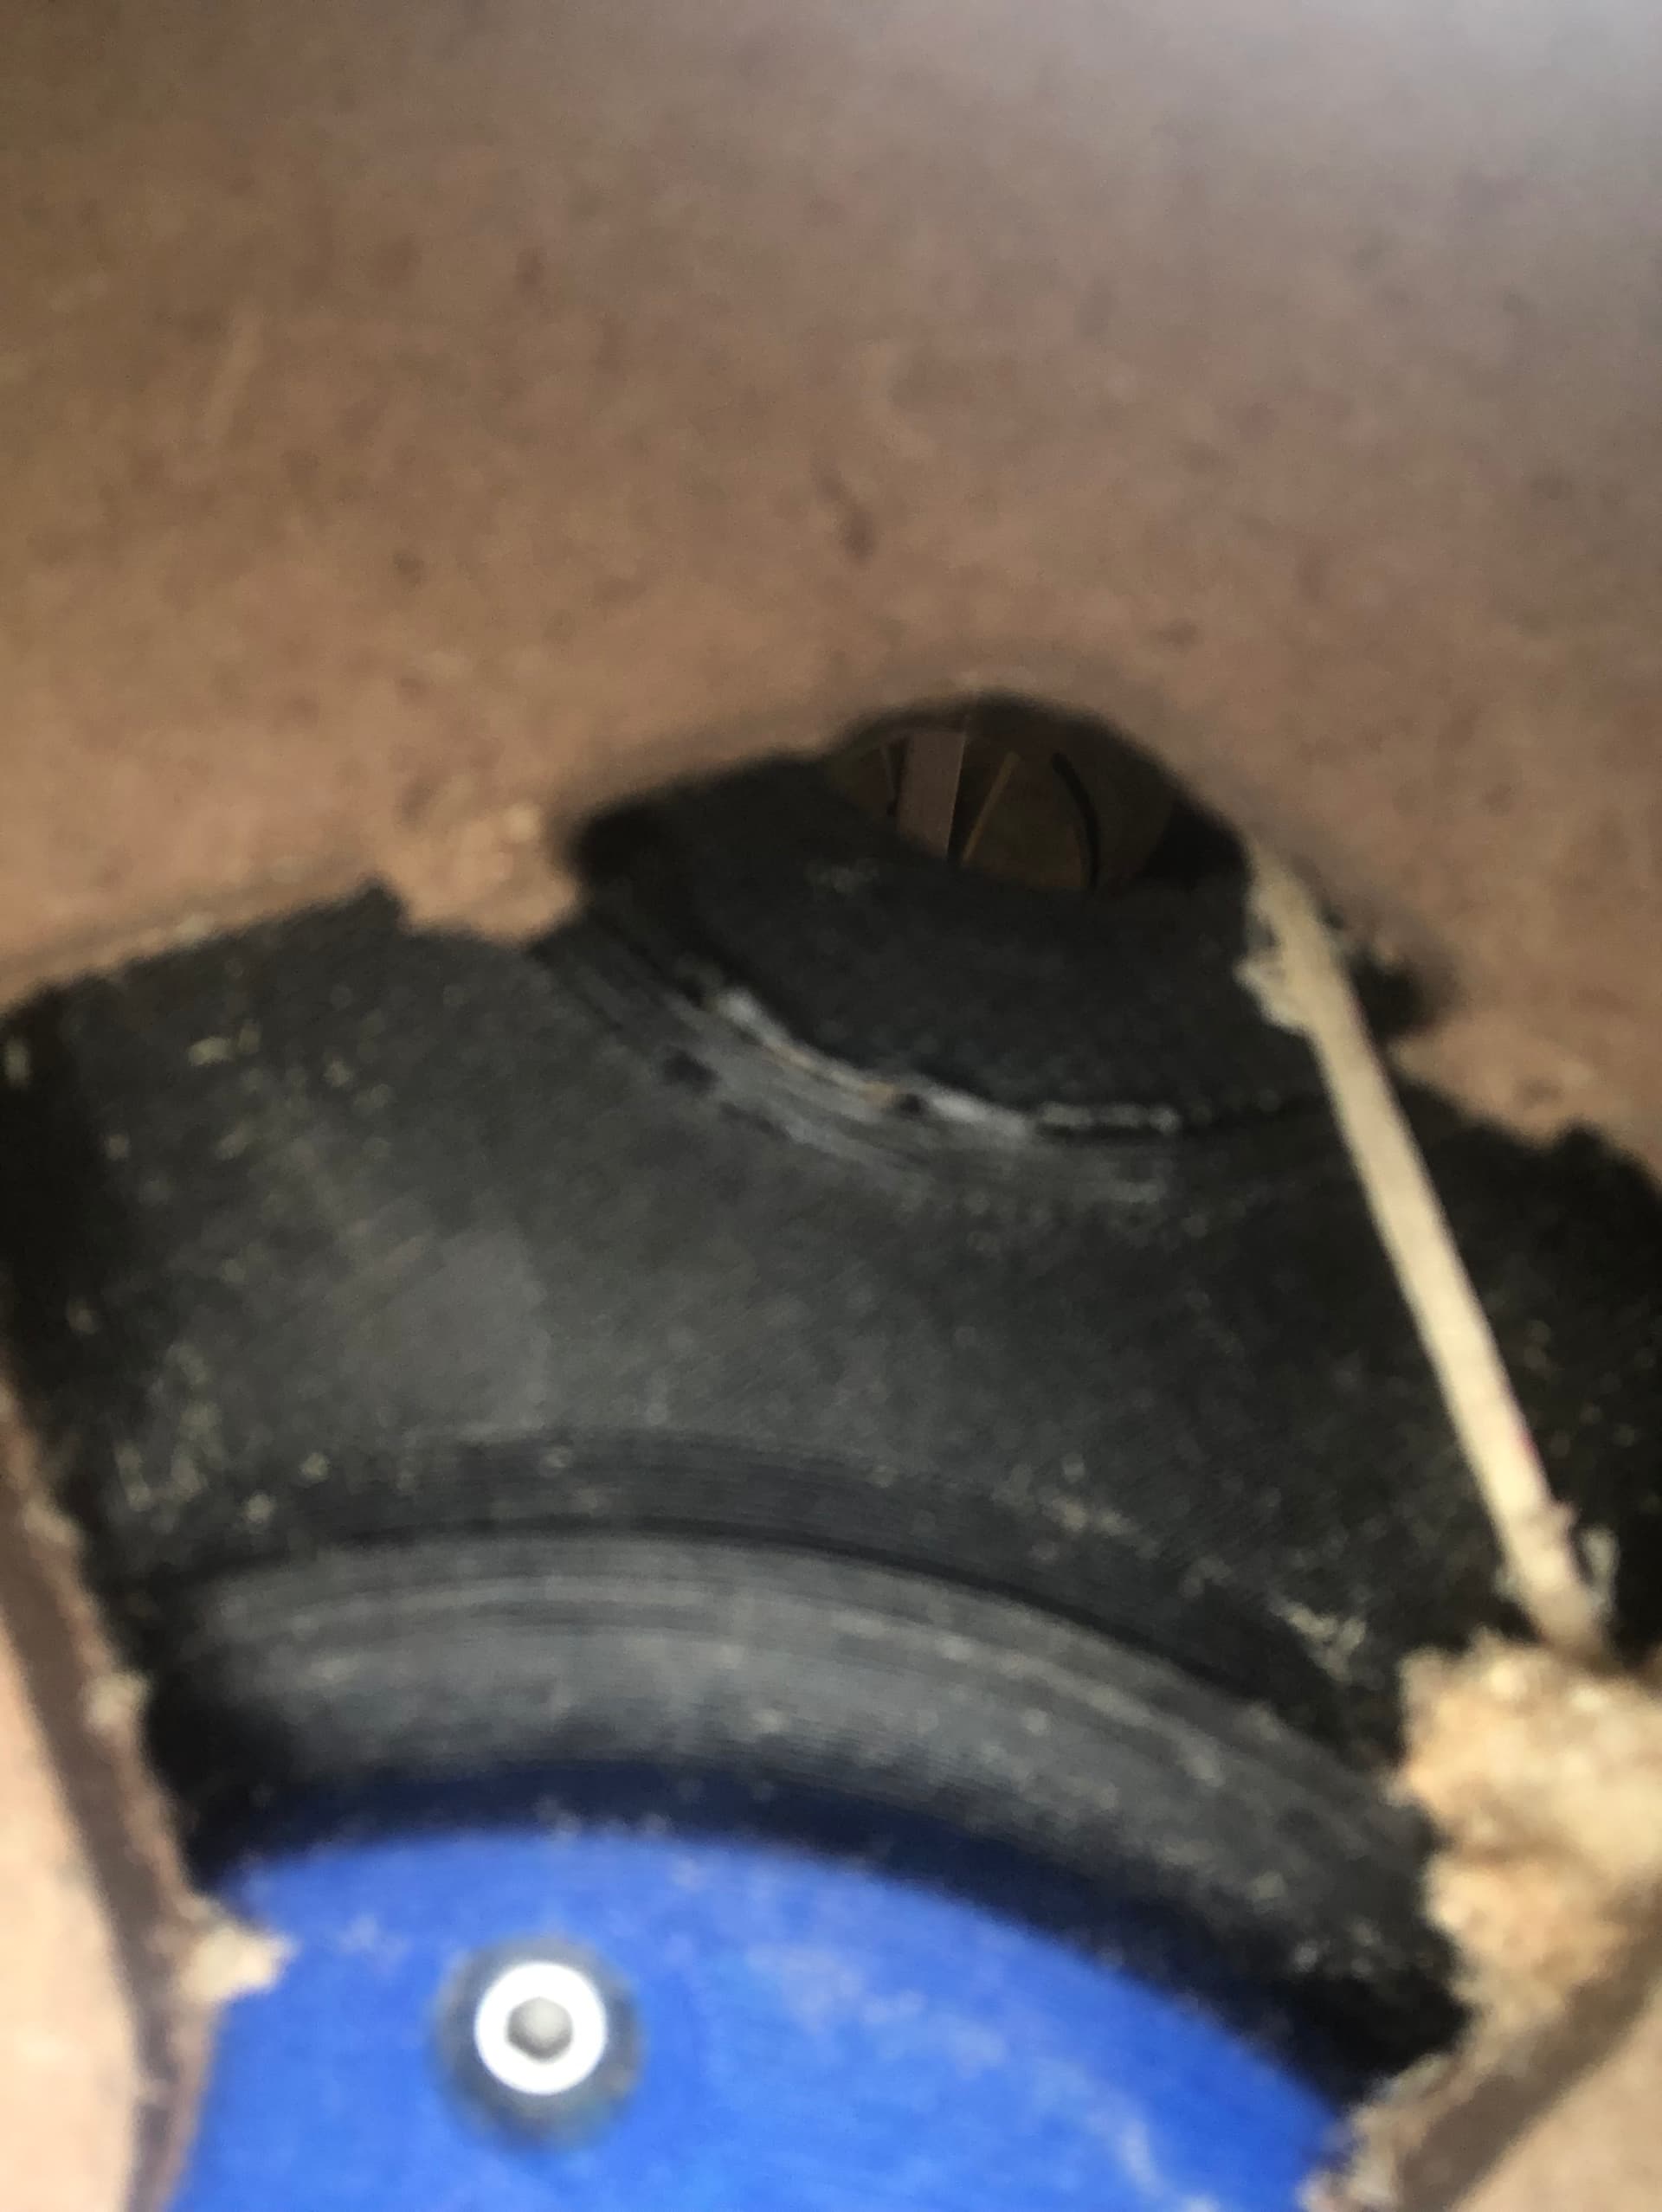
I was doing a big test cut the other day, and made a big pile of chips/sawdust. I had to take it off the table for mounting an endstop yesterday and noticed that my vac shoe was all clogged.
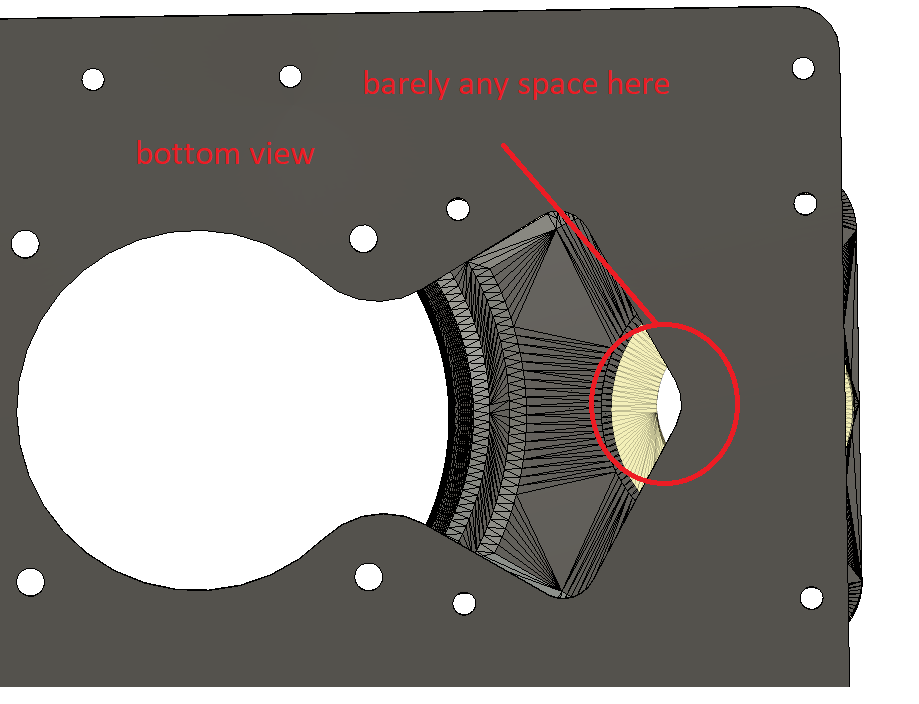
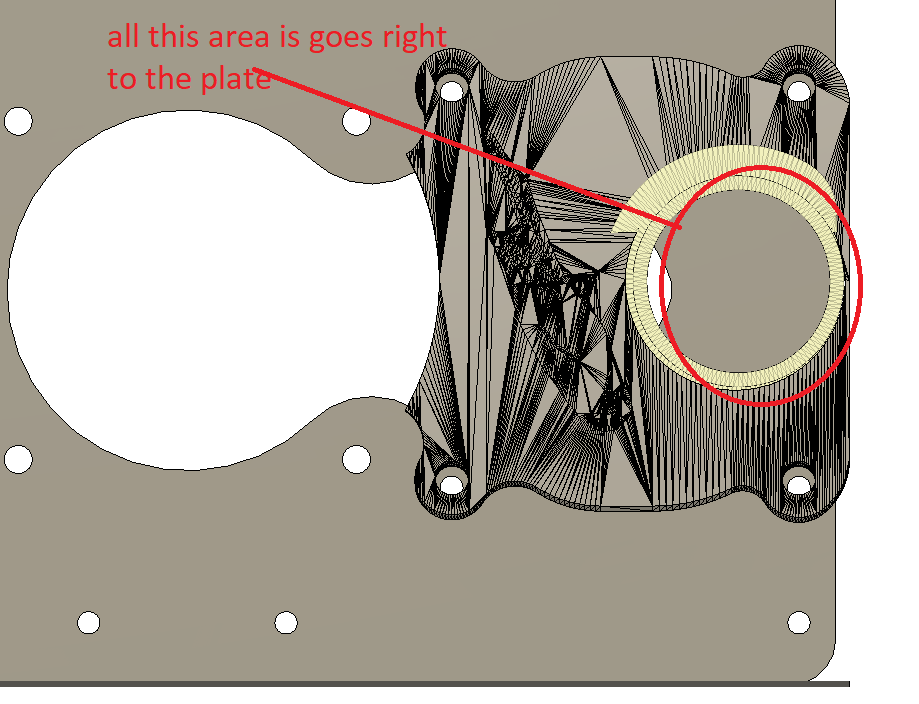
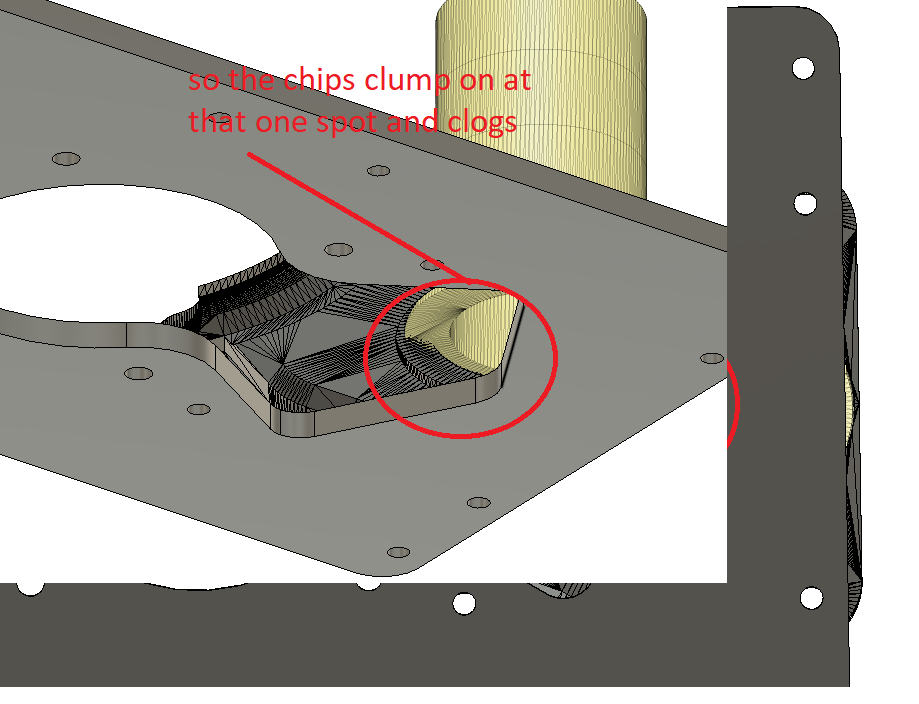
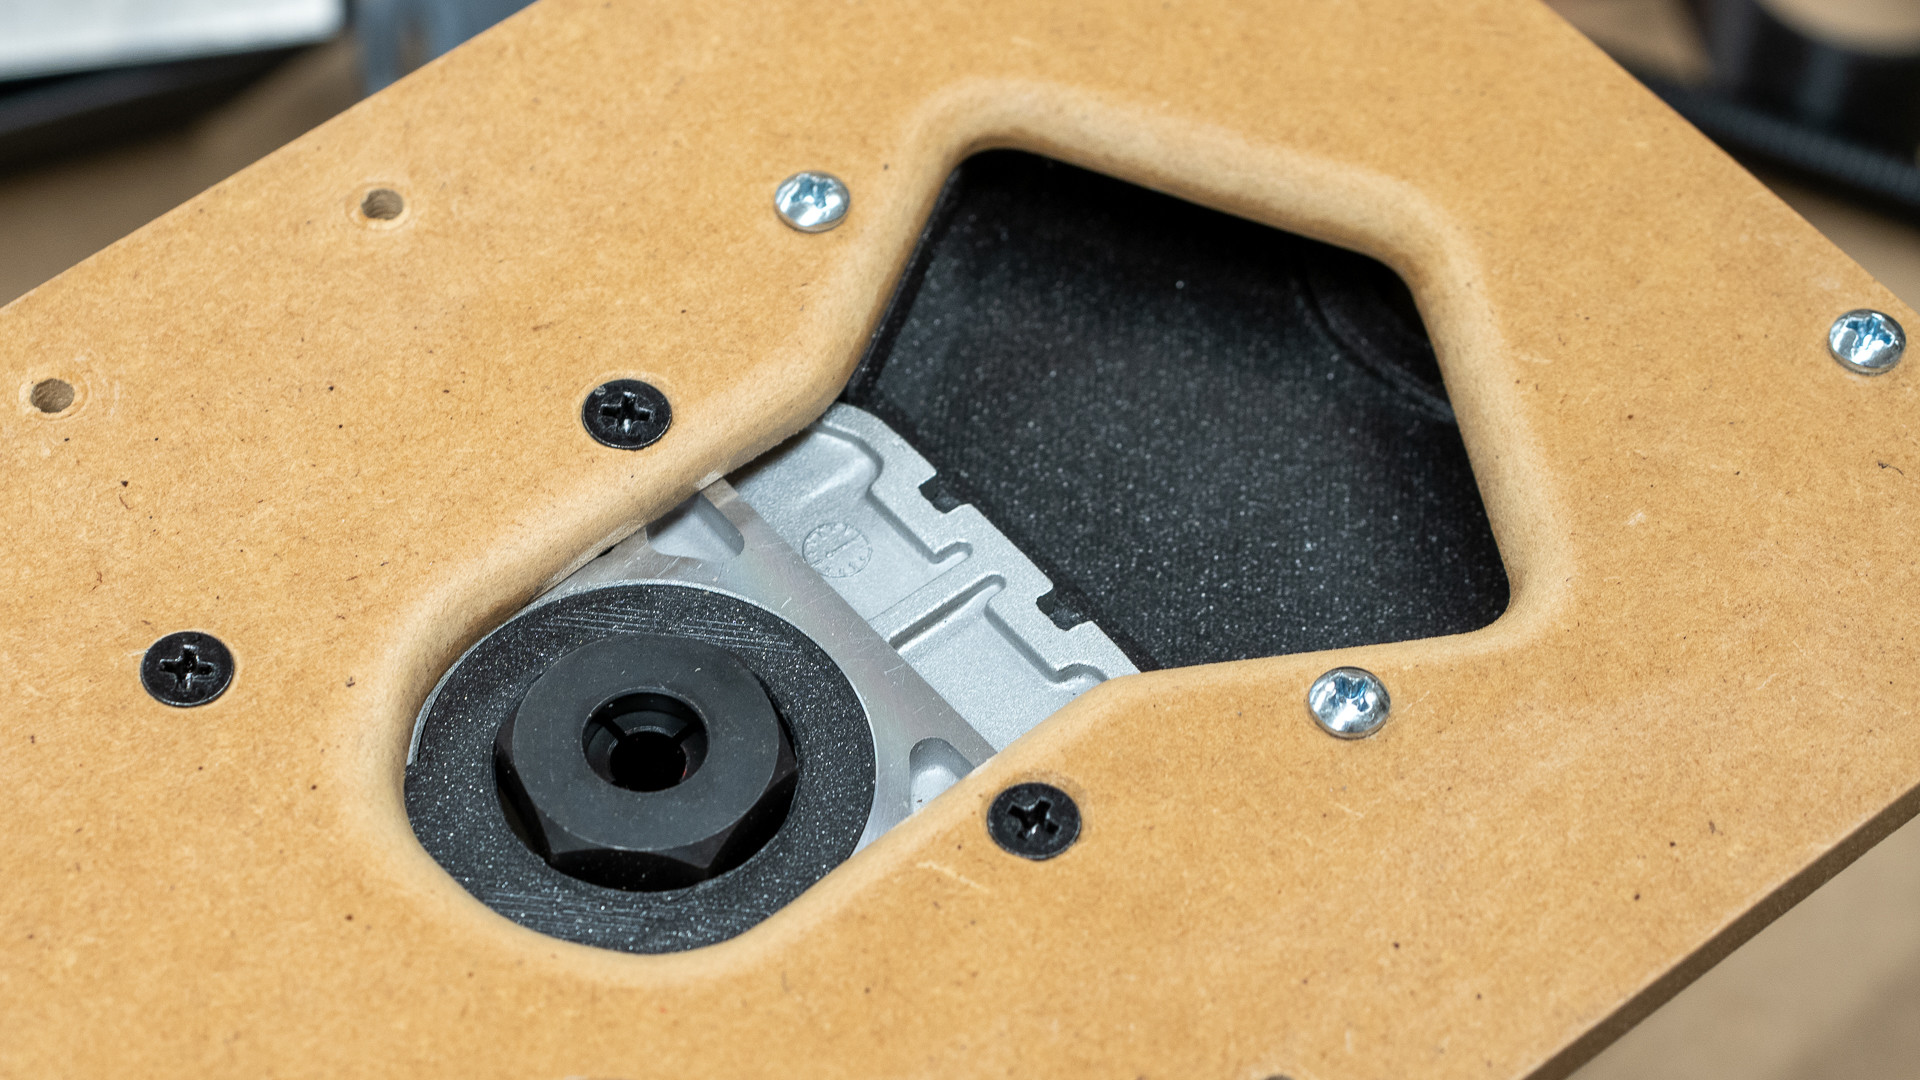
Looking at it I saw that only a little part of the hole that shop vac attaches to is exposed. I tried to show in the pics attached but it was hard since I can’t raise it off the table any higher.
I bought the plates from v1 and pretty sure I got the dewalt and I ended up using makita, so I had to make adapters and cut some of the keyhole shaped opening to make things fit. So not sure if my vac hole is good.
Should I cut out more material at the end of the keyhole so there’s more space to vacuum?
I took the dxf of the plate and put my vac shoe on it to show it better. think its much more clear.
i also cant make vac shoe any taller at that point because the rail/tube is in the way. that was an annoying lesson when i was remaking the shoe for my shop vac :>
There are a few things that I did to my plate armed with a little experience from other dust collection setups in my shed:
the Makita has a different setup to the deWalt so the “keyhole” is not necessary IMHO - just eliminate it and make a straight run to the vacuum pickup.
I was concerned that by removing the material in question immediately below the vacuum port - (the vacuum is a relatively high velocity inlet) more air could be drawn from a 360° range rather than more-or-less from the direction of the cut. (I had intended to do some actual research on this using tell- tales to view the air flow but have abandoned that due to the impending LR3 base looking a lot better from that perspective!)
The area of air intake between the base and the port is greater than the area of the vac inlet itself, so apart from the right angled bend - no loss of velocity should occur - and I think the right angled bend is advantageous.
Rounding off the edges of the base will assist air flow enormously - I used a 6mm round over bit in the router.
Because of the differences between the Makita and DeWalt I argued the point of @frederik 's replacement for @vicious1 Ryan’s “vacduct” part which was designed for the DeWalt. I understand that pretty much everyone who uses the Makita uses that part happily, but my logic is set out in the link below.
I have also designed a simple insert - but again warn that it’s not been compared to anything so may not work as well as the original.
NOTE - just because I have nice photographs and a perhaps logical argument does not mean I am right - I haven’t done any comparison tests to prove this logic!
I have drawings of this baseplate in .dwg and .dxf format HERE
Pictures of that part of my build are at the following link.
That looks really good. I finally got mine working again after my damn Rambo motor connectors messed up again, I hate those things with a passion.
Next time I take it off the table I will try curving the edges. For now I will try running with slower feedrate. What are all the other cutouts on that plate for?
I’m also kind of mad lr3 is coming basically right after I finish lr2 :> but building lr3 will be much easier after building the lr2 I’m sure
Ahh sorry about that - out of context I can see I’ve created some confusion! The drawing can obviously be used to cut out the plate with a CNC, but it was designed as a printed part to use as a router template - all the cutouts do is save a bit of plastic when printing the template - ignore them if you are cutting a baseplate!
Don’t fret about the LR3 - heck I haven’t got my 2 fired up properly yet - and by the time I get around to upgrading it the 4 will be on the horizon!
yep im not :> i figure i should be able to reuse the pipe i have on the LR2 for it. plus i want to get longer pipe on my z axis so i can go up maybe an extra 8" - not that i would be cutting that high, just to be able to get under it easily for tightening or changing bits.
plus i can print in PC+CF now which is a lot stronger than the PLA+ i used. so rather than slowly rebuilding my LR2 with it i can just upgrade to LR3 then.