I’ve decided to take the plunge and upgrade my Burly build to Primo. Upgrade kit has been ordered and should arrive today. Filament has been obtained, and parts have started printing. I am planning to shrink the footprint of my MPCNC. The Burly is built on top of a dining room table and has a foot print of 5 ft by 3 ft (usable area just less than 48" 24"). I’ve only ever used the full size once, so I’ve decided to shrink it to a more reasonable size of a 24" x 24" work area. This will give me space next to the CNC to mount the electronics instead of leaving them hanging off the back of the table.
Big question is whether I should uses the Burly to prepare the spoil board for the Primo before I start disassembling it.
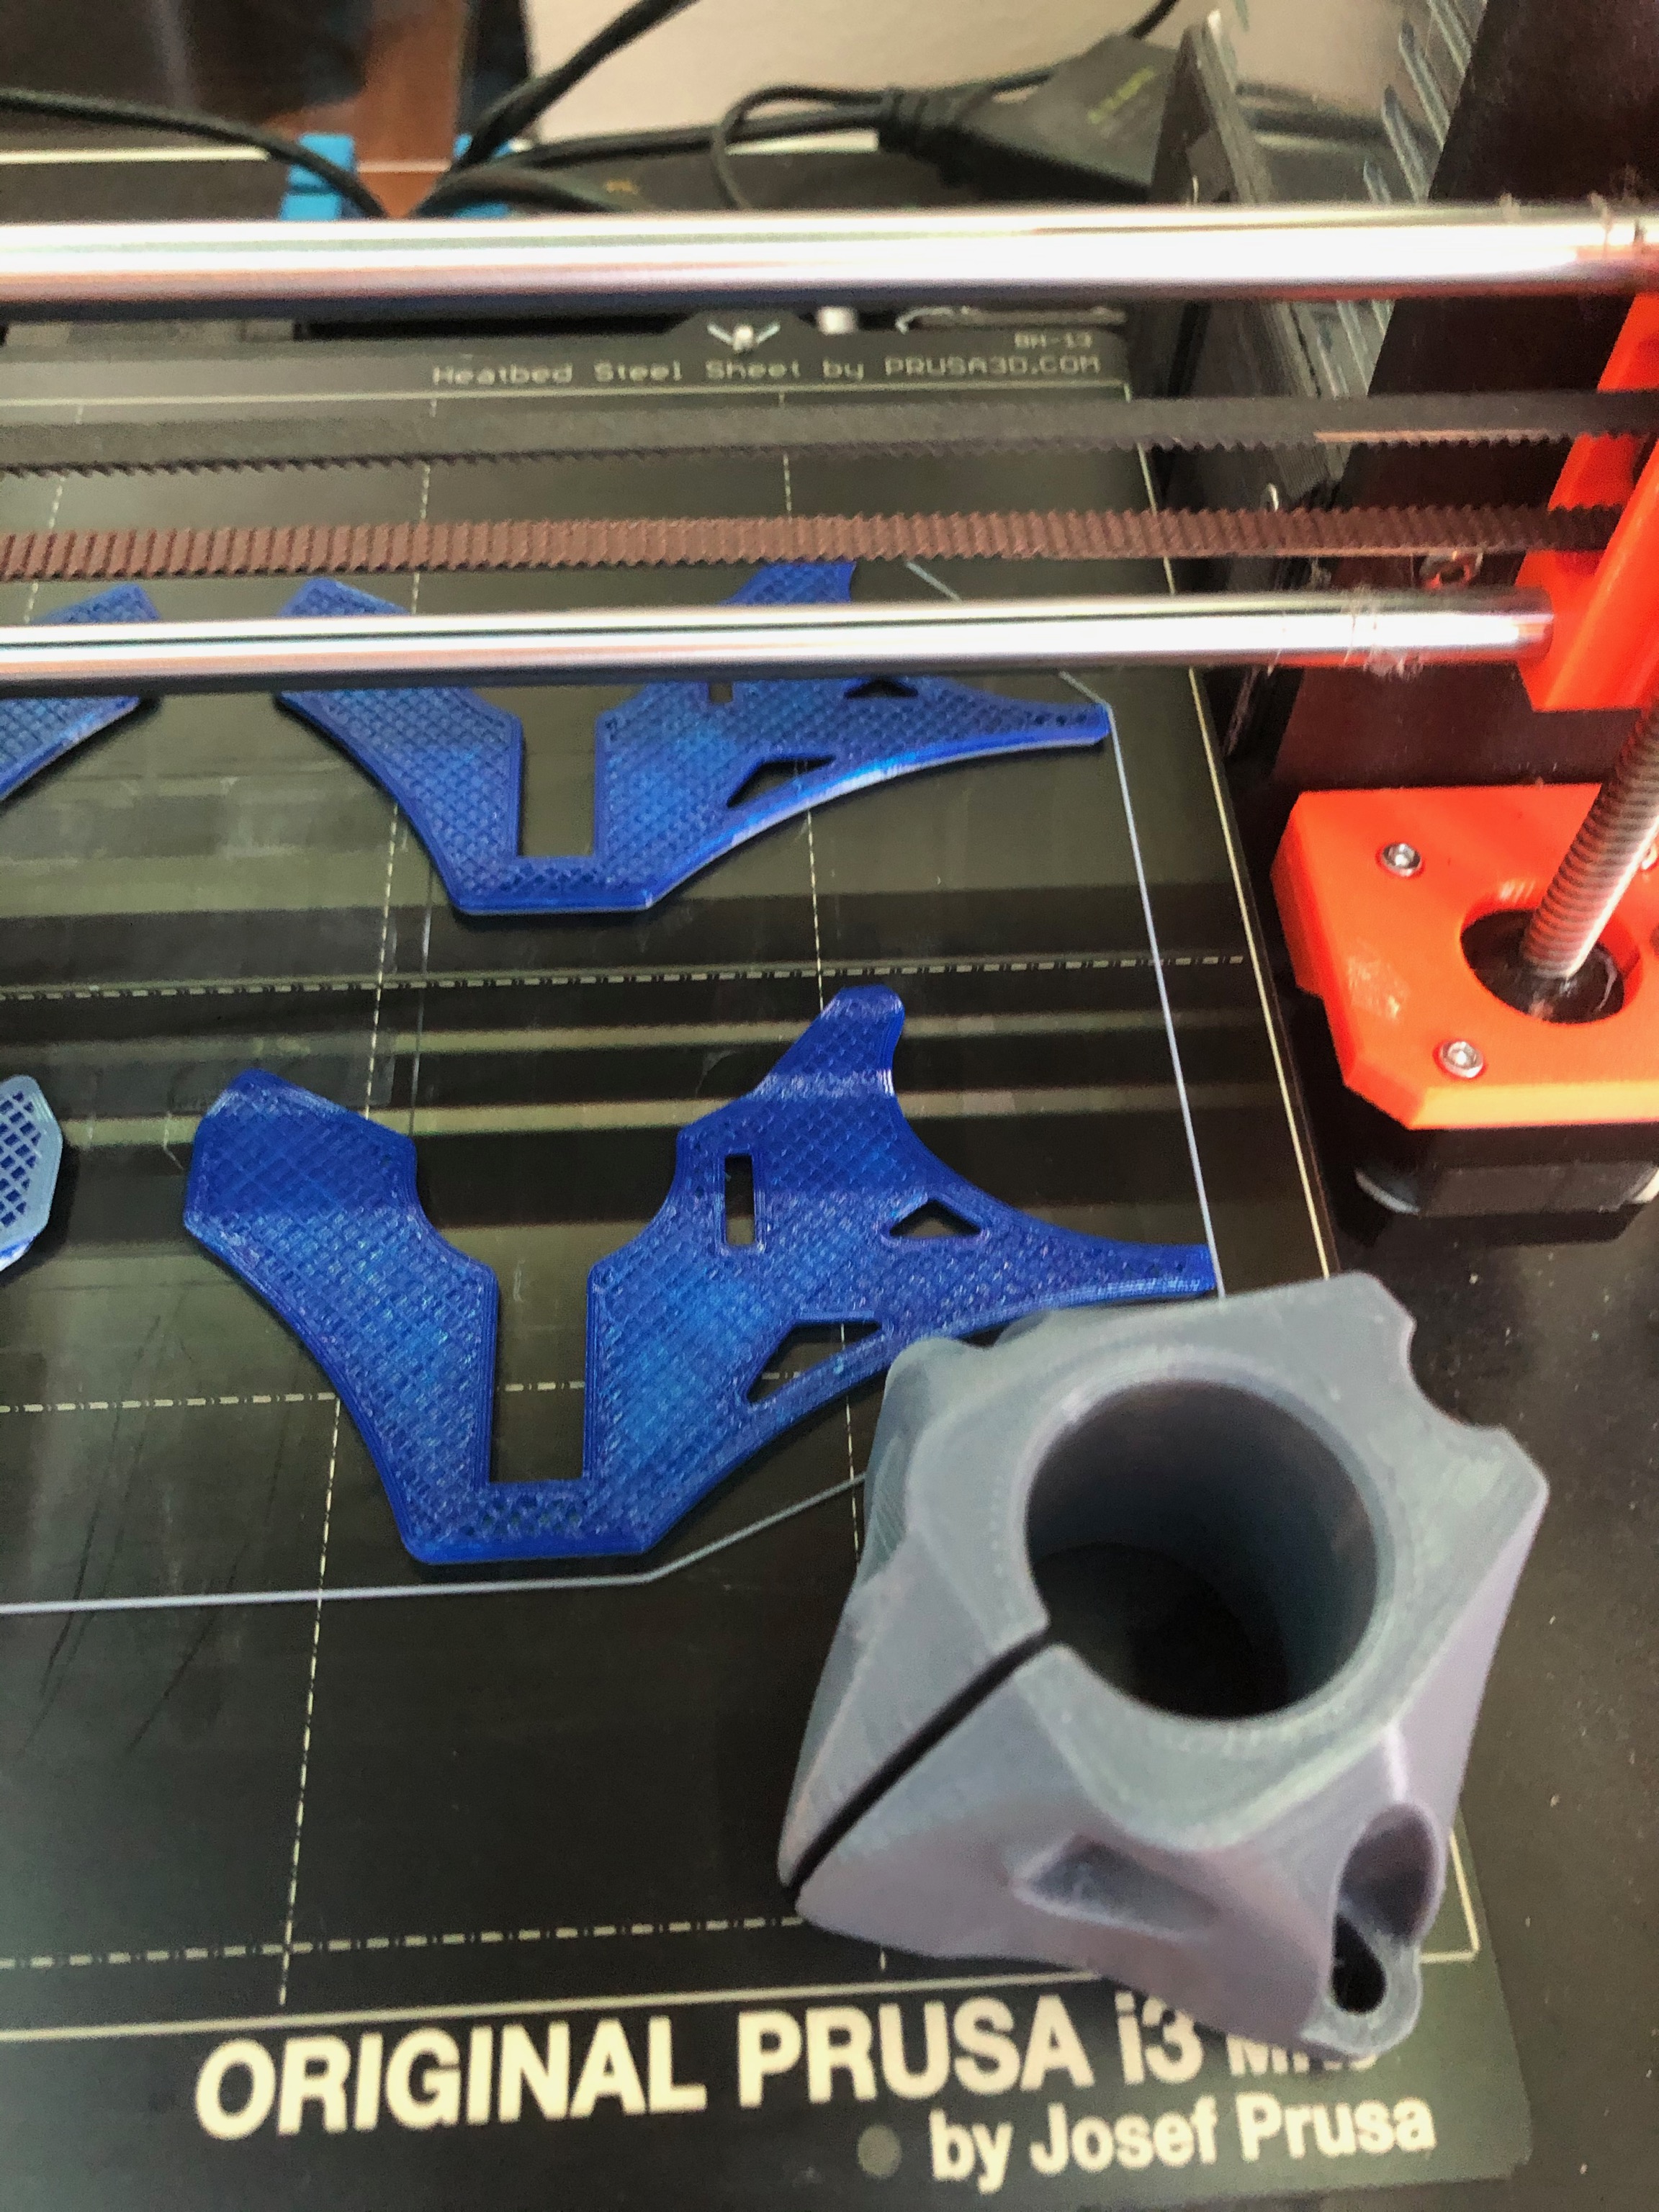
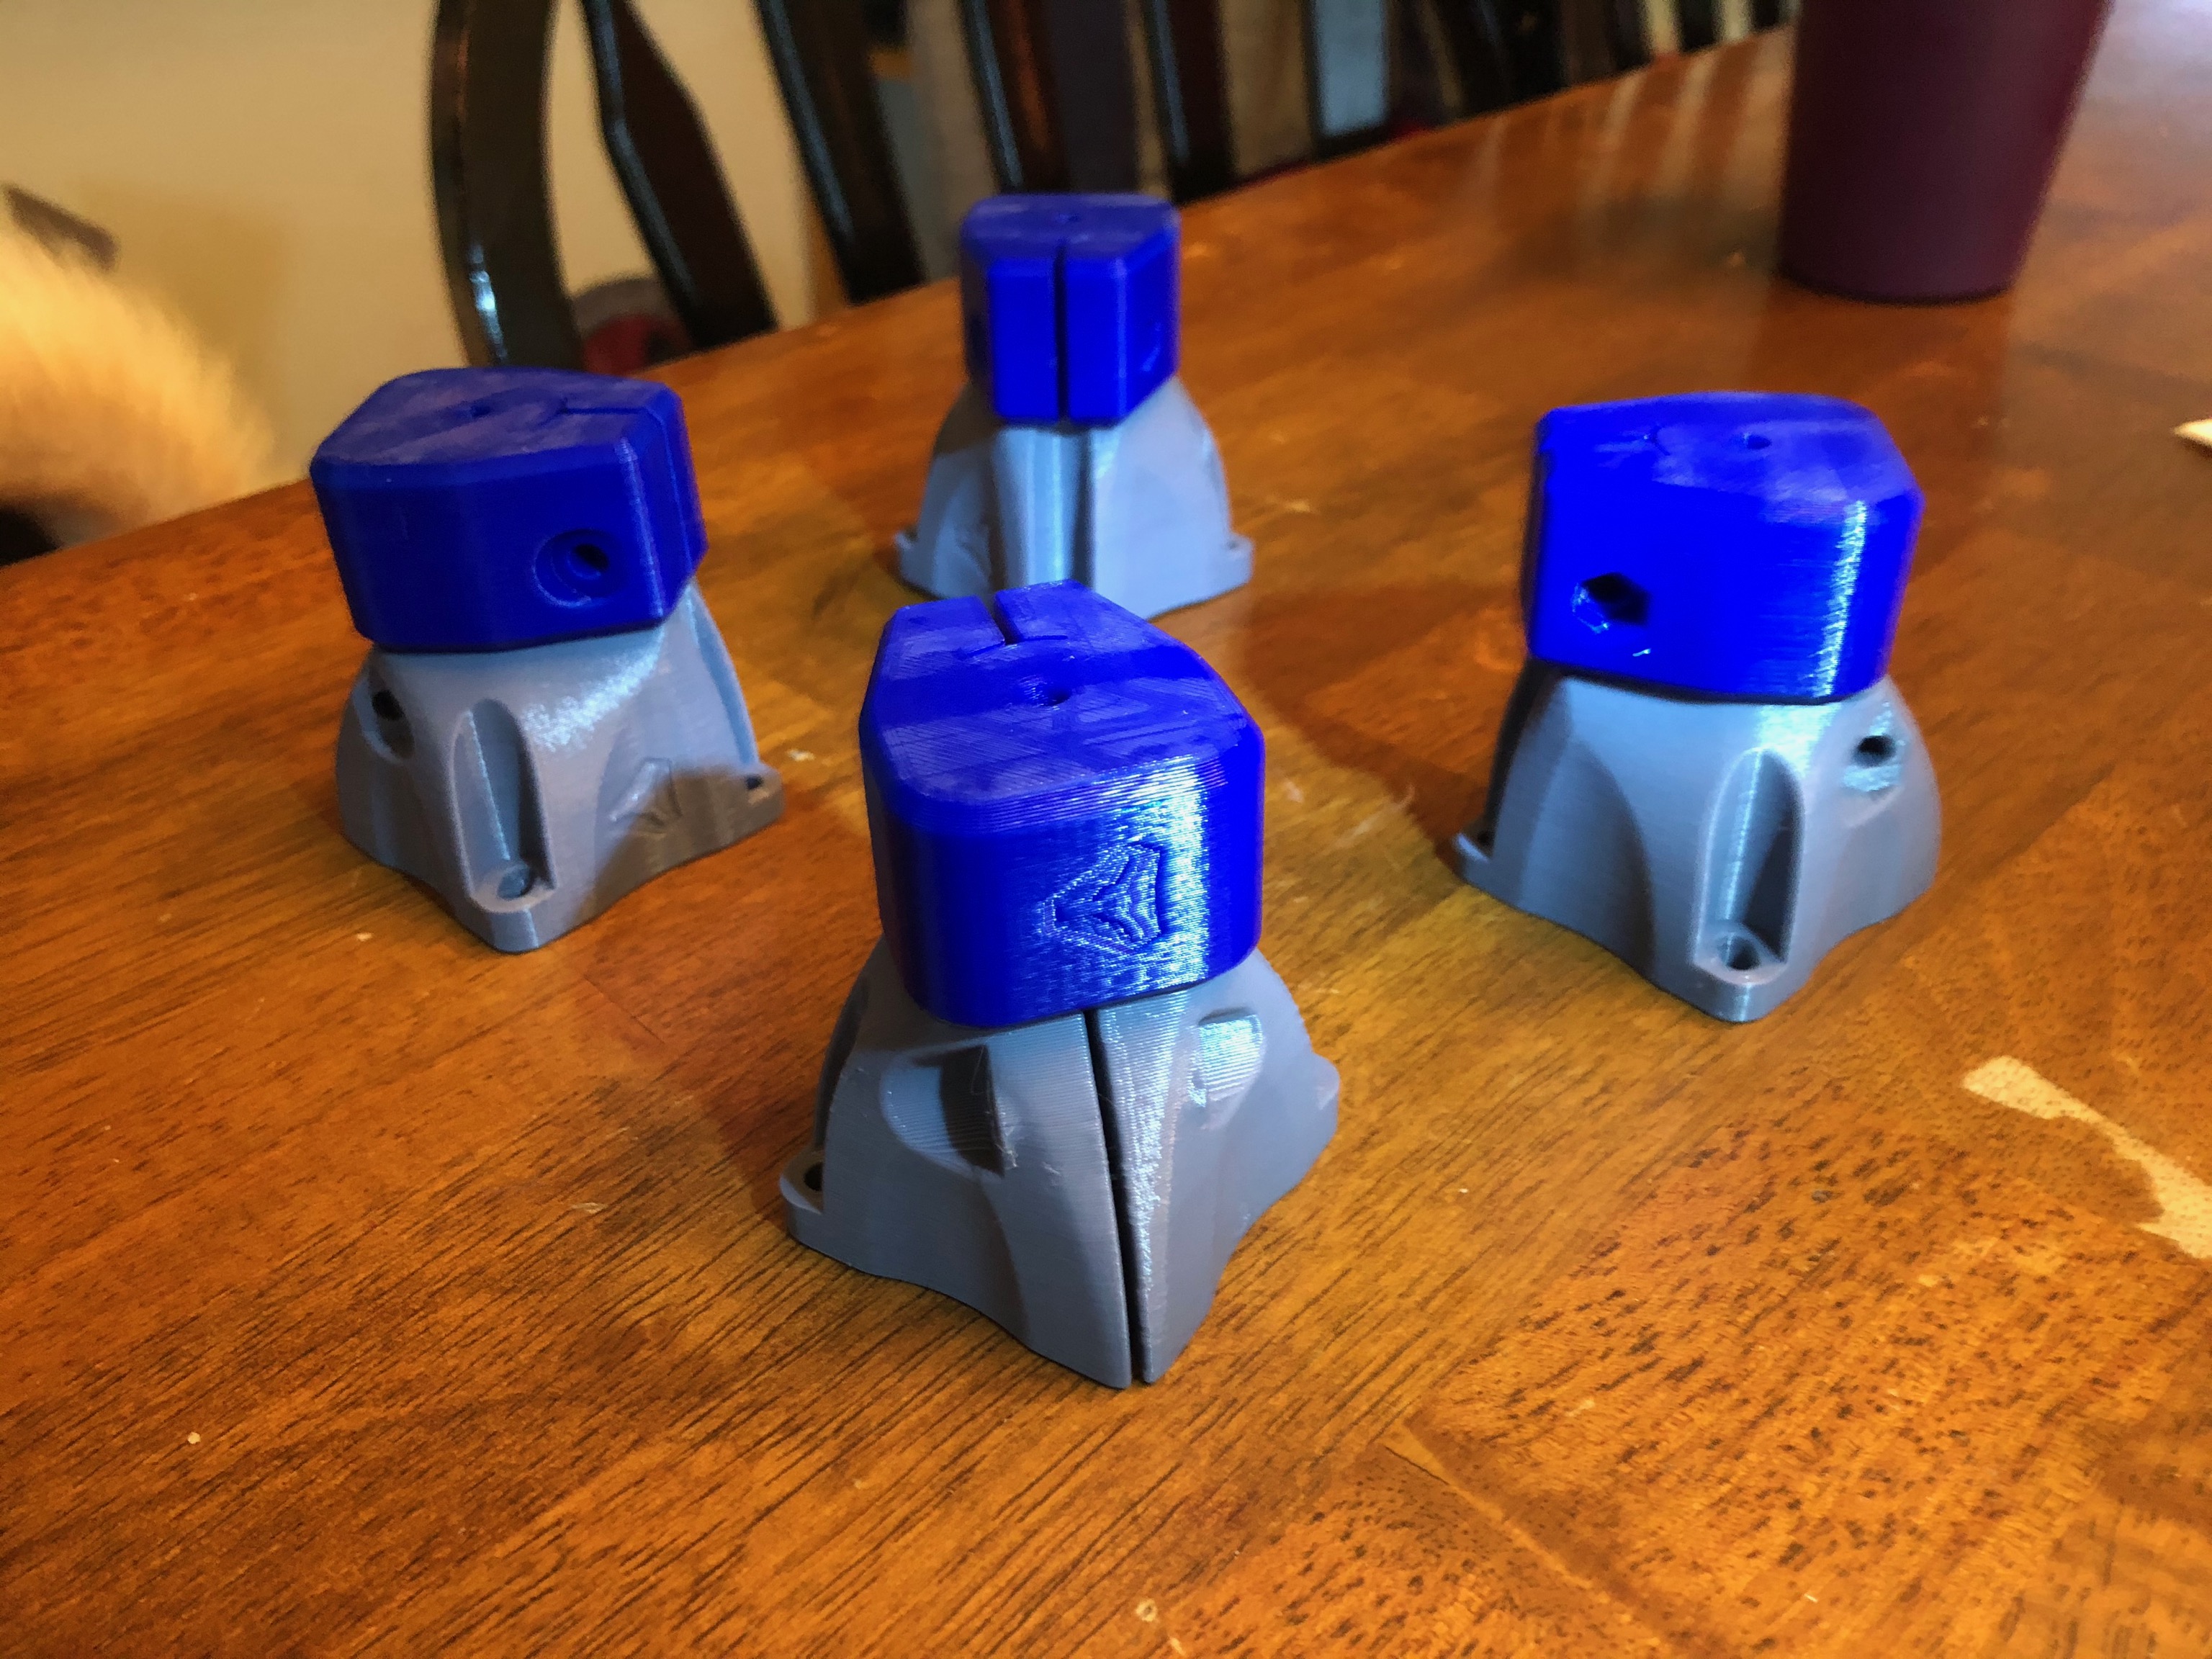
Decided to use gray as the primary color (aka Color A), and Matter Hackers Blue as the Accent (aka Color B).
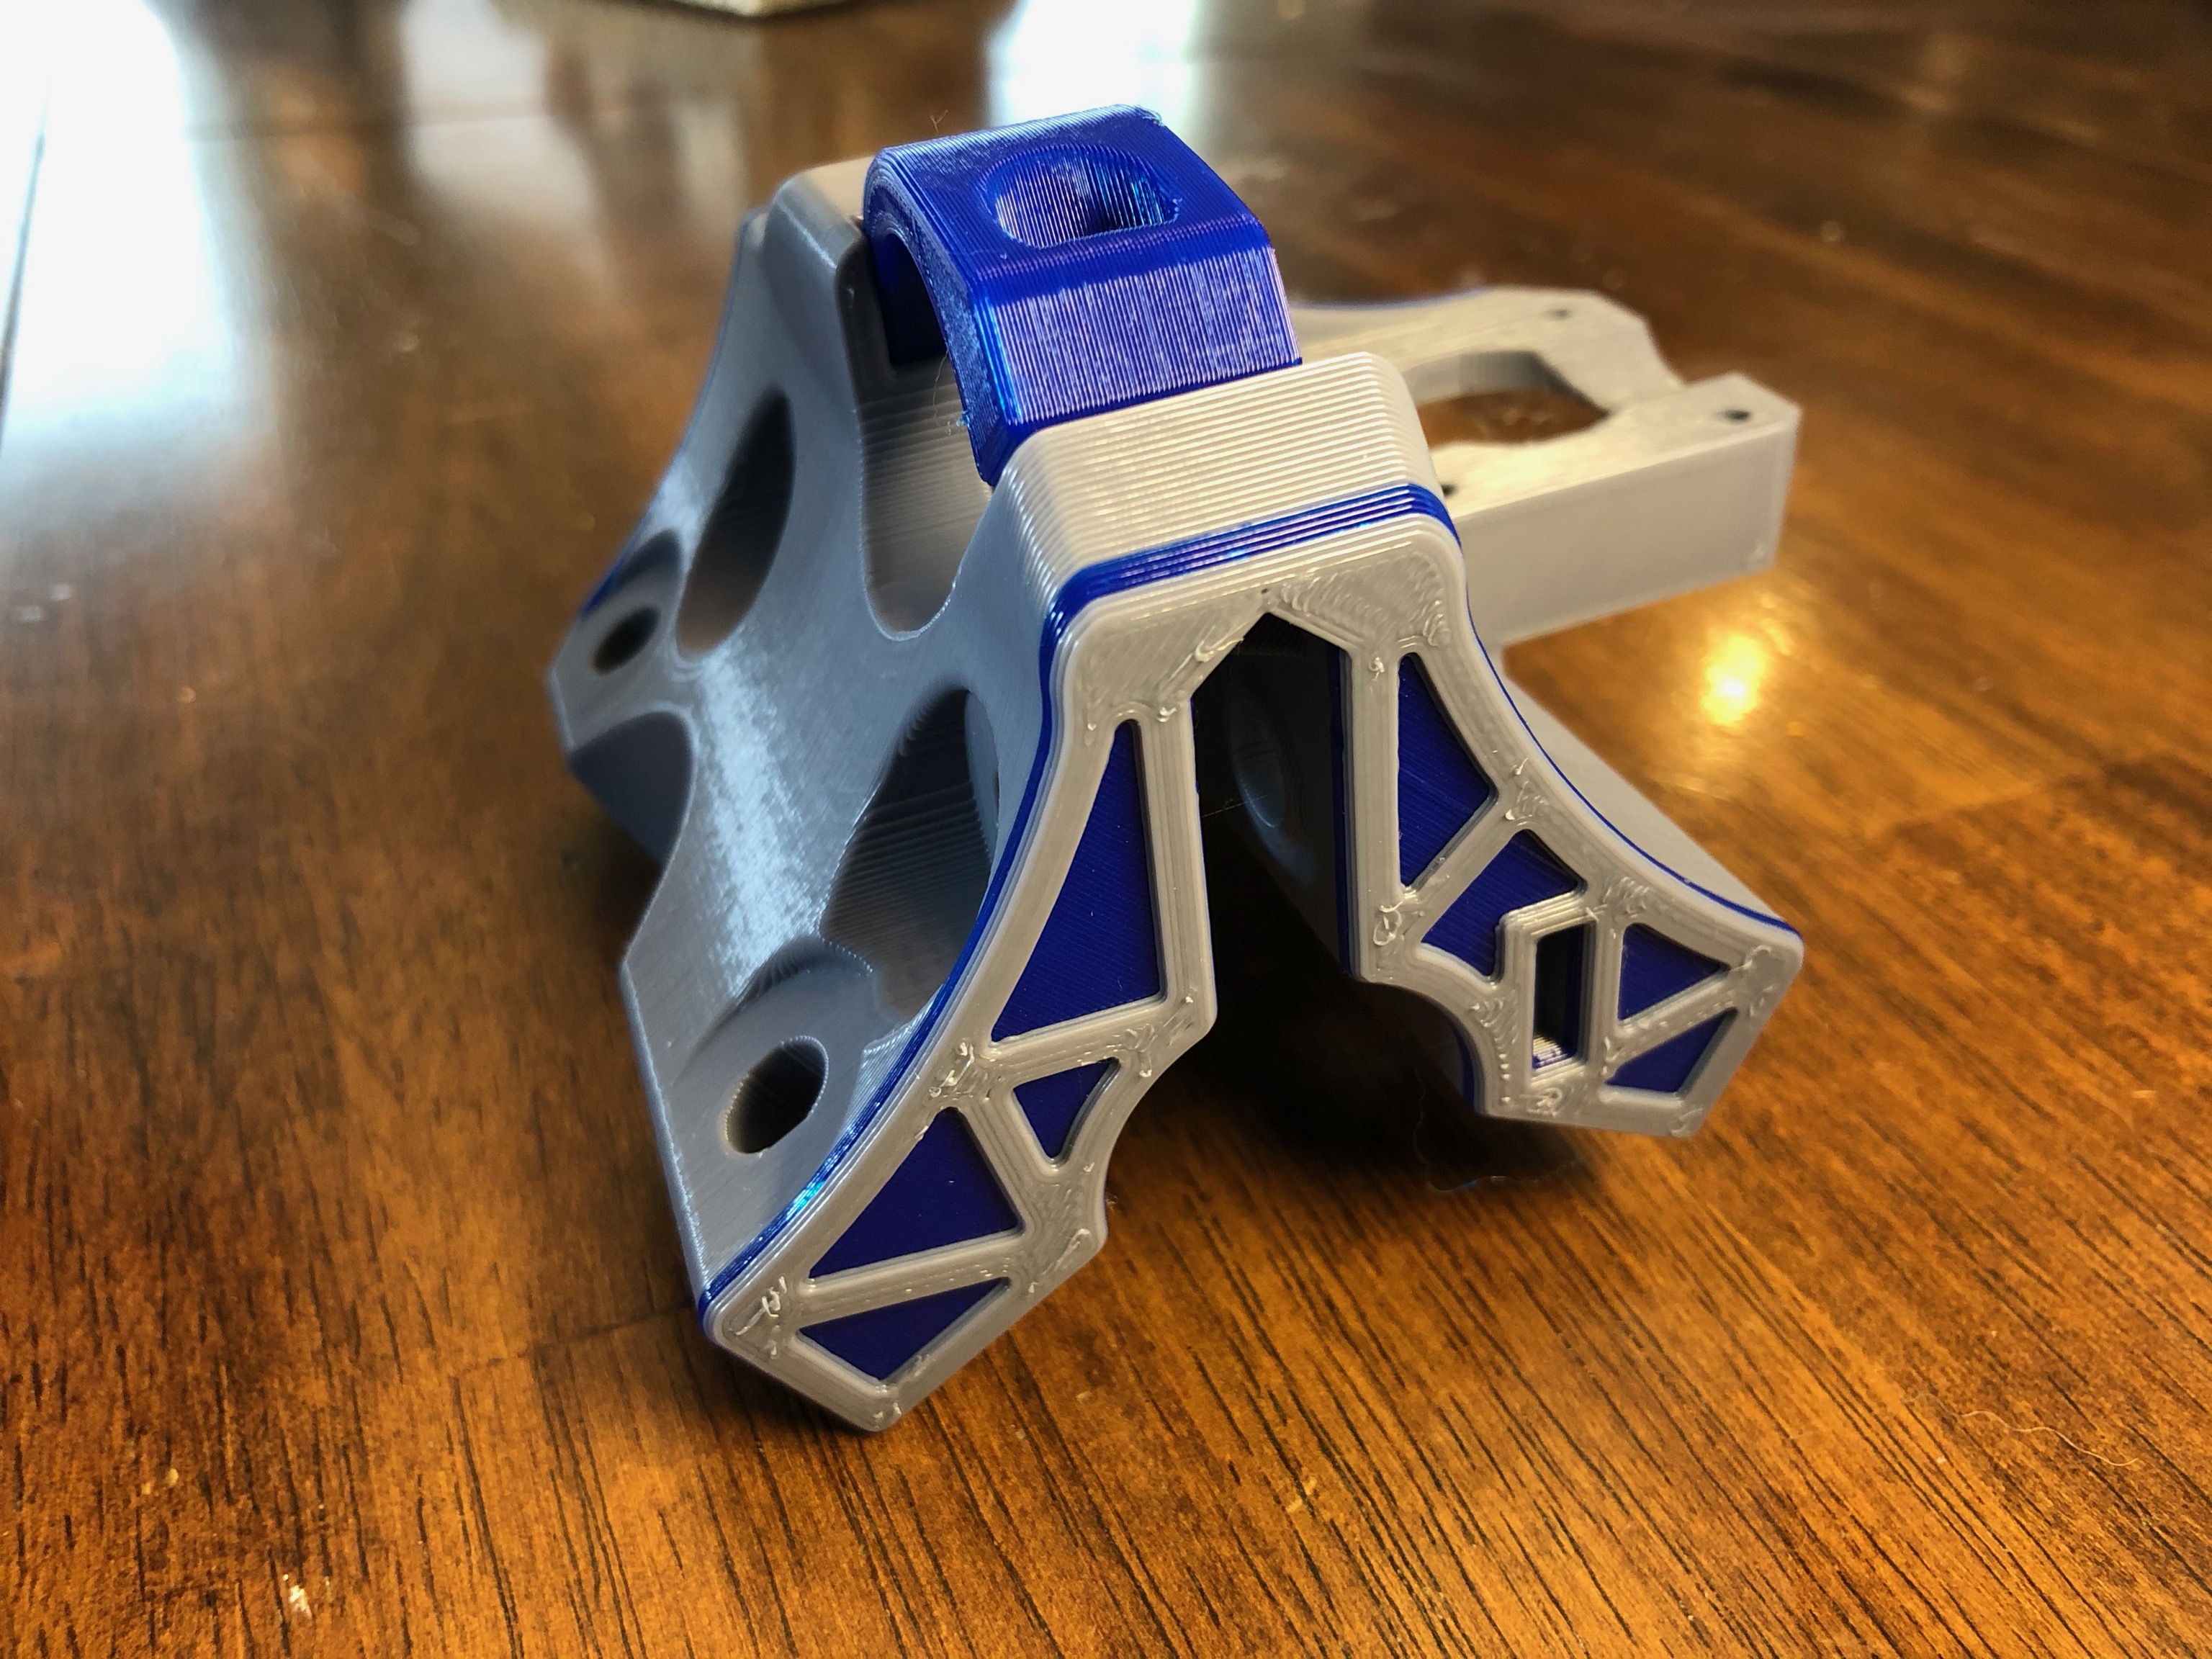
I’ve got the feet, corner tops, and lower belt holders done. As you can see, it is working on the trucks now. I decided to go Extra Fancy and two-tone the trucks, just like Ryan has shown on his build.
I’ve decided that when I’m through with this million-hour printing project, that I’m going to figure out how to do a filament swap.
It looks like I’ll need to compile a new version of repetier firmware for my controller in order to do it, but it looks way too cool to not give it a try.
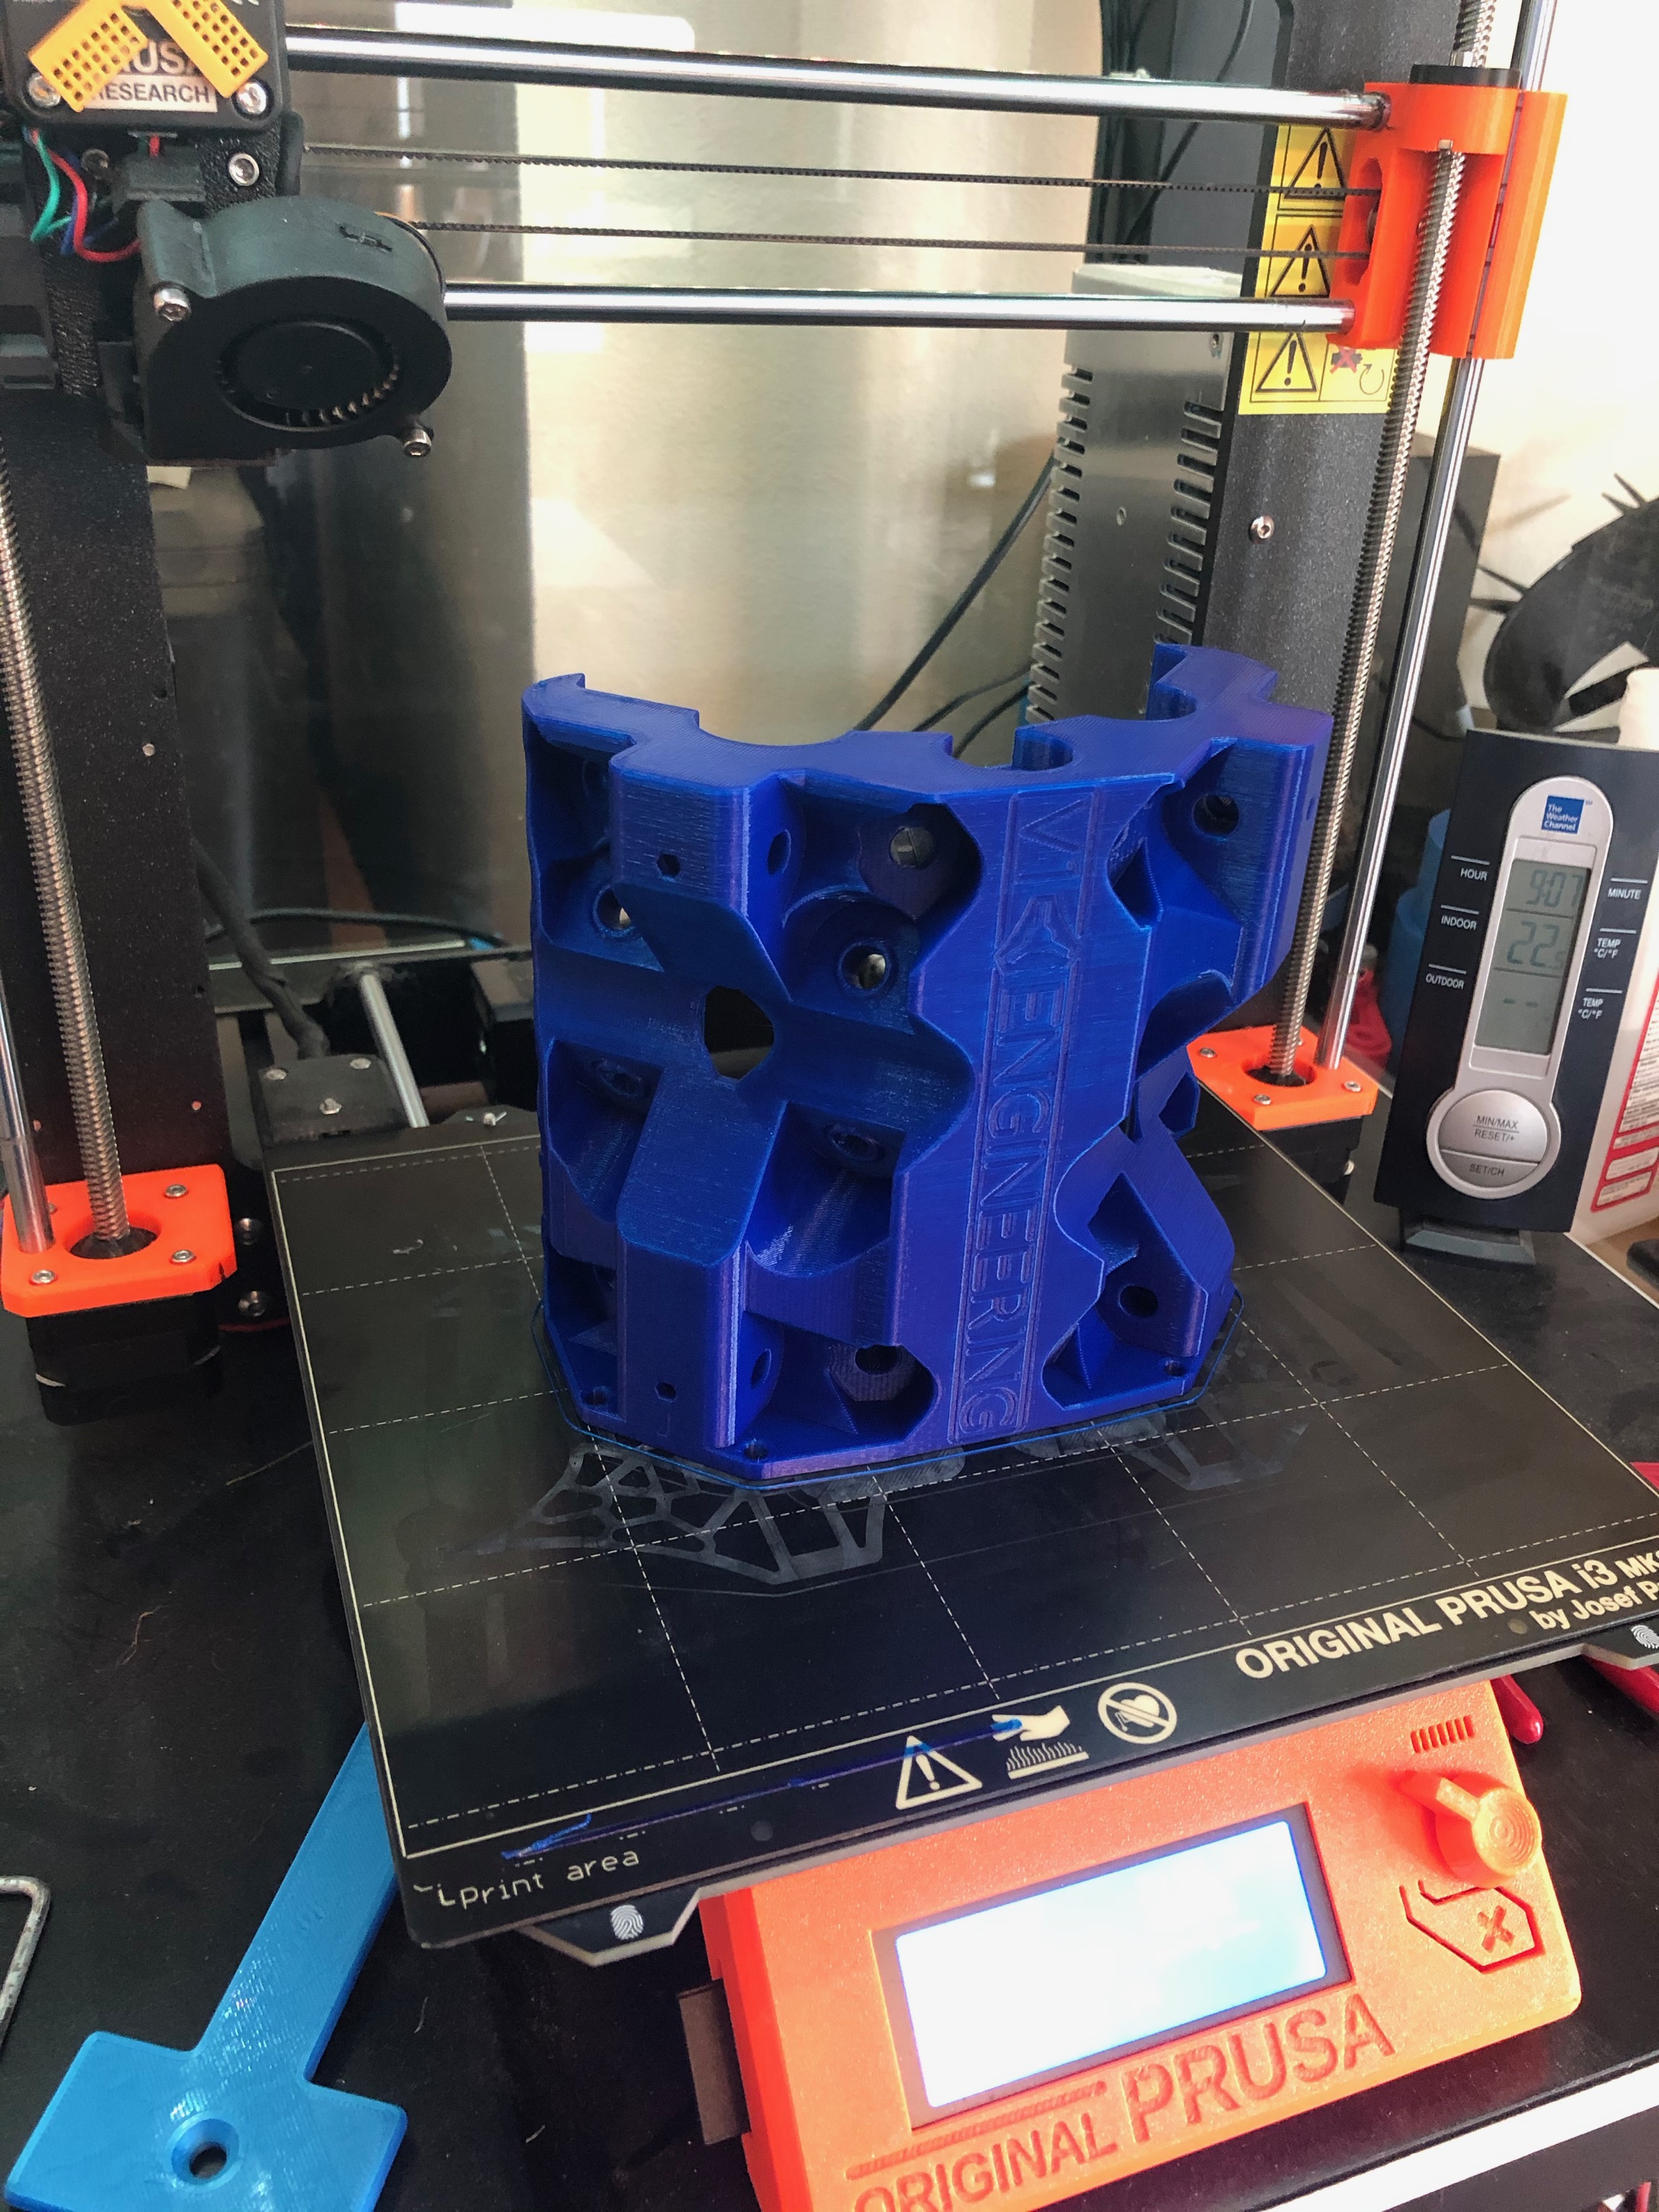
I’m using PrusaSlicer, so it is built into the slicer. Jut go to the right layer and click the add color change button. Repeat at each of the 4 layers where I want the color change. When my MK3S reaches those points, it moves to a ready position and beeps to let me know that it is time to change the filament. Once changed, it picks right back up where it left off.
The one thing I do try to keep in mind is when during the print job the filament changes occur. I started this early enough in the day that the first two changes (to blue, then back to gray) occurred within an hour of the start of the print. The last two will occur within an hour of the end of the print, which will be about 11AM tomorrow.
Do you know what happens if you (unexpectedly or just being absent minded) are out of reach? Does the printer cool down? Are you able resume if it has cooled? Would it impact print quality?
I guess I should plan properly ahead then! The filament swap is super nice, but the printer is in the basement and I don’t hear it from elsewhere in the house. Perhaps we need a little visitor to the living room for the summer??
Maybe? If you use Prusa Slicer to add the filament swaps, it will give you a listing of how long each section of color is expected to take. If you keep track of those times you can set alarms/reminders on your phone to let you know when it is getting close so that you can preposition yourself for the swap.
Yes, that would be my plan. Unfortunately I have a job that in some periods requires me to be called out, without long notice. Hum hum, I have to think a little about this…
That’s what I’m thinking about. My current spoil board doesn’t have any holes, so everything gets screwed into the MDF. If I had the holes and inserts, I’d be able to mount things easier.
Guess I need to order the threaded inserts and get a piece of 3/4" MDF.
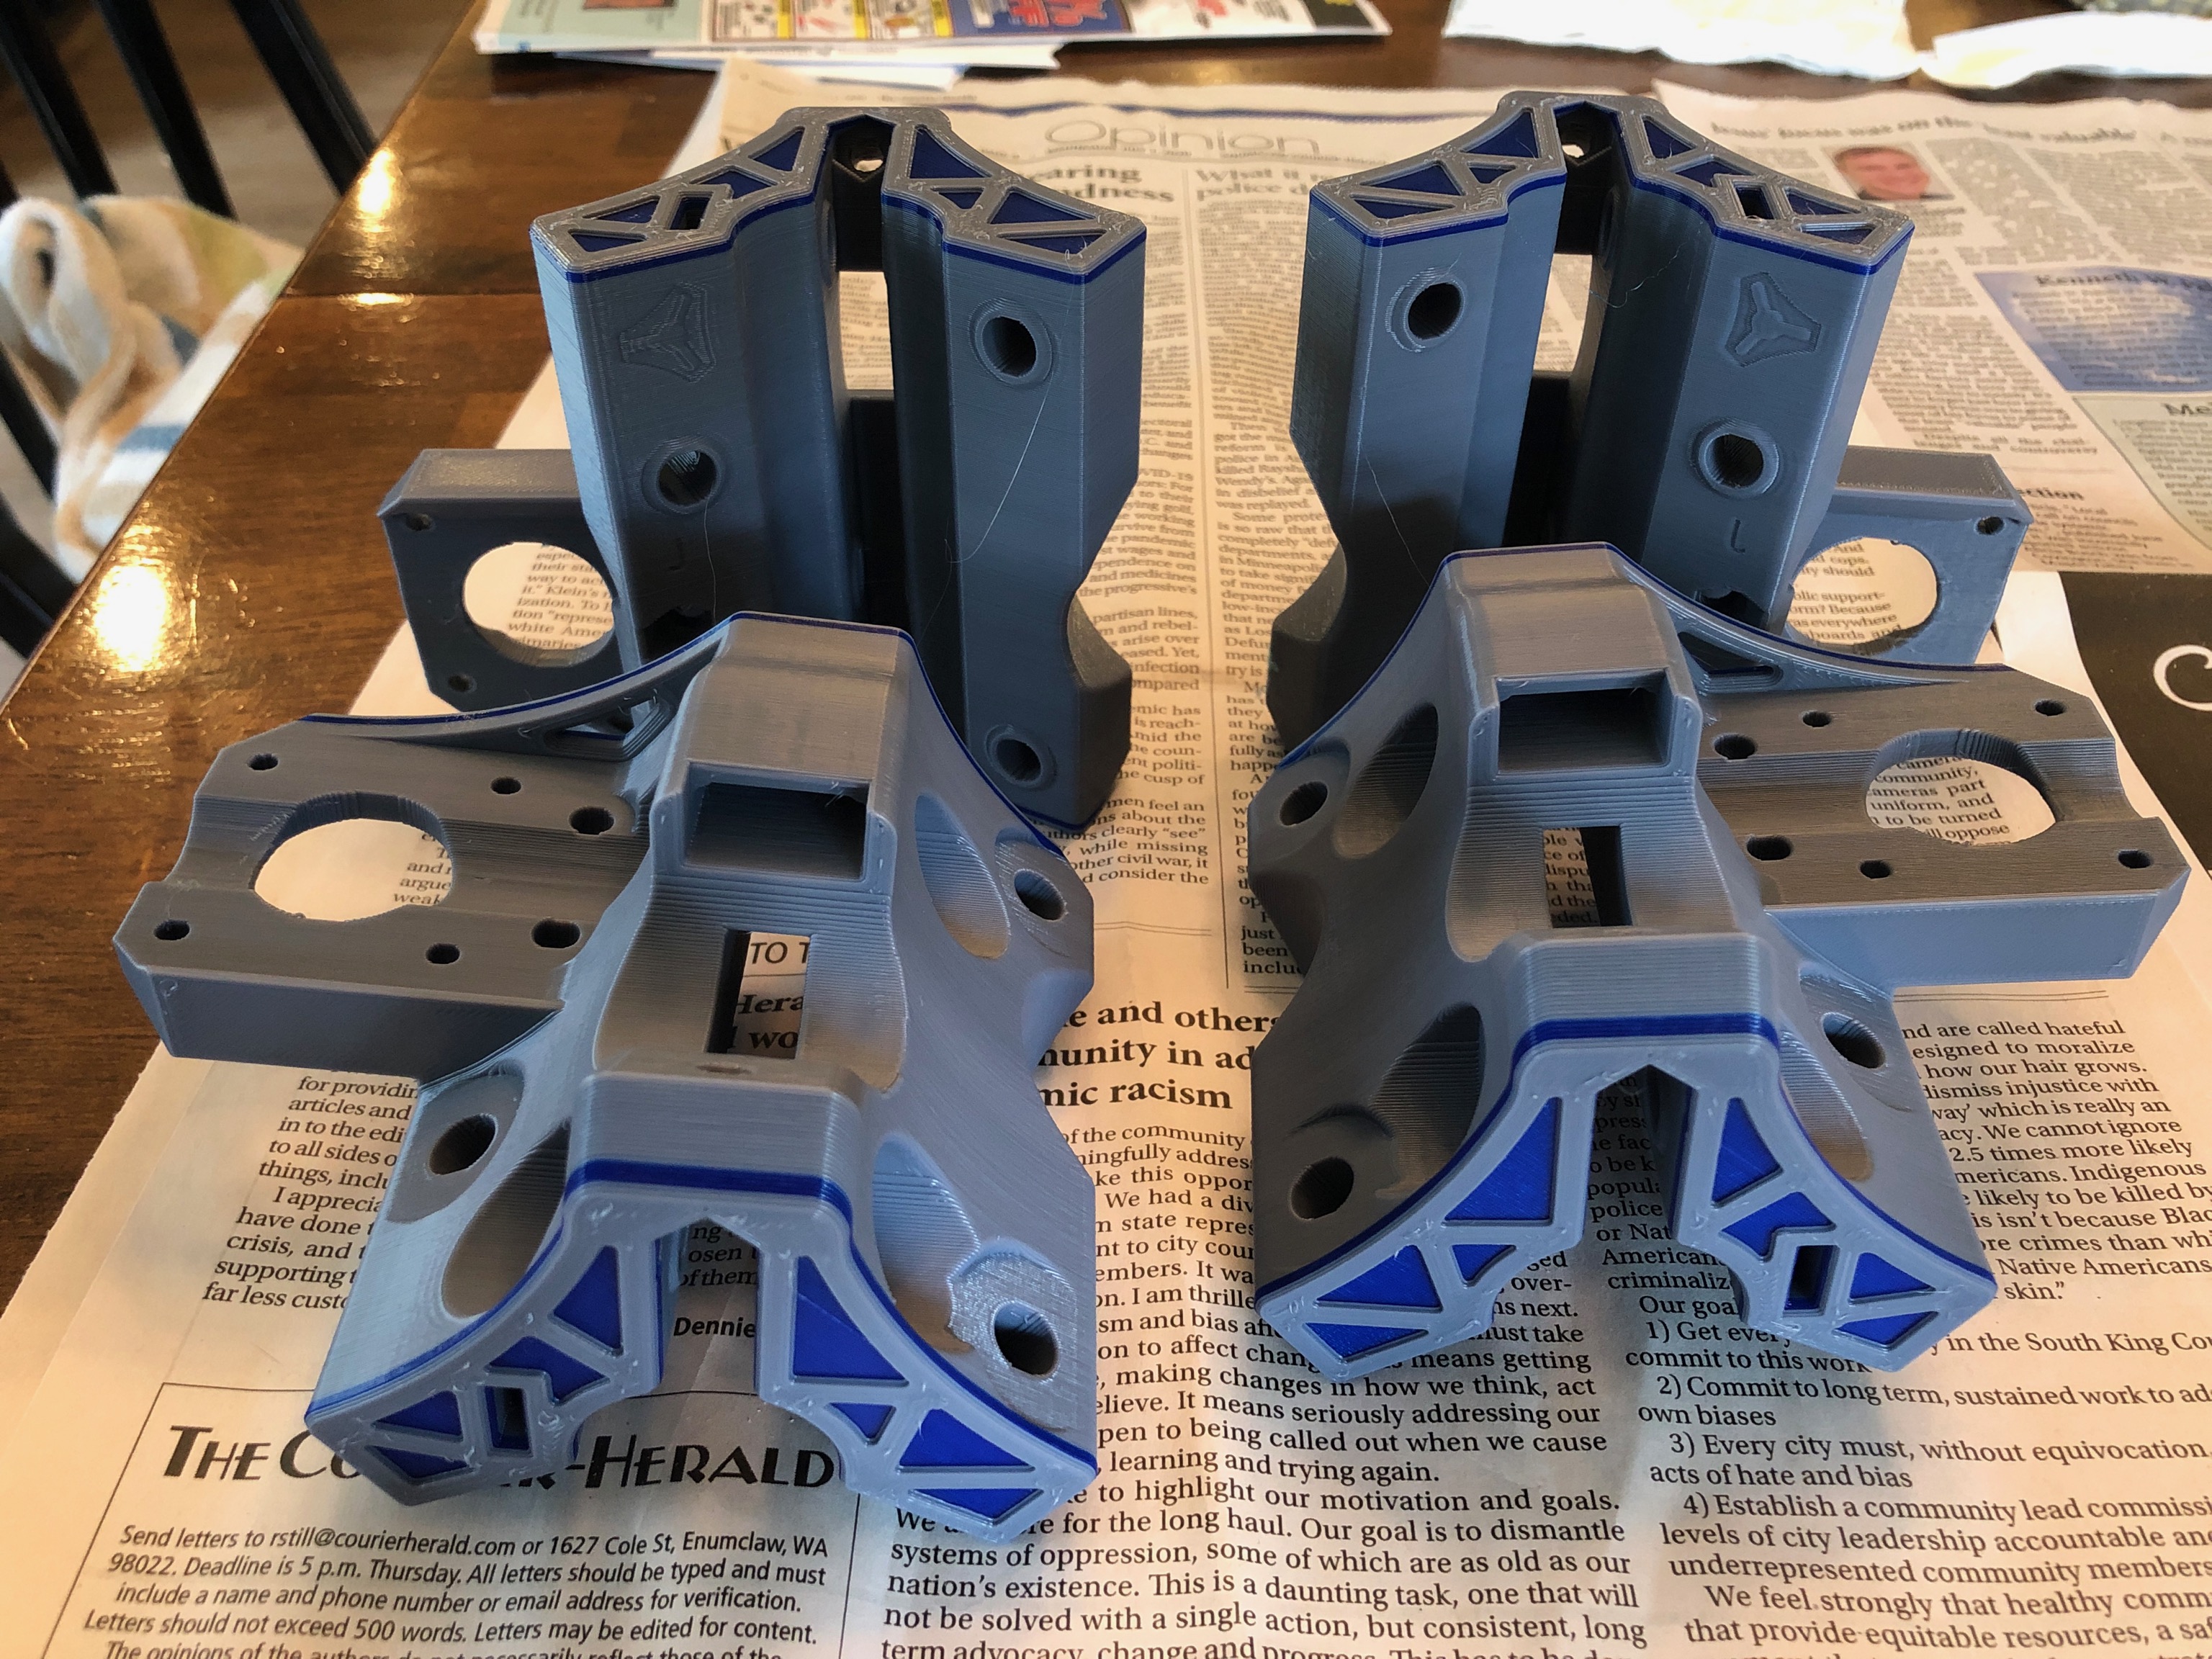
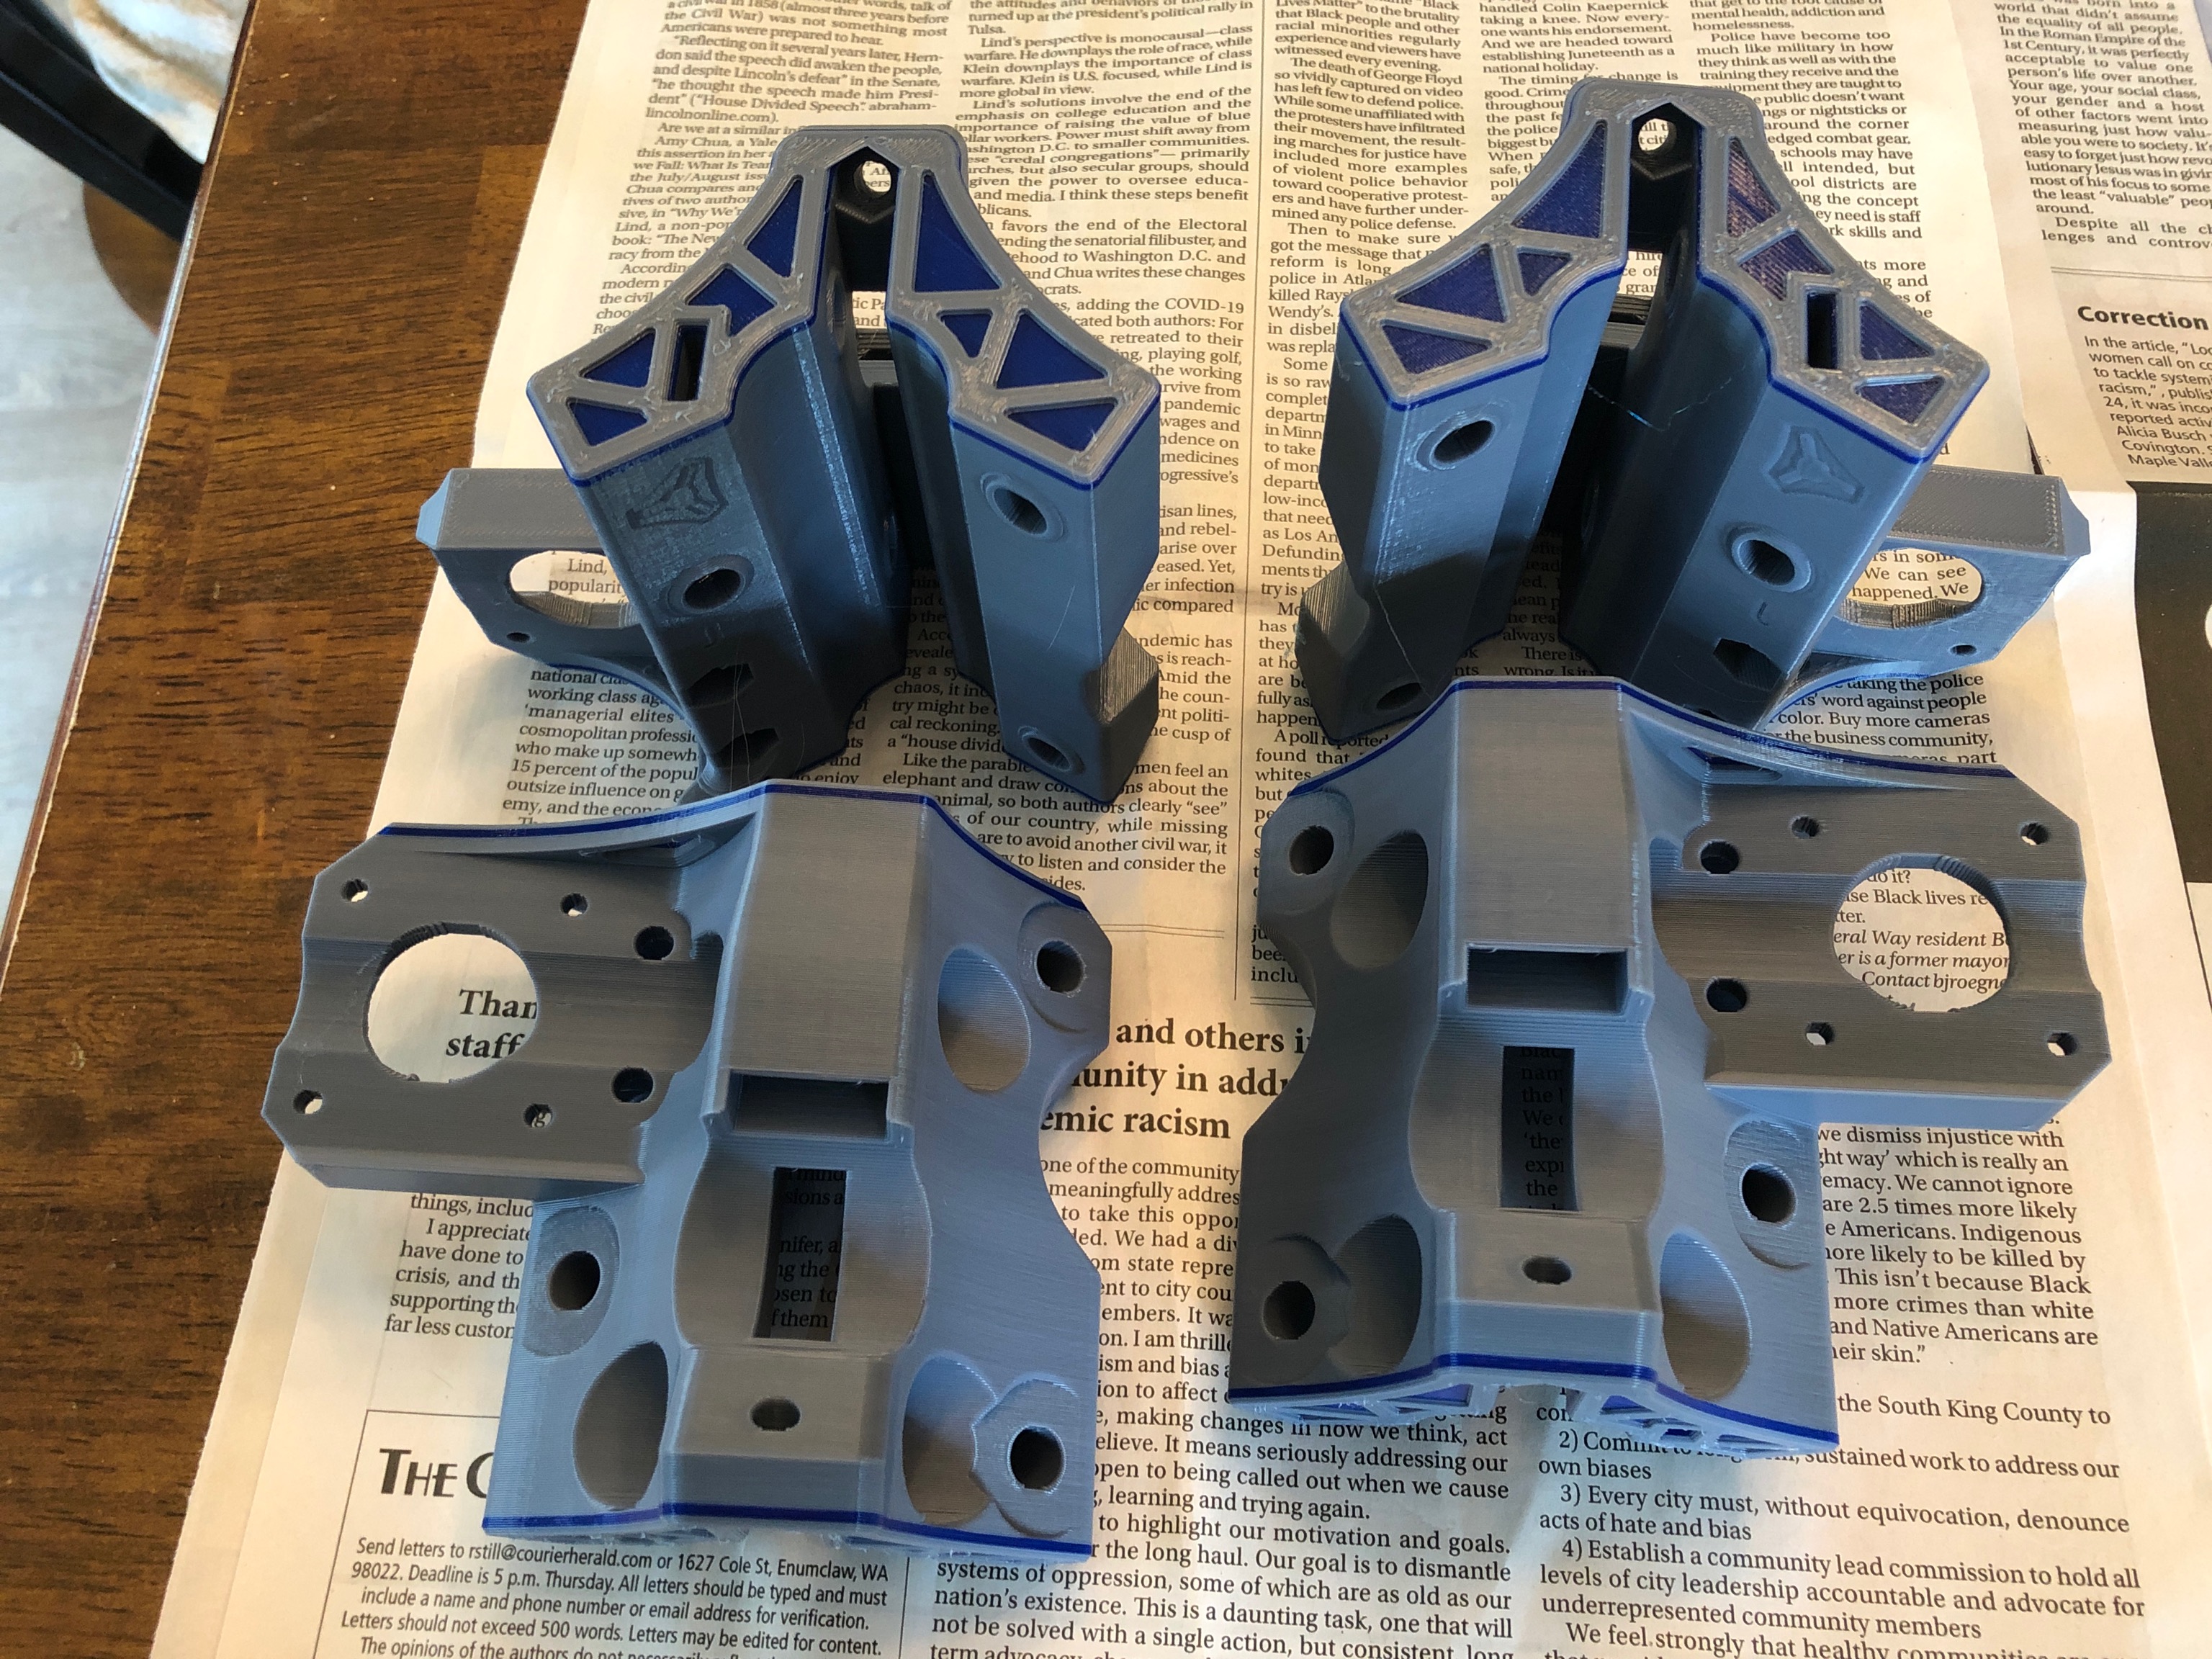
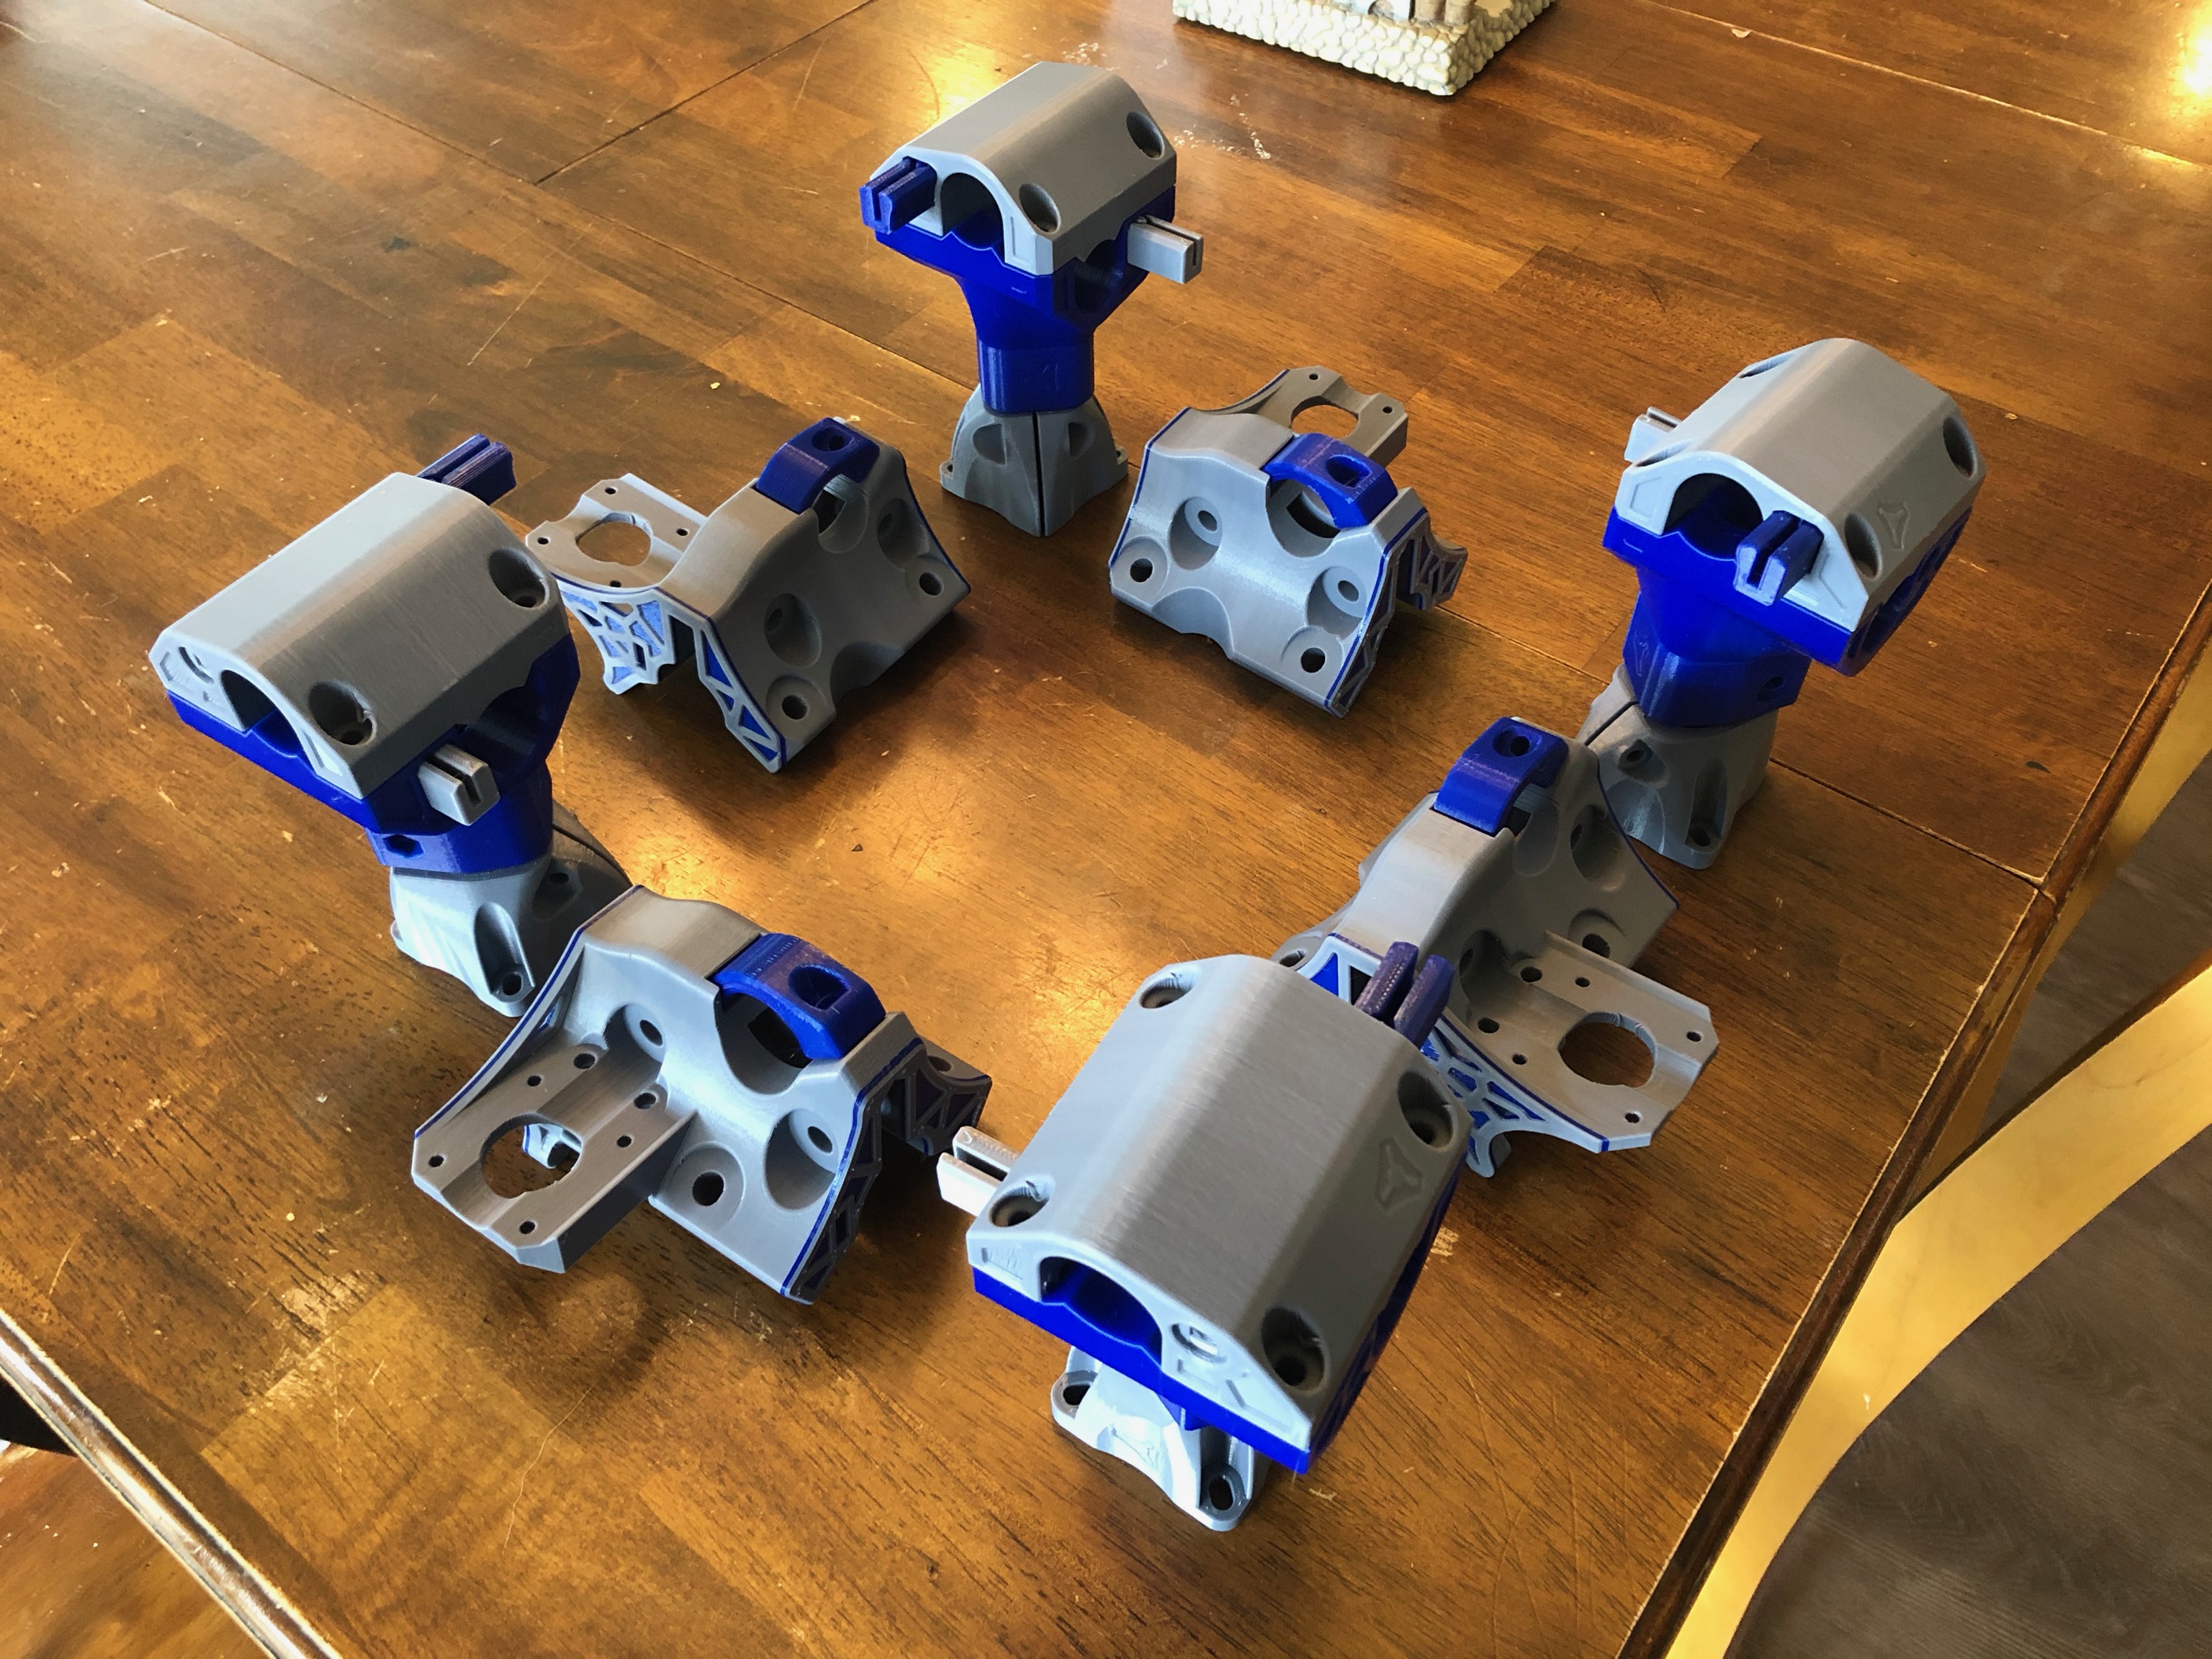
Finished the largest print job so far: 27 hours 39 minutes to print all 4 trucks. It turned out to be a good thing I put those accent layers on the top and bottom of the parts as I nearly ran out of gray filament! I think I have less than 10 windings left on the spool.
For those wondering, this is MatterHackers Build Series PLA in Gray and Blue.
All told, this has taken me just over 69 hours to get to this point as I had an entire night where nothing was printing! If I can keep the printer busy (and my extra rolls of filament arrive), I can have everything but the Core printed by Friday night. Maybe I can start assembling this weekend?
Interesting… Just weighed the parts I’ve printed so far and they are coming out 6-8% lighter than the slicer estimated. Maybe the filament is not as dense as the slicer assumes?
Also had my order from Jegs arrive today. Cutting everything down with the hacksaw was time consuming, and I think I have destroyed the hacksaw blade. With those cut and all the parts due to be done tomorrow, it’s almost time to start assembly!
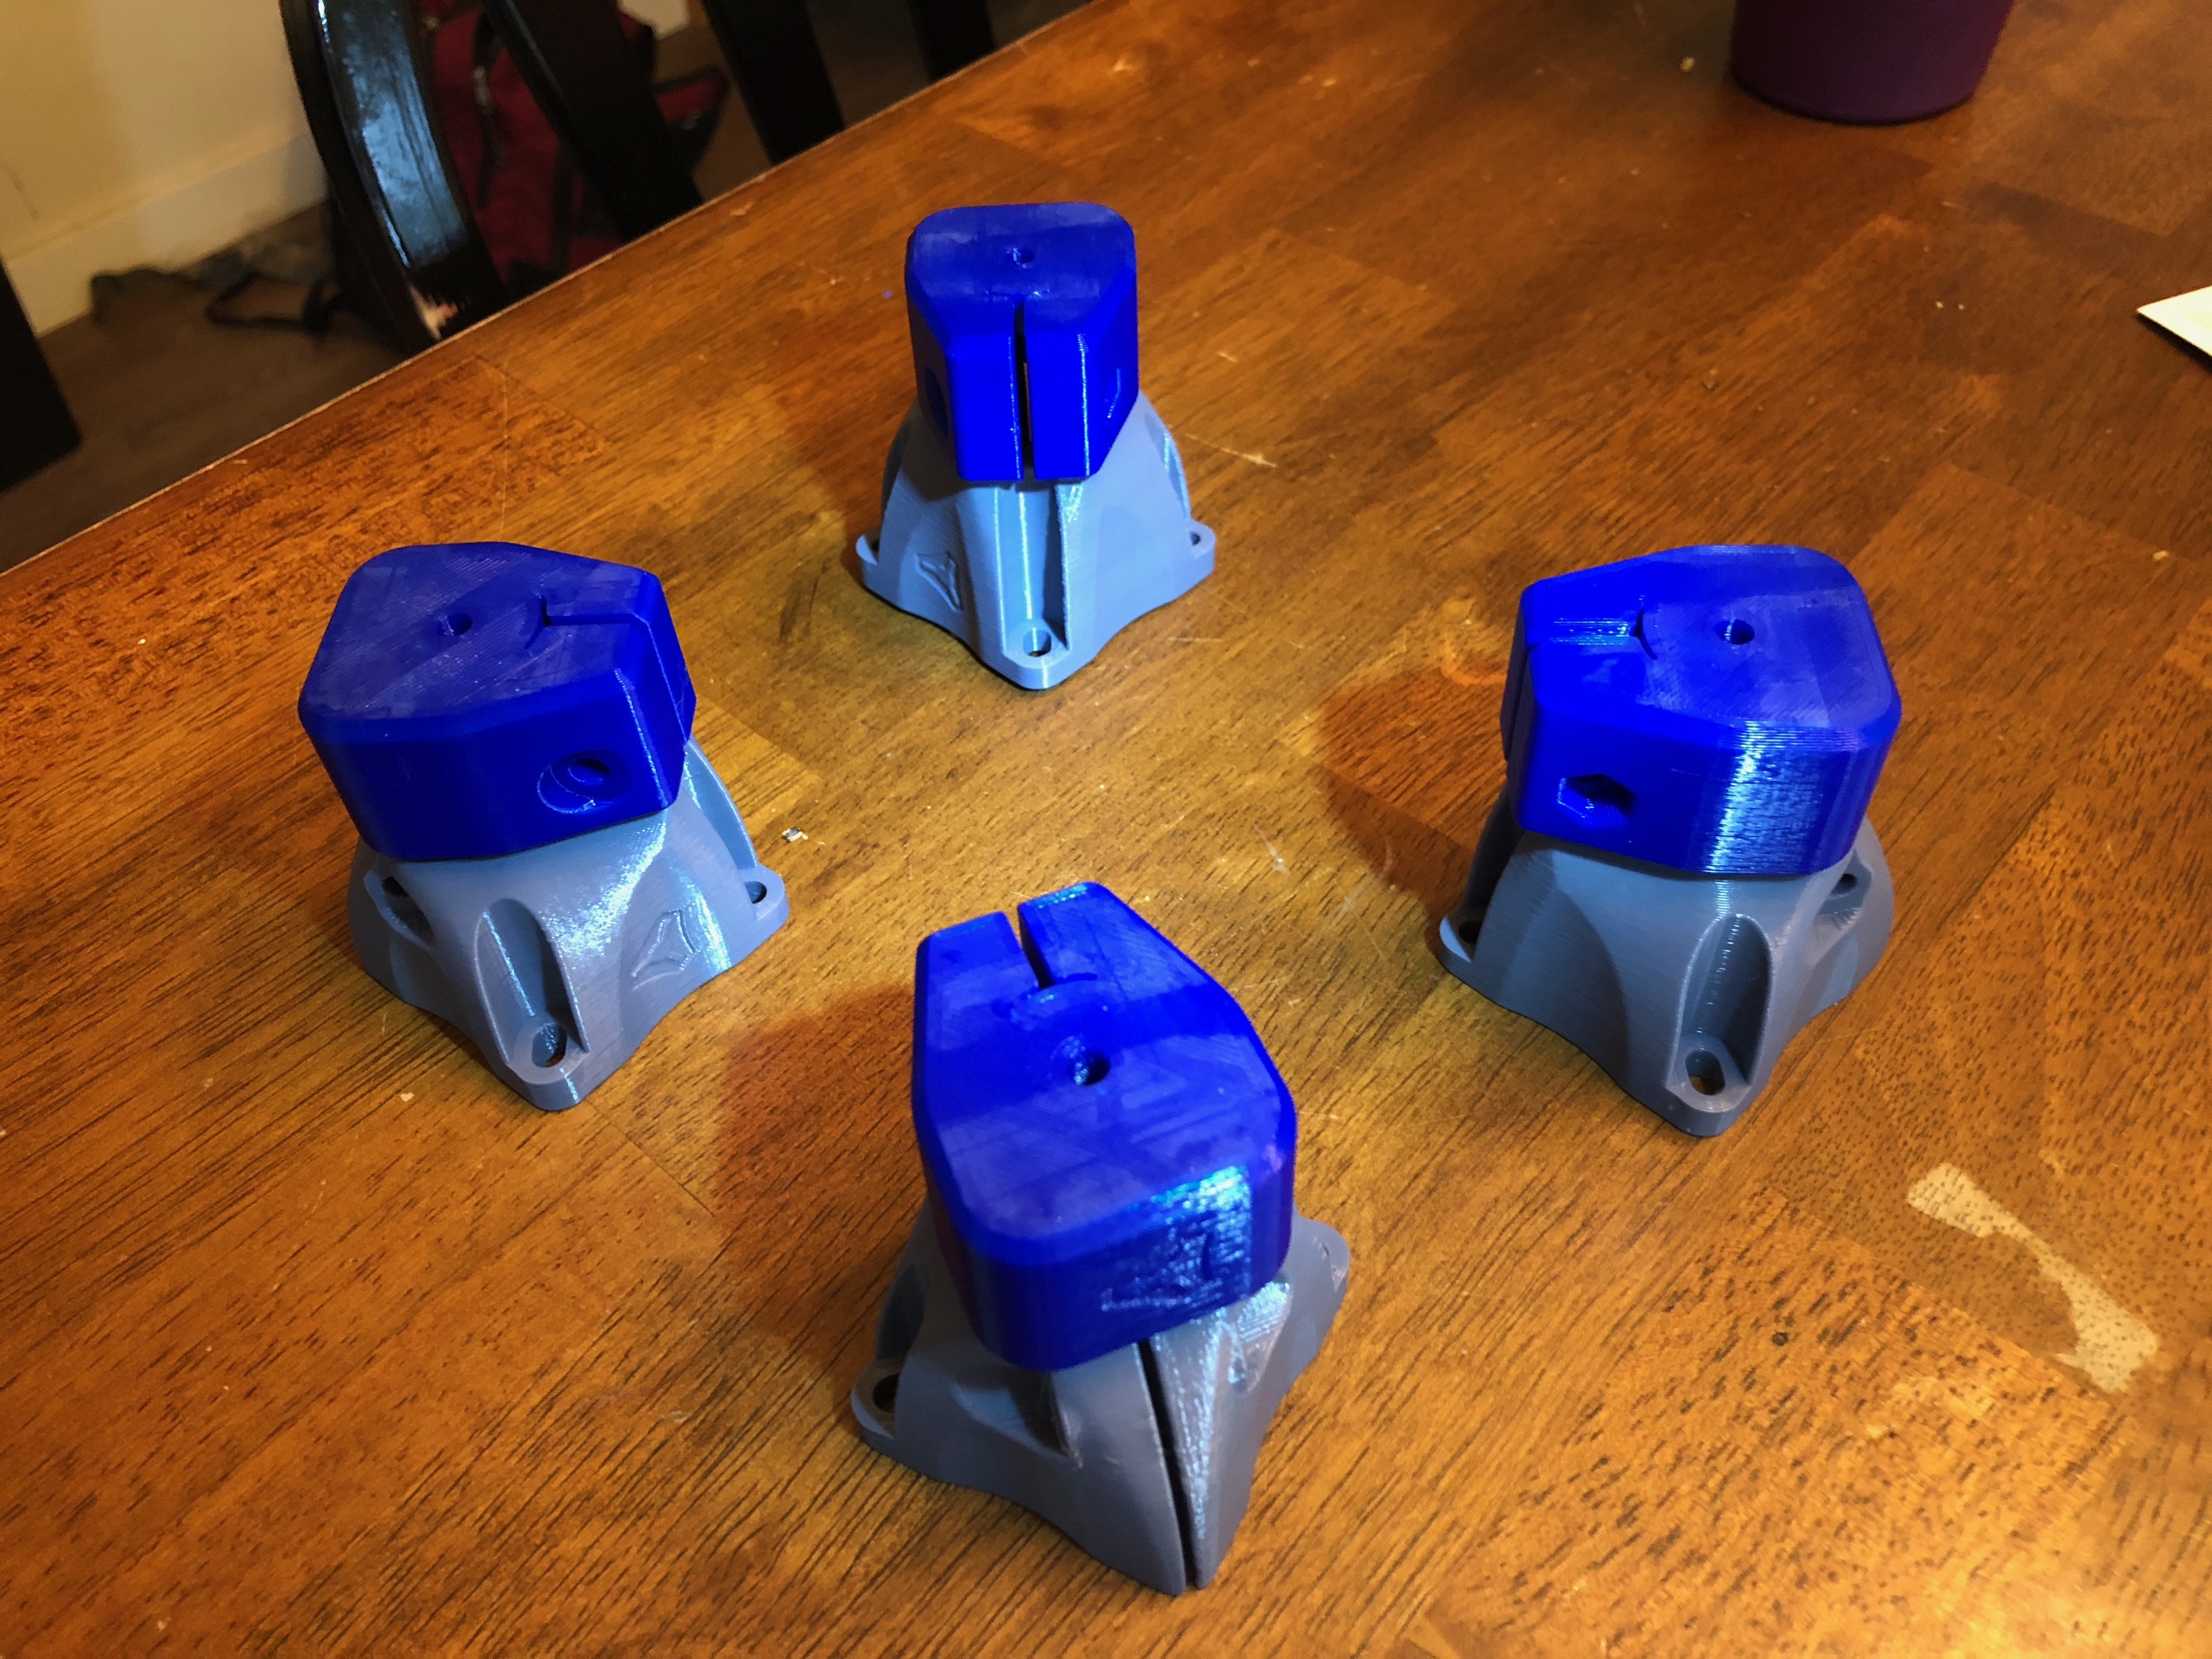
Here are the legs and trucks laid out to give a sense of the color scheme.