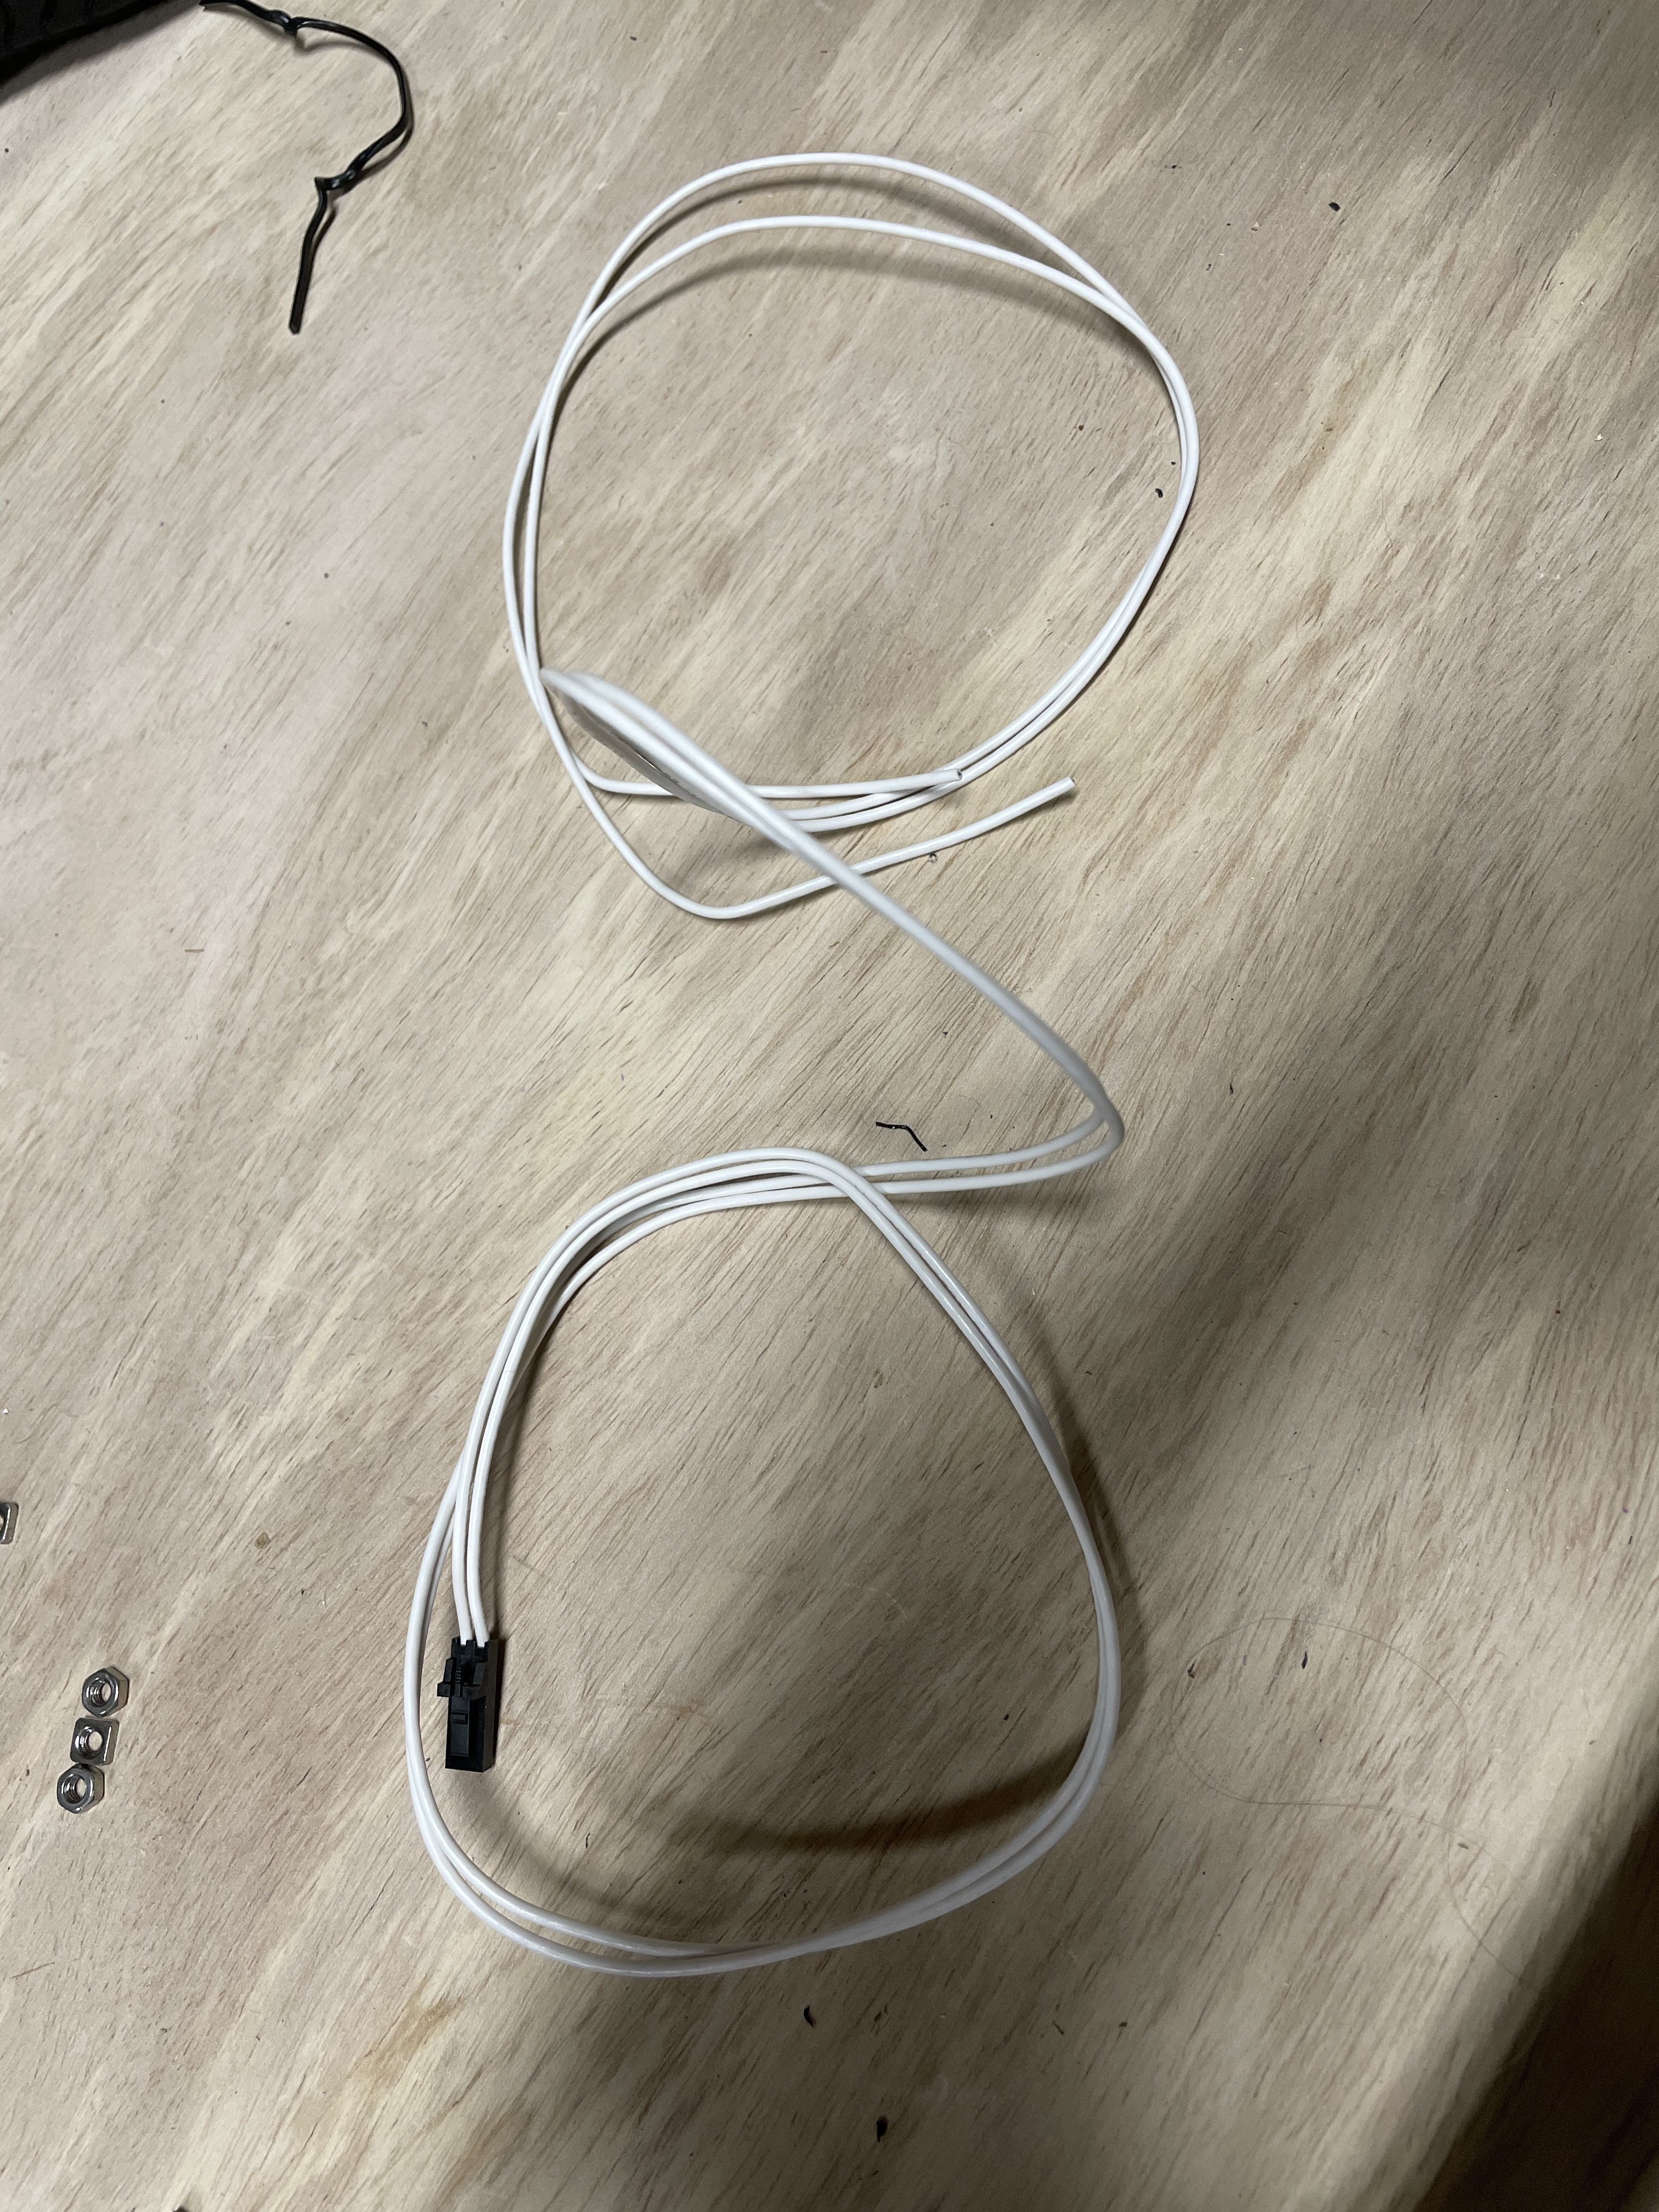
Came with my wiring kit for Rambo 1.4. Two white wires and a connector. I suspect its for calibrating z perhaps?
I saw on the store theres a device with an alligator clip and a conductive plate, but I’m not sure how to proceed with the bare wires.
Came with my wiring kit for Rambo 1.4. Two white wires and a connector. I suspect its for calibrating z perhaps?
I saw on the store theres a device with an alligator clip and a conductive plate, but I’m not sure how to proceed with the bare wires.
Looks like an endstop cable that would normally be connected to a limit switch. But you can use it to connect to a touch plate like you mentioned. One end of the wire would be connected to a piece of metal that you would use as a touch plate. The other end would connect to the cutting bit. Usually with some form of clip or magnet. That way when you home Z the bit touches the plate it will close the circuit like a limit switch. It will then think the top of your touch plate is home or z=0.
Then you just need to add a line of gcode that will subtract the thickness of your touch plate. For example. If your plate is 5 mm thick then you would use “G91 Z5”. That will make your machine think it is 5mm up in the air. So it will go down 5 mm before it starts to cut.
Hope that helps.
ok yeah not so bad. Yeah there are separate cables with crimped connectors for the x & y limit switches. but z limit switch makes sense.
Does anyone actually wire a z limit switch like x and y or you wouldn’t want to so z height can be adjustable?
Correct z is usually based off of the top of the work piece not some location on the machine. So we don’t usually use a z limit switch. “Usually,” There are some who do but that is not worth looking at for most of us.
So that leaves you with the two easiest options. Touch plate or eye ball. The touch plate is more accurate but it requires some extra steps to build it and use it. For me “close” has been good enough so far. So I just have my firmware setup so it will set z home to the current position when I click home z. It won’t move at all. Then I manually move the machine (or jog it) to the top of my work piece and then I click home z. No probe needed.
That sounds pretty easy