This last cut I tried on a scrap piece I had painted and put down a layer of masking tape and that seems to have worked well. Still climb milling 0mm finishing allowance.

1 Like
Forgive me, I have not checked in Estlcam before posting, but what (where) is climb milling. Is this a new feature?
P.S. Personally, I did not have great results with (blue) masking tape but your millage may vary.
It’s a choice in Basic Settings under the Setup tab.
Not a new feature, I’m not experienced enough to say when or why to use it - my understanding is that is the rotation of the cutting face relative to the cut and workpiece. (youtube education). I’ve just heard you can sometimes get a better finish using climb milling versus conventional. I was mainly exploring the different options and thought it was worth a try. Thinking that could affect the surface finish, also I imagine an upcut or downcut bit would affect it, I think the ones Ryan sells are upcut. The masking tape I just wanted to add in another variable that may affect the final piece if I’m going to attempt a paint then lay down adhesive film. The tape held better than the old roll of contact paper I had. I ordered the film @timonjkl recommended, so i needed a stand in.

There’s an explanation of climb vs. conventional milling and other things in the DOCs piece on milling basics: Milling Basics - V1 Engineering Documentation
1 Like
I knew all that sounded familiar for some reason or another. Thanks
I didn’t go over it carefully but I’m not sure it tells how to set it. I know I stumbled around Estlcam a while before figuring it out. I was used to having a manual so it took me a while to become somewhat comfortable with Estlcam by just clicking around and trying things. And I still wish there was an ‘undo’ command. ![]()
1 Like
Climb cutting is good with a CNC machine, as it cuts a little better. It’s usually frowned upon with hand-held routers, as it’s potentially easy to lose control of the router as it climbs out of your grip.
I’ve shot many a stick across the room trying that. Now that action has a name to go with it. With a handheld router that is. Now my router table has a big red arrow to remind me the direction to best cut for non-flying mode.
3 Likes
heh… My stationary belt sander is the most reliable wood flinger in the shop. The table saw does a better job at it, but I’m more careful around the table saw than the belt sander.
1 Like
The nice thing about a belt sander is that when the wood takes off, your fingers aren’t heading for the blade. Sanding your fingers hurts, but it usually doesn’t require surgery.
3 Likes
When I was a kid I learned there are some things too small to sand on a disk sander (had to put points on my stick and branch swords), if you’re not careful it’ll pull a small finger right into that disk and make short work of a fingernail. Luckily they grow back pretty well.
3 Likes
I won’t share the picture I have of a friend that lost half his thumb on a belt sander.
1 Like
I’ve found filling with epoxy, then thicknessing off the excess works really well. It almost doesn’t matter how the internal cut looks, if a little fuzzy, as long as the top edge is clean from a final pass. Sometimes I try not to let the epoxy flood the piece, because it does become entrained in some woods (especially oak, but it’s very dependant on the grain and cut of the wood). Walnut works best of course, being rather expensive here, you can simply sand away any excess. I have tried underfilling with epoxy and then thicknessing/sanding away the excess wood, but this can lead to chipping. In this example, my work sequence was thickness, carve, fill, thickness again (after 24 hrs at shed temperature plus 24 hours indoors RT, it must be set hard), then sand.
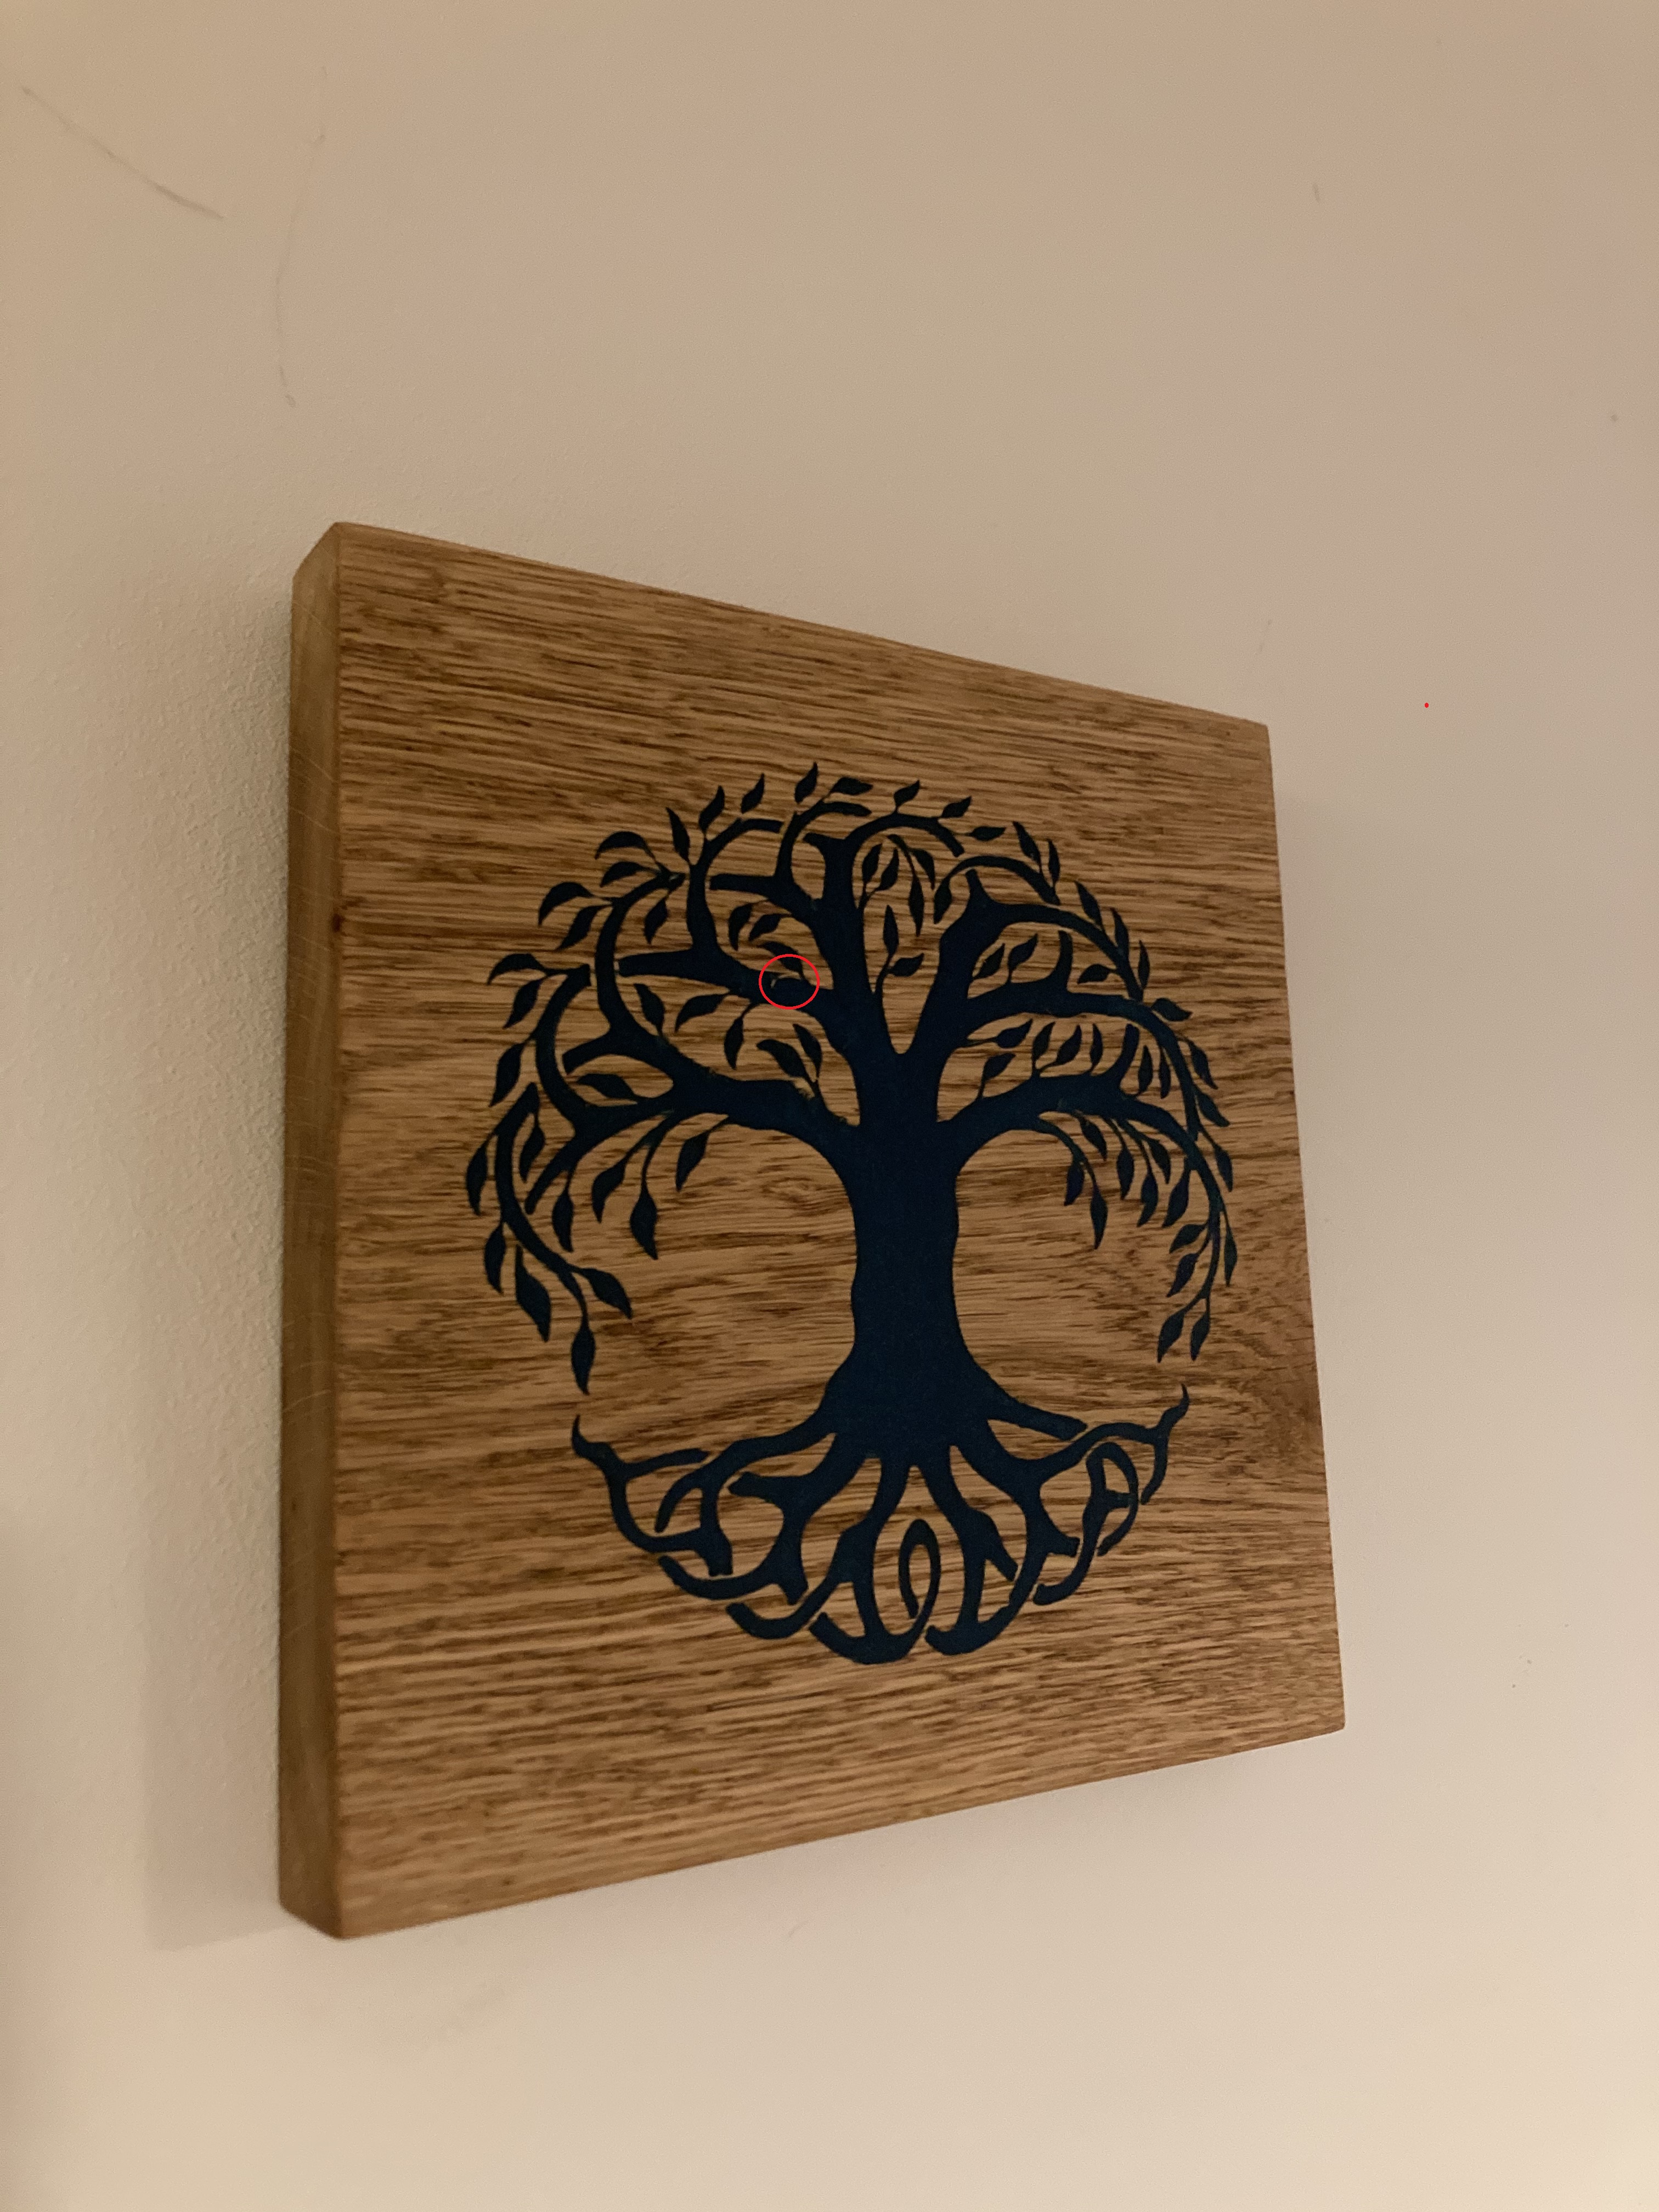
There is one major error though (circled), where I left a partial chip attached, but it’s not so bad really, and I don’t think most people would spot it.
4 Likes
You can ebonize oak, it’s not jet black, but it’s grey to brown. Walnut gets even darker.
Mix steel wool and vinegar, let that sit for a week or so. Wipe it on your wood, multiple coats get darker.
You can use CA glue or a thin coat of clear epoxy to seal the wood before pouring the tinted epoxy. It’ll add a step to the process, but will keep the tinted epoxy where you want it.
Shellac also works well sealing wood and dries quickly, coating before cutting may also help with the ‘fuzzies’ around the cuts.
I think that looks great @AndyUK and that’s great advice. I’d still like to try using epoxy on the project I’m working on. The current method of painting my stock white before hand, then applying the adhesive film, painting the carve black then removing the film - gives me an option of painting the carve so I end up with a white background and black text. I don’t yet how I’d achieve the same using epoxy, with the main challenge being either over filling or not being flush - as you’d get by using your method of pouring then surfacing after its cured. Have you tried any of those with a painted stock?
I like that idea, I’ll definitely try that on a future project. Can you do the opposite with bleach? I imagine that would probably destroy some wood fibers.
It’s my impatience. I can either protect and then fill, or just splurge resin everywhere and shave the top off. I do find that the thicknesser method leads to a cleaner looking finish, so I stick with it. Honestly, I love it!