Thanks, Tom. I will do that!
I feel like just cutting power would be worse. If he has it set up through a VFD that is actively breaking when no input is given than killing the VFD power would effectively let the router coast to a stop and that would take even longer. Right?
My VFD has pretty big capacitors in it that keep the processor going for half a minute if the power is cut, so braking works on power failure…I tested that today. Now I am weighing the merits of using a relay that cuts VFD (spindle) mains power if the Arduino resets vs. Using the VFD’s digital control inputs.
Any experiences or advice welcome!
Sorry - VFD’s are outside of my experience.
I would probably do both, a relay that kills the VFD power if main power is cut (such as when you use the E stop) and a digital input that works as an enable. For when the controller is reset or looses USB connection but main power isn’t cut.
DONE! This works like a charm. Thanks, Jeff and Ned. No more Z axis plummeting on Z stepper off.
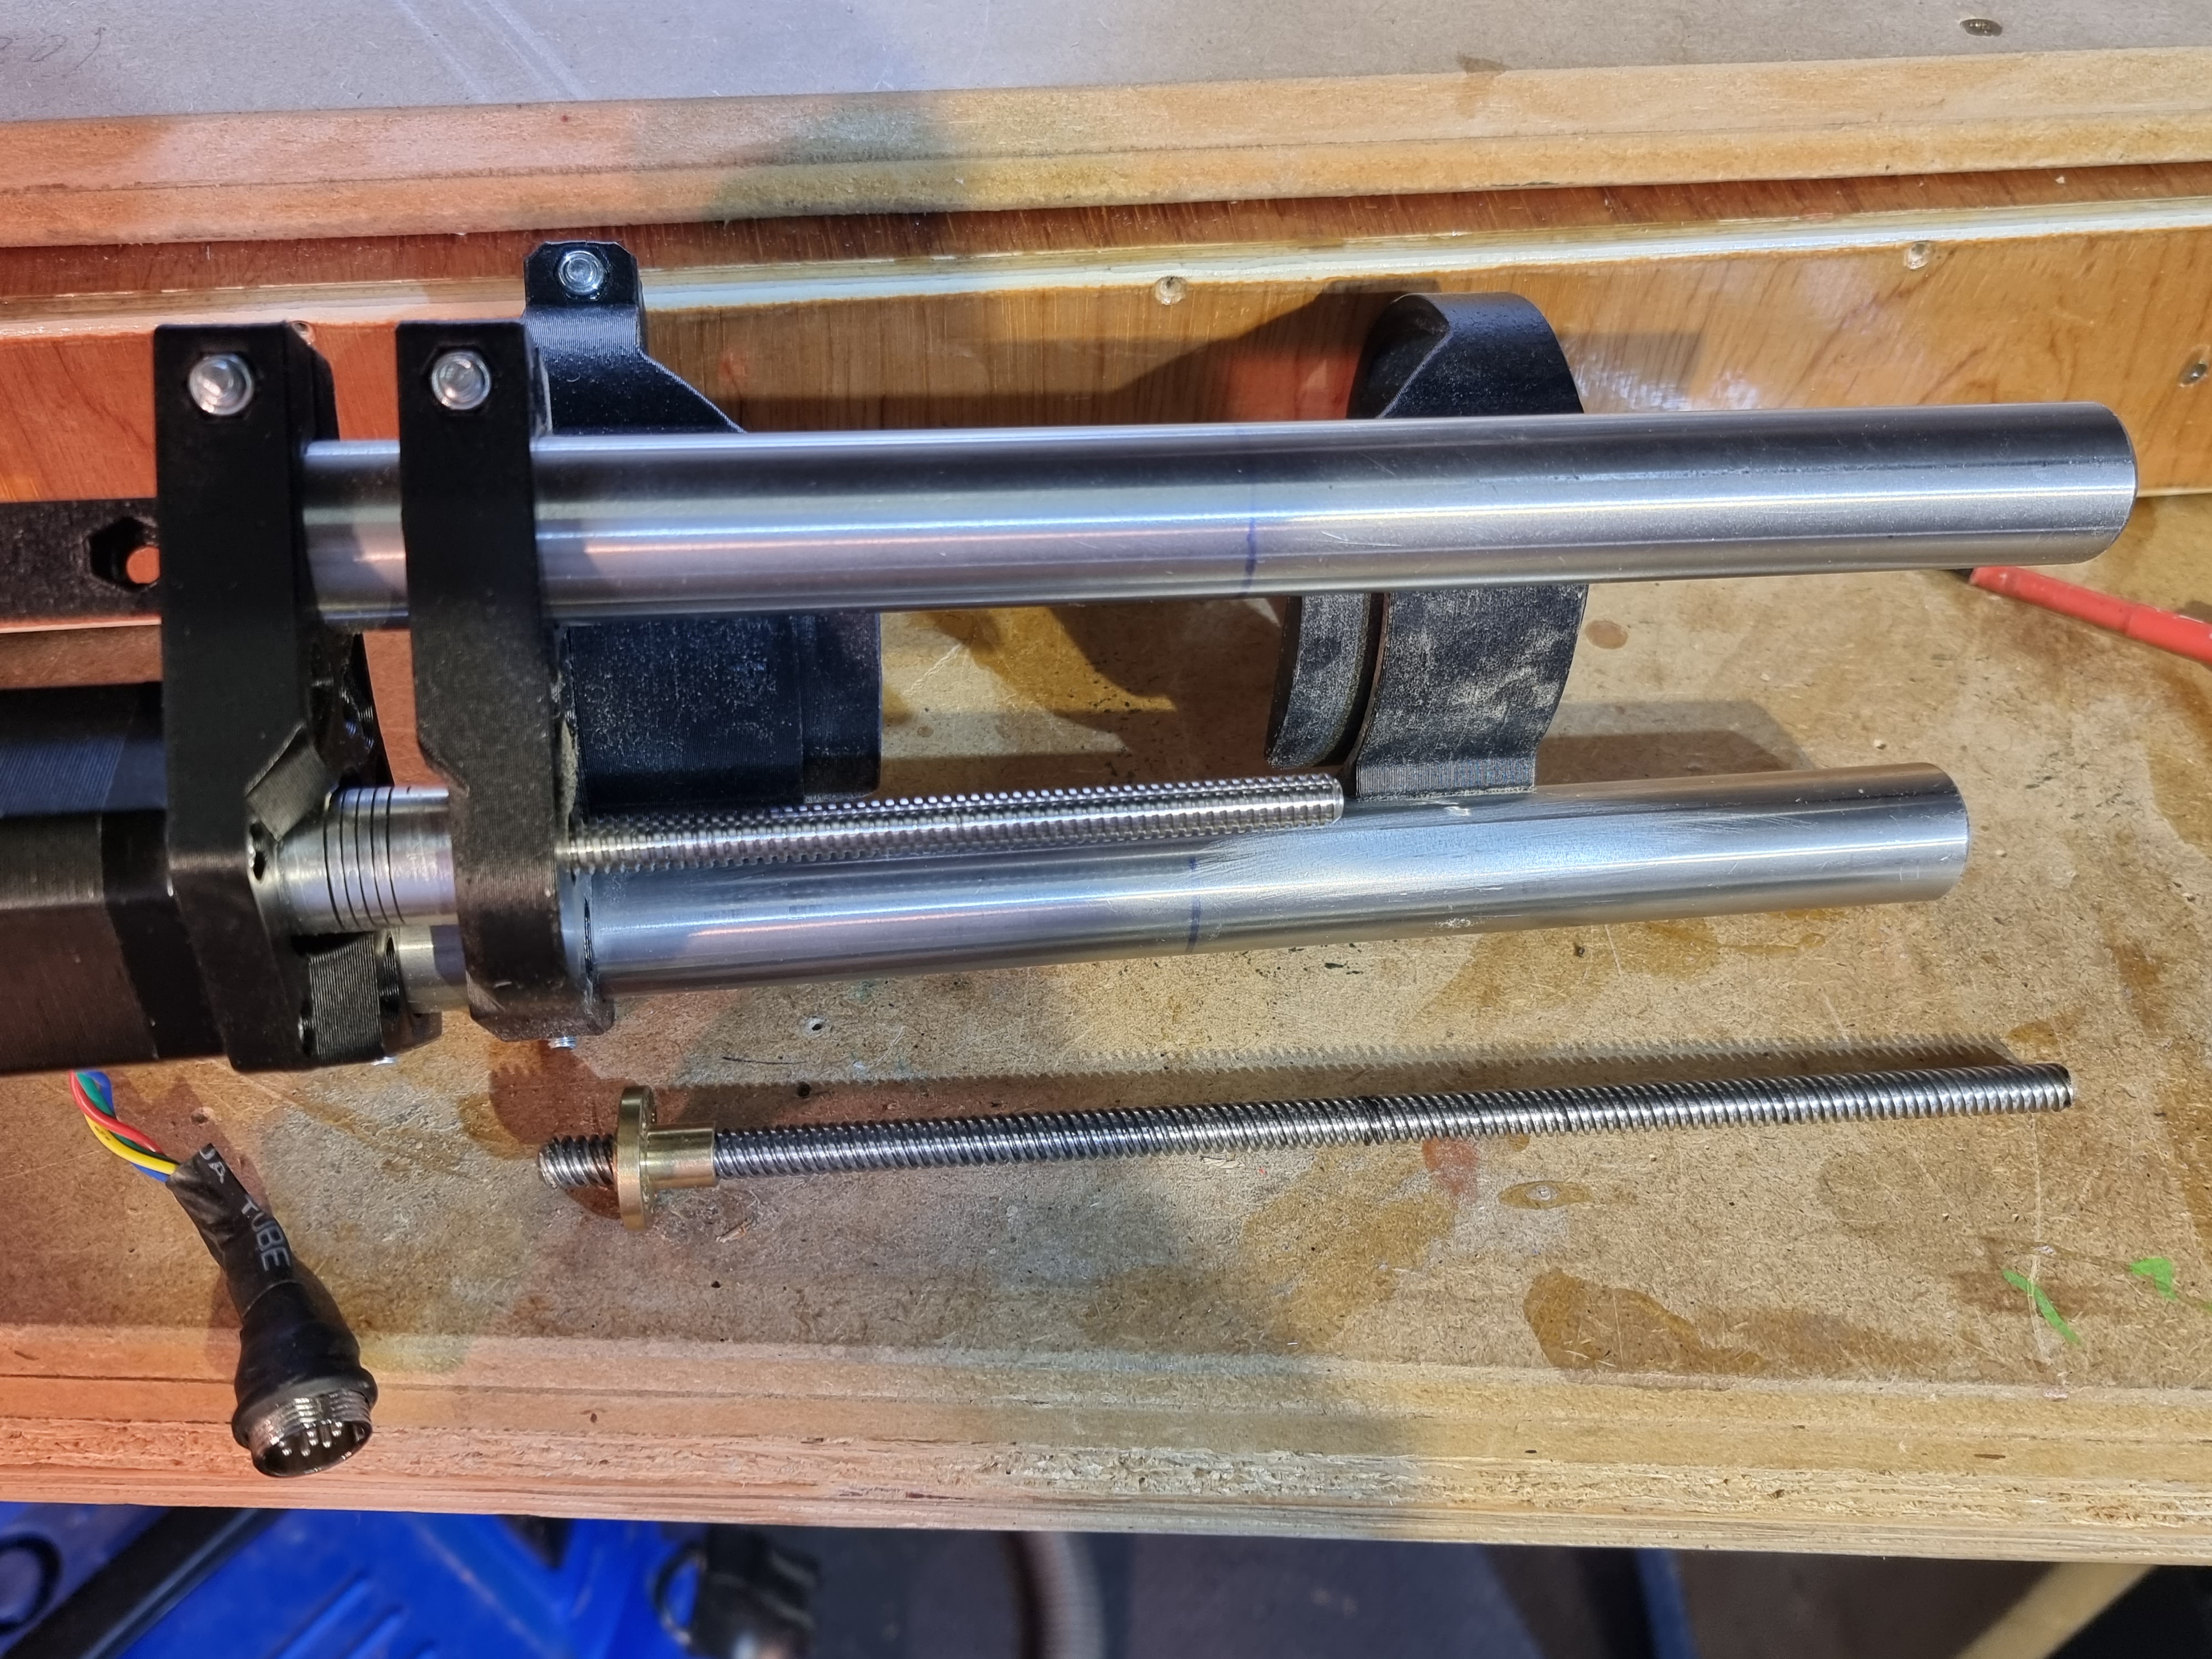
I have not only installed the 1-start leadscrew, but have also attached a 24VDC supply to all my Vmot pins on the DRV8825s. With this new arrangement, and with my currents set to 0.6V (as they were before), the stepper motors seem to be running cooler, and I can achieve 12mm/sec max feed rate in Z. That seems pretty reasonable. I also recalibrated the steps per mm by having the spindle move a micrometer strapped to it, and got 3225.
As you see in the photo below, I cut the leadscrew to just the length of my Z travel, so the whole carriage is easier to remove, and will make a clicking noise if I try to raise it past where the lower bearings engage.
Now I am chasing down Z backlash, which seems to be about 0.4mm, so it is worth fixing.
I had not measured it with the old leadscrew, so this may be a completely unrelated problem.
I will read up on M425. The screws holding the leadnut are loose enough to allow it to slide with some force, but not to jiggle up and down.
2 Likes
Theoretically, it should be 3200. So you are close enough.
There shouldn’t be backlash, because the weight of the router should be holding everything down.
Late to the party, but if you aren’t happy with the reduced Z speed I find anti backlash nuts can accomplish the same thing depending on the weight and spring strength.
The problem with using an anti-backlash nut in an existing build is that it takes up some Z travel, so longer conduit and lead screw would be needed to get it back. I tried an anti-backlash nut and there is not enough tension with the stock spring to hold the Z axis up, and I had to turn down the heads of the cap screws to clear the spring. Button or round head screws might work, too, but spring clearance is an issue, especially if a larger spring is used.
Not sure how this is working…I changed my lead screw to a single start from a 4 start…a multiple of 4 (2mm lead vs 8mm lead). My Z e-steps were 400, so in theory my new e-steps should be 1600. I use a set of 1-2-3 blocks and measure my Z over 3" with a travel indicator to tune my Z…I end up with 1601 steps. How does one get 3200 e-steps???
Also, I set my Z feedrate to 10mm/s to see if it misses steps over 3" and it doesn’t appear that it does, or at least I still get 3.000" inches of travel. I’m still going to convert to 24V but curious as to how I can test for lost steps?
EDIT: Yeah, I ran it up and down 20 times via a script and I can hear it skipping. I imagine the weight of the router has an effect, too.
EDIT2: Trying to muddle my way through this…your stepper must be a 400 step/rev? Mine is 200.
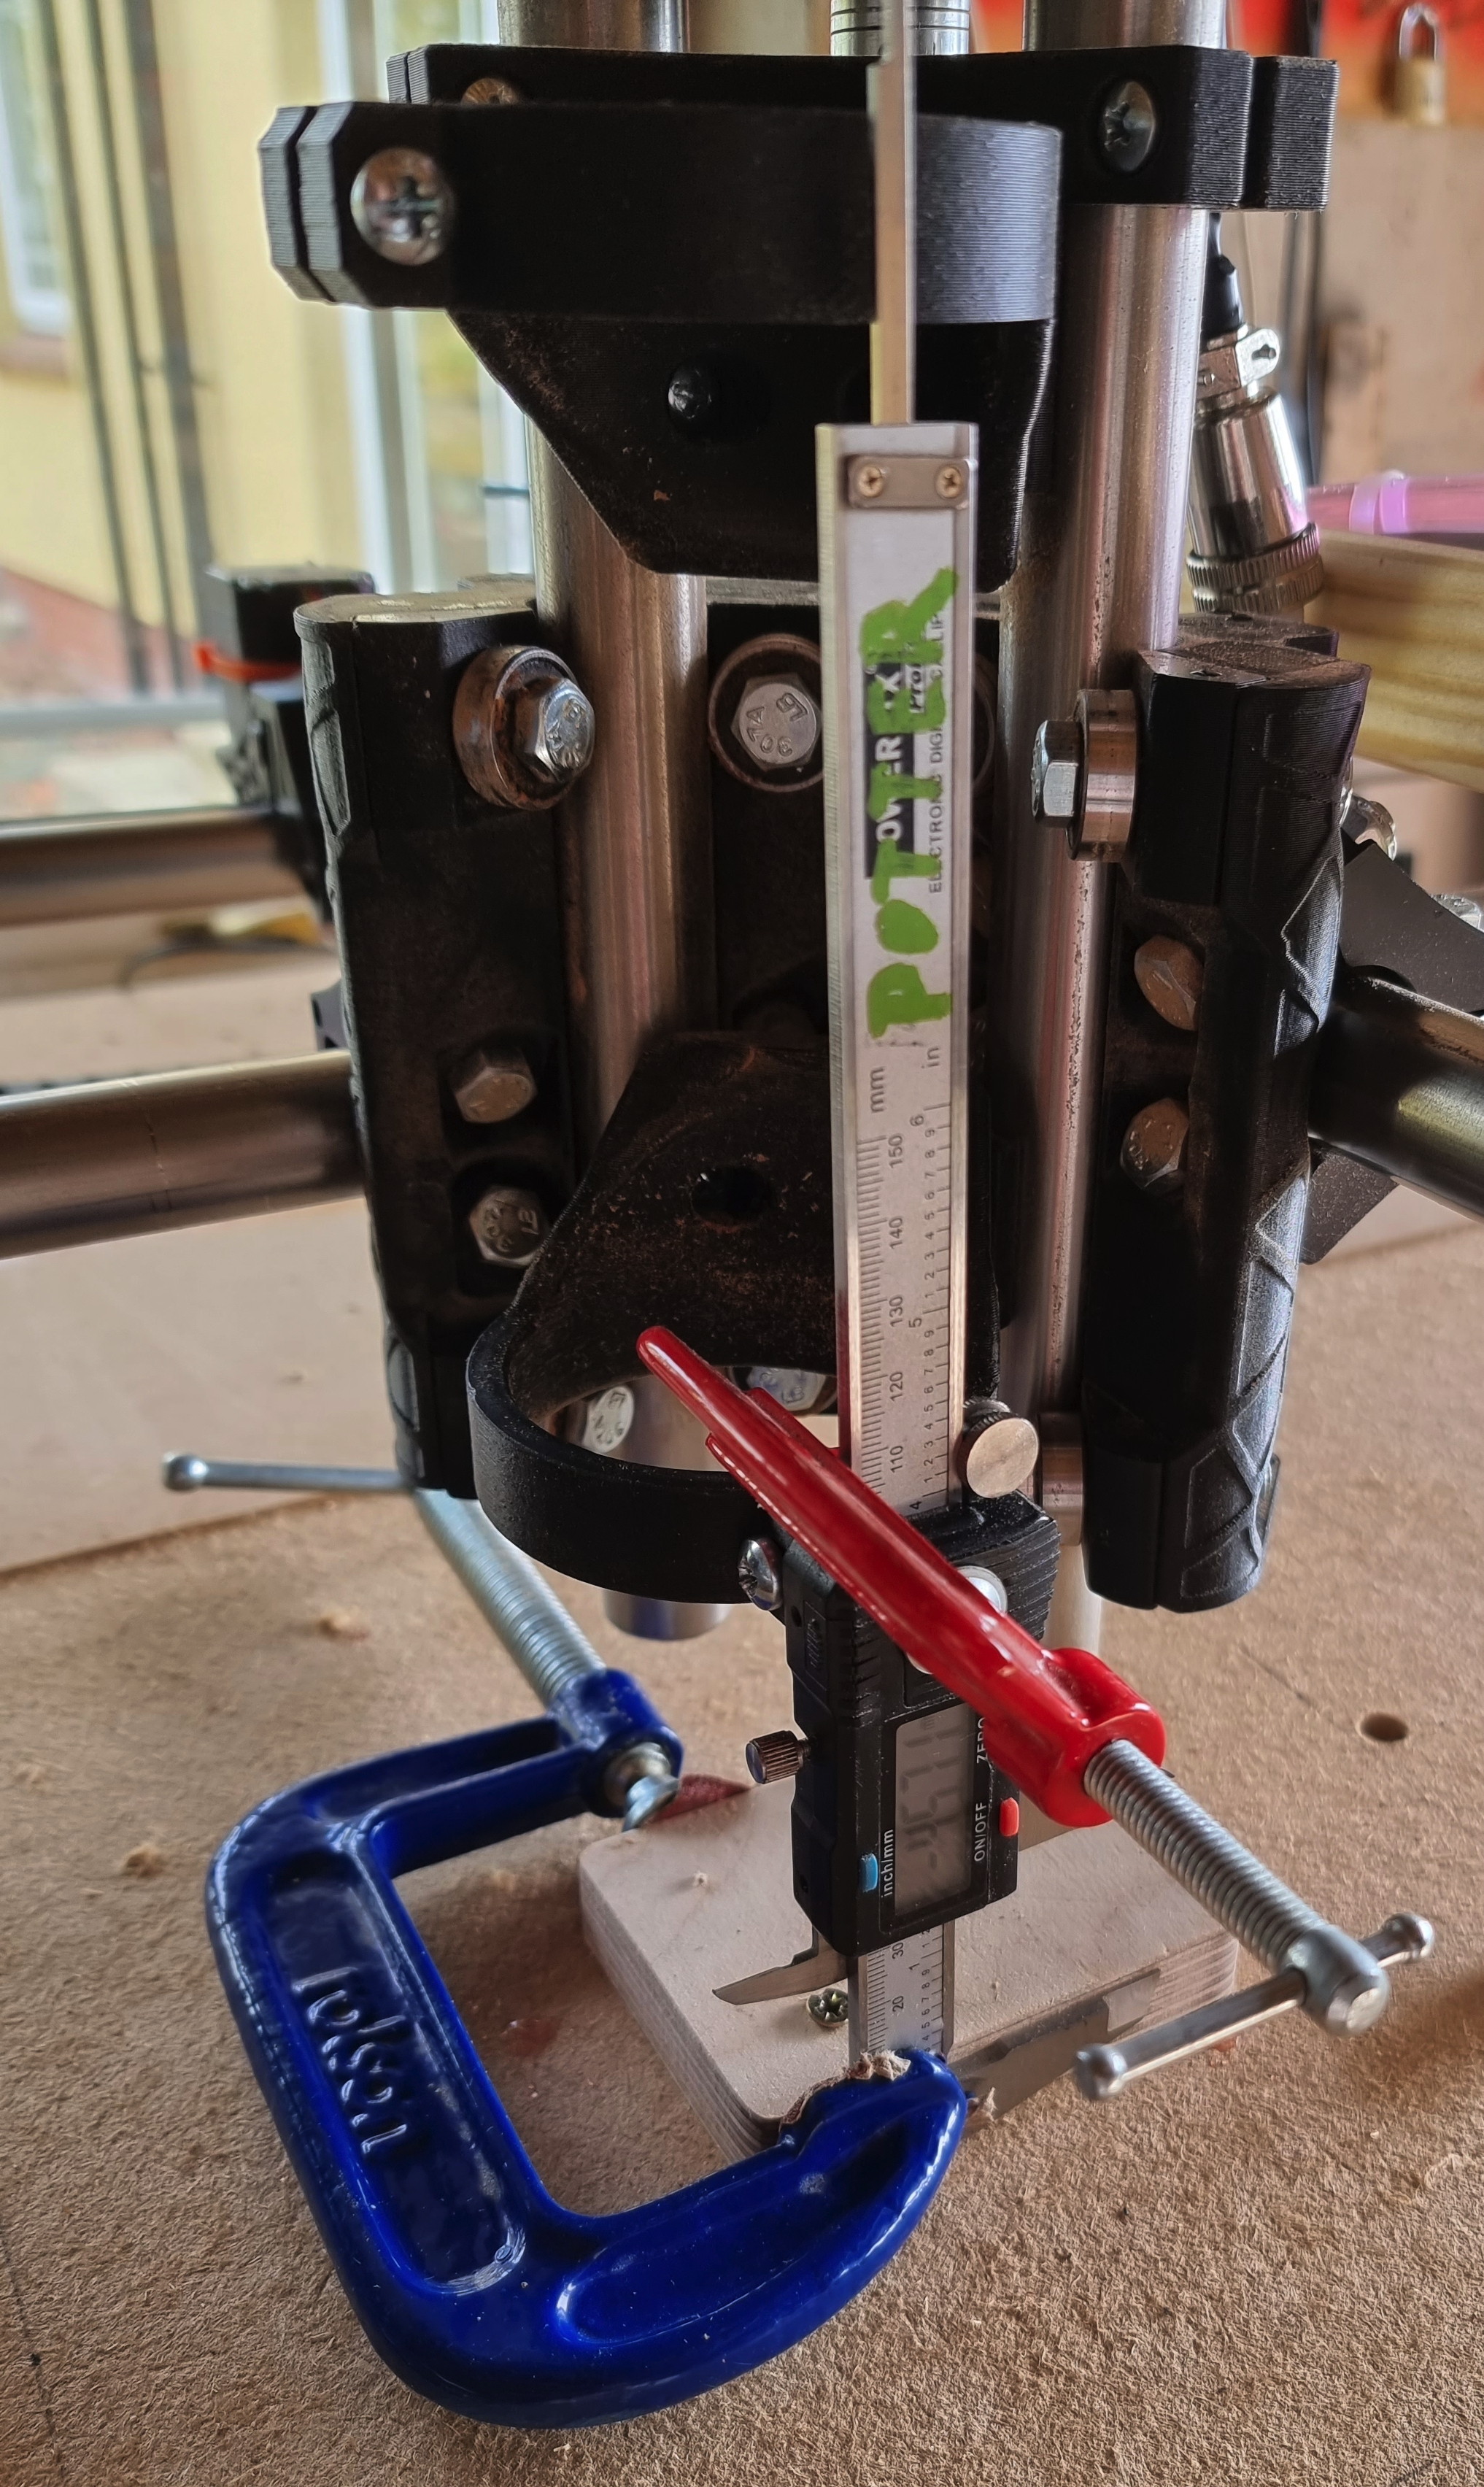
Here is my setup for measuring Z axis travel: A piece of wood screwed to the spoilboard clamped to the bottom of my calipers, and clamp the top to the motor mount.
You can do the calculations (my motor is 200 full steps/rev) but it is better to just see what setting you have in the firmware code for microsteps/mm on the 3rd parameter (Z axis) and then measure it and adjust the code until they match as well as they can. Be sure to use the right load/update command to get the new values to take effect each time! (I forget which, but you can look it up at the LinuxCNC gcode listing.)
Be sure to do movements in both directions, and ideally,
as far as your calipers can reach. (or your leadscrew) You will hear if you are missing steps, it does not sound nice.
I done the math and I think you are using 1/32 microstepping while I am using 1/16 and that is why your steps are 3200 and mine are 1600 with a single start screw.
200 steps/rev * 1 rev/2mm = 100 steps/1mm in both cases.
Yes, 1/32 microsteps.