You should try it. It may be a matter of preference.
If you get the BS too deep, the ball pushes it like the bow of a boat. If it is less than 1/2 or 1/3 of the height, then it will roll over it like a bike tire.
You should try it. It may be a matter of preference.
If you get the BS too deep, the ball pushes it like the bow of a boat. If it is less than 1/2 or 1/3 of the height, then it will roll over it like a bike tire.
10mm is pretty thick. So far from what I can tell the thickness just dictates how fast you can go. at 4-5mm I can move 50mm/s+ above that and the ball can get lost sometimes. But I run at 20-30mm/s above that and the ball splashes too much for my liking.
exactly what I shoot for, I even printed a comb with spacers to get the initial level.
If the BS gets too deep, then I feel like I’m at work…
Oh…
Wrong type of BS…

Okay, so today I will test with the BS (there obviously is some on the table now  ) and maybe implement a thinner board and use the gap above the board maybe to recess the LED strip. That should make good use of it, though I might need to use the router some more.
I just looked at Marlin firmware config and am very overwhelmed by the complexity of it – so much that I fear this might lead to intense procrastination on my part I already have experience in setting up a BTT Skr Mini E3 v2 with Klipper Firmware for an Ender 3D Printer. That should work for a ZenXY as well I guess, right? The raspberry pi still eats G-Code into Octoprint and the Klipper Plugin calculates the machine instructions while the SKR happily obeys. Klipper itself is compatible in operating CoreXY machines…
You really only have to set up the minimum.
Board type
Core XY
Steps/mm
Dummy thermistor
Zero extruders
Homing order is important, but you can test without homing.
The rest of the defaults are probably fine.
Klipper, grbl, Marlin are all fine. I think we have preconfigured Marlin versions on MarlinBuilder releases.
The releases unfortunately do not work for the SKR mini. I will share my klipper config on github as its done and also here so others can use/adapt from it in the future 
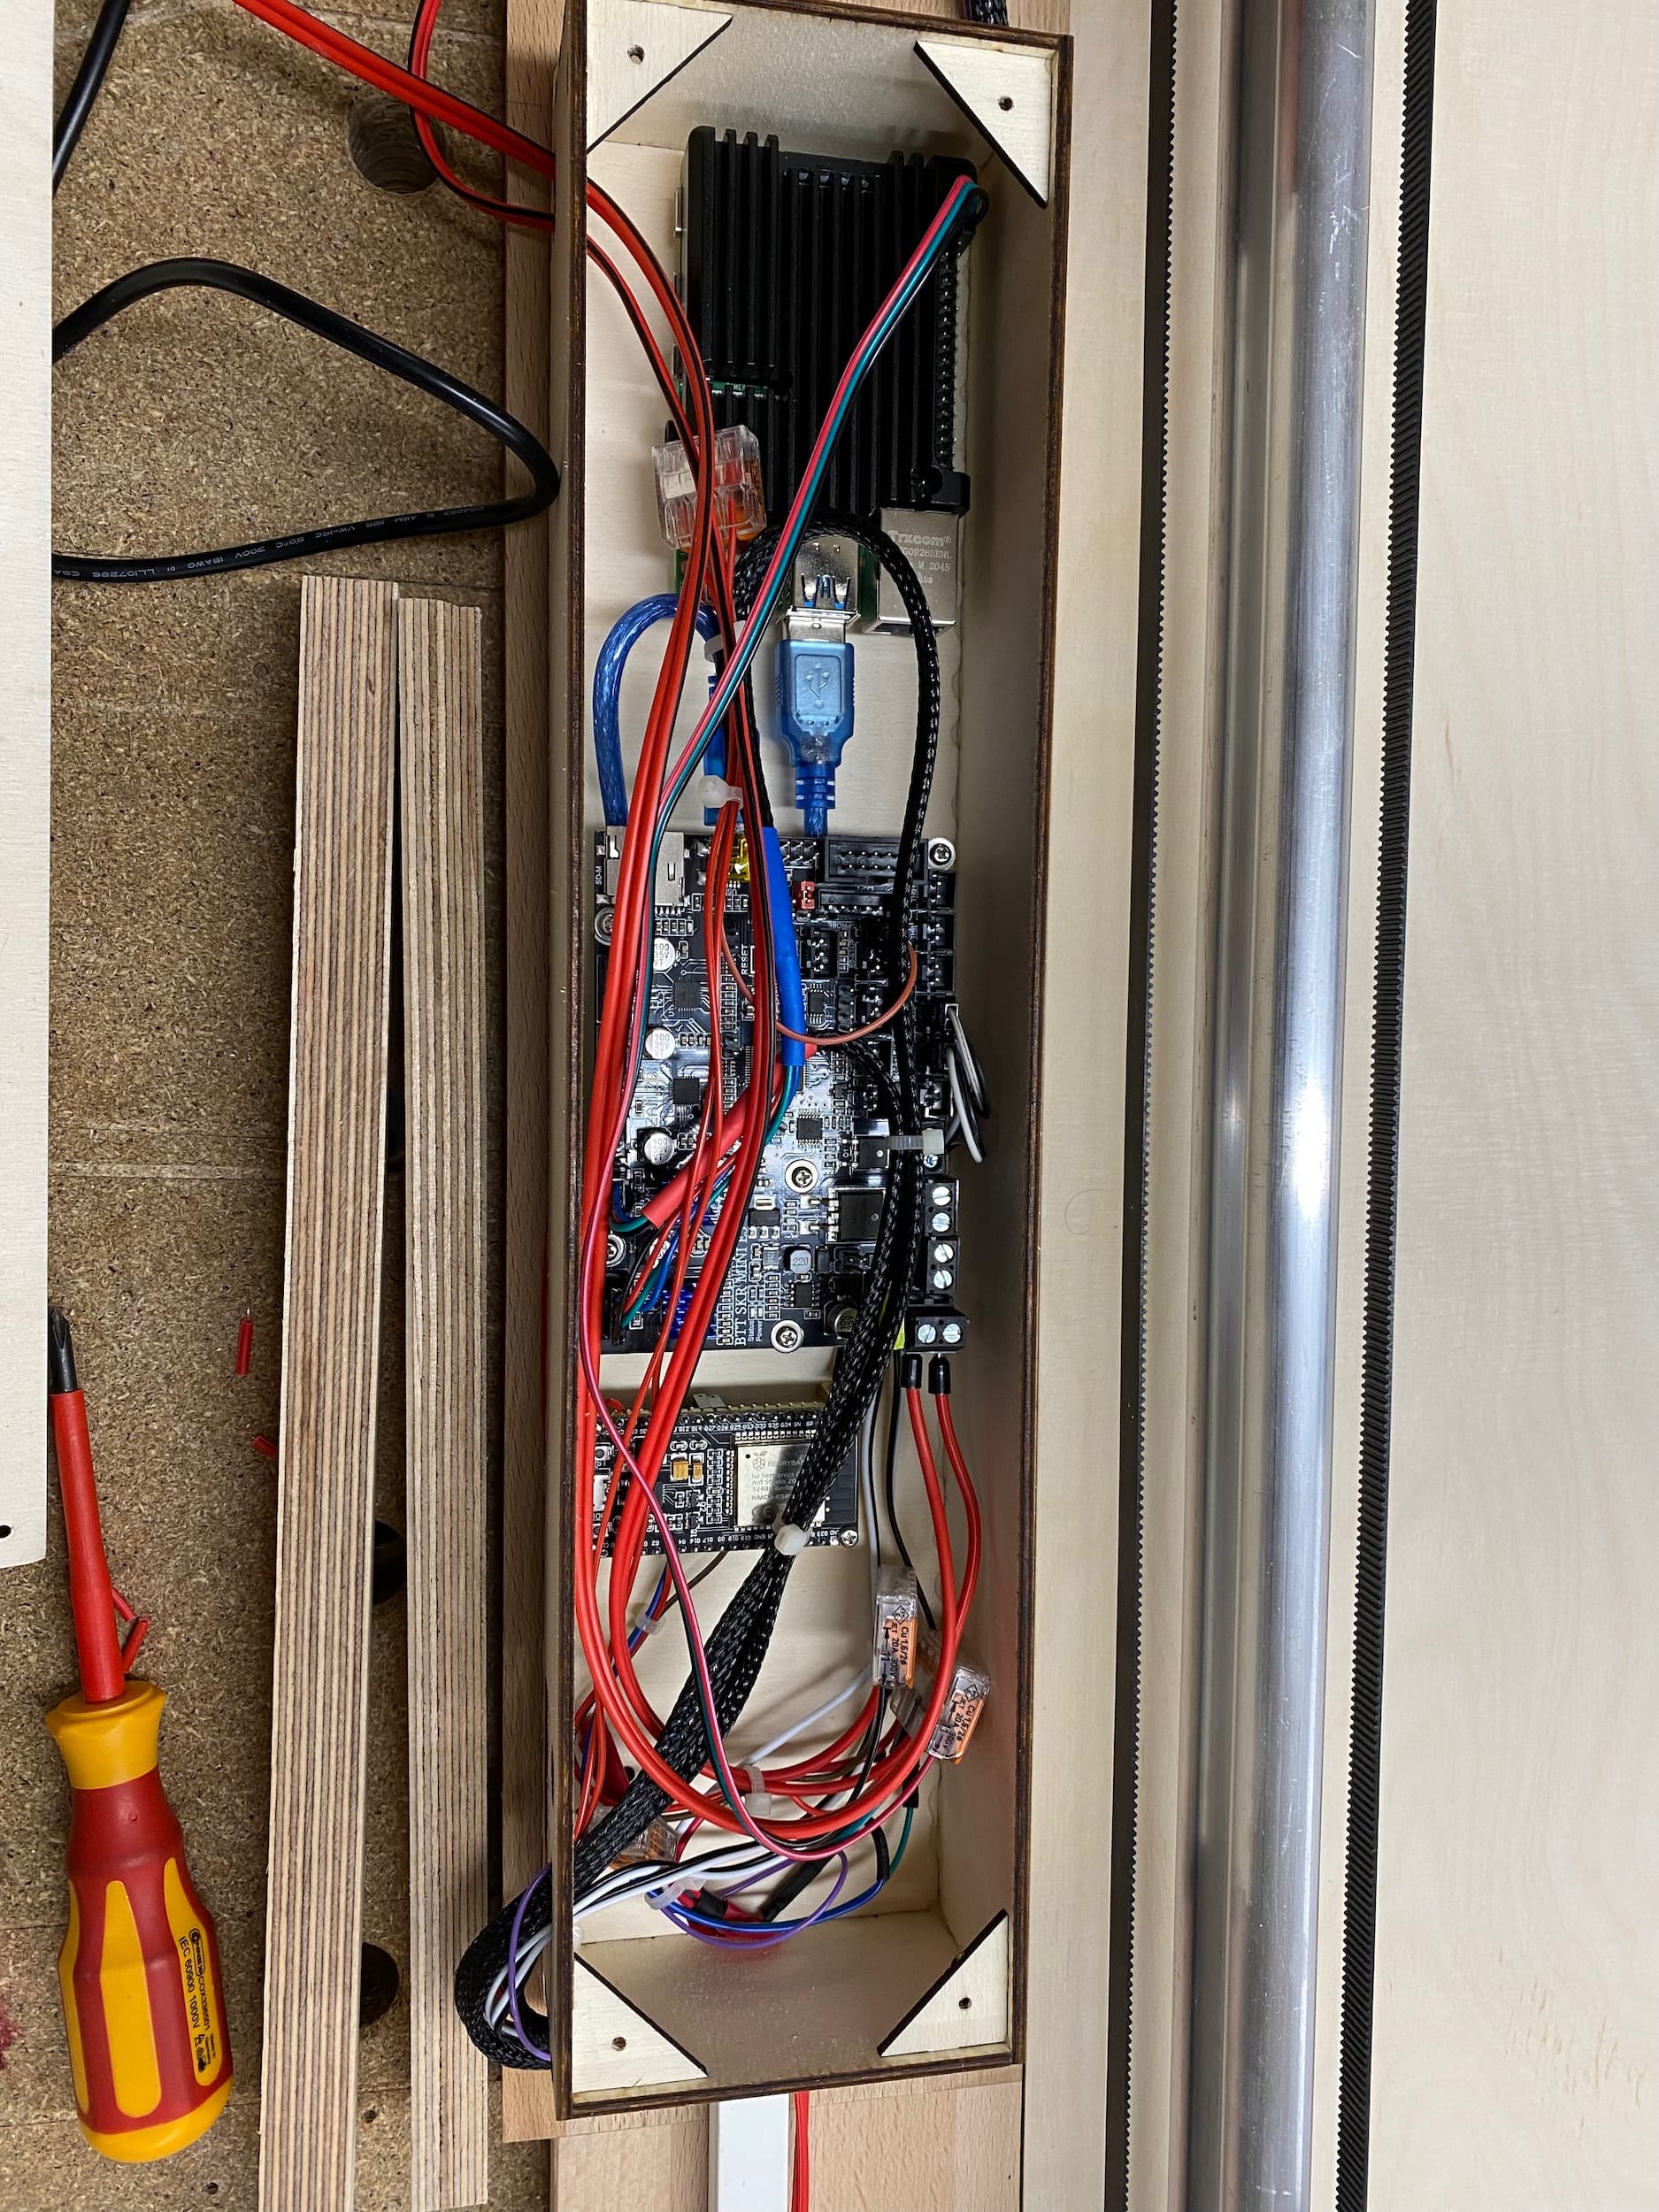
Quick update: I changed the baseplate to a 5-ply 3mm hardboard which gives perfect space for the WS2812 strip.
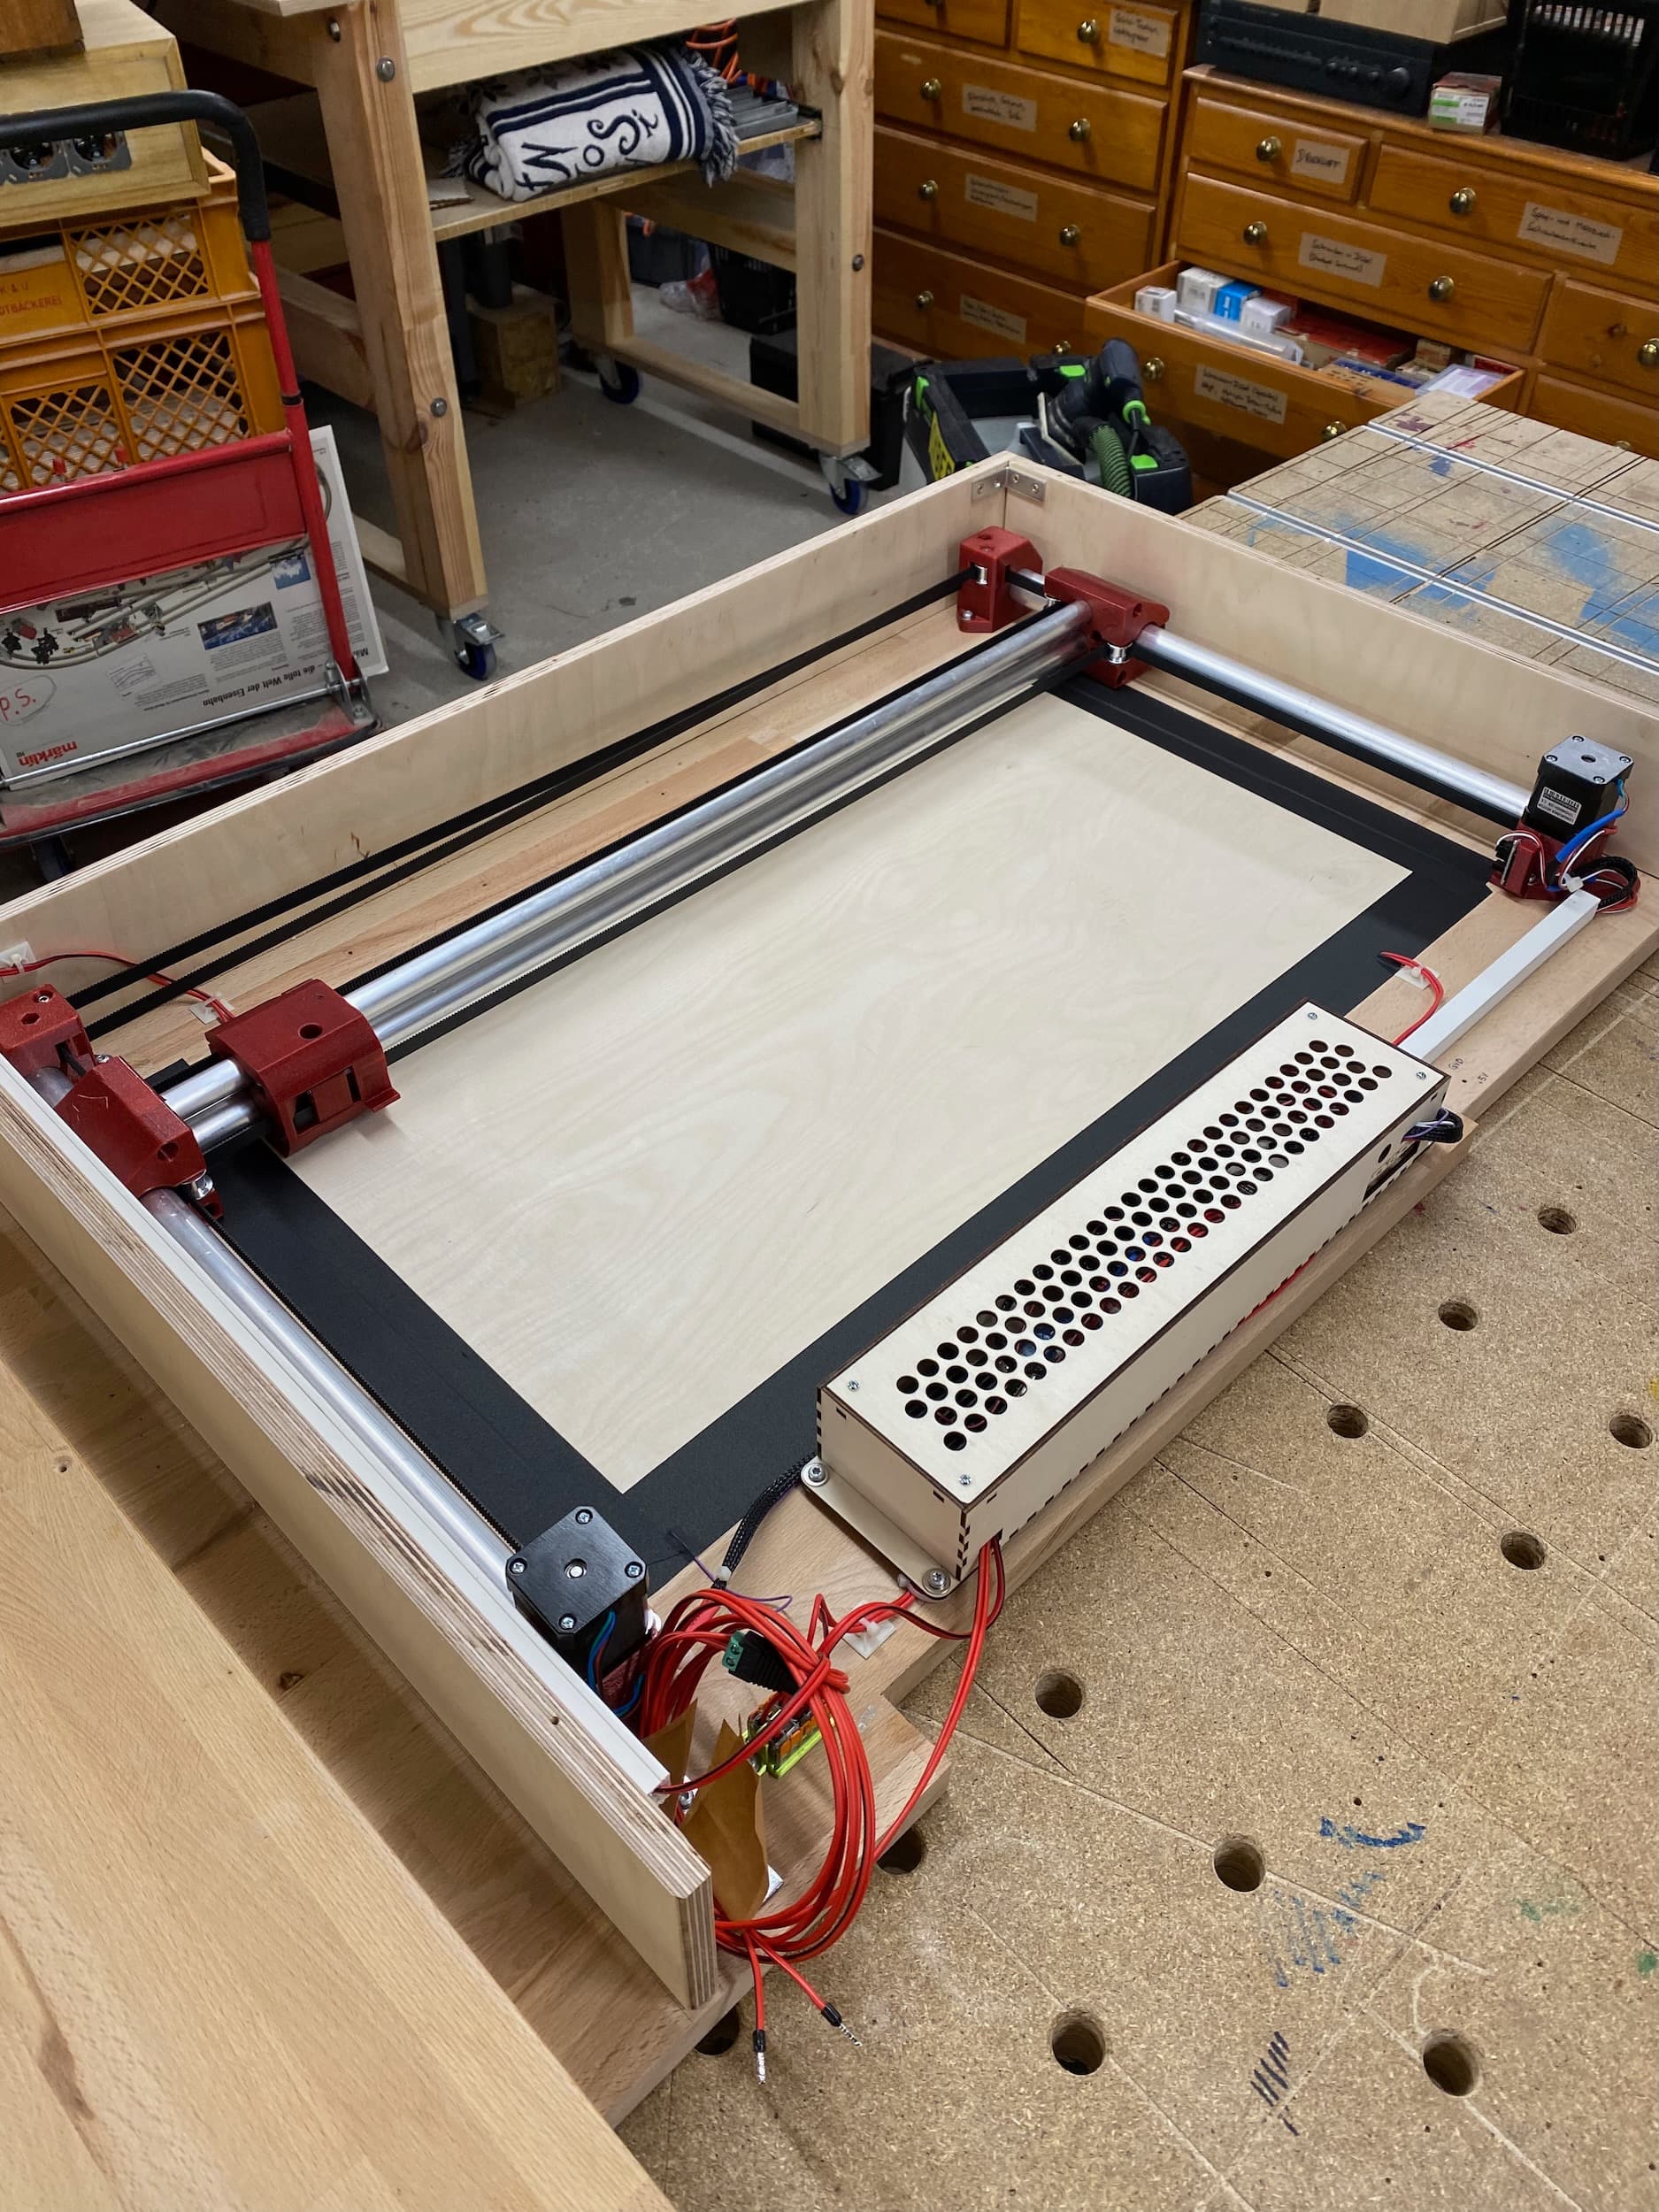
the steppers and endstops and corexy work as well (i think), klipper is installed, octoprint is up and running, i can control it, it moves super silently and looks majestic etc.
i can now get to work with putting it all back in to place and make sure it looks nice
what is the size i put into the firmware by the way, the image dimensions or the total footprint of the machine?
also for klipper i need to enter a homing sequence override in the config file and can supply a list of g-code commands that get executed when i order a home command… since i have to home y before x, i would put in:
[homing_override]
gcode:
#   A list of G-Code commands to execute in place of G28 commands
#   found in the normal g-code input. See docs/Command_Templates.md
#   for G-Code format. If a G28 is contained in this list of commands
#   then it will invoke the normal homing procedure for the printer.
#   The commands listed here must home all axes. This parameter must
#   be provided.
    G28 Y // Move the Y axis all the way to the trigger.  (works)
    G92 X0 Y0 // Set the current location of X and Y to be zero. (works)
    G0 Y-18.5 // Move The Y axis in 18.5mm closer, past the flag. (fails)
    G92 X0 Y0 // Set the current location of X and Y to be zero.
    G28 X // Move the X axis all the way to the trigger.
    G0 X-28 // Move the X axis in 28mm further in past the flag.
    G92 X0 Y0 //  Set the current location to X=Zero and Y=Zero.
    G1 X2 F2000 // Move out a little.
it gets the order right, but the G0 Y-18.5 raises an error since klipper complains that the machine moves out of bounds. do i have to flip one of the motors again? is it supposed to move away from the steppers? in its current config i think it would move towards the steppers some more, making more of the terrible sound that occurs when i smash the cart in one of the axis… which i did repeatedly…  sorry if i overlook something, debugging these corexy machines is not for the faint of heart, at least i feel like a voodoo practitioner every time if i home without the G0 commands for x and y the whole mechanism sits perfectly well in its corner after homing, triggering the optical endstops and retracting ever so slightly back afterwards. i would just have to send it to the point where the drawing area can safely begin… now that i look at it maybe the g28 commands in the custom homing sequence are the problem… huh… could i replace them with another command that will go to the endstop?
I would start with the area the magnet can move.
In sandify, put the size of the pattern you want to draw.
Can you do G92 Y18.5?
i can check that. what are you trying to check with it? would it confirm that i have to flip a switch? would it try to move the axis 18.5mm away from the endstop?
I was saying, instead of defining your current location as zero, and trying to go to negative 18. Instead, define your spot as 18 and go to zero.
ah. i should just go to bed. now that you mention it i read it totally differently. okay. time to lay down the work for today will try again tomorrow! thank you!
It’s really hard to break your assumptions. Especially in gcode. There is a reason we don’t use gcode for humans usually.
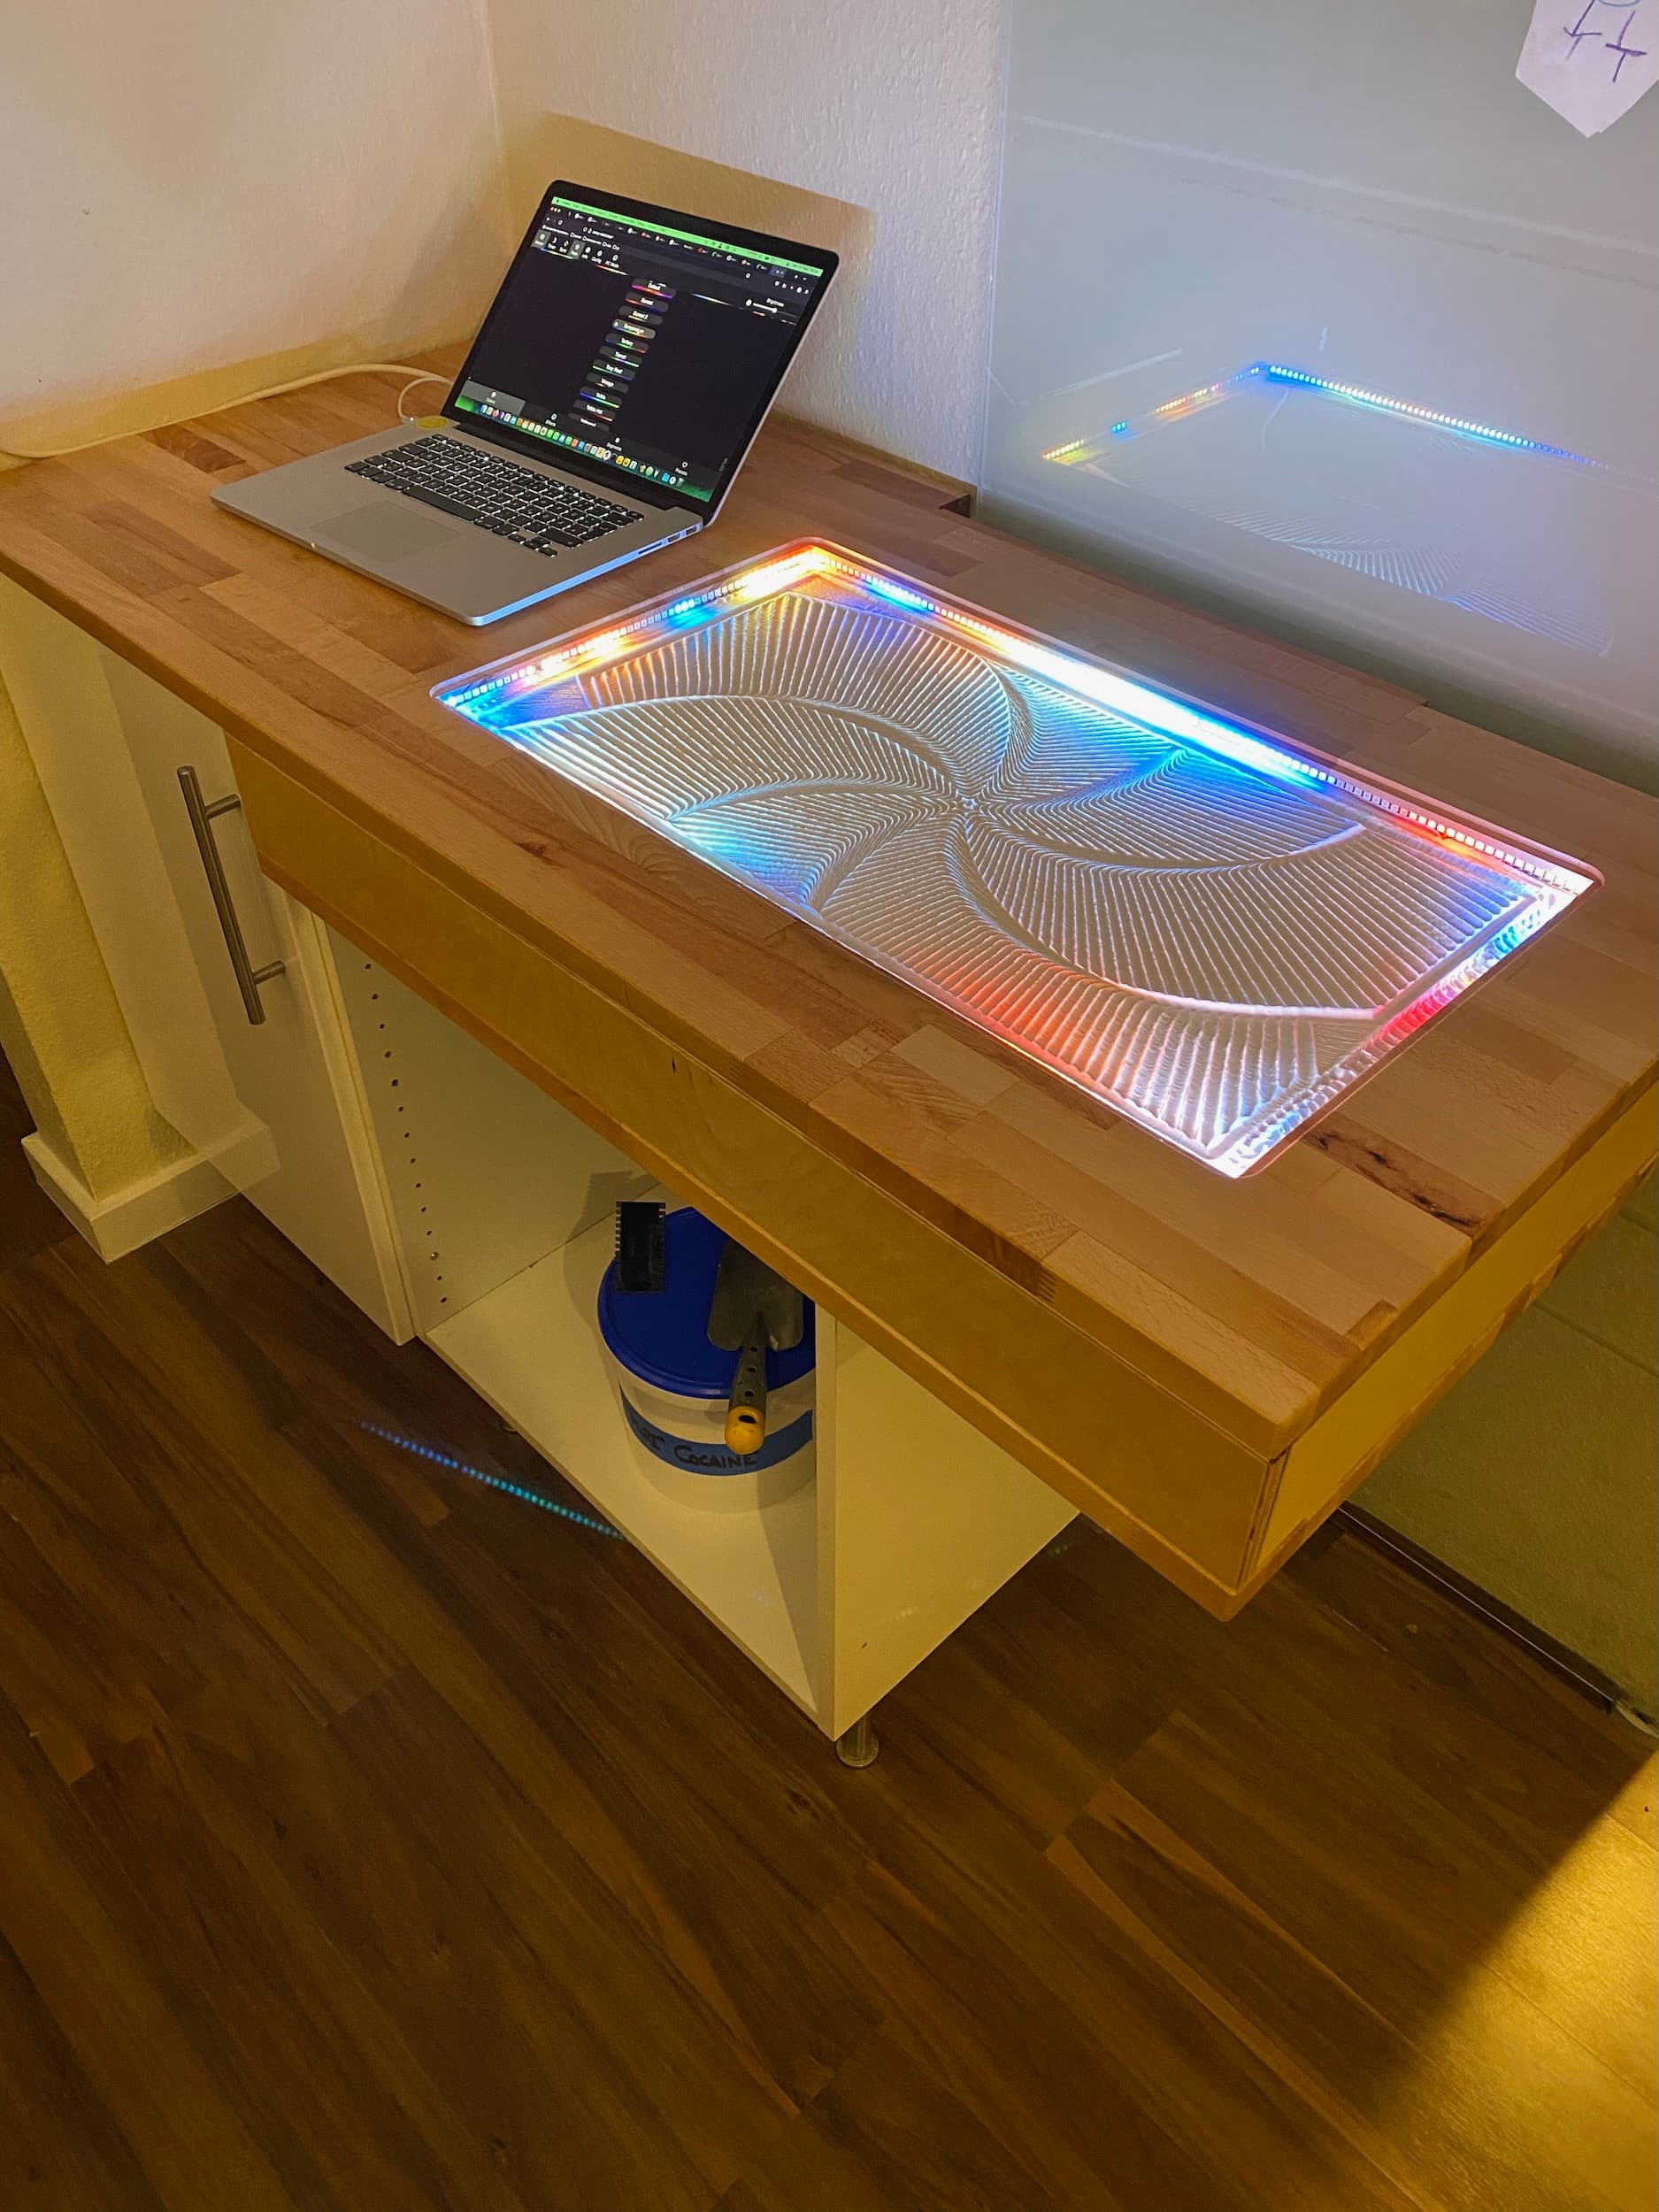
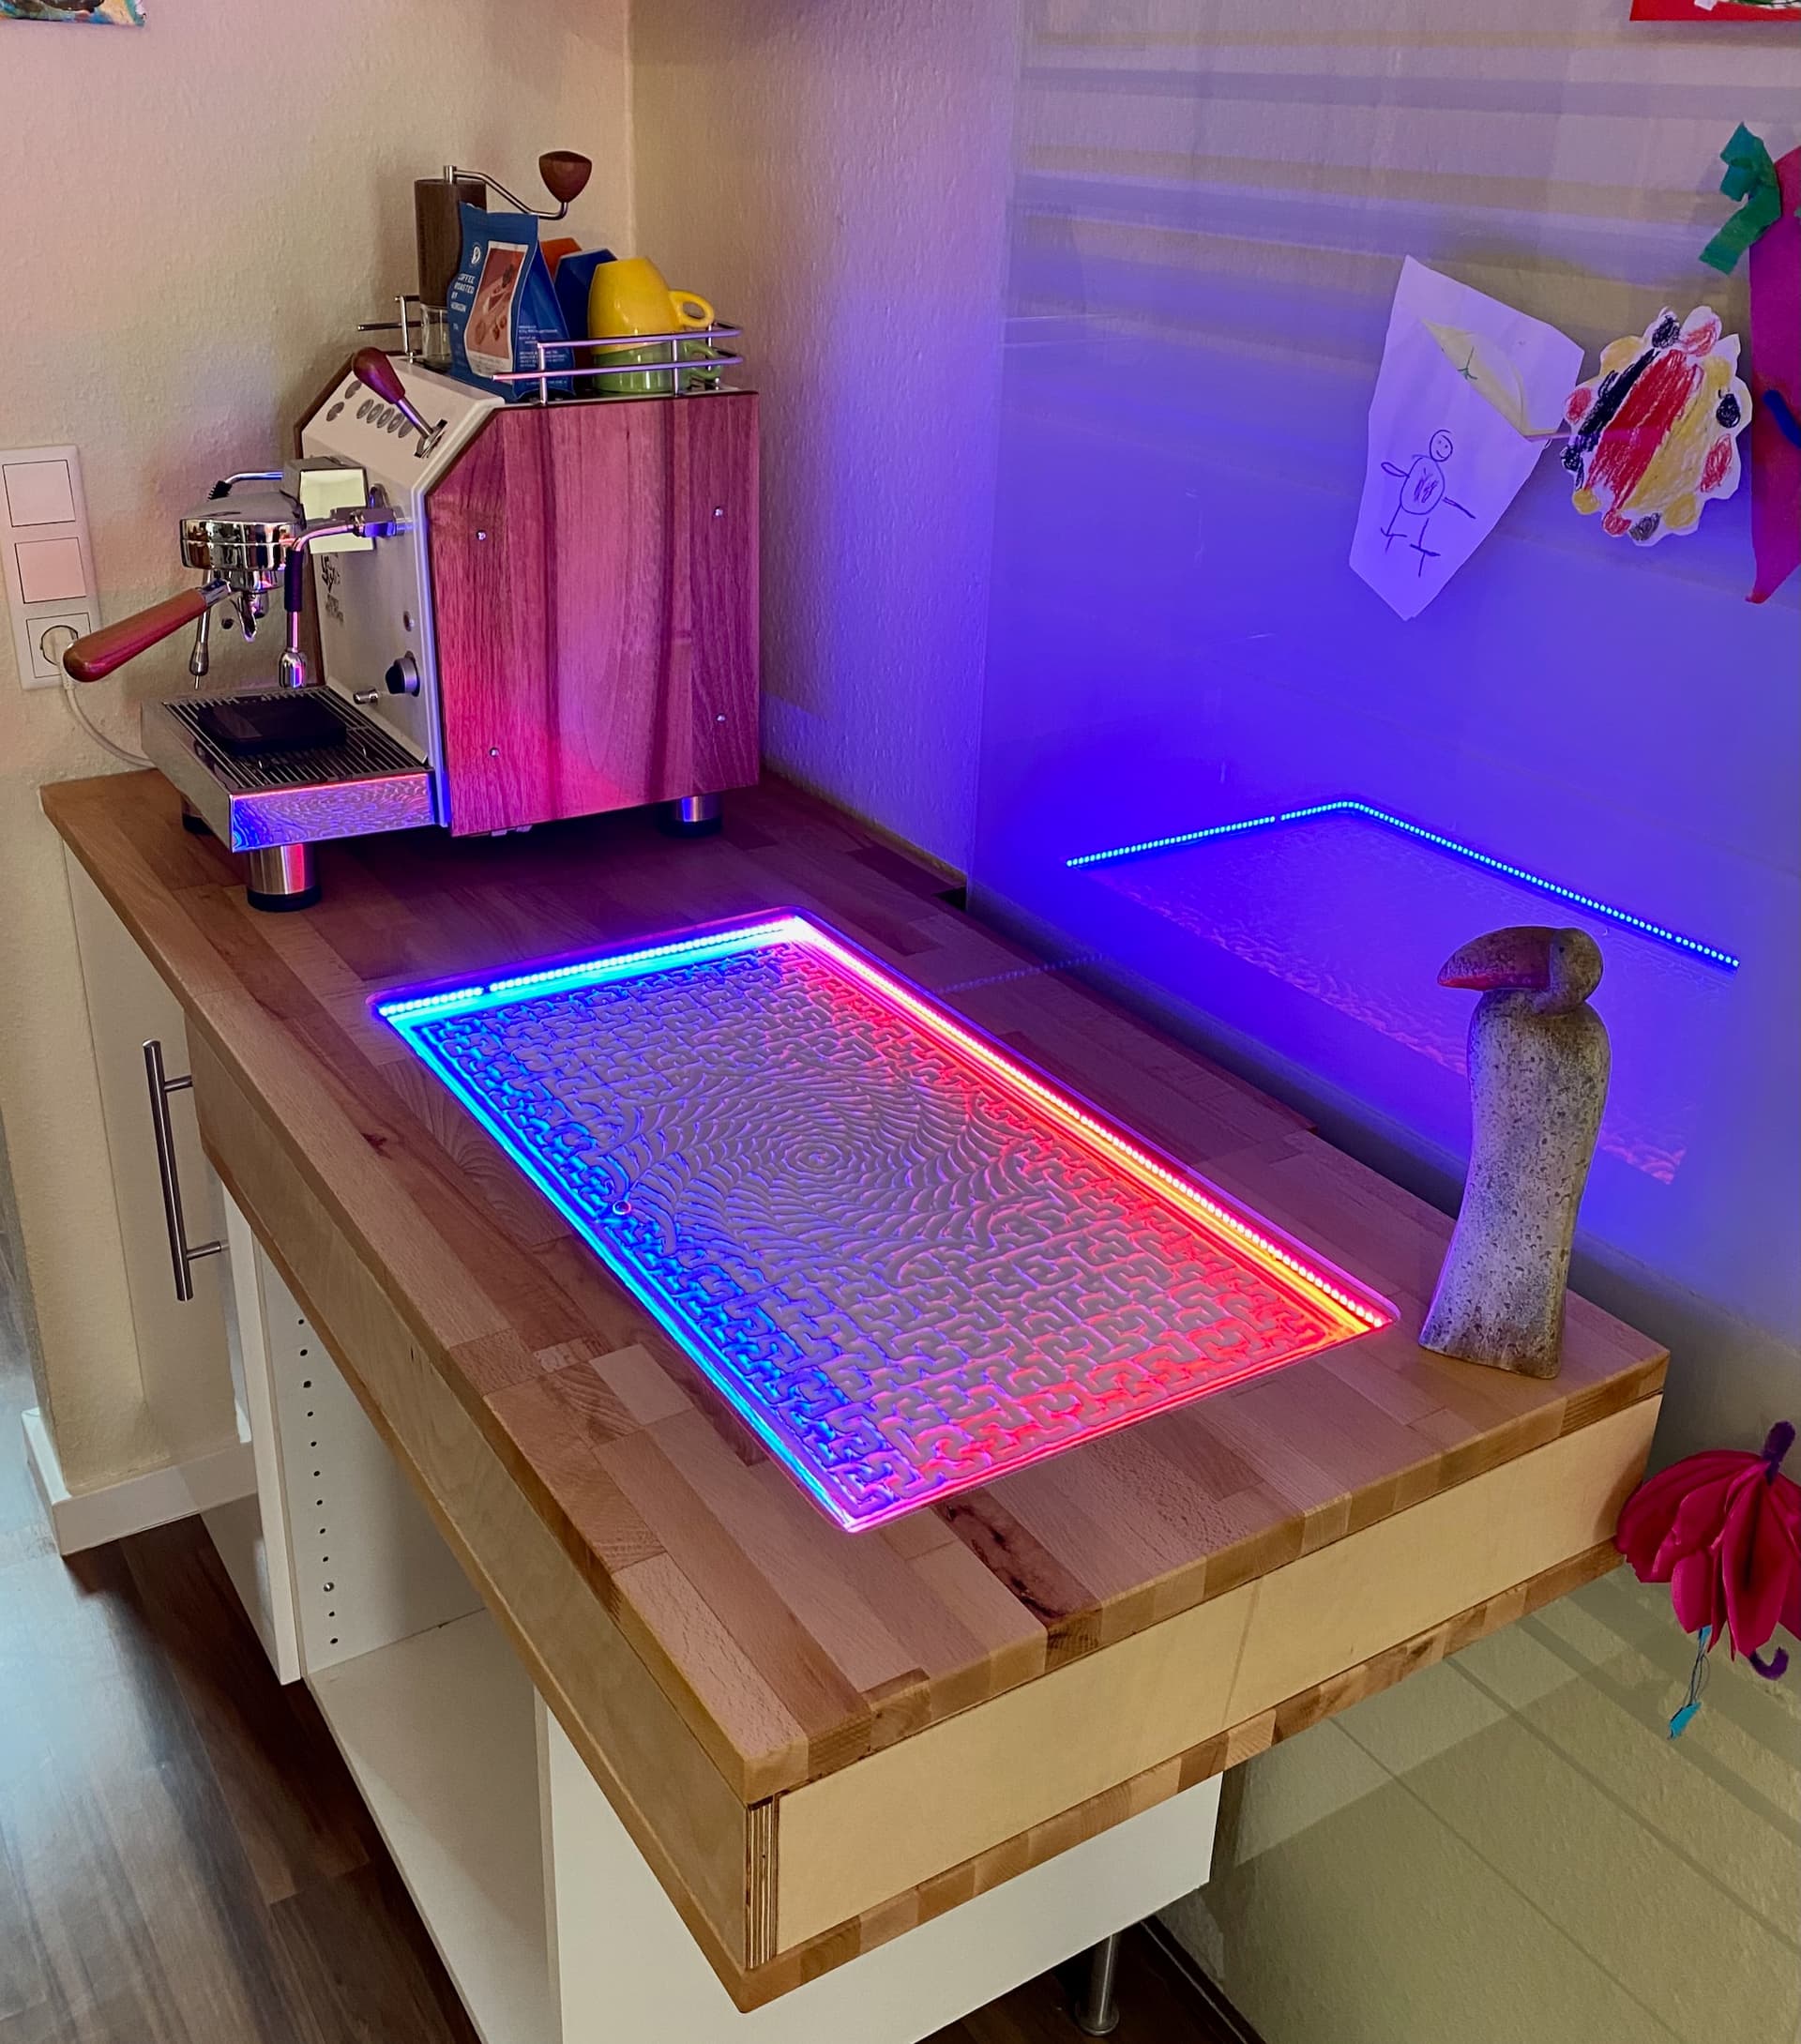
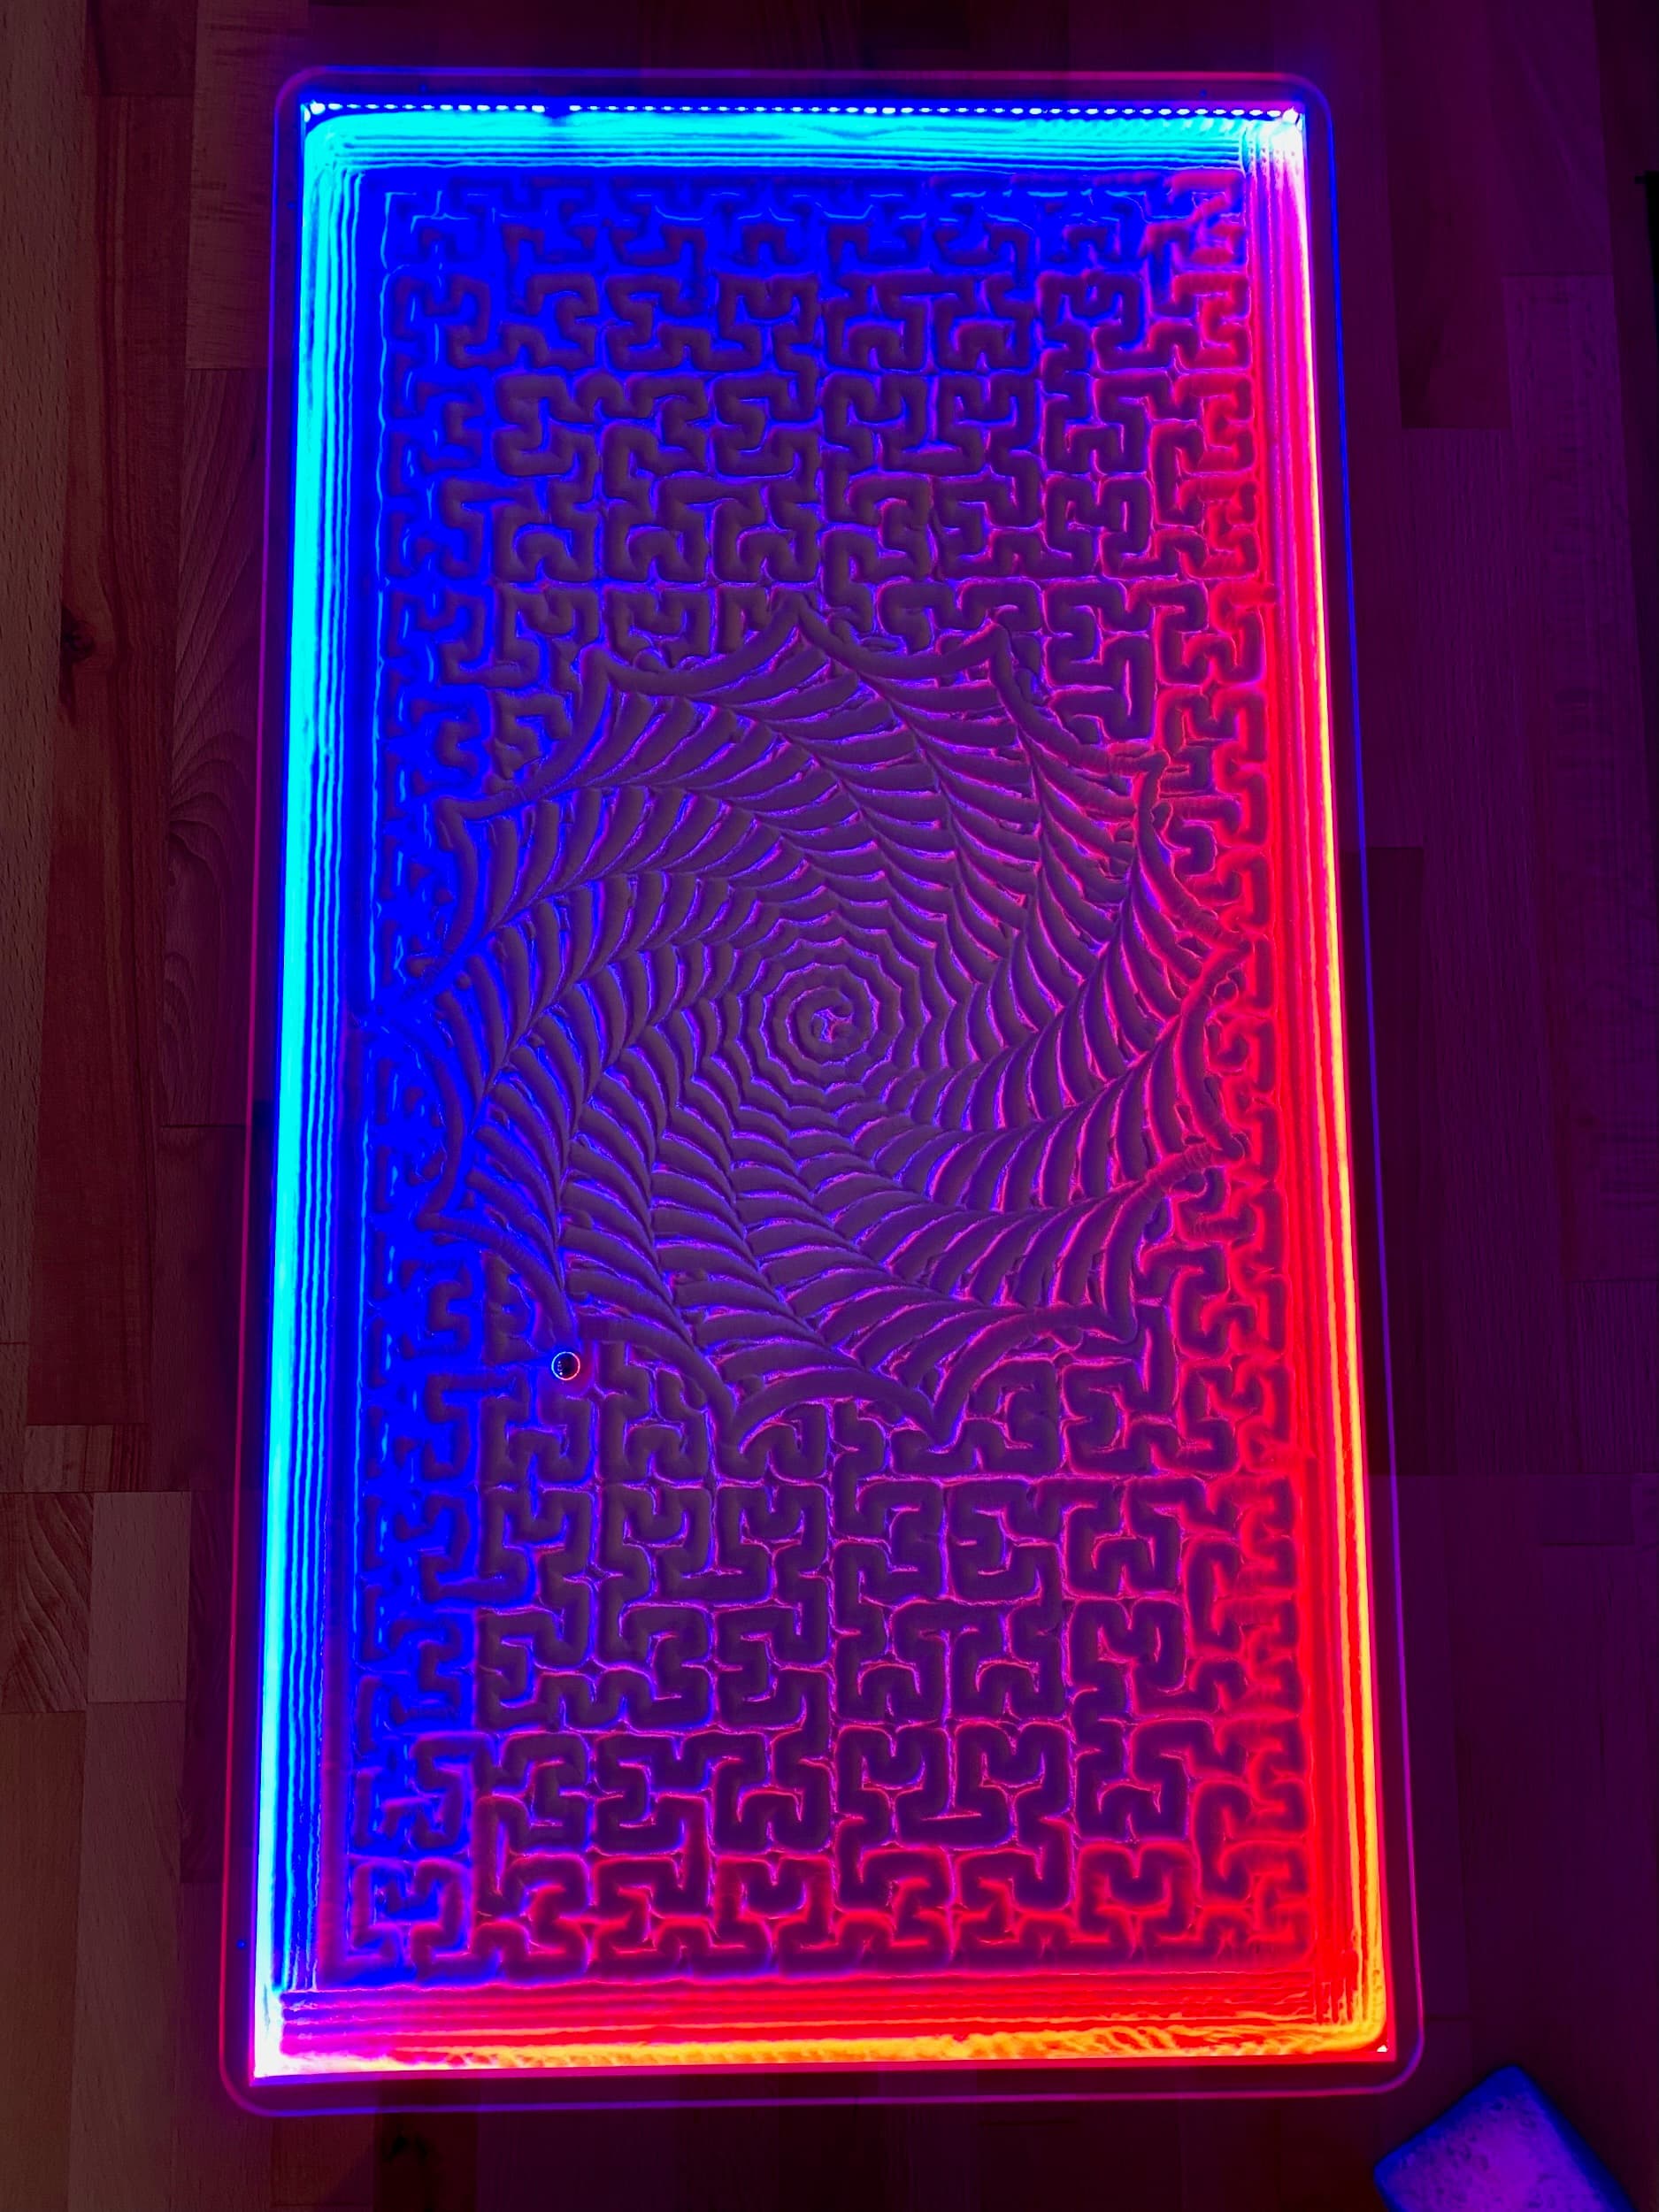
Hey everyone who was following along. A lot of stressful days lie behind me and I found time to finish the build and put it to its final location. I’m still building the drawers but the coffee machine and a birdperson are already here to marvel at the ZenXY 
I need to wait for the cabinets to be filled to evaluate sound, but so far I can go up to feedrate 1000 without hearing anything and up to 5000 with still okayish sound levels. It’s a really cool machine, thank you, @vicious1 for enabling me to build it with the adapted dimensions and also thank you for all the prompt and very helpful support, especially @jeffeb3
I attach a lot of pictures now, please ask if anything needs explanation or you want to know something about it
This is my Klipper configuration file at the moment. Be aware: you have to adapt this file to your build! It is hardware specific to your control board. There are config examples for the most common Boards (SKR, RAMPS, etc). Please also note: Right now the machine is “flipped”, which means it draws 180 degrees rotated. I did not have the time to fix this yet, it basically involves changing the endstop position and removing the exclamation marks at the direction pin config fields. But I have not checked it yet so please do not rely on it. I might or might have not updated it if you read this in the far future. But I will leave a note if I did 
# This file contains a configuration used to run a ZenXY v2 table.
# Hardware used: BigTreeTech SKR Mini E3 v2 Please check all parameters
# with your machine first. Wrong configuration can lead to serious
# damage. You should NOT pull out or plug in any motor connections while
# anything is powered up!
# Created by Patrick Sebening, 02/2022

# See Klipper docs/Config_Reference.md for a description of parameters.

[stepper_x]
step_pin: PB13
dir_pin: !PB12
enable_pin: !PB14
microsteps: 16
rotation_distance: 32
endstop_pin: PC0
position_endstop: 0
position_max: 650
homing_speed: 50

[tmc2209 stepper_x]
uart_pin: PC11
tx_pin: PC10
uart_address: 0
run_current: 0.580
stealthchop_threshold: 250

[stepper_y]
step_pin: PB10
dir_pin: !PB2
enable_pin: !PB11
microsteps: 16
rotation_distance: 32
endstop_pin: PC1
position_endstop: 0
position_max: 350
homing_speed: 50

[tmc2209 stepper_y]
uart_pin: PC11
tx_pin: PC10
uart_address: 2
run_current: 0.580
stealthchop_threshold: 999999


# Note: Z Stepper Settings are just as a dummy because Klipper will report
# an error if there is no Z motor section defined.
[stepper_z]
step_pin: PB0
dir_pin: PC5
enable_pin: !PB1
microsteps: 16
rotation_distance: 8
endstop_pin: PC2
position_endstop: 0.0
position_max: 250

[tmc2209 stepper_z]
uart_pin: PC11
tx_pin: PC10
uart_address: 1
run_current: 0.580
hold_current: 0.500
stealthchop_threshold: 5


# Find this out by querying your Raspberry Pi using the terminal command
# ls /dev/serial/by-id/* as it is unique to each klipper installation!
# Please refer to Klipper documentation for more information!
[mcu]
serial: /dev/serial/by-id/usb-Klipper_stm32f103xe_38FFD505344E393639830657-if00

[printer]
kinematics: corexy
max_velocity: 3000
max_accel: 3000

[static_digital_output usb_pullup_enable]
pins: !PA14

[board_pins]
aliases:
    # EXP1 header
    EXP1_1=PB5,  EXP1_3=PA9,   EXP1_5=PA10, EXP1_7=PB8,  EXP1_9=<GND>,
    EXP1_2=PA15, EXP1_4=<RST>, EXP1_6=PB9,  EXP1_8=PB15, EXP1_10=<5V>

# This is important and does home the machine specific to a Zen XY machine.
# This macro is run anytime a homing command is issued in your G-Code and
# replaces the command (e. g. "G28") with the following command sequence.
# You can skip the 2,2 offset and last G92 command, it's just personal taste.
[homing_override]
gcode:
   G28 Y # Home Y axis.
   G28 X # Home X axis.
   G92 X0 Y0 # Set current location as 0, 0
   G1 X2 Y2 F2000 # Move to 2, 2
G92 X0 Y0 # Use this position as 0,0That looks really good. Nice work. I like how finished everything looks under the table (where no one will actually see it).
What interface are you using for Klipper? For some reason, I associate Klipper with high end 3D Printer builds, so it didn’t occur to me that it would be good for a ZenXY. But it makes configuration very easy and there are a lot of compatible boards.
Thank you. Yeah, I think it looks better that way - and I had young people working with me some part of the build and I like to inspire tidy work attitude when working electronics, just for the time when they start building stuff with electricity that might be able to roast them  Also a Zen table should also be Zen “down under”
You can talk to Klipper via the USB port with a variety of tools, my personal weapon of choice is always octoprint on a raspberrypi because i can talk directly to it from my slicer and it can run without my computer, so it can also be triggered via an API command from my home assistant for example, Octoprint has a seriously extensive API Well that’s why I like it. And nowadays, if you set it up it’s very simple (compared to few months ago, which you probably refer to, where it took several frustrating hours to figure out how to even bang the firmware into the MCU without setting everything on fire ). Today you curl a script onto a freshly flashed OctoPi raspberry (there’s even a preconfigured OctoPi image in the raspbian imager tool, no more setup needed, amazing!). After executing it, Klipper clones its repo from github and installs (and integrates) itself into octoprint. After that you compile the firmware for your board directly on the pi that will talk to it later (you need to tell it some stuff about your board, but it’s all well documented, especially thanks to the Voron community that has really driven this forward). And then you use the Pi to flash it onto the MCU. You will afterwards probably not interact with klipper again for a long time, since if you change machine parameters (for example my direction pins) etc you just edit the config file and issue a restart command via the terminal in Octoprint and skip the recompile/reflash etc. And the raspi does all the numbercrunching which improves speed and control greatly since the MCU just takes commands and does not have to do any computing. I can’t wait how I can improve on my MPCNC after I have moved it to Klipper.
To sum up, I generate G-Code (with sandify of course ), drop it into octoprint and start the print directly from there. Or I generate several files and upload them and later pull out my phone, go to zenxy.local, and use the Octoprint GUI to start a print and put the phone back down.
Did you make a good seal on the top glass? One good spill could make for some brown sand, 
Looks like I need to try out Klipper I have been putting it off for too long. Larger board selection and more power can be fun.
Wow, just wow! I had to sell plasma to make my cnc, cannot imagine what I would need to do for this, LOL
There is not even a glass on it yet Turns out the glass manufacturers in Europe close down around end of year to clean out all their oven and inspect stuff and then reboot the factory early february. Lead time for the glass is 6 weeks I ordered 5kg of soda, so I can swap out several times. And also I did not spill a coffee the last 8 years there… on the other hand, that might mean that it’s only hours left now until it happens
Thanks for that explanation. I use Klipper on my main printer. I also prefer octoprint. I know there are a lot of Klipper focused UIs, but I haven’t seen advantages over octoprint (and there seems to be some aggressive fan boyism w.r.t. those tools).
Your setup is pretty awesome. I need to attach a pi to mine.