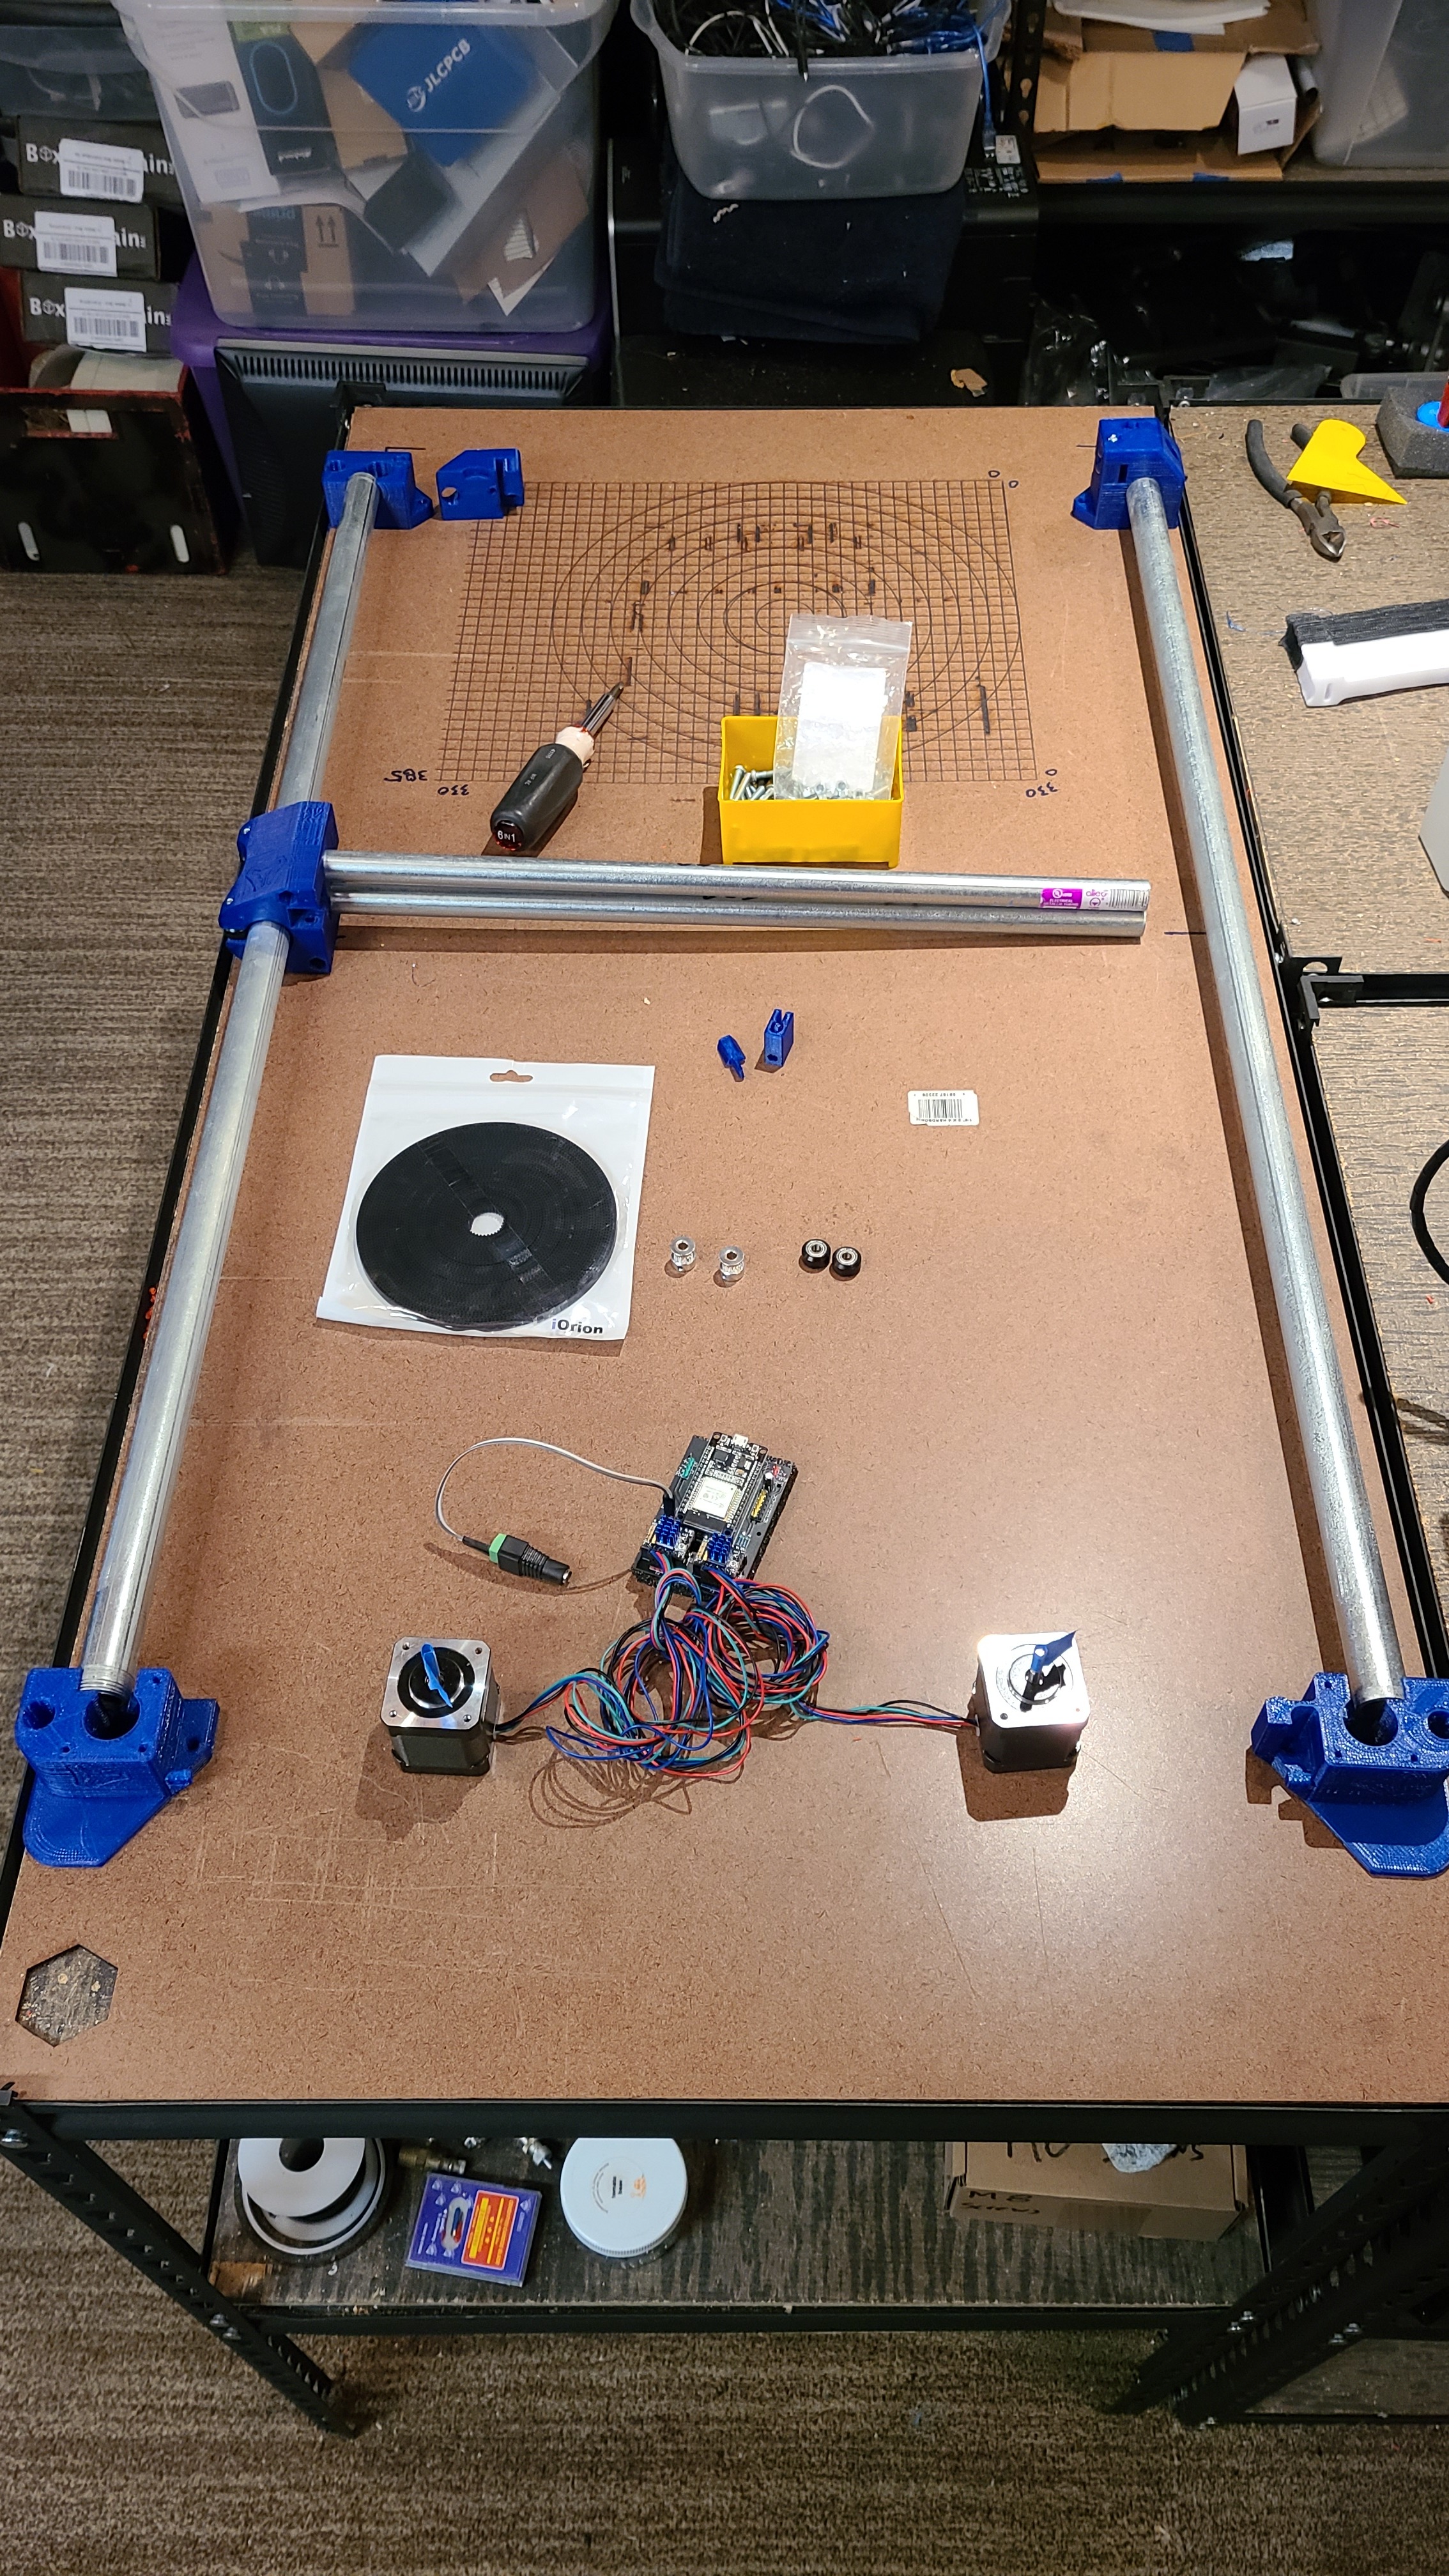
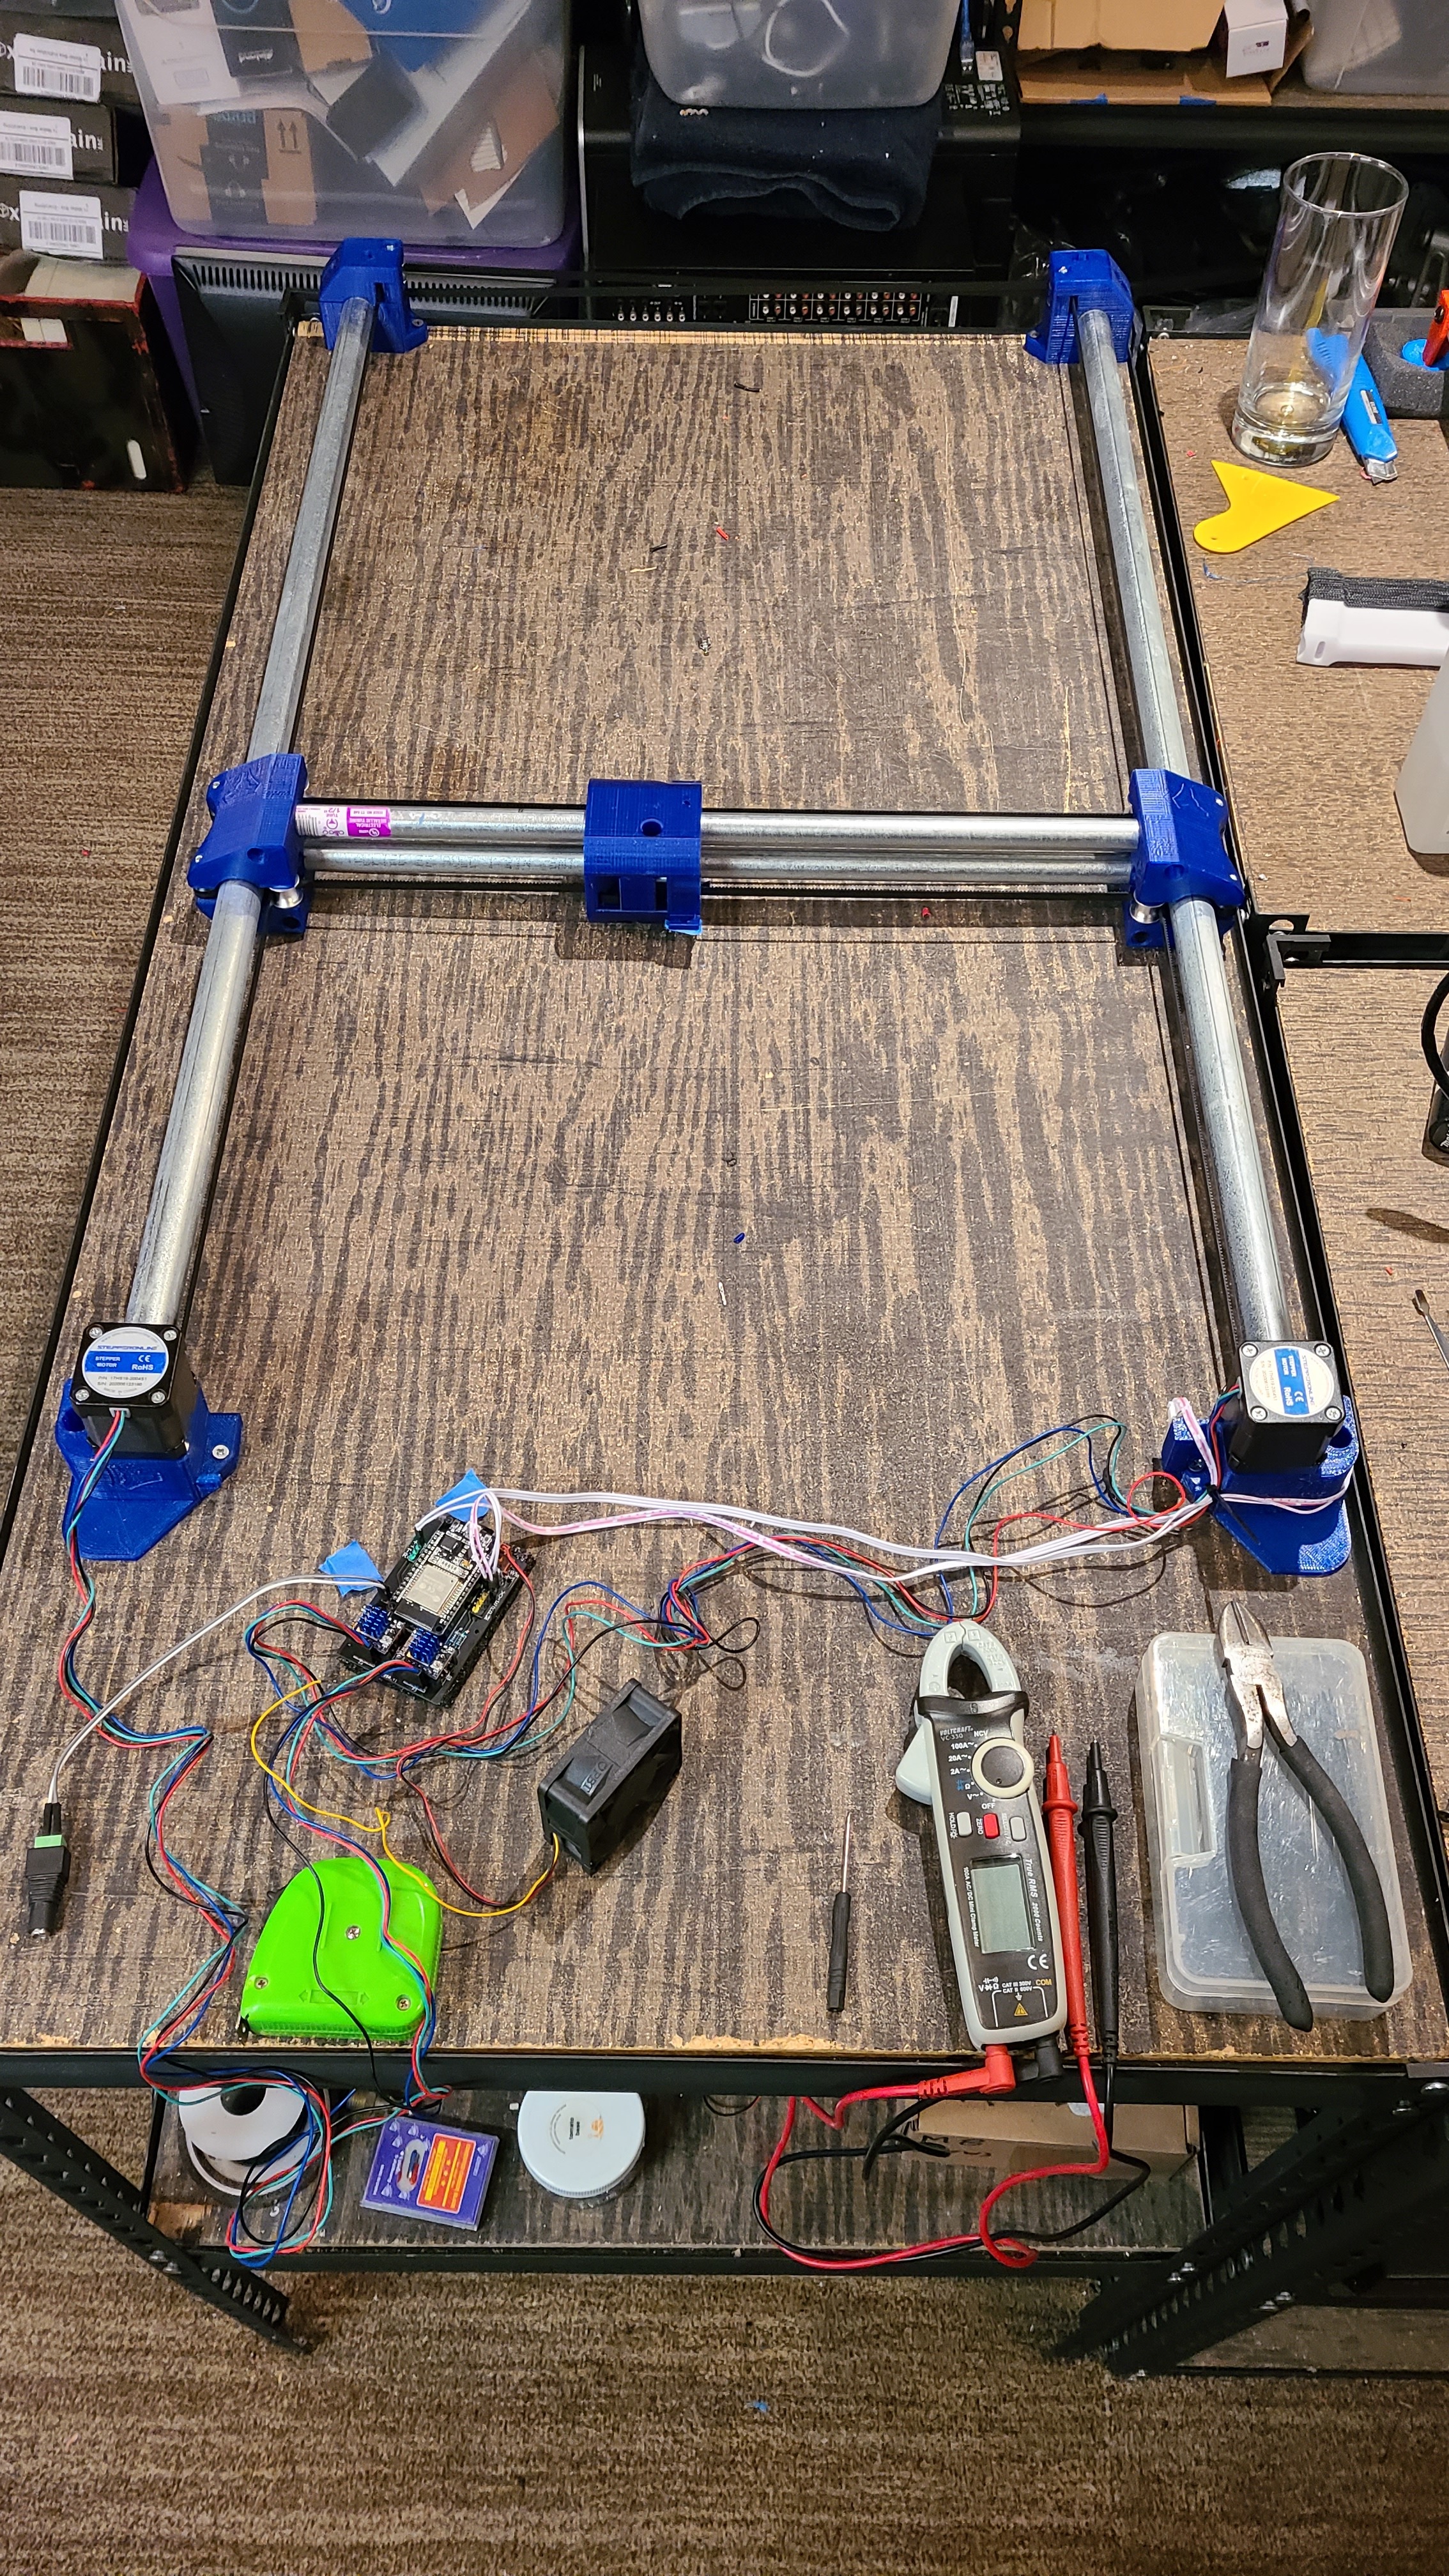
So I’ve been chompin’ at the bit watching the dev thread, seeing the beta builds, waiting for the STLs…then they were released last week. Picked up some Polaroid PETG from Joann Fabrics of all places. This is the Blue color they have and it’s kinda transparent/shiny. It was on sale and this seems to be the only officially sanctioned V1 PETG build. Also I’ve never printed with PETG before so I thought I’d give it a go.
I figured I’d use some leftover conduit I had to get a feel for the new machine, then get into something more permanent. Motors are 84oz/in, driven with TMC2209s, on a custom ESP32 2-axis board designed by another member of the forums that was nice enough to send me the Gerbers. I’ve used it on my laser build and it works great!
That’s all for now. Waiting on a package from V1 and still printing…
Sorry to burst your bubble, but my beta build was white PETg. My rebuild is blue-gray PETg. That’s pretty much the only filament material that I buy anymore.
I like that blue. I just bought a spool of a translucent red, I’ve been thinking about building a ZenXY with that, and seeing what happens if I hit it with a red laser.
Mind sharing your print settings for the zen center? My slice came out to 9.5 hours, and that is in PLA. Typically petg prints slower than PLA (at least in my experience).
Nothing special about my print settings. 0.333333mm layer height, 40% infill, 2 perimeters. I did one print with the center, trigger and the 2 smaller cross corner pieces, one with the 4 truck pieces, and the last one with the remaining corner pieces. 4 solid layers bottom, 5 solid layers top. I don’t remember if I did honeycomb or gyroid infill. I suspect I could have gone with 20% infill, but 40% is my usual default.
I printed at 60mm/sec, 2000mm/sec2 acceleration, .2mm layer height. I think my linear advance is at .08, but I would have to check once I get home from work.
EDIT: Sorry, junction deviation is .08. Linear advance is .20.
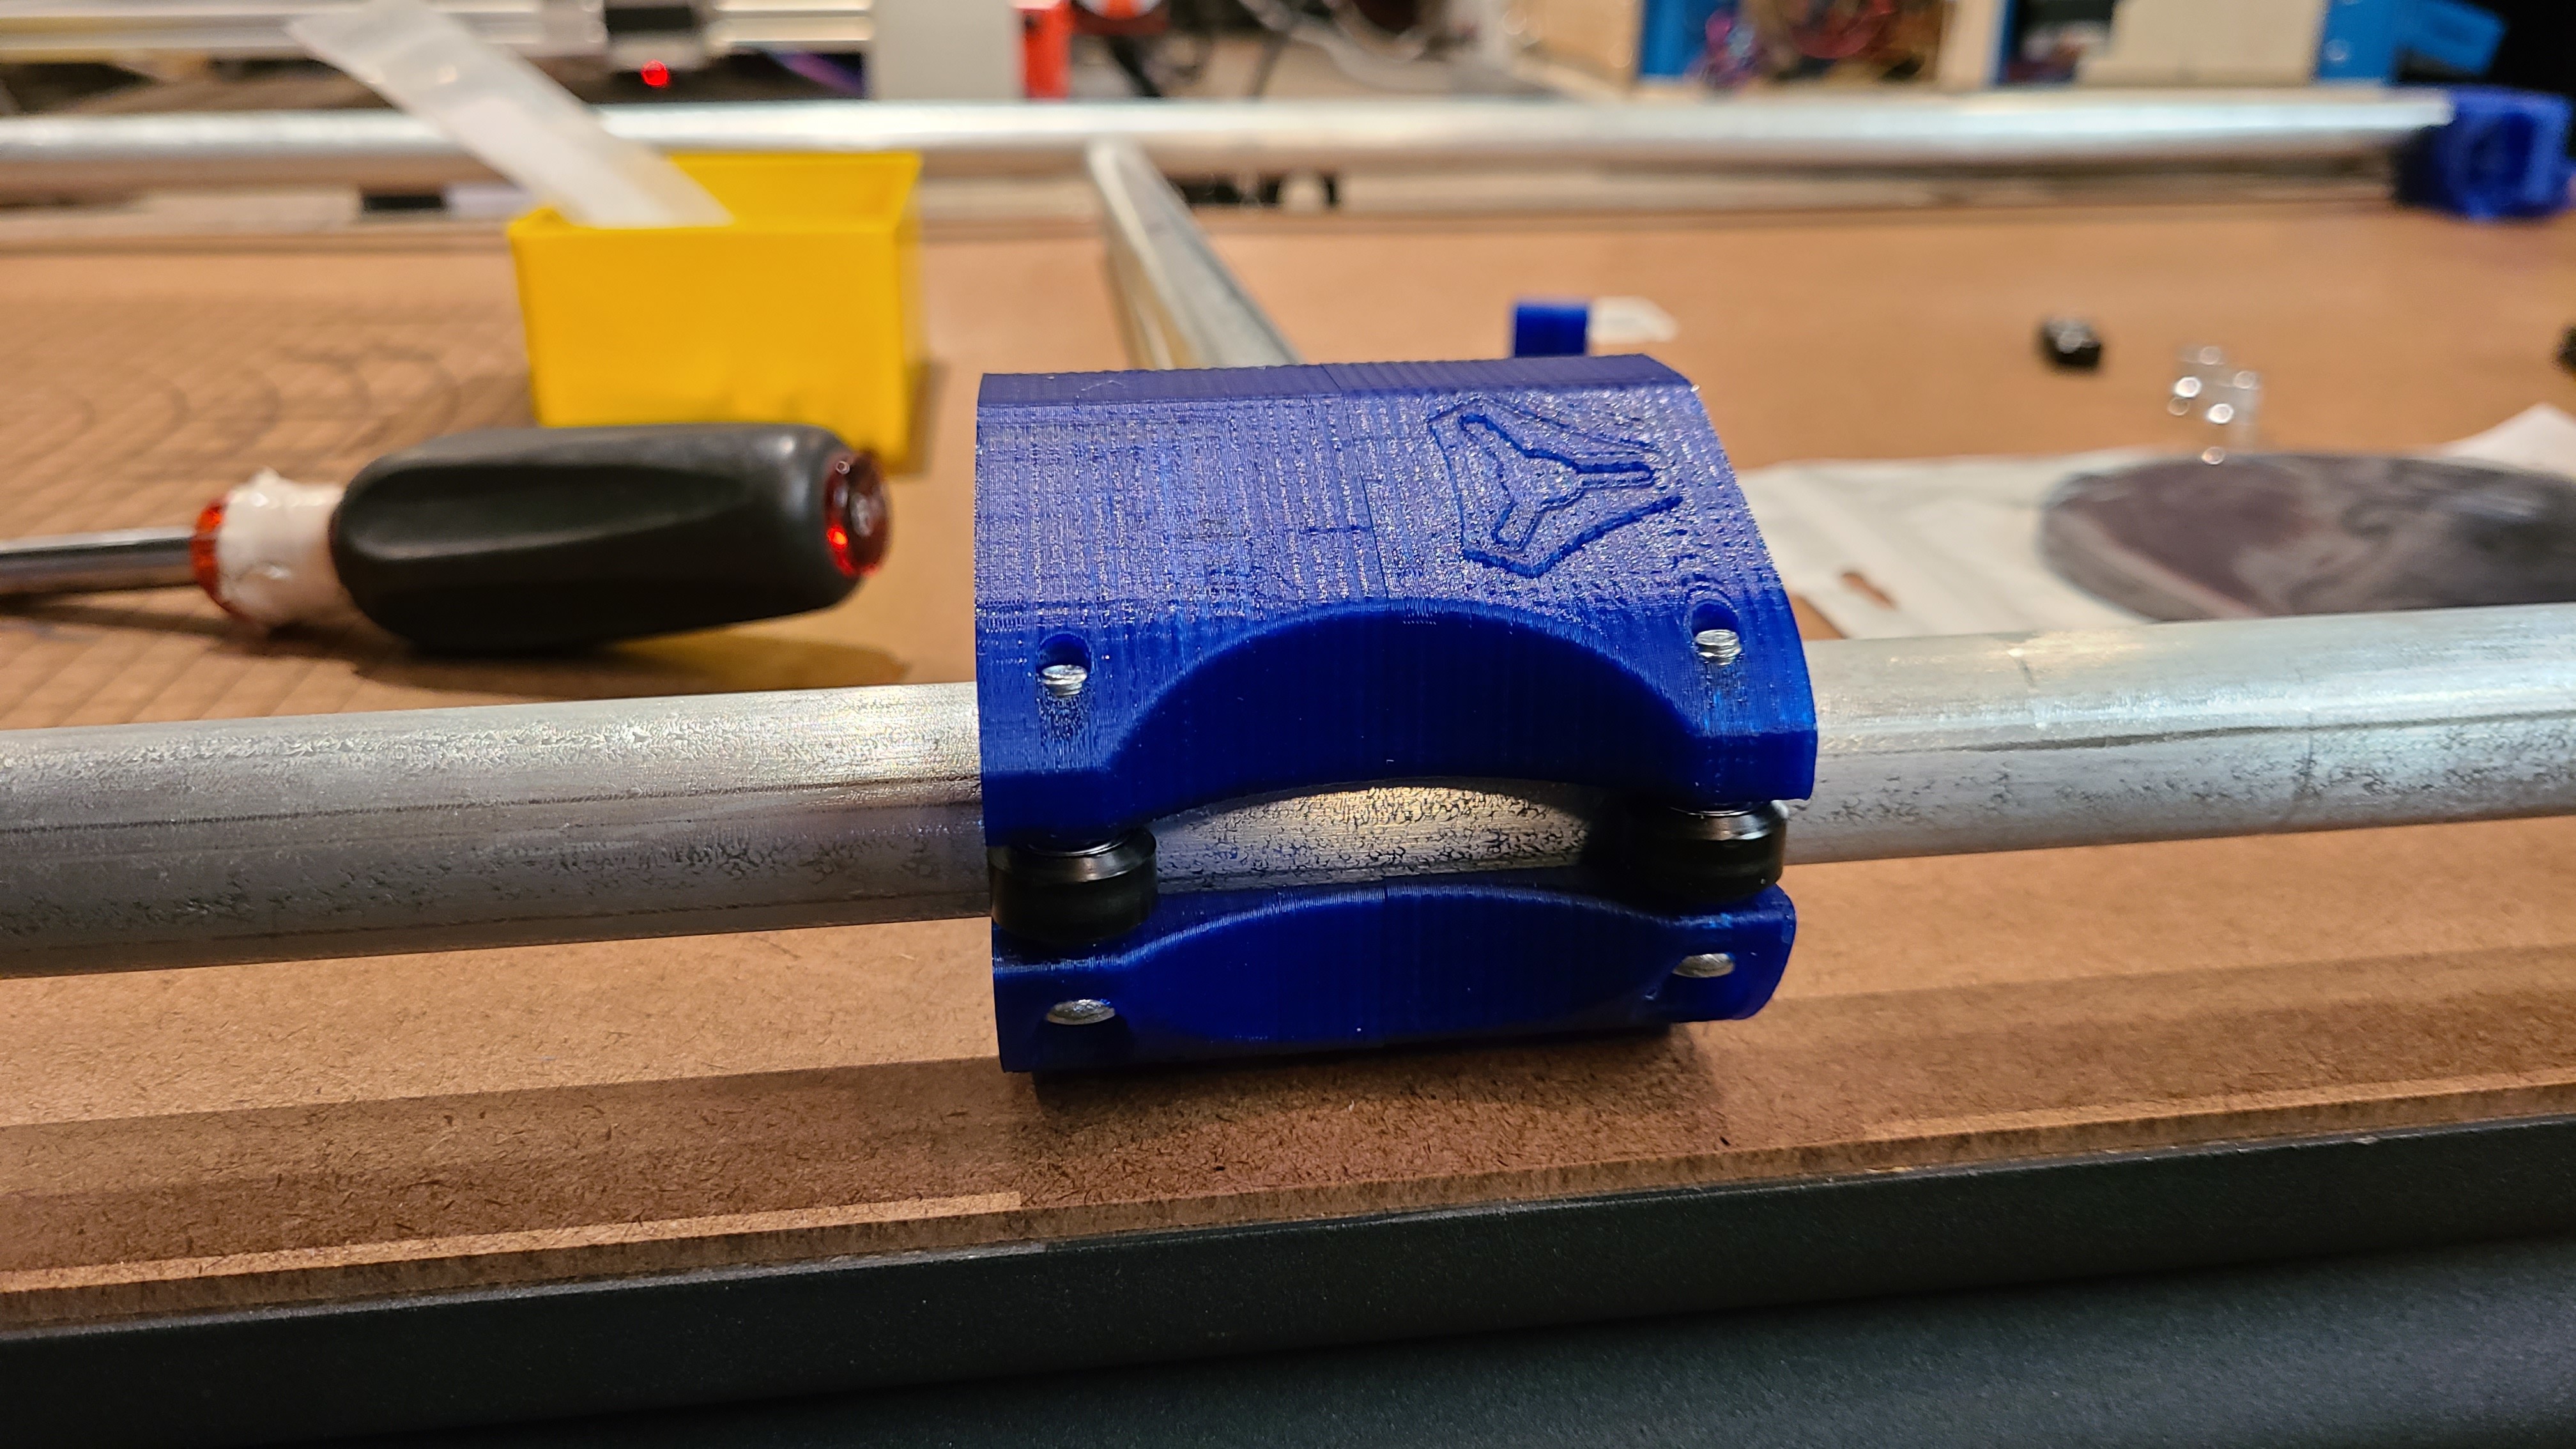
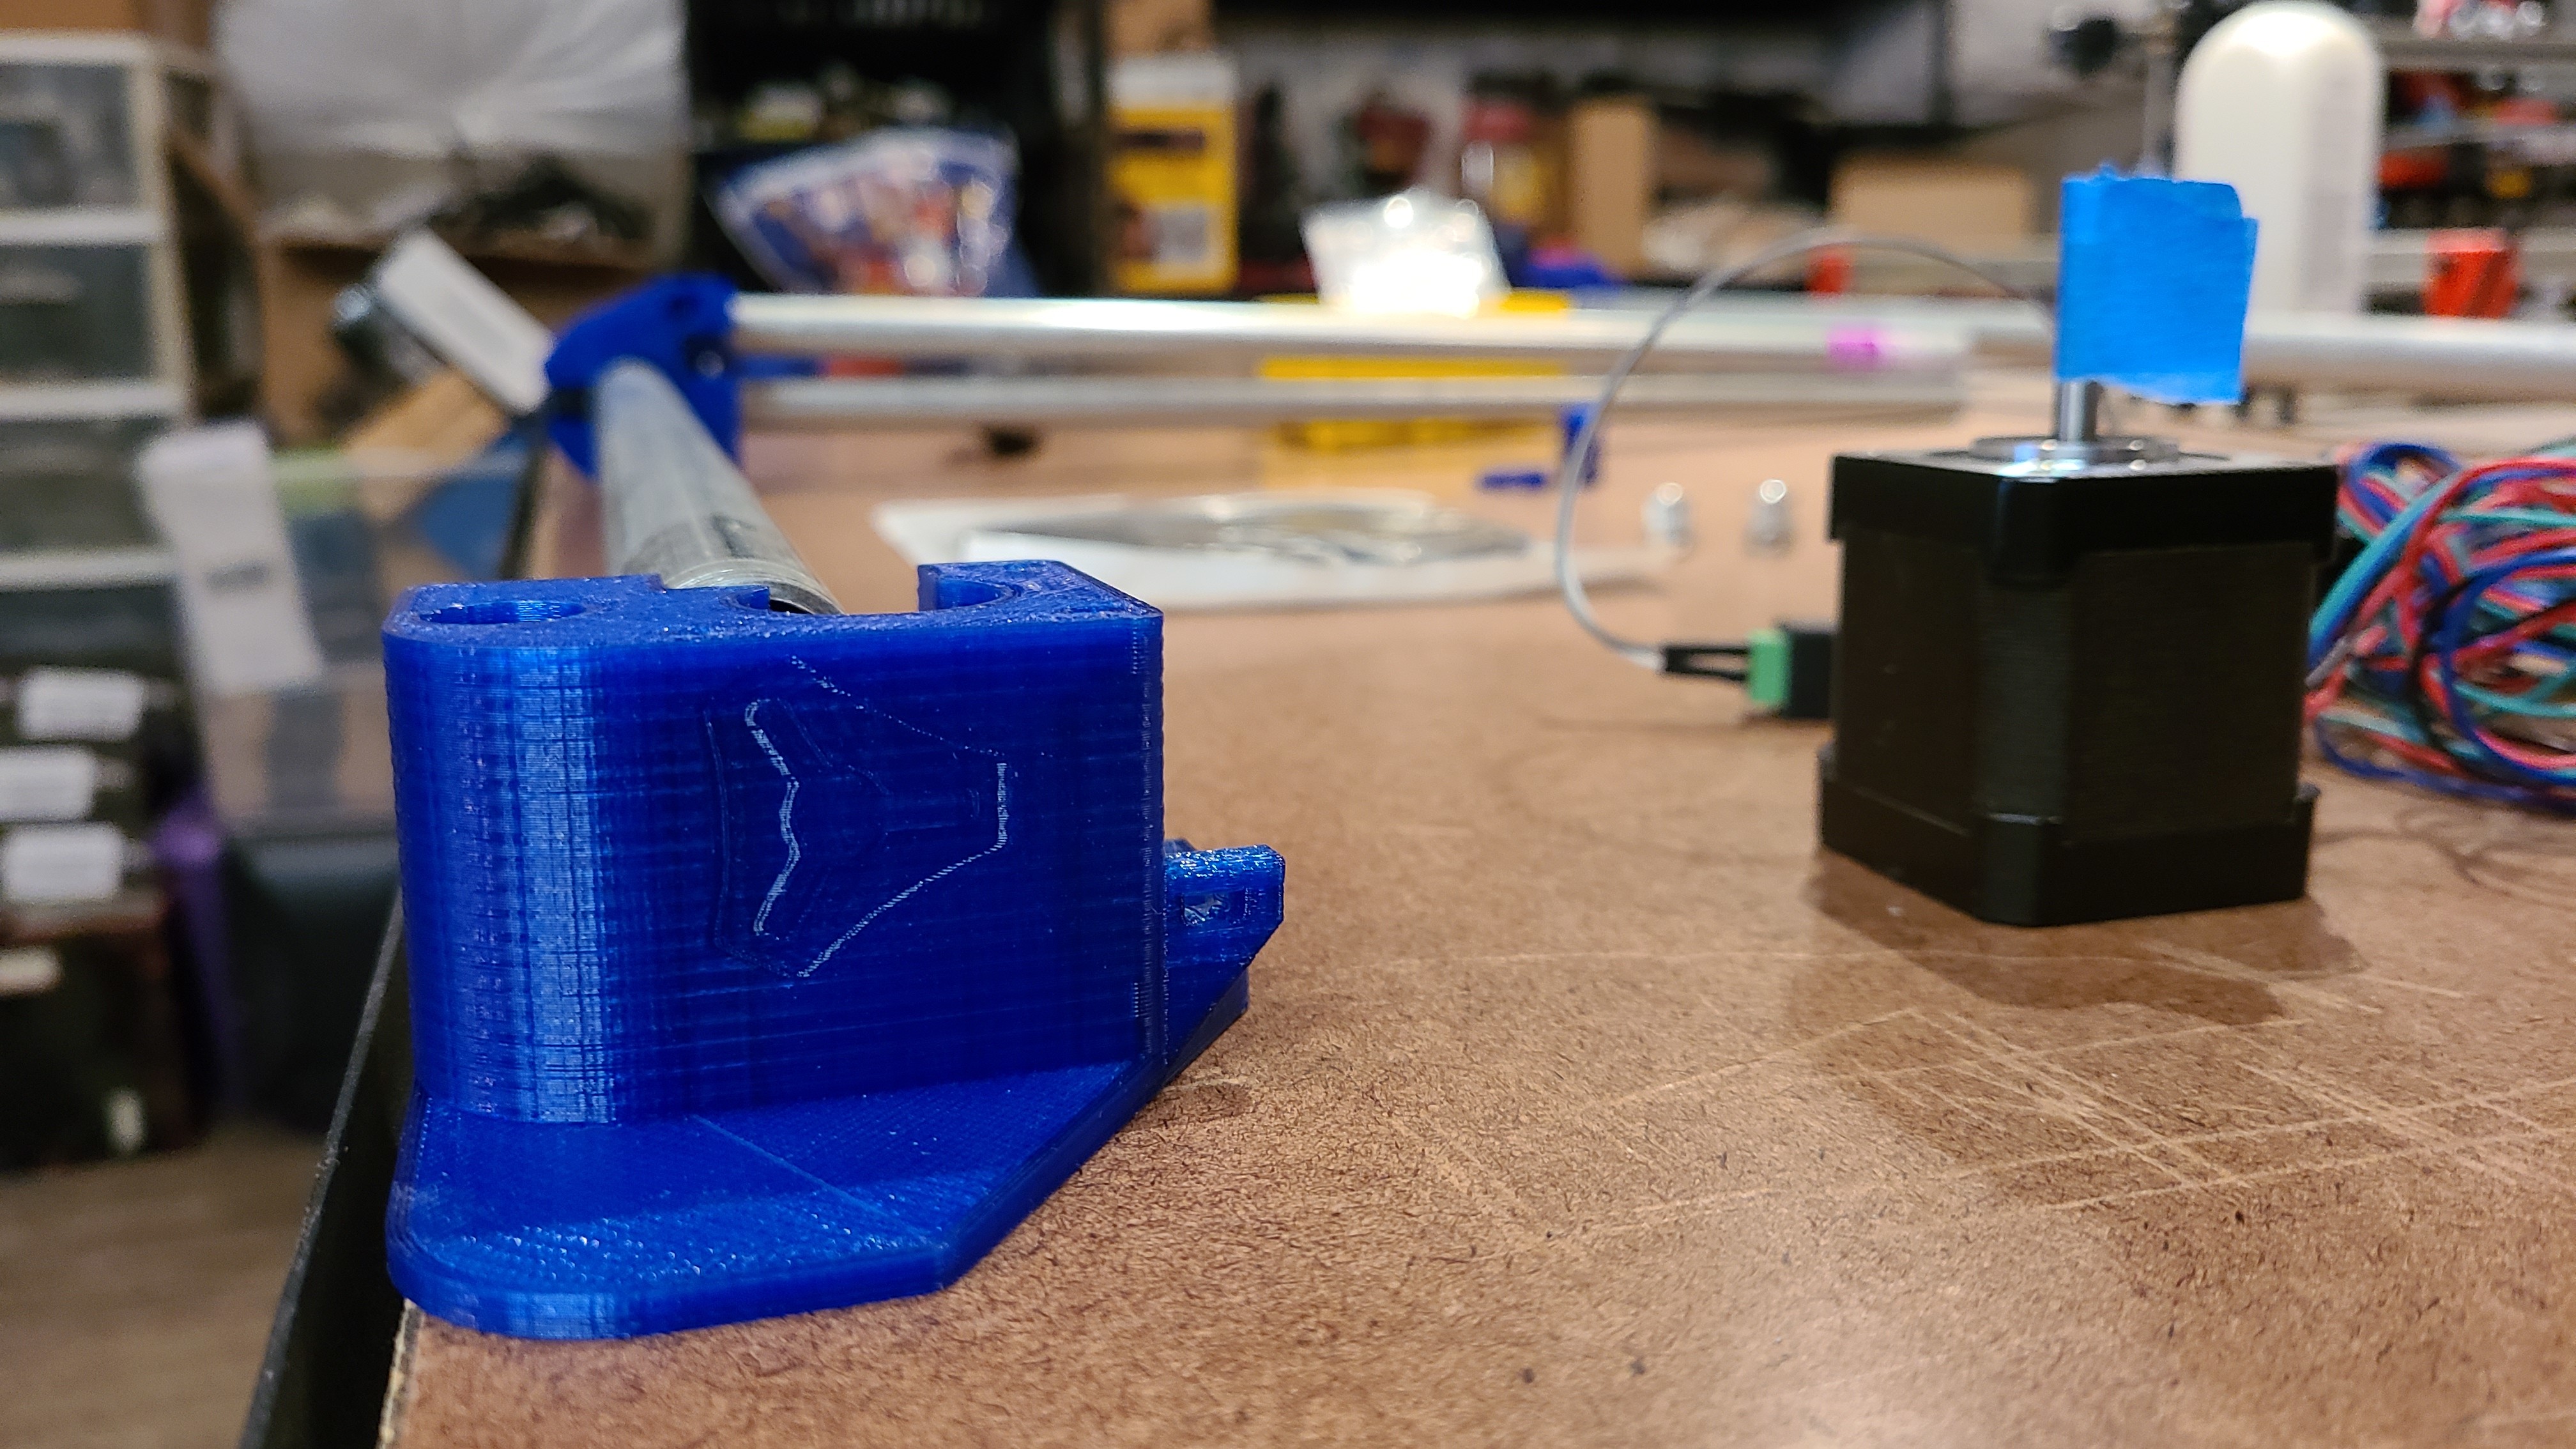
The only tricky part was getting the belts around the motor pulleys, and keeping them there, while tightening the motor screws. Other than that, a snap to assemble.
This design is SO much more solid that the previous version. Thanks @vicious1! I’ve been ramping things up slowly to test the limits and it will run at 10000mm/min, 2000mm/sec2 acceleration without any missed steps! At 1000mm/min it is virtually silent.
I mount the motors and push the belts as far as I can then fish them out with something.
Glad you like it! I added some a couple coats of poly to my table today. One more clear coat tomorrow and Then start figuring out how I am going to mount the LED’s!
I don’t remember that being tricky at all, but I don’t remember exactly what I did… Probably because it didn’t trip me up, either the first time with the 6mm belt, or when I re-fit it with the 10mm. For me, it was getting the end of the belt into the belt tensioner block. My printer seems to have made that block a little on the tight side, so it was difficult to convince it to go in with the space being tight between where it goes into the center and the table surface. I remember for that, what I did was unbolt one of the cross corners to allow myself some extra slack after marking the position that I wanted the tension block in, so that I could pull it through further. Apparently other people don’t seem to have that problem though. Well, I haven’t installed the belt on my second build yet.