Looks great, following thread. Will order a superPID if this works out well for you.
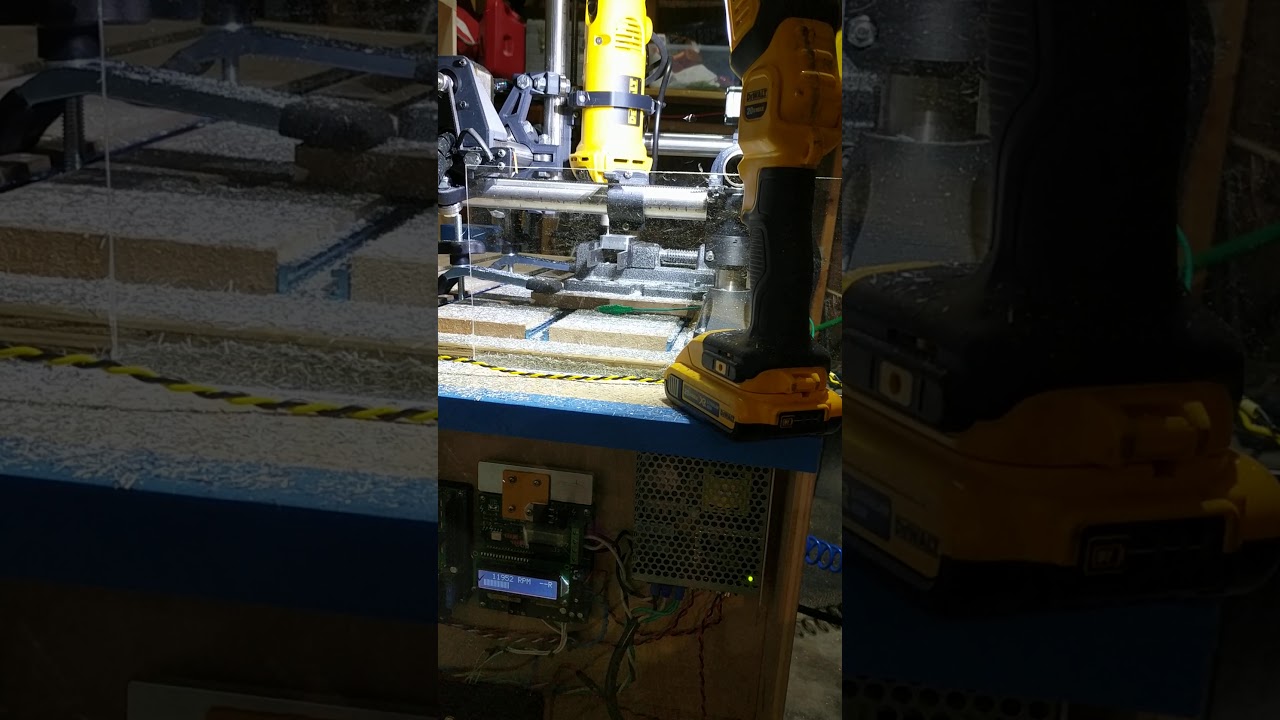
SuperPID seems to work well. I’ve used it in a everything from foam to aluminum with all sorts of different paths. Estlcam’s trochoidal and Fusion 360’s adaptive clearing don’t seem to give the controller much trouble with their constant loading/unloading of the tool.
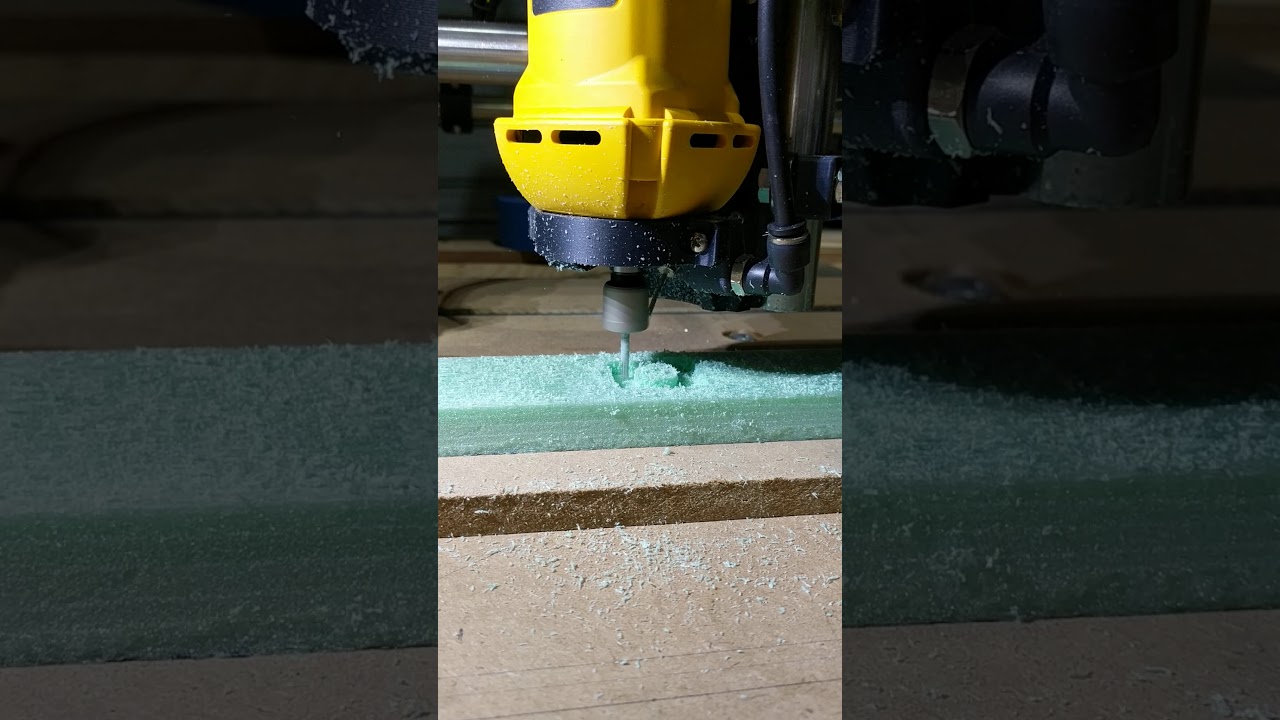
First cuts in foam @ 5K. Also my first f360 program ![]()
[attachment file=115047]
Aluminum at varying speeds:
[attachment file=115048]


Played around a bit with tool changing and chamfer end mills. @guffy 's post processor is great.
[attachment file=115322]
[attachment file=115323]
This build is awesome, that air blast is super elegant, and those prints look perfect. Good freakin’ work.
Just a well-built, solid machine. Even going back to the original post of you printed parts. That is some excellent surface regularity. And watching that Dewalt just throwing the chips and the machine just takes it. I wish I had more time to get my dust collector and enclosure done so I can start really getting it dirty like yours. I have mine in a carpeted home office where all my other gadgets live and I need to keep it clean.
Runout on these DW660 tools isn’t great. My old tool/collet had about 0.2mm total indicated runout at 25mm below the tool holder. This brand new tool reads about 0.3mm runout at 25mm below the collet. The bore of the collect holder reads next to no runout at roughly 0.02mm. The video is clipped but I did take care to measure at several locations inside the bore of the tool. I measured all these things because there was visible runout in the chamfer tool that I’m using when start/stopping the machine.
I’m using a 1/8" HSS drill blank to measure with. I’ll toss it in a v block tomorrow and make sure that it’s not the blank itself that’s dorked.
A good write up on run out can be found here: https://www.precisebits.com/tutorials/spindle_runout.htm
Another side note is that this should give you a good idea as to why it’s so important to keep extra forces off of the machine with cable chains, vac attachments, etc. The steppers are powered up and locked for the duration of the video below. You can see just how much of an effect lightly rotating the tool has on the position of the cutter. It was very interesting to push/pull on different parts of the machine to see just how much of an impact was made on the position of the cutter.
I love real info and not hearsay! Glad you made a clip, thank you. So tool or collet on that one as the shaft is okay/decent.
Do you have any other spindle options to try? For the cost I just wonder if there is anything even close.
An indicator and some poking should reveal the next part to get a remake!
Agreed.
I have a DW611 but I was advised that it might be on the large/heavy side for this machine. I suppose I could measure runout on tmy Dremel though I don’t intend to use it on the mpcnc.
The precise bits site leads me to believe that this might be par for the course with small handheld cutting tools:
Our measurements of stock adapters ranged from 0.0030 in. TIR to 0.0100 in. TIR. We did not find a single adapter with less than 0.0030 in. TIR... The aluminum collets found in many hand grinders were the worst of all with TIR measuring as bad as 0.0150 in.
@vicious1 I made a separate thread to follow up on runout tests for the DW660: https://www.v1engineering.com/forum/topic/dw660-runout-2/
Figured that info was less of a build and that others might find it a bit easier if that info had its own thread.


