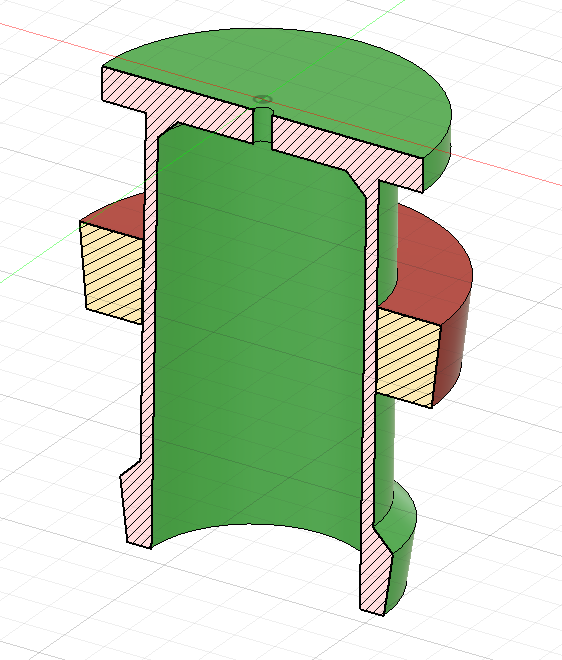
Have a project I’m working with that requires a “captive” threaded nut for adjustments. I was wondering if it would be possible to print the nut already on the shaft at the same time. It would be a big 30mm diameter course thread. Here is a section. I’d like to print at once?
This is a base for a cupholder for a tractor that would be nice to adjust the Z axis position (up/down) for a perfect fit. Not sure if this makes sense.
I’ve printed a number of print-in-place items, and designed a couple. For your application, there are two separate issues that you need to solve. First how to stack the nut so that it breaks away from the bolt, and second, the correct scaling/spacing for the nut.
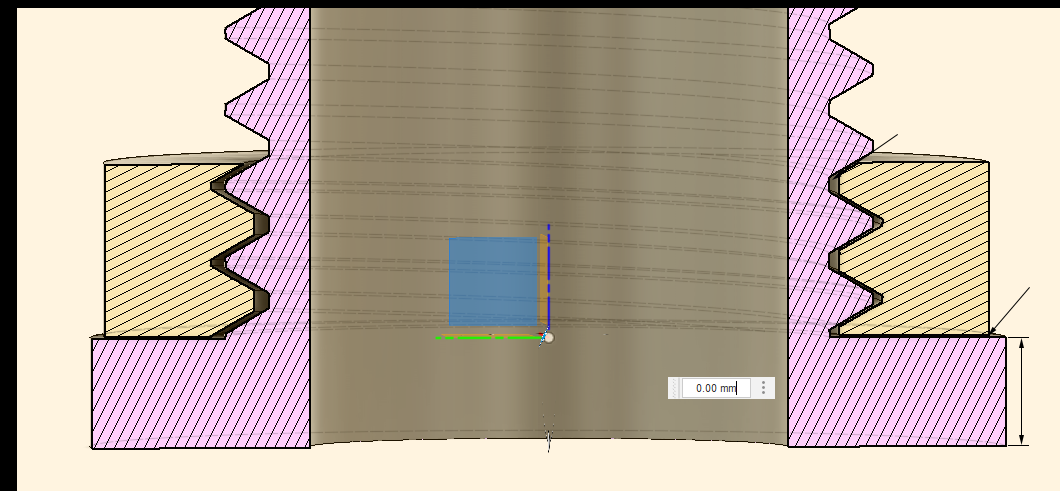
To get the bolt to break away you will first need to support the nut. You could do that by increasing the size of the top flange and having the top down on the print bed, or by redesigning the bottom flange. I’ve never designed a “stacked” breakaway. From what I’ve gleamed from others, there are two things that must be considered. First, there needs to be the right amount of separation between the two items. In this diagram, I’ve used 0.1mm, but I have no idea if this is the right amount. It should be quick to run some tests. The second issue is the height of the separation. If I remember correctly, you want the separation to start on a multiple of the layer height you are using for your 3D print.
As for sizing the threads, when I 3D print threaded items, I either increase the size (XY only) of the outer piece (nut) by 0.2mm or decrease the inner (bolt) portion by 0.2mm. For my 3D printer, this works pretty universally no matter the thread size. For print in place for a 30mm bolt, I probably start by doubling this number to 0.4mm.
Fusion scales by fractions, so assuming the nut is scaled, and using the 0.4mm, I get 30.4 / 30 = 1.0133.
So, with the nut in the orientation of the diagram, I would scale X and Y but not Z by 1.0133.
Edit: I don’t know what the requirements are for this 3D printed part, but it occurred to me that you could chamfer the bottom of the nut thereby 1) making less contact area so the part would be easier to break free, and 2) reduce the amount of the nut that needed to be supported. As long as the chamfer was less than overhang your printer/plastic would handle well, it should work (say 50 degrees).
As an alternative, if you have the space, and the only concern is that the nut is captive, do you need the threads where the nut is printed? Either remove them, or taper them off to give you more spacing on the thread side of things. Then you only have to worry about the break-away on the flat of the nut. Then, when in use, the nut can be tightened up onto the threads.
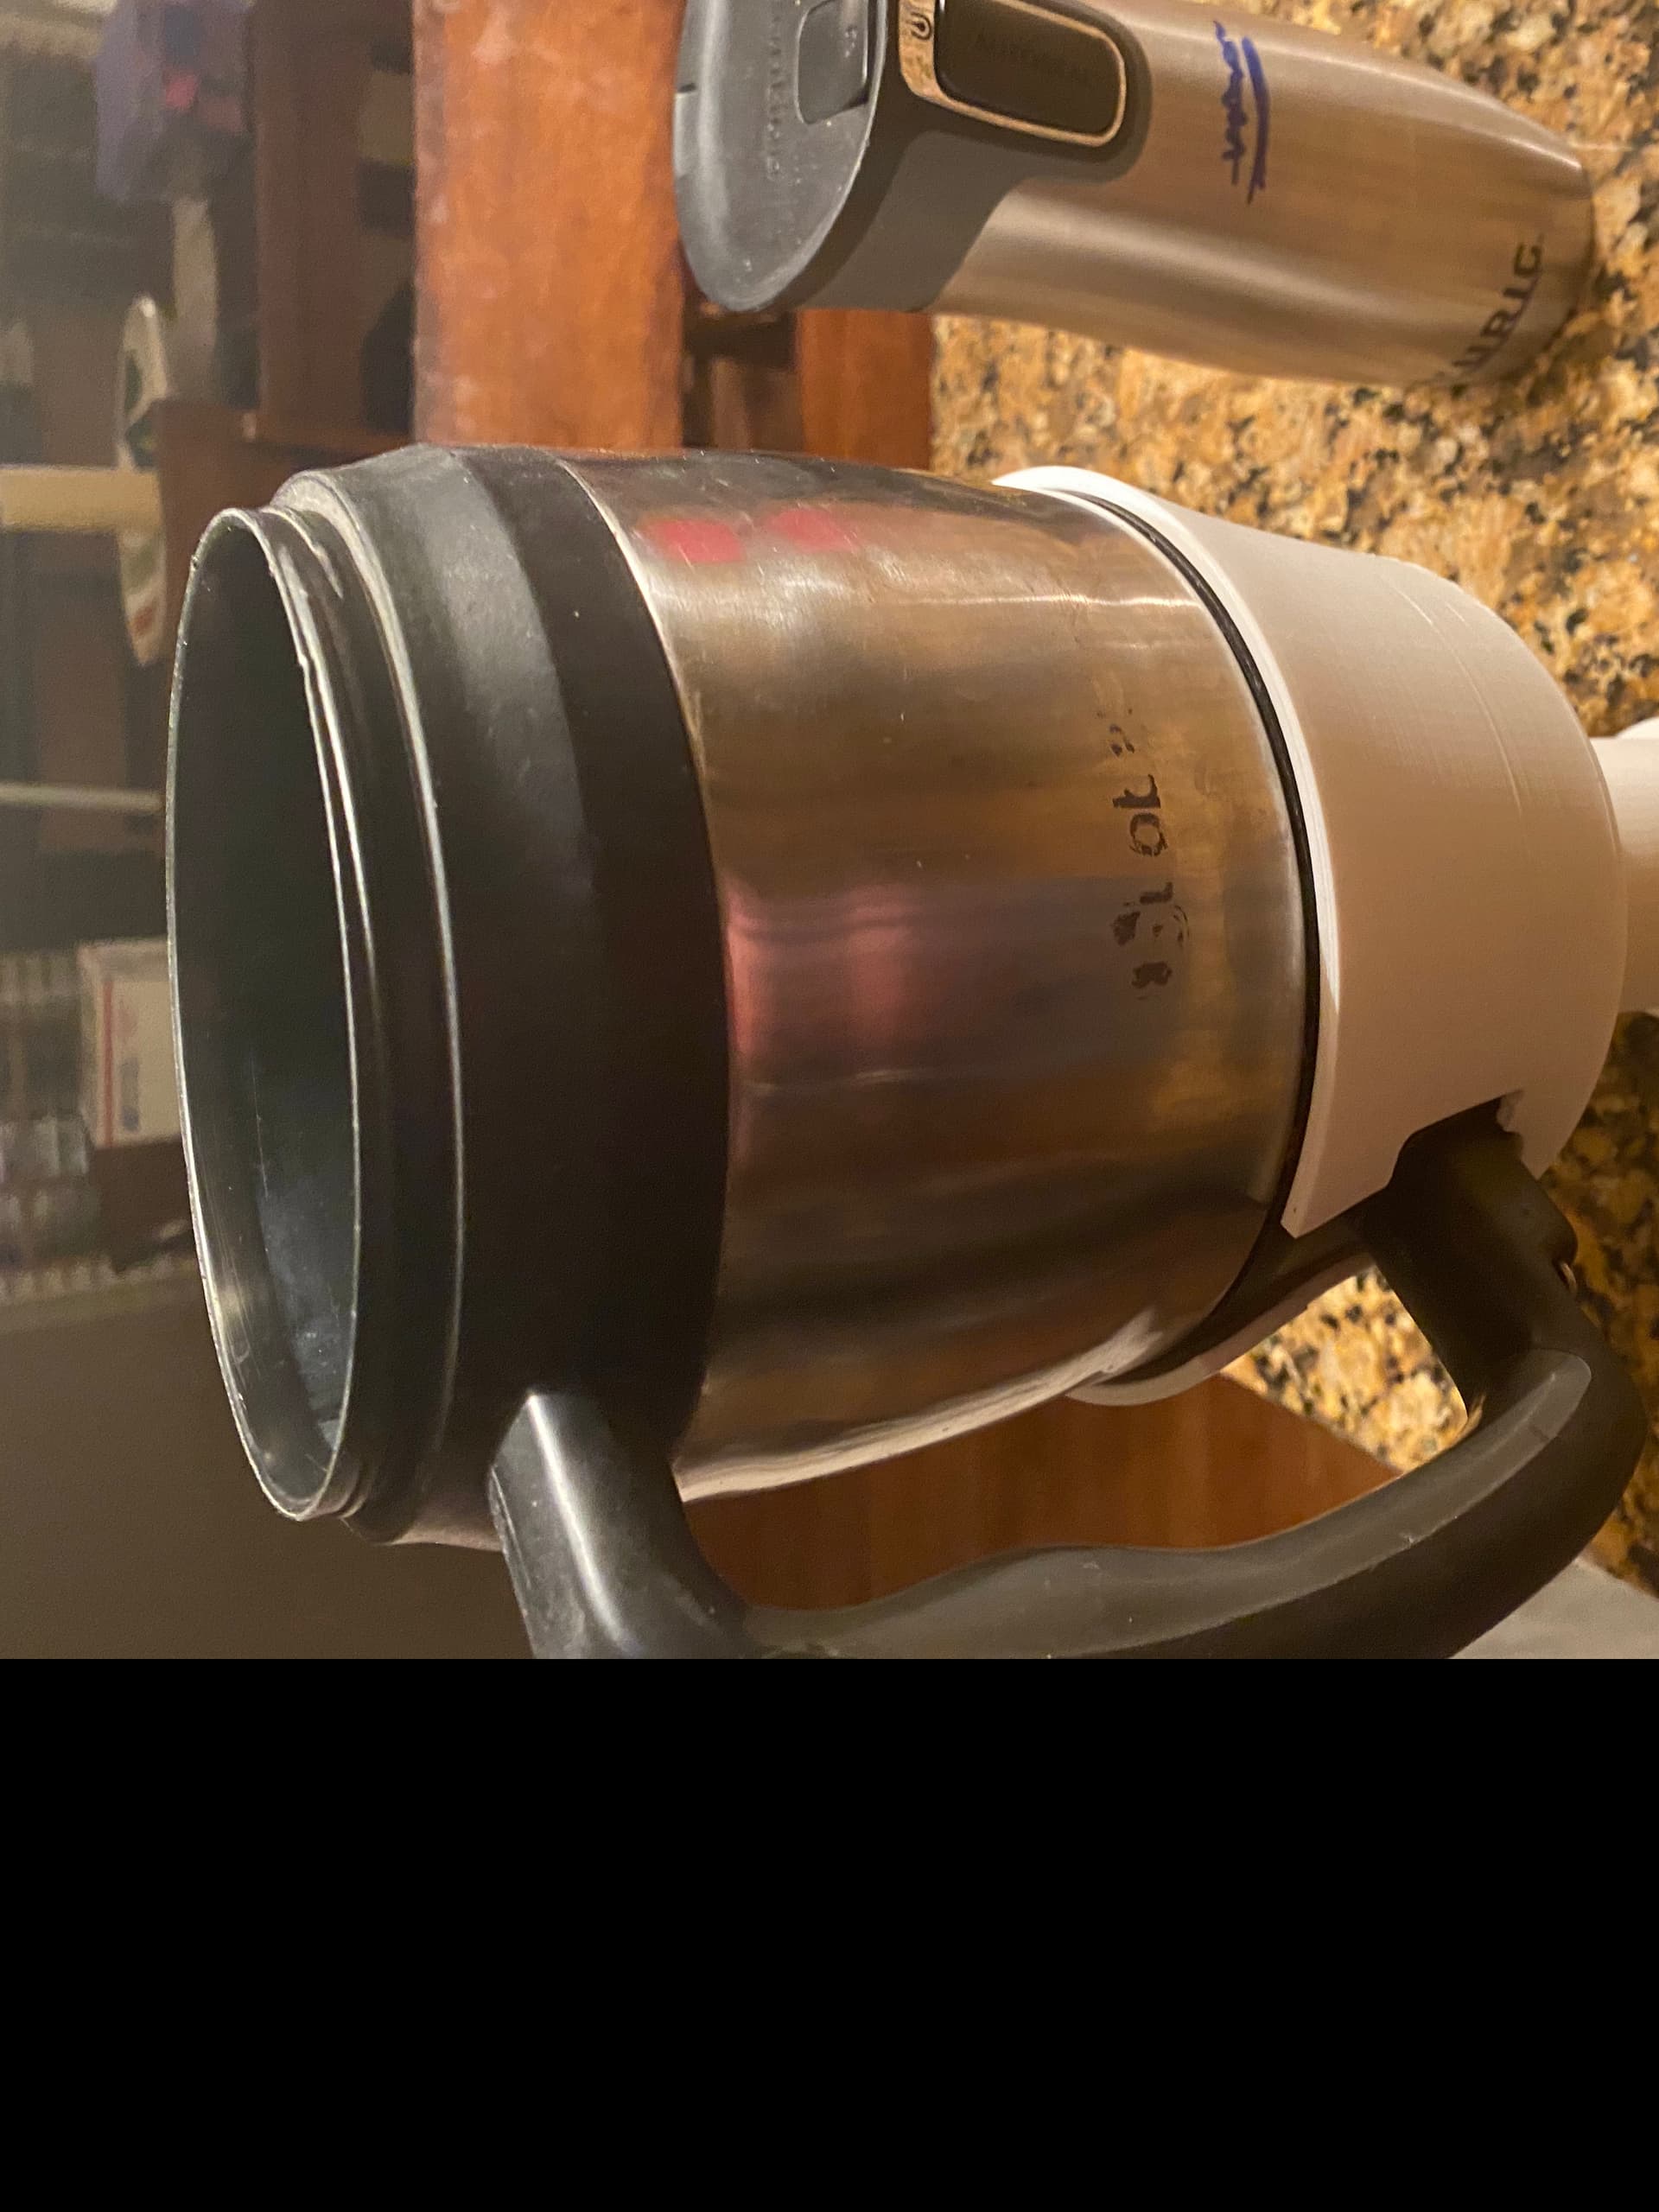
I will experiment and as you suggested do some test prints. I am making this more complicated than I have to which is part of the fun. Both of my brothers have summer places in Wisconsin (we are all Chicago based) and have elaborate tractors and mowers to mow the properties and have these huge insulated mugs for iced tea etc and they would love a good way to hold them being adjustable.
I like the chamfer to minimize the amount of supports. Also @kvcummins has a great idea to eliminate the threads where it’s printed top down.