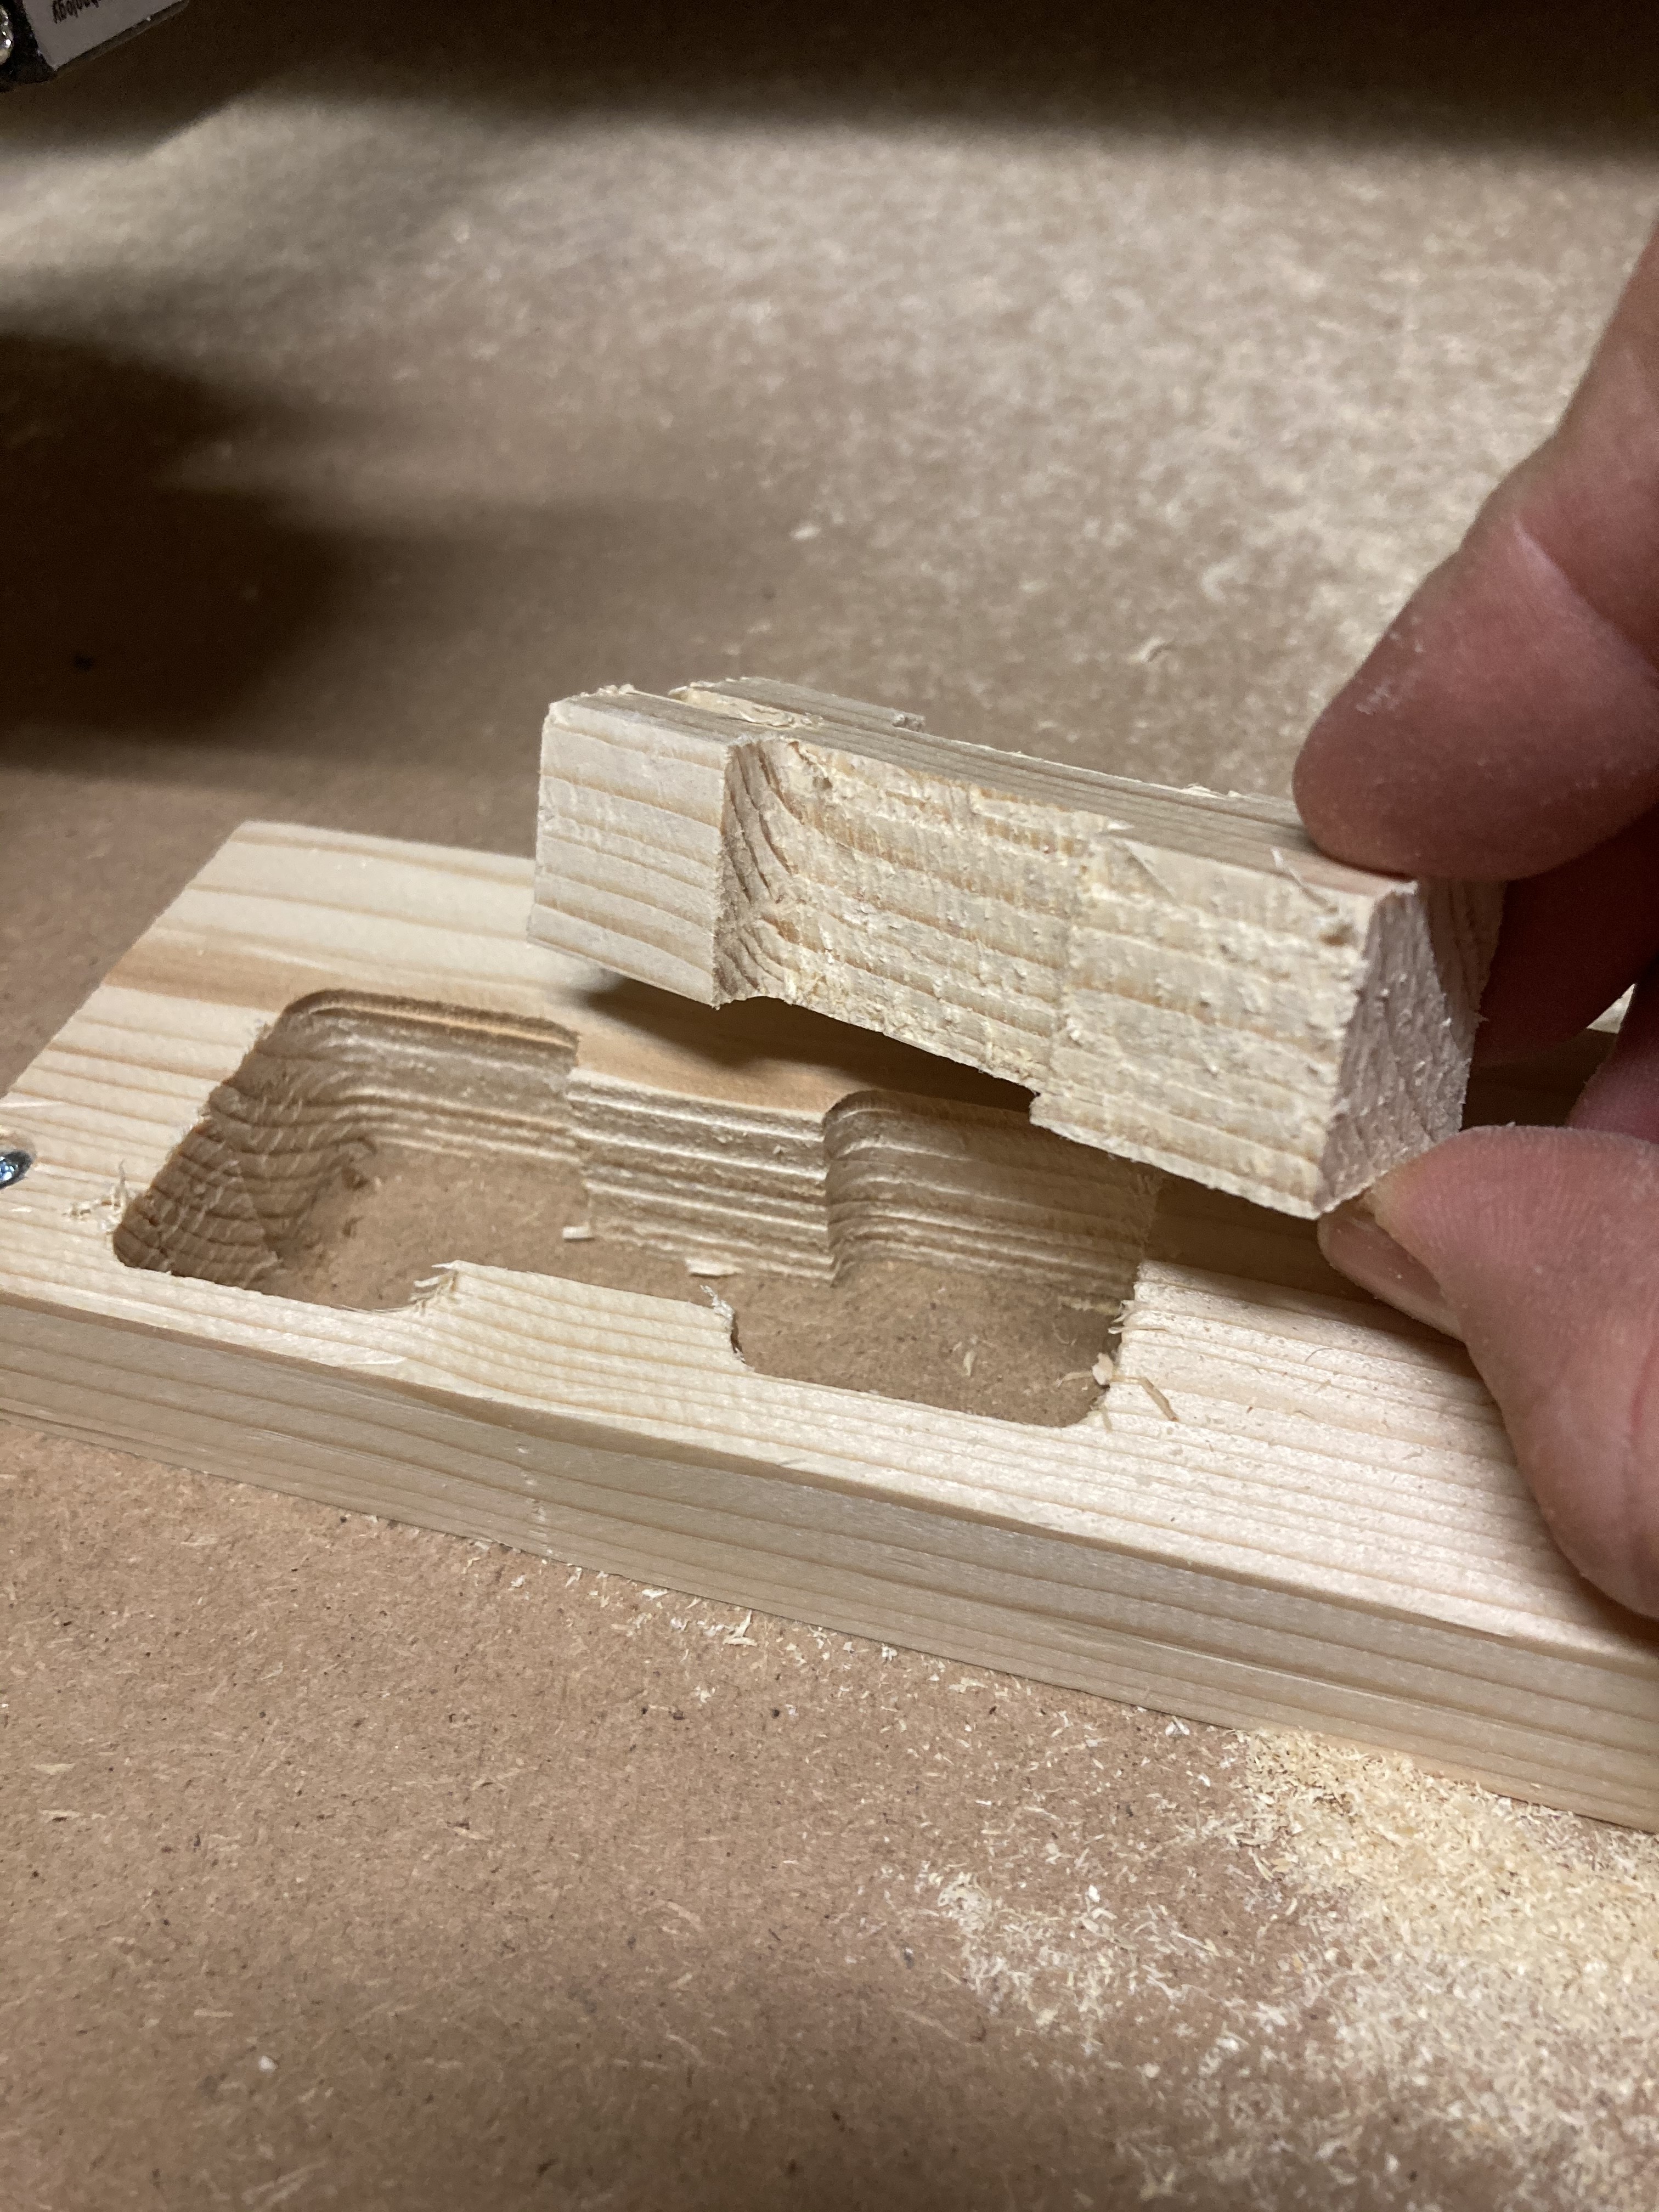
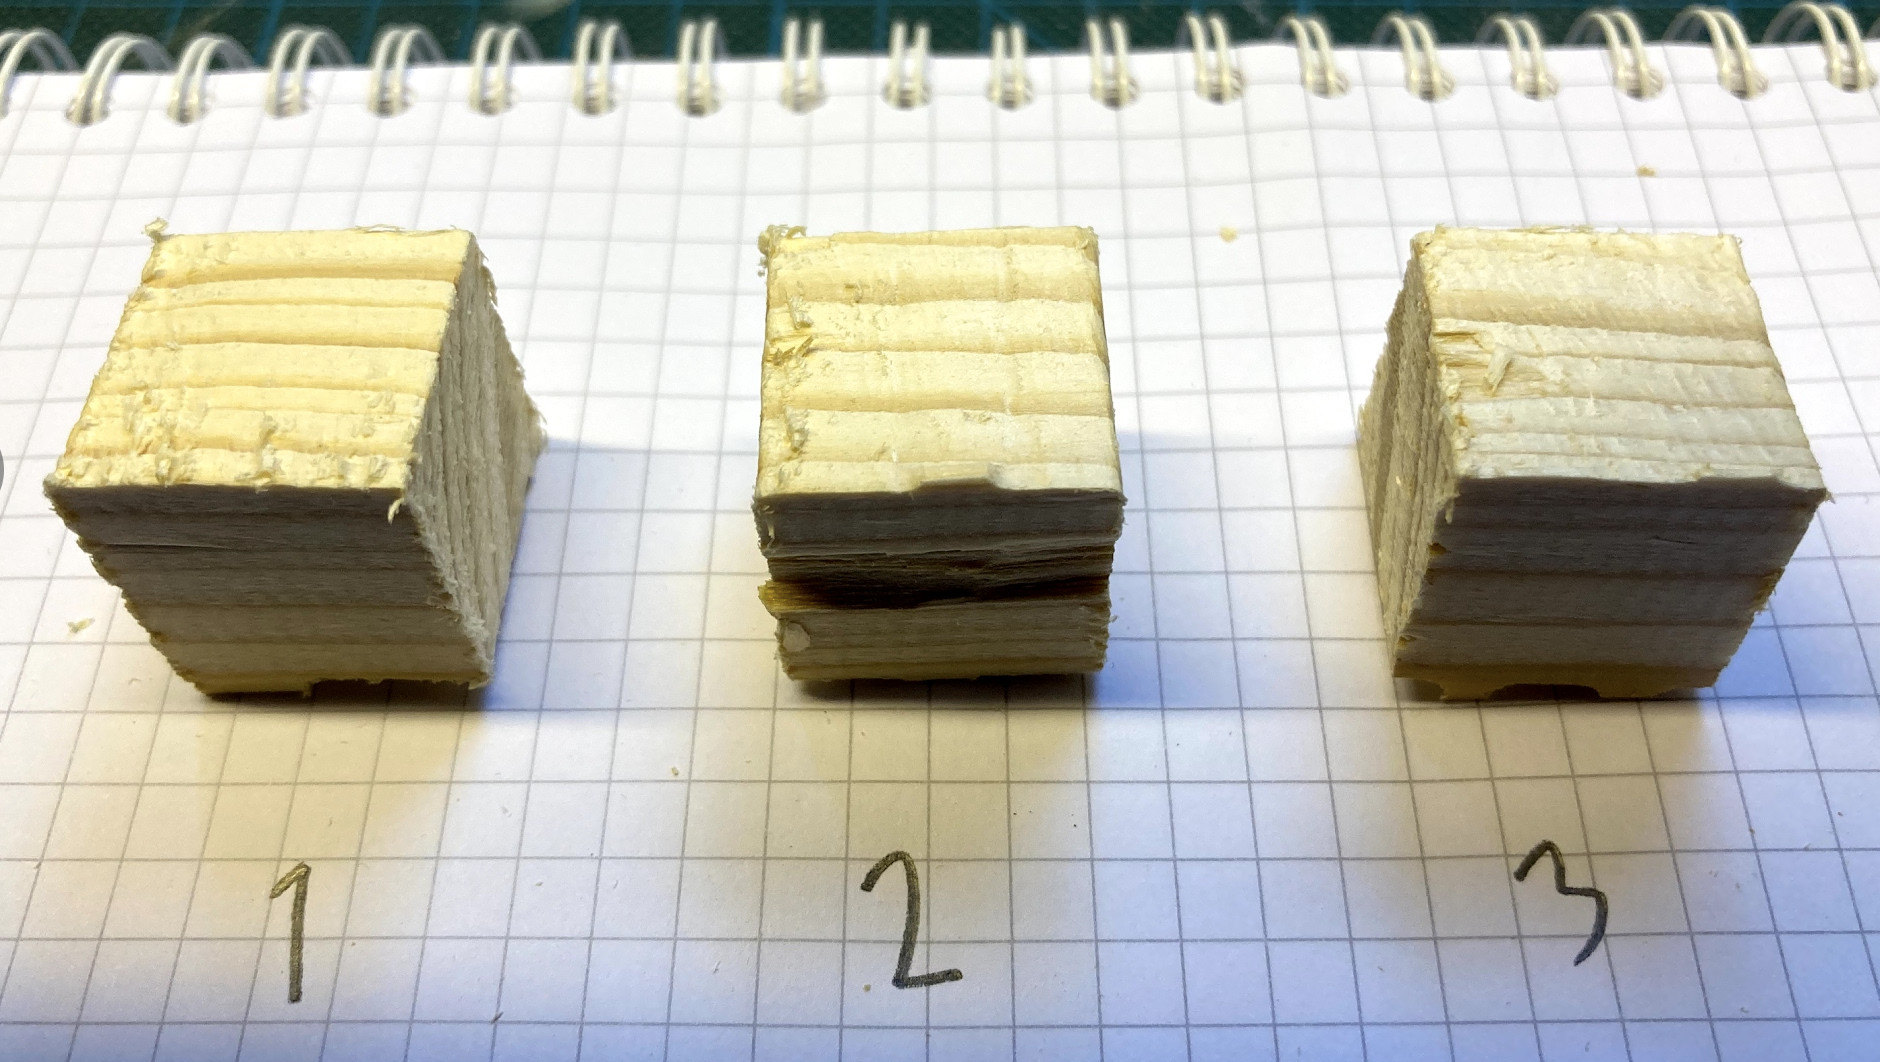
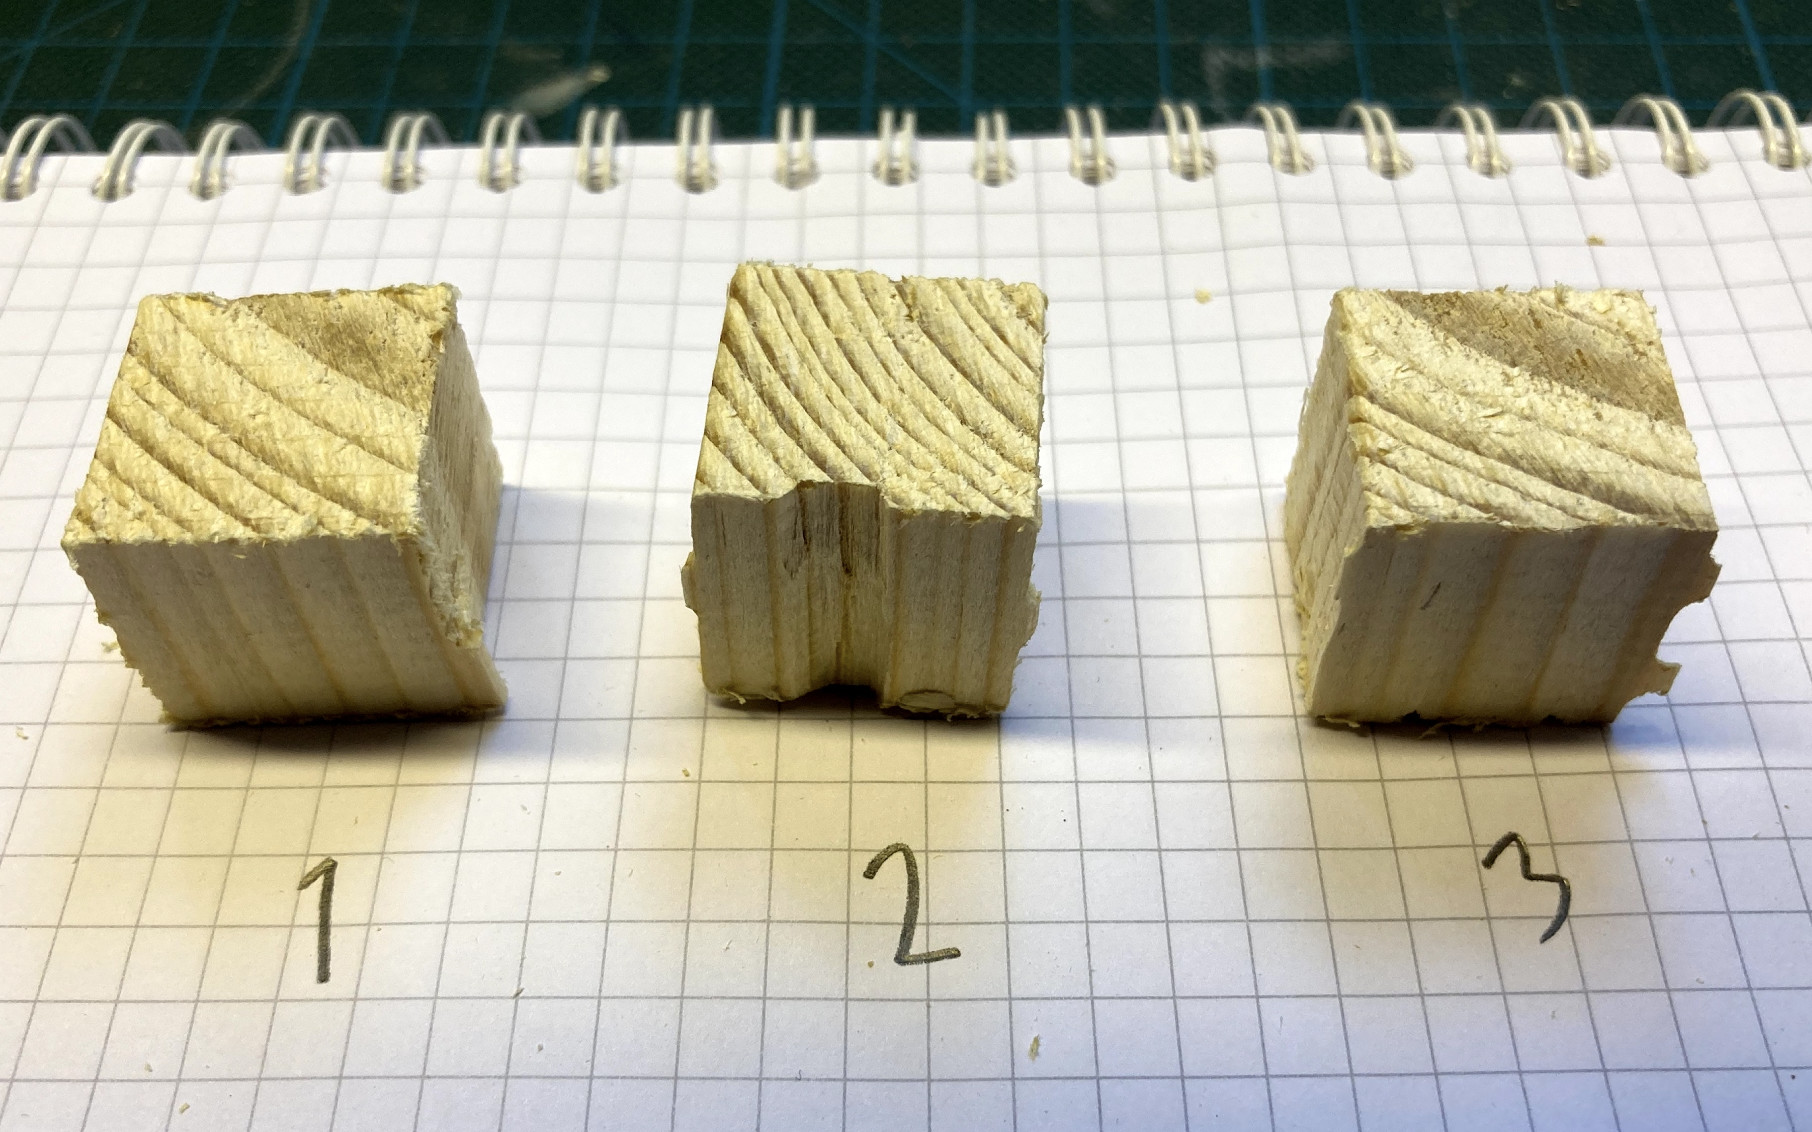
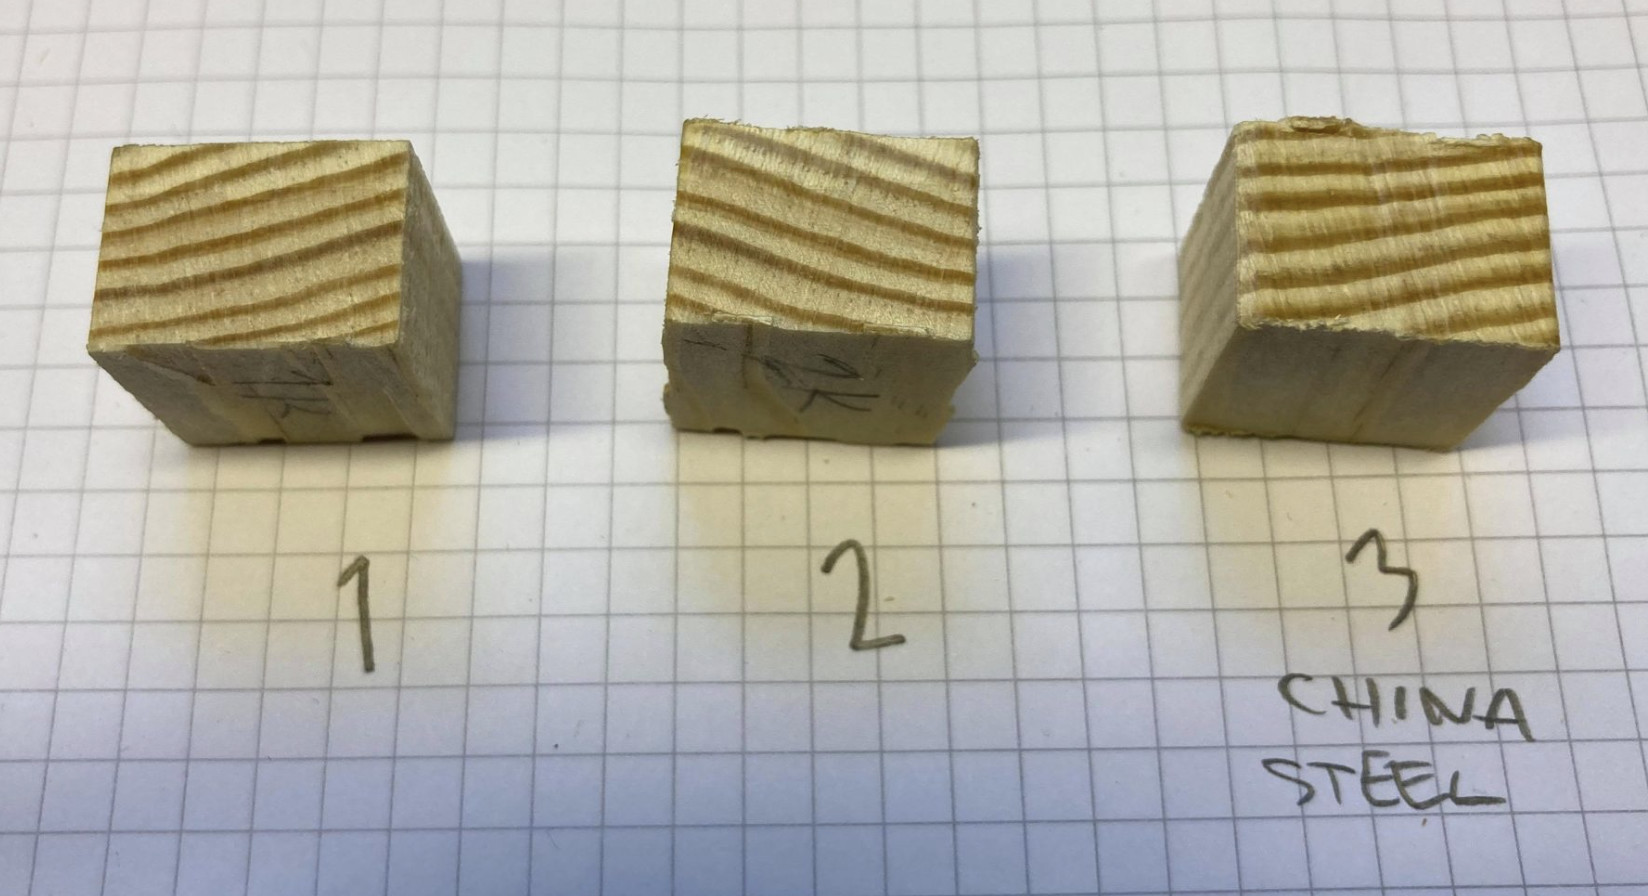
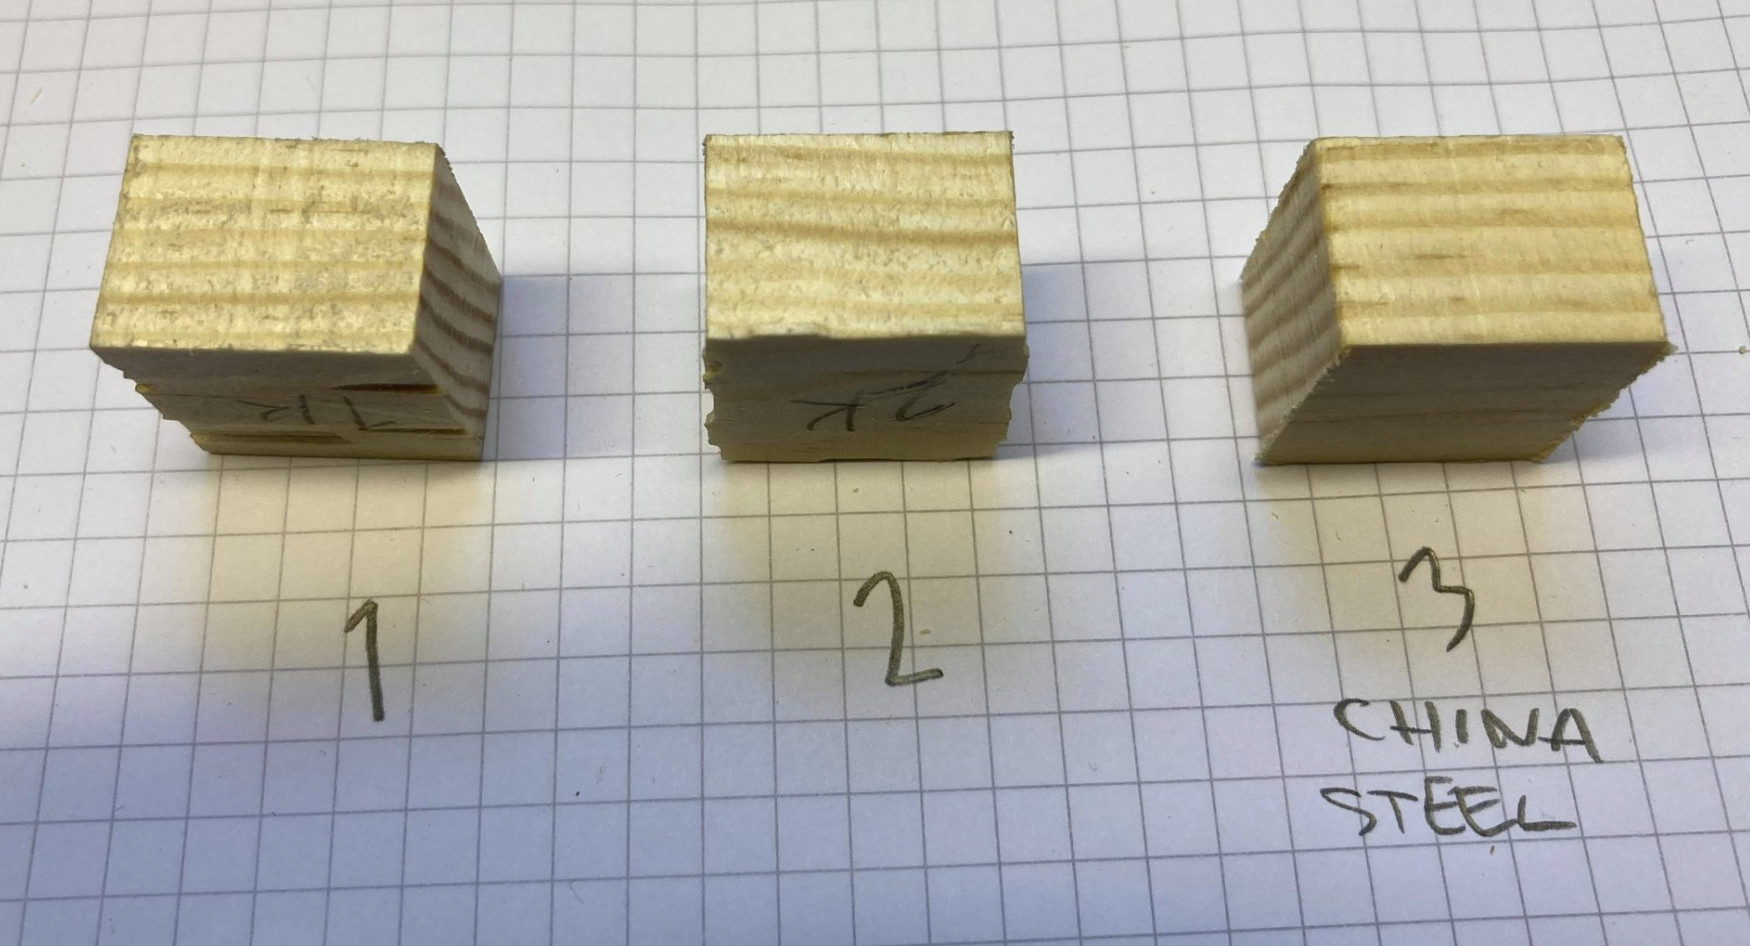
This is me trying to learn and do some test cuts. I expected the part to come out a lot smoother. So… how did this happen? (Never mind the hand sanded part shown on pic. It is the rough surface that comes from CNC)
I’m not a fusion360 cam user but it appears as though you are making all your finishing passes at the same small depth your roughing passes were done at.
For what appears to be 3/4"ish material you should be able to get through that in 3-5 passes for roughing and do one single full depth pass for a finishing pass where you take just a small amount off the sides. The full depth finish pass will clean up those steps which are pretty evident there.
Poke around for full depth finish passes online and I’m sure you’ll be on the path to the solution.
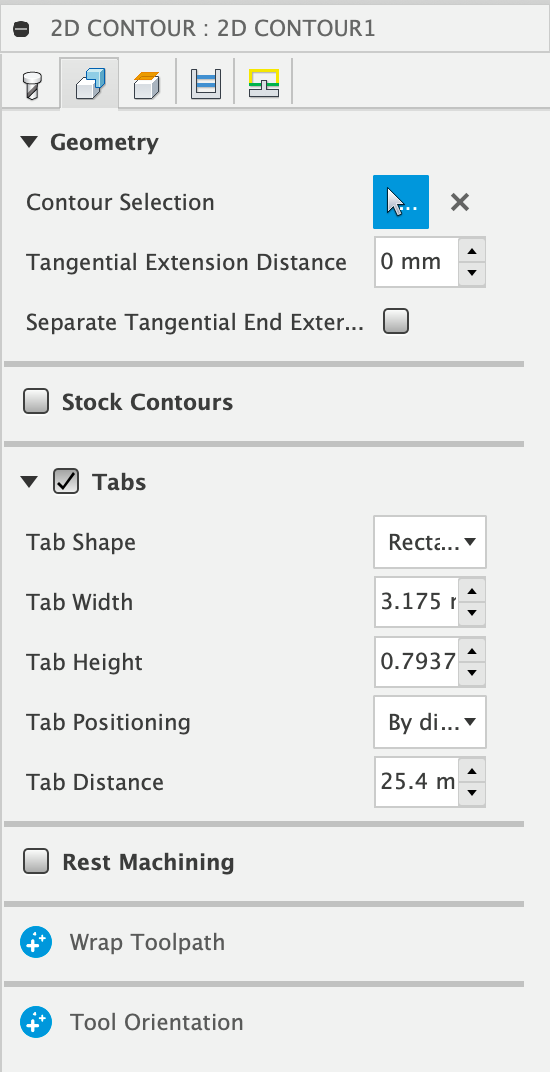
I’m also no fusion user…But I see that you defined holding tabs but I can’t find them on the part?
It looks like your endmill pushes the part around what leads to chatter and bad surface quality
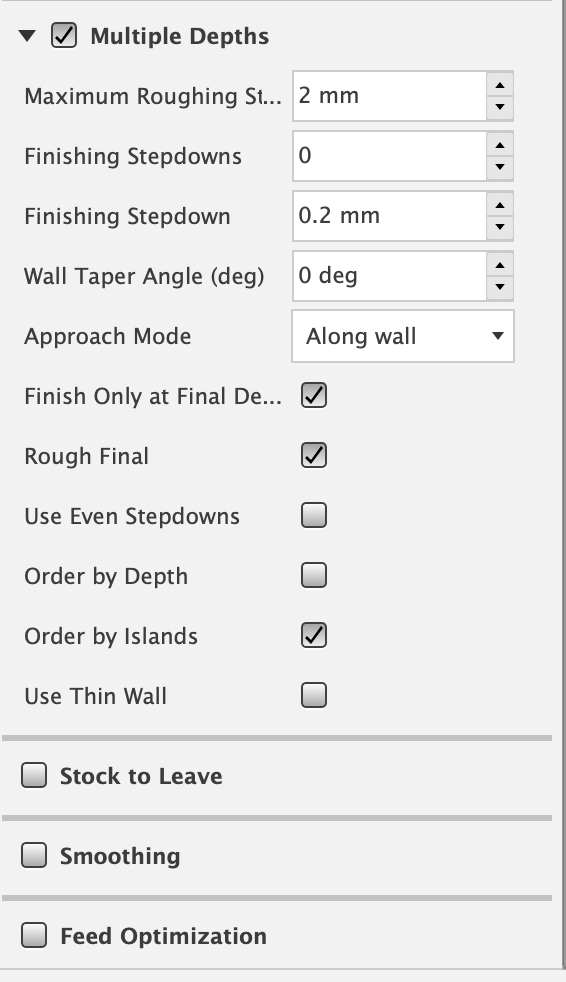
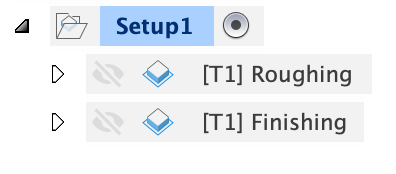
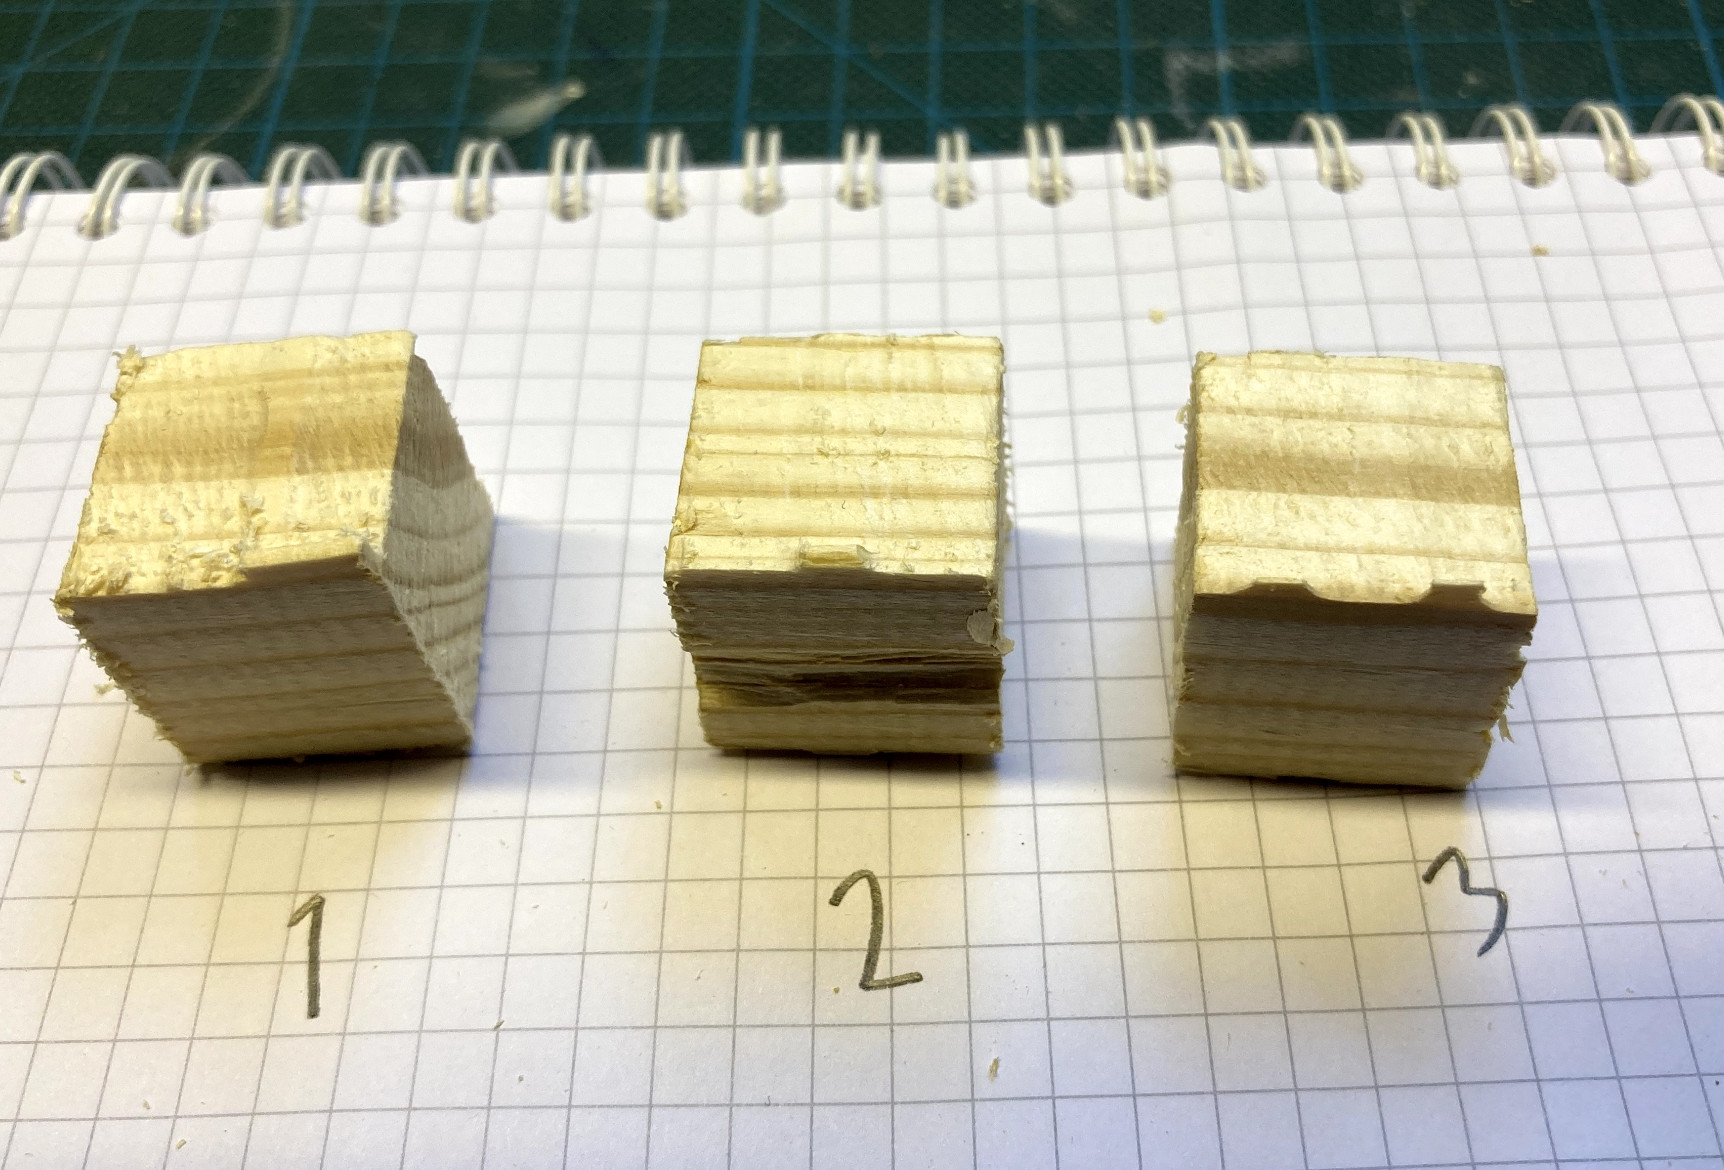
I have now learned that I should create roughing and finishing as separate jobs like this:
That seems to be more logical than to try do to Roughing and Finish in the same job? But I don’t know. Difference from before is that Roughing leaves 0.2mm material and the Finish pass removes the rest with only one full depth pass.
Hm… I really don’t know where the holding tabs went in this test. But I don’t think this is the main problem. I think I need to learn more how to work with roughing and finishing passes
Seems good.
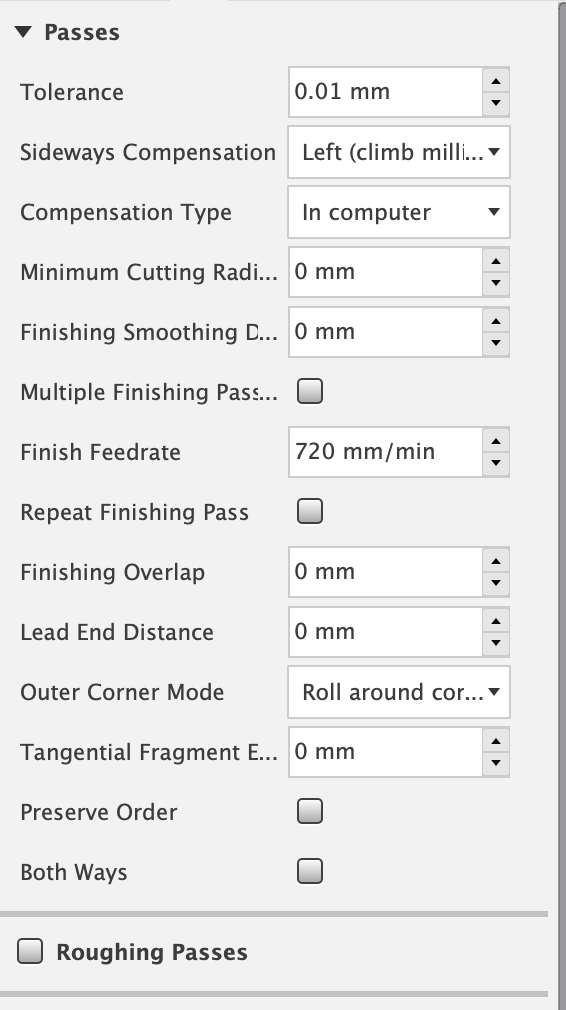
How much material you leave on the roughing pass for finish also depends on your machine and if you use climb milling or conventional milling. With climb milling you want to have as less additional material on the roughing pass as possible, because the endmill is pushed away from the part. With conventional milling it could need more additional material because the endmill is pulled into the material, which might not leave enough for a nice finish.
Fusion user here. Couple things I see. The holding tabs are there at the bottom of the stock, just really thin. Cam has them at less than 1mm tall, so that’s why you almost can’t see them.
You also DO have “finish only at final depth” checked, so you’re not finishing at each step, which is good.
Things I’d look at :
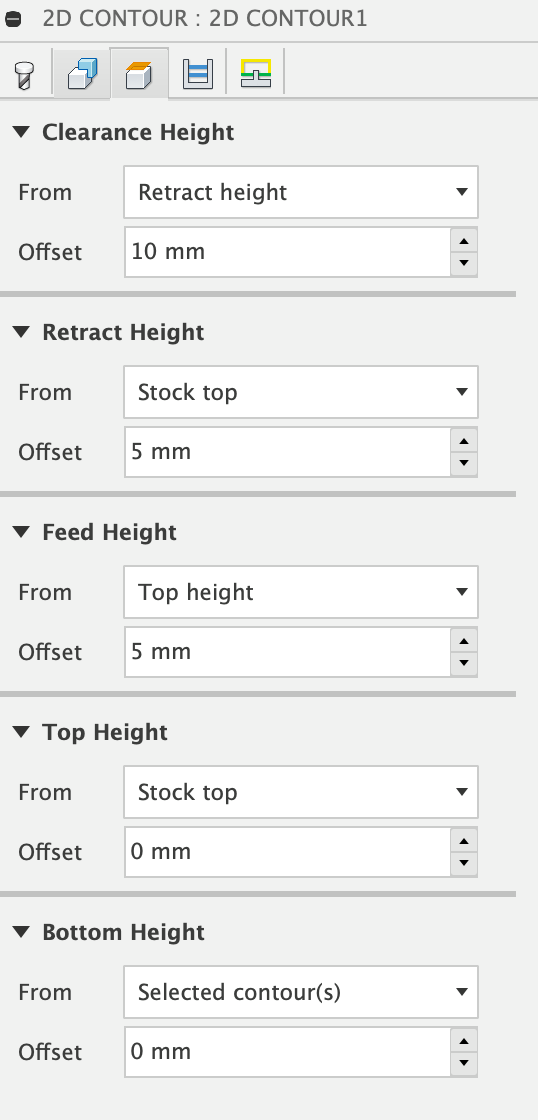
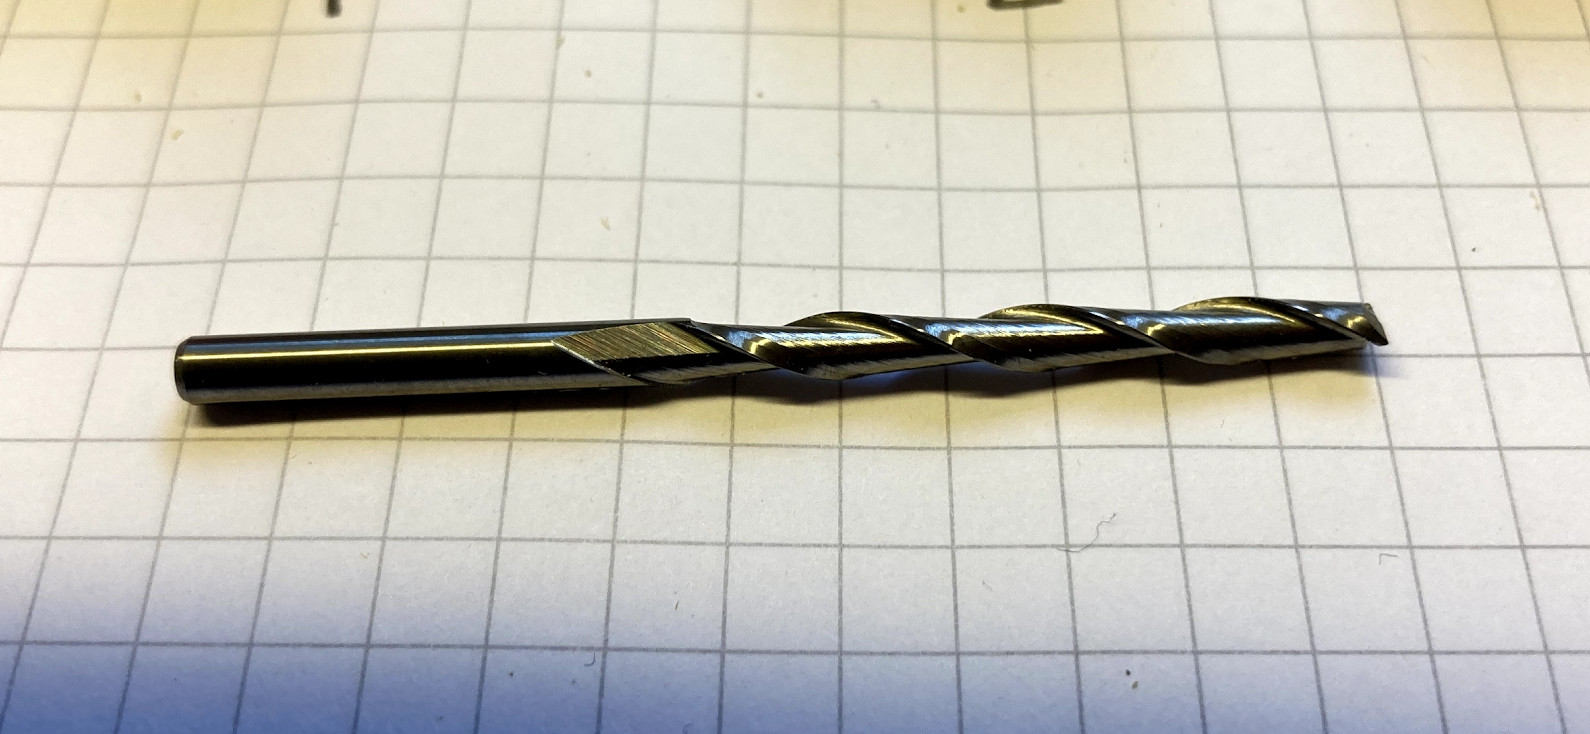
1- are your flutes longer than the stock is thick? If you have short flutes and try to finish only at the final depth, the smooth part of the mill might interfere with the top of the stock and not let you get over far enough to cut.
2- lots of ridges on the off cut piece. Probably a trick of light, but if they’re actually ridges make sure your stepper pulleys aren’t loose
3- the holding tabs are so thin they might have broken and let the part wiggle around while you were cutting. That’s bad for surface finish.
4- I get fuzzy cuts in pine on dull endmills going one direction, shiny/burned cuts going the other when my endmill is dull
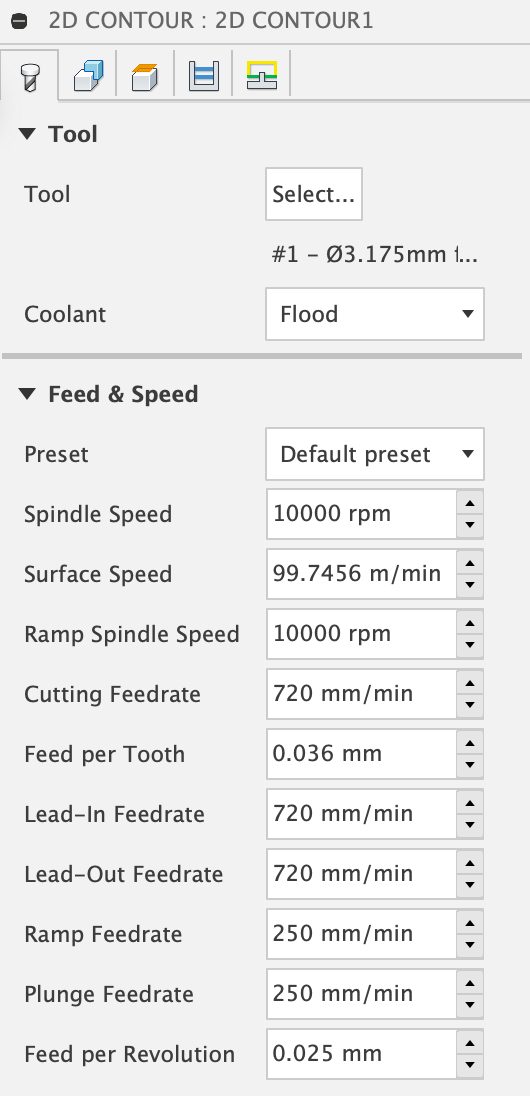
5- if all that checks out, try slowing down the finish cutting feedrate if you are you really at 10k rpms.
Good luck!
I think it looks pretty ok. Pine is pretty soft and doesn’t seem as consistent between boards as some other woods. I have to sand everything that comes off my machine if it’s for display or sale.
On a 2 flute, I think your new feed rate is fine (for 10k rpms).
You’ve seen the solution to breaking tabs is bigger/more tabs.
Doesn’t look like there is any appreciable flex in the machine.
Only other thing to try is changing to conventional milling instead of climb and see if that fits anything for you.
It definitely looks like you’re getting a roughing/finishing pass on the final depth here, but you don’t have the roughing box checked up above. Maybe you fixed that, or maybe something is going goofy with the final depth, or maybe you’ve set up two steps like you showed above. Either way, if you check the roughing box(4th panel) , you get a couple more options for finishing. That’s where you can set the finishing stepover and lets you cam them both in the same operation instead of using the “stock to leave” settings. It looks like the final pass isn’t removing anything but dust, so maybe bump the stepover up a little bit there, or leave more stock if you prefer two ops I think rich mentioned that. Actually, I think rich mentioned a lot of this, and I’m just trying to provide some support/detail because I use fusion so much.
Bonus tip: on the fifth panel (linking) if you check the box “keep tool down” fusion will eliminate the z moves to the clearance plane between passes.
Regarding the “fuzzies” on the top surface, and endgrain cuts, a downcut bit will help with that. This may leave fuzzies on the bottom surface, depending on tightly the board sits on the spoil board. It can also leave the kerf packed with sawdust. A “compression” bit will probably produce the best finish, but is more expensive.
Nice, my Katsu trimmer has 10k rpms as lowest setting… I think I run it at about 15k rpms actually)
Aha! Didn’t think of this. Glad you could see that. Feels good
YEPP
Wow, didn’t even think of this. Glad you could help me see that! Thanks!
Aha! I though climbing was the was to go for the most of the time! Thanks, will try alternate!
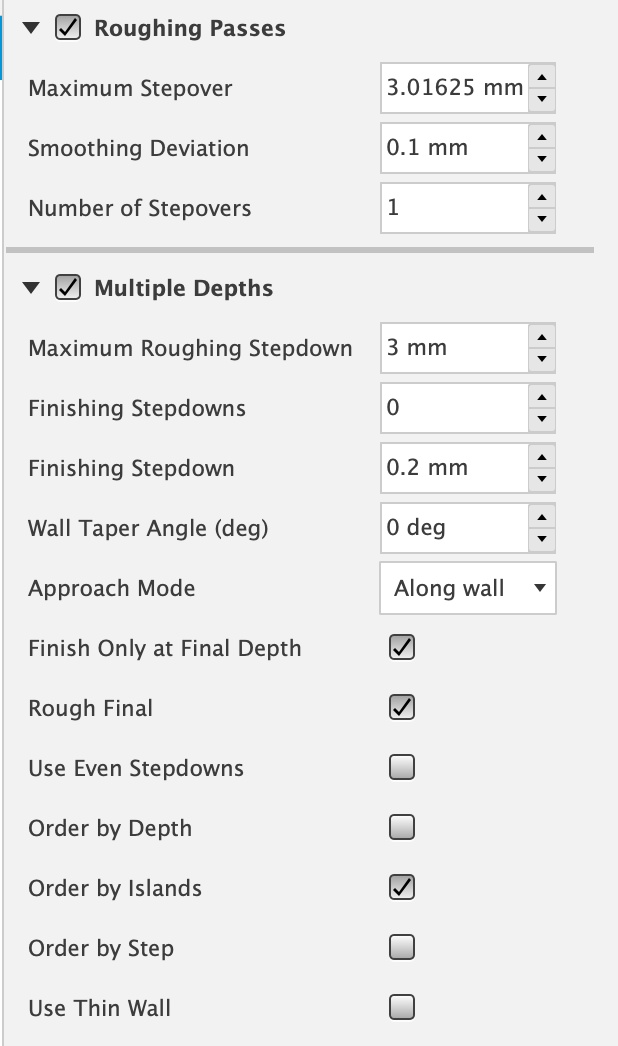
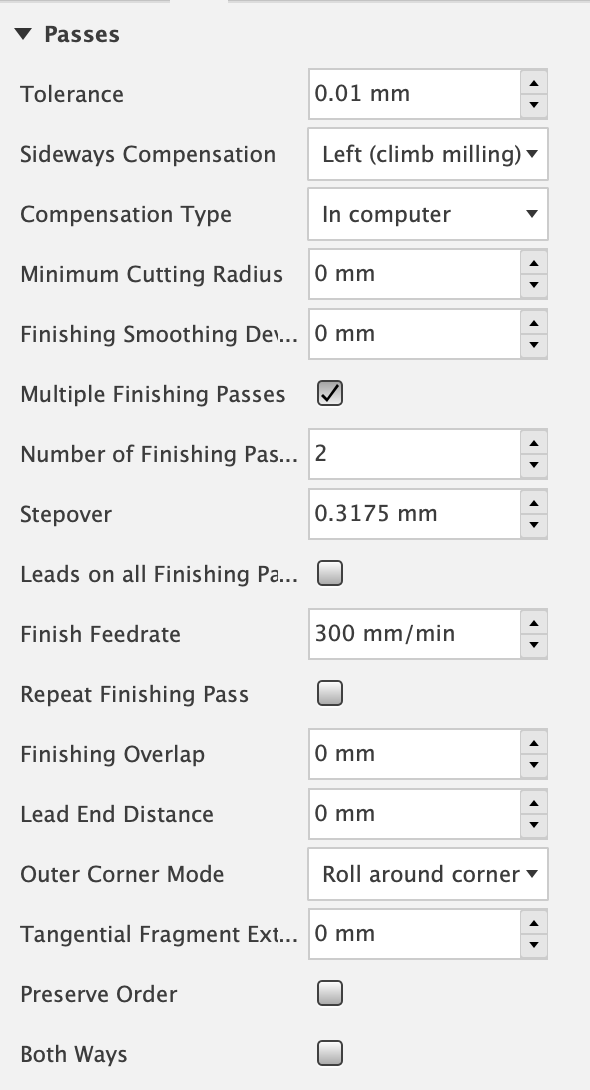
Aha, okey. I watched some YouTube who did that “stock to leave” thing. I thought that was the way you did it. I have made some changes on these screenshots. Have I understood you correctly?
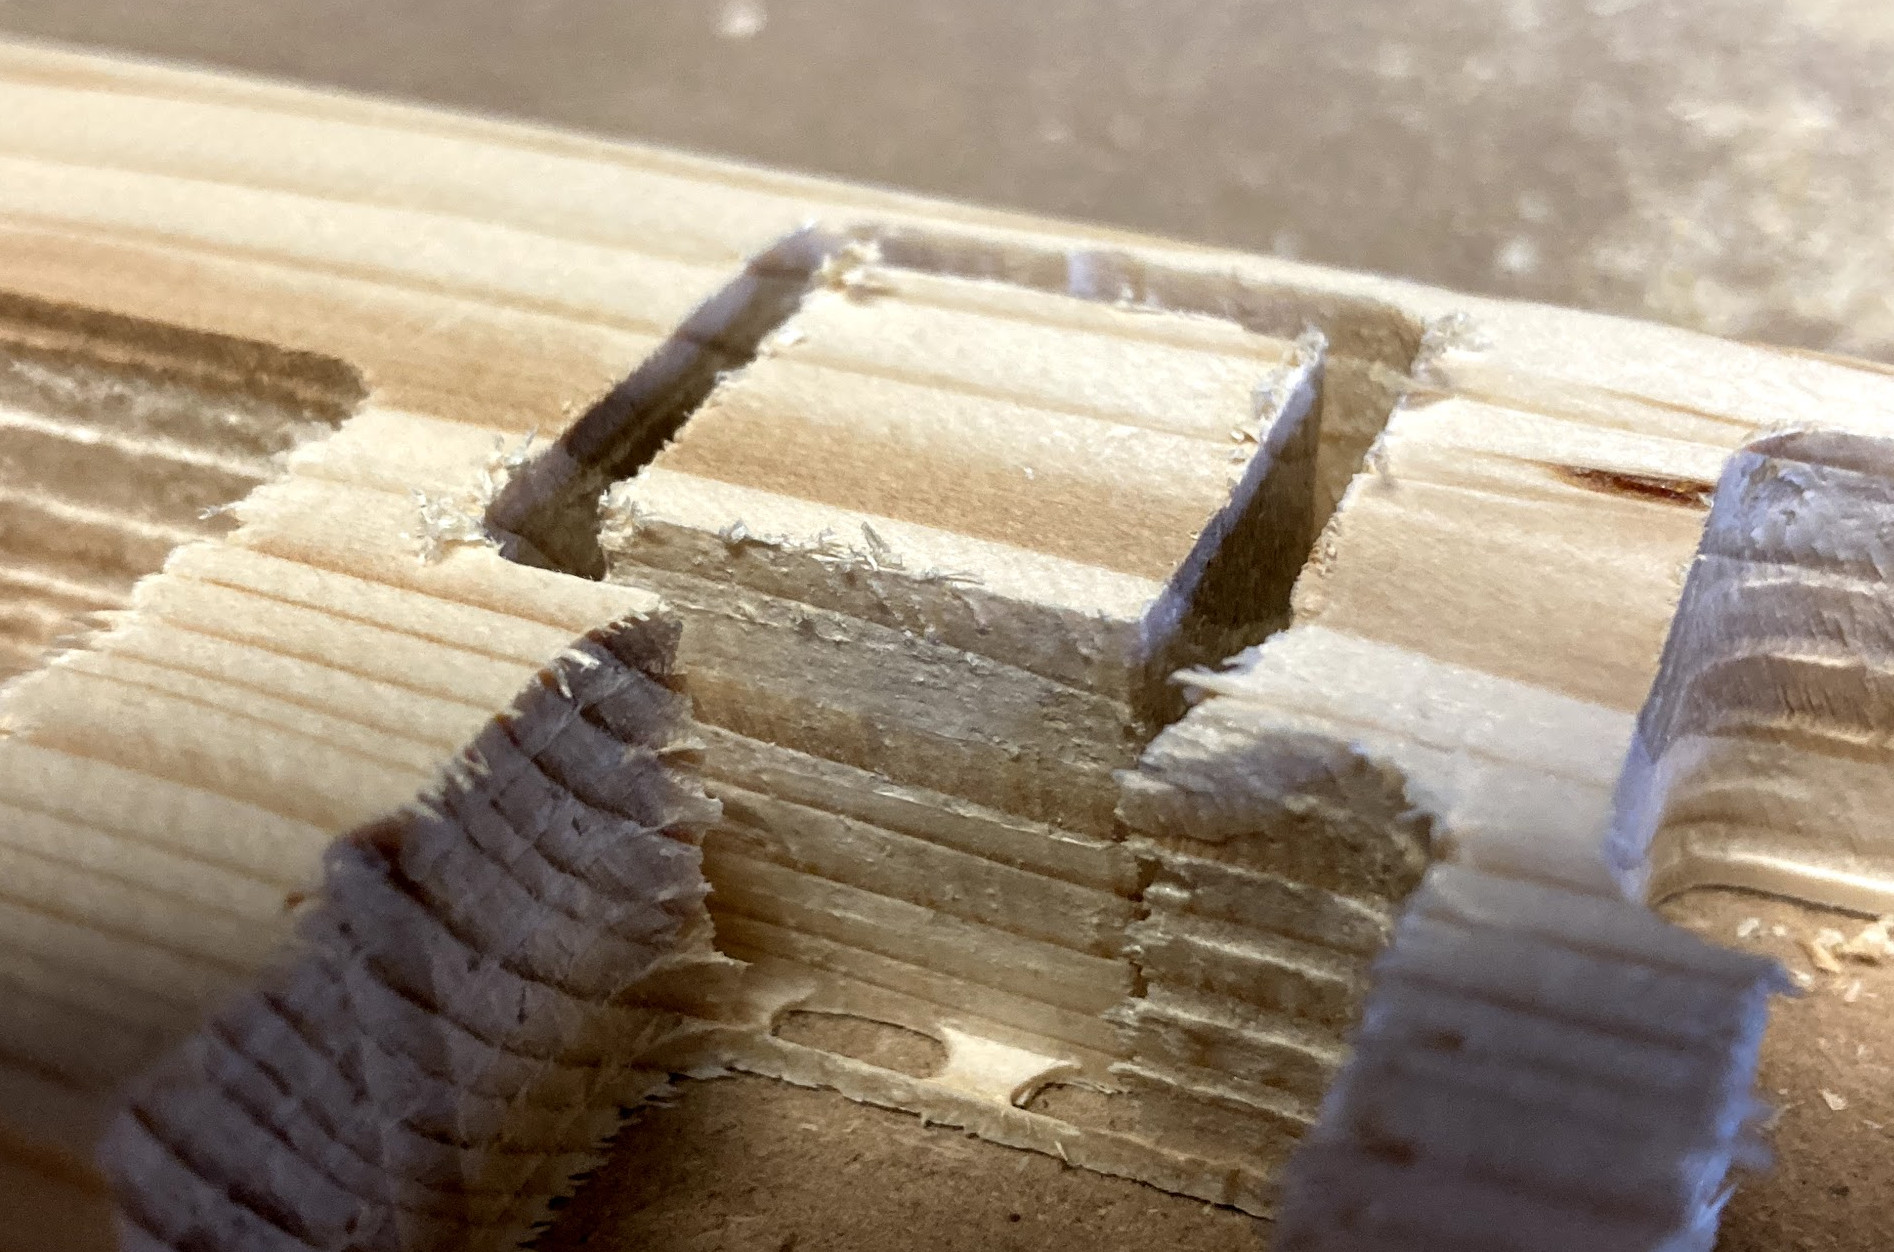
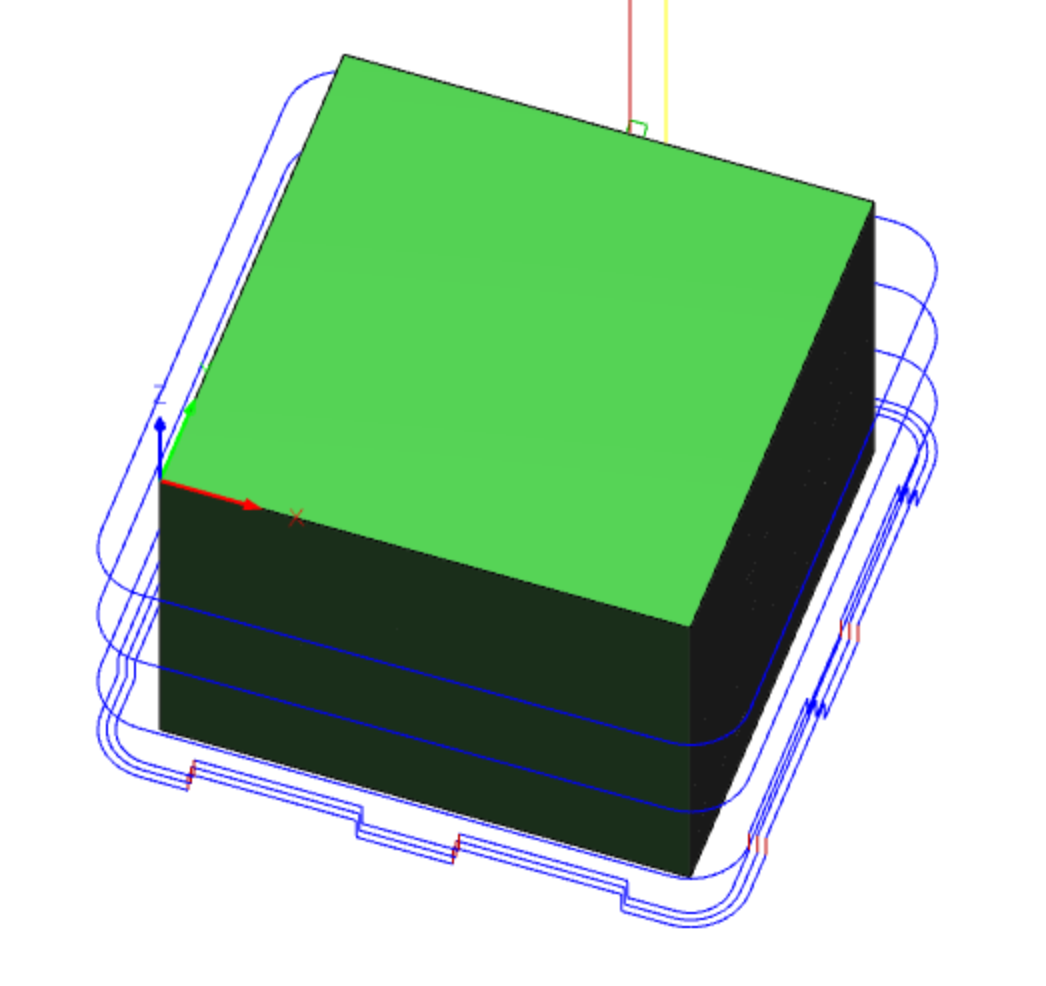
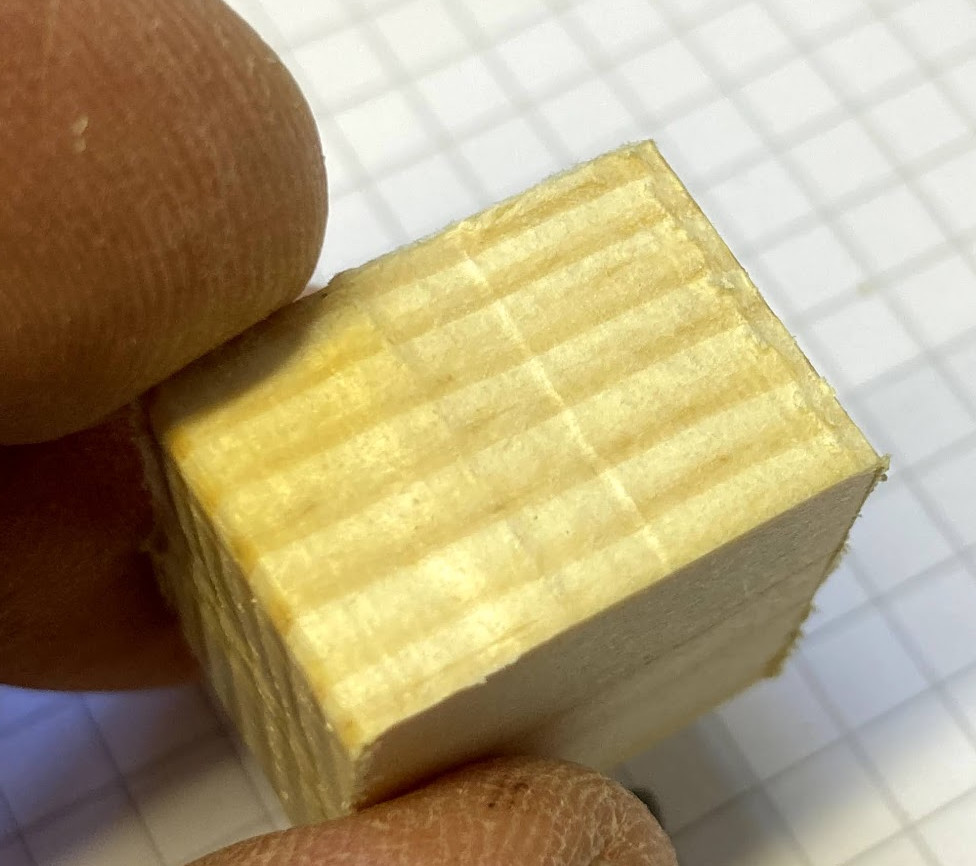
I think the surface comes out OKEY I guess? Still pine wood. But I can see that it leaves marks from the tabs. You can see it clearly on the cube cut by a tool from China:
I think this is looking really good. I get those marks around the tabs, too. No matter what we do, it’s still made of tube and plastic and even if we can’t see the Nadine flex, it does. Since the tool stops moving in xy to lift up for the tab, it has more time to remove material there and thus, less pressure pushing it back out.
Sometimes conventional milling helps a little, sometimes not. BUT on the second tab, there is an option to use triangular tabs instead, and that helps a lot because you don’t actually stop in xy. Definitely want to make the tab measurements larger though, because the tabs will have less material for the same height /width.
Are you using a finishing pass? The idea is that you scream around in the roughing pass, leaving 0.1mm or so. The bit and machine flex when doing the roughing pass, and it leaves artifacts like that, or step lines. Then the finishing comes back and removes the last 0.1mm and since it is doing almost nothing, the loads are near zero and the accuracy goes way up. I’ve seen some users milling aluminum will use multiple finishing passes to get the best accuracy.
 how did this happen? (Never mind the hand sanded part shown on pic. It is the rough surface that comes from CNC)