ok cheers for your help buddy ill check it out
ok iv done that but still got the same problem can you tell me how to set up repetier properly for this please , the firmware is now saying its 513d and i cant find any youtube videos on how to set this repetier up for the cnc from scratch properly either . sorry to keep bothering you with this stuff
There are only a couple of options to change on Repetier.
got it all working now thank got after all this time gradually doing bits here and there lol , figured out how to create the code to start it going properly as well uing estl cam to create it so just got 1 final question as i cant tell what its doing at the moment on a dry run but on the z axis does the up arrow rais the spindal or drop it in to the material on yours buddy im asking because where its also a 3d printer program from what i can make out im not sure if the up on the manual control is to rais the spindle or push it down in to the matterial as with a 3d printer working from the bottom where as this works backwards due to taking matterial away if this makes any sense to you with what im trying to say . but thanks for all your help so far buddy you been a star
1 Like
Pressing the Z up arrow should raise the spindle.
2 Likes
thanks ever so much for the help buddy ill check it after the dry run completes
1 Like
I have been reading along and you got exactly the right advice. Thanks.
2 Likes
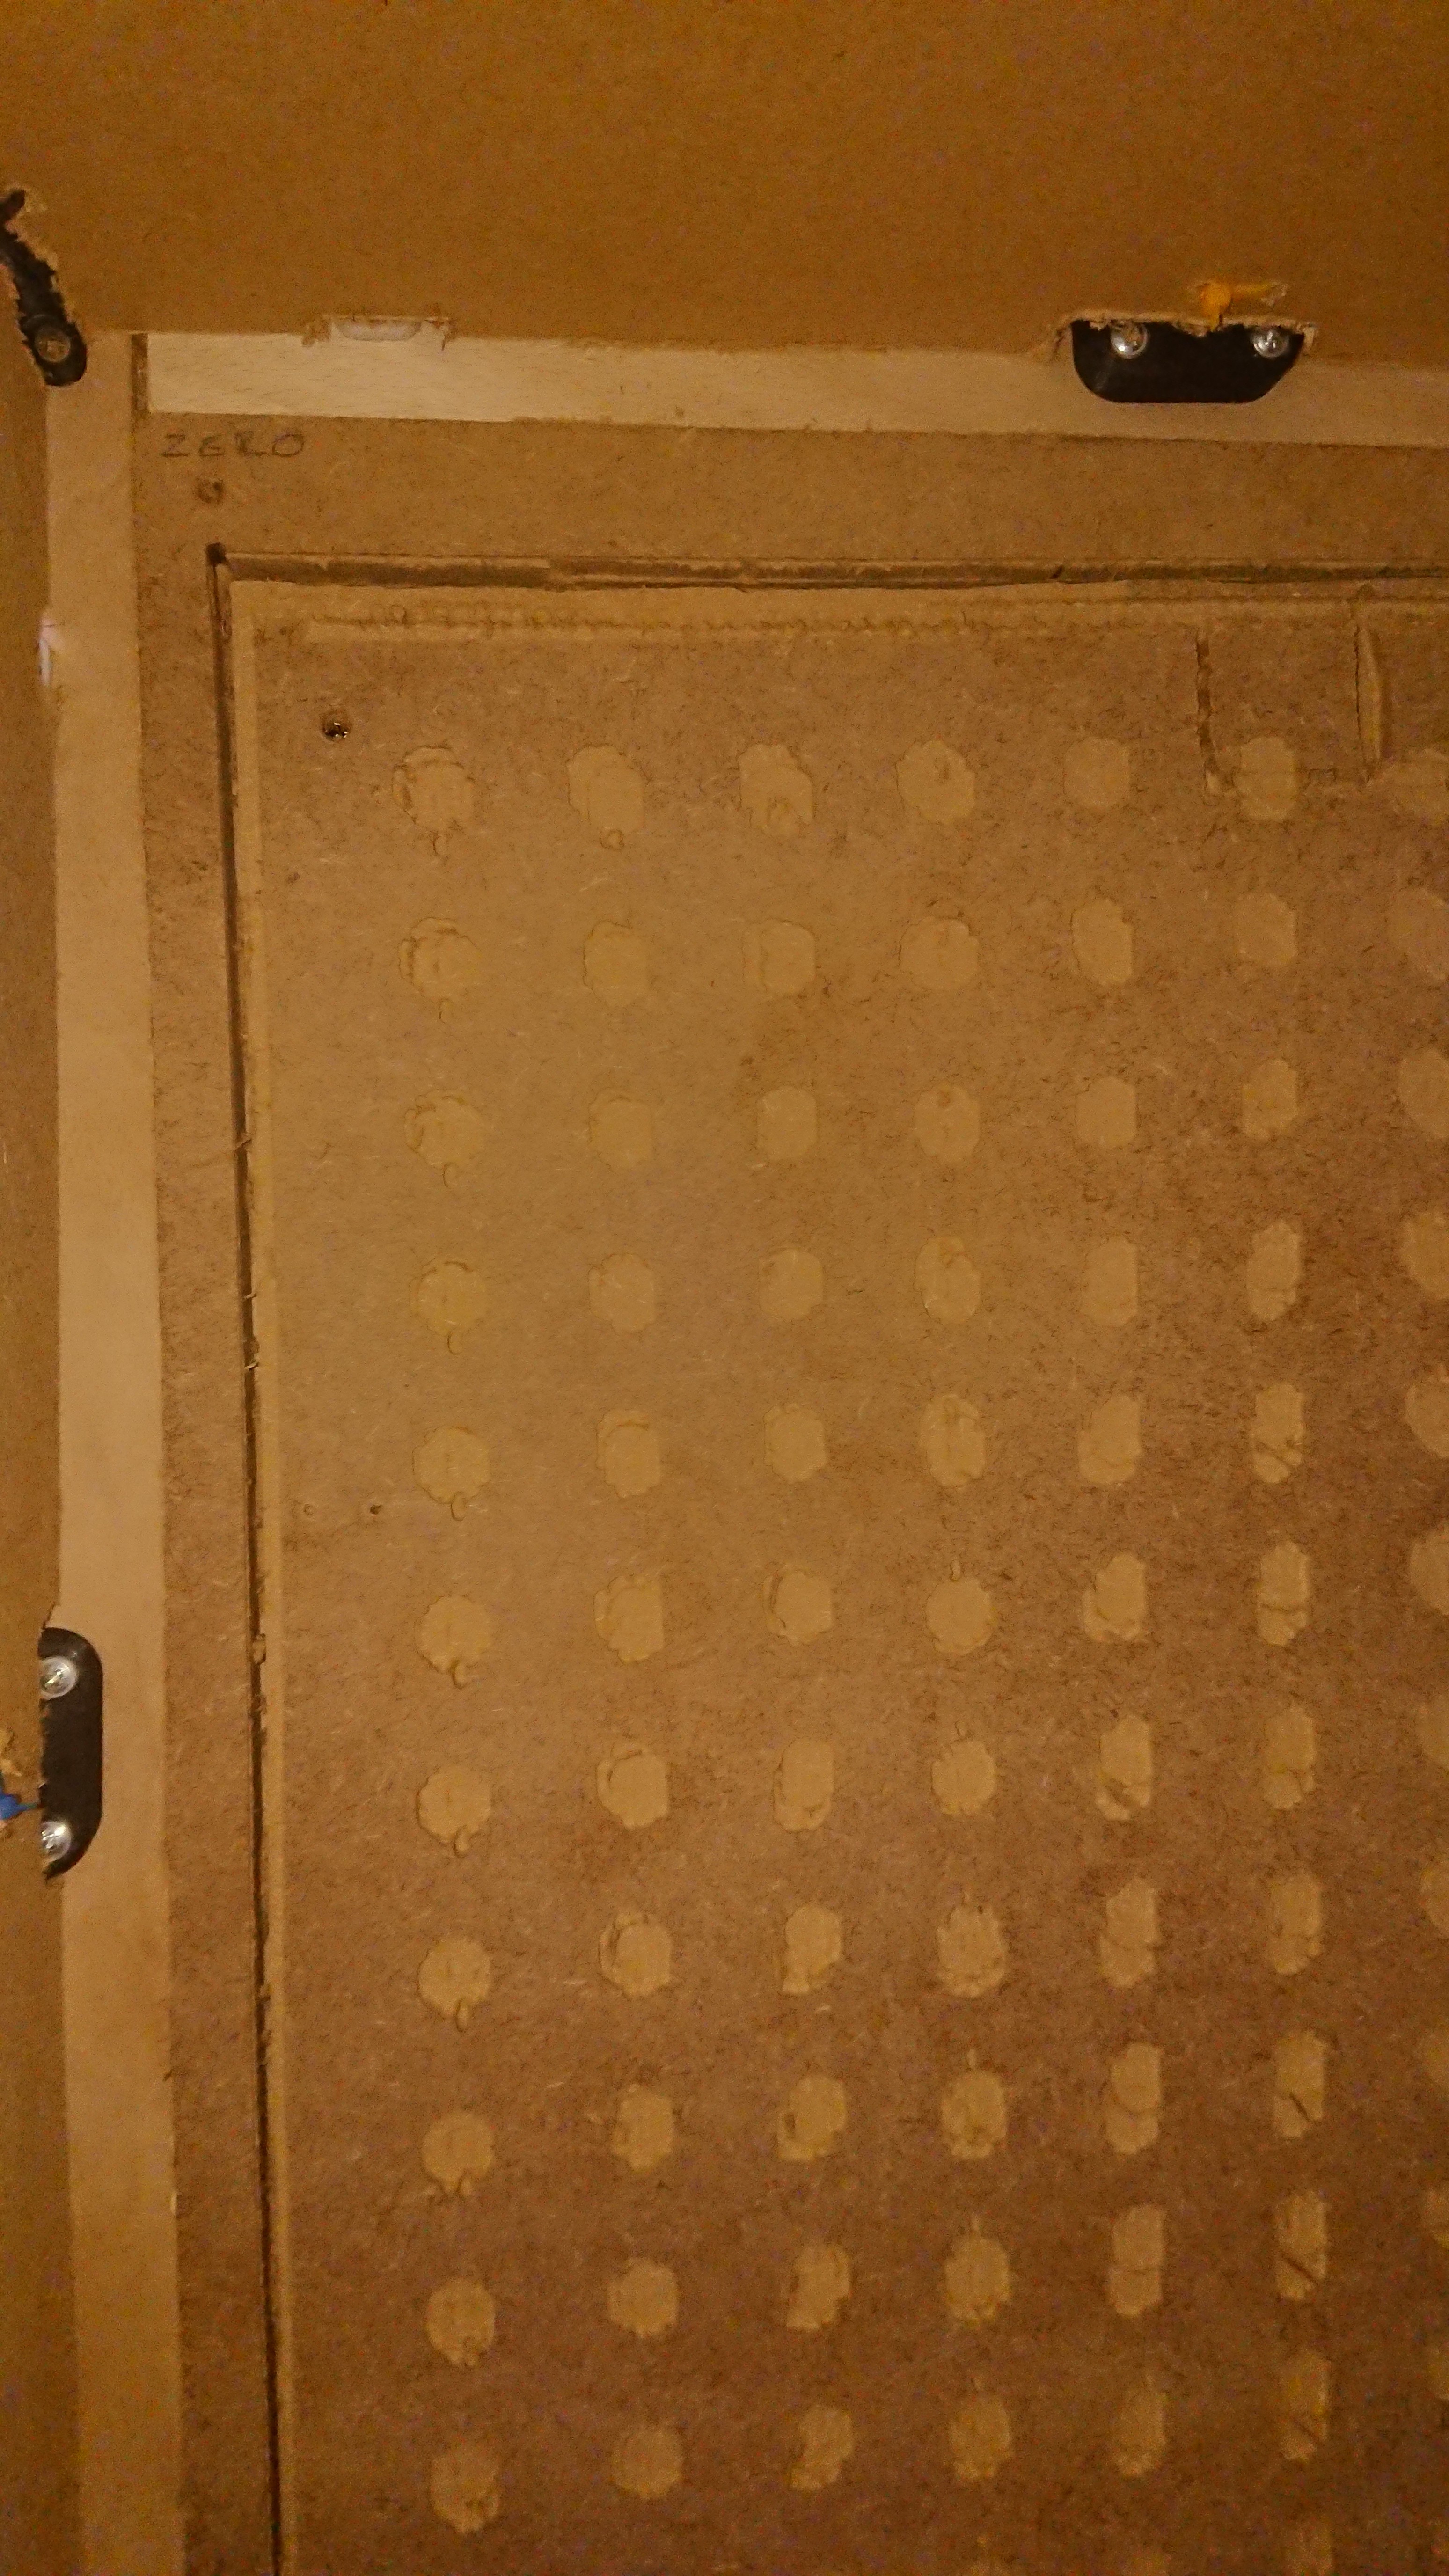
hi guys i got the mpcnc up and running but now got new problems with no idea on where or how to start and fix them , firstly is X axis 1 of the motors seems to be either to fast or slow as the motor at the back of the machine every now and then makes like a quick grinding sound as it springs into place to catch up and the second issue is in the pictures you can see where i have tried to make a spoil board out of mdf that the holes start to line up until it does the top 3 rows which are out of alignment on the first pass then the second pass all of them are out of allingment then the third pass if you look at pictur 18 where it starts to do the holes for the threaded insert of the T-NUT they are also out of alignment even more so . iv tried the belt tensioning which sort of helped a bit but even when its square to start with as it moves on the x axis by the time it get half way along its out of square again . my measurements for the spoil board are 315mm on the Y with 7 inserts and 1085 on the X with 26 inserts on a 40 x 40 mm grid and the programming of this i think it was 1mm cutting depth per pass


Check the conections in the board, the only time I had that happen was when one of the X axis was in place but not fully down (connected) making it lose steps and do something similar to what you are discribing
that was 1 of the things i thought of originally but iv just double checked them and they are solid all the way in there and no pins has been pushed out either which i didnt check before
Basic build is now finished and I ran the crown G code for a first test run…very happy:-)
Youtube video of very first test run 2
I followed all the build steps as per V1 website along with further info in the forum.
Many thanks Ryan for your amazing design, website and forum.
I have just re-mixed a Spring loaded pen holder for the Primo to fix onto the Matika clamp.
Any UK people still out there. Just put my Vintage 2018 Burley MPCNC back together, not used since 2019 - and hardly used then mainly due to space and suitable workspace issues.
Now moved to Suffolk and have a nice attached garage - so thought it was time to have another try.
Was a bit like a jigsaw puzzle and took a bit of trial and error to get it to all fit together ok. Good news is that it is moving ok, and homes using the dual end stops ok.
Went to the Brentwood hardwood offcuts shop to get to a few bits of wood to try out - so looking forward to making some noise and dust tomorrow.
2 Likes
Just updated build area from 250 x 250 to 650 x 650.
Used SS pipes from Rapid Metals this time - as slightly cheaper.
Arrived within about 4 days - not as nice and shiny as the Metal Mania ones, but seem to work ok.
Not tried cutting anything yet - but will give it a first try tomorrow morning.
Sized new pipes for later Primo upgrade - so the X and Y pipes stick out about 45 mm on the current Burly build
2 Likes
Just restarted my Primo build after printing the plastic parts 2 years ago. Moved house to a doer upper which is now completed and have a nice new workshop. Assembled all the tubework and just waiting for steppers and a few other mechanical parts to arrive from Ebay. Parts were printed on my Anet A8 and as noted above some have already cracked so reprinted them. I’m a retired engineer and OK with mechanical stuff but really stuck on what to do about the main control board and stepper drivers. I could get them from the USA but wondered what alternatives are readily available in the UK.
2 Likes
For control boards, I use a Duet 2 wifi on my Primo. Those should be readily available in the UK. V1 doesnt have configurations for those, but I have one that works with the latest firmware and am willing to share.
The BTT boards that Ryan sells ought to be available, if you look around.
The TMC2209 drivers should also be reasonably available.
Of course a Jackpot board would be nice, given that it is literally made for this application. On the Jackpot CNC Control Board official release thread, Ryan has direct order information, and there was a thread for European group buy of jackpot boards. Honestly I believe these are a great choice.
Hi Dan, Thanks for your response. I think on balance that the Jackpot is the way forward as you suggest. I’ll get in touch with Ryan and order this plus a few of the other parts.
Forgot to mention I’m in Banbury, North Oxfordshire. If there are any other MPCNC owners nearby please get in touch.