I am thinking of replacing my Snapmaker 2.0 with a MPCNC i would like it to have at least a 18" by 18" work area and the ability to mill steel. i noticed that the RAMBO mini boards are all sold out, are there any good drop in alternatives that still allow for duel endstops? also i’m looking for tips and tricks to make sure i get it all right the first time (i hate reworking). what is the advantages of an MPCNC over the RS-CNC?
The Mini-RAMBo does not allow for duel endstop, as it has only 4 drivers.
It will work just fine for any of Ryan’s @vicious1 creations, MPCNC and LowRider.
I have one that I was going to use for a LowRider but I end up getting a different board.
If you still interested on a Mini-RAMBo, let me know, I got it from Ryan and still on its original box and never used. If you want it is yours for the same priceI paid. $85 plus shipping.
Let me know.
Thanks for the correction… I have been trying to absorb alot of information before starting anything. I will go with the skr pro board. Those seem to be in stock, support, and have 6 drivers for the duel endstops.
Another question. As I’m looking at tubing I’m trying to make sense of what the quality levels are. seems like DOM is more rigid then welded stainless, but how does the seamless stainless steel fit in?
The diameter is the most important factor. DOM is cheaper than stainless and it is very similar in rigidity. That’s my equation for it, at least. Stainless does look cool though, and if you live under the ocean, the dom will rust. I live in colorado so that isn’t a problem I think about.
Michigan, so we have some rust issues… I was thinking of starting with DOM then upgrading to SS later. But at that time I may also attempt to upgrade to 2’x2’ work area and I don’t want to loose rigidity by going to stainless (applying some wax once a year isn’t a big deal) I was wondering if the seamless stainless was effectively the same thing a DOM for stainless (with the slight increase in rigidity)
Thanks for response, I’m sure the rigidity is close enough where the plastic is the weak point and makes the difference negligible. But I’m thinking after I get it all set up, trying to mill new joints out of aluminum or maybe even steel. Has anyone tried that before? And at that point I would like to squeeze every bid of rigidity that I can out of it. Any other suggestions on how to improve rigidity would be awesome! And I would like to add that I am planning on building stock first. I just like to keep an eye on my end goals
Have you tried it yet? I wouldn’t be so worried about rigidity. It is a balanced machine already. The plastic works well, and is designed with these materials in mind.
Some people have replaced some older parts with metal. But I am not convinced they improved anything, functionally.
I have not, that is why I will be building it stock first. And it seems extremely well designed and balanced. To me that means if I want to upgrade it, I need to upgrade each aspect (so metal parts rather then plastic, more rigid framing, linear rails instead of rollers, etc.) Upgrading just one does nothing, but upgrading all of them should result in some (if only minor) improvement. Or am I barking up the wrong tree?
I would suggest making it according to the instructions, and then take it from there. There’s such a turbulent learning curve, that by the time you’re finished, you have completely forgotten the original plans/worries, and ended somewhere new and hopefully better
Thanks I do plan on building it stock, but with an eye on potential upgrades… such as using DOM for affordability but having the advantage of not needing to reprint all the parts to upgrade to SS. And this is not my first CNC build. I did successfully build an Prusa mendel i3 from scratch (I never want to do that much point to point wiring again in my life). So I know how these projects can take on a life of their own. That’s why I like to get a firm vision of where I want to end up, so I don’t get lost on the way.
My end goal is to be able to mill small steel parts with an accuracy of about 1mm and engrave pcb boards with a .01mm accuracy. Preferably on the same machine.
After a lot of reading on here I have decided to make my mpcnc smaller than I initially wanted, and I’m even considering making it smaller than stock (down to a 12" square work area).
Then I will shrink it down, thank you. Is there anything else you could recommend that might help me as I plan my build? Maybe a link to a thread with a good electronics enclosure build, or enclosure of the unit? Tips and tricks that go beyond the instructions doc? Things to avoid while building?
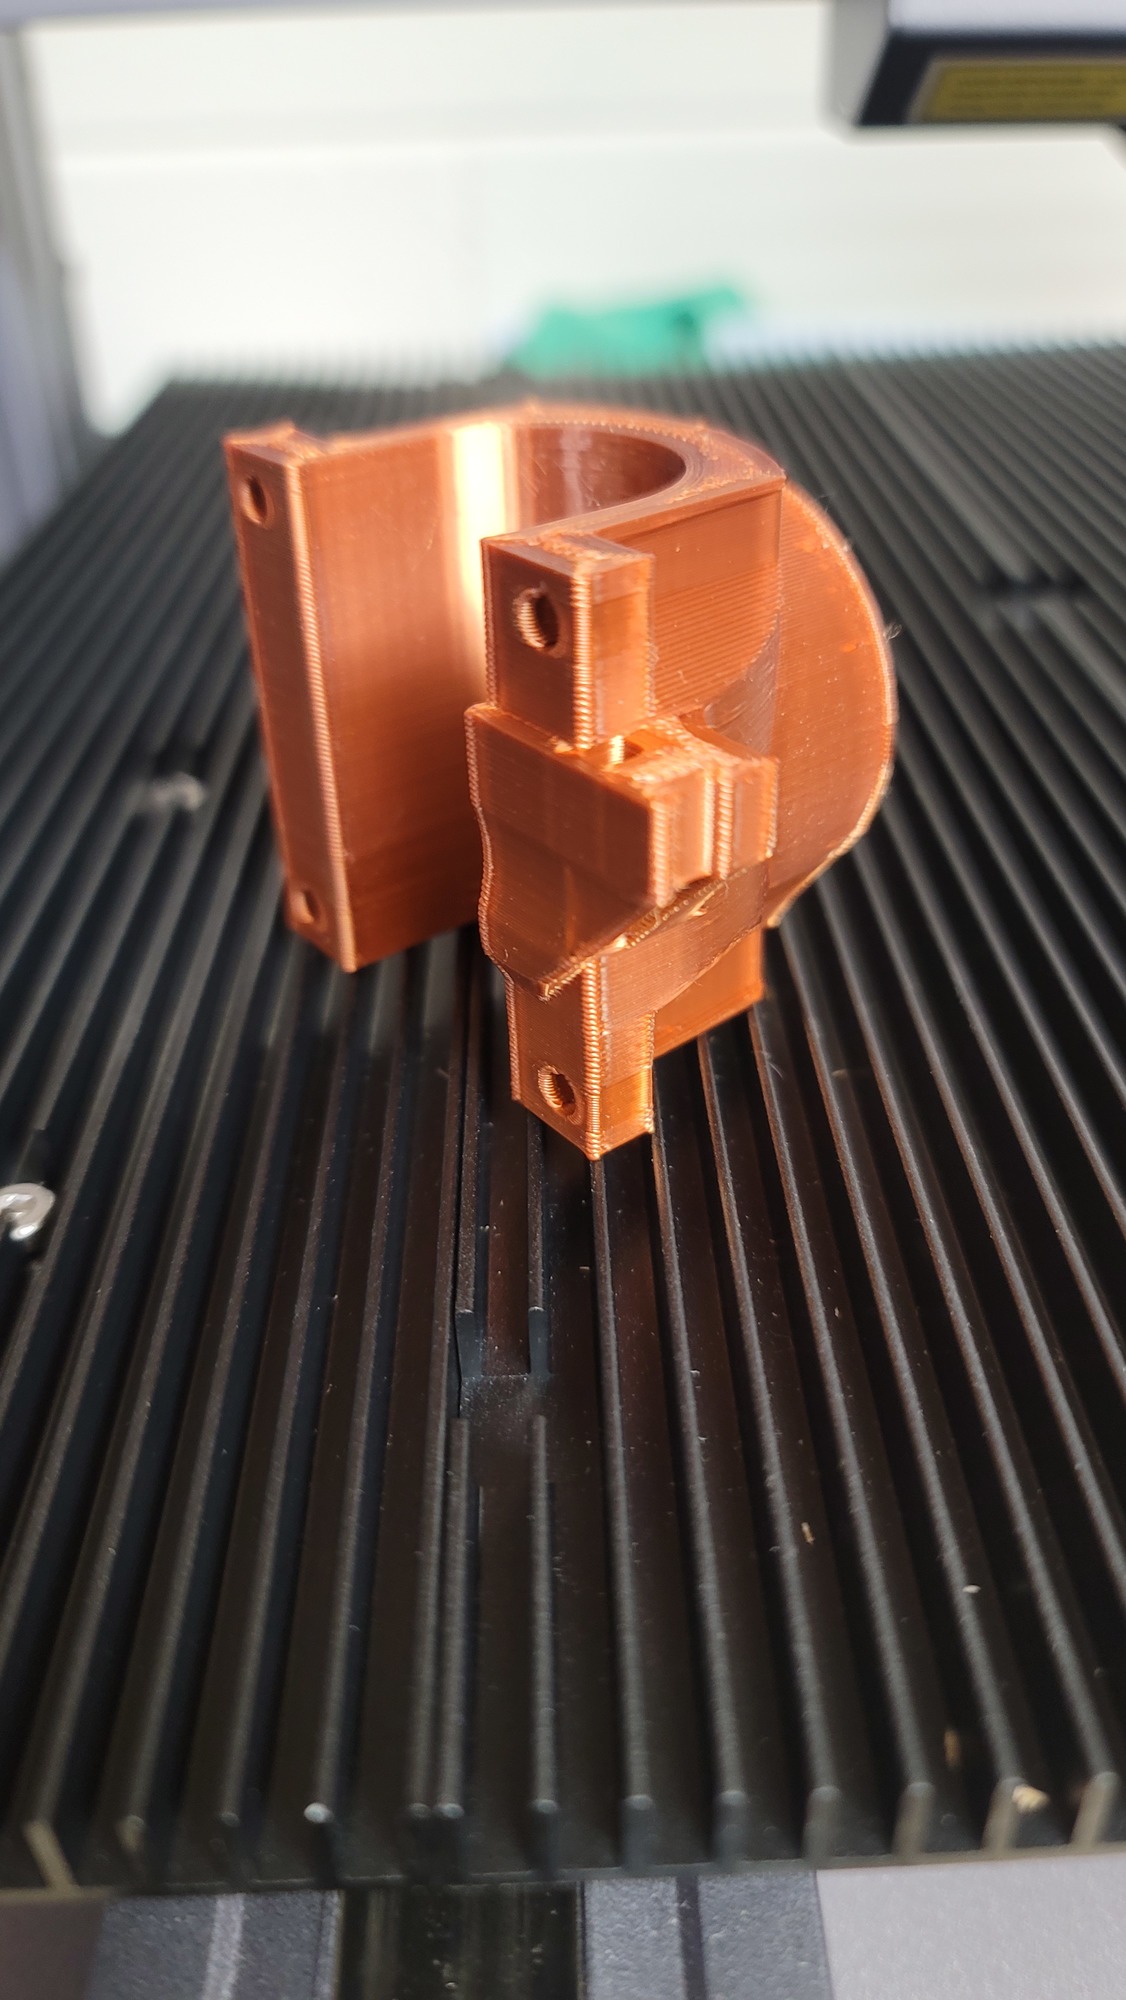
Yeah I have a well tuned e3 i will be using, and might print some of the parts on my SM2 until I find a buyer. I will use standard PLA (I’m thinking my brass color will make for a cool finished look). Still need to source the tubes (need to wait till tomorrow when places are open) but I will be sure to check the OD and straitness before paying for them.
Thanks for all the help! And let me know if you think of anything else
well there it is, my first step on a long journey… I’m excited… this will be my last post here. I will start a new one in the “your builds” section. Than you all for the help.
So it’s been a while but my build is progressing, pictures soon. In the meantime I’m trying to figure out wiring… seems to me like the series kit includes about 31.5ft of 4 conductor cables. Or about 180ft of 26awg wire. Is that bout right?
Also if I wanted to put different plugs on the kit is there enough extra length to snip the plugs? My build has a “table size” (outside of feet) dimebsion of 35"x35".