I would love to lower the tone of this entire thread by inserting one of those clappy hand gifs, but instead I’ll just say Wow! I don’t pretend to entirely understand all of the discussion above, but I do understand that a month ago you didn’t have this printer! Incredible!
Well, I did set vase mode, and saved it, but it looks like there was a bit of a jump there (and a slightly lesser one on the other end. Probably better if I reduce the layer height? I’ll have to see.
I do have the random seam position setting set, but it doesn’t do anything in vase mode. Otherwise it would have been distributed all around the perimeter.
I am not sure what your print is showing. There is a chance you were going just a bit too fast or cooling was not good enough to keep up. I had a vase torture test that did something similar in the other thread.
Repeat daily marlin builds!!! I am testing the bugfix now, My cooling fan was a little funky and the part cooling fan would always turn on to 13% I hope this fixes it.
So, I’d been tweaking things, and started getting a layer shift problem…
WTH?! Well, the only thing that I’d been changing was mostly firmware, but I was thinking about what you were saying with going too fast, so I dialled up the motor current (a little) and the layer shift got worse.
Turned it back down…not better.
Checked the mechanical parts, all look good.No binding, no grinding noises. Created Gcode that whipped the hotend around in little squares at 150mm/s, looked perfect…
Finally got around to checking grub screws when I ran out of other ideas. Shouldn’t be those, I used loc-tite on those when I installed them…
Funny story there. When the 16T pulleys arrived, there was one with grub screws that had a different size allen key head than the other 4. Guess which one didn’t get Loc-tite?
Y’know those are a serious pain to get a tool in there when they’re on the machine. Even more so when there’s a front panel on, so those grub screws are tight now, but that one still doesn’t have loc-tite. I just know that’ll jump out and bite me if I don’t rectify that situation soon.
Edit: Sometimes, you have to laugh at yourself. Looks much better now with the grub screws taken care of.
So, stl a few places where that ridge pattern is visible, but it’s less sharp. Most of what I see looking st it are the effects of the mesh grid forming polygons on the surface, which is unavoidable in .STL files.
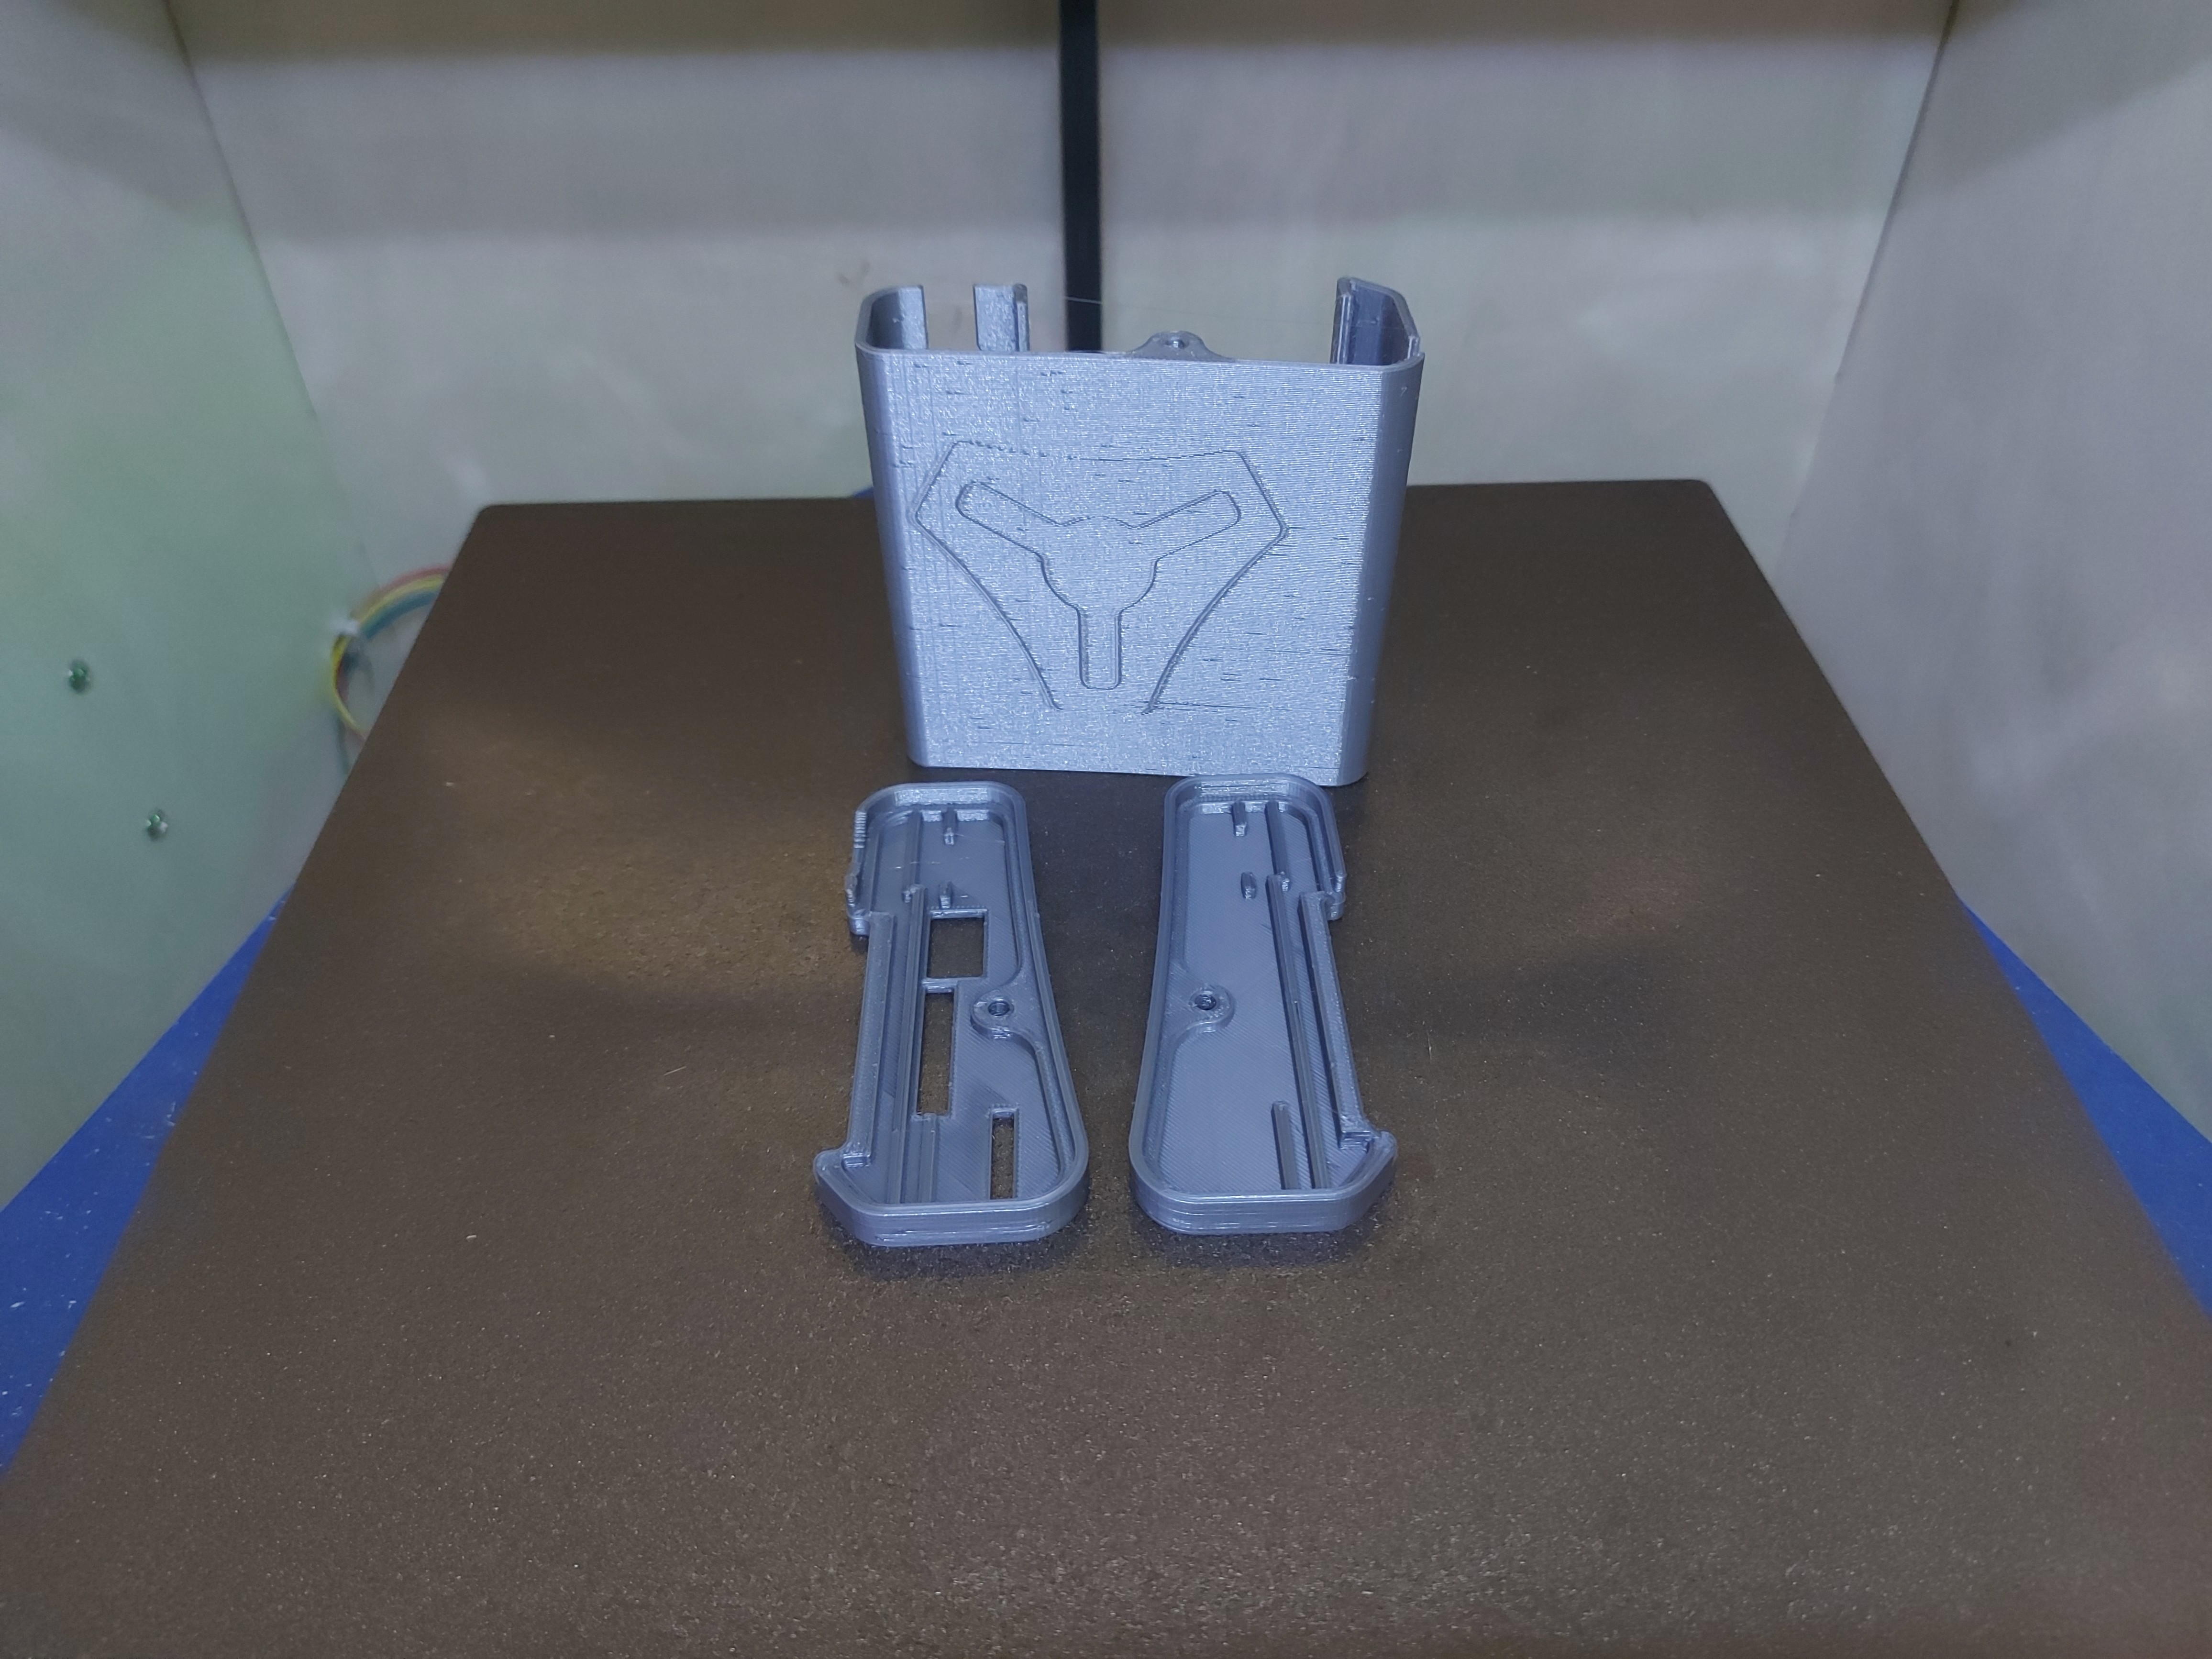
Very pleased with these results and now the LR2 gets a new TFT case. This is my remix which allows the ESP01S antenna to poke out.
I cannot count the countless offers of advise that I have read that start with “check the grub screws”.
And while most of the time it turns out to be something else, once in a while, one gets bitten in the tuchus.
I myself have been a victim of having a screw loose (more than one according to my wife).
I just finished up the HDPE Repeat I am building and every time I got to a pulley I checked the grub screws so many times…I didn’t use loctite though. Dang it.
Shoot, you probably are not going to want to hear this. I made a new version of that case, subtle but tighter and more rigid, fits waaay better. It looks like you have the older one there. I need to check to see if I published it or not. I can get you a step file of it, I used solidworks for that one.
No problem! Not like I don’t have an excellent printer to make a new one on! A slot for the wifi module would be nice though. I guess I’ll have to alter my re-mix on Thingiverse.
I’ve been concentrating on this project, but I still was intending to work out a 2.5D carve for the case. I had started working out the details of the outlines, but if you have a better version, I’m not so far along that it would break my heart to scrap it and start over. In the meantime, this was a good test print for the new hub.
I found my wifi card, I will model and test it soon.
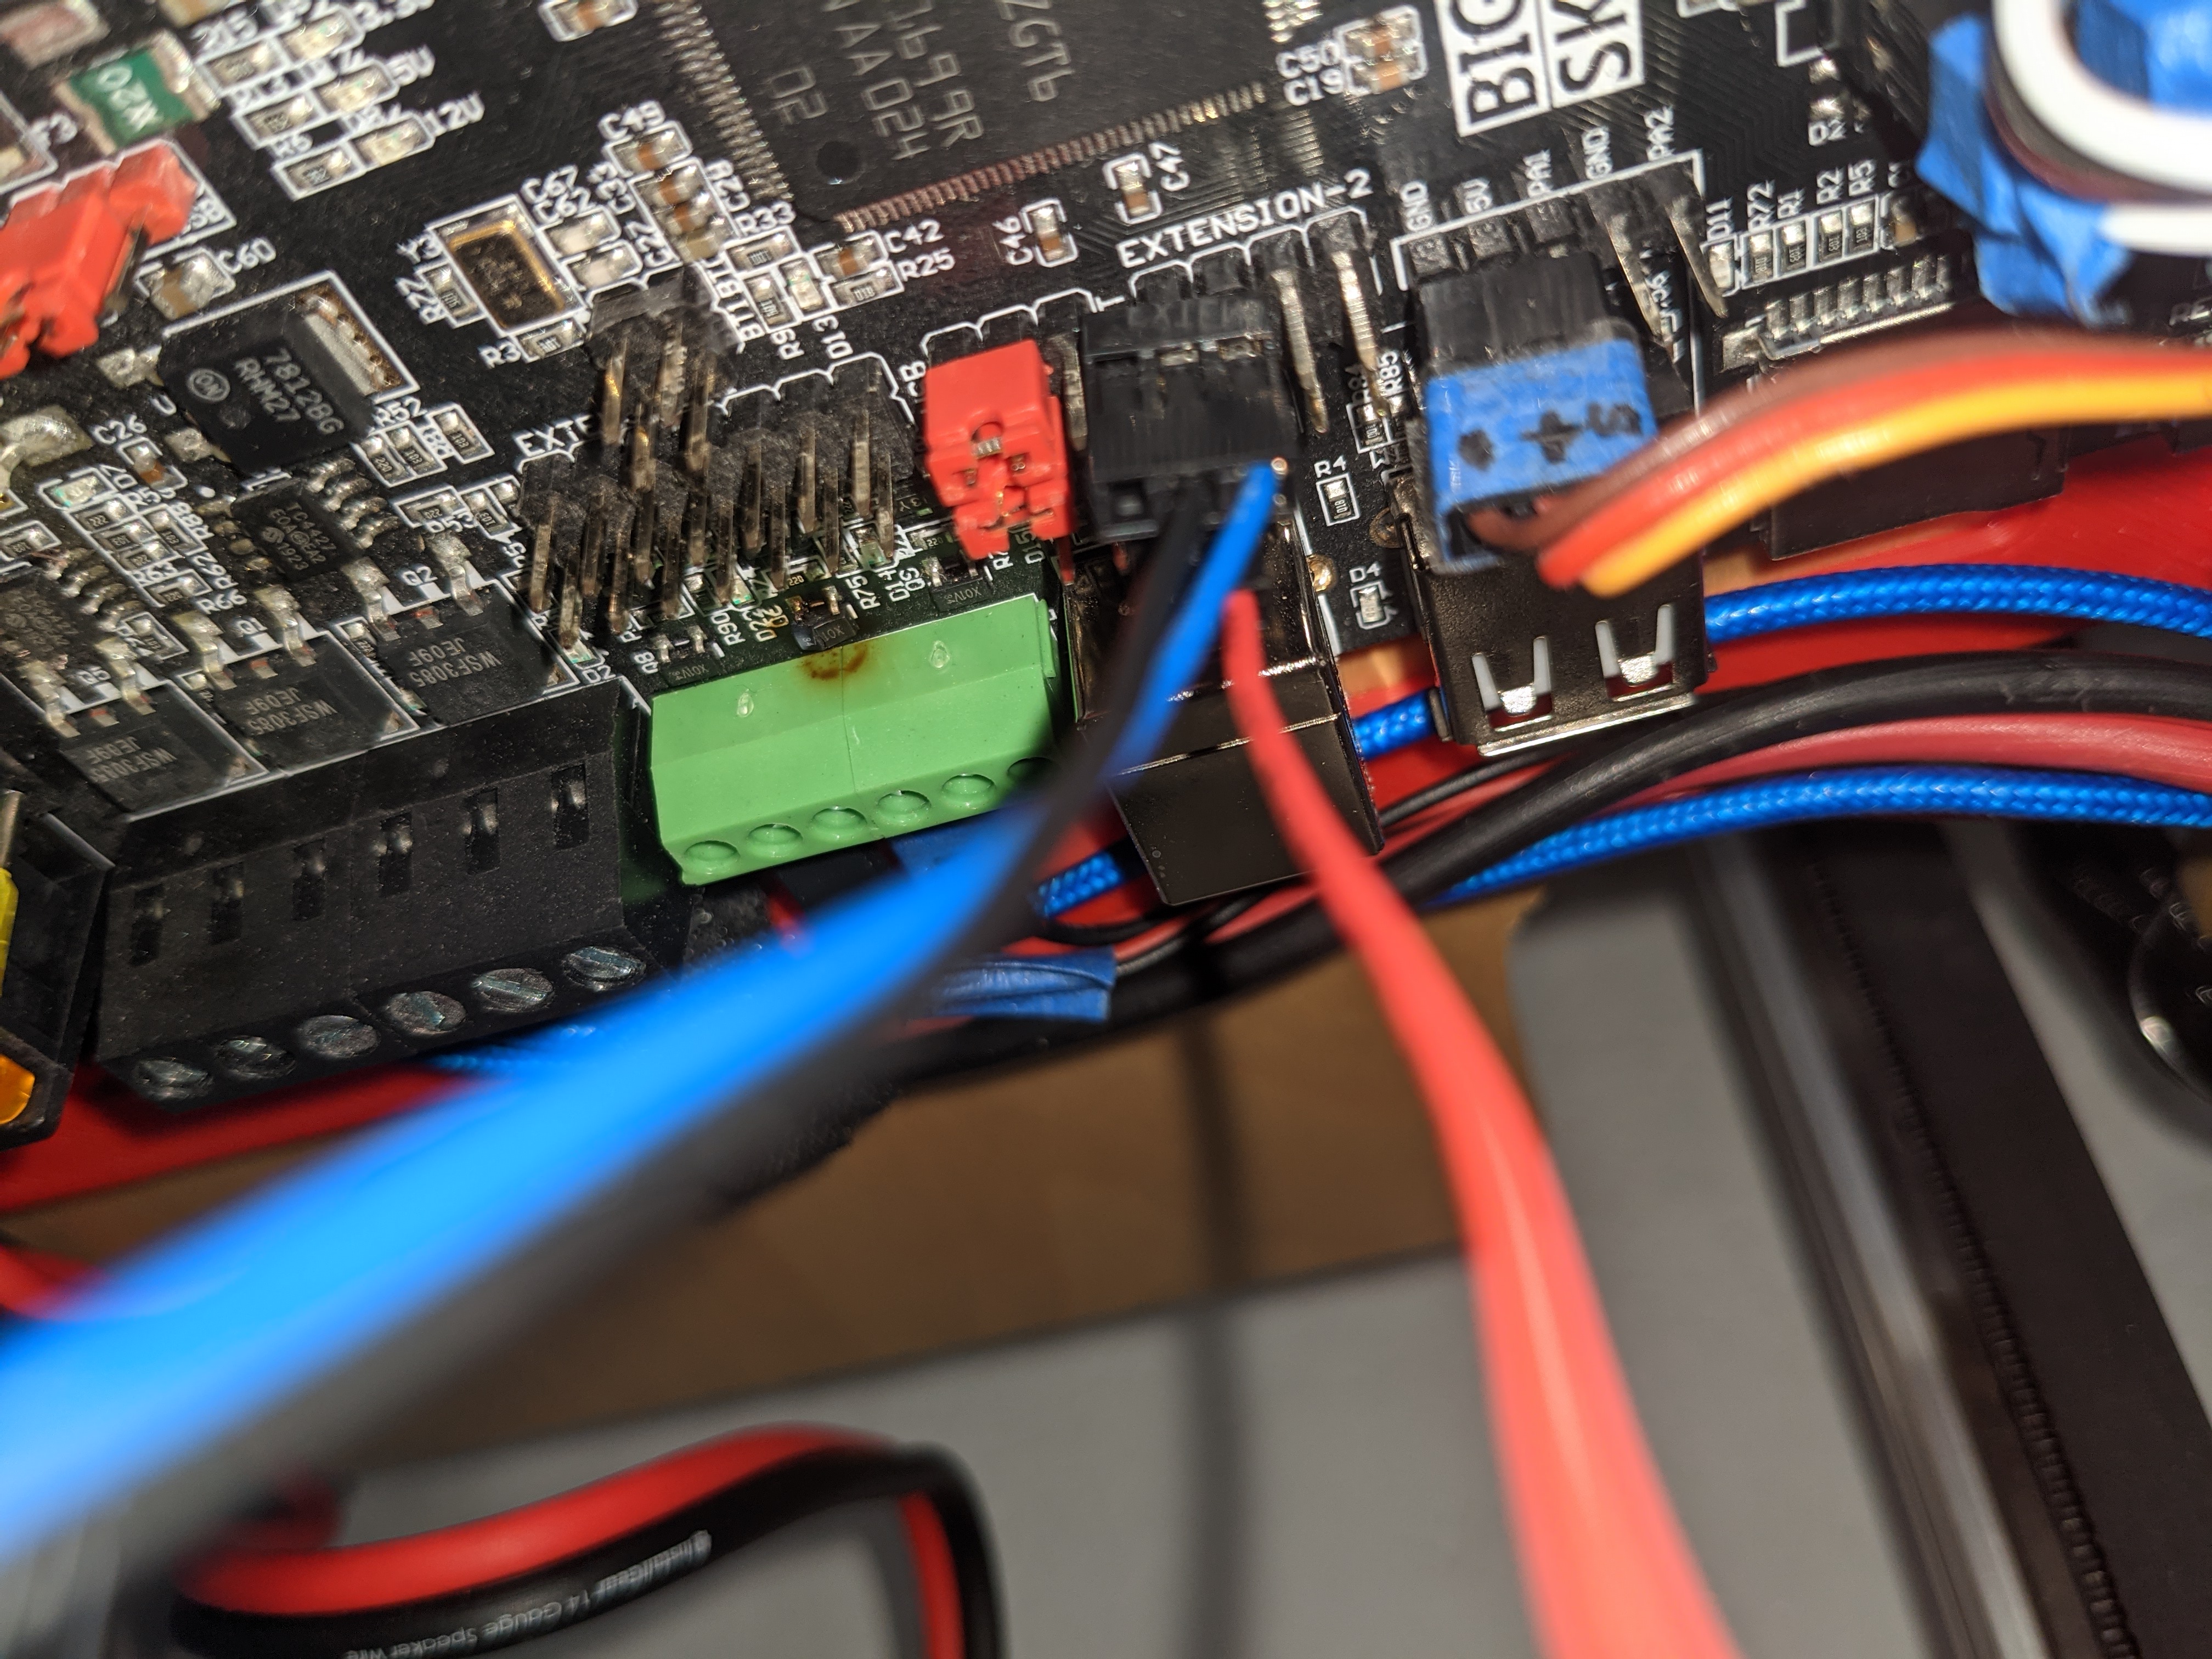
Does your auto extruder fan work as expected? FAn1 should be the hemera cooling fan and only come on at or above 50C. Mine is always on. If you don’t have it plugged in that way is your fan1 green LED on always?
I tried changing it from the actual fan pin, to the fan1_pin and it still doesn’t work right. If yours is the same I will try fan 2.
Yes, mine works as I expect. It’s off until the hotend hits 50° and then comes on, and stays there until the hotend cools, at which point it turns off.
So it seems that I’m not seeing the same issue.
I can’t seem to convince the machine to turn off the part cooling fan at all though. It turns down, but not off.
Maybe that’s a good thing. The faces nearest the heat block are looking a little funky now. Probably because I print mostly PETg so I run the hotend hotter, typically 250°C. Sure is nice to have an all-metal hotend for doing that. I guess I’m OK with it running the fan as long as I still get good layer adhesion, and the full power fan helps with overhangs and bridges.
Glad mine doesn’t look like that. The 13% is a little odd, I didn’t have that, but the minimum layer time is a little long for most things I print, and it seems to always want the fan active. I shortened it, but reverting firmware in debugging my loose grub screw, I think it’s back to default.
I did reduce my G34 accuracy to 0.08mm, which I can usually hit in 2 or 3 iterations, also bumped up the amplification a little, since it was falling short. I have been considering working out how much too short and fine tuning the amplification factor. Also considering giving the absolute coordinates of the motors, which I can derive from my build plate support CAD. (If I were using RRF that’s how I’d do it.) 0.08mm over 300mm is less than 0.015 degrees, not something I’m likely to actually be able to measure… (I’d have trouble with the absolute 0.08mm with my digital calipers.) Add in the G29, and it’s invisible.
Hope you get your inventory sorted, getting stuff shipped is still crazy and it’ll only get worse over the next couple months. Black Friday, then Christmas never makes shipping easier.
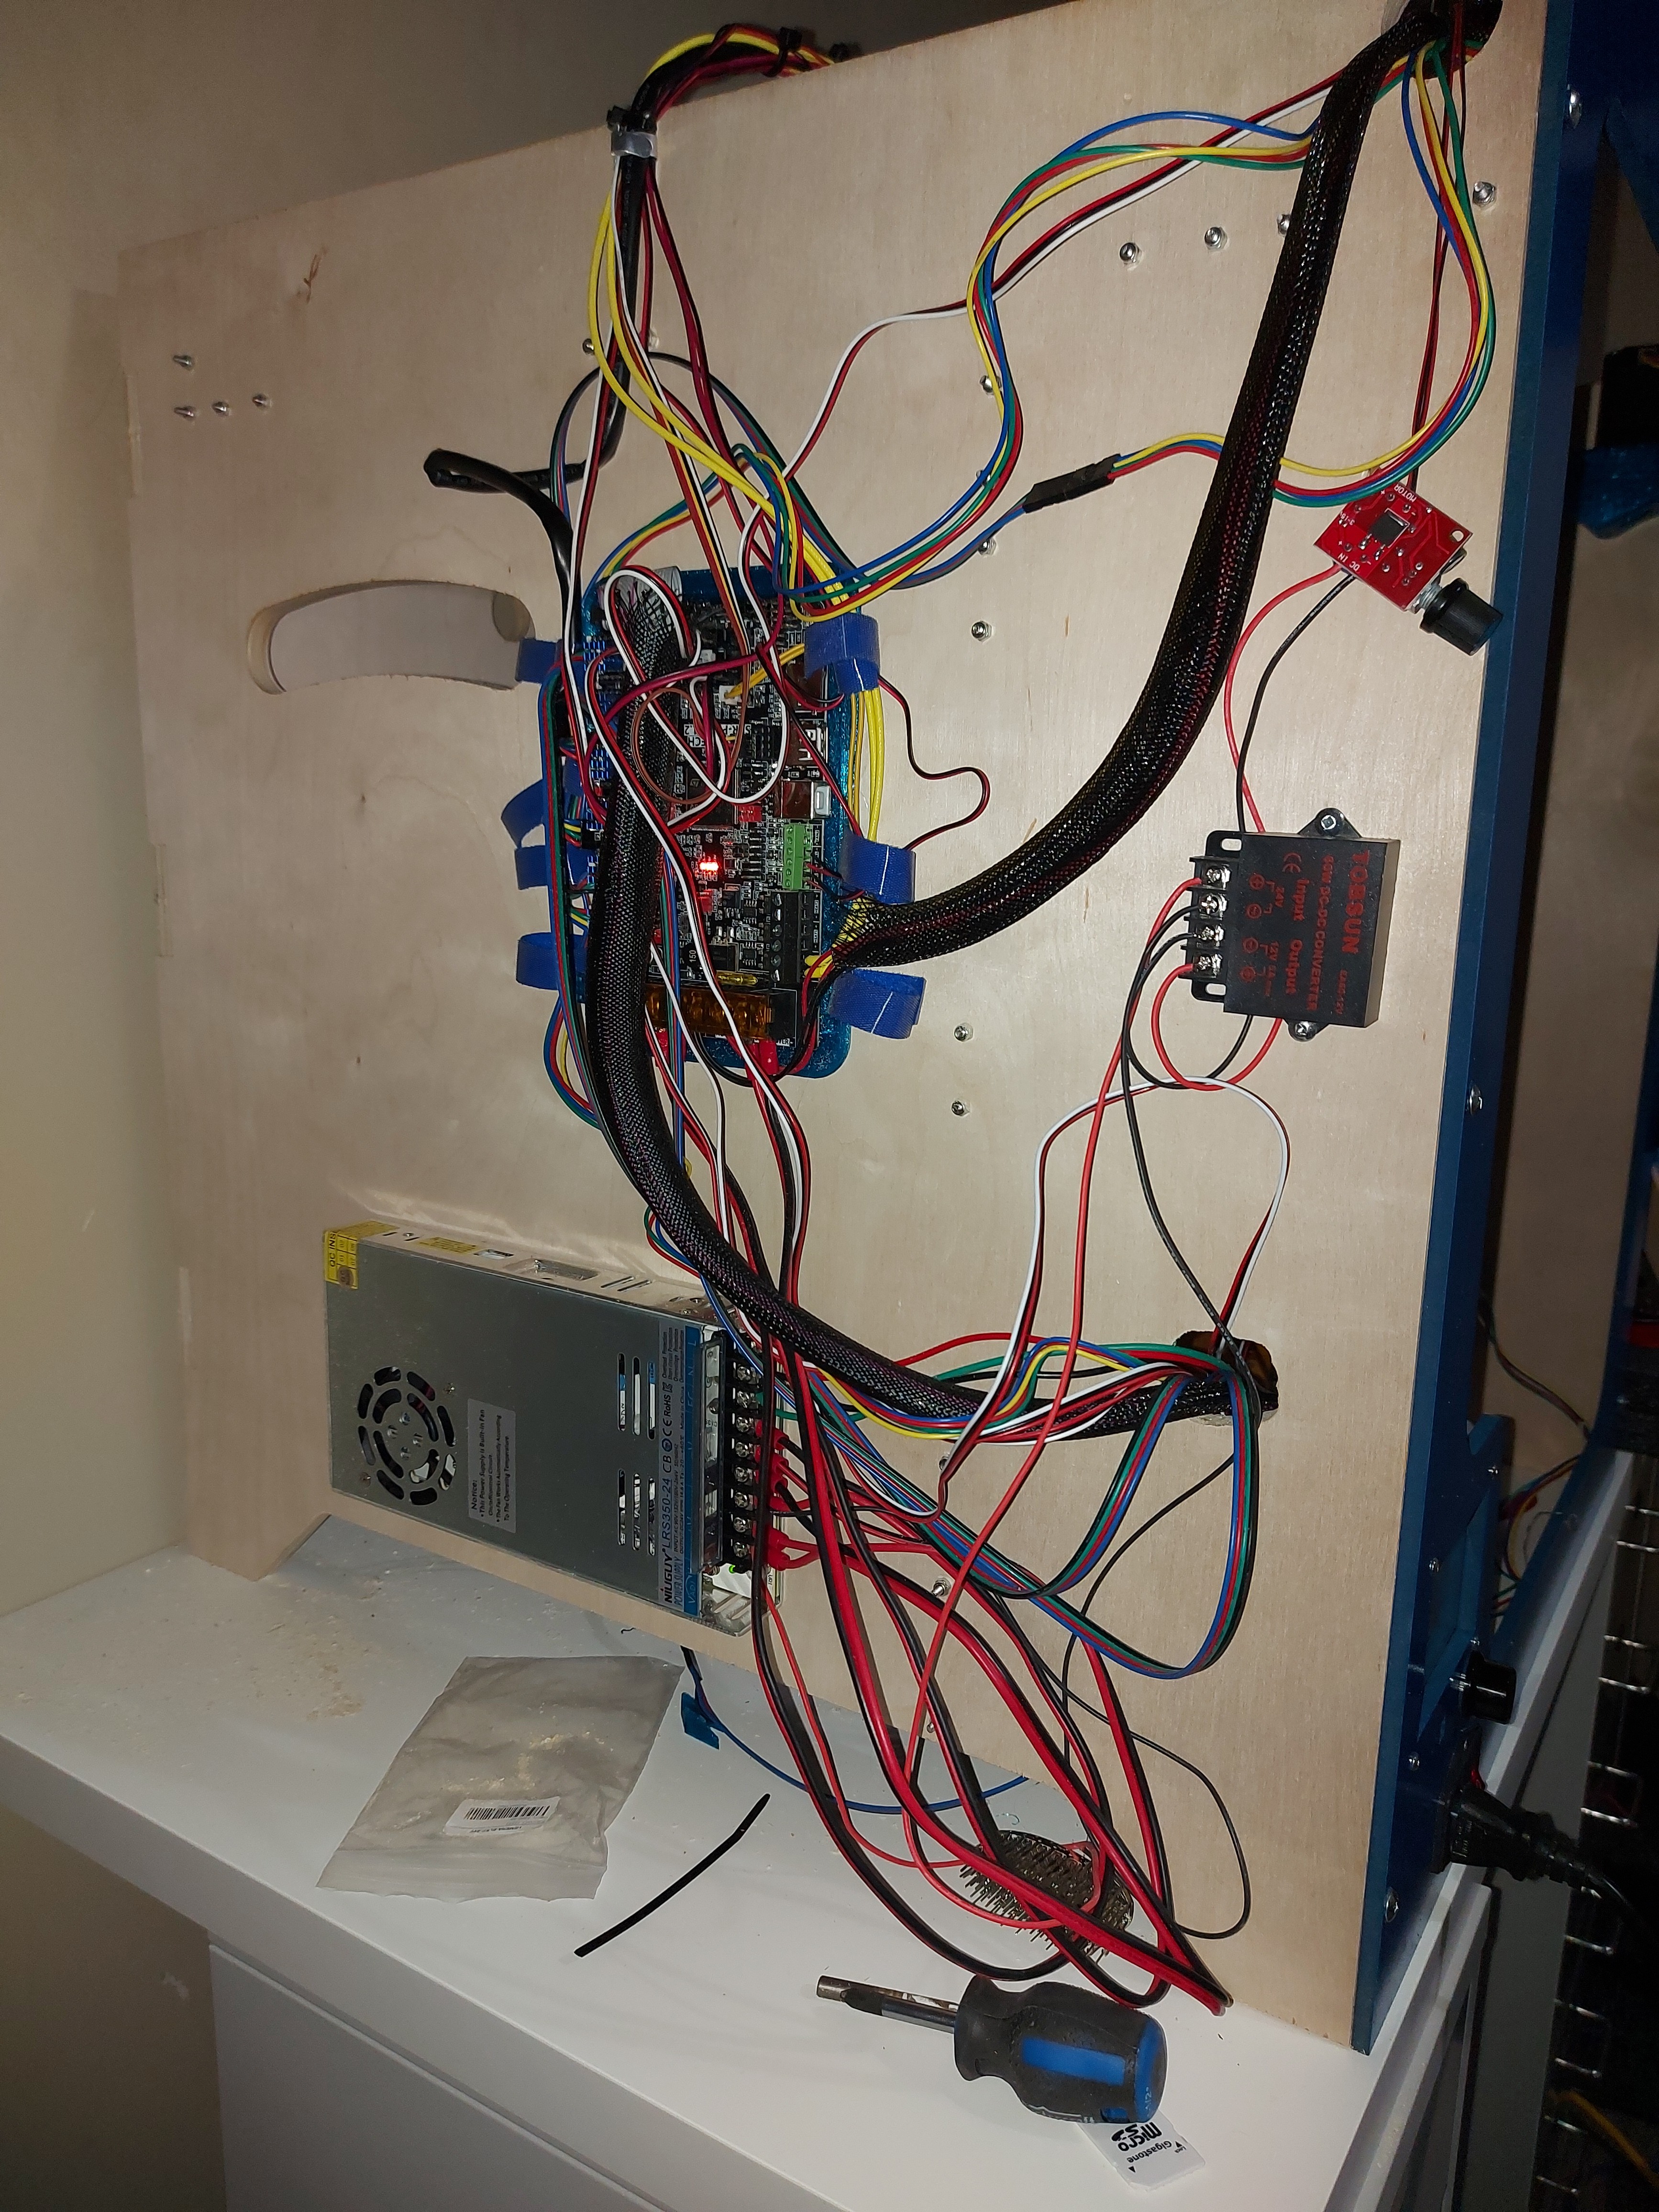
I know it doesn’t seem like it, but I’ve actually cleaned up a lot of the wiring. I still have to really do the main bundle from the hotend, which includes the X endstop, part fan, hotend fan, heater, extruder motor and BLTouch.
The PSU wiring is still too long. I don’t know if I’ll cut those or just bundle them. Each option represents potential problems. Maybe I’ll arrange a loomed run for them.
The next part is definitely the Z endstops though. One is too long (Z1) and the other 2 barely reach their devices, so they cut across under the build plate support. Too long isn’t that big a deal to bundle up.
After that, I need a bottom wedge plate, which I still haven’t cut. I think I’ll make a few foam mock-ups first, since I have the LCD in the way, and need different openings for wiring.
I have a longer bit (3" long, with a 1" long 1/8" diameter flute section) for the LR coming Tuesday, which should take care of my bottoming out situation. Also a new spool of Jolly Rancher Blue. I think I’ll keep the regular blue printed pieces I have. Can’t even see the bottom belt tugger, and the tool mount and part fan duct.look pretty good anyway.
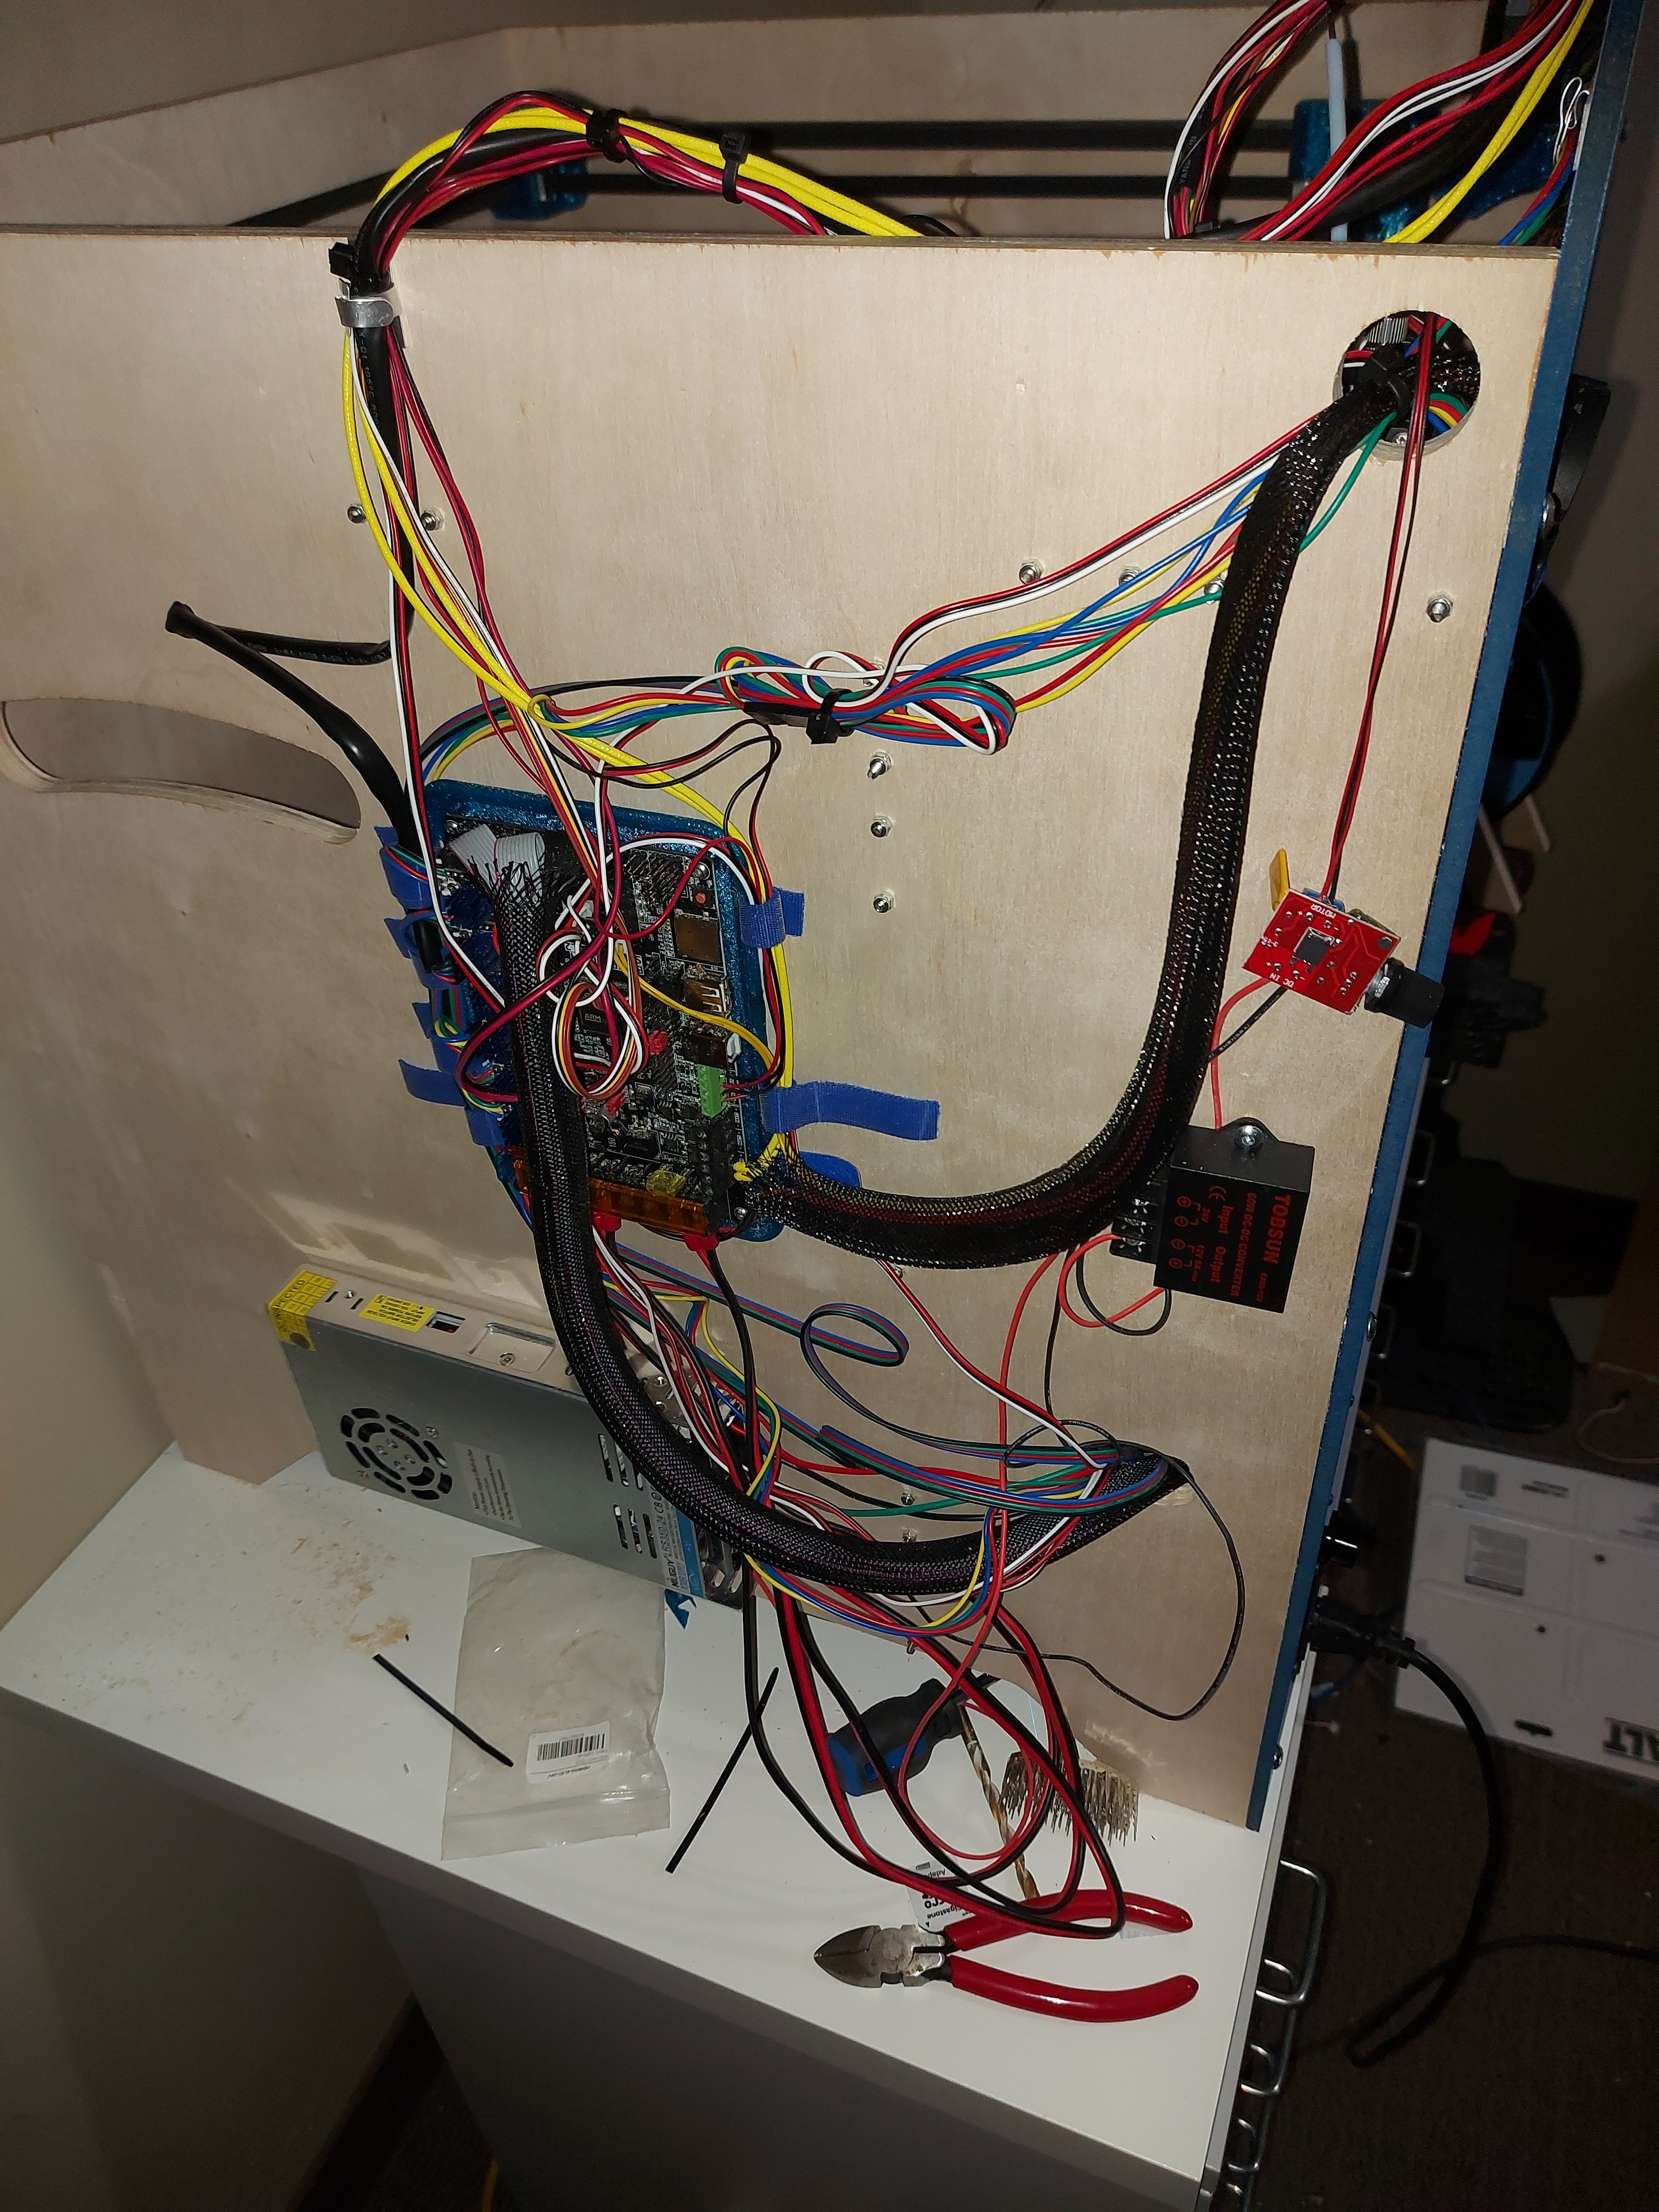
… and after a little bit more tidying up. It’s a daunting process to unplug all of the hitend wires. Too many black/red pairs that need to go back to the right place after, but I really do need to put that bundle into a wiring sleeve.
A task for another day.
Once it’s all done, I’ll probably swap out the velcro straps… or at least trim them to more appropriate lengths.