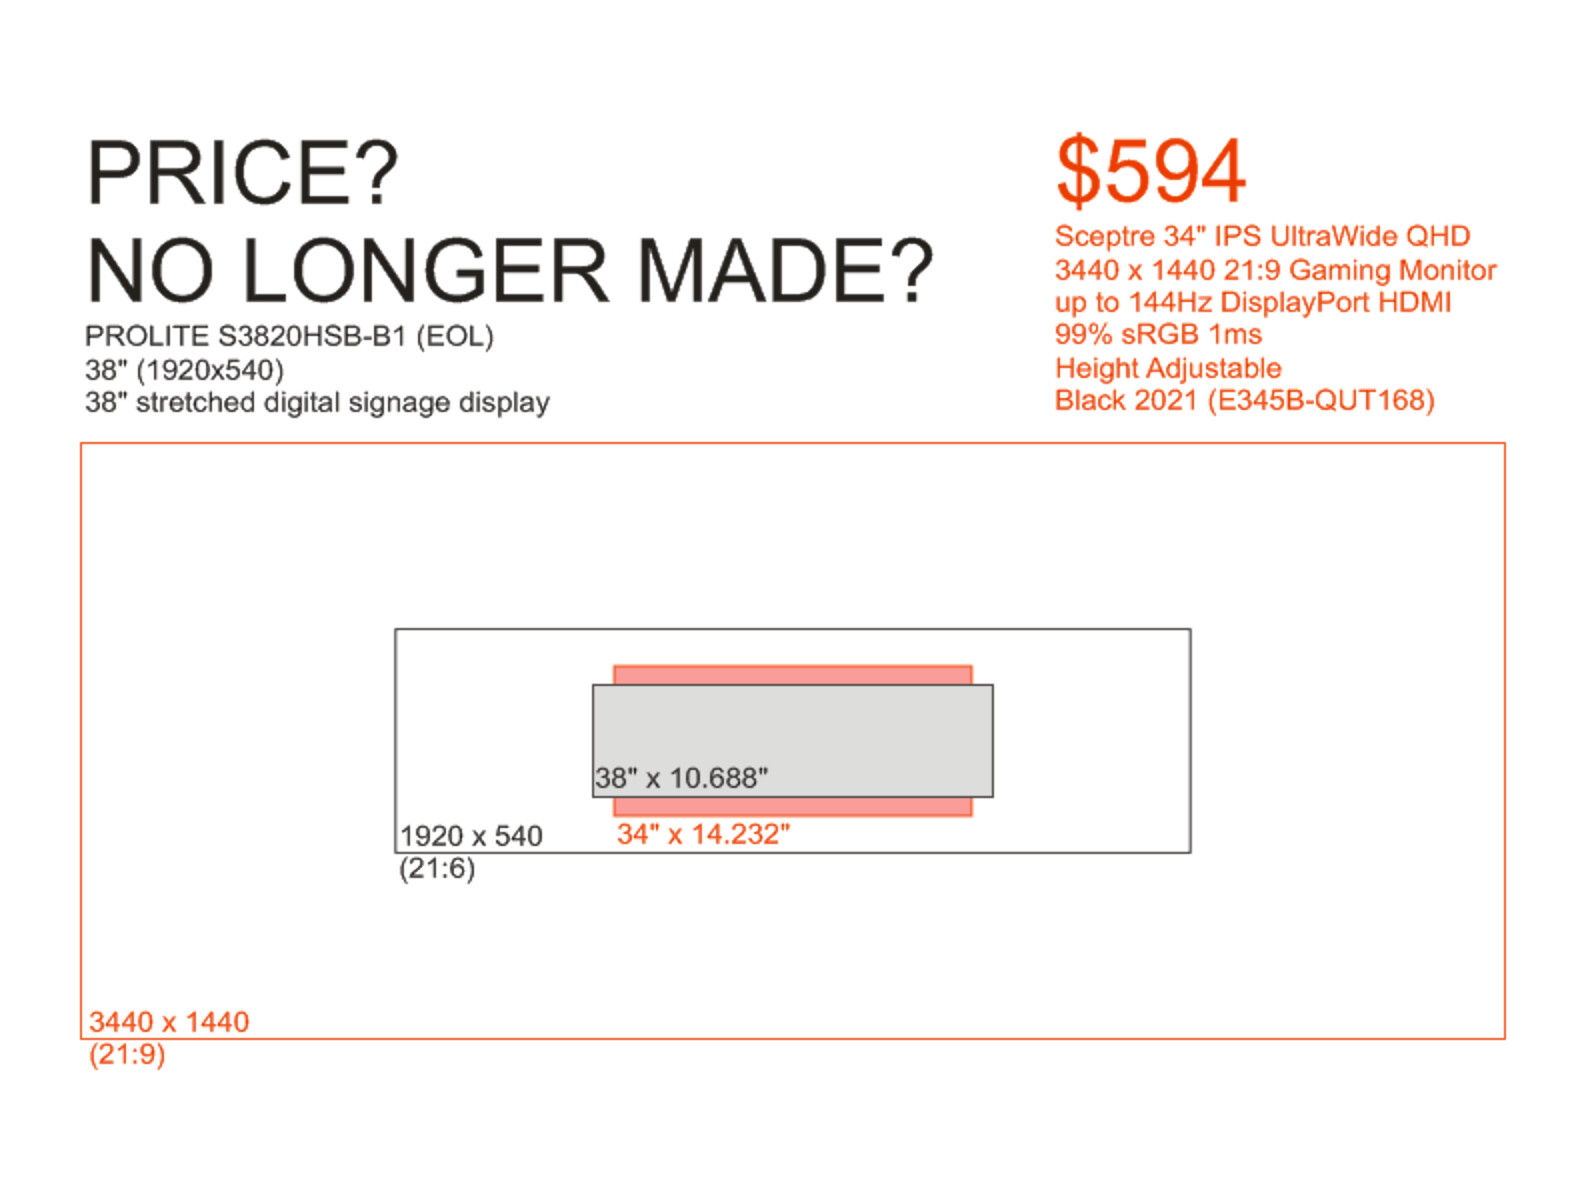
The screen shot below is a comparison of the original one (above in the thread) and the consumer ultrawide I am mentioning. The filled black and red rectangles compare actual size in inches, while the hollow black and red rectangles compare resolution/definition, if the pixels of each were equally sized at 1mm x 1mm each. The thing with the consumer ultrawide is they have a lot more pixels, so your video card in your hardware has to be able to push all those extra pixels. Doable I am sure.
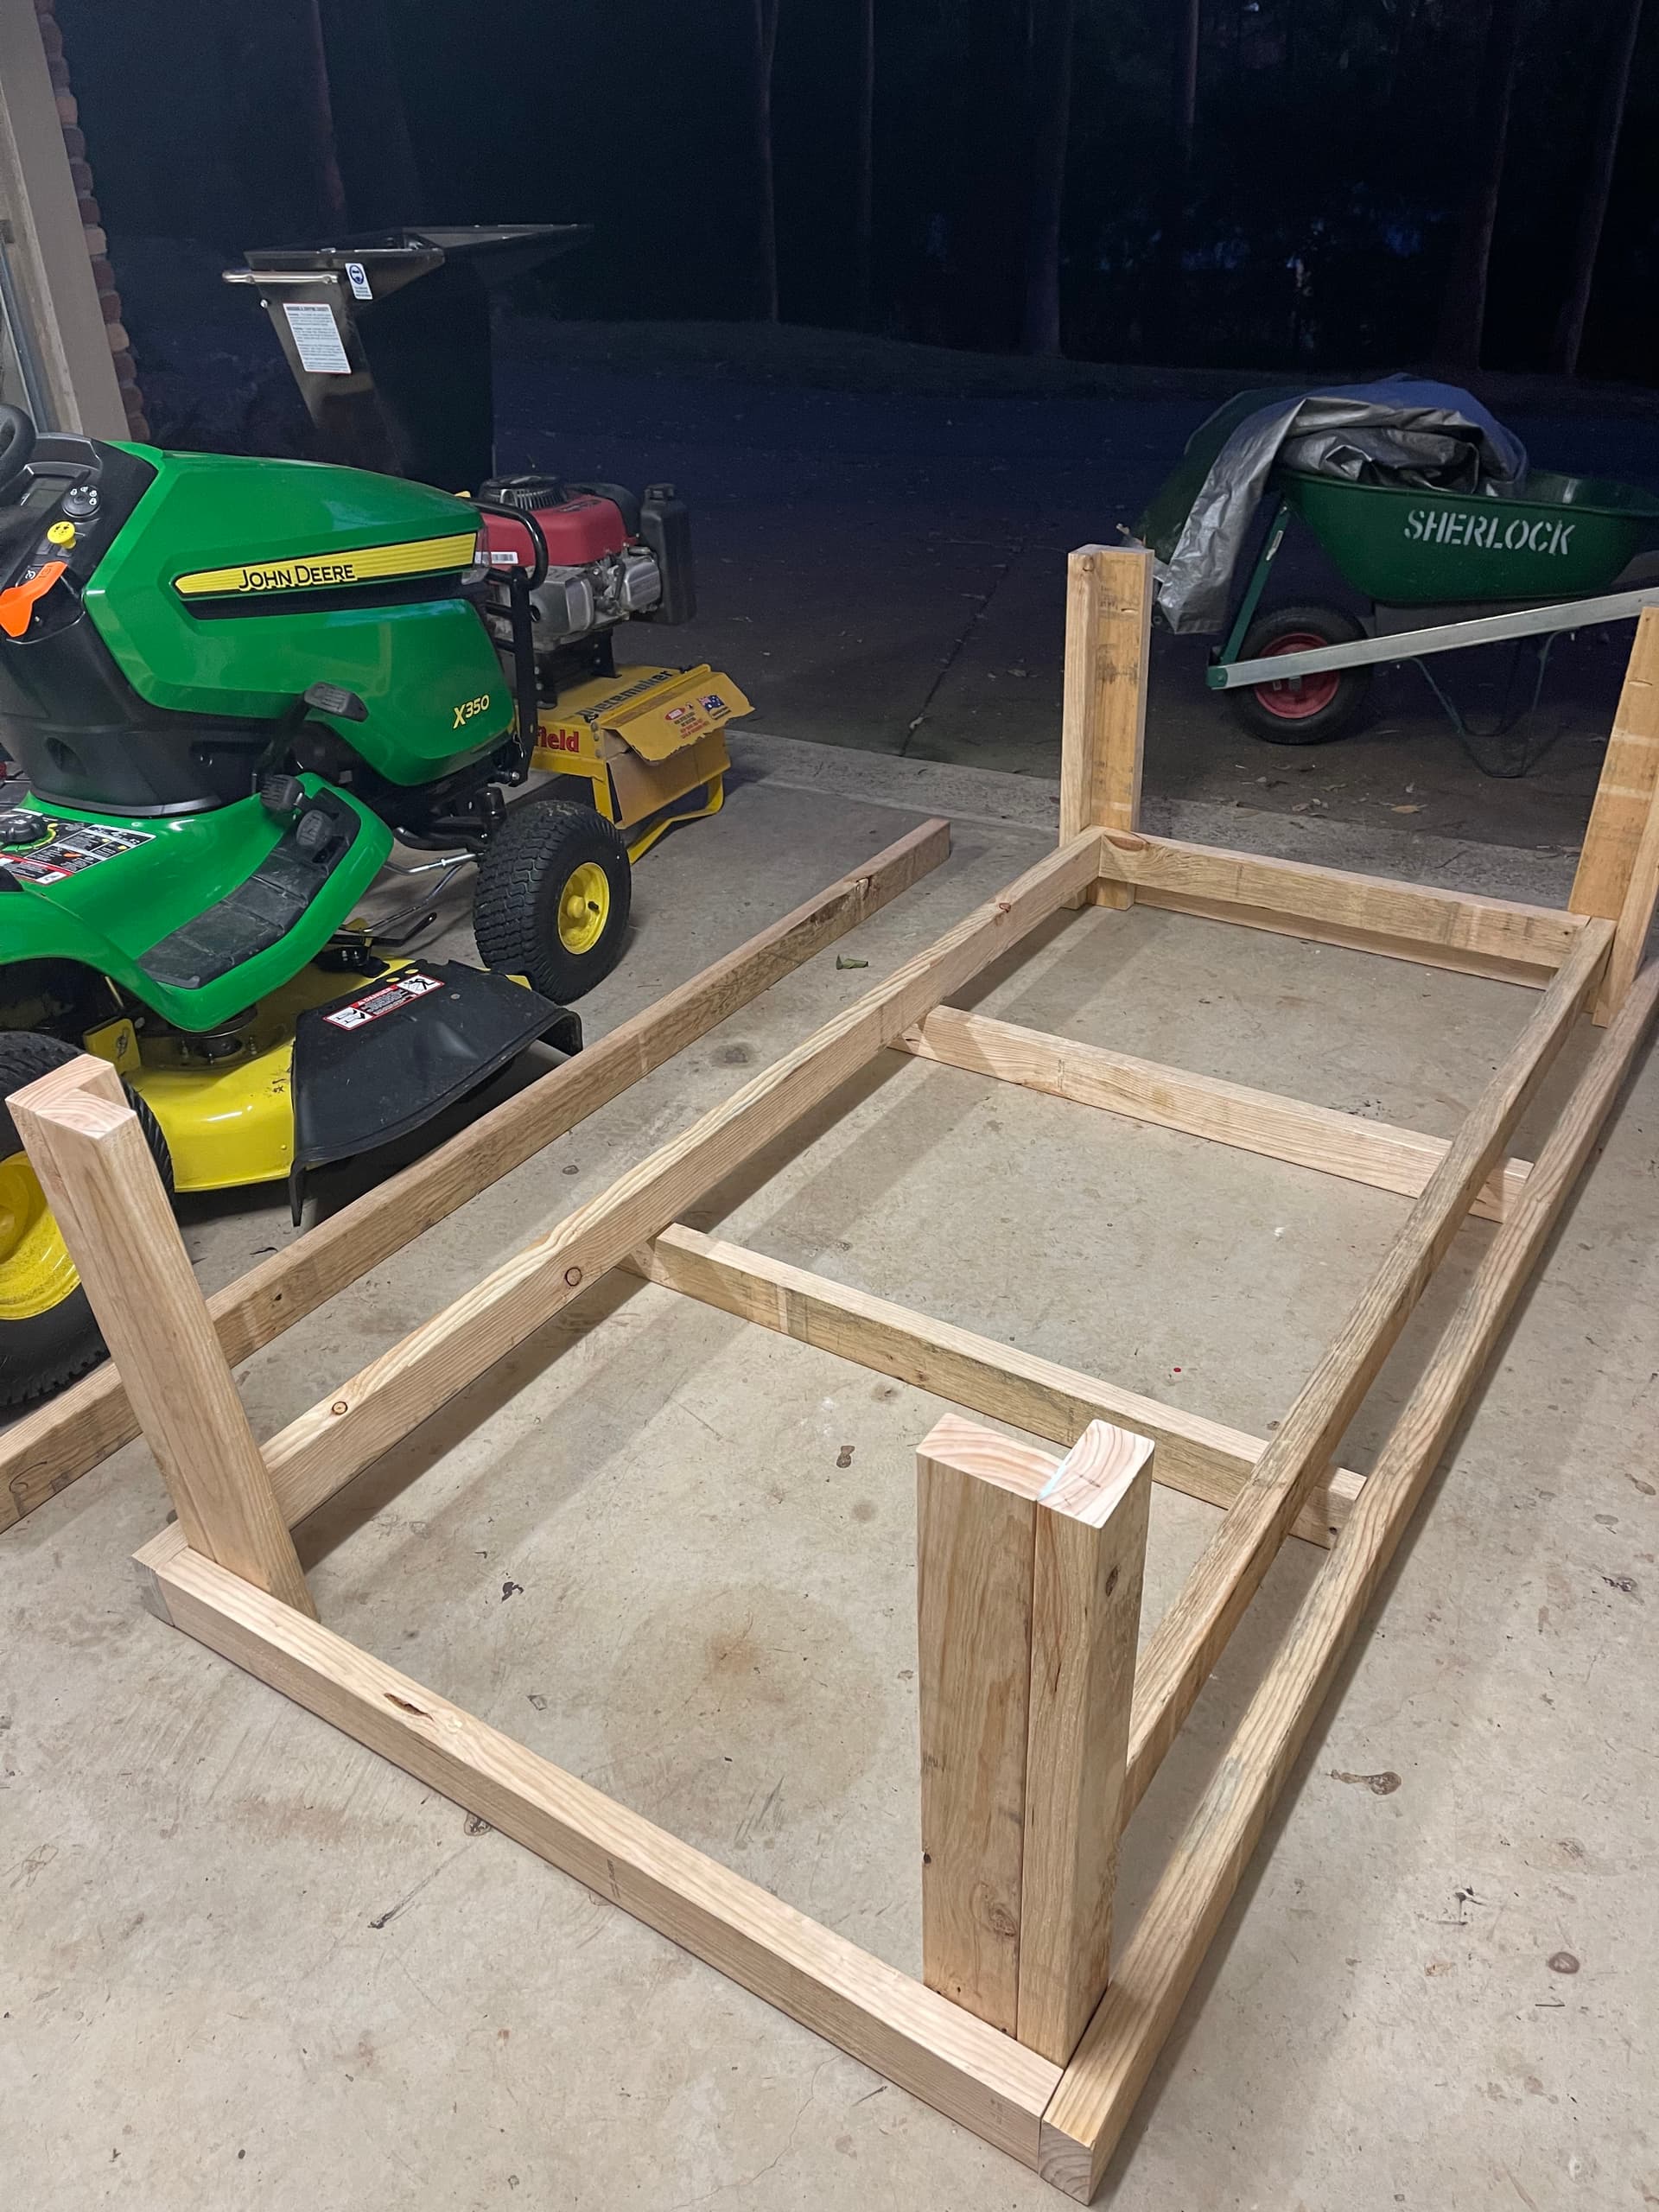
Has been a little while since my last post, but things have still been moving. Building the workbench slowed me down as it was my first wood working test. I ended up watching a few different YouTube vids, here and here and then did a mashup of the ideas on paper before getting to work.
I went out and got a drop saw - which is just an absolutely awesome tool I might add - cut up some 2x4 equivilents for Australia and put together the frame. For the table top (and shelf) I decided on a Plywood type called FormPly which I believe it used for concrete form work. I ended up using this material becuase it is quite cost effective and more importantly - waterproof. Interestingly alot of our ply is imported from overseas - South America and the like and apparently your normal ply, while on the ship, sits out in the weather and can warp a little. Having a waterproof ply means that it is perfectly flat on arrival in Australia which just made my life so much simpler. Ofcourse now that I have cut and screwed into it it is no longer waterproof - but happy days.
Using my experience from the Voron 3D printer build I then went about putting together the wiring whilst on the table. I had a bunch of spare JST connectors so I deviated form the documentation and used those connectors to plug right into the SKR Pro.
I also ended up using networking Cat6 cable to wire in the X and the Y2 side of the LowRider as they have 8 smaller cables inside which are all separate/floating inside of the wire’s housing so made it easy to keep track of which cable going where. I did also add molex quick connect plugs on the Endstops so I could easily disconnect them if needed in the future.
A quick note on the marquee also, I ended up contacting a company on Alibabba who specialise in commercial shelf displays. I ended up getting a 37 inch wide dispplay for about $480 USD. The issue was shipping which was an additional $180 USD to get sent to Australia. Luckily I happen to have freight forwarding in China so was able to get this down to $25 USD which is a bit nicer.
Still an expensive bit of kit to sexy up the cabinet, but well worth it in my oppinion to really get cabinet popping when you are sccrolling through games.
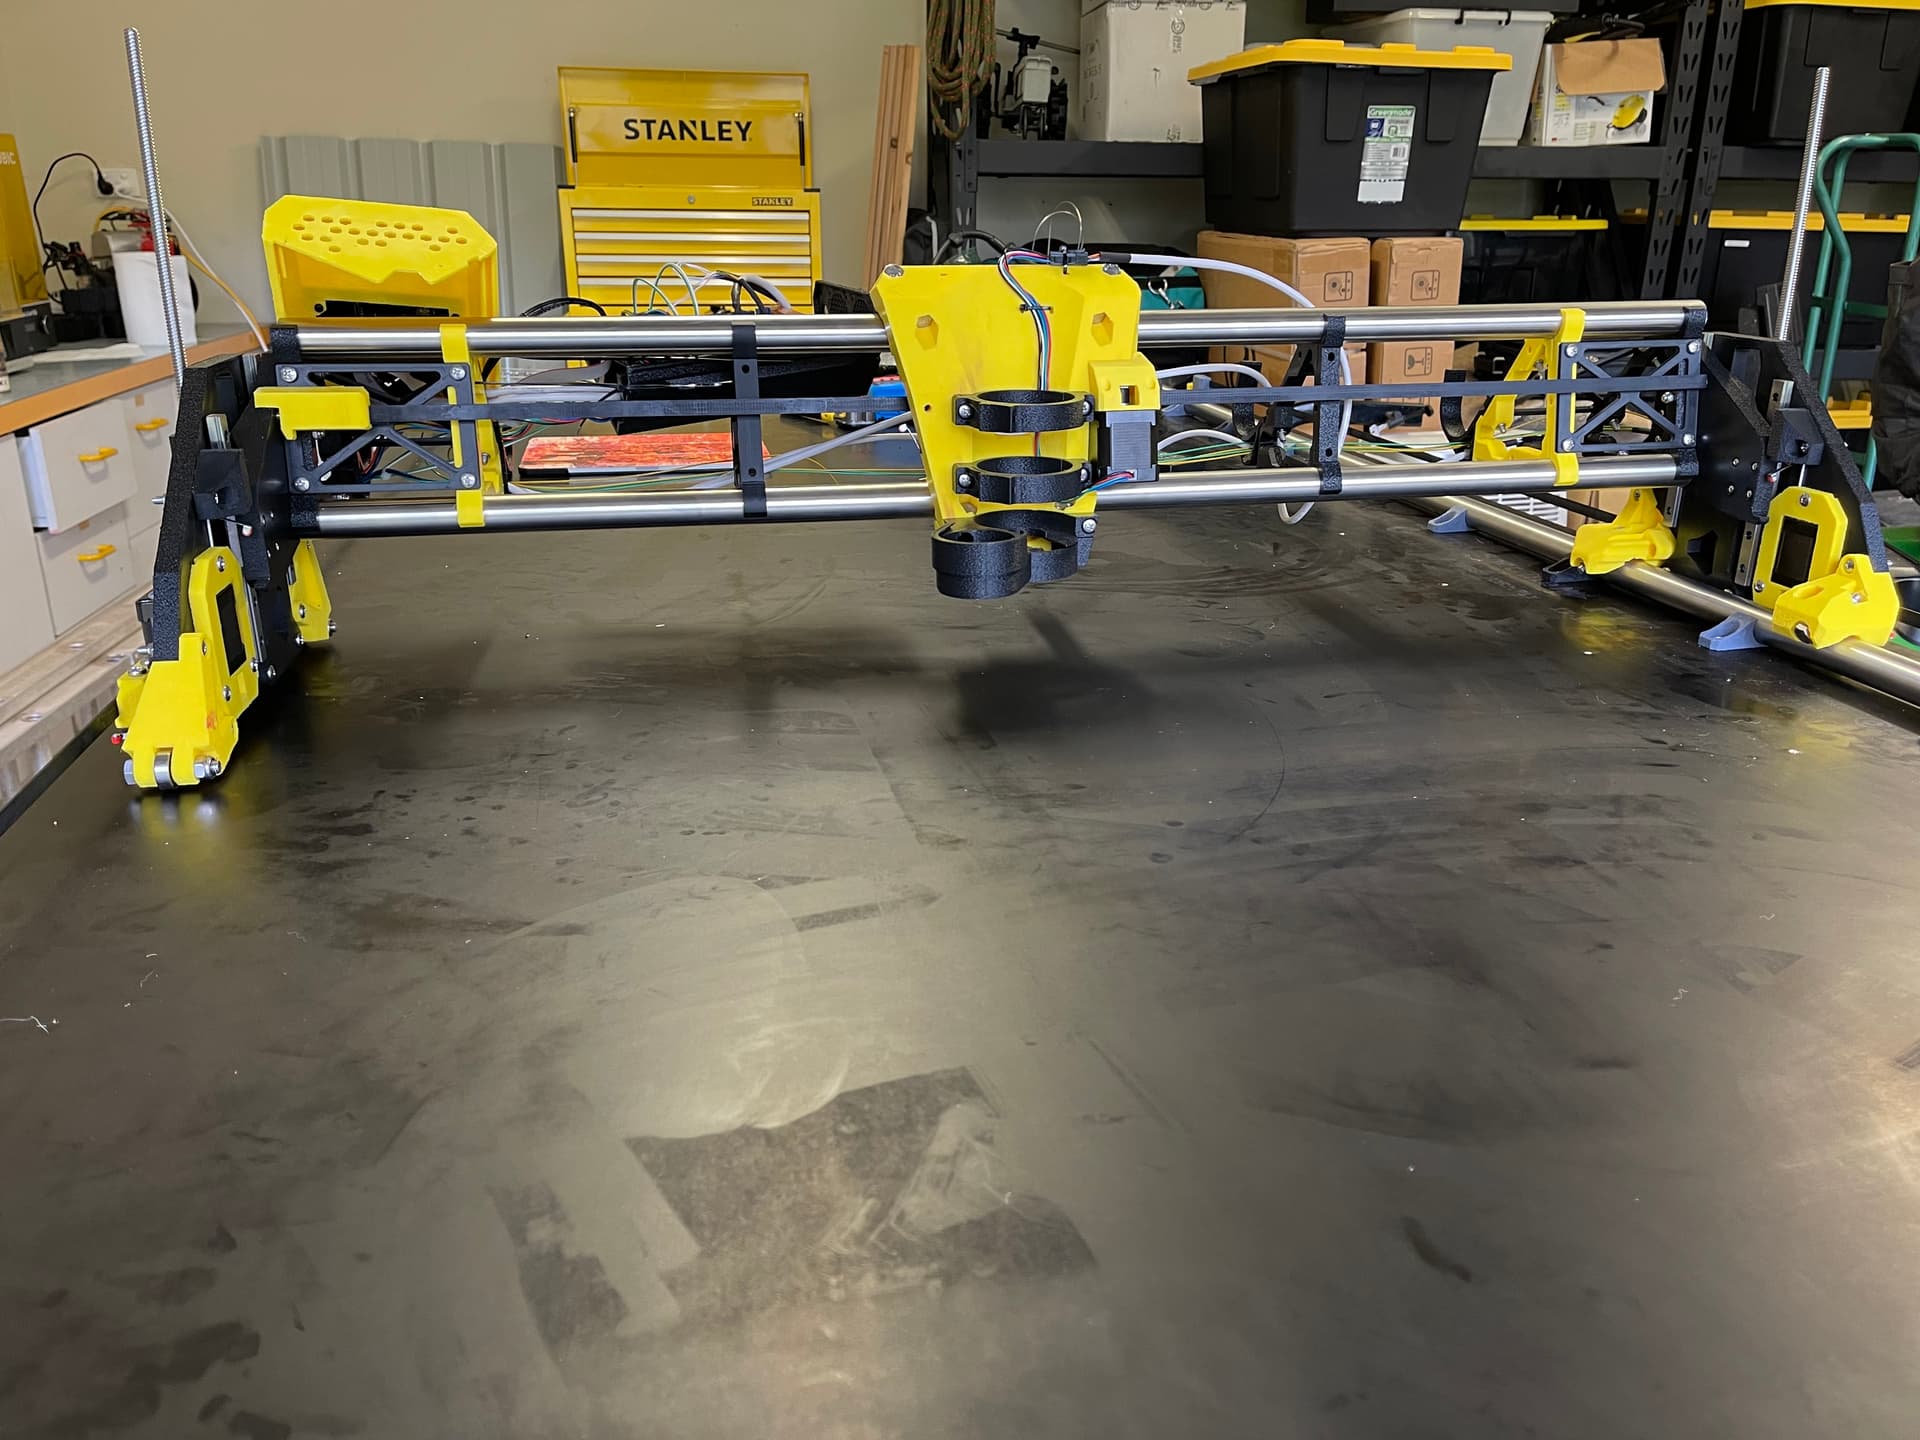
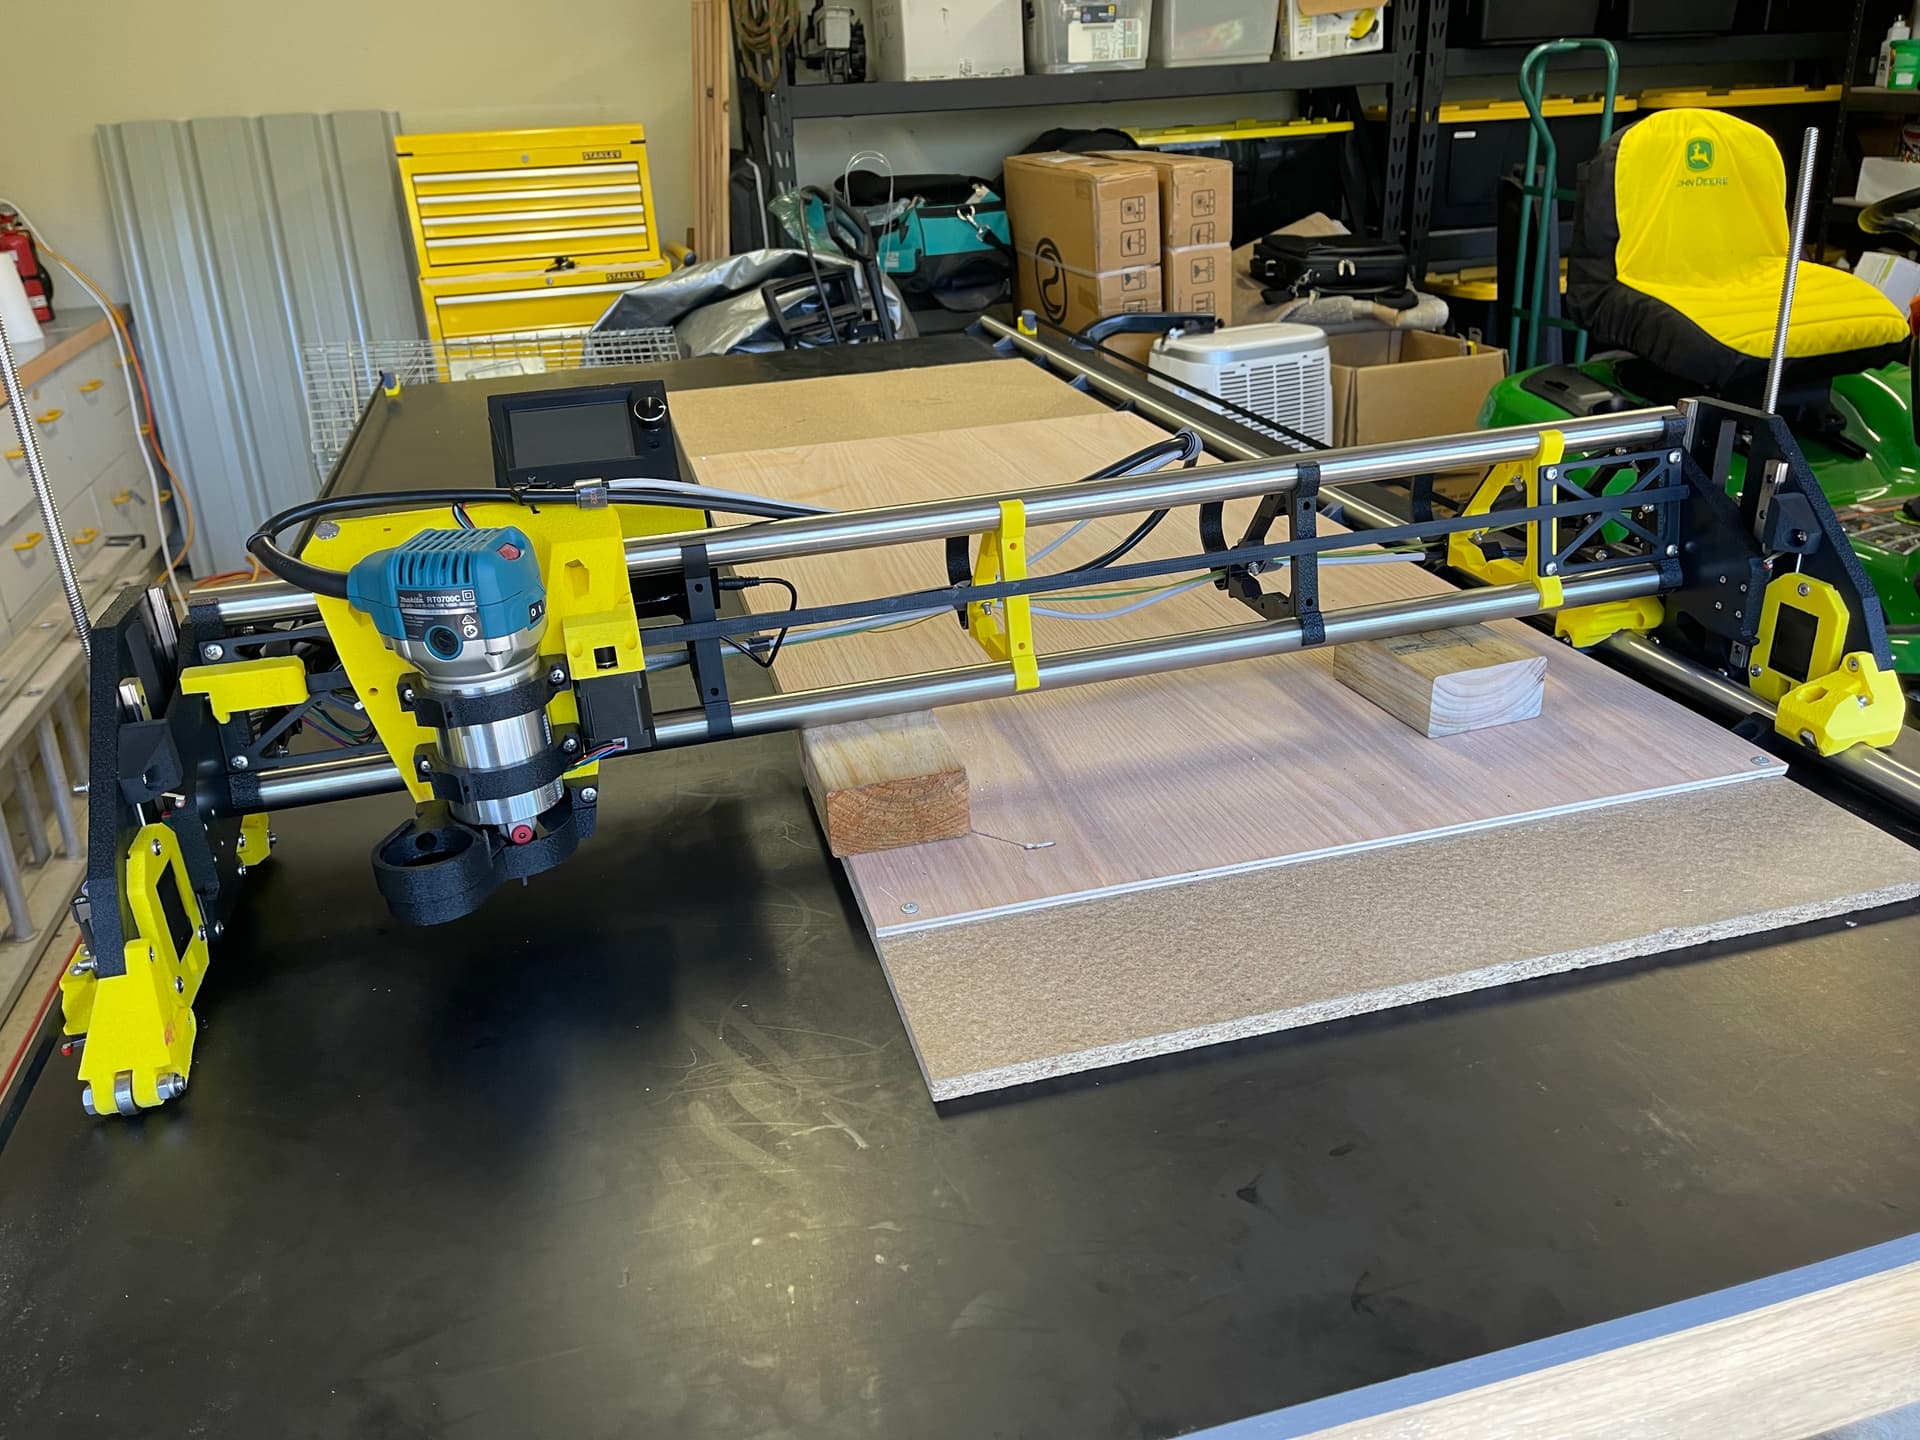
Progress continues on the Bumblebee with the machine now in operation (thanks to some helpful V1 Forum peeps in the advice/troubleshooting.
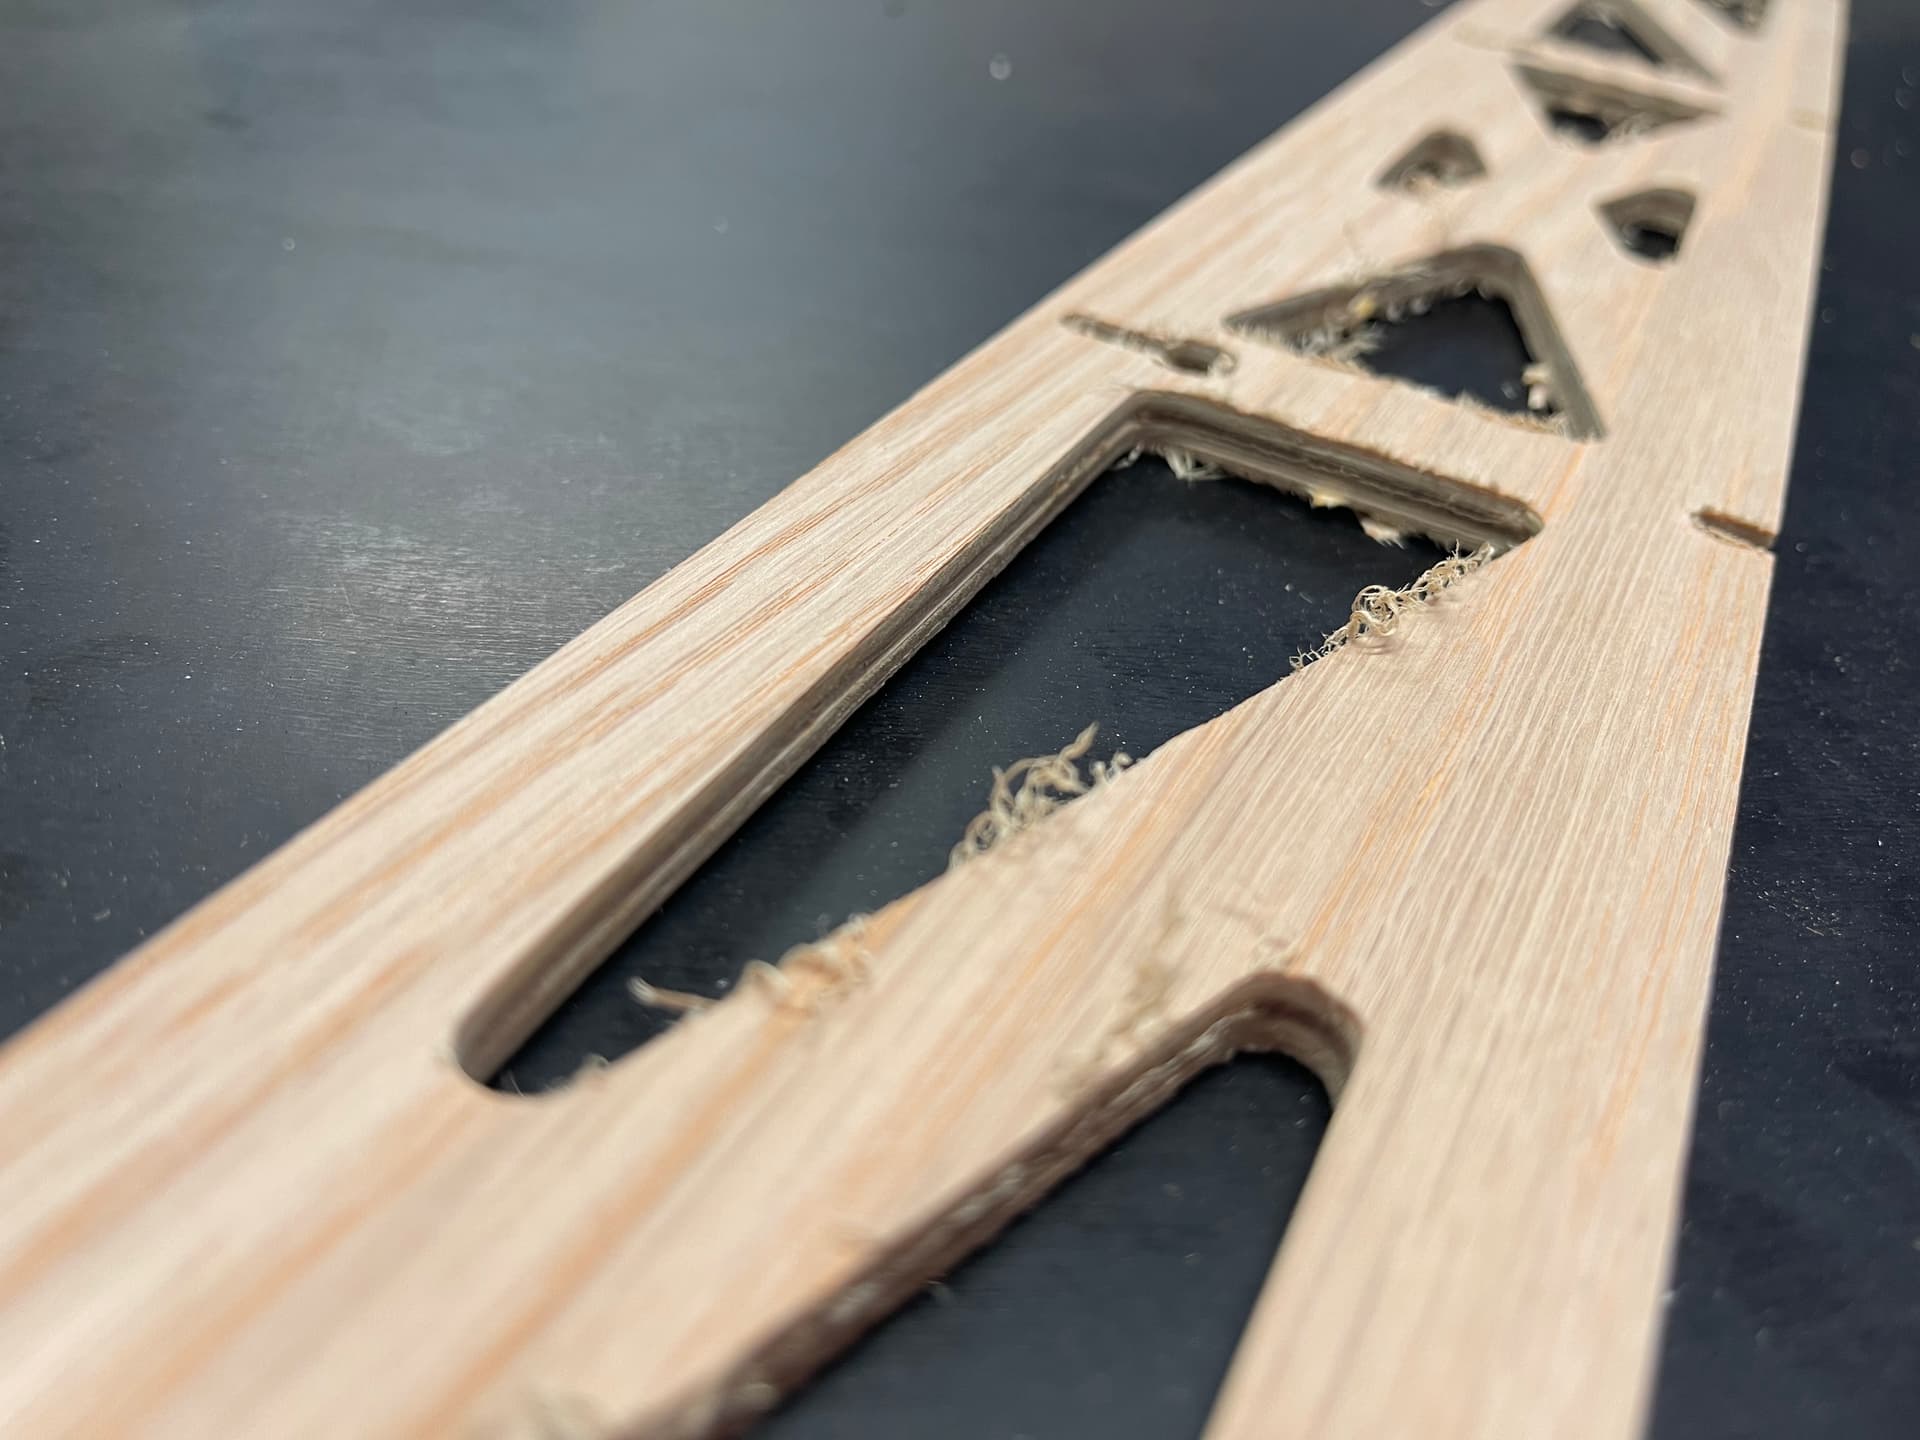
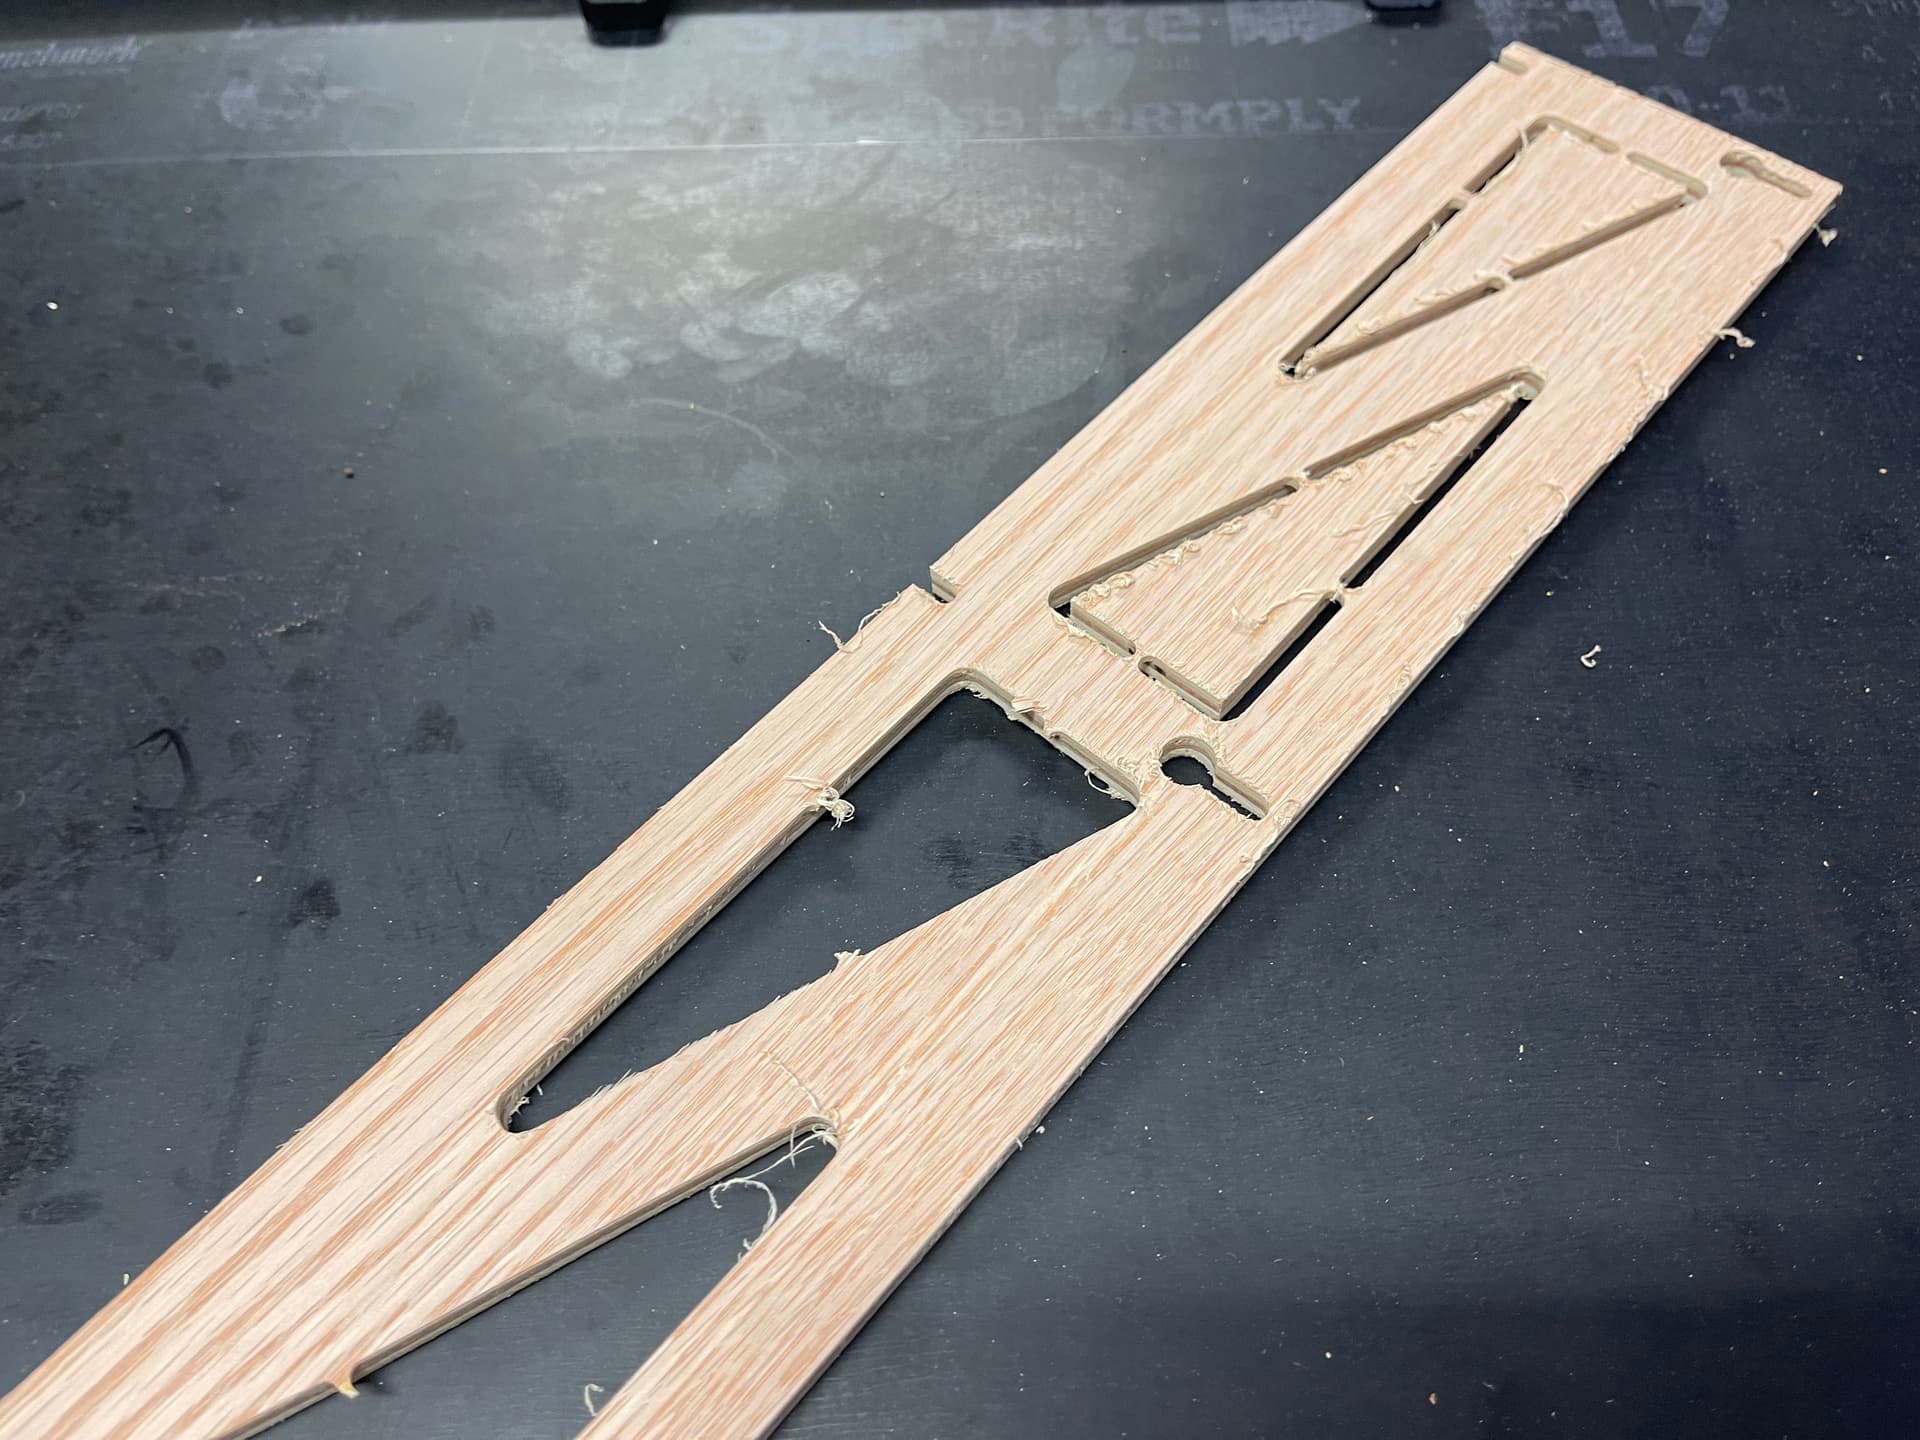
We have now completed our first cut of the first strut and it is looking very clean (after a quick sand). I didn’t change the finishing pass to the full height of the strut (7mm) which I’ll try on strut two in the coming days. Cut time for the strut was about 45 min each for anyone interested.
Here is a short video of it in action:
Once the final struts are done and have a kick of paint on them. I’ll install and then finally get moving on the arcade build. Getting excited now!!
It is a really fun aspect of the LR3 builds to be able to see these struts come to live as a standard first project. I’m very impressed that people has so much success, right away. Thank you for sharing.
Absolutely! I mean I was expecting it to work based on the instructions saying it should work haha, but to see it actually cut the strut plates and so neatly was excting and envigorating. So yeah - love this thing so far!
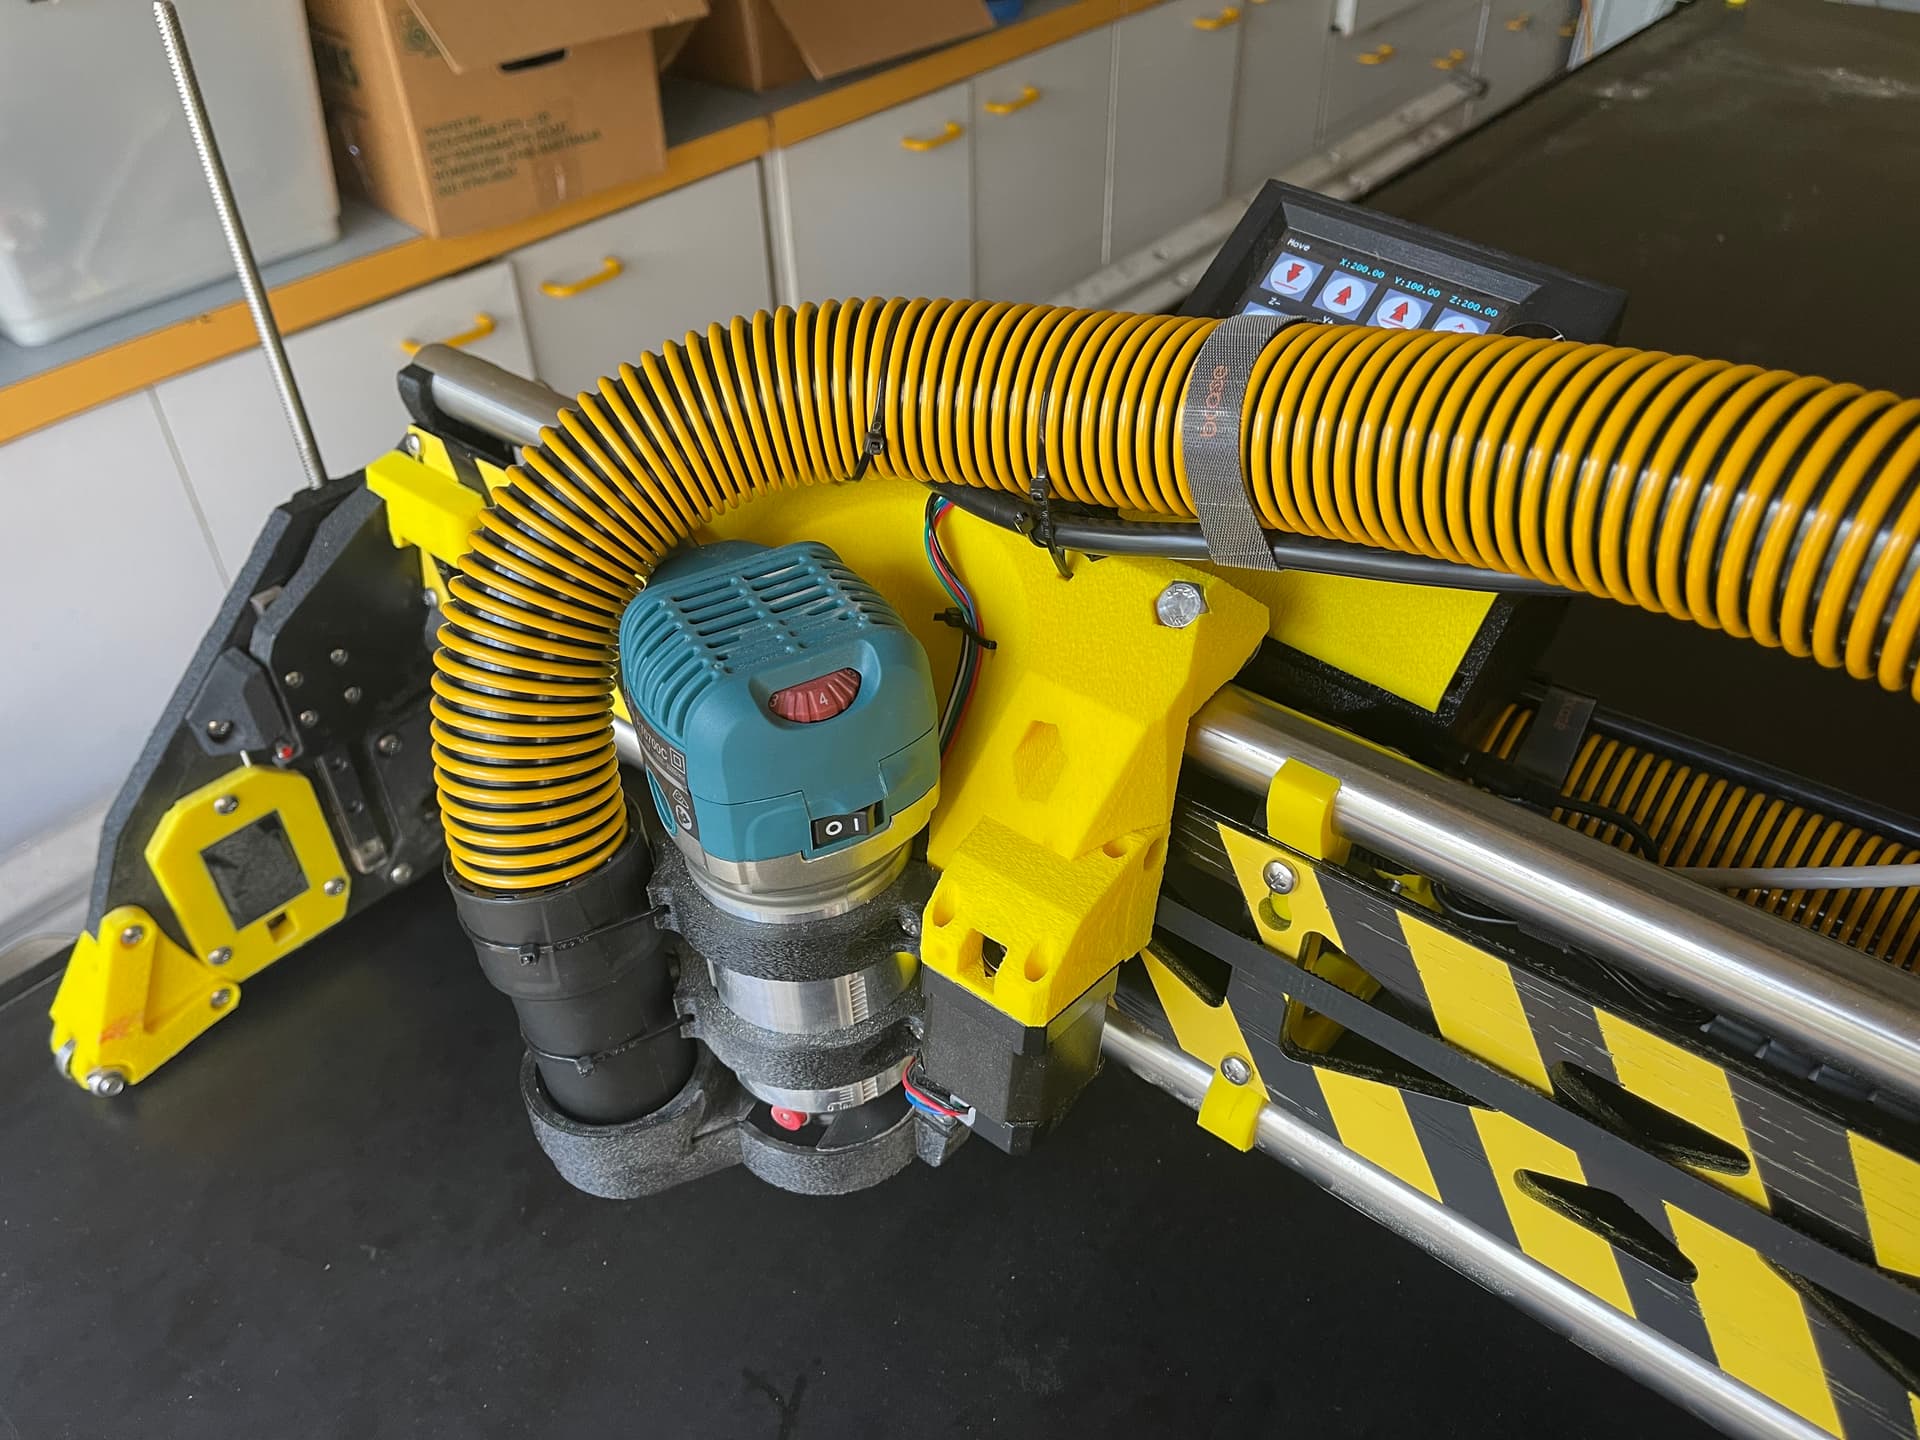
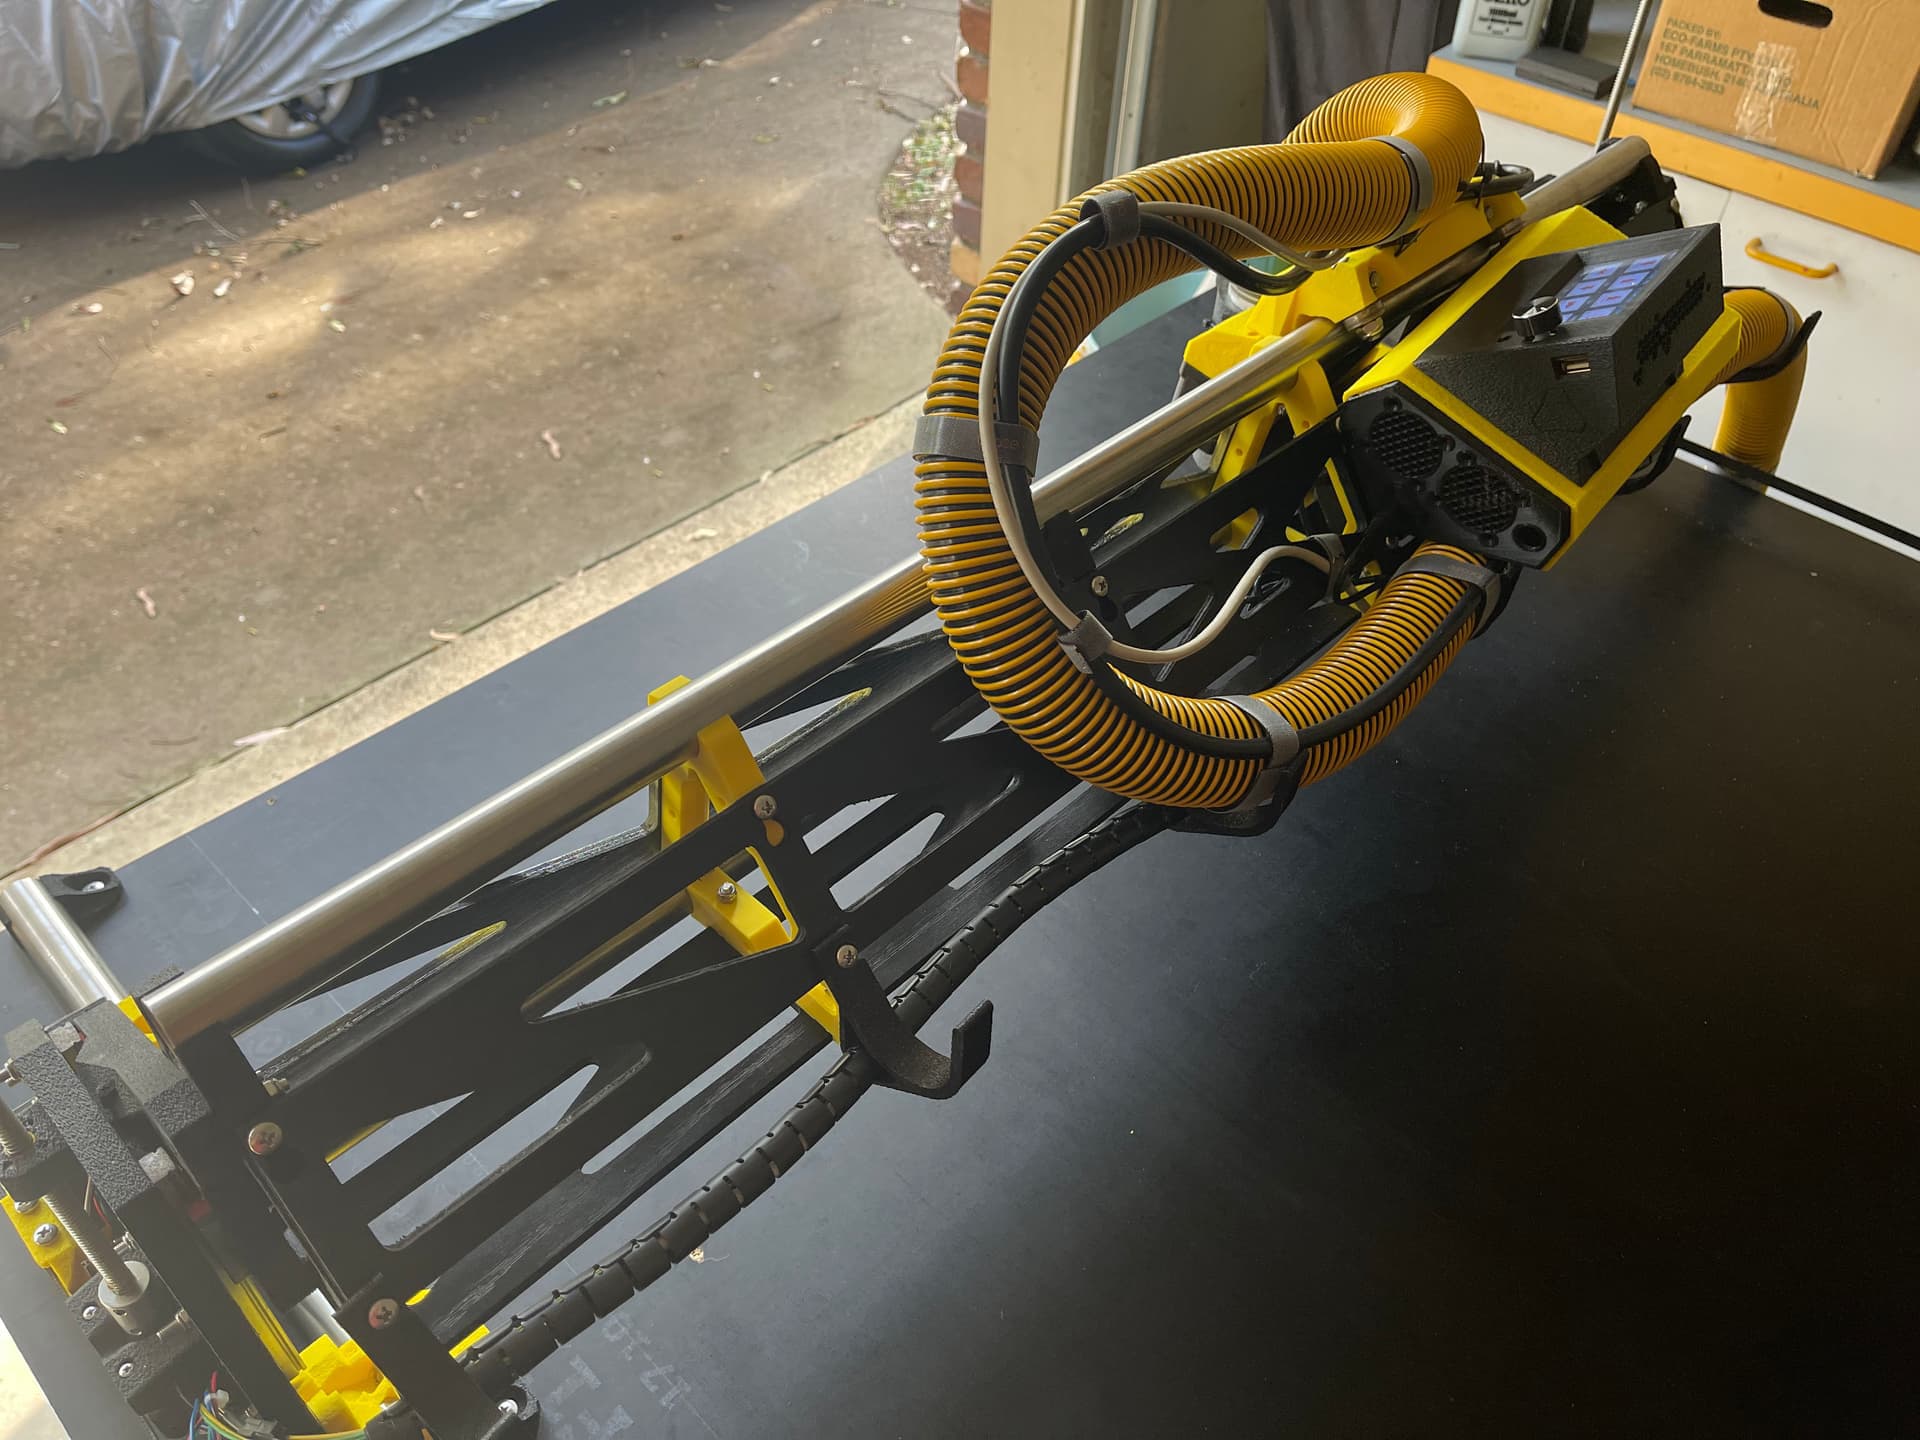
Well it has been a journey - and a fun rewarding and exciting one! I’m glad to say that the Bumblebee LowRider is now completed will full strut plate action (Yes, I did spend a bunch of extra hours painting hazard stripes on them!). We are squared, homed and and ready for some serious cutting.
The next cuts will be some trial cuts into 18mm MDF before I really get cutting on the arcade cabinet pieces which is really exciting.
I also plan on building a home brew pinball machine once the arcade is done which I where I think the LowRider for me will really shine as I’ll be able to pump out white woods in my own home - AWESOME
I’ll be starting a new thread for the arcade build, but wanted to say thank-you to Ryan and the community for helping me get to this point with advice given on electronics, understanding the guide, workbench build, wood and material selection…! Has been a fun ride full of learnings, and you guys have been fantastic!!