So I finally got around to testing one of the reasons I made this CNC today.
Chess board. Since I didnt have a piece big enough for this large board I decided to just use MDF.
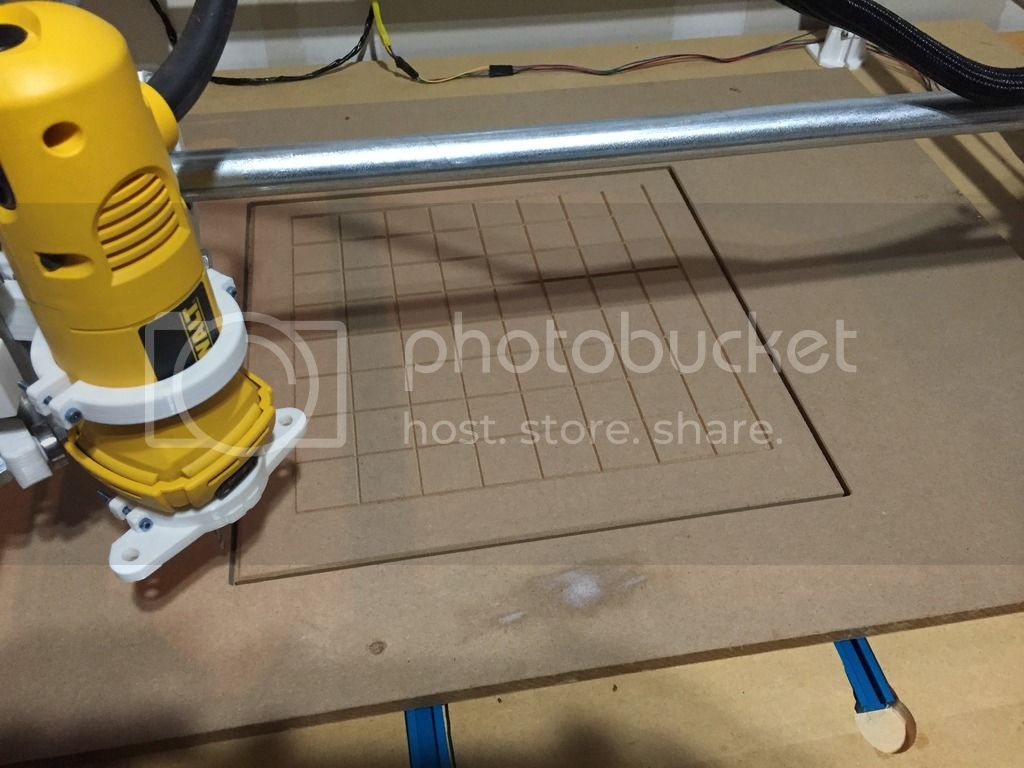
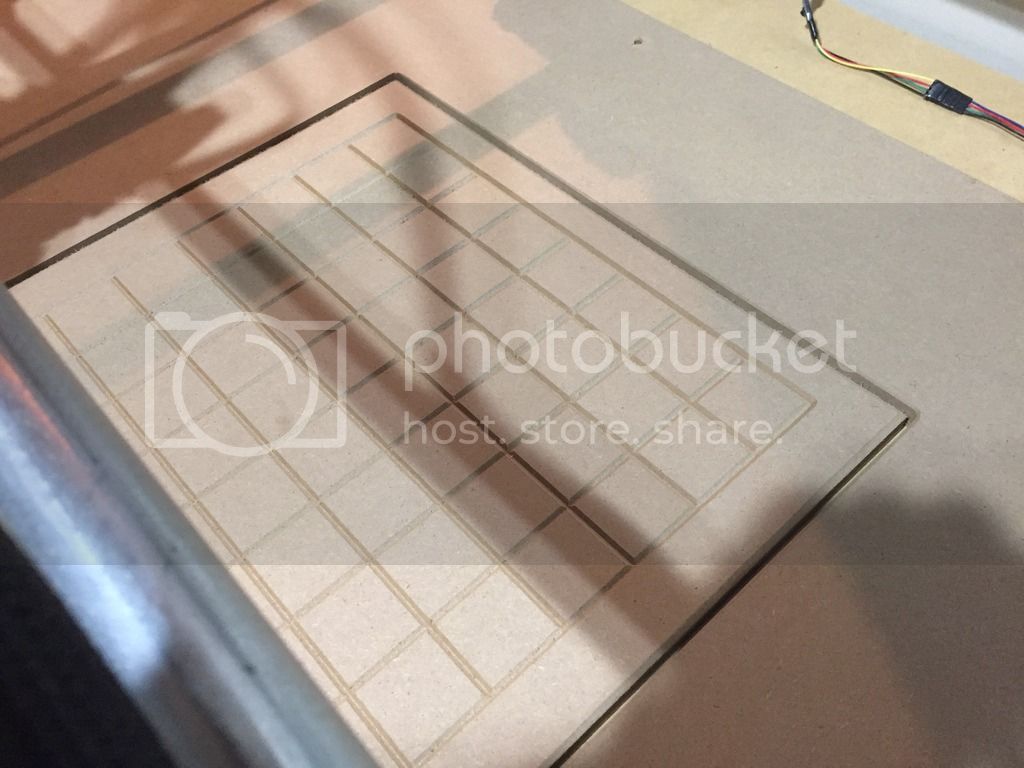
- All the internal squares were done with a V groove router bit set to 1.5mm
- I then went around the outside edge with the V groove set to 3mm
- Then I went around the edge using a 1/8" cutting bit, down to 13mm (depth of wood) 1mm at a time, w/ 3 holding tabs of 1mm in height x 10mm long per side.
The result, was perfect (except that without end stops one screw up and you will NEVER get back to where you started). I am off center on my outside perimeter, but its just a test.
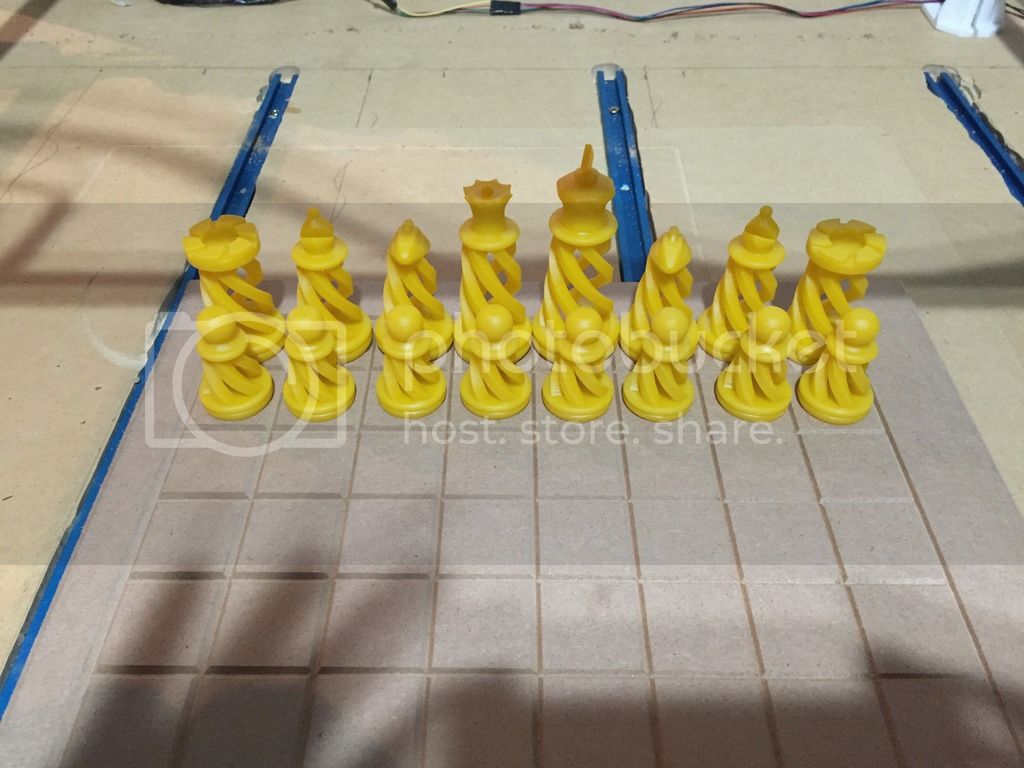
The pieces are all printed (long ago) on a muve3d dlp SLA based printer (stunning quality) and my end goal for the board is putting an Iowa Hawkeye logo in the middle (engraved), but im not sure how to pull that off.
So now i need to find a supplier of high quality wood that is big enough. No where around here sells any good wood, in size.
any ideas?
btw, here are some pics 
I know the parts look shiny and maybe after sprayed, but they are 100% fresh off the printer, no touch up, or sanding.
Looking good! The chess pieces look great! I wish I had a printer that could do that.
You might want to increase your pass depth on the outer part. I don’t have my machine built yet so I don’t know for sure. Endmills are designed to have a cutting edge up the whole spiral unlike a drill bit. Every pass you do at 1mm deep only puts ware on the bottom 1mm of your bit and the cutting edges on the bottom of the endmill. So when that wares out and you think the bit is toast, the whole upper part above that 1mm is still good. Deeper cuts with slower feed rates might help or they could end up burning the wood. Just a thought. It really takes experimentation with each machine, material, and bit to get it all perfect.
Thanks… so would you recomend 4-5mm per pass? or less? more? I wouldnt mind going 1mm/s if it was cutting 15mm at a time, or whatever it might be.
Well, like I said, each person’s machine on here is a little different and even if they were all identical we all have different endmills/bits and different materials.
What you can do is take a piece of scrap and design a test. Set up a basic shape or even just some lines and on each line change one setting. Either feed rate or depth per pass. As the depth per pass goes up, the feed rate should probably go down. After doing a series of lines (or after each line if you are really dedicated) observe what worked and what didn’t and move on based on that. Going too slow or too fast may cause excess heat that may burn the wood a little bit. The settings will be different for every type of material that you want to mill, though among similar materials (such as soft woods) the settings can stay the same. With things like circles or even just angled lines you have to think about the side load on the bit. It is being pushed in two directions at the same time. One could argue that doesn’t matter because the surface area being cut is the same, but I think it might make a slight difference, especially if the tool is very low rpm (not an issue with the DW660).
If you are using estlcam, you can play around with this too if you don’t mind loosing more material to waste.