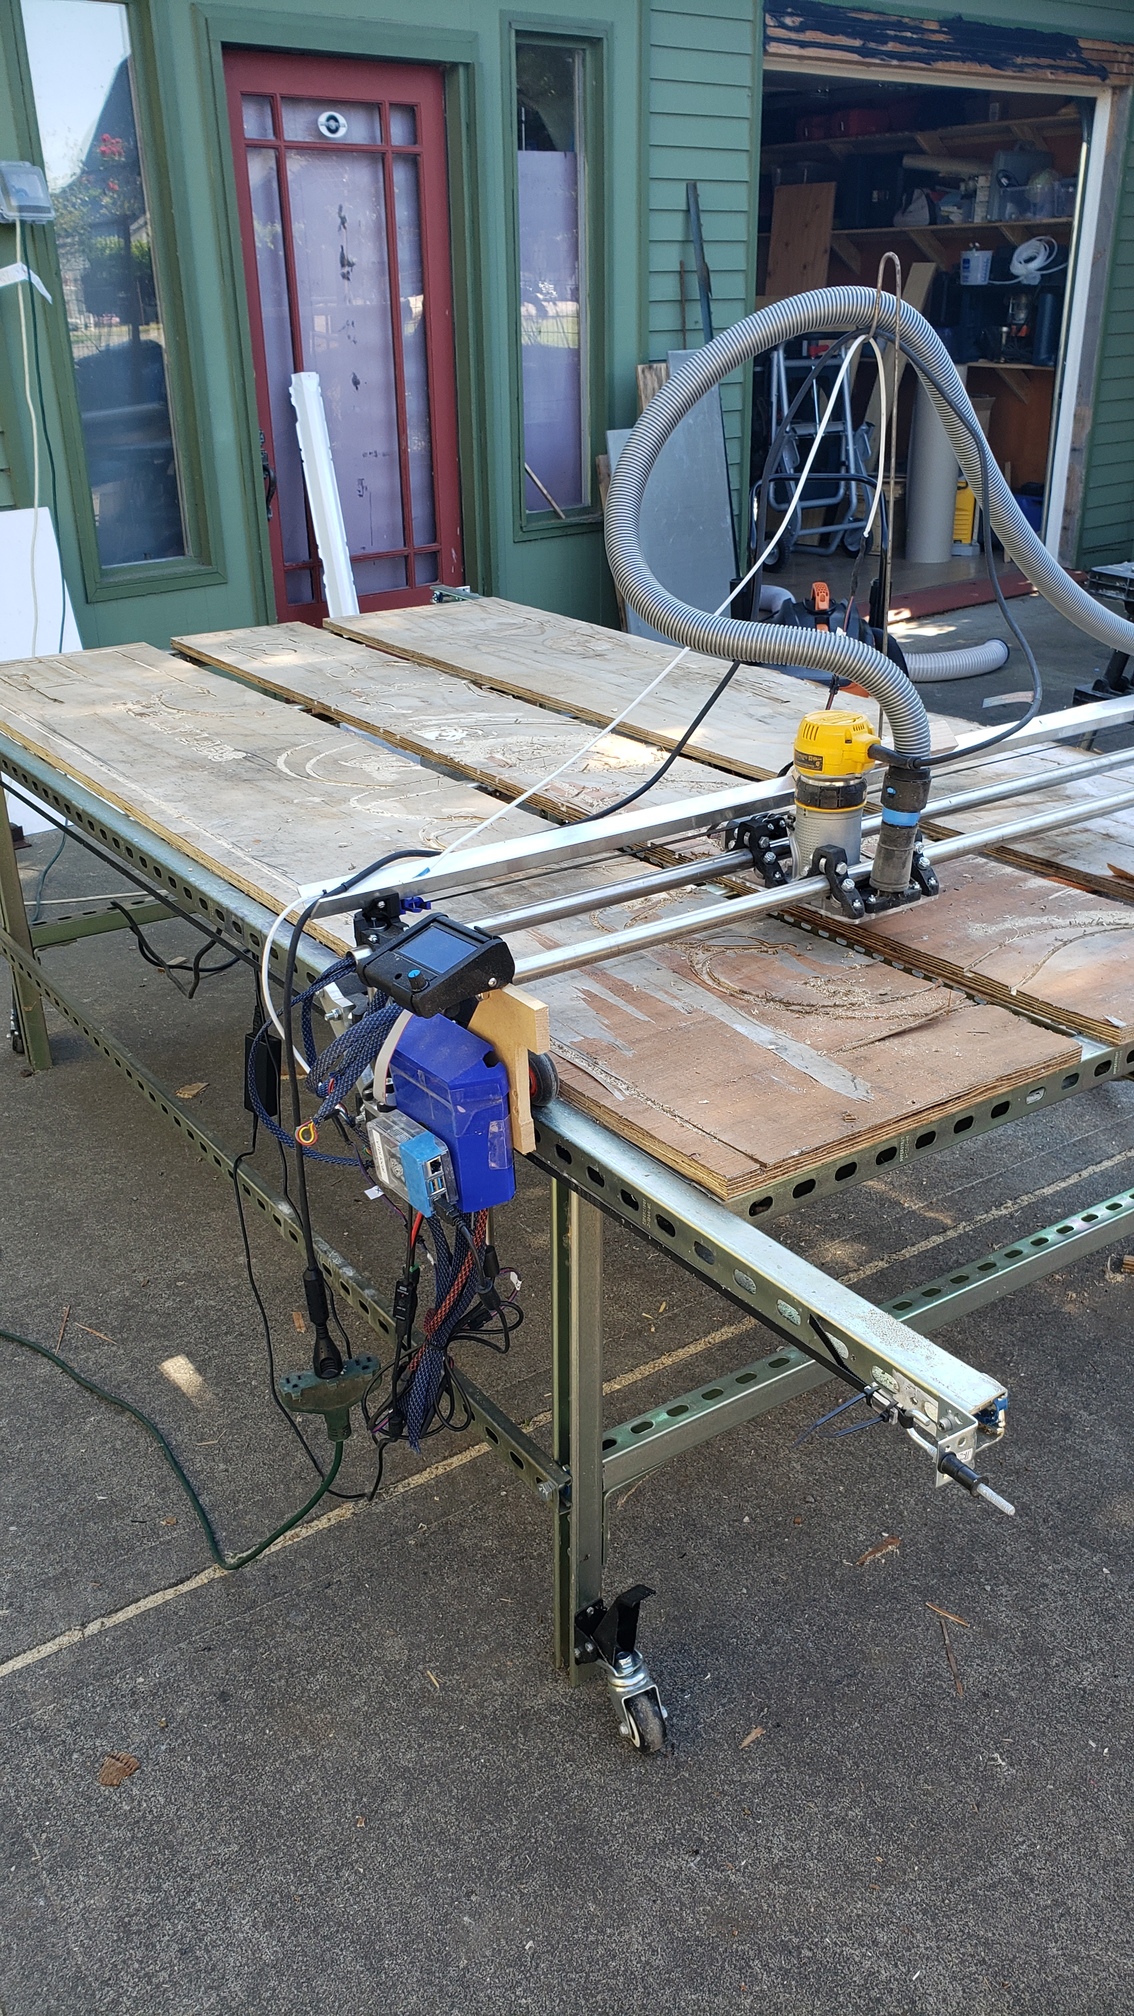
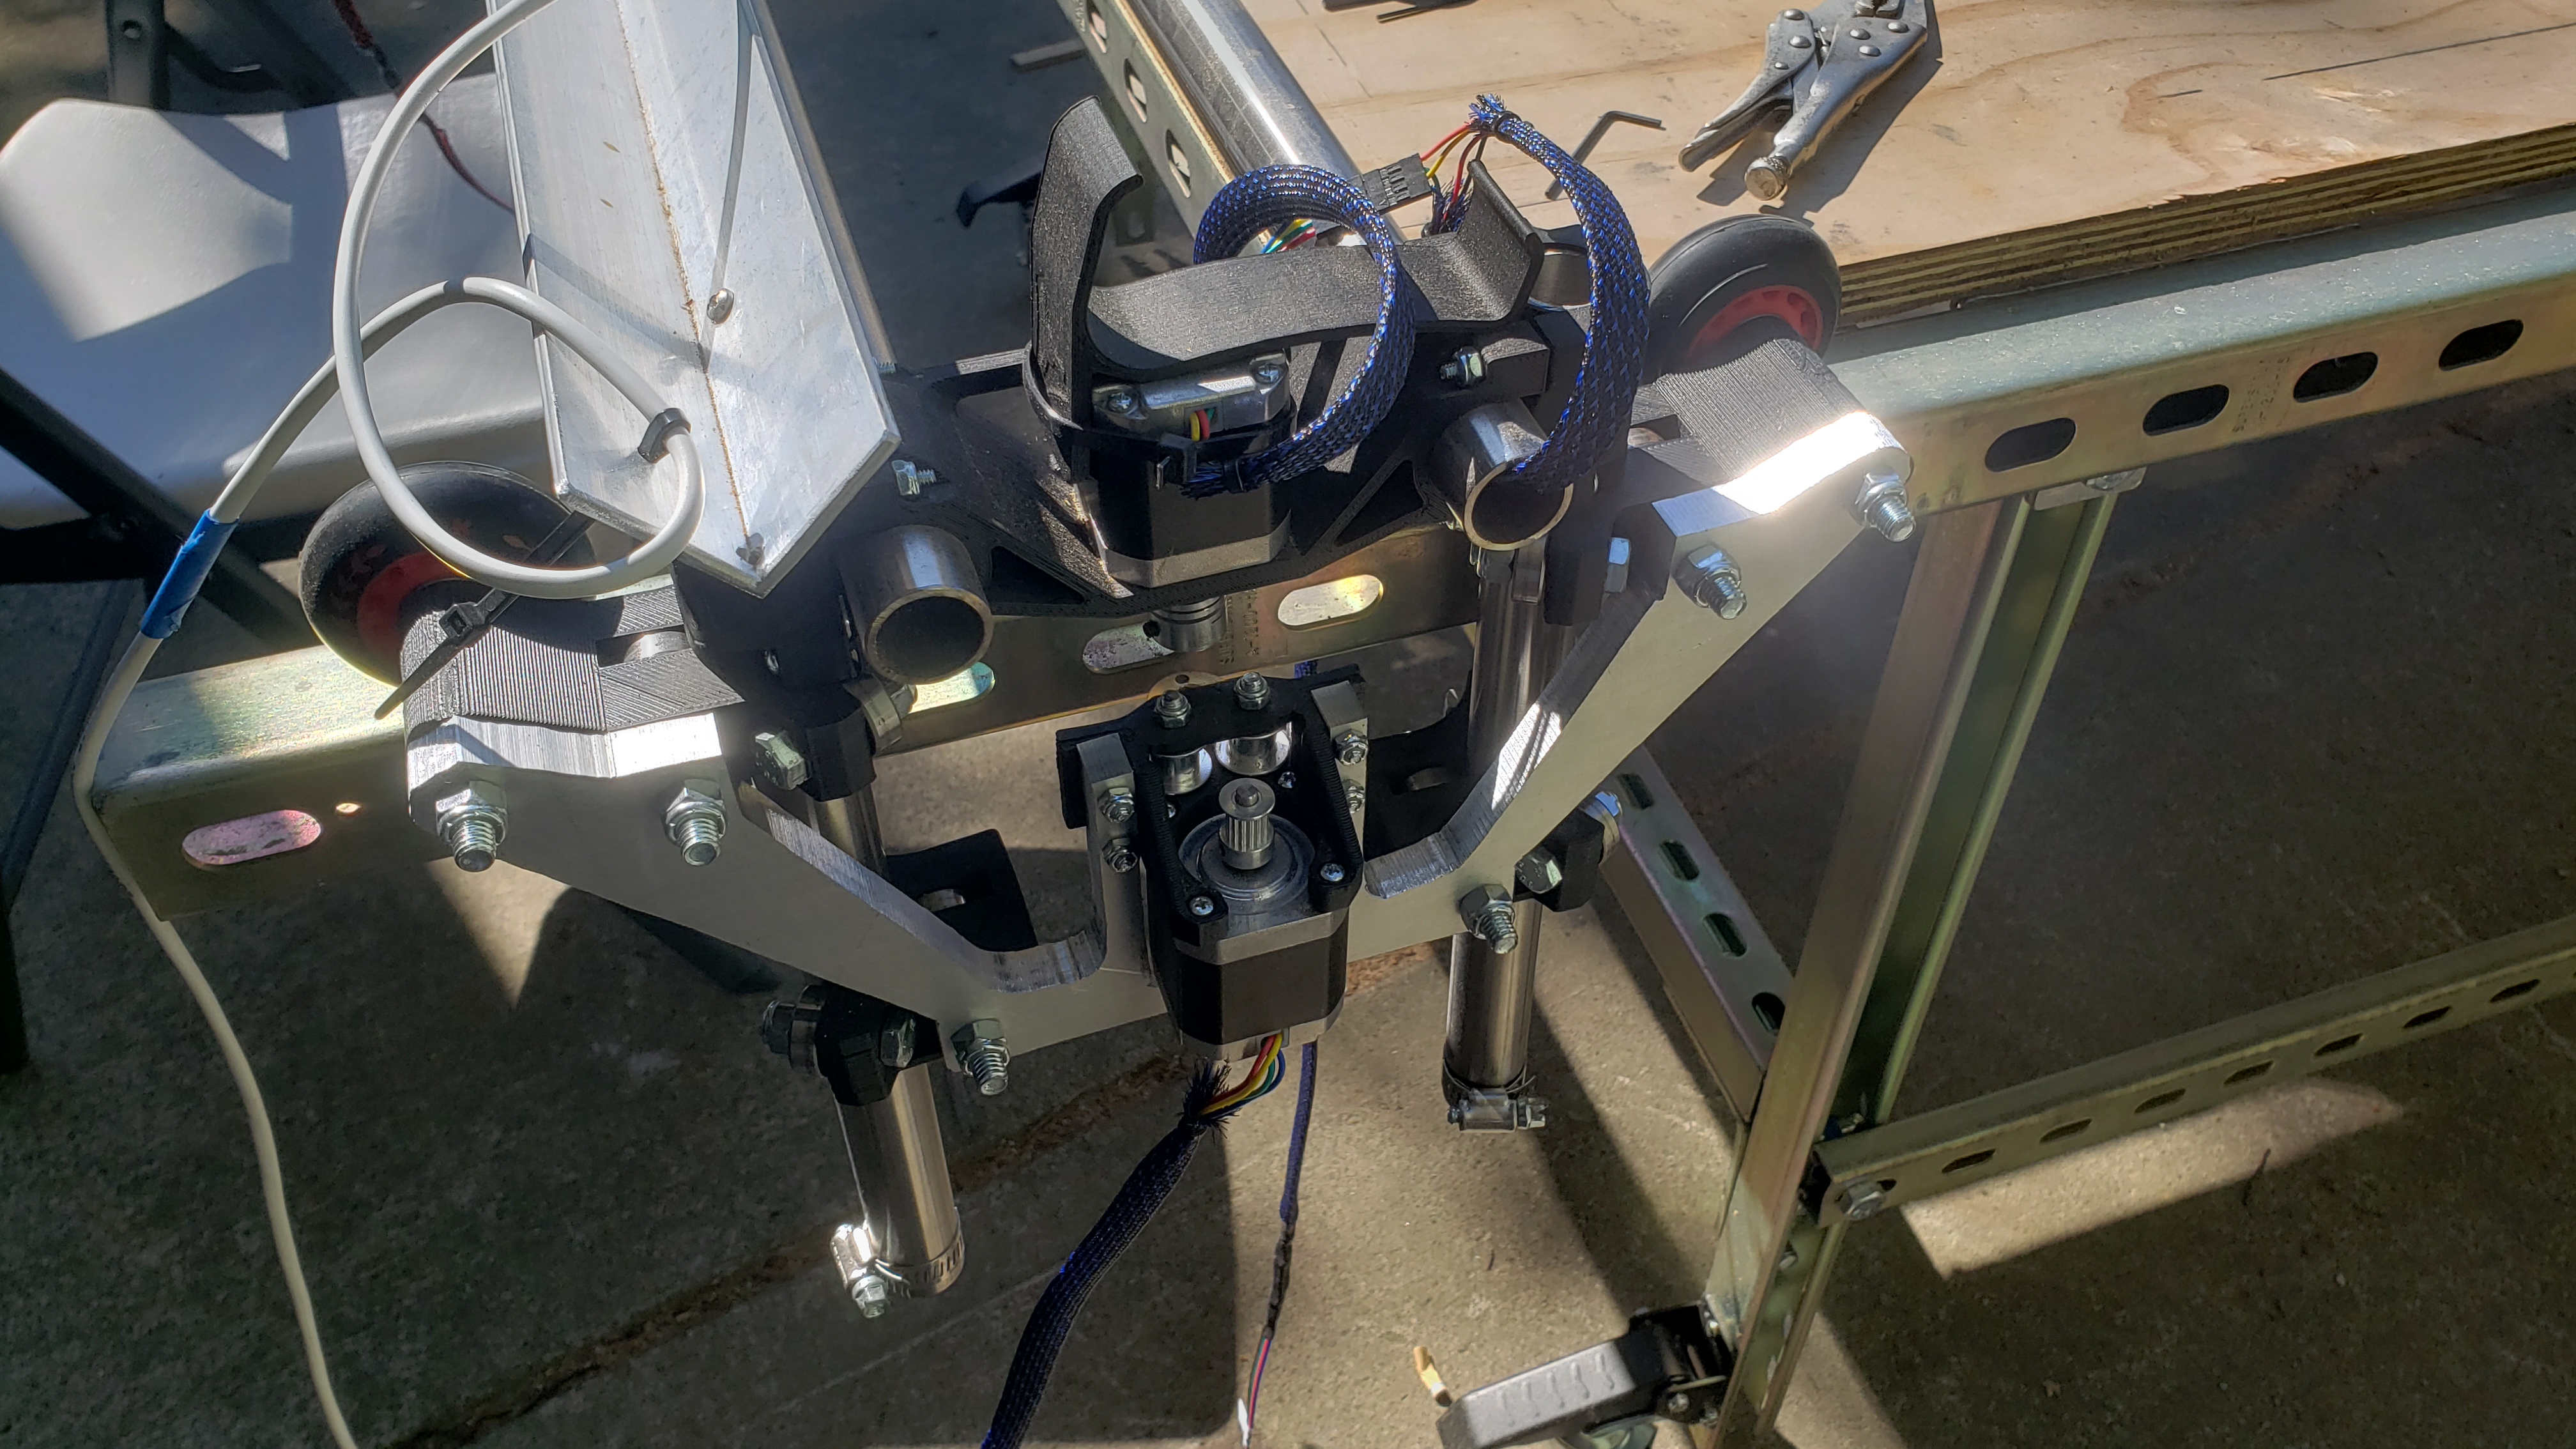
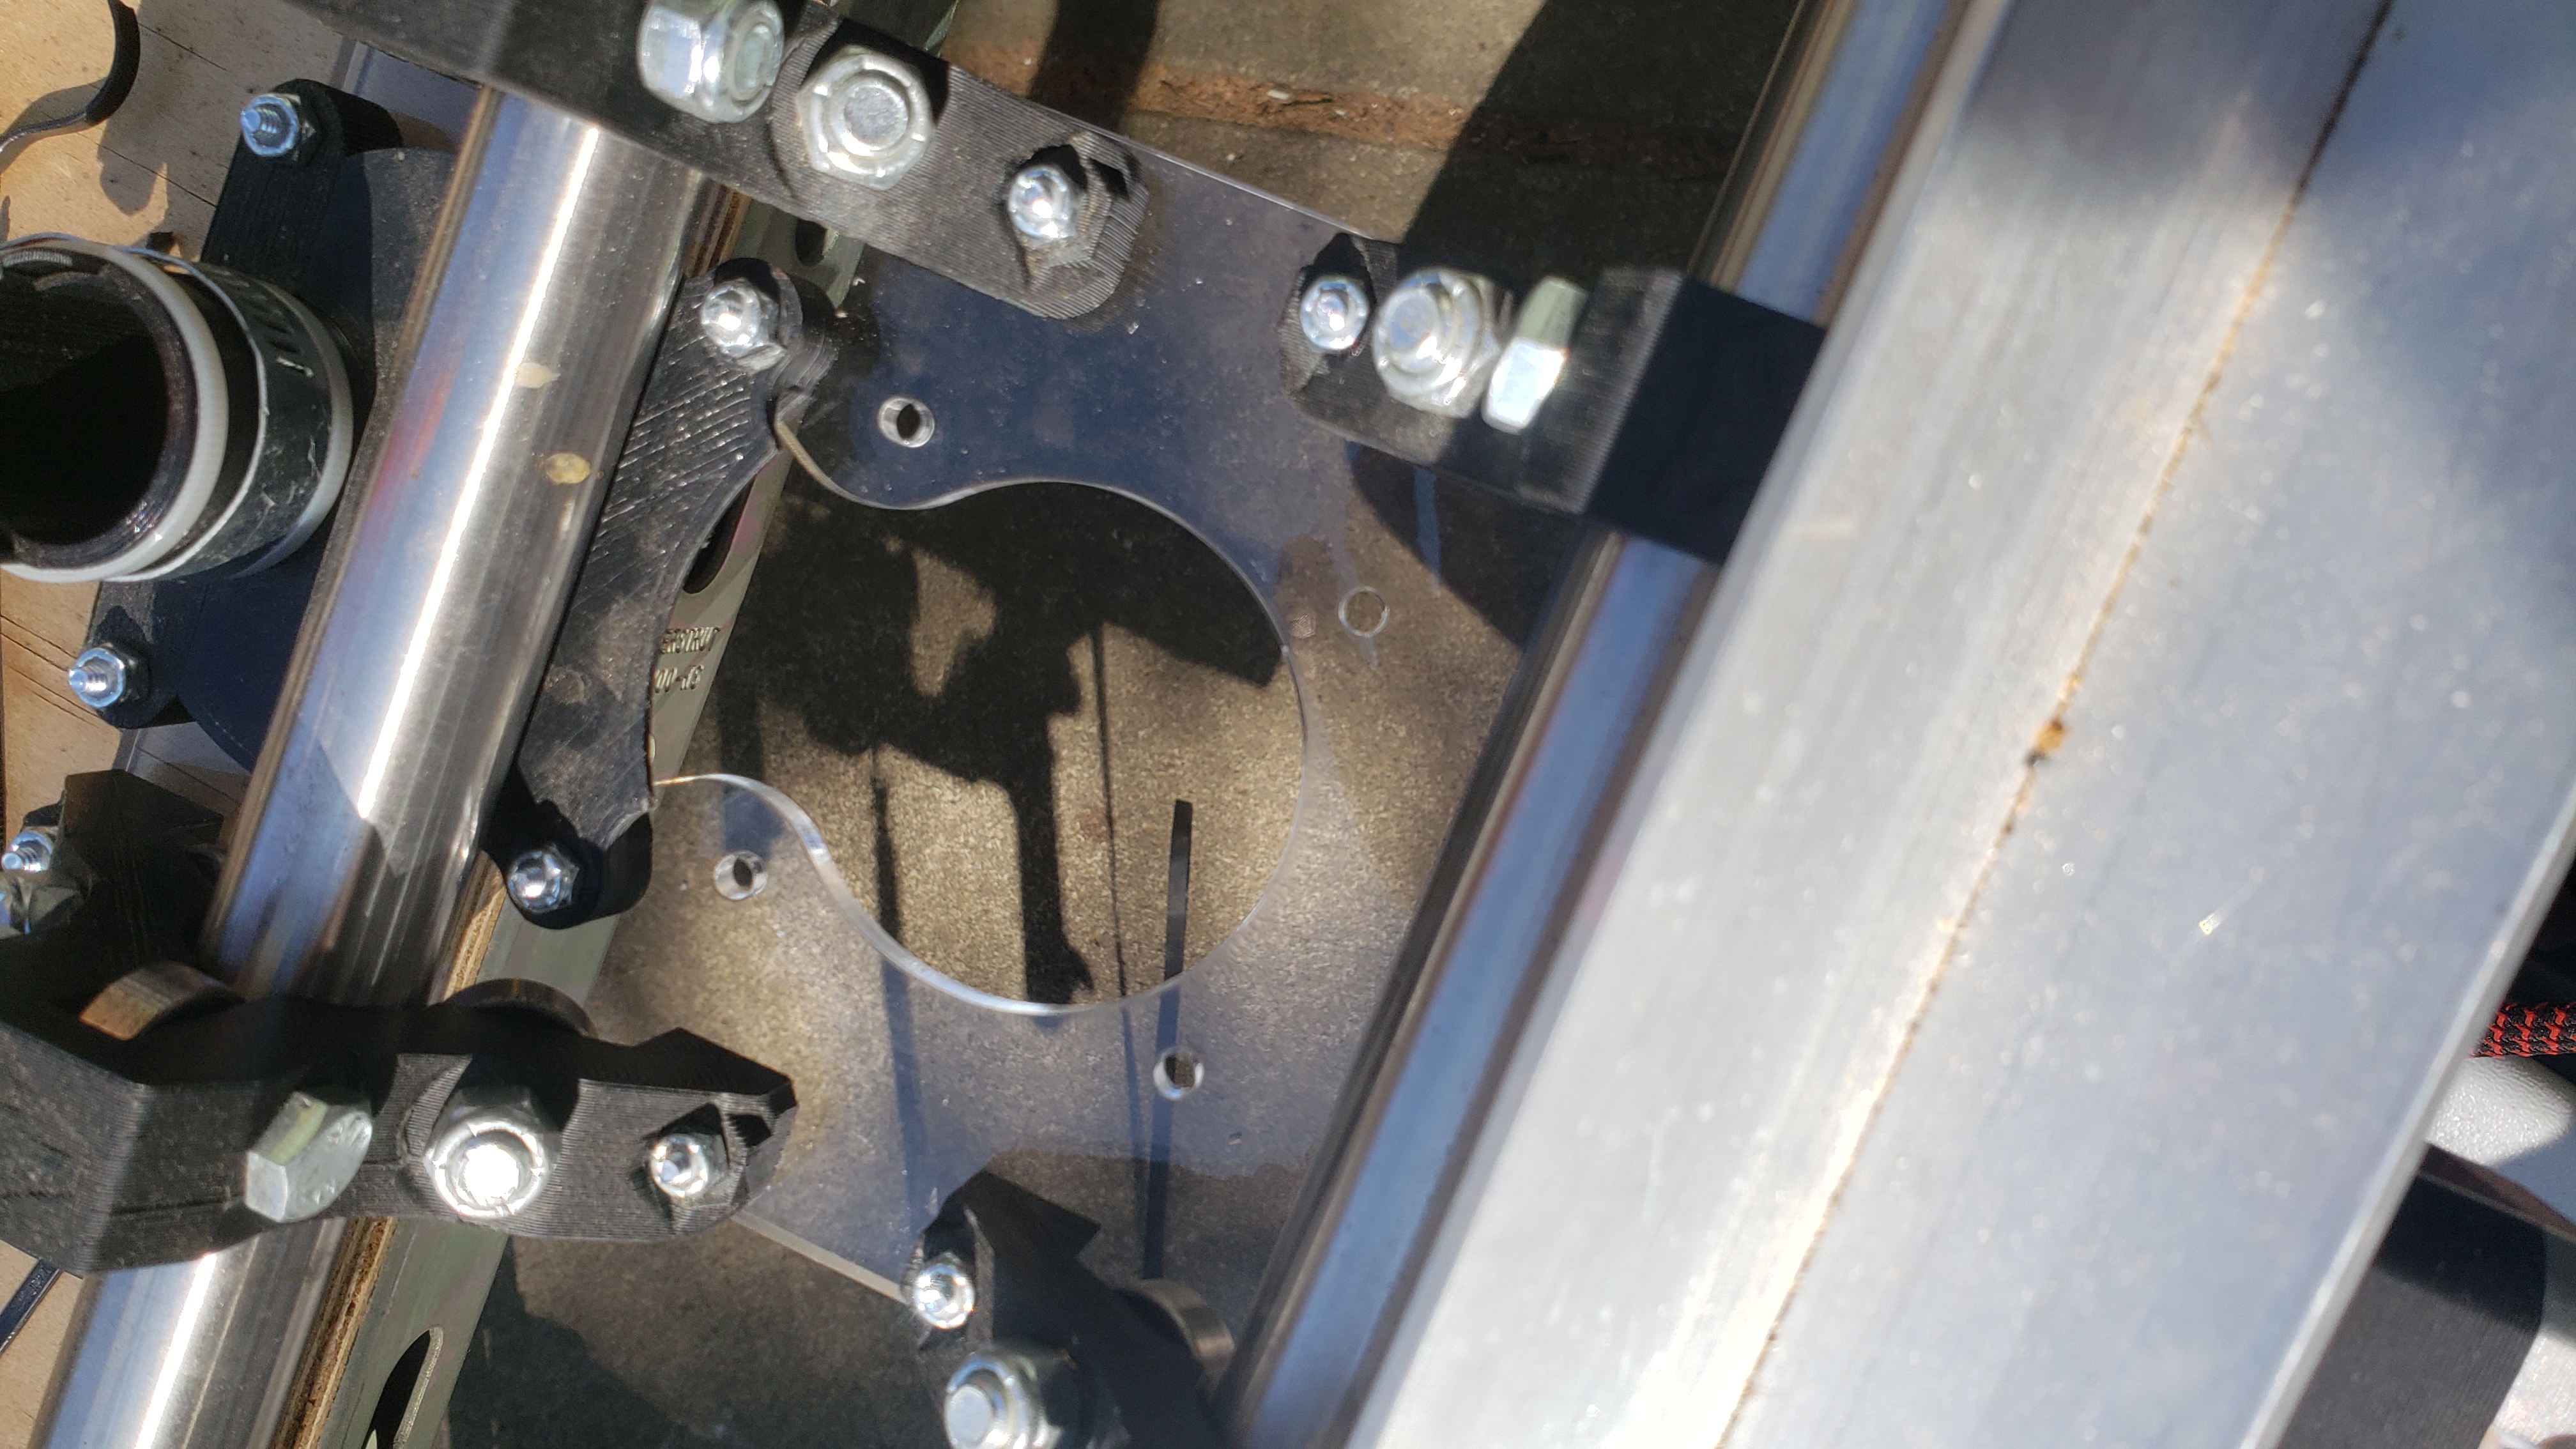
Been working on this since February. Built a mpcnc back in 2014 or so. I was having trouble getting the lowrider to be accurate, and finally realized the MDF was flexing. Perhaps because, due to the large size, I was building it outside under an awning. In the Pacific Northwest. I made aluminum side plates by hand using bandsaw, drill press, and laser-cut acrylic template to line up the holes. Using aluminum allowed them to be shorter, this gaining some Z travel, and also a lot more open so it’s way easier to thread the belts now. As soon as I installed the the new plates, everything was like butta. No fiddling around with bolt tension. Tightened everything up and boom. No problem. Highly recommended. Also made the router base plate from laser-cut acrylic. Added a hole right under the stepper, again to make threading the Y belt way easier. And, now it’s easy to see what’s going on underneath the plate.
Also went a step thicker on the stainless tubing. Stiffer is always better.
I wish I’d gone longer on the Z rails, if for no other reason than the threaded rod is longer than the rails, so it’s easy to accidentally bend them when the gantry is off the table. Longer Z rails would protect the rather fragile rod. I’m thinking that conduit would work just fine, so I’ll probably try making longer Z rails that way rather than buying more expensive stainless.
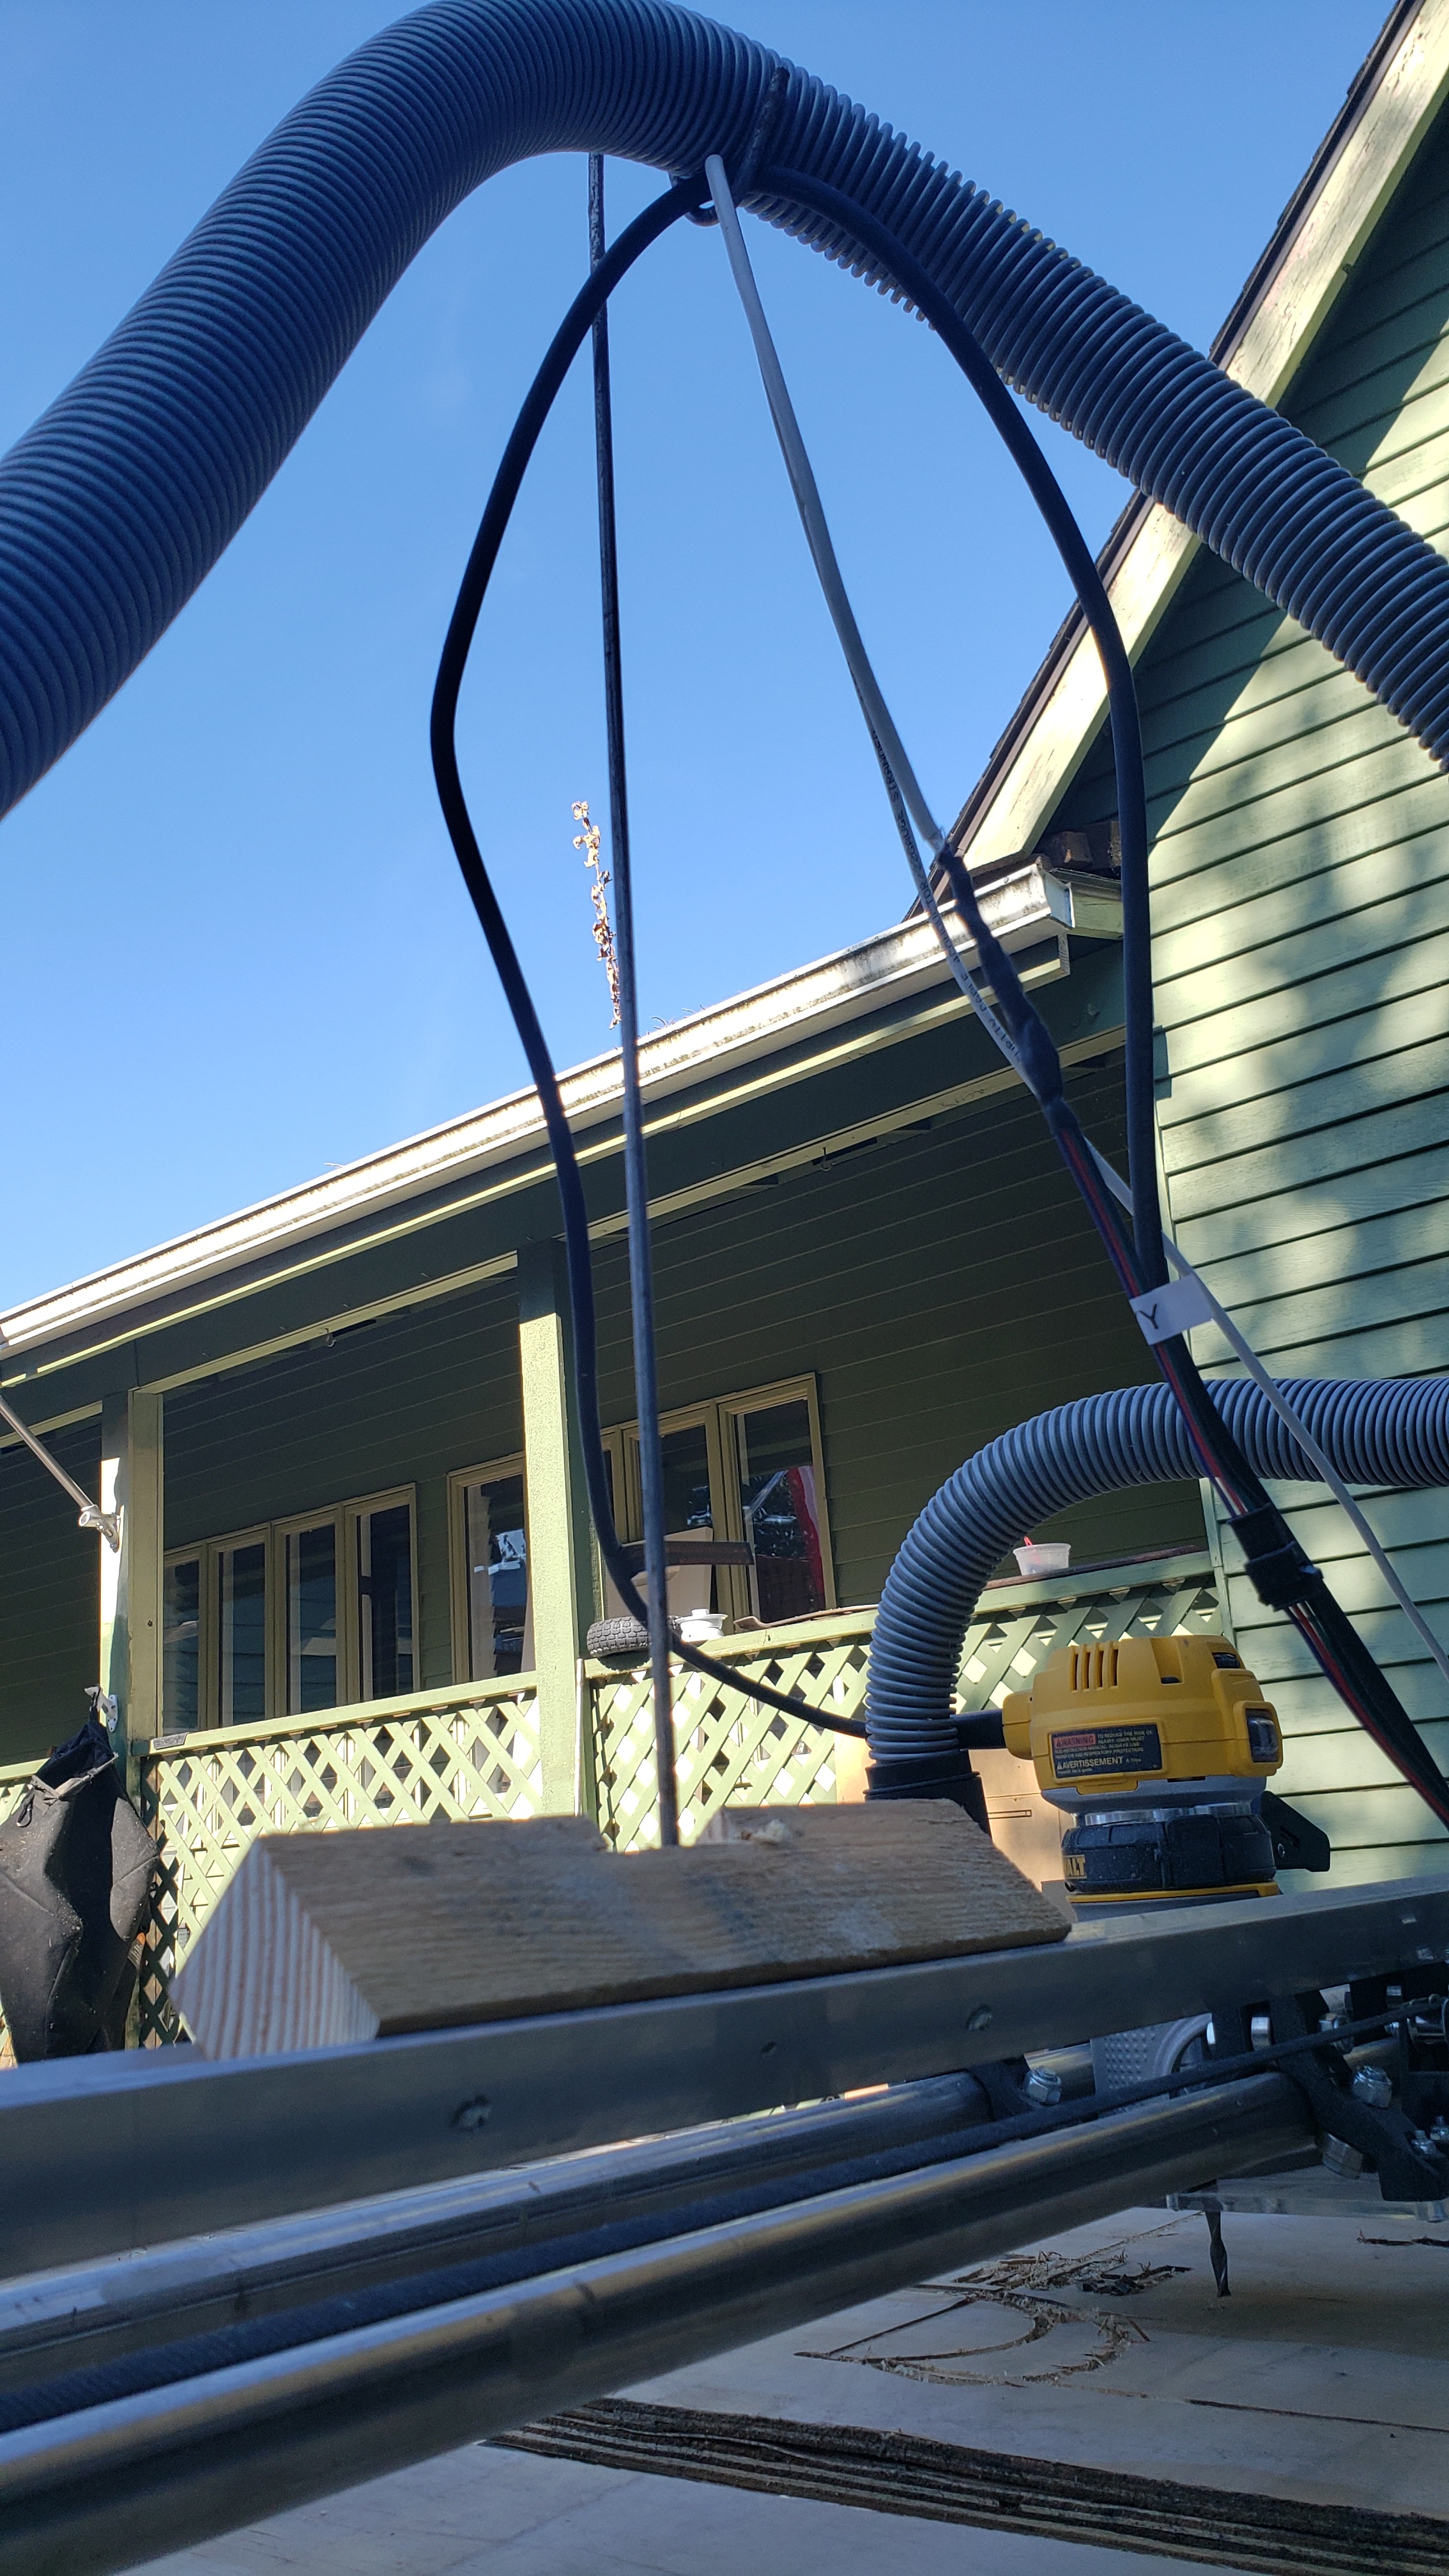
Studied lots of options for managing cables and vacuum hose on the Y, and finally did a simple thing with aluminum angle, a block of wood, and some 3/16 rod which seems to work just fine.
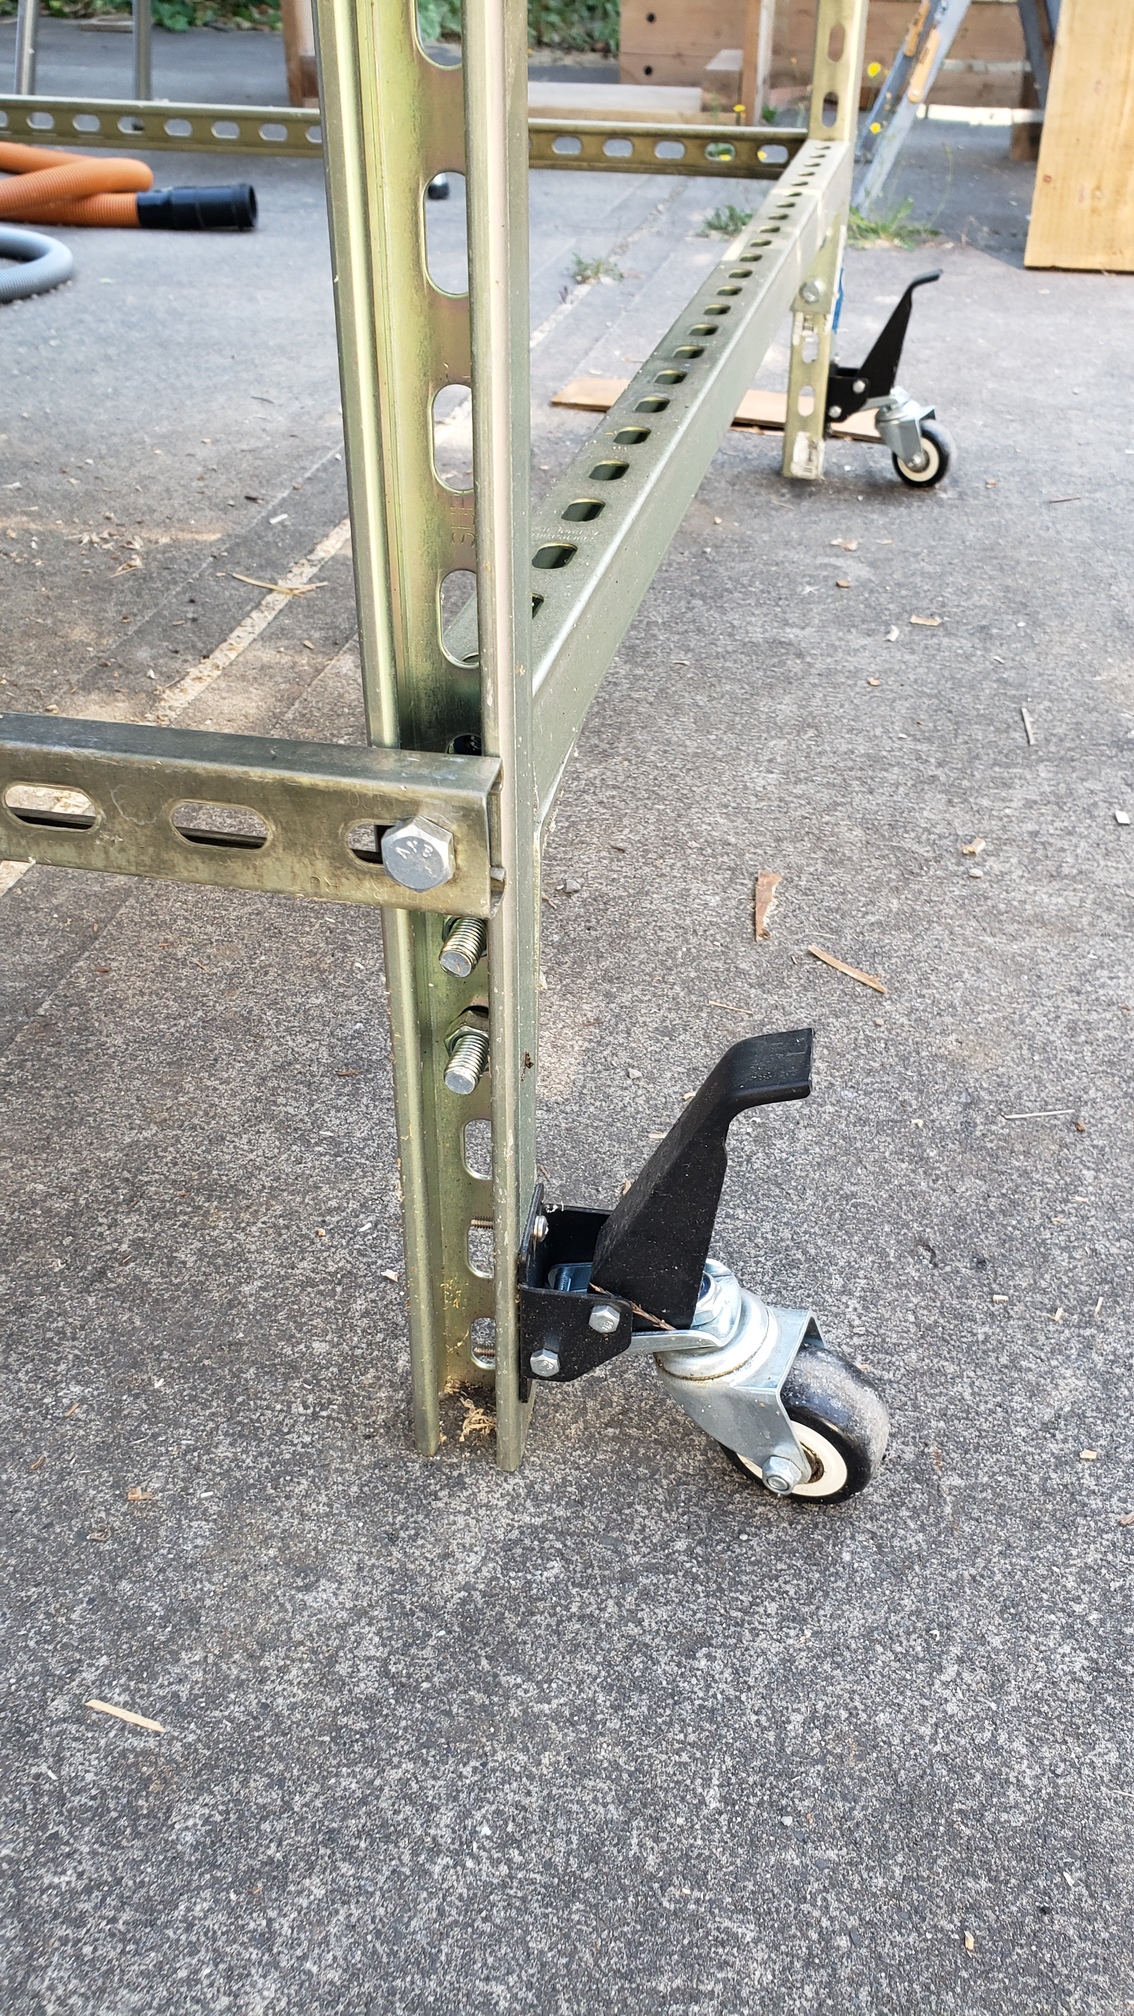
Built the table from unistrut. Great stuff! Added collapsing casters to make it easy to roll around. I think I will make it assymetrical along the X, so I have a larger open “parking area” for changing router bits.
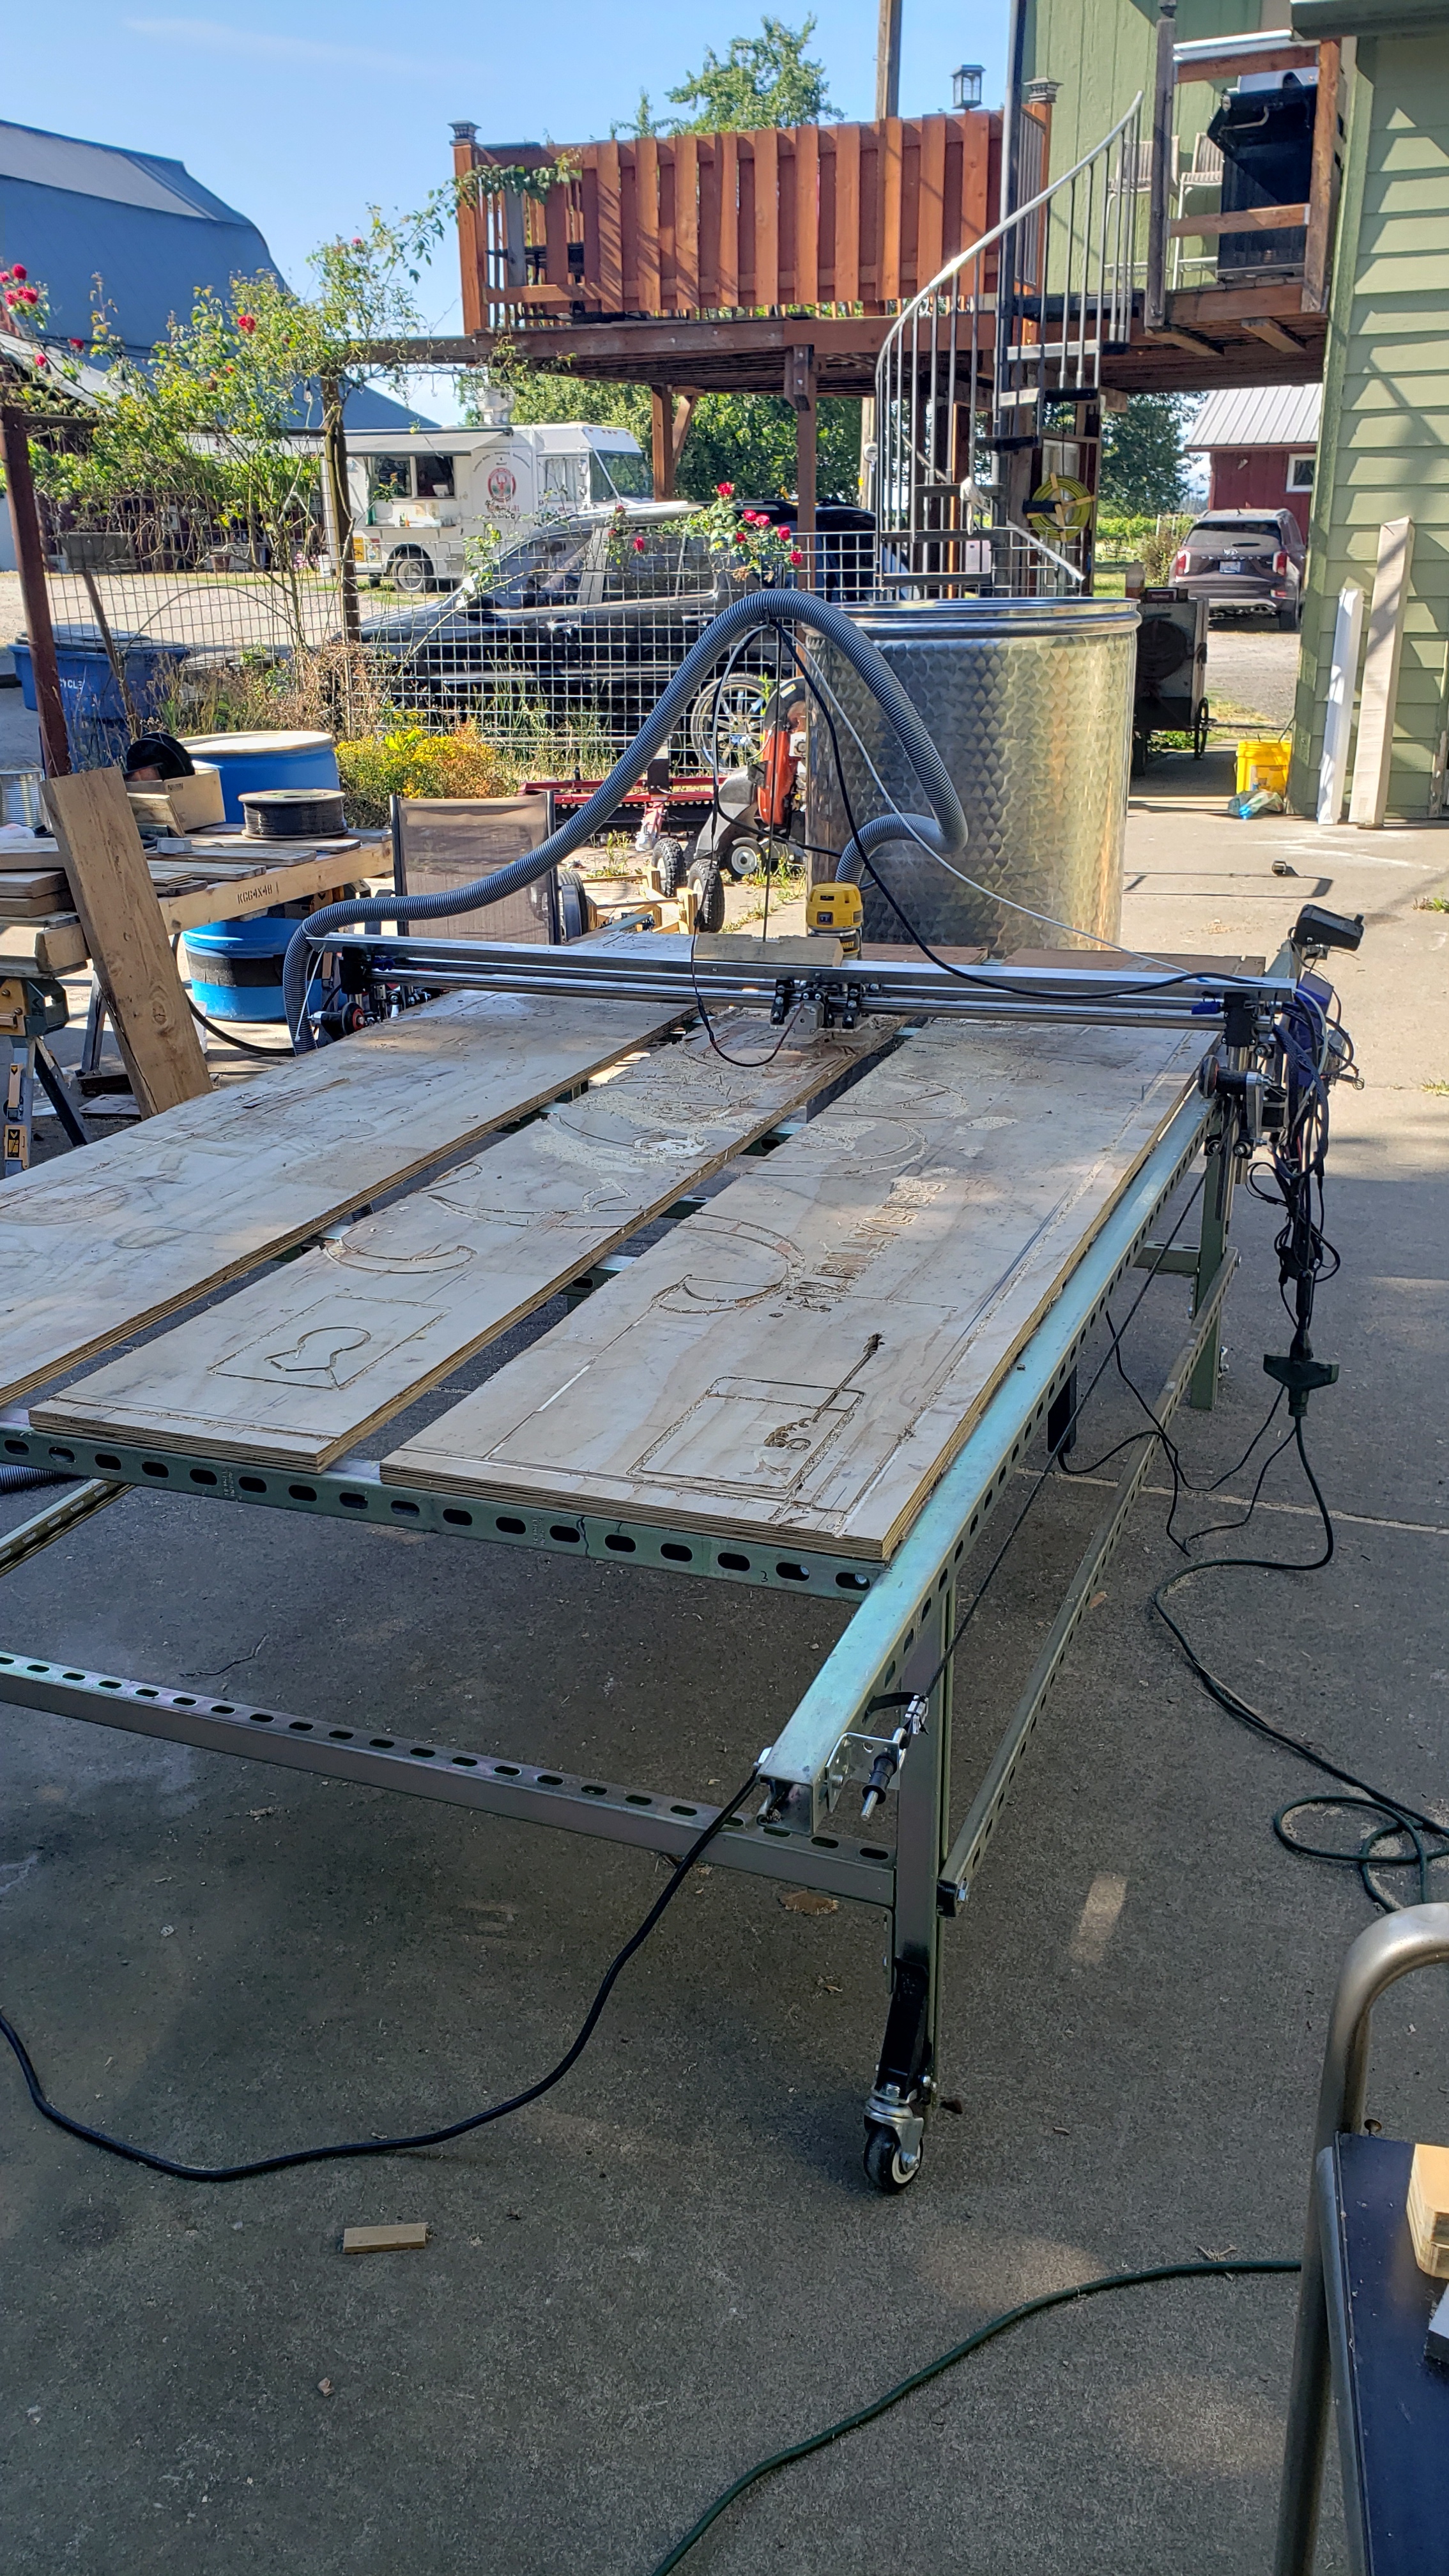
All dialled in now, and dead-on accurate over the entire build area.
7 Likes
Superstrut…better than 80/20!!!
Yeah, spent a lot of time fiddling with the long axis and MDF. The aluminum made it all go away. Most pleased.
Hi Carl - great looking table and I imagine fairly easy to put together. I’m in UK thinking of making a similar one. In UK the unitstrut is sold in multiples of 1m lengths. Thinking of making the top rails 3m long and the base rails 2m. Is that about what you did? Also I’m guessing the ‘heavy’ 2.5mm thick as opposed to the 1.5mm is best?
It comes in 10 foot lengths in USA, so my table is approximately 5x10 feet. The unistrut makes a nice flat rolling surface. I plan to move my cross braces a bit, so I have a larger open parking area at one end to make it easier to change bits on the router.
1 Like
Yes, my rails are about 2mm thick. I don’t know if that’s necessary on the Z, but the horizontal rails are utterly stiff.
1 Like
Update:
The strut has a great advantage, which is that it’s relatively cheap, fast to assemble, and quite flexible. You can put bolts and washers and things wherever you like. The downside is that you can’t really make it perfectly accurate. The act of tightening bolts moves things around. Spent many hours with clamps and storey sticks trying to get that last little bit of perfection. You can achieve it, but it doesn’t survive for very long. Too many moving parts.
Still, pretty darn good!
The big problem working with 4x8 sheet material is flatness and the Z axis. Way too fiddly. Superstrut will never comply.
However, the machine is accurate and totally good for cutting big pieces of plywood. In the great tradition of bootstrapping DIY projects, my new plan is to use the machine I have to build a perfect base for itself.
Also, my machine lives outdoors and I discovered recently that 3D printed black plastic sags and changes shape in 100F temperatures and hot sun. No Bueno. Redesigning more critical parts in Aluminum.
1 Like