Here are a few aluminium pieces I made. 6mm plate. 3.50mm depth per pass, 75mm/s feedrate lowered to 45% for cutting the holes, 10% for the outline, stopover 45%, trochoidal step lenght 8%, trochoidal width 50%, trochoidal oscillation .05mm. This was done with a 1/8" 0 flute bit, running GRBL so I can adjust speeds on the fly. The first pic was the first one I cut, and my steppers over heated and dropped the Z by a couple mm, that’s why the lower left hole is messed up a tad.
8 Likes
Looks good, what are you making?
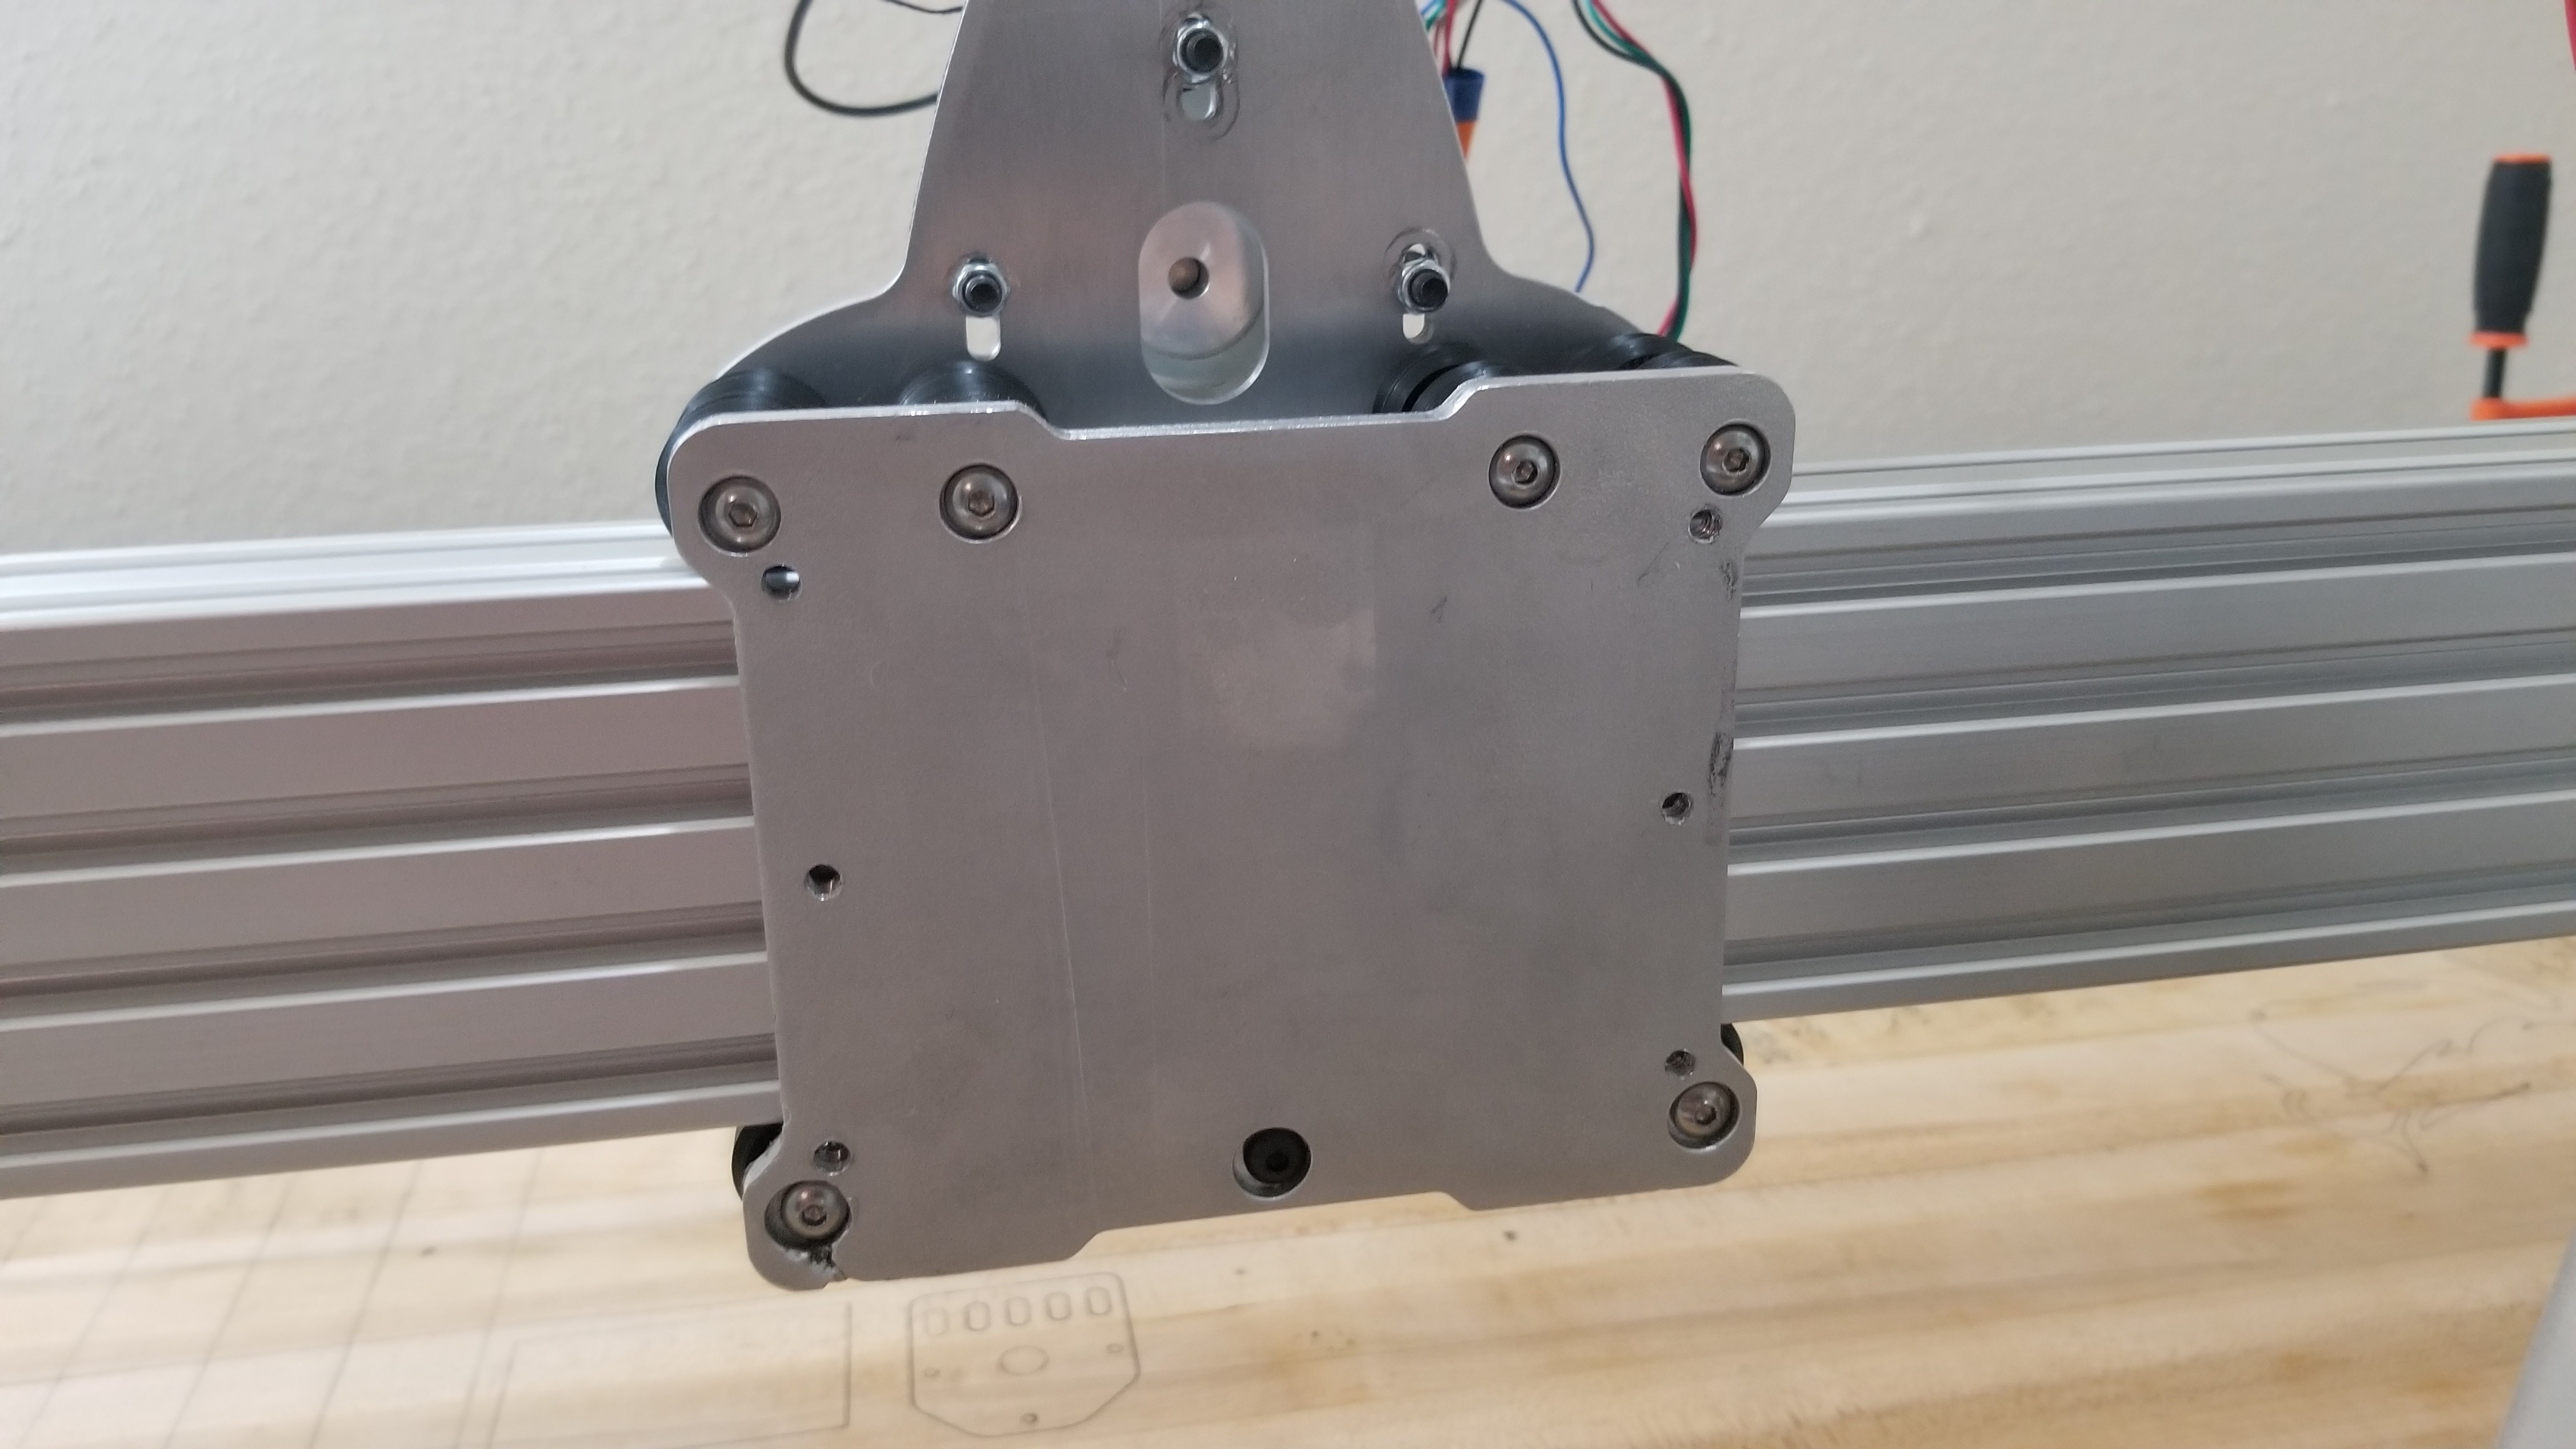
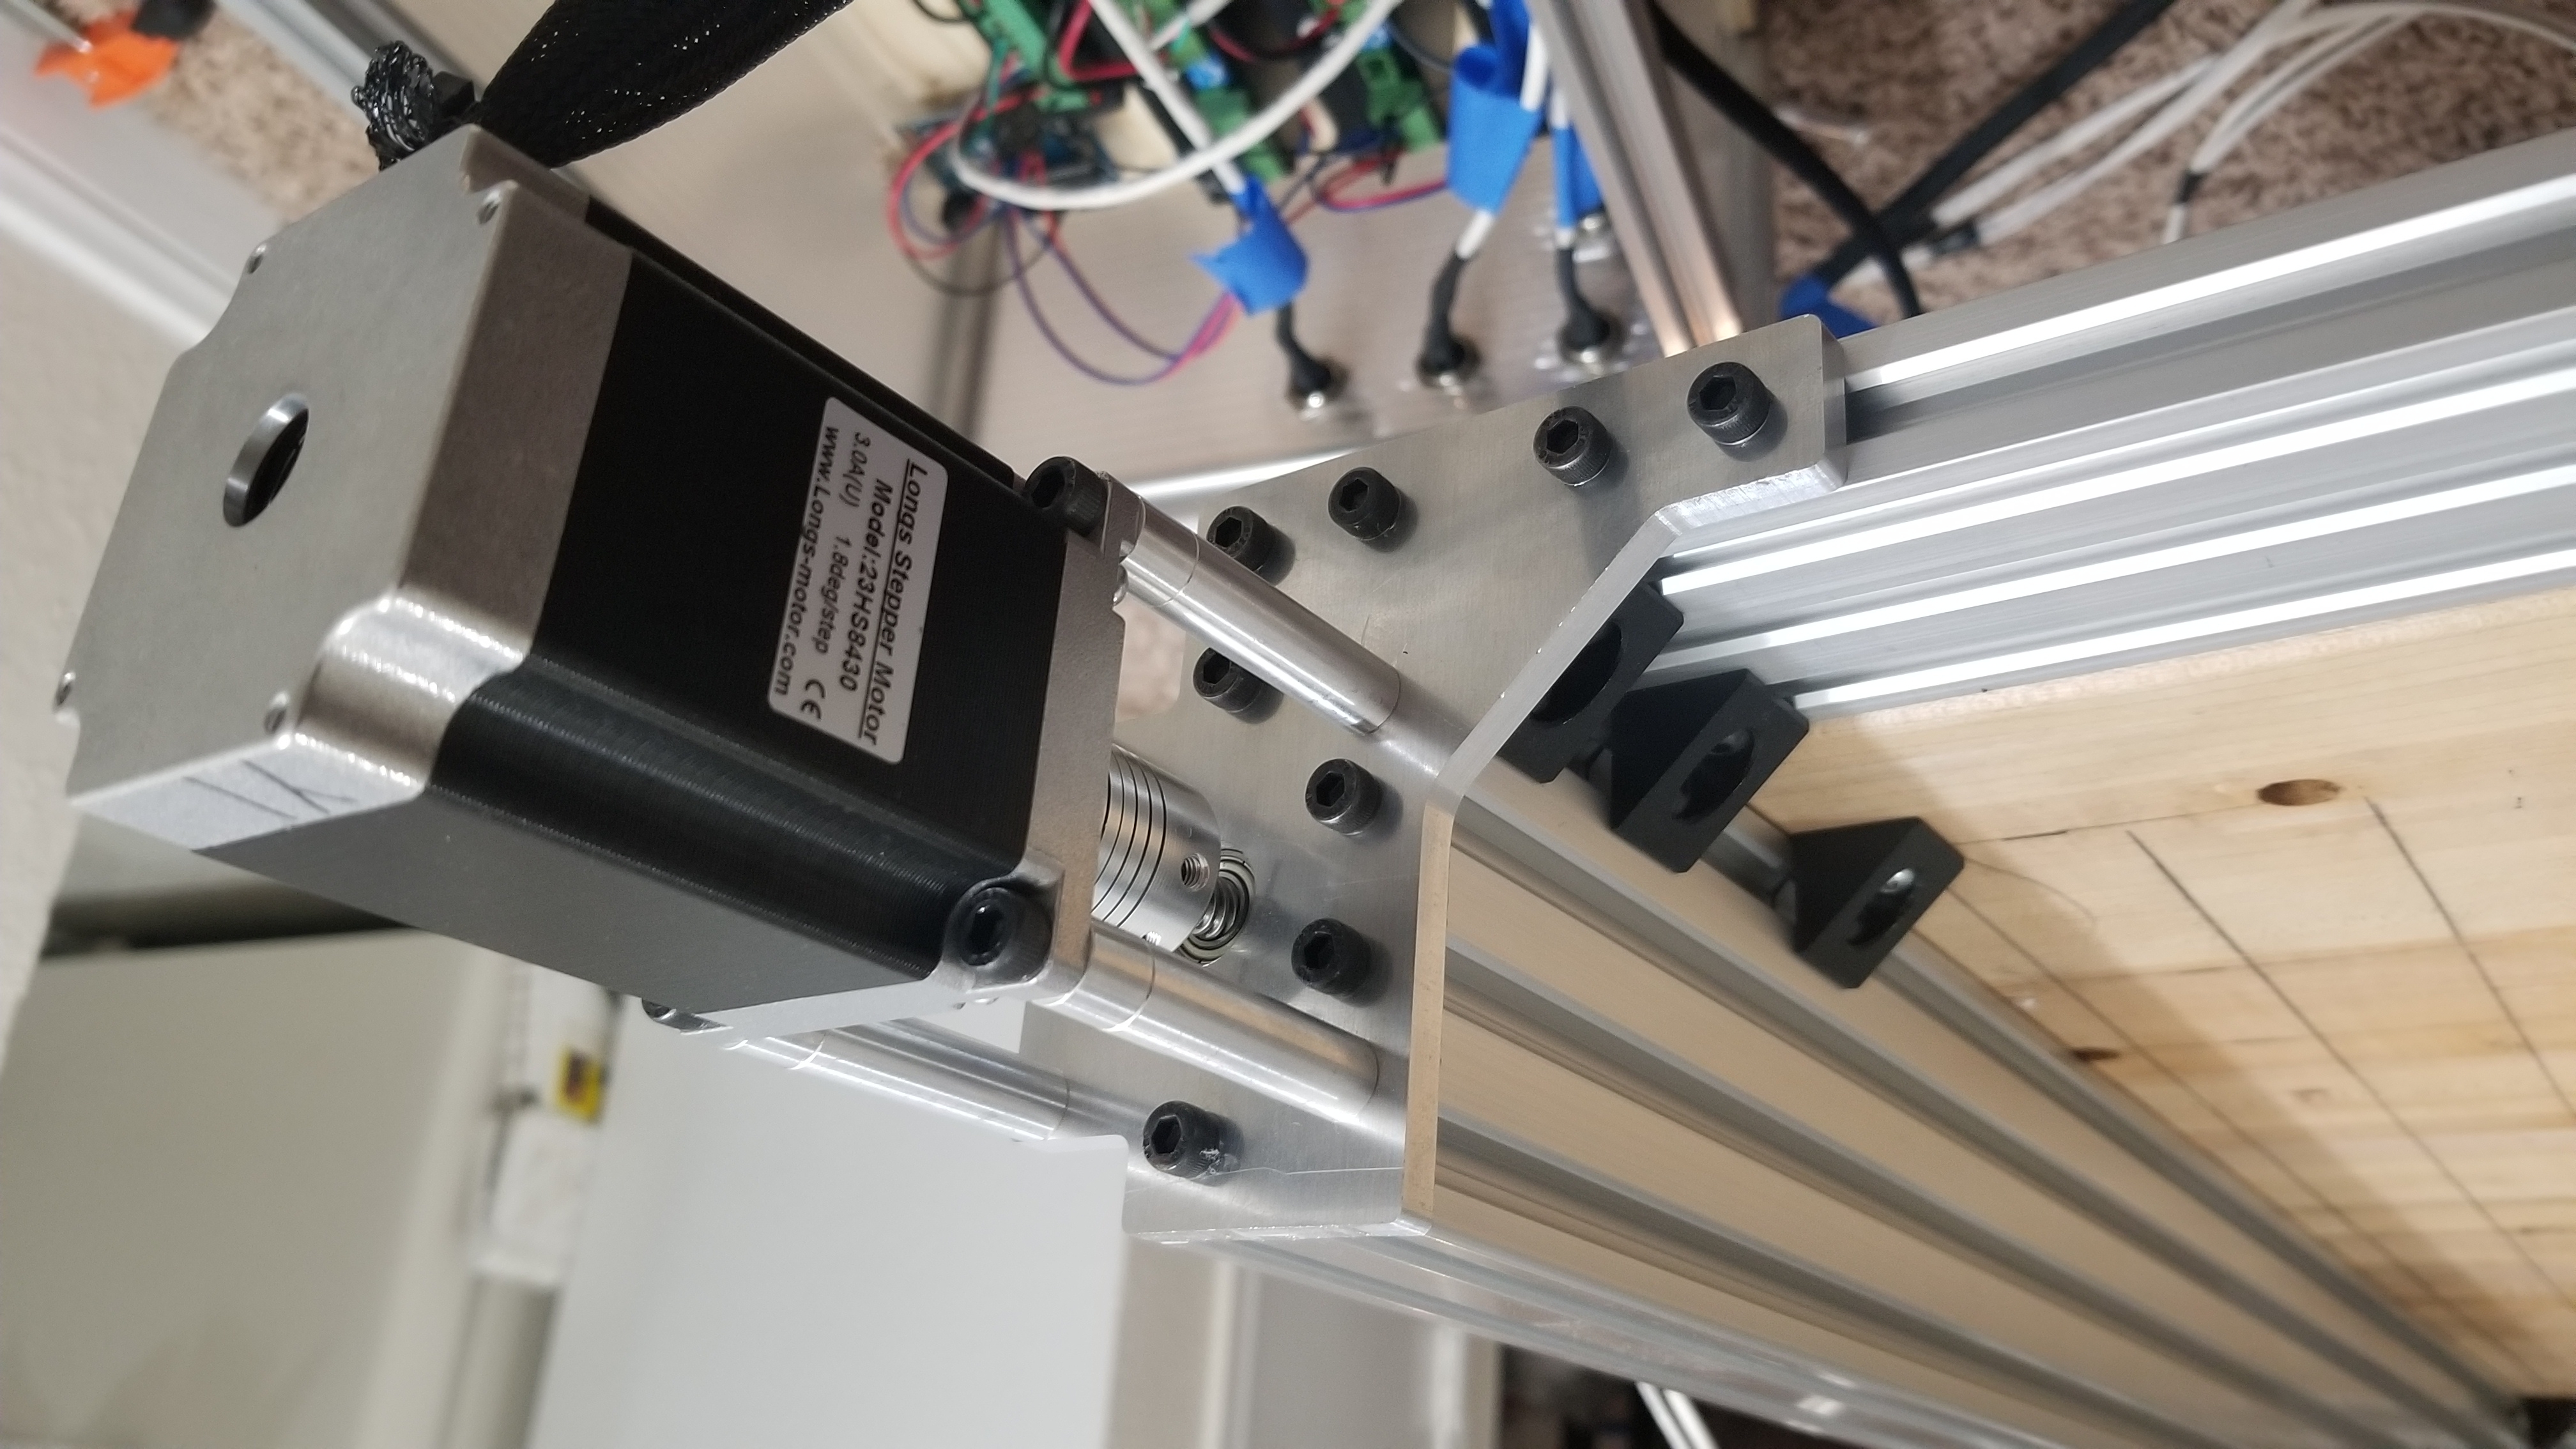
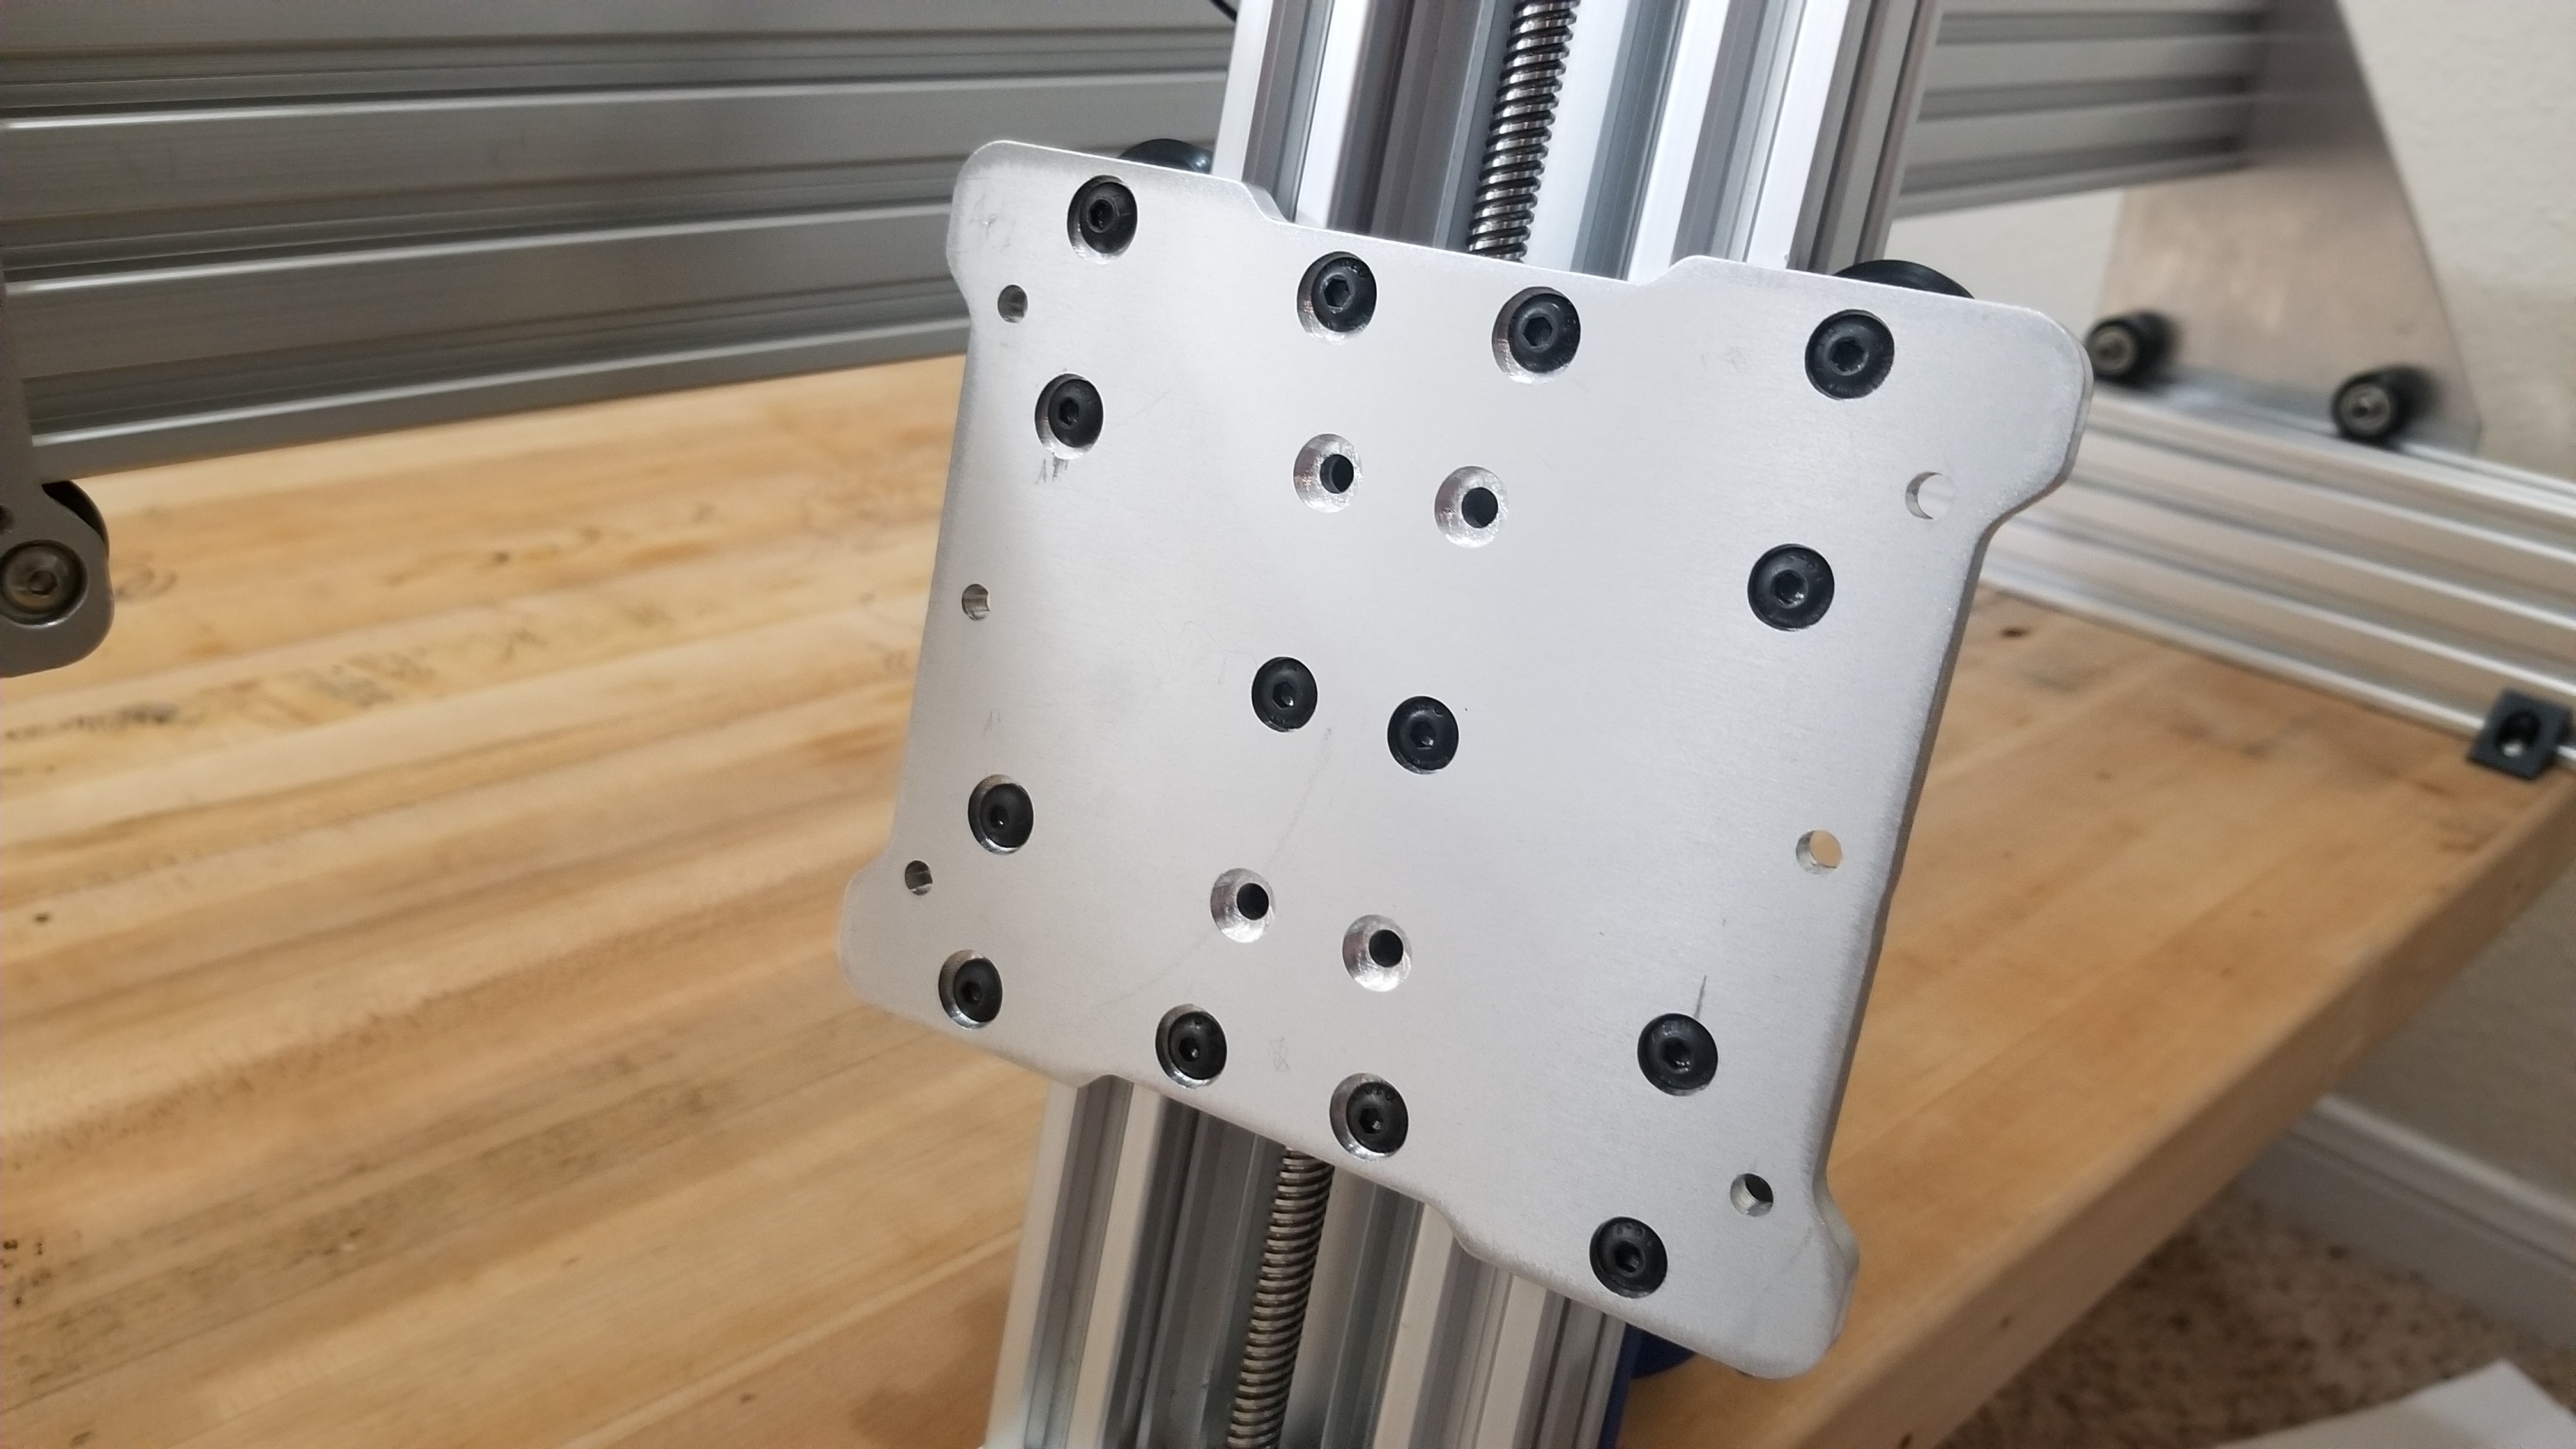
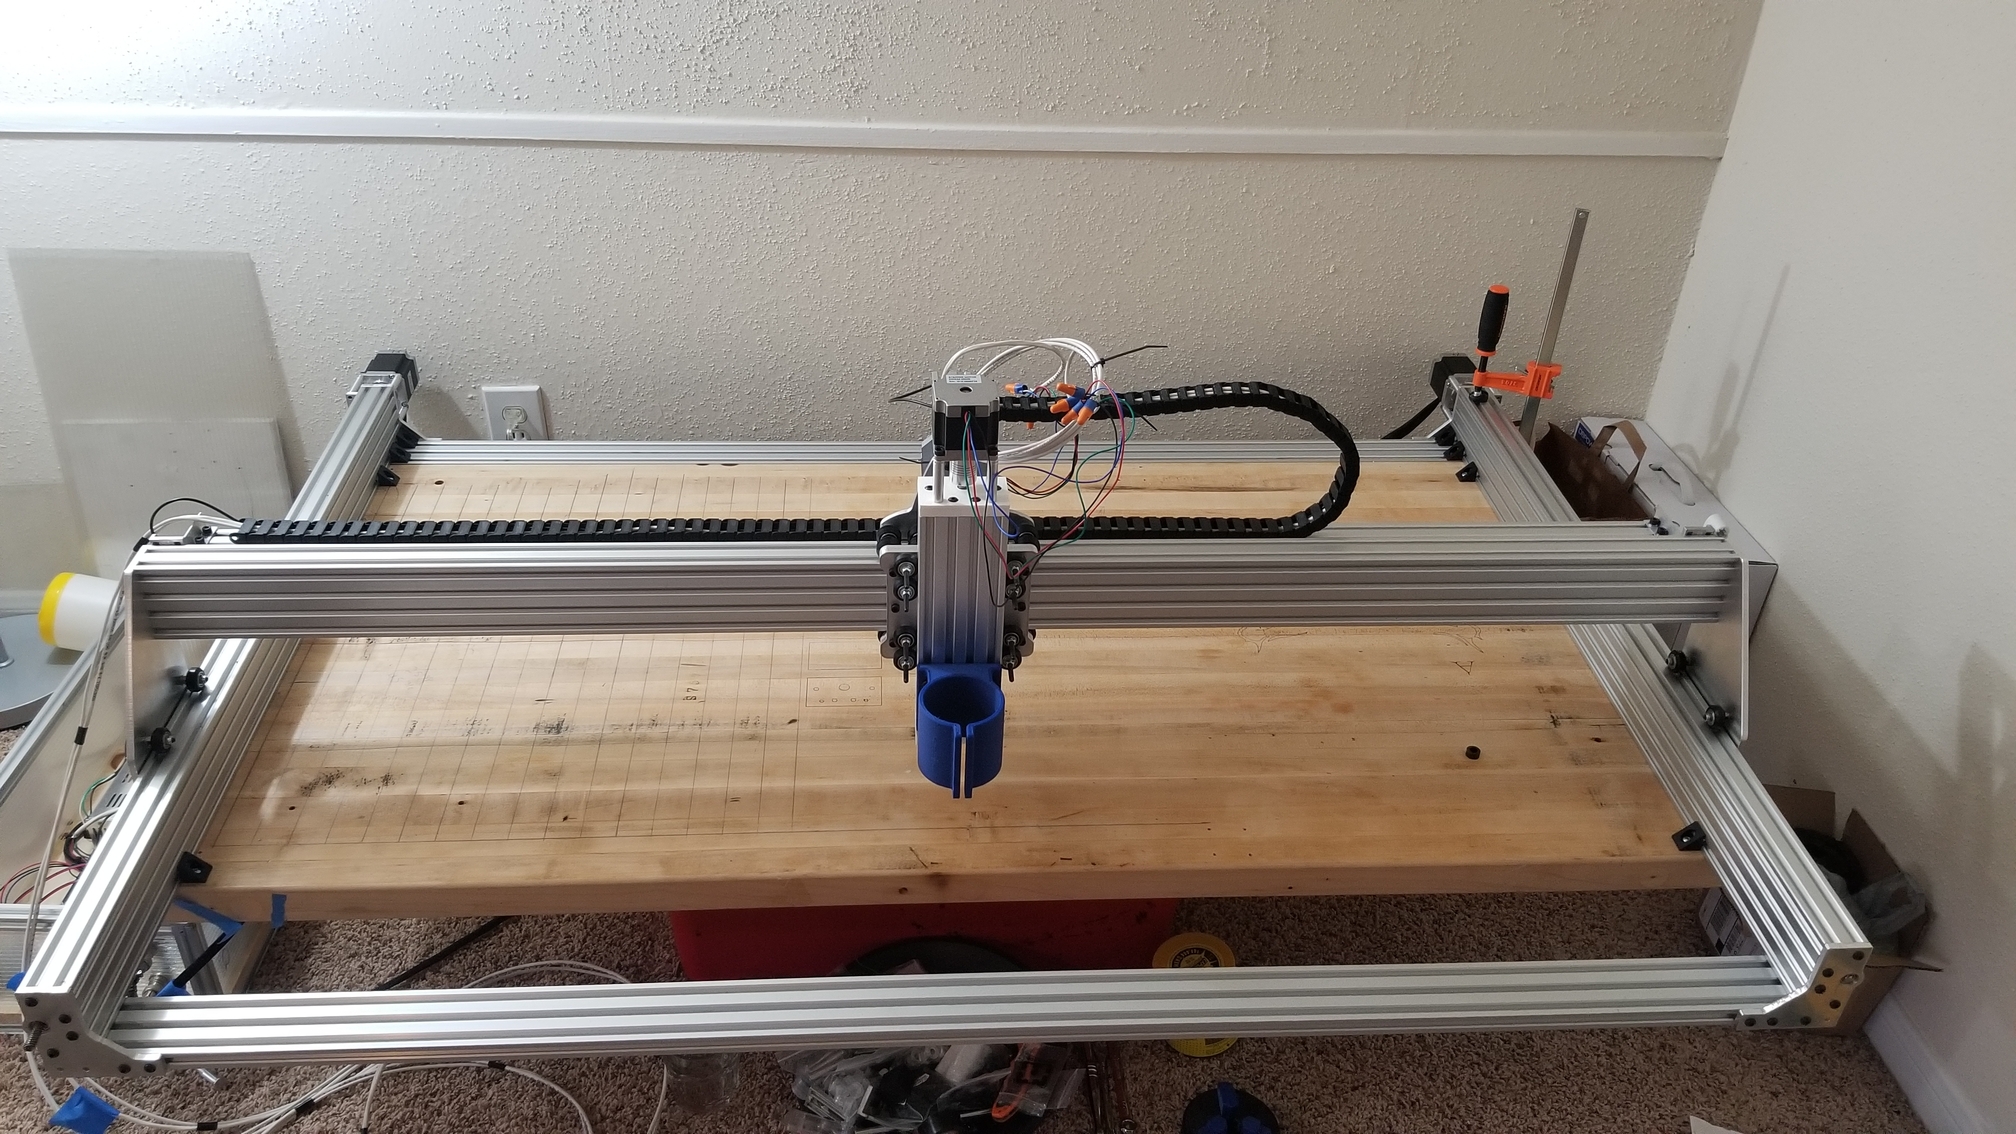
Thank you, I’m building a new machine. I am a little unsure about the leadscrews in the Y Axis thou, it seems a bit noisier than I’d like. I may end up putting 20mm belts on them too. I still have a few odds and ends to go before I decide to change anything major tho. Here is where I’m at so far.
2 Likes
I have to ask, and please do not take this the wrong way. Why that shape?
Most of these extrusion machines seem to have that same geometry with the X axis being the weak link why make it the longest axis? To me it seems if you made the the machine Y axis long and X axis short you would lose no build area but certainly gain rigidity.
1 Like
You are indeed correct. I weighed these options a lot too, and came up with a few reasons. The first was the work area I have at my shop at work, this shape gives me better access to the bed and I am able to slide it under 2 tables for storage so it’s out of the way during our work hours. 2nd was I wanted to do some real world testing with the longer X Axis. My plan is to do some aluminum cuts at different points of the bed, and take measurements to see how the accuracy changes. This data should come in handy in my future builds. 3. To make the Y Axis the longer axis, I would of had to go with a beefier set of lead screws, or come up with a dual belt design. The way pretty much all the openbuilds machines that are using belts are doing it, is they use a 5mm belt. Even in your design you used a 6mm, which even at only 1mm difference, is quite a bit stronger, so 5mm was just not an option. I’m using a 20mm steel reinforced belt on the x axis. I’m still not sold on the lead screws. Everyone says they are more accurate, and after some testing I should be able to tell, but they are freaking noisy.  So Cost, room space, testing purposes, and mild case of OCD lead me to where I am right now. I know everyone will have their own take, but for me I’m hoping that this will work best for what I want to do. Worst case scenario I have to buy one more 1500mm C-beam and change it up a bit, with a different belt setup of course.
1 Like
I’m curious as to what methods you guys have cut aluminum, are you having the best luck with? The step down approach or trochoidal?
Trochoidal/adaptive is slow, but pretty safe. If your machine is less rigid, a smaller stepover or stepdown might help. Profiling isn’t too bad if you have air and you can push hard enough to make a good chip, but if you have to cut down more than the bit is wide (say 1/8 inch down for 1/8 inch mill) consider adding a roughing pass or two. They’ll line up from outside your cut so the channel is wider than the endmill, and that really helps make room for the chips to evacuate.
I just pushed my teeny tiny build yesterday. It hogs through aluminum pretty well (my stash is just about gone!!) but at 0.2 inches deep, my chips welded and the mill snapped. That was a profile run with no rough passes, 0.040" DOC, 0.0015 CPT, 18k RPM (straight up abuse, lol).
I eat up several $30 bits using the profiling approach, at .5mm DOC. Using the Trochoidal technique I’ve only broke one so far, and that was due to my holding tab miscalculation on my part. I wish I would have videoed both cut techniques so I could evaluate both. I suppose I will have to invest in a camera for further testing.
How deep altogether? What are you doing for chip clearing?
The plates are 6mm thick. I cut thru 1mm. And I blow the chips with air manually. I also tried using WD40 as a lubricant, when using the profiling path.
Hmmm. I wouldn’t expect any trouble at 1mm deep if you’re taking 0.5 at a time. How far down is the z sticking out of the center assembly and which endmill are you using?
Total depth is 6mm of the plates. The 1mm is how far I go down past the plate. This is the bit I was using.
These were made on the LR2 with about 1" of the bit hanging down.
I had some 1/8 endmills with flutes like that and I couldn’t get them to run fast. Gave up trying to go slower because they kept breaking. Even using the extra roughing passes it was like the chips wouldn’t move after being cut and started sticking to the end of the cutter.
I really like the ones in the shop.
Really good at throwing the chips out and makes it easy for me to dial in the speed.
1 Like
But then, I never got those other ones deep enough to try the Adaptive/trochoidal cuts seriously, so you’re still ahead of me in that respect. I think after breaking a few, the hole was big enough to start the path but I don’t even remember now.
Ironically I still have a couple of those from Ryan’s shop, I just stopped using them when I went from the MPCNC to the lowrider. With clamps and stuff on the lowrider it seemed easier to buy longer bits. I may try it again when I get the new machine up and running.
1 Like
You can’t use this for a pulley tensioned system. The steel work hardens and breaks, sometimes within a couple hours of use.The kevlar, fiber whatever we use is far better suited for this. Steel belts are only good for a system that does not bend the belt.
Well, I think you know where I stand on this. They can be great but they have to be of really good quality, and short. Then you have to have an excellent anti-backlash system and those require lots maintenance and careful tuning or the whole thing is far far far worse that any other method.
https://blog.misumiusa.com/strengths-limitations-belt-drive-vs-ball-screw-actuators/ (notice they say ball screw not lead screw as the possibly better option).
1 Like
Thanks for the heads up Ryan! I will look into a kevlar reinforced belt to be ready. I also should have made the distinction between lead screws and ball screws. Ironically I do have a 1500mm 16mm diameter ball screw, but I took a chance with a Chinese model, and sadly it came with a bend in it. Just ever so slight. I also bought this on a whim after buying heavier aluminum rails. I suppose I’ll just hold on to those pieces for a future project.
You just saved me a lot of headaches. Knowing my luck the belt would have broken in the middle of a 6hr job or something. Thanks for the save!
3 Likes
It annoyingly breaks the steel, and then stretches, so yoi get things like a ton of chatter in your cut and you don’t know what is going on until you post a photo, and we see the white belts.
1 Like