I fear the existing firmware would need a complete re-design to be GRBL useable. While GRBL requires less fancy commands being basically console driven it is way outside my expertise. All GRBL really needs is a simple console and a few configurable macros, a tf card reader for file storage, throw in some editable icons and a info feedback screen and it would be good to go…easy-peasy! I guess using a pendant gets the same functionality instead of a display. When you think about it it is a severe case of overkill using a 32 processor to issue serial commands to an 8 bit controller 
This whole thread is so awesome. Now I need a laser!
I know… I put an OXLaser in my Amazon wish list, just waiting for the moment to be right…
What problems did you encounter with GRBL on your board?.. AFAIK the board shouldn’t care if it is running Marlin or GRBL and GRBL is less bloated with unwanted functions for laser work. Most GRBL Gcode sender software have keyboard jogging which makes it quite easy.
So I was having a play with the configurable icons in the MKS_TFT24_CNC_V1.0.2 release firmware to see if I could obtain enough functionality to get by without trying to use the built-in functions that don’t appear to work (for me anyway). I got $H onto a ‘more’ icon and the machine successfully homes, I can control the laser with M05, M03 S10 and M03 S255, on 3 separate icons and would like to get the ‘framing’ macro on another icon somewhere and that would probably do…however all these icons use the same thumbnail and if I attempt to change it by following the manual the display reboots if I select any of the newly created functions…more playing required!!
edit…framing icon not needed as it is part of the printing function when you have a file to print!!..one icon less!
Grbl doesn’t support many boards. So if you are using one of the many Marlin boards, they can have corner case bugs. I think that’s what Heath was running into. grbl works great on boards with good support (arduino uno/ grbl_esp32), but we’ve seen some problems on the 5x branches, and there is no 32bit support (for archims or skr boards).
Marlin works great if you just ignore the 3D printer functions.
OK…I defer to your greater experience, I have only ever used vanilla Uno’s and Nano’s in homebrew laser controllers. 32bit boards are a bit OTT for a laser controller:-)
They are OTT for cnc too, and 3D printing. But the people want what they want :). They are also getting a lot cheaper, being competitive with the avr 8bit boards now. They are even putting them in tft screens now 
you mean OTT for diode laser controllers. They’re far from adequate/standard for co2/fiber lasers, ![]()
![]()
holy belt-less motion system batman!? i am currently awaiting the shipment of this same laser (bought per your recommendation in another post). i will be happy if my results are even 1/2 as good as what i’m seeing here.
2 Likes
David, I’m hoping you might be able to help me out based on your response from May 22nd where you mention that you use Chromebooks and Linux enable laptops to control your machines. I have been trying to do the same with my Chromebook and my new laser, and I am new to this whole thing. I have Lightburn downloaded, installed, and working on my chromebook, but my Ortur laser is not connecting to the laptop or software. Did you have to get an external Grbl controller in order to connect the laser to your laptop? I’m unsure if I need software or something external, since the only software I have found available is Windows-based. I have read all of the forums that I can find, but am still unsure what I should be looking for or what I need to make this work. Thanks in advance.
Allie
1 Like
Allie,
Trying to settle in at my new old home in East Texas and just saw this…
Congrats on getting Lightburn (LB) working on your Chromebook. I do NOT use LB to actually control my machines… only to generate gcode files. I’ve never been successful getting the Chromebook hardware to play nice from the Linux(beta) side of the machine.
I use Jeff’s v1pi image, running on a Pi 3B+, to actually control most of my machines. Very easy to load the gcode file in CNC.js (provided in the v1pi image) and control the machines from a browser.
There is a ton of Ortur-related posts over on the LB forum… though not much specific to Chromebook.
Good luck!
– David
2 Likes
Thank you! I appreciate you taking the time to help out! I have been using my chromebook to design everything any set up my lightburn files and settings, and then sending them to an old laptop that I have to actually run my machine. So I have a work around, it would definitely be nice to be able to do it all in one place, but maybe that is something that I can work out down the road!
Now that I’m getting settled into my new old home, I’ve finally gotten my rolling-gantry FoamRipper2 (FR2) set up and am trying to get ready for our family Christmas gathering on Saturday. I normally give my seven grandkids $$$ (for some reason they seem to prefer that to a pair of socks and bag of cheap candy), so I decided to laser cut some personalized, slip-fit boxes, finger-jointed boxes to put bills in.
FR2 in background, school desk assembly table in foreground…
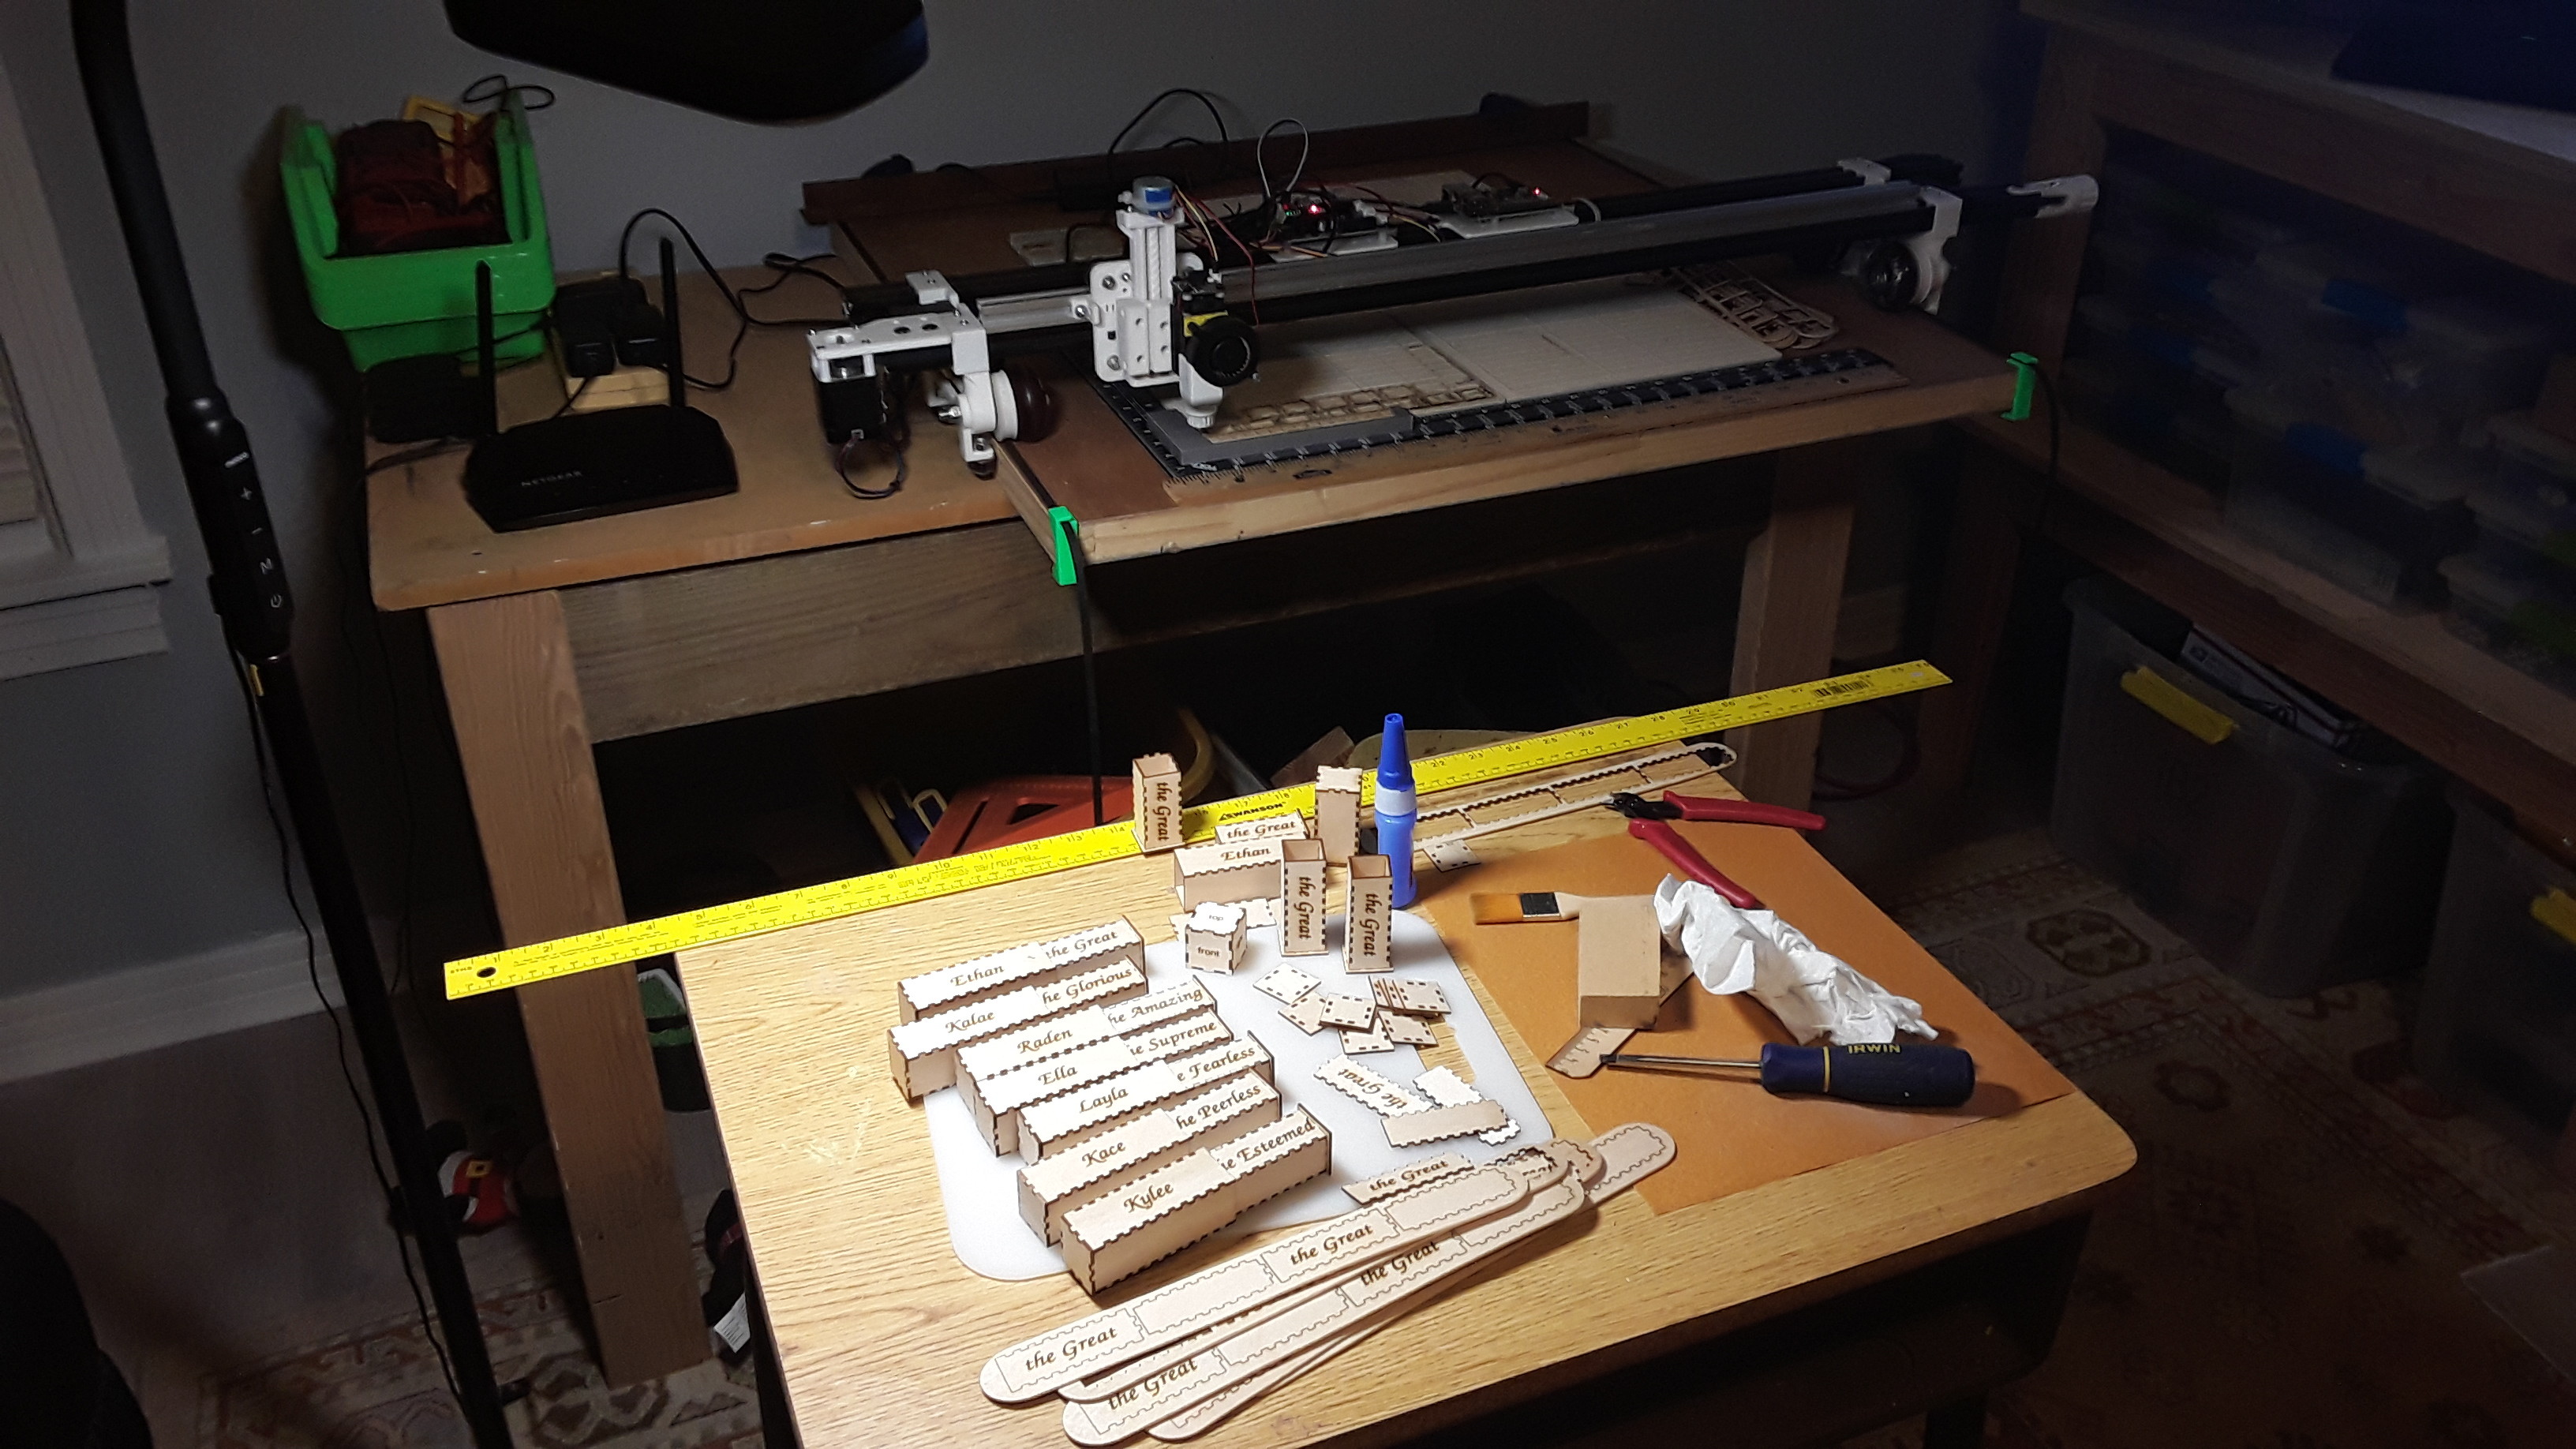
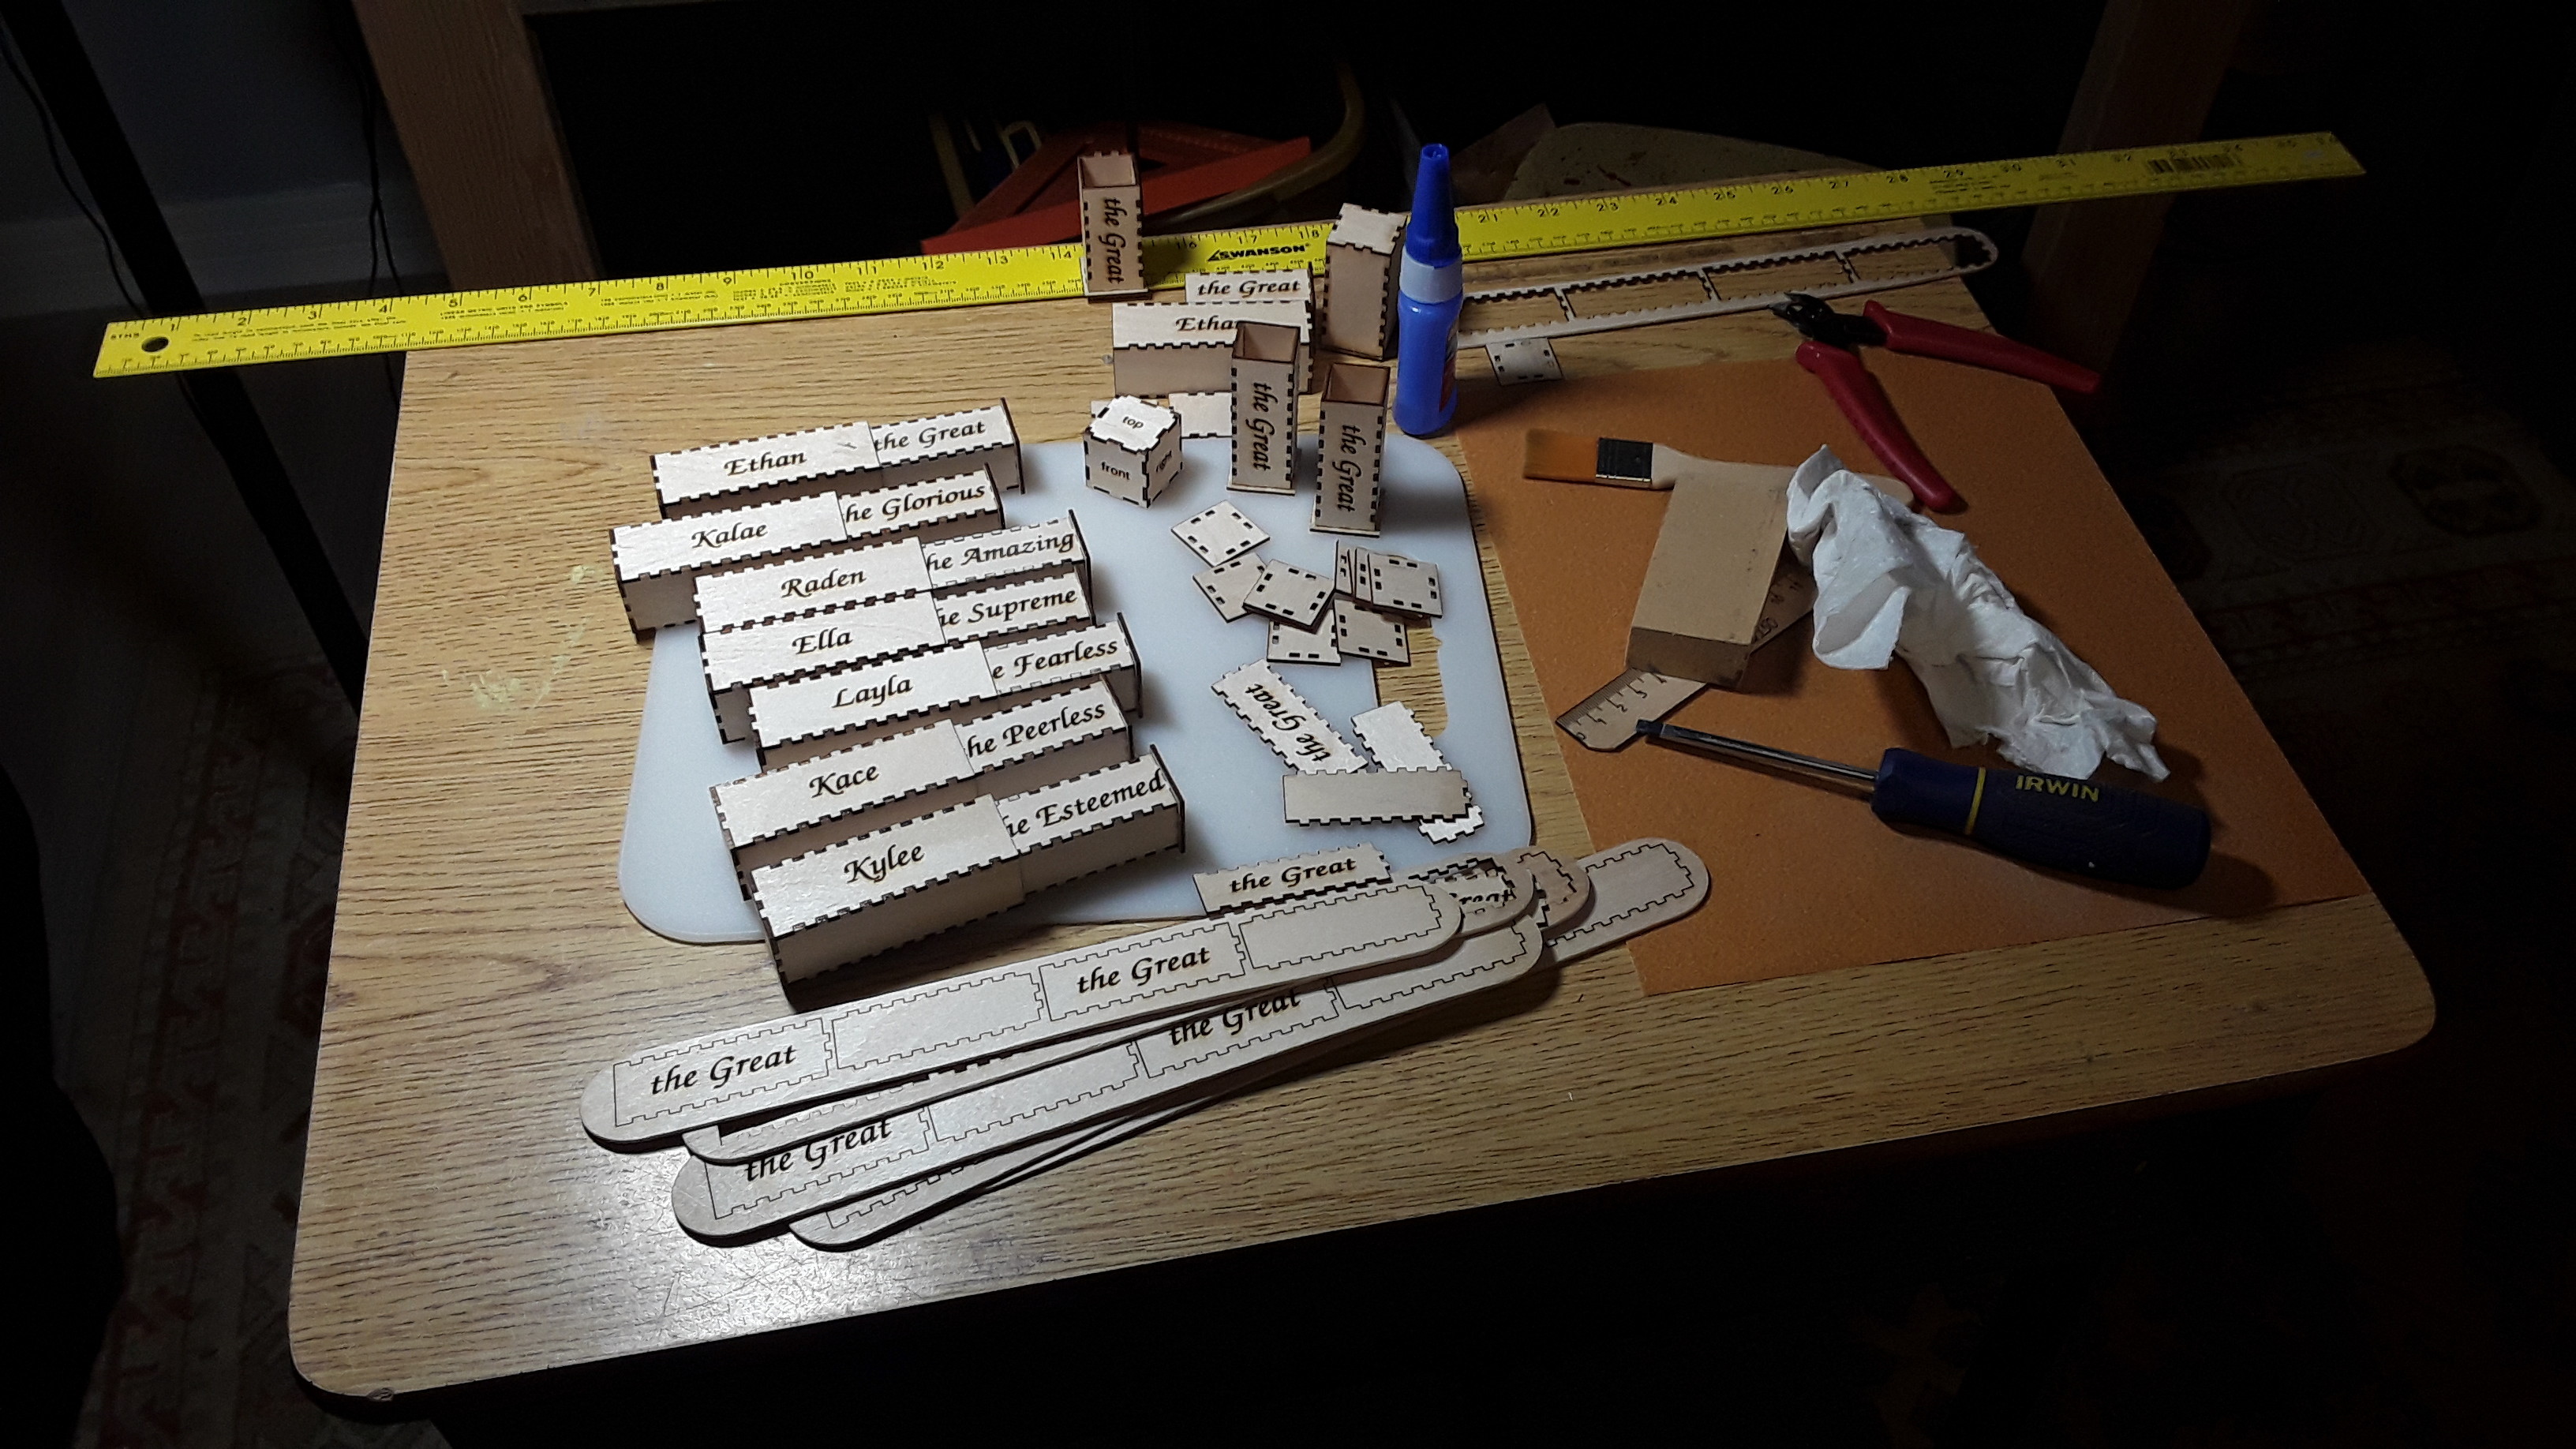
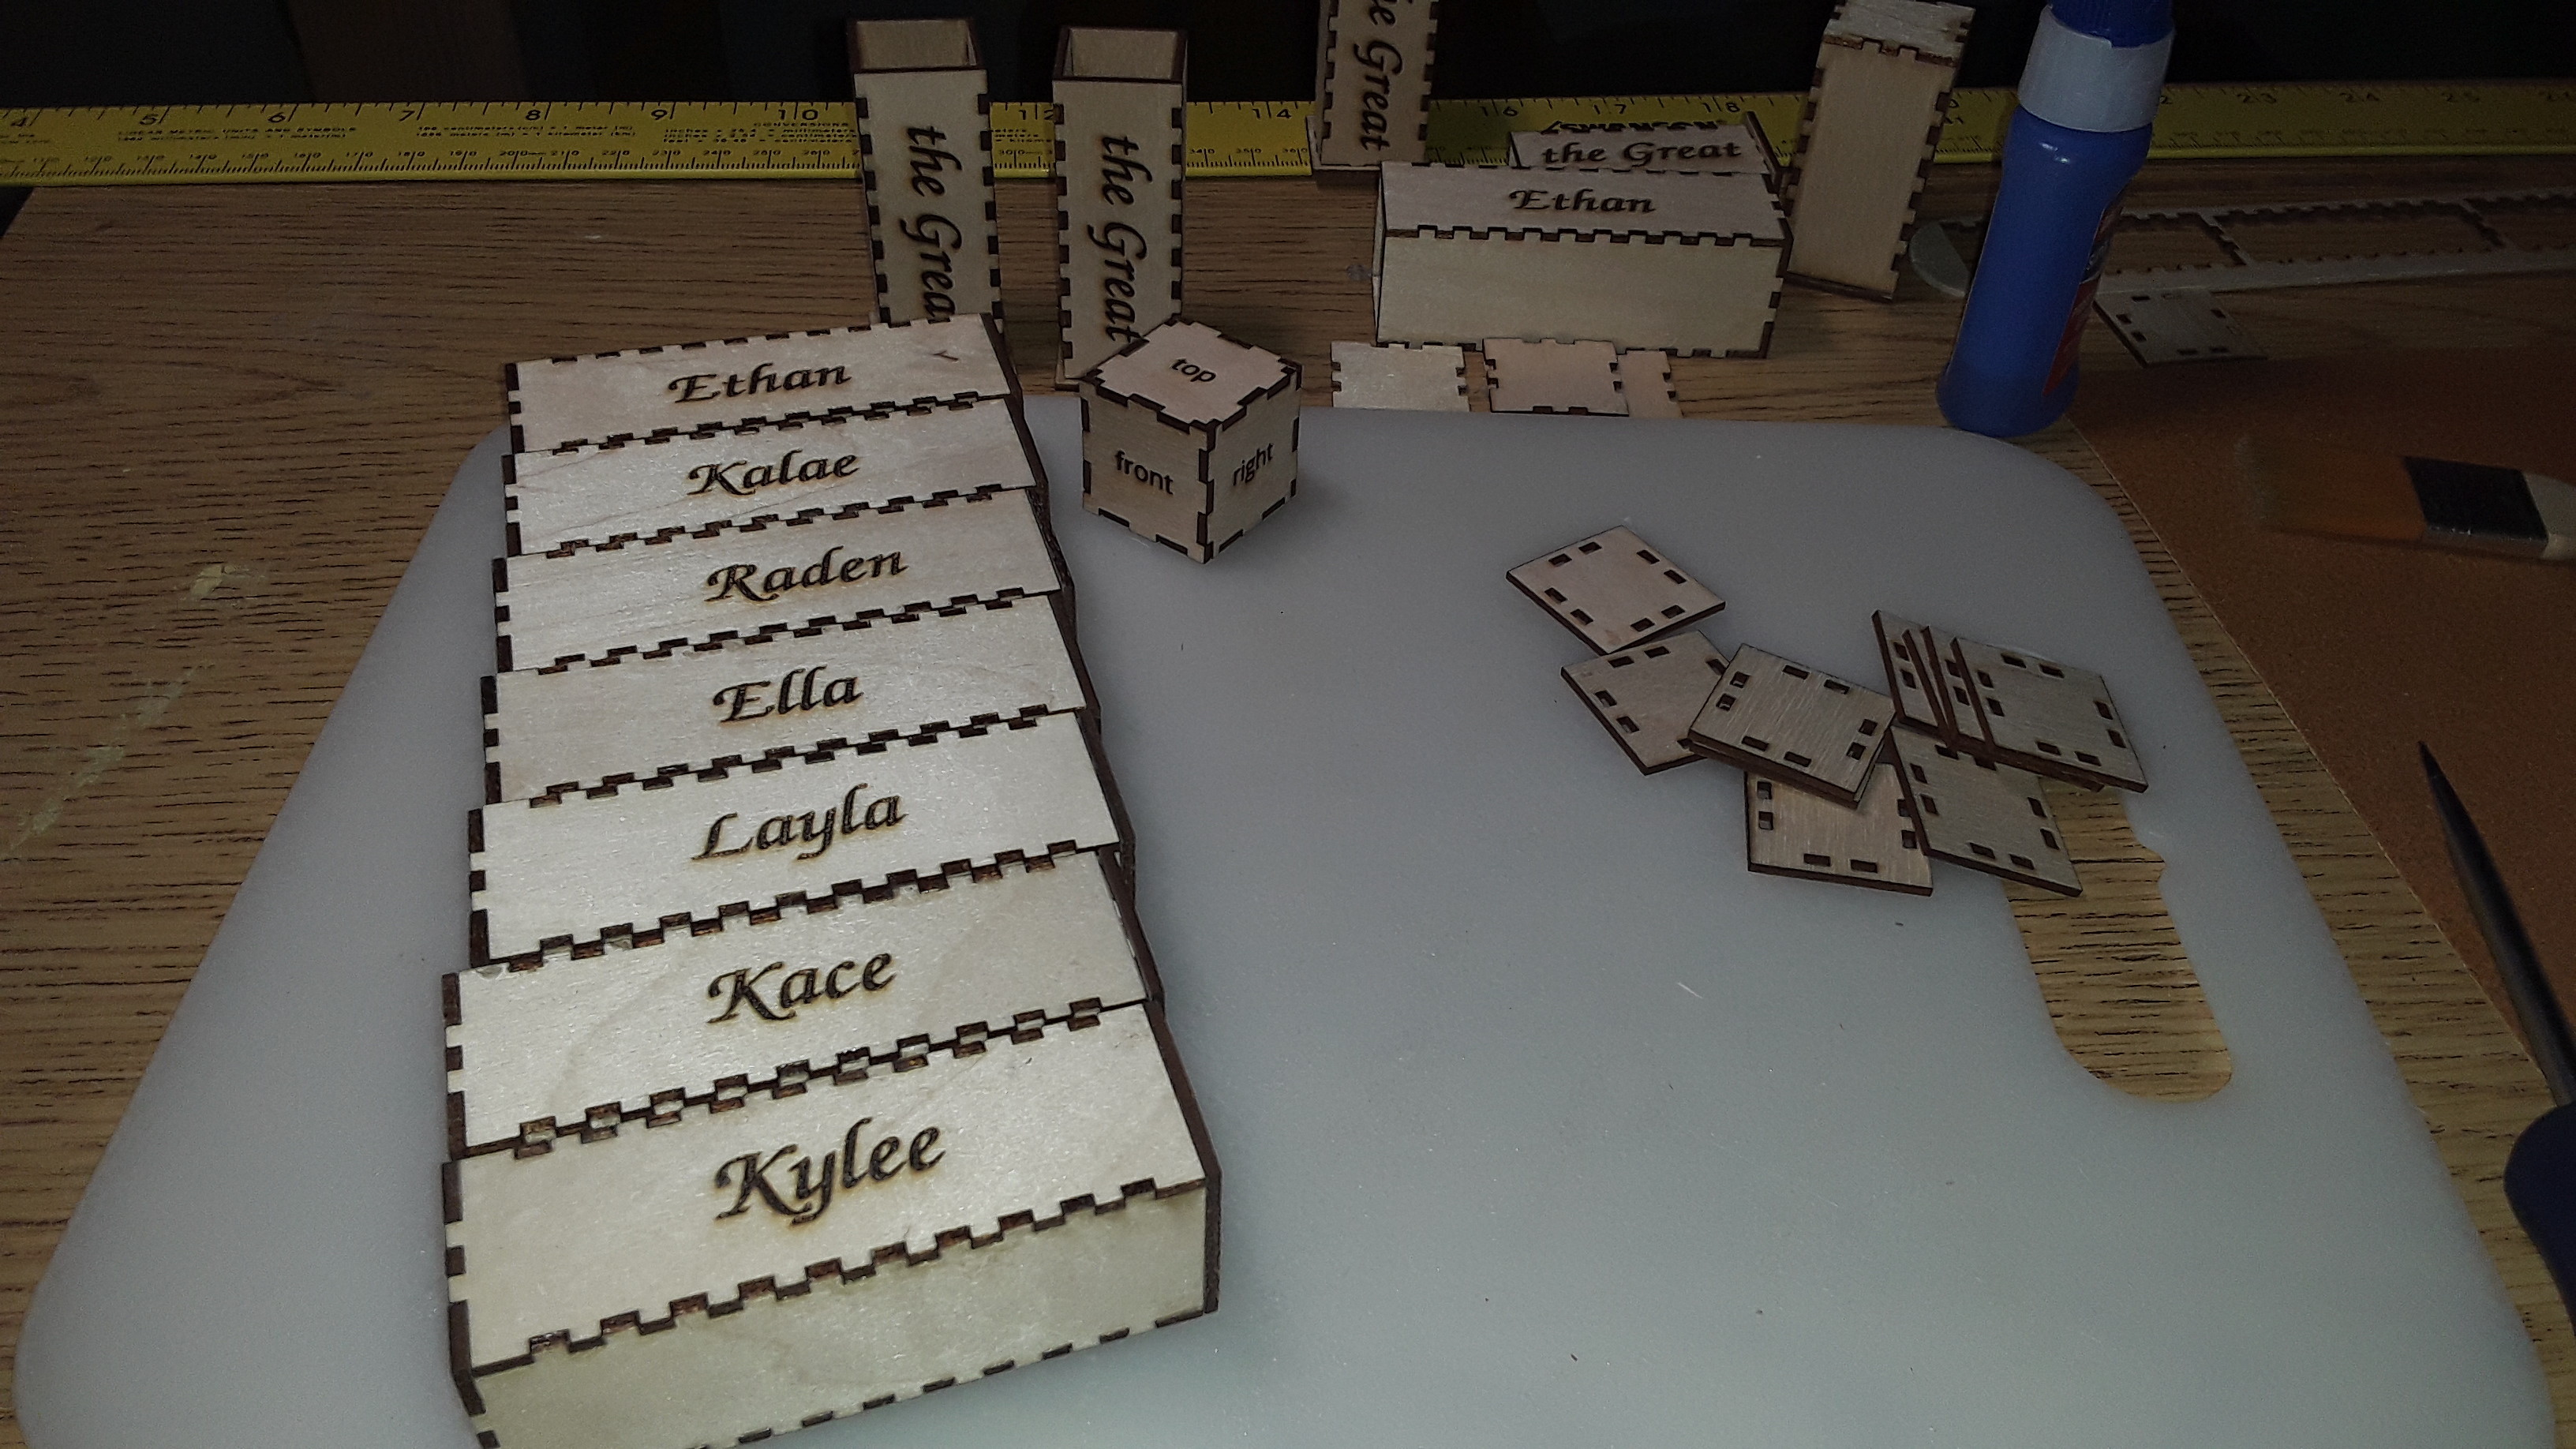
Closed boxes just large enough for a rolled-up bill…
I thought I’d try to expand the kids’ (and mine!) vocabulary… daughter said I’d probably start fights.
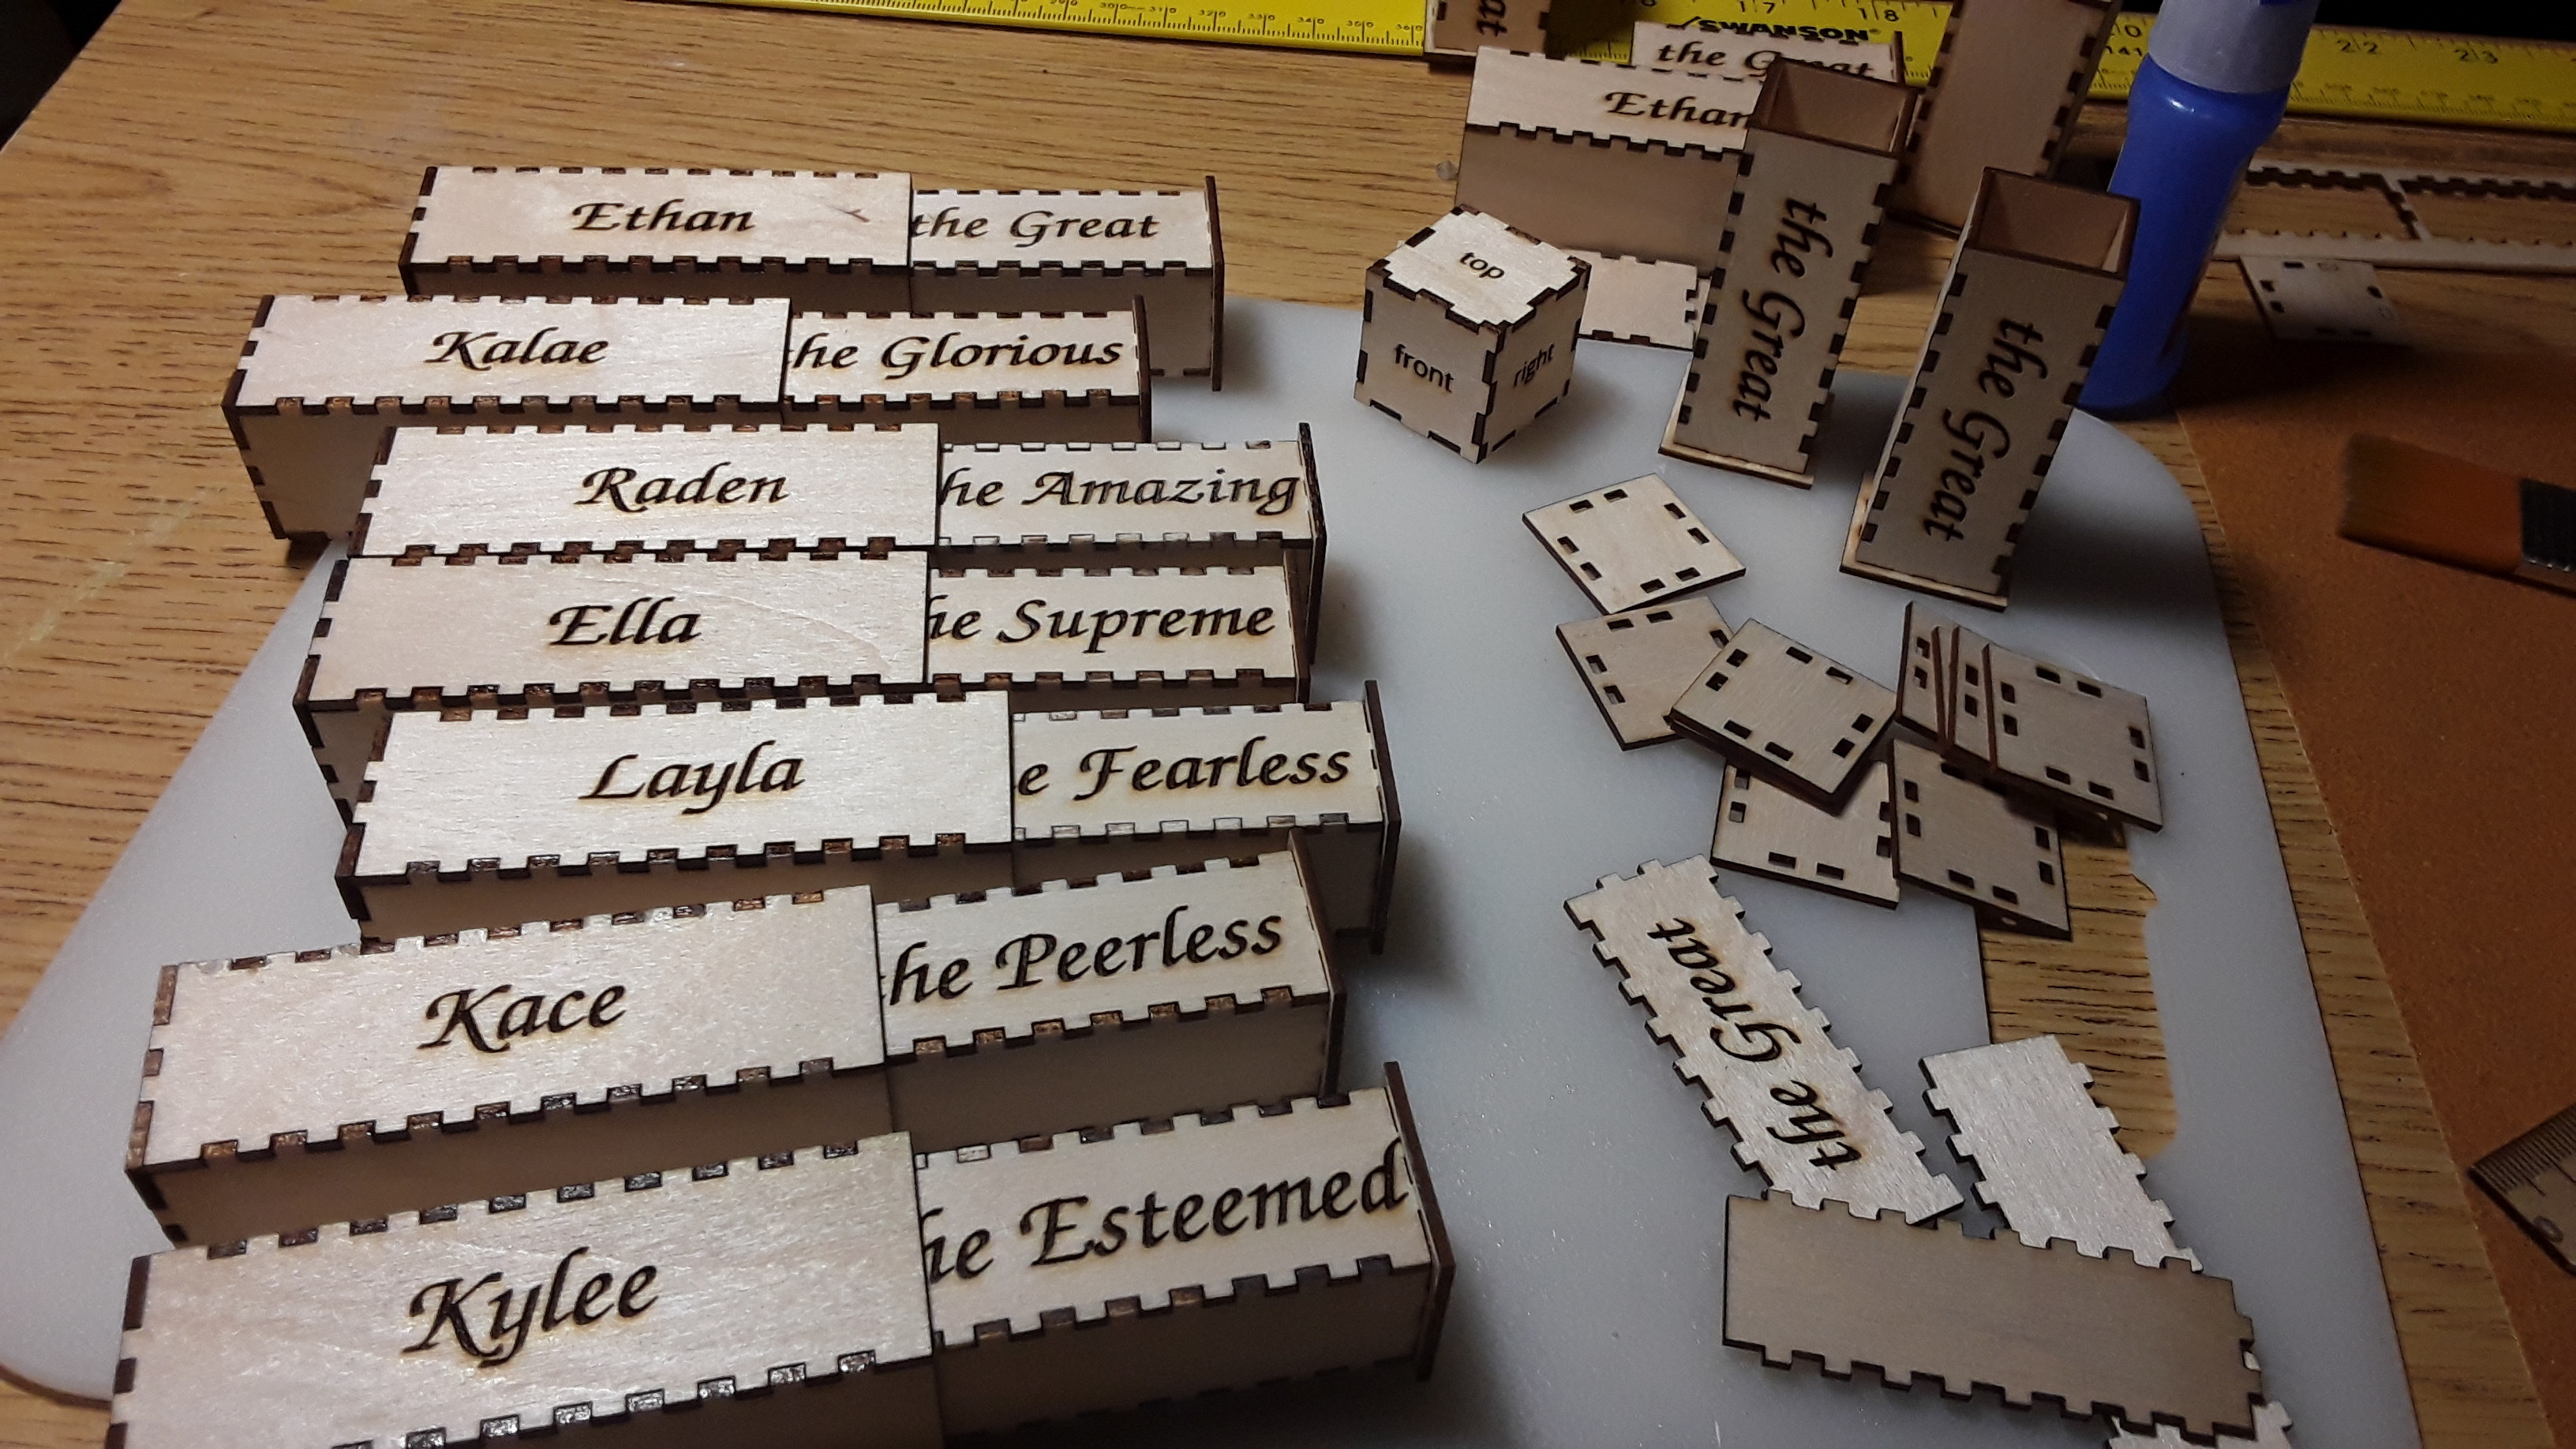
So, they’re all gonna be “the Great” 
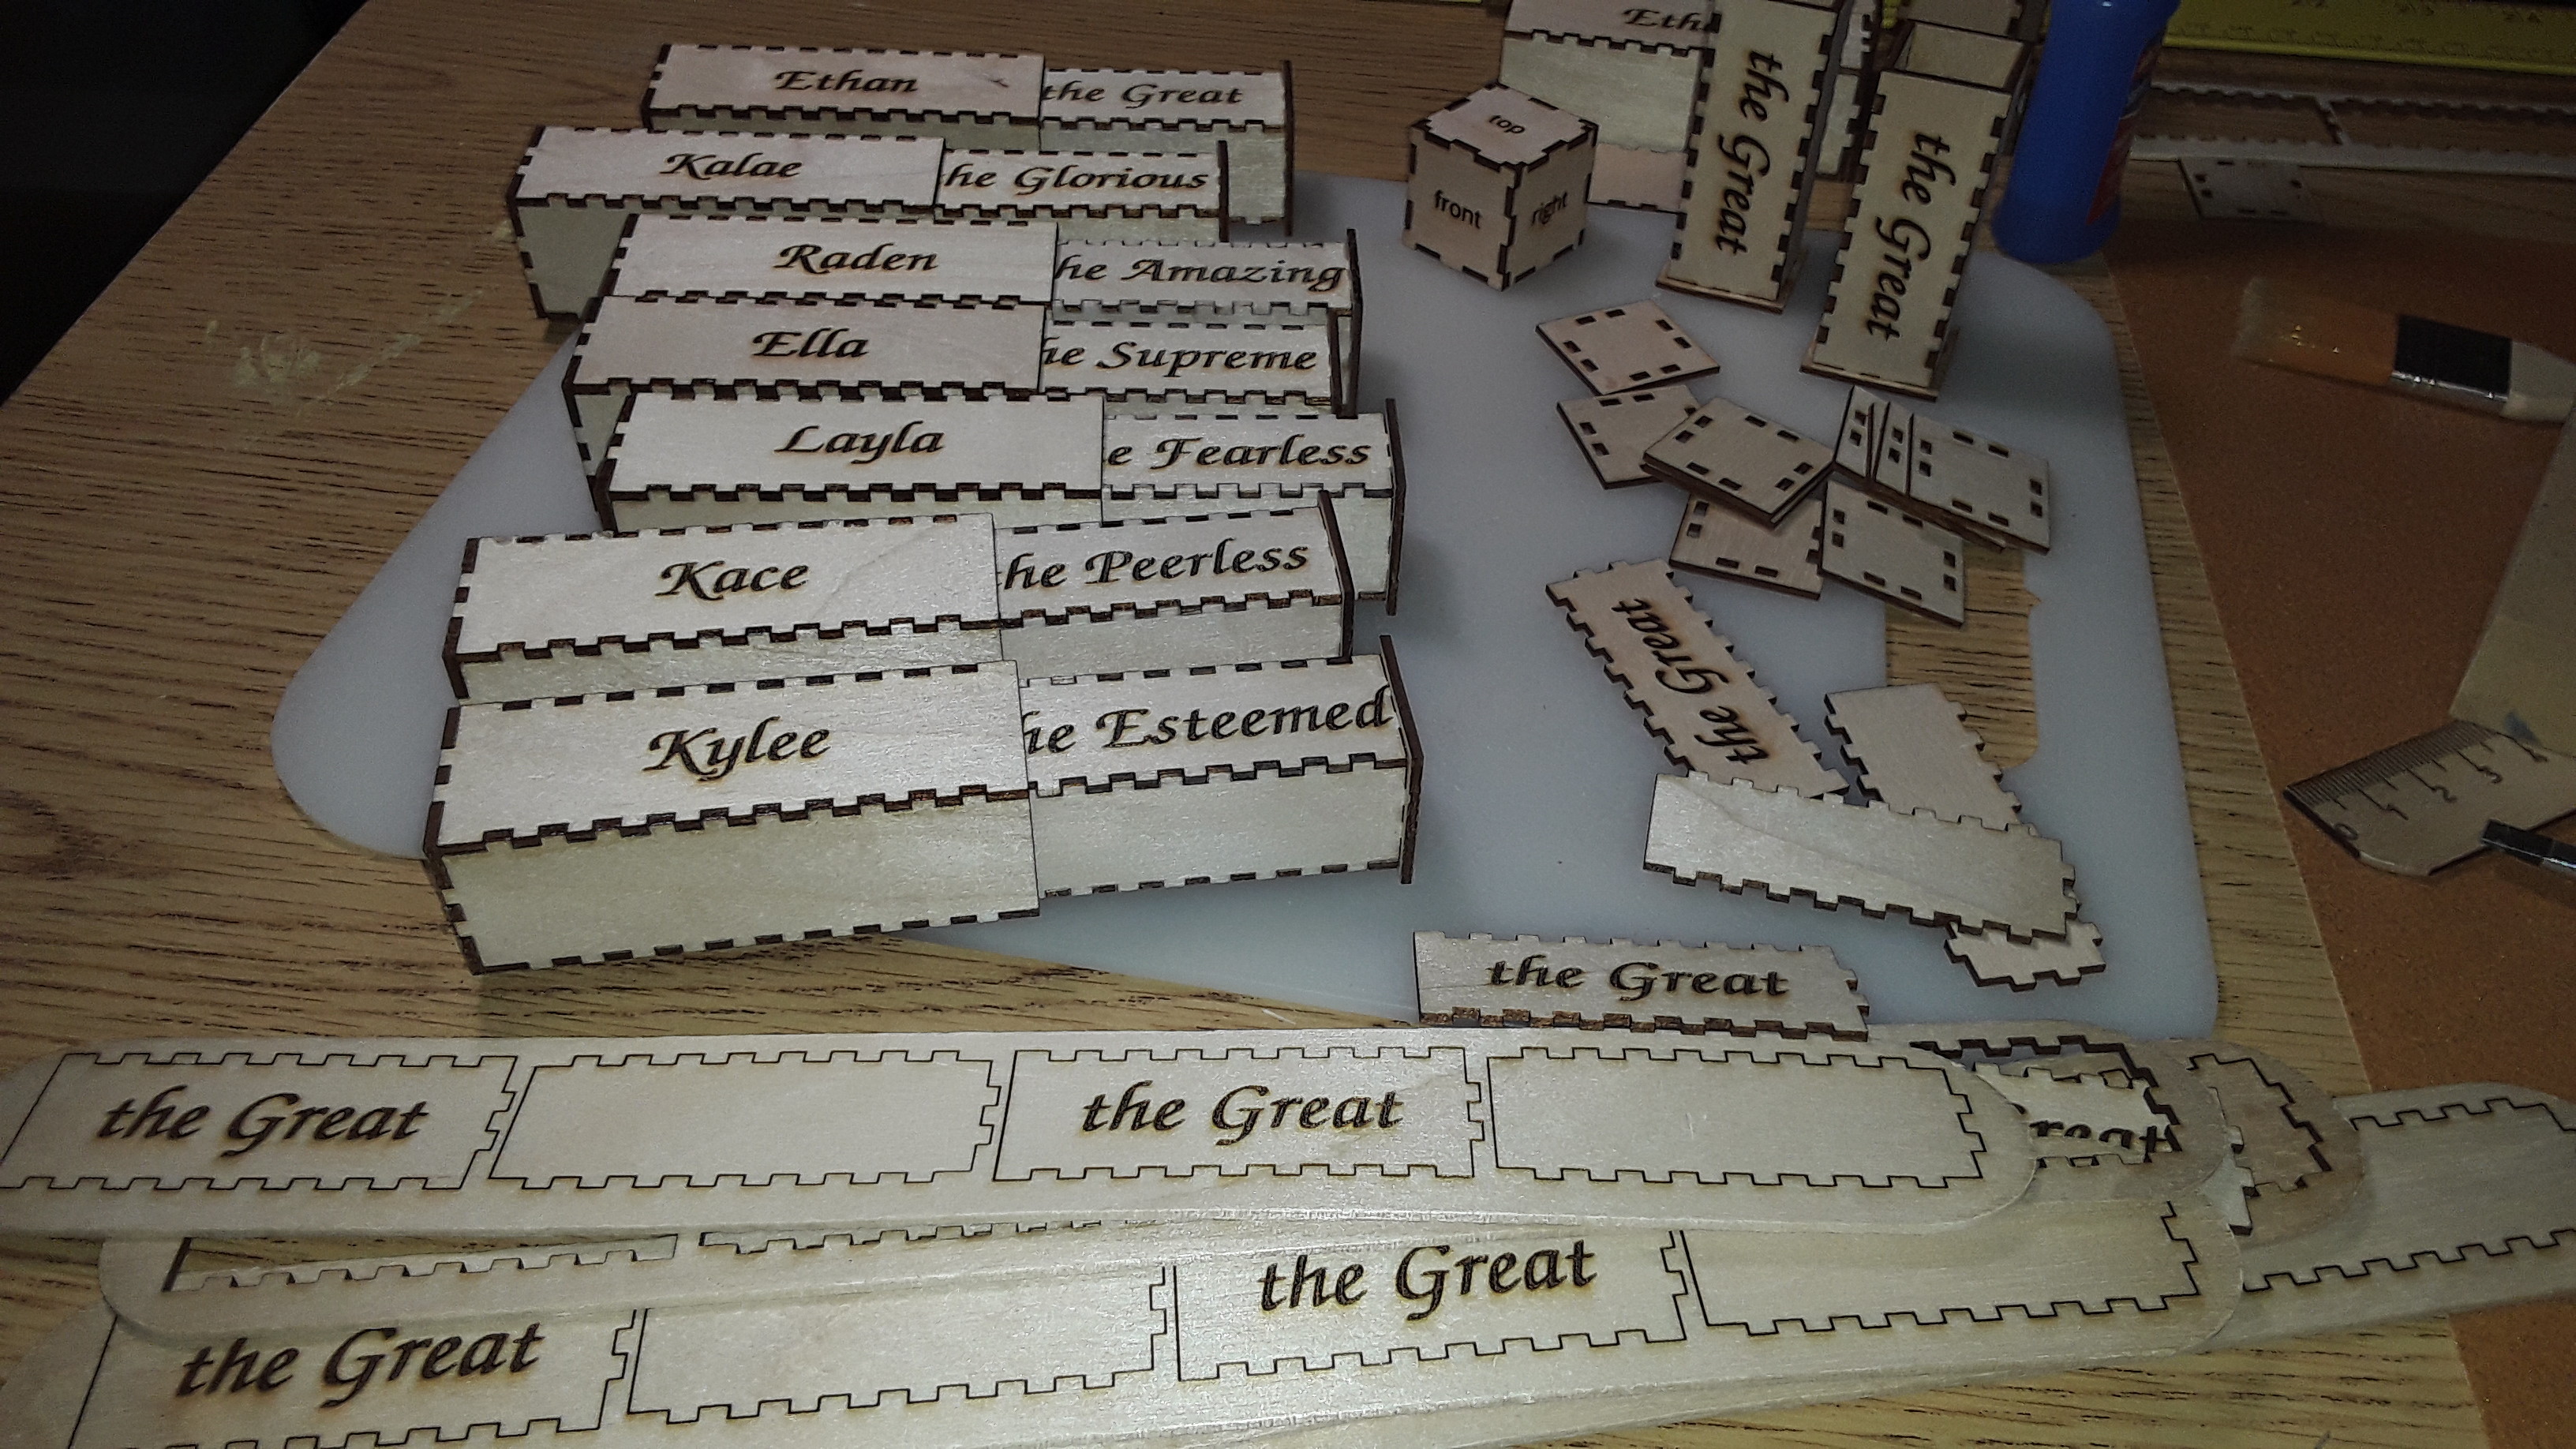
The are all cut and engraved from jumbo craft sticks from Walmart with a 2.5W Eleksmaker/Banggood laser on FR2.
– David
16 Likes
Is this what you used to generate your laser cut boxes? Online File Generators for Laser Cutting - Maker Design Lab
1 Like
Hey, Dave! I’ve used the Boxes.py program listed in the article you linked to create these boxes… specifically the Two-piece box. I DO NOT use the “burn correction” provided (that adjusts the tightness/looseness of the fit) however… for some reason it creates tiny loops in the inside corners that are funky, though probably too tiny to see in the final product. After importing the SVG into Lightburn, I instead use Lightburn’s “Kerf offset” functionality to adjust the fit of the finger joints… and it seems to do a good job, without the funky little loops. – David
2 Likes
WOW! Those are both excellent resources! Thanks for posting them. I made a 90x90x90mm box side by hand in Lightburn and that was a pain. These are waaaaay easier!
1 Like
Here’s another idea for a gift box - a cylindrical maze that takes most adults 10-15 minutes to solve.
I guess it could be milled it from wood with a rotating Y-axis…
1 Like
My SIL actually did several of those last year, when he was first getting his feet wet with 3d printing. They’re neat! 
I 3D printed one of those boxes to hold my nephew’s Christmas cash last year. He just busted it open, not even trying to solve the maze.
1 Like