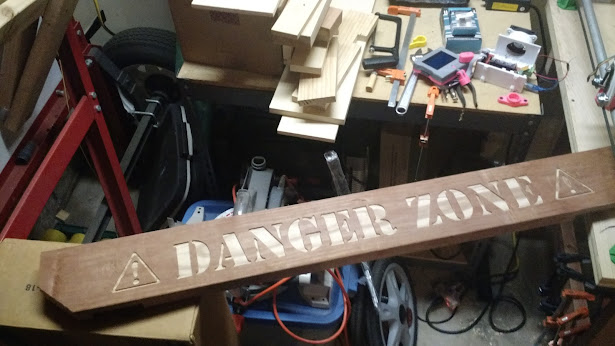
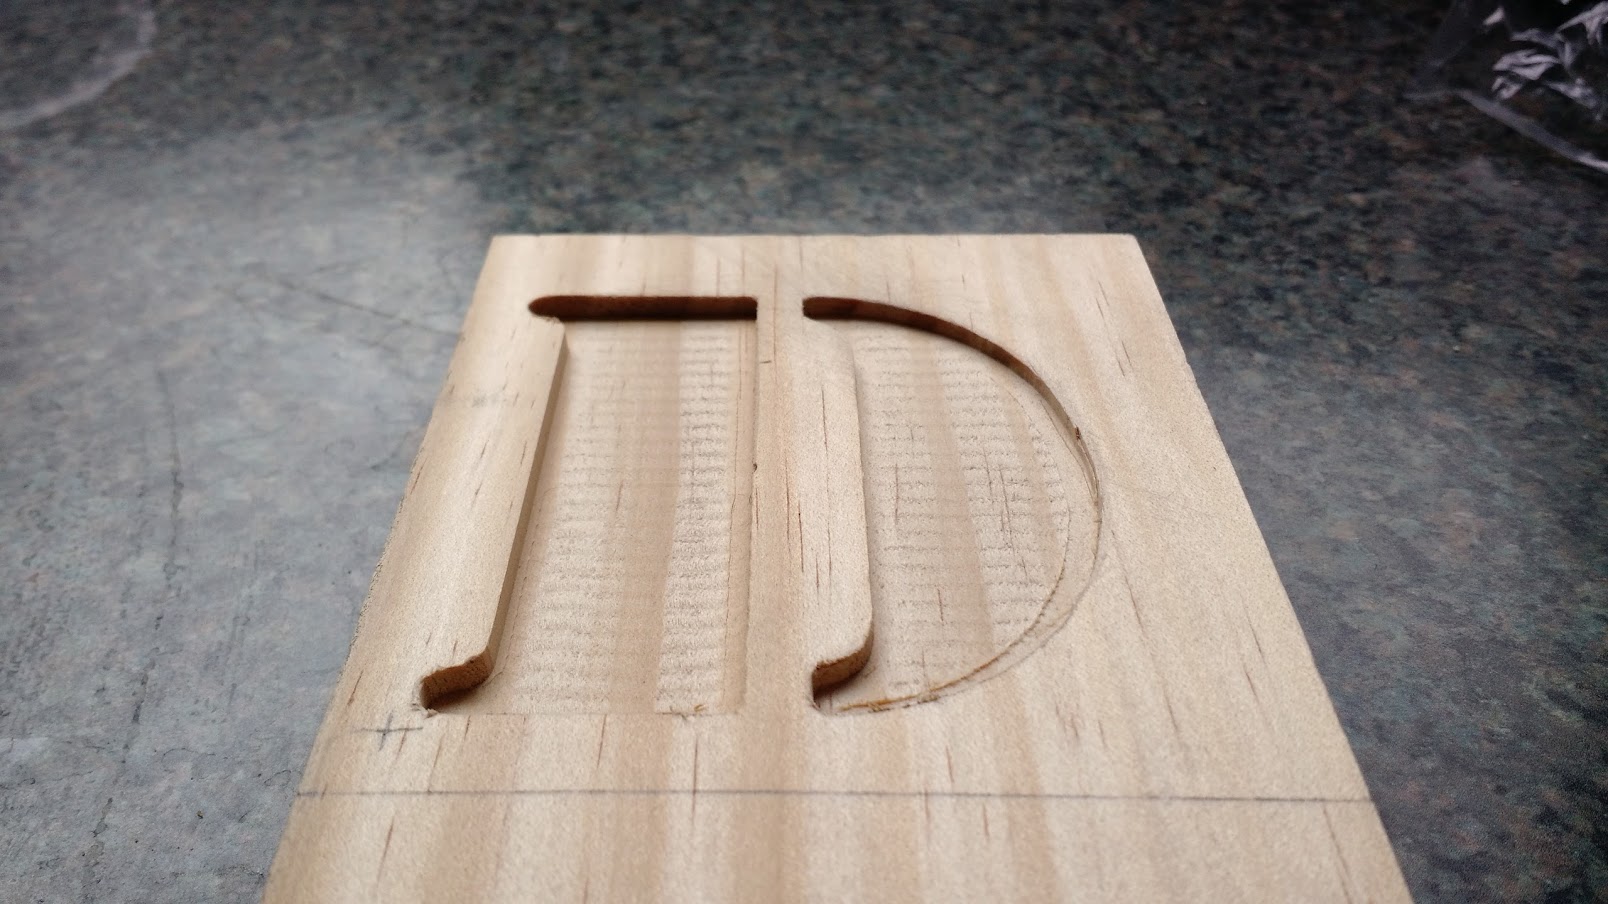
This was using the amazon bits, I started the big words with a new bit. These are upcut bits, and I had to clean off a lot of little fibers on the edges. Just a couple times over with a knife. Way less damage than the cheap plywood I used the first time.
I forgot to mention, 3mm depth. 1mm/pass, 15mm/s feed rate. 1/8" bit. 45% stepover.
The words took about 1.5 hours. Each warning sign was about 5 minutes.
I used Estlcam to make the words, and I found an image on the tubes, imported to inkscape, converted it to an svg, and then used estlcam.
These settings seemed really conservative. I was using the HF speed control, and I had it at the bottom. I think I could probably go at least 3x faster. Great settings for a first project though.
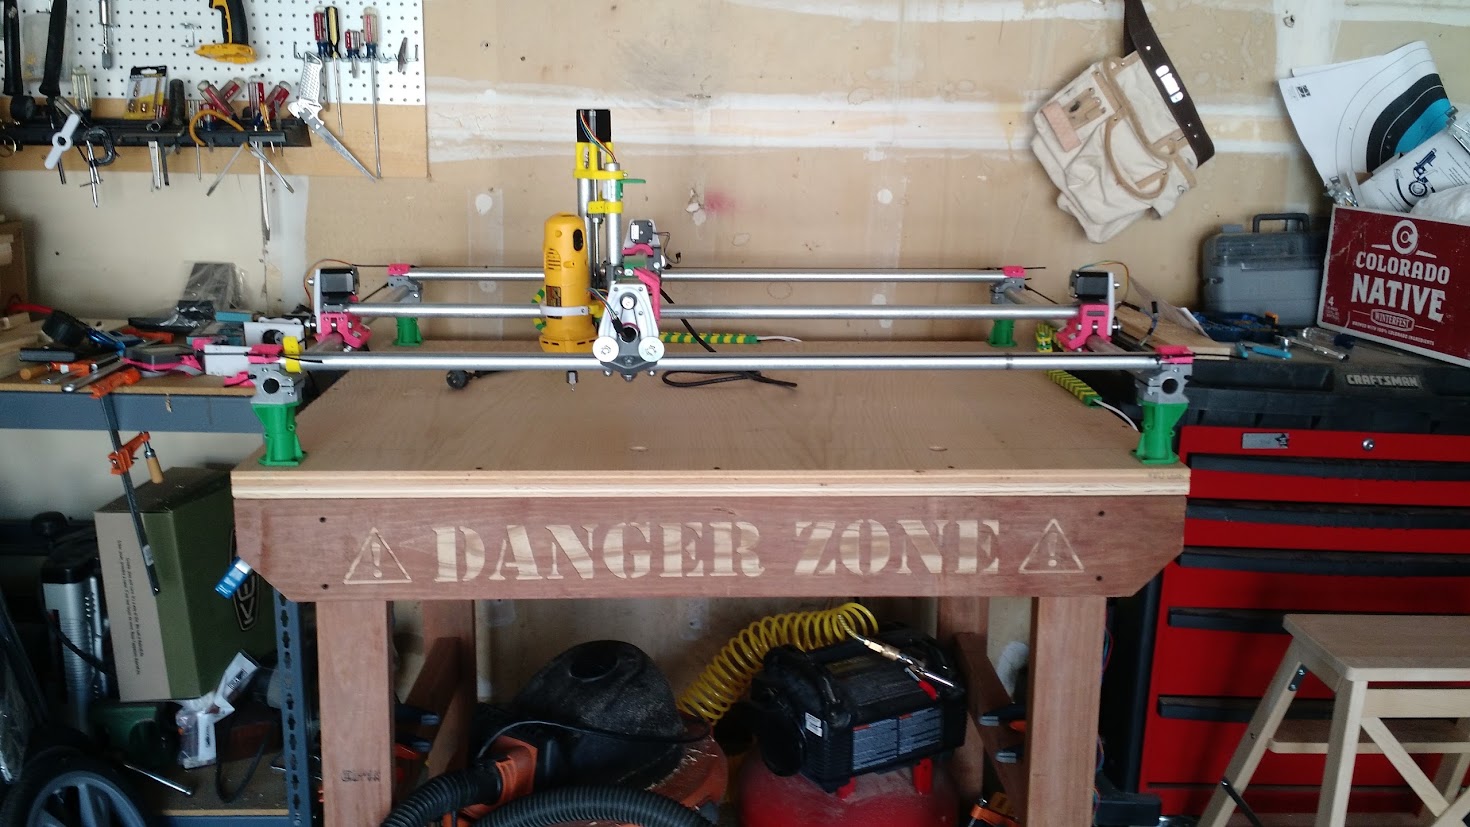
I installed the board. I still haven’t attached the top. I don’t think it needs the extra rigidity, ATM. I like being able to move the machine around to work on it, and get clamps where I need them.
Also, I did paste at sketchup design of the stand on thingiverse, if anyone is interested. The youtube for it is descriptive enough, but I had to draw it out to get the measurements right.