Ok I couldnt find a simple example online of how to add start/end gcode to my fusion 360 projects, but today I figured it out. So I decided to do this little tutorial to hopefully make it easier for others.
This is for the LowRider/MPCNC Flyfisher Postprocessor.
My goal was simply to turn on a cooling fan that I just installed. I could have wired it to be on all the time without any code, but wanted it to come on only when cutting.
First, open the post processor config file called “MPCNC.cps” in a text editor
Next scroll to line 110
Add the name of your start and end gcode files in between the quotes.
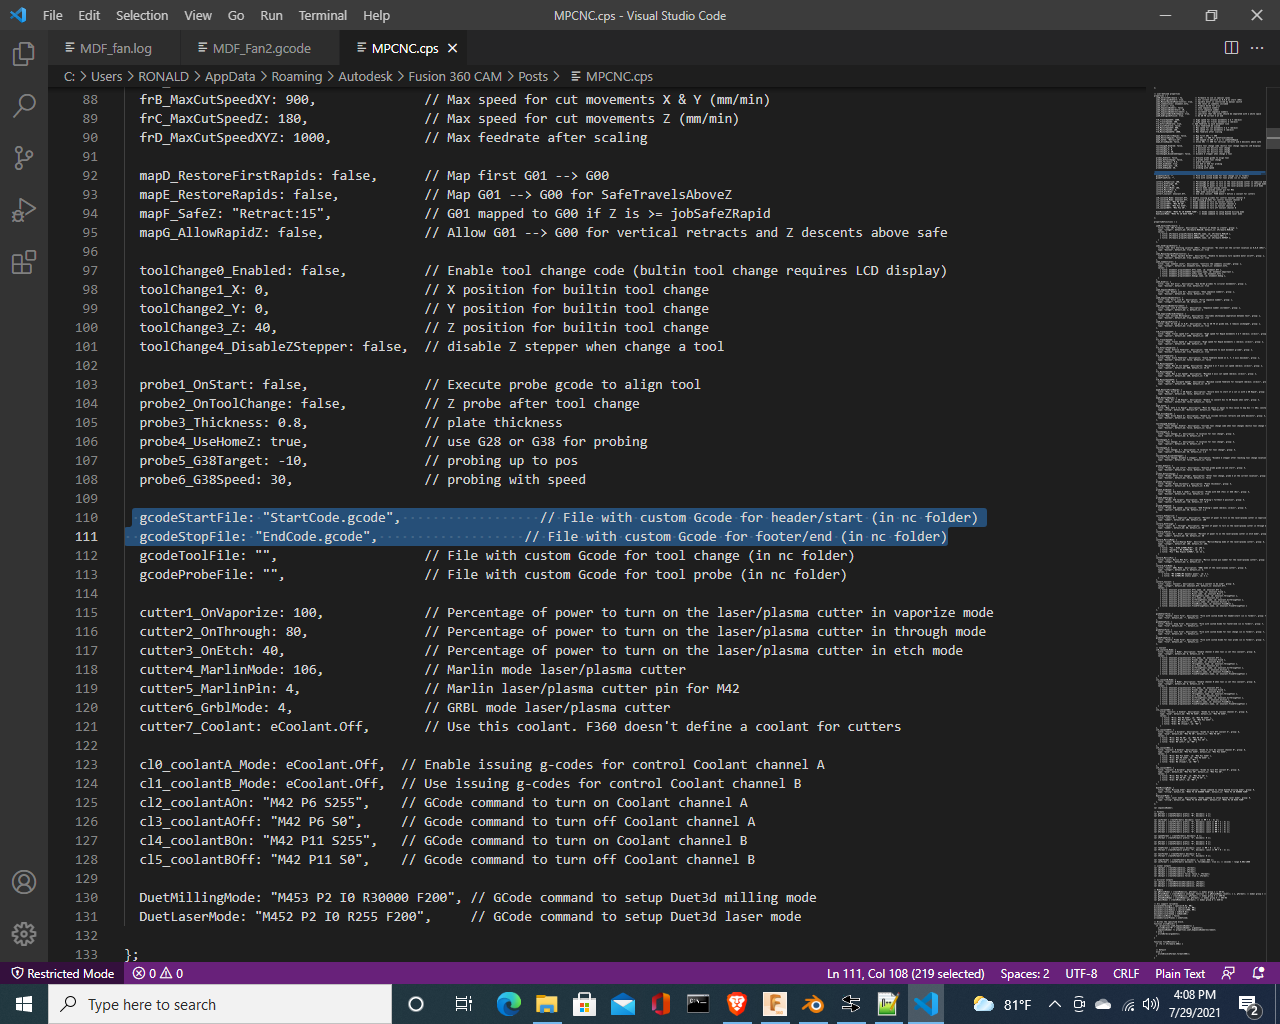
Then, in a text editor, create two files with the names you chose (I used “StartCode.gcode” and “EndCode.gcode”)
Add any commands and comments you want into the files , for me it was M106 and M107 (Fan on, fan off)
These files must be saved to the folder named “NC”, which is where the gcode output is placed after posting.
For me this was: C:\Users\RONALD\AppData\Local\Fusion 360 CAM\nc
The “AppData” file is hidden by default, so If you cant find “AppData” in windows explorer, type %AppData% into the search bar and hit enter.
Now in Fusion360, click PostProcess for the part you want to cut. In the properties menu, you should see “Extern: Start File” and “StartCode.gcode”
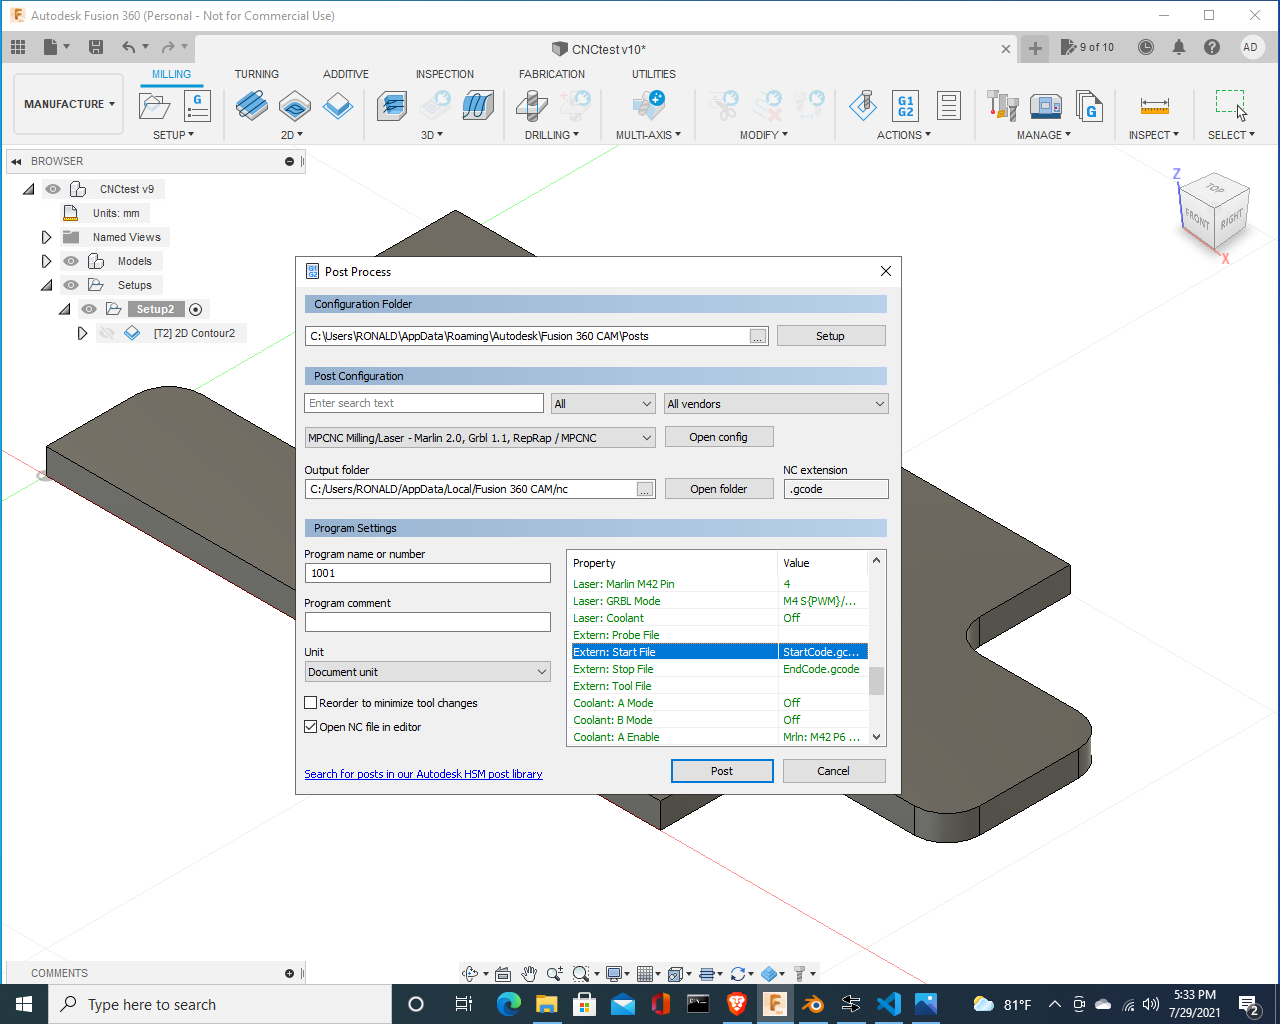
Thats it.
The only problem I’ve had with this so far is that the “StartCode” and “Endcode” files must be in the same output folder that you are saving your new post code to.
You must save the new code to the “NC” folder
OR
if you want to save directly to your USB drive or SD card from F360, you must keep a copy of “StartCode” and “Endcode” on those drives. Otherwise you will get an error.
Hope this saves someone some time.