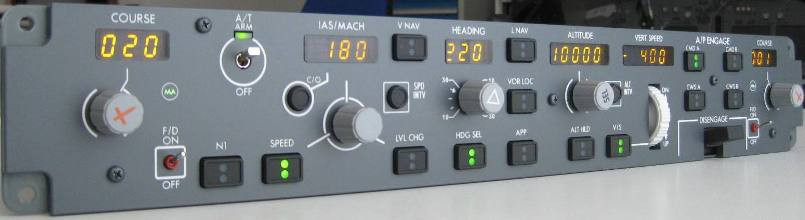
I want to make a box to mount the panel on, that can be attached to the desk. If I figure it out, I want to make the box in such a way that I can place a throttle under the desk plate:
SO - my ten thousand dollar question is: How can I make a nice case/box for this panel?? I’ve been thinking about using thin plywood, and paint and lacquer it in the right colours. I think it’ll be quite all right. But how do I make the corners? I’ve been thinking about printing some sort of corner edge rails that can join the different sides - but I’m afraid it’ll be a little flimsy.
Another approach that I’ve considered is simply using small angle brackets on the inside of the box - but that would only solve the technical side to the assembly, not the aestethical… I could cover the whole thing in vinyl to have nice corners, but I’m afraid that it’ll be too complicated…
So - I’m asking you kind souls out there… any ideas??
That’s 6mm plywood. This was cut on my Lowrider. You have to “dogbone” the corners to get it fit together nicely when using the CNC to cut the fingers.
Another good option would be some sort of plastic.
ABS, Styrene, Acrylic, etc. Most of these can be solvent welded. I think acetone works on ABS, and MEK on Styrene. There are also purpose made solvents for bonding these plastics.
I’m pretty sure @vicious1 is thinking plastic sheets. You can use a strip heater to heat a line where you want to bend the corners.
One approach would be to use one piece for the top, front, and bottom with 2 heat bent corners, and another piece for the sides and back with 2 more heat bent corners. Then solvent bond those 2 pieces together.
There is also a sheet plastic material called Kydex that is commonly used for aircraft interior trim pieces and such, which would work, and be somewhat “authentic”. It’s available with textured surfaces like faux leather, pebble, etc. I made a custom glareshield (top of instrument panel) with this once.
Iliketomakestuff has a few videos on making mdf cabinets that look pretty good. I think the key is almost always filler, and paint. The joints he uses are pocket screws, or hidden supports or nails and wood glue, IIRC. Let me see if I can find one that I am thinking of…
I can think of a few different ways I’d make that.
MDF. I’d use 1/2" MDF to build the box. Then I’d use a roundover bit to round all the edges. I’d use a similar technique to painting speaker boxes for the finish. Bonus here would be that you could cut a pocket on the front/top if you wanted to in-lay a thin aluminum panel or veneer as an accent panel.
Exotic woods. Maybe walnut for the sides and top and a bird’s eye maple for the face where the panel is going to be mounted.
Fiberglass. I’d use foam to build the box as a plug/mold and then use fiberglass to make the enclosure. When the fiberglass is fully set, use something to remove the foam. This has the added benefit that you’re not stuck to straight sides. You could make a more free-flowing enclosure. Boxes serve a purpose, but I can’t say they’ve ever been aesthetically pleasing.
With the MDF and fiberglass, the finish is going to be what takes the most amount of time. Especially if you’re wanting a gloss/mirror like finish.
Haven’t seen too many cockpits for anything larger than a Cessna 172, but most of them are not exactly aesthetically pleasing. The occasional peeks that I’ve taken past the bulkhead when flying commercial are different.
My impression is that most of the heavies have moved to glass cockpits now, so even something like that panel are outdated, but if realism is what you’re looking for, then functional is the name of the game.
I would probably make the sides of the enclosure, and maybe the top and shelf surfaces. Material is somewhat unimportant. Paint flat black. Make the panel surface like a standard 19" rack, with a long line of screw holes which will fit your panel, then make blank panels to fill in the rest. In order to be able to update it, I’d probably leave enough room for a couple of LCD monitors, say 17" 1280X1024 ones, which could sub in for the glass cockpits.
Lots of pilots in my family. I’ve got some hours in my logbook, but never did get a license. I did up a flight sim setup, but nothing as elaborate as this. Kind of interested to see how this goes for you, might revisit the idea myself.
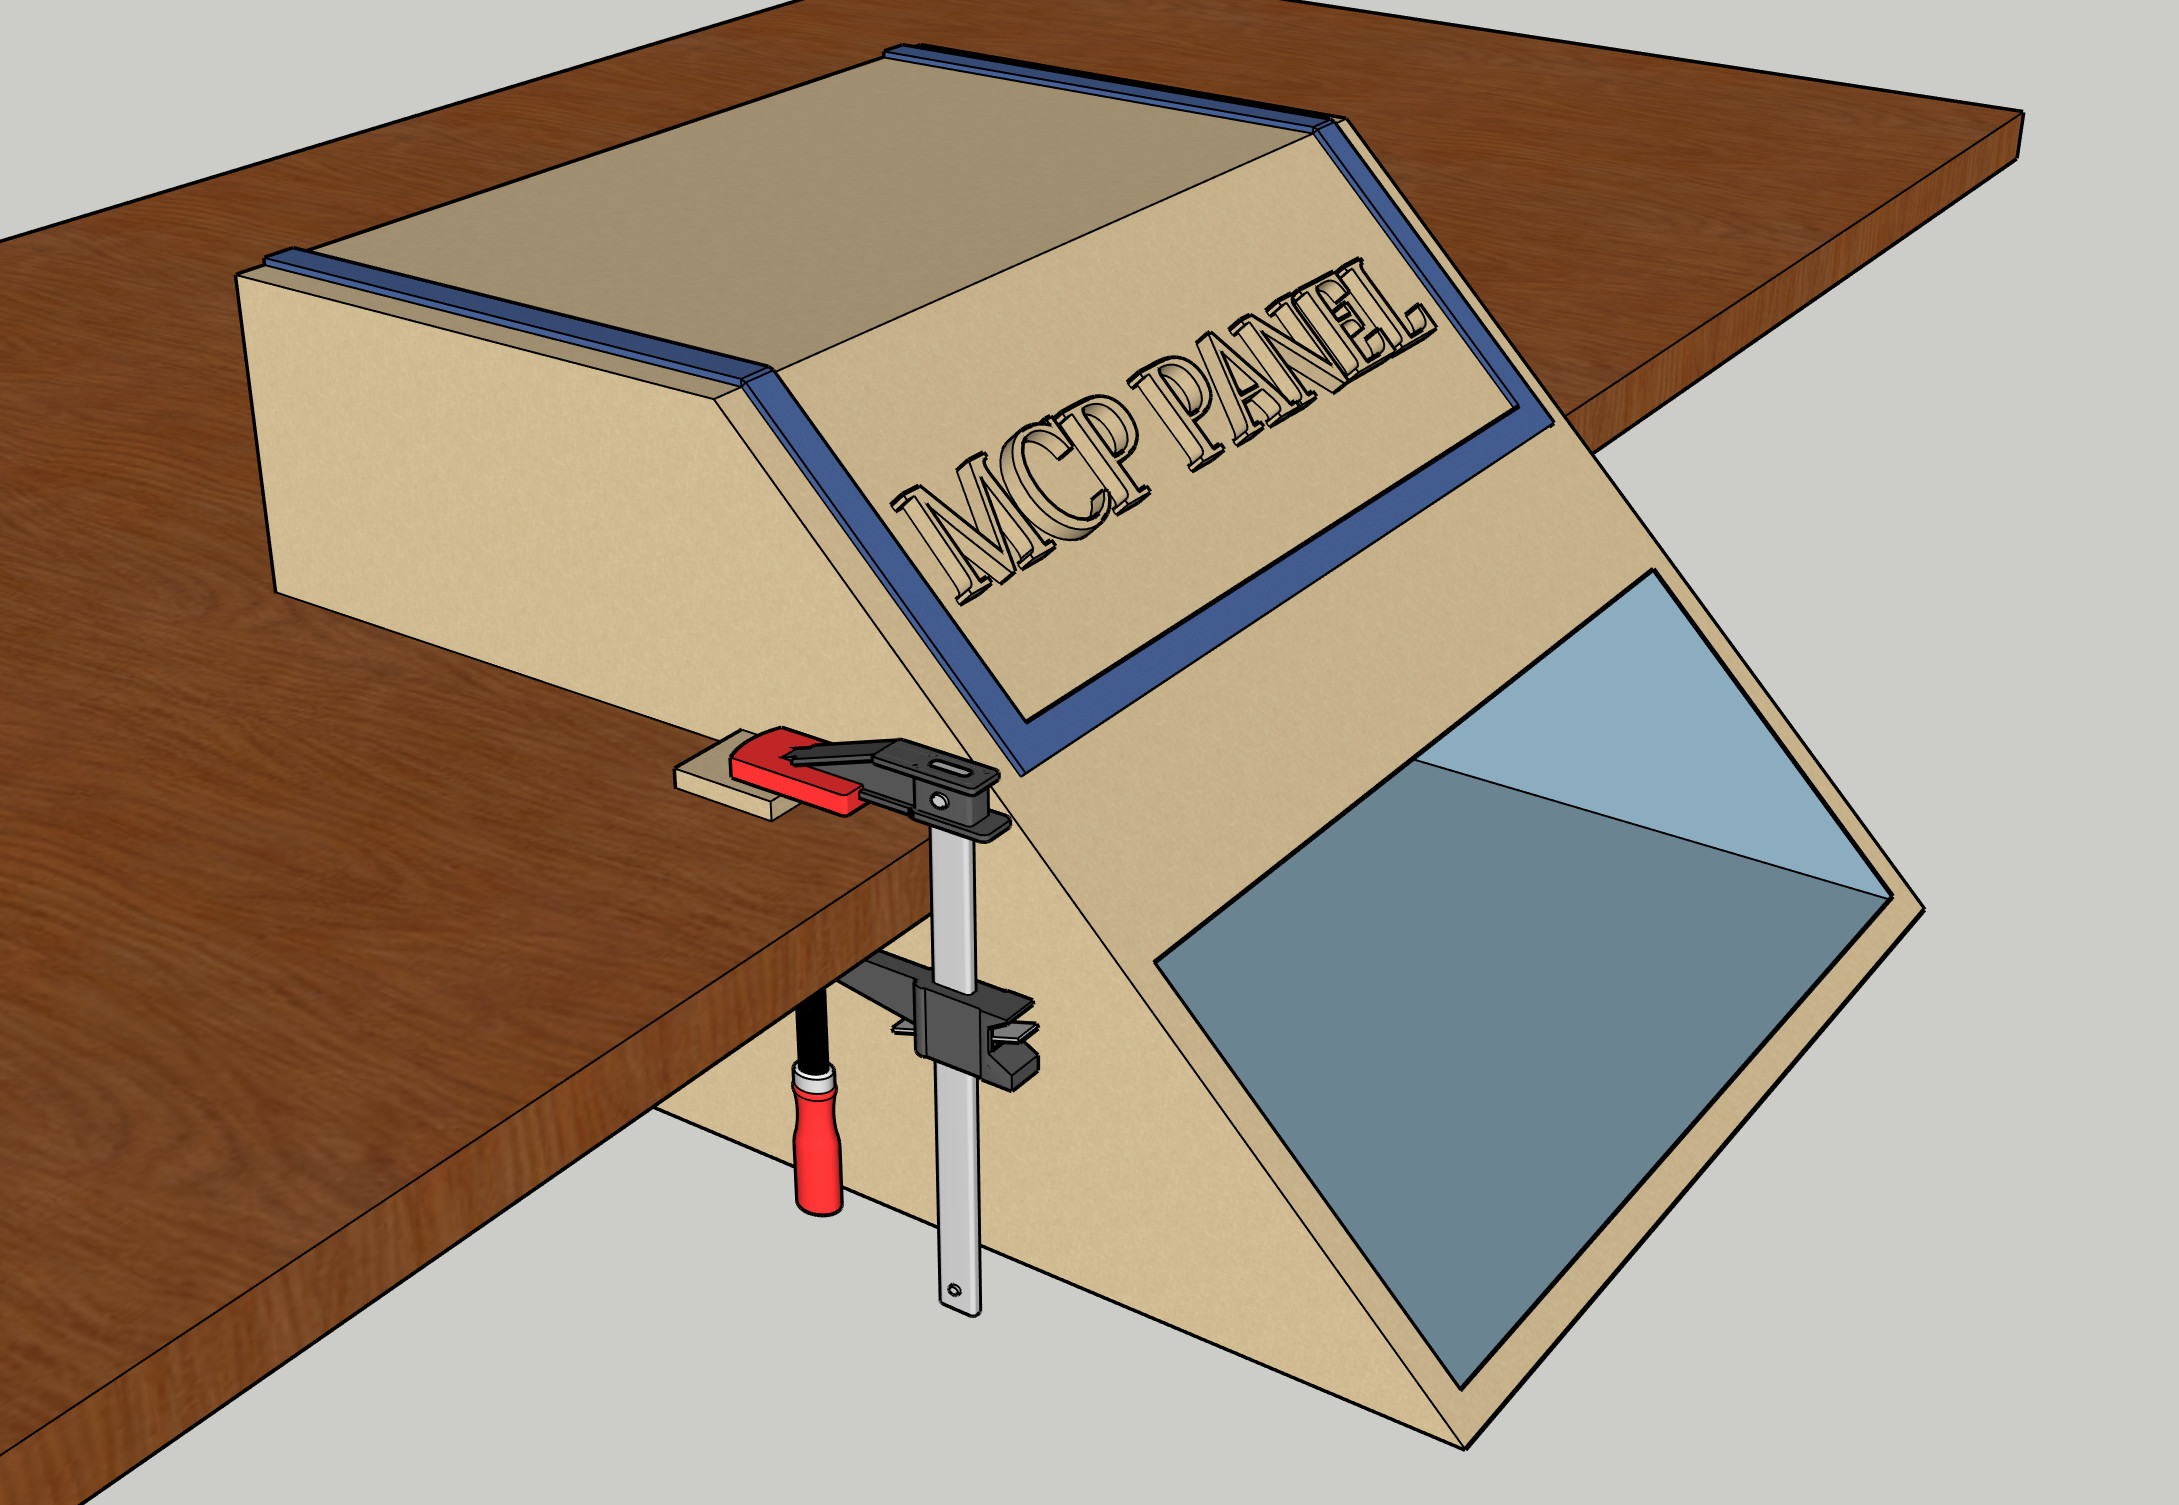
Pre-CNC I would do this with MDF as an open-front box. 4 horizontal surfaces (top, table top, under table, bottom), sides cut to the shape shown with a clearance slot wide (tall?) enough for the thickest table you planned to connect to. I’d rabbet the top/bottom and dado the middle horizontals into the sides. Bevel cut the fronts of the “shelves” to match the side angle and keep them inset the thickness of your panel material. Either route a rabbet the depth of the panel material into the edges or add a cleat (or angle brackets or audio rack rails) inside to screw the panel to. I’d rely on thin sheet material backs (masonite/hardboard or thin plywood) glued and nailed into rabbets to keep the boxes square, but these panels could have openings to pass cables through.
I’d probably still do that post-CNC since the joinery would take a single careful bevel angle setup on the table saw but that would be minutes compared to the hours I’d expect CNC to take routing out the shapes.
I’d probably try to build the clamps inside the box and under the table. My old-school arcade steering wheel uses plastic screw clamps. For a fancy solution I’d look at something like the auto-adjusting toggle clamps you see on T-track assembly tables. You could try and devise a cam lock that rotates to grip the table at either edge of the box. From a KISS perspective, I’d put three T-nuts in from the top of the under-table shelf - two across the front and one centered further back - and use bolts/knobs through them with pads on them to keep from marring the underside of the table. Don’t crank them too hard or you’ll risk breaking the box where it’s narrowest.
Add a small round-over on all the edges and you could cover it in just about any sort of flexible fabric/vinyl/leather/veneer/carpet that you felt comfortable trying.
Wow - what can I say!? This is really really amazing. Thank you all for these very useful replies. I’m getting kinda dizzy from some of them (looking especially at you @ttraband!!) - you guys make me realize that english is NOT my mother tongue.
I really like the idea of doing the clamping inside the box, instead of on the outside. It does depend though - on how much effort it’ll take to loosen the whole box, if it’s supposed to be stowed away when not in use…
I like your approach @SupraGuy, this is not supposed to be a Holllywood movie prop, but something functional. Painting it black would certainly be an easy solution. This is not going to be anything close to a (semi-)cockpit, the panel itself will be approx 60x40cm. But I’m sure it’ll grow with time, I imagine these kinds of hobbies tend to bloat…
I don’t know that I want to get involved but is there a site(s) a noob to flight sims might understand? For various reasons getting back into flying isn’t looking so likely so I’d kinda like to check out sims.
@turbinbjorn - if I had better (any) CAD skills I’d throw together a model. Hope the overly wordy description wasn’t too convoluted.
This is the sort of thing we’d throw together in about an hour back when I had access to the scenery construction shop (and a really nice scrap bin) back in college. Simple construction that looks good but is sturdy enough for actors to abuse on stage for 8 performances a week. Nothing fancy where simple would do.
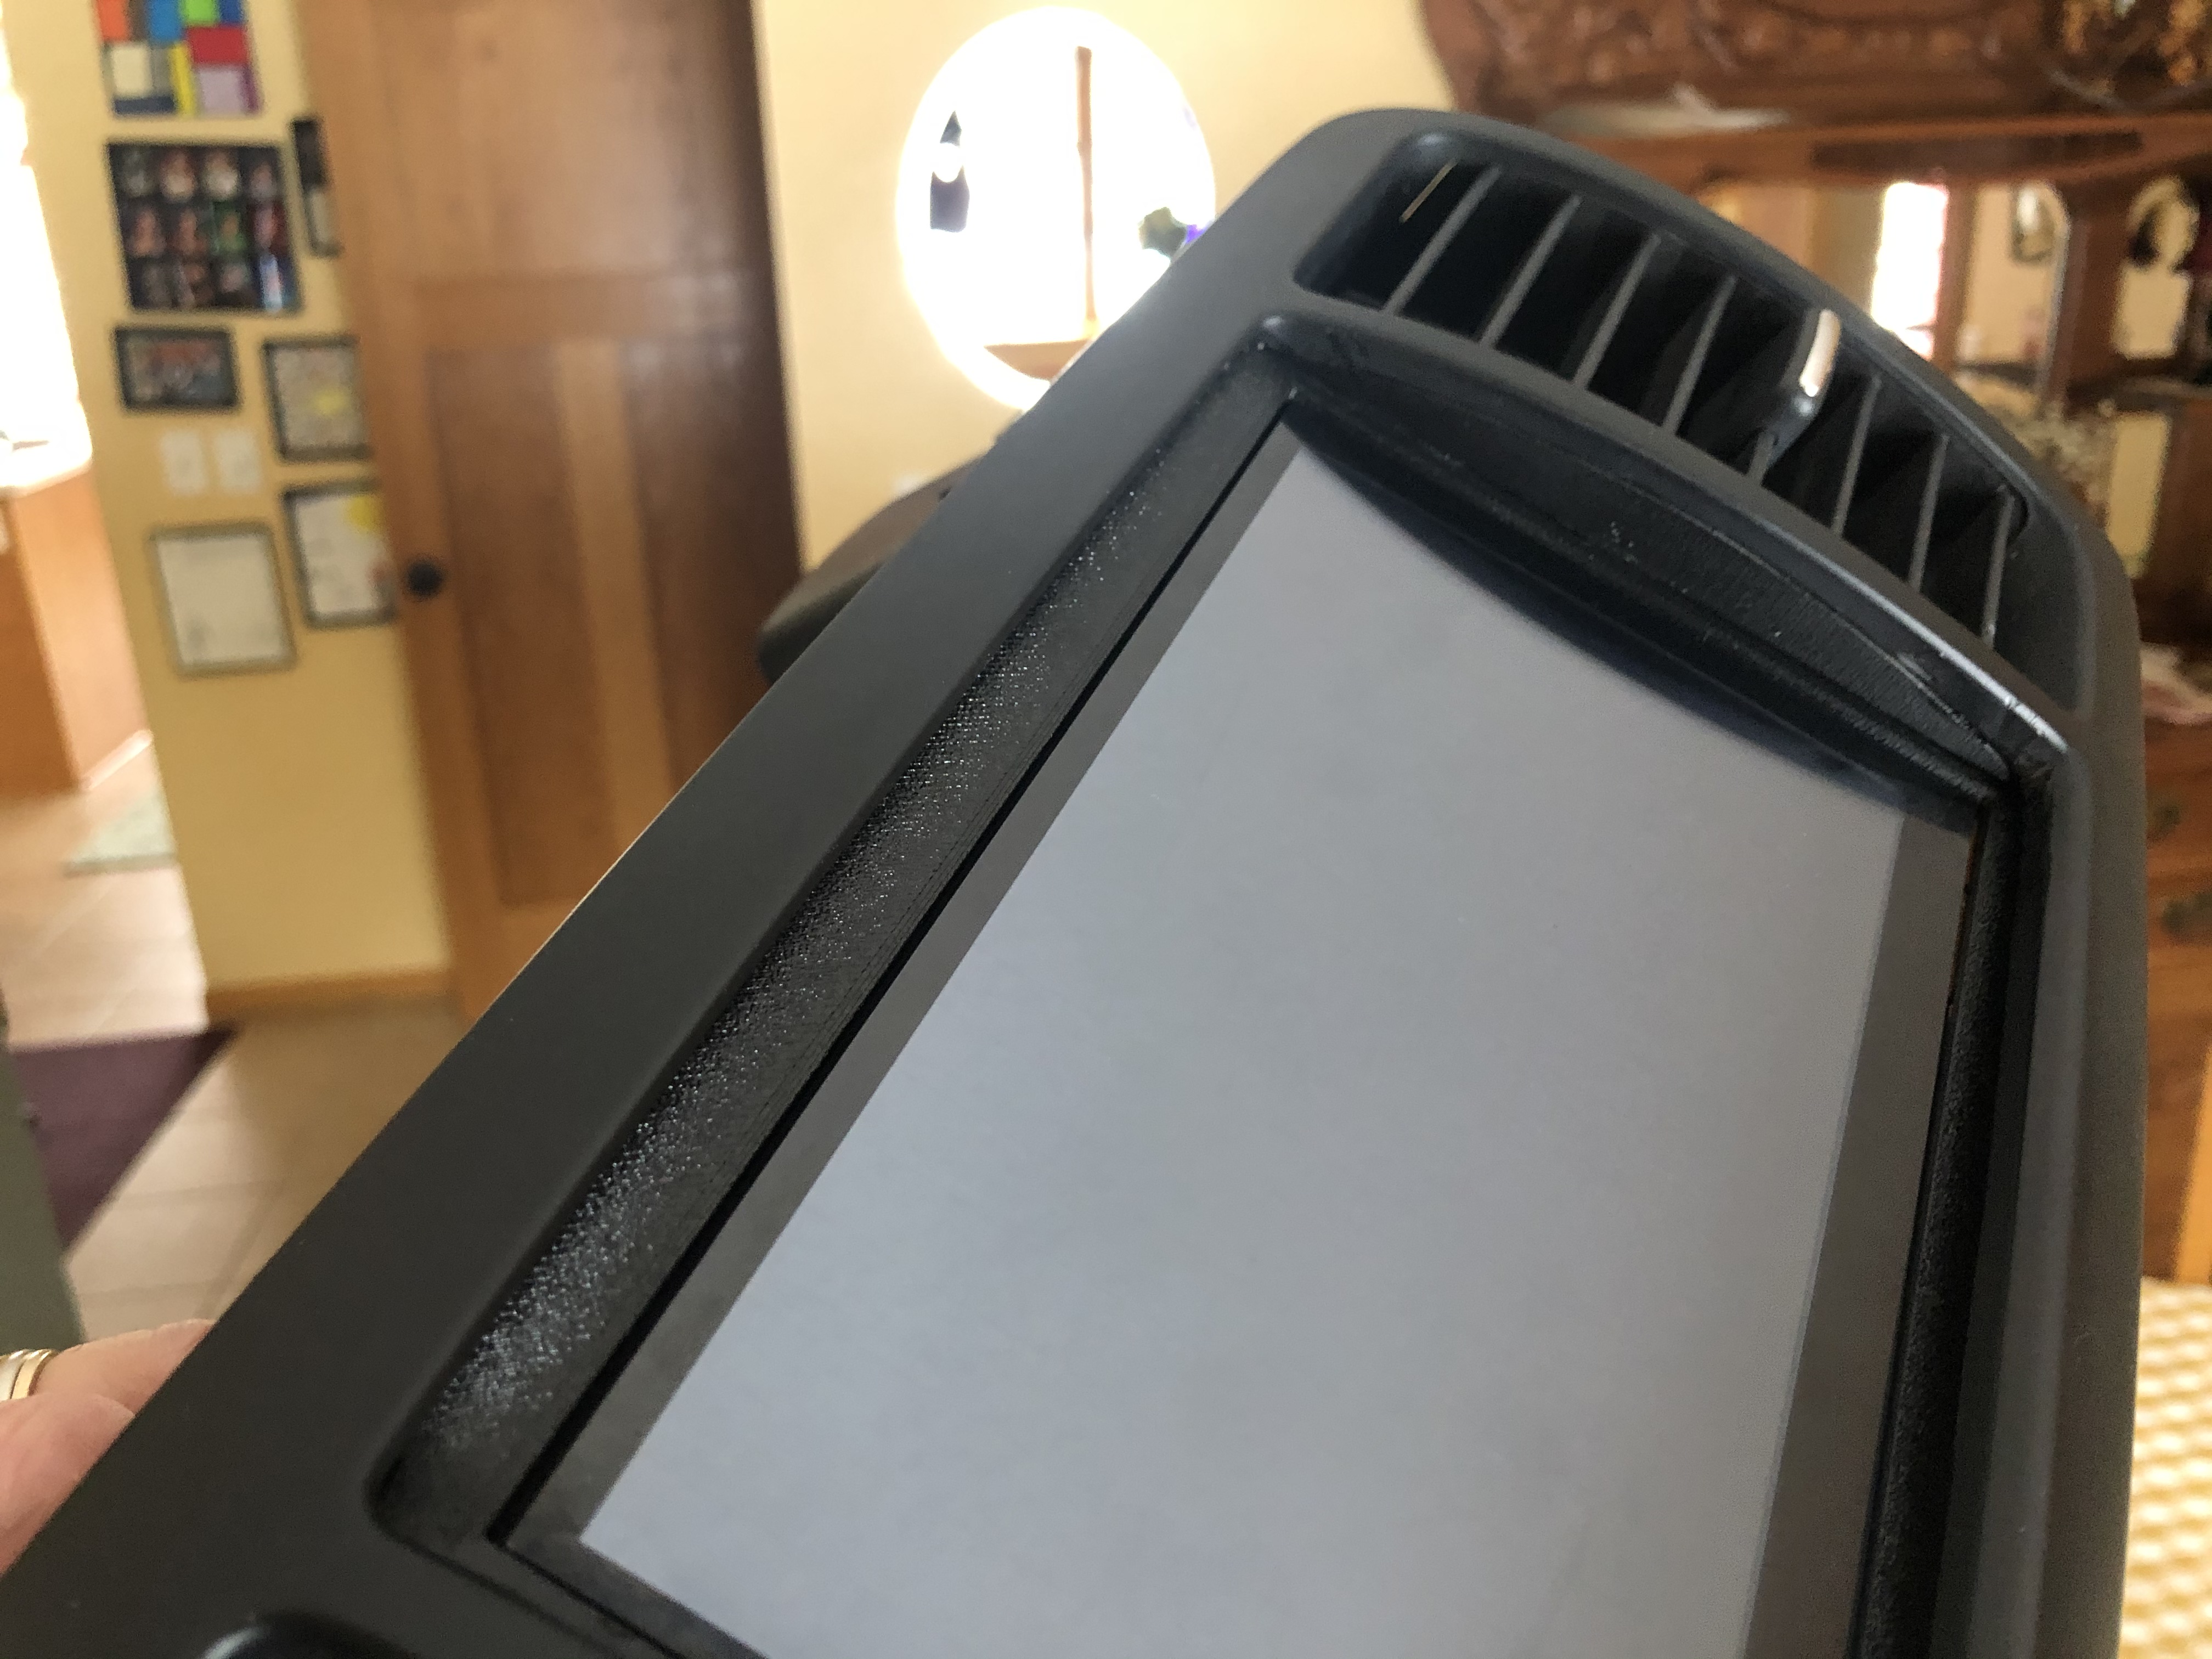
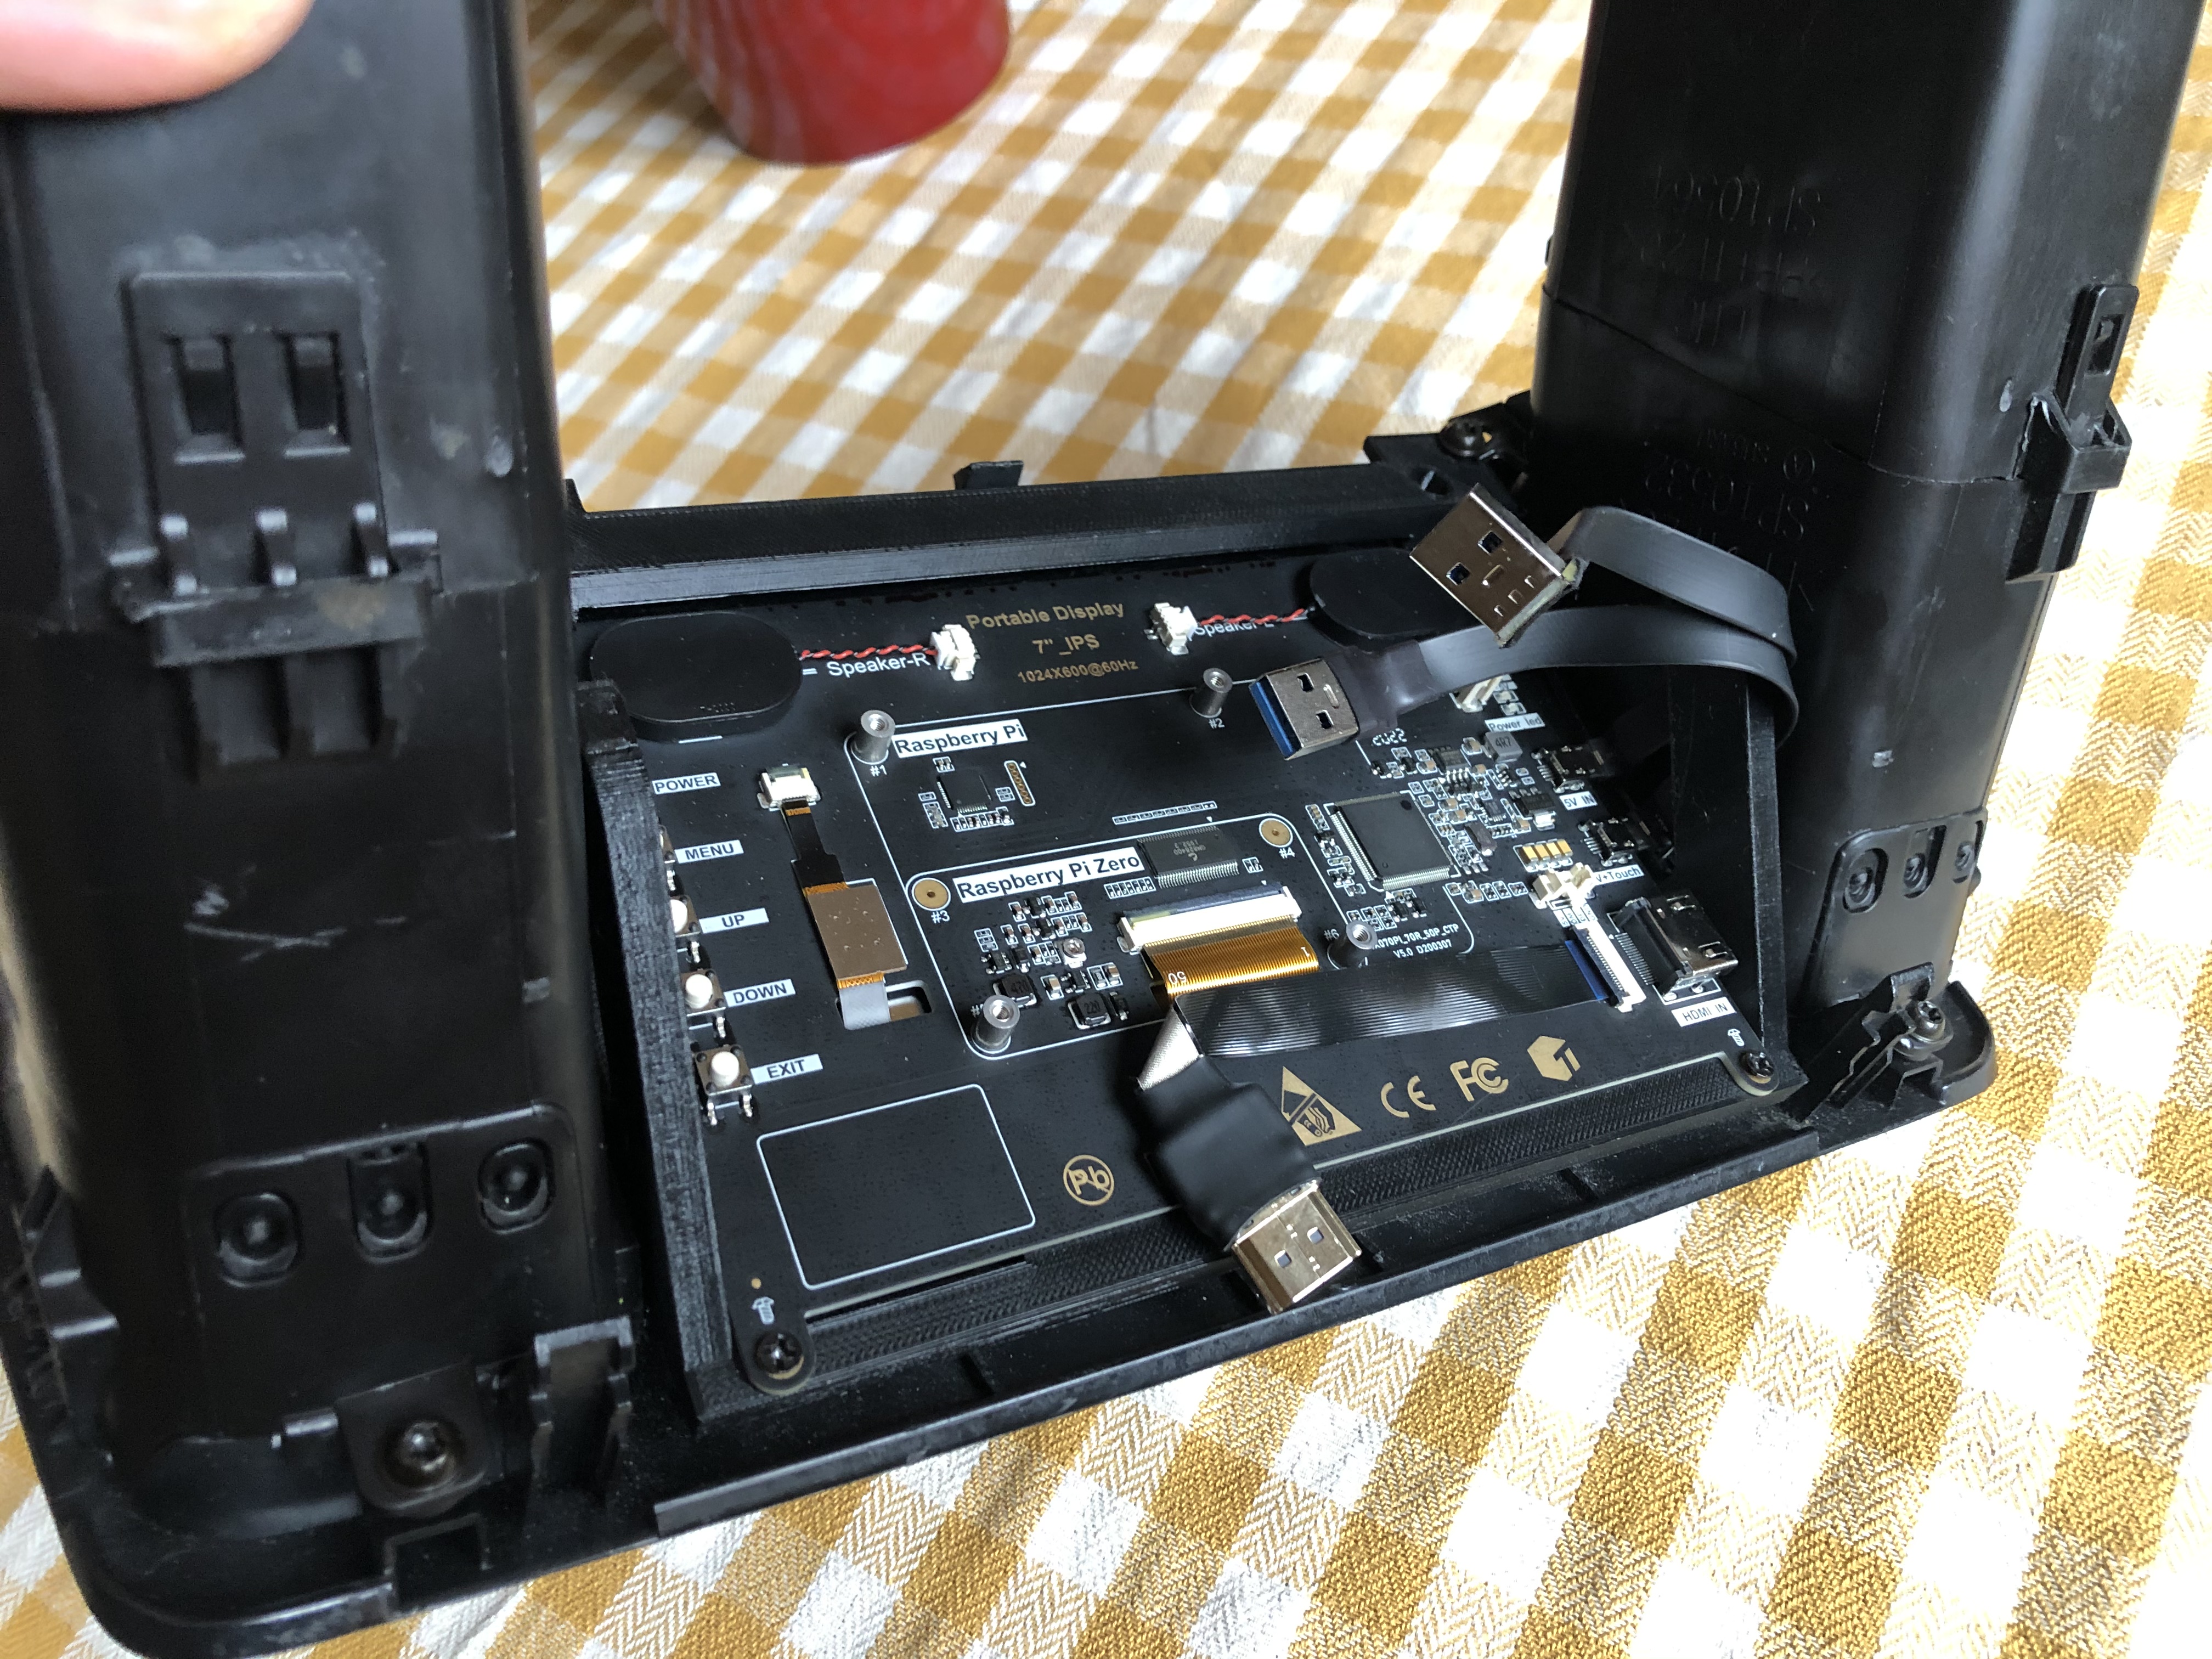
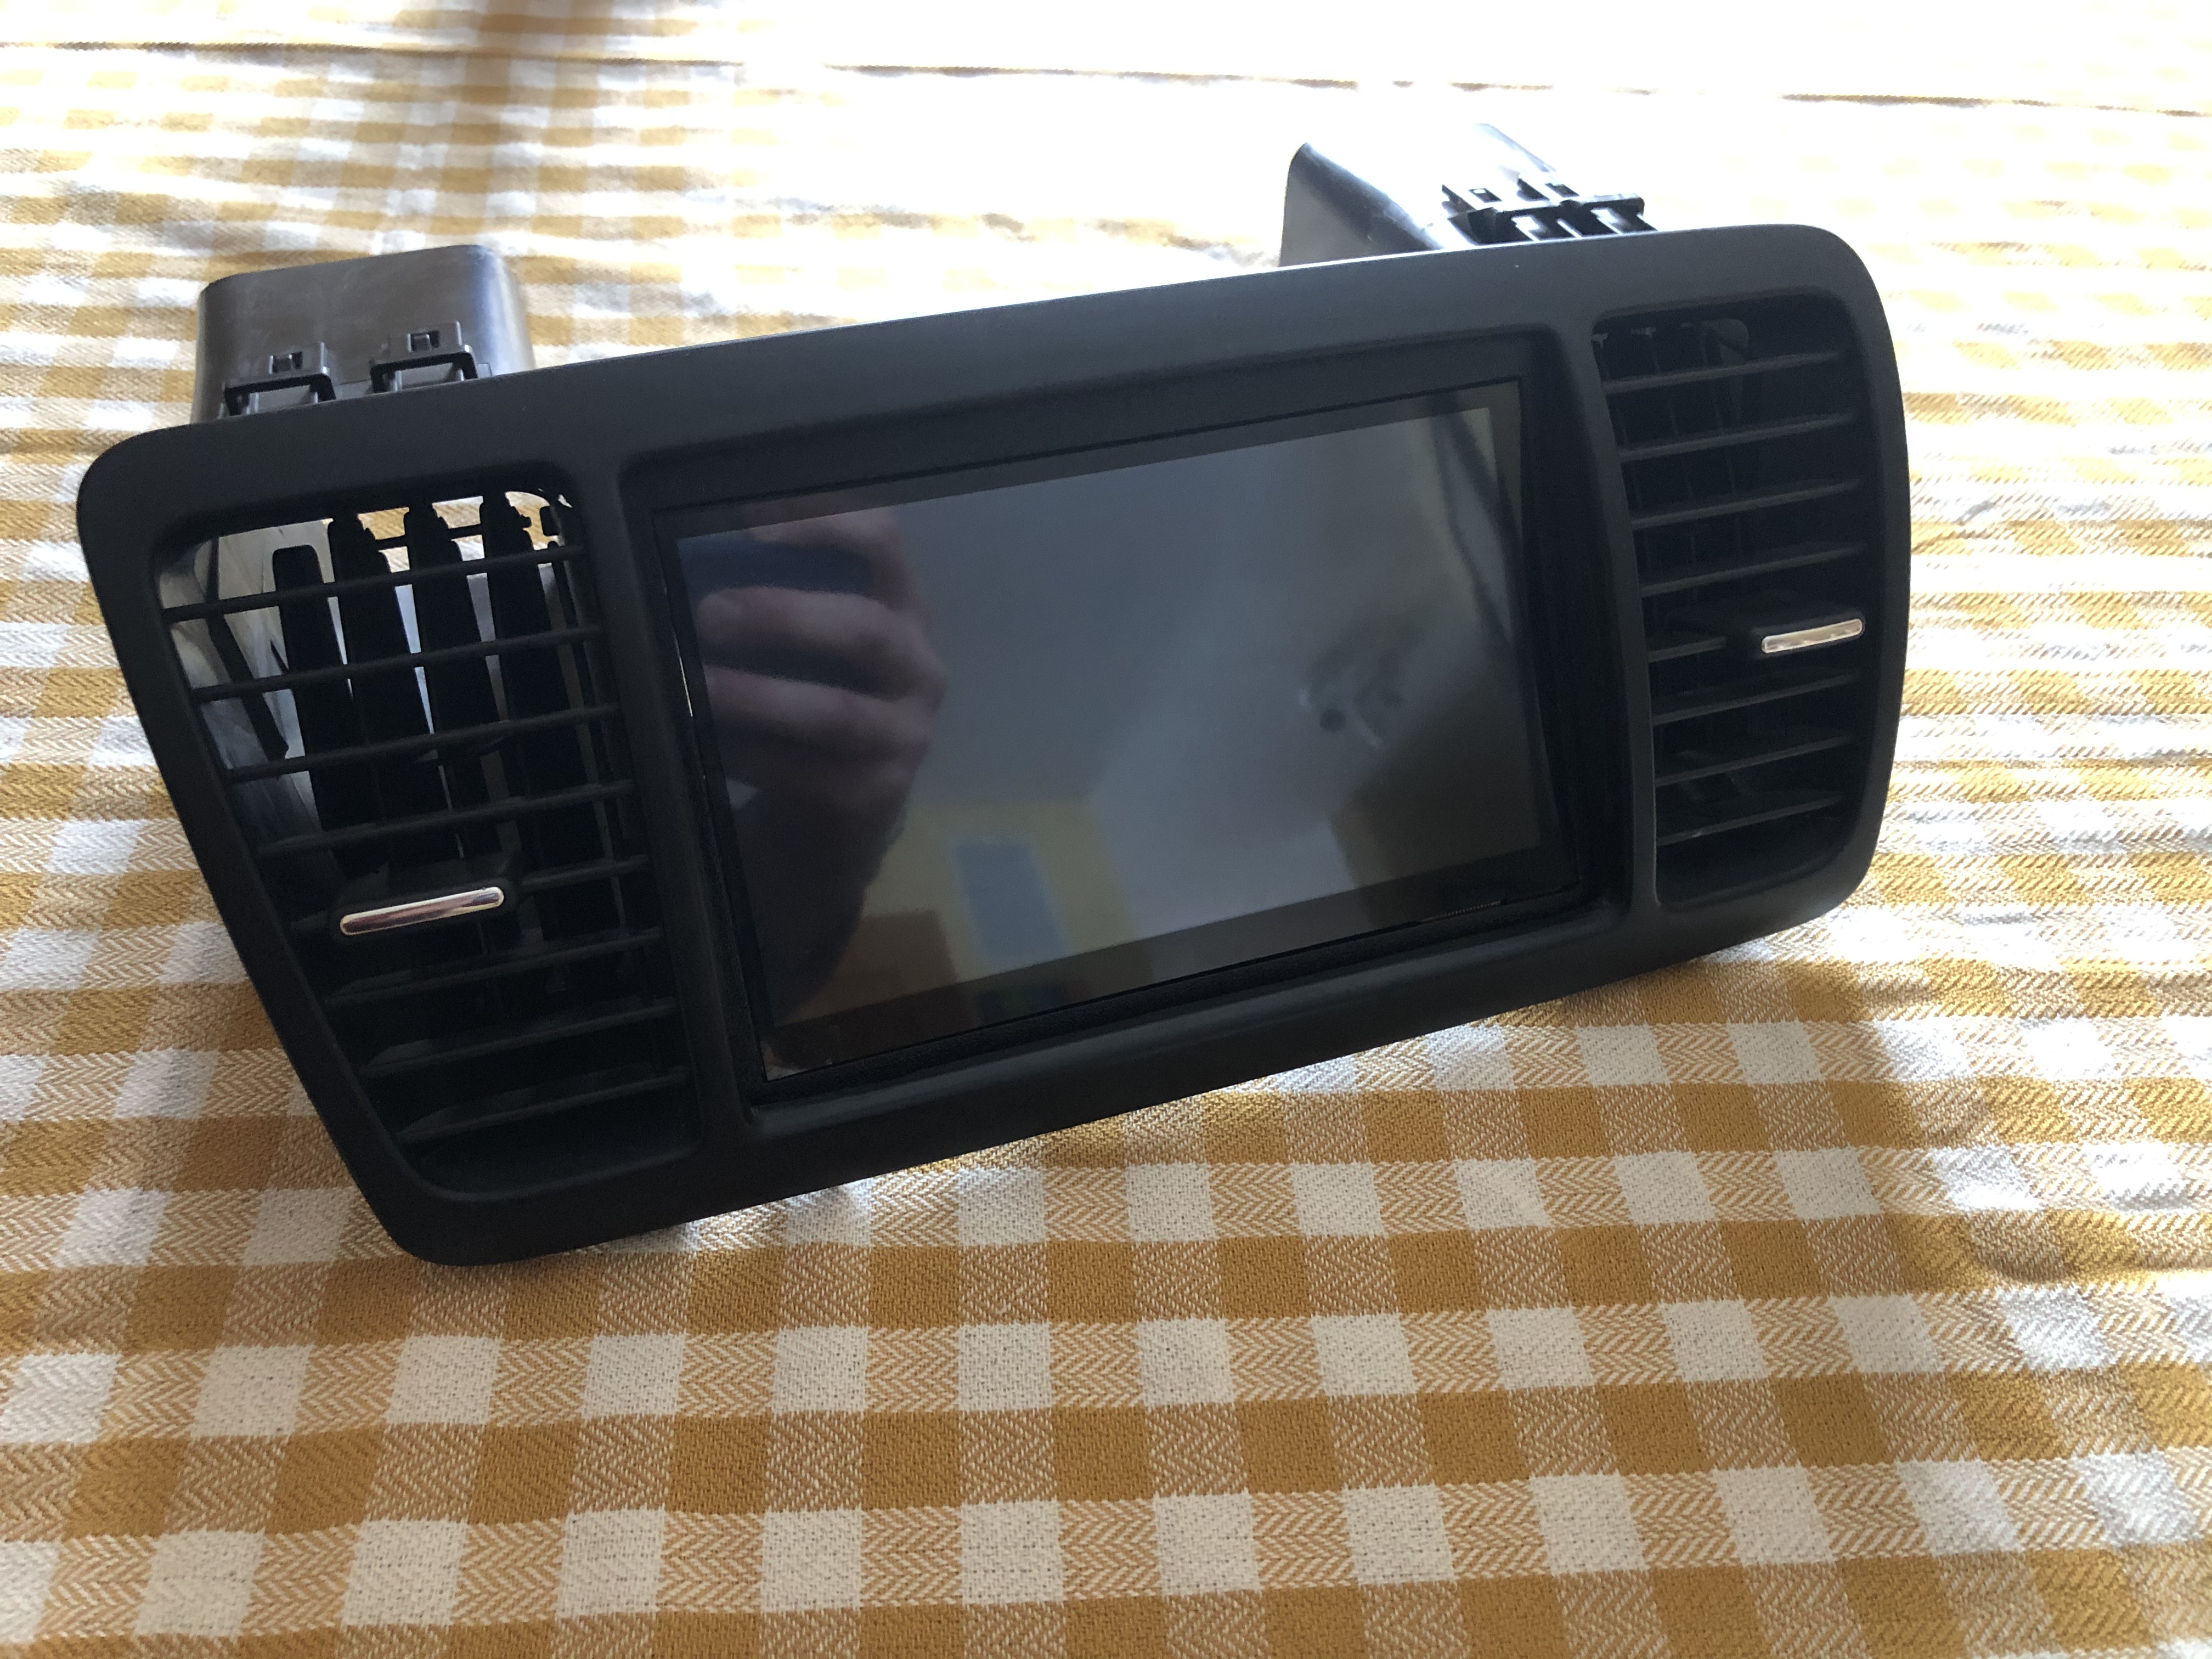
Cool project. Whatever you end up using, please post some pictures of it. I would CAD and 3d print something out of ABS and then fill, prime and paint it. I don’t have those CAD skills but one of my kiddos is a master CADer. Here is the front bezel he made for a raspberry pi touchscreen setup he put in his 2009 Subaru. So I know it is possible to 3d print a nice bezel also.
I haven’t flown the 737 for about 19 years, good airplane