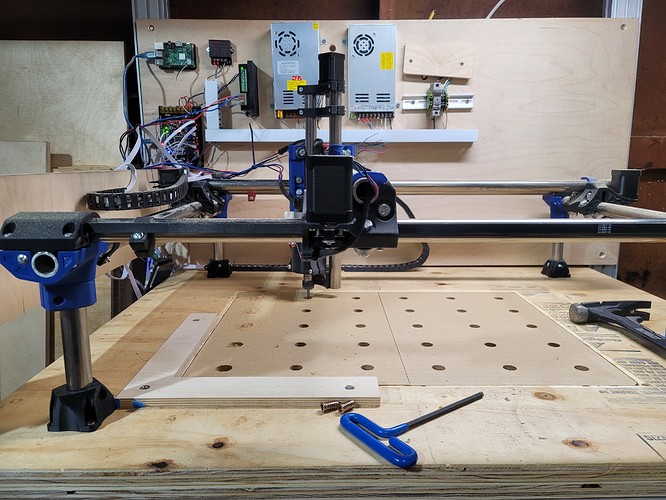
How to overbuild a MPCNC - New Minnesota build

I built a Lowrider last year and ran it until COVID took me out…
I’m back now, and the LR2 is being replaced by a large NEMA34 powered monster in the very near future.

Until then, I need a small machine to do some highly repetitive work for Christmas, and what better machine than one I already have most of the parts for with my LR2?

A quick order from Ryan, and printed parts and hardware arrived on my doorstep on Thursday.

Today, I started assembling the enclosure for the CNC, with my goal to have chips being made in under 36 hours.

This is my journey.

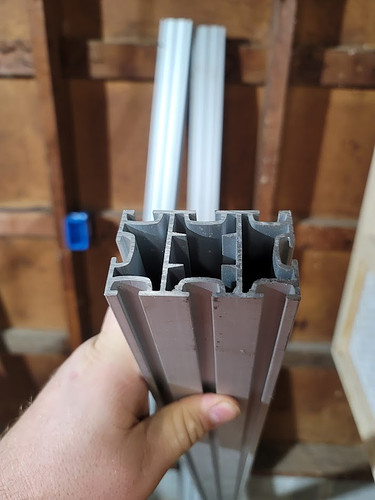
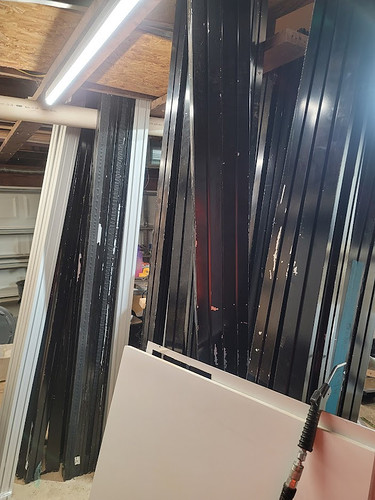
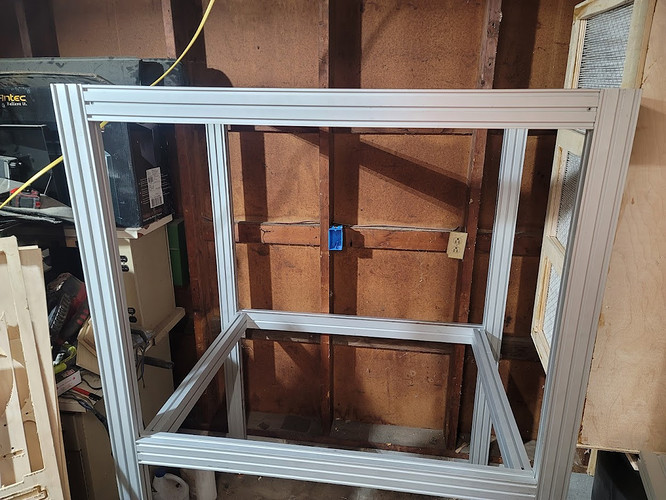
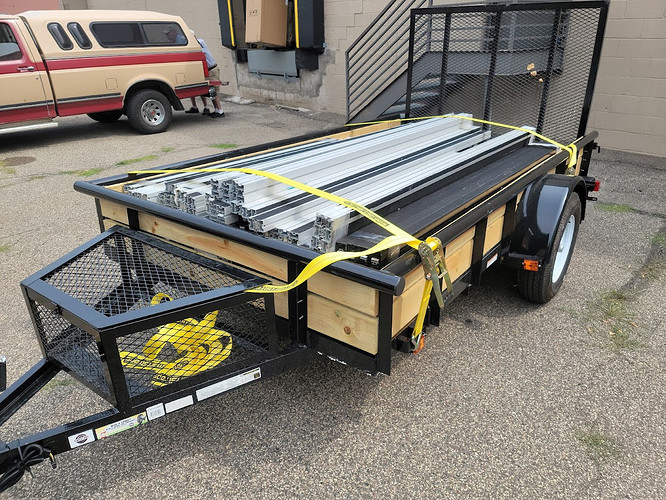
I won an auction several months back for a trailer full of ~2"x3" structural aluminum extrusion with t-slots. The pieces are all about 8 feet long with some exceptions in the 6 foot and 10 foot ranges. They came with all of the appropriate connectors to tie everything together, as well as the anchor blocks used for casters and/or leveling feet that insert into the ends of the extrusions.
I paid 107 bucks for this entire trailer load.

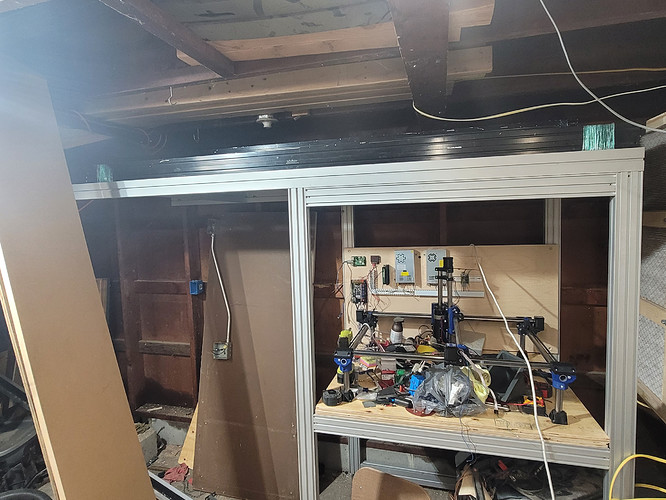
After my COVID hospitalization and subsequent long-haul symptoms, I was not able to spend time in the garage with the Lowrider, so it turned into storage and became a place to just throw any old junk into it. Recently, my wife approved a garage to wood shop conversion for the space, so I have been insulating and sheathing the interior walls with plywood. Cleaning the space is like those sliding number puzzles, where you have to move a number into the only open space in order to open a space to slide another number… I’m almost done, and just need to tear down the work bench to the left of where I’m assembling this as it has become a catch-all during the renovation and cleaning of the garage. Forgive the mess in the following photos.

The new table frame will go against the west wall, which has not yet been insulated and sheathed, next to the dust collector and air filter box. In the final placement, I will have about two feet between the filter box and the edge of the CNC. See aforementioned workbench comment.

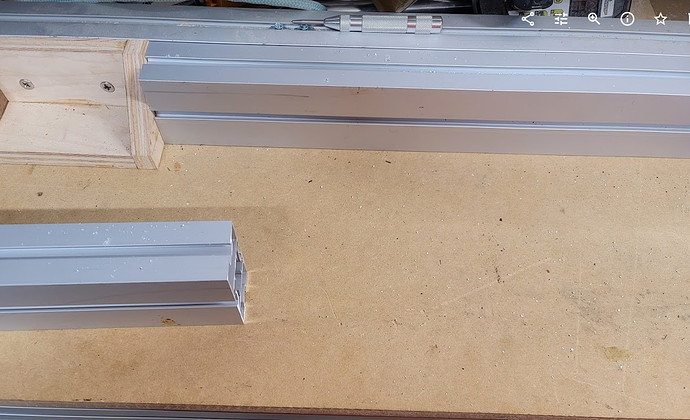
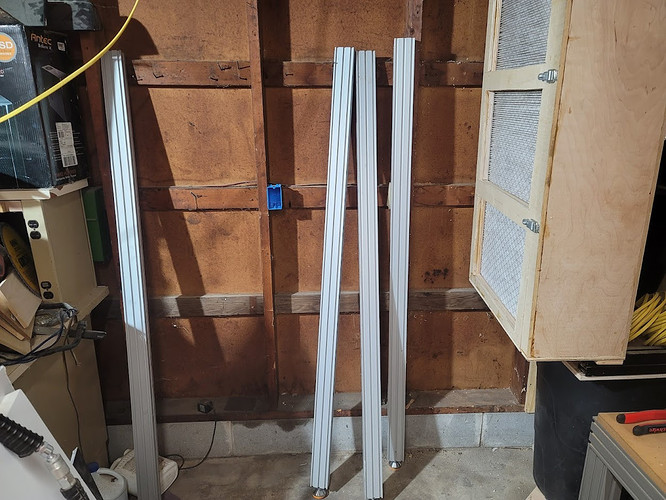
I have already assembled the four legs and leveling feet using the multi-slot extrusion.


I still have so much of this stuff, that when I am done with the large table, I’m not quite sure what to do with all of it.

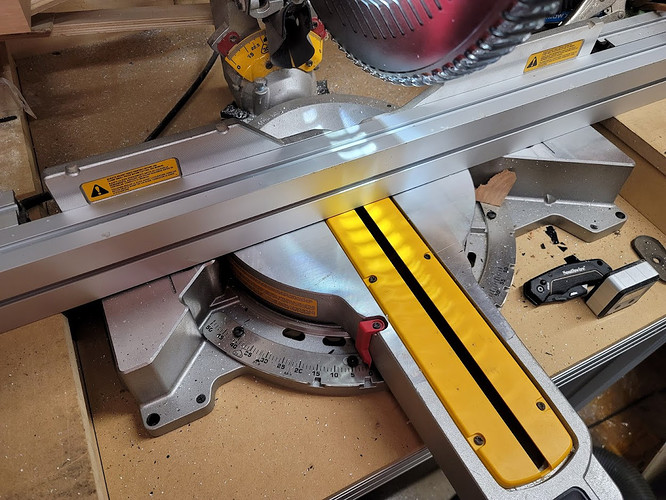
I used some extrusion to build my miter saw table, and in this shot you can see the workbench and the stop block I made which allows repeatable cuts. It cuts beautifully on my miter saw.


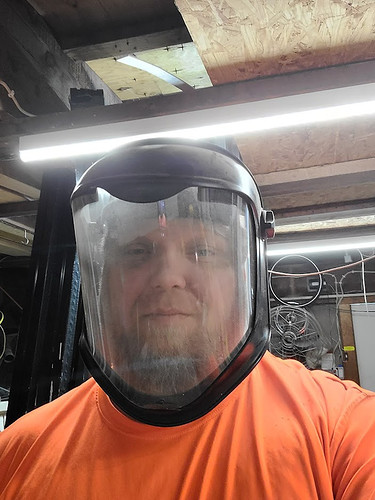
And of course, a gratuitous safety gear shot…

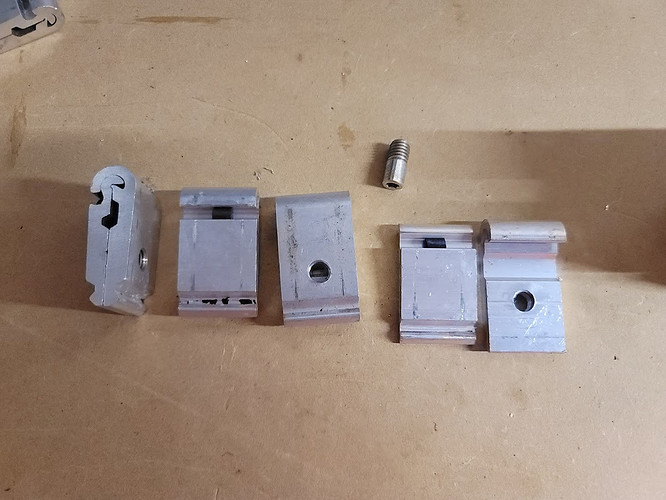
These are the connectors used in the extrusion.
From left to right: Side, bottom, top, screw, and a disassembled connector. The black piece is a small strip of silicone rubber that adds tension to the connector, forcing it closed.
When you insert the screw in the top of the connector and thread it in clockwise, it pushes against the other half and spreads the jaws, visible on the top connector, left side.

The extrusion supports inserting the connector in two different orientations.


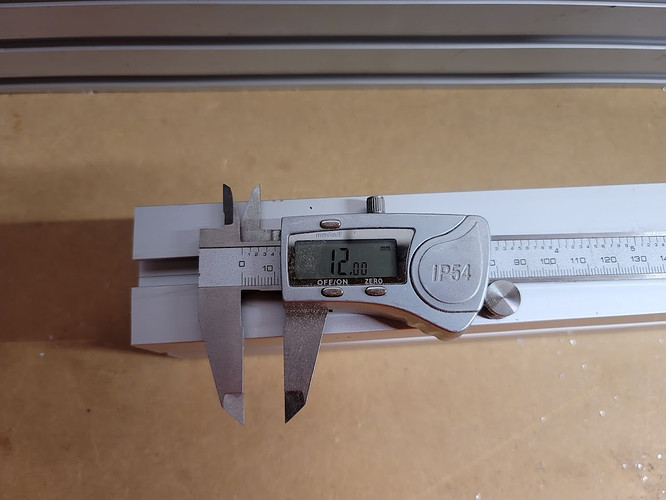
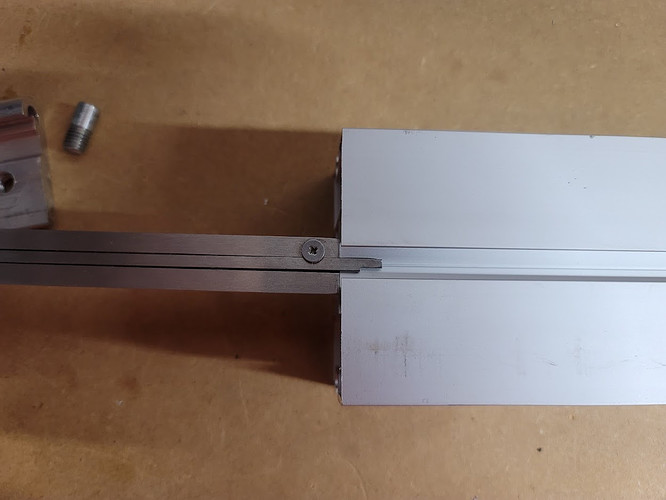
The hole for the screw needs to be 8mm, and the setback for the center of the hole from the end of the cut is 12mm.


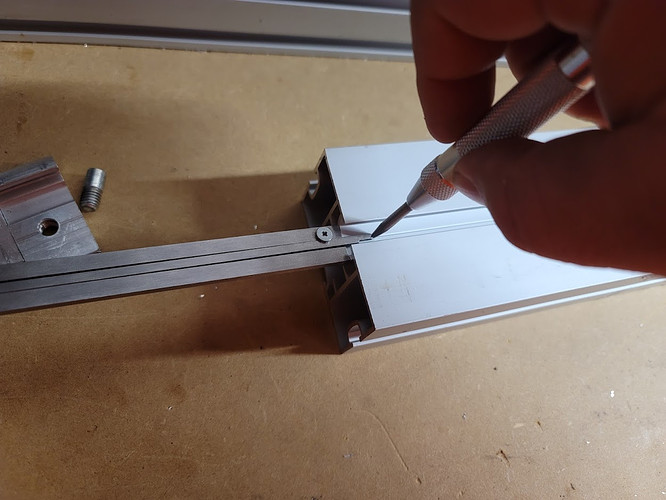
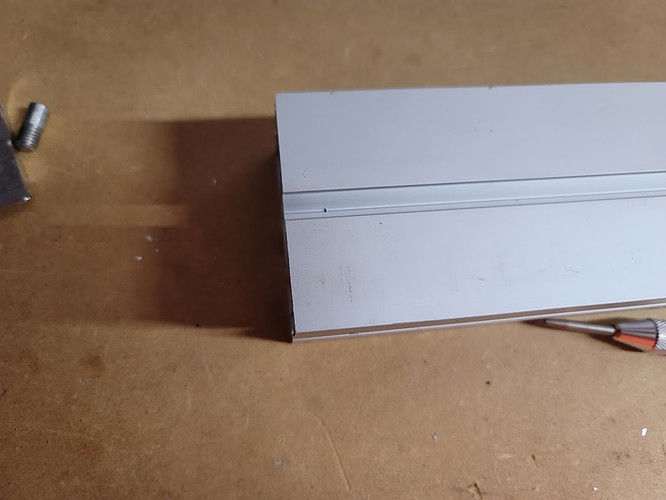
With a punch tool, make a mark right at the end of the caliper and drill it out.


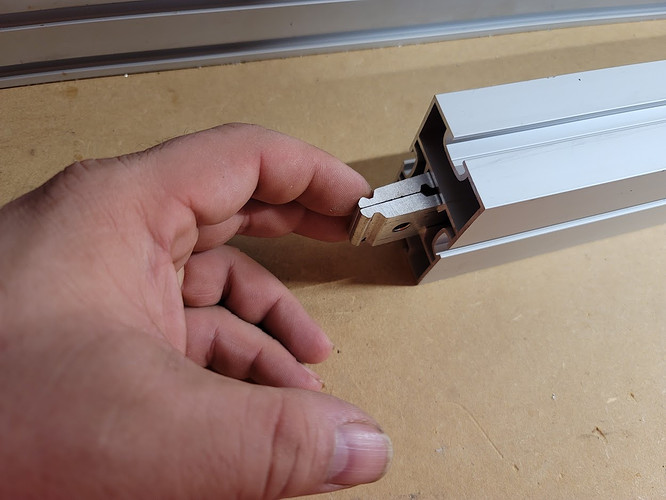
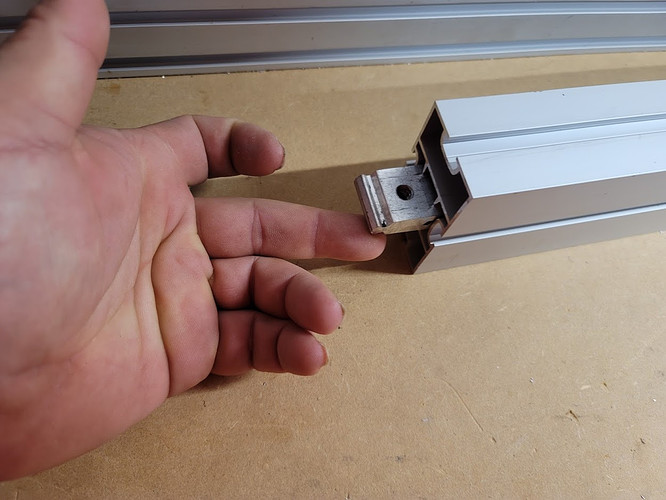
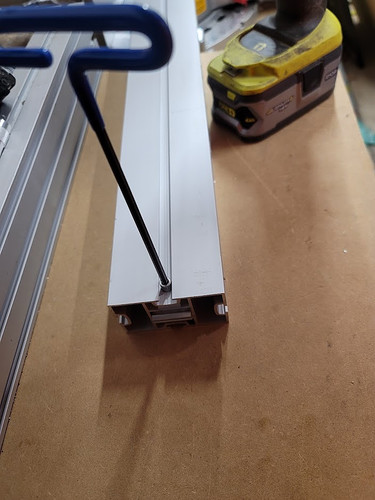
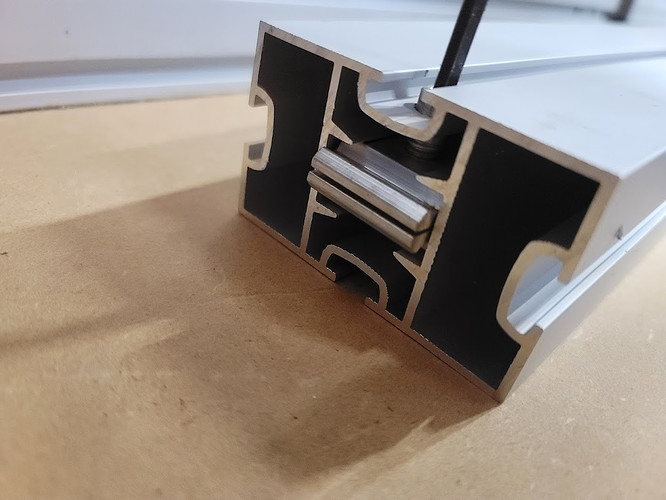
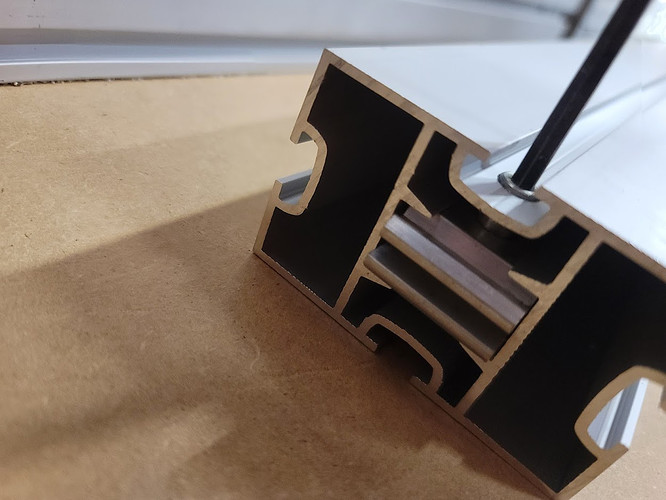
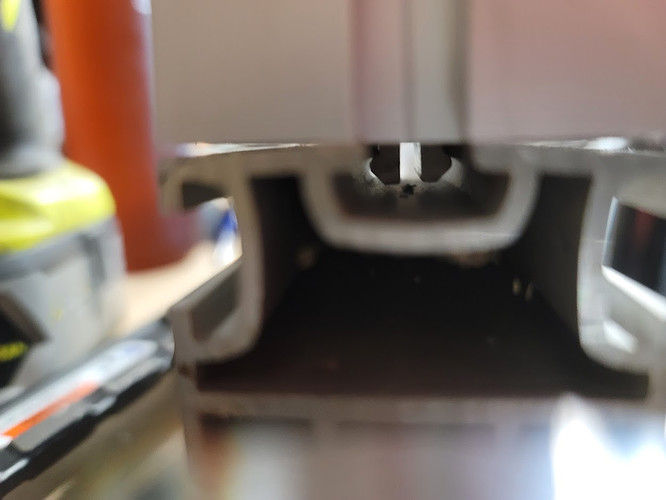
Here’s the connector in place with a screw and the Allen wrench.

Connector unlocked:

Connector locked:


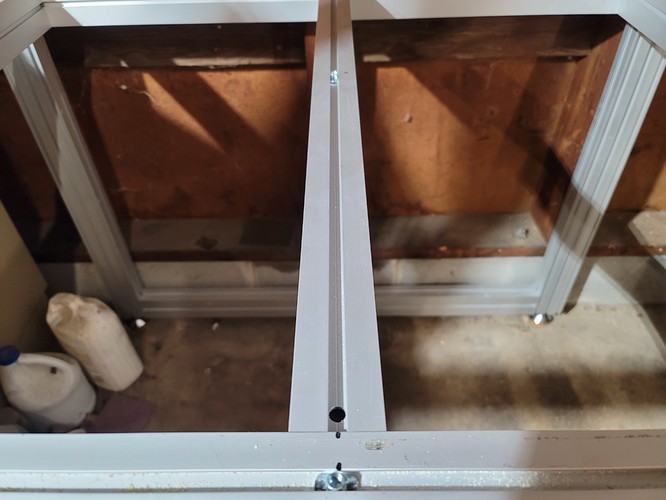
Assemble the frame and add one more center crossmember and I’m ready for putting the table surface in. Table height will be 37.5 inches, and the sides and top will be enclosed. Overall outside dimensions are 46" w by 36" d x 74" height for a CNC machine that will be 36x30.

I’ll have the table surface in today, I just need to go get materials.

The enclosure will also be used as a storage rack by adding some crossmembers on top that extend to the left about 8 feet with support legs under it at the end. I’ll build a ladder rack style frame, and use that frame to hold the remainder of the extrusion so that it is up and out of the way. The rack will easily hold 2,000 lbs, so the ~600 lbs of aluminum I still have should easily sit on top of it once this frame is anchored to the wall with cap style lag screws.
6 Likes

Your dedication and thoroughness is impressive as always!

1 Like

Man, that stuff is in the same category as Unistrut. Freaking Meccano for adults.
1 Like

I’ve been calling it the Erector set for adults. Traded a bit of it for some really large linear rails and blocks (German or Japanese, don’t remember, but definitely not a Chinese knock-off.) and those will be going on the big machine. Once that workbench is out on the left, the big CNC table will be built in that space using more of this. I was in touch with the vendor and have pricing for the various connector types they offer, including 45 degree, parallel (for bonding two extrusions together lengthwise to double up thickness), and extension connectors. Some of them are 16 bucks a piece, but most are under 5 per. I’ll end up picking up some extras of the specialty connectors to build the big table properly.
I love this stuff. Built the miter saw station, which is fifteen feet long, a rolling assembly/outfeed table, storage racks, and more.

See if you can sell the rest for $107.

2 Likes

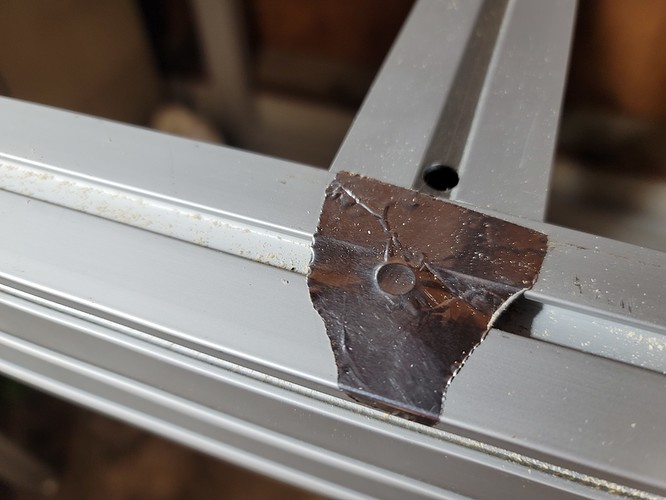
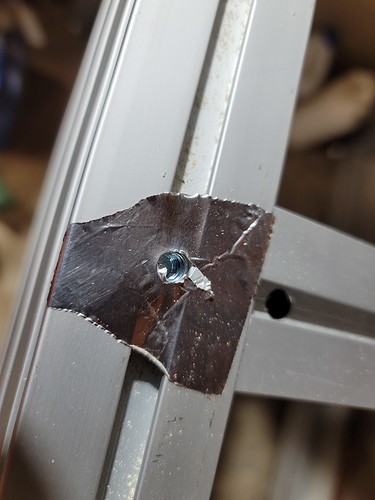
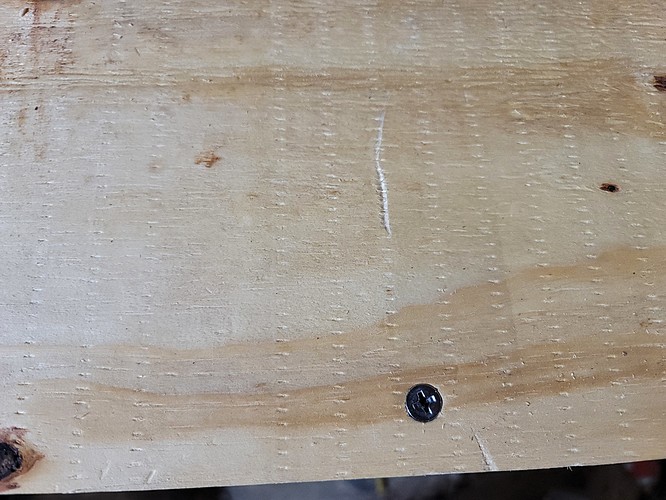
I installed t-nuts in the slots and then marked and taped them in place so that they would not move. When I marked them I measured exactly where I wanted them to be and then transferred those measurements to the plywood that I put down for the table surface. The second sheet of ply is screwed to the first.

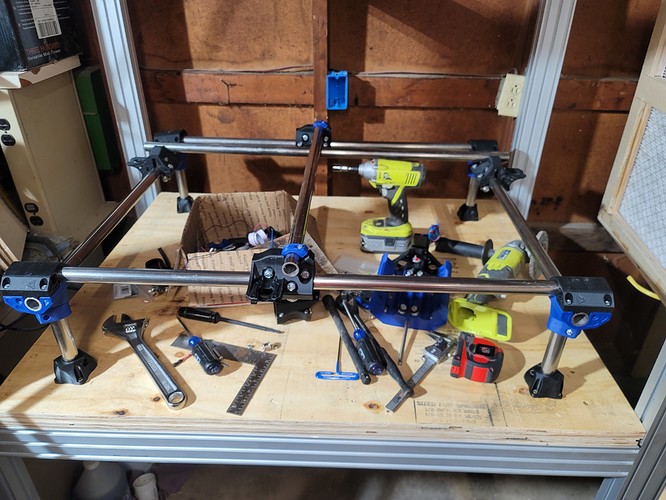
Assembly has started.

4 Likes

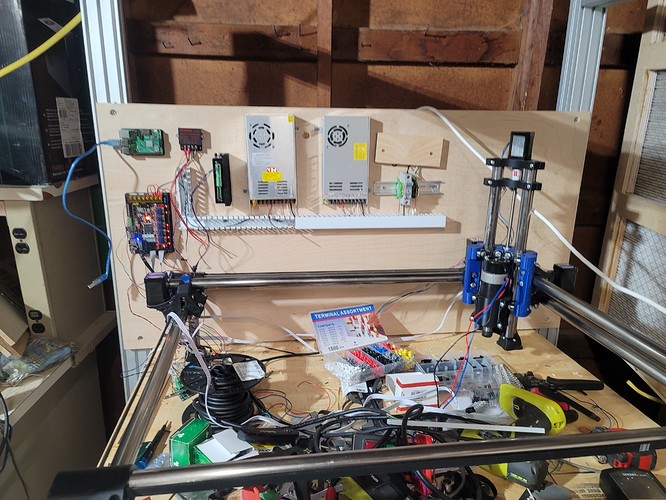
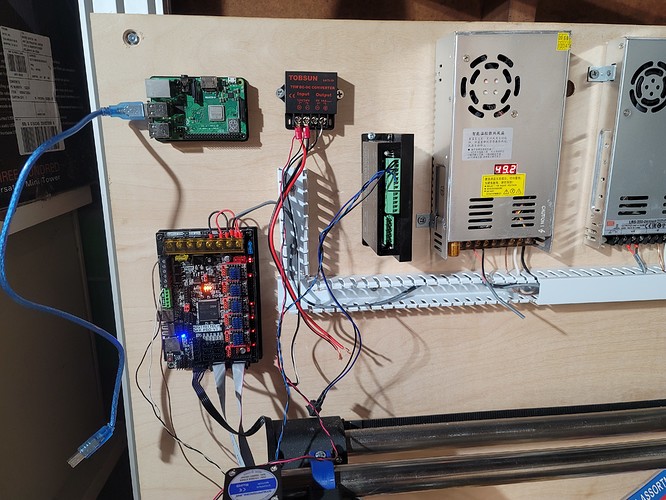
I didn’t make it as far as I expected to today primarily because some other things came up with work related stuff. The joys of being a systems engineer. What I did get was the rest of the machine assembled, the belts installed, the stepper motor wires terminated in a 4 pin connector, and started the wiring.

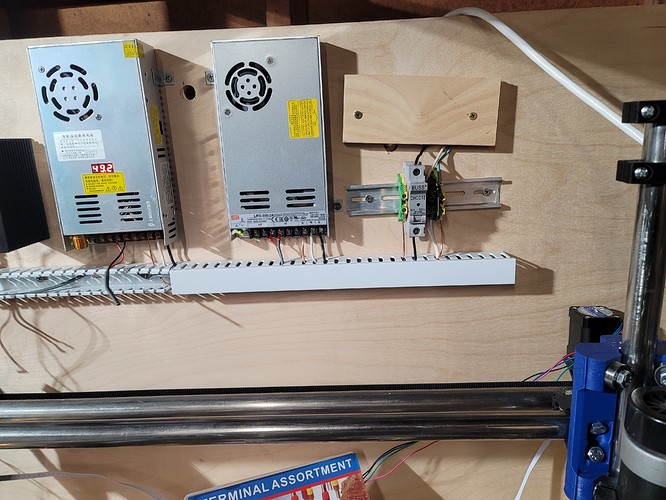
I have the benefit of having a known working system that was attached to my low rider so I just repurposed it for this one.

It’s not making chips tonight and it’s not moving under its own power yet but I will have it running tomorrow as everything that is left is plug in play.


3 Likes

Haven’t been able to touch the machine since my last post, as I was finally getting that back corner cleaned up and the old workbench out.

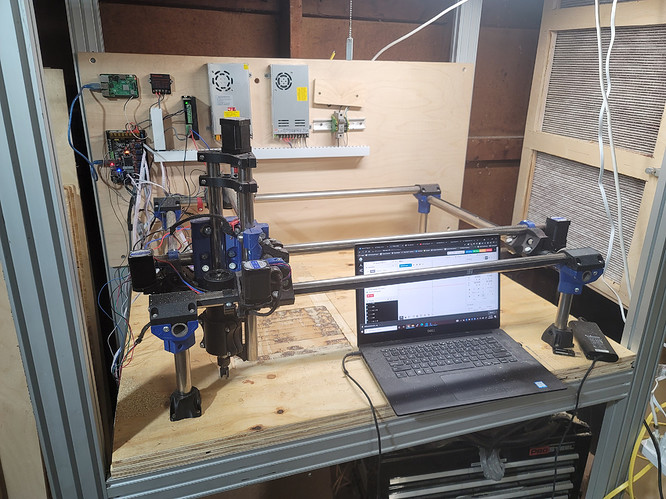
CNC is in place, not as far from the filter box as I originally intended, as I needed to keep some space available for the big CNC table I have started assembly on tonight.

I still need to get the wall insulated and sheathed, but I needed the shop space sooner than the wall needs to be done. This photo is two days old.

I got the CNC moving under its own power tonight, along with M3/M5 spindle control with PWM speed. I need to build new cables for the stepper/switch to control board runs and figure out where I put all of my cable chain. I’ll have it making chips tomorrow.

1 Like

Getting things dirty tonight. Machine is moving. Wiring needs to be cleaned up and routed. Still haven’t figured out where I put my damned cable chain.

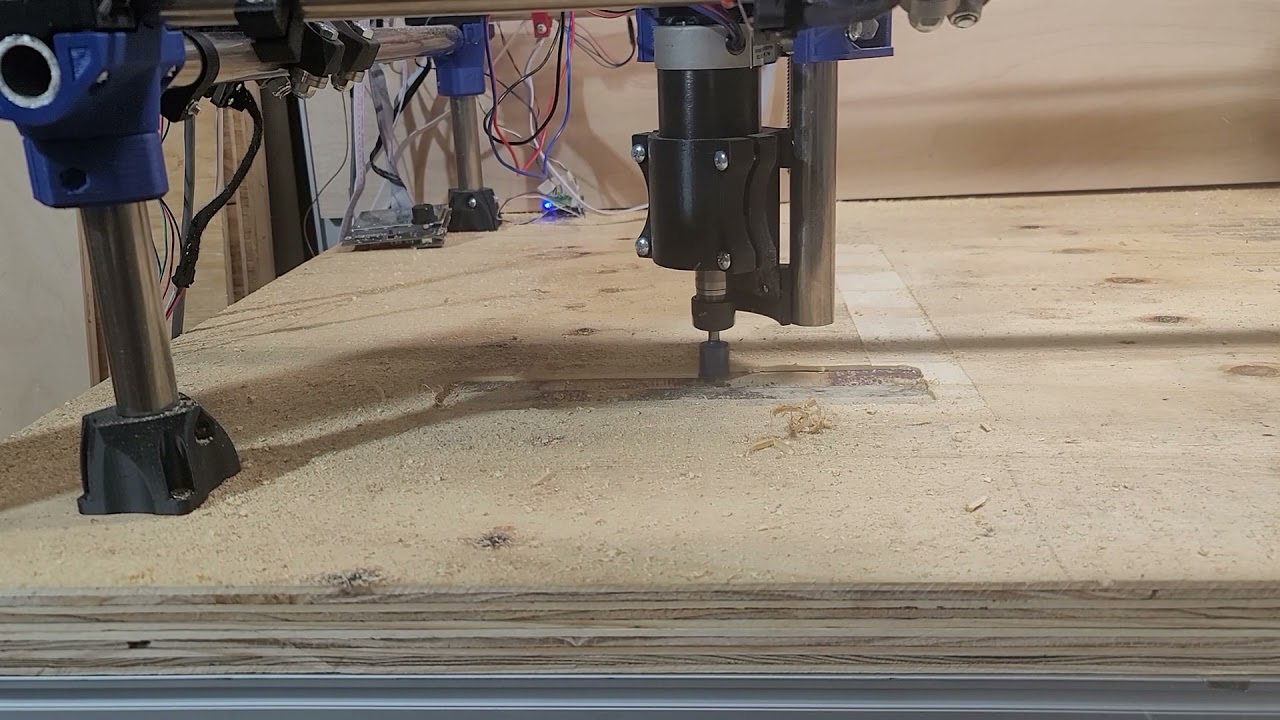
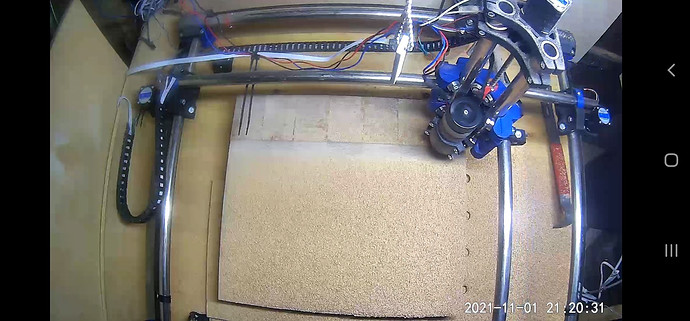
The spoil board will be inset flush into the table surface, so I milled directly in the CNC’s cut area, since this will be cut out with a perimeter cut by the CNC.

The Core is loose on the Y axis rail, even after tensioning. I’ll have to loosen everything up and re-tension it to see if I can snug that down. That’s where the bit chatter is coming from in the video. The 500 watt brushless has more power than I expected.

4 Likes

I went silent for a while. I’ve been working long hours at work combined with the need to install a new boiler because our old boiler caught fire on us back in april. Boiler is done I didn’t blow the house up or burn it down and I have the weekend to myself so it’s time to get the CNC dialed in.

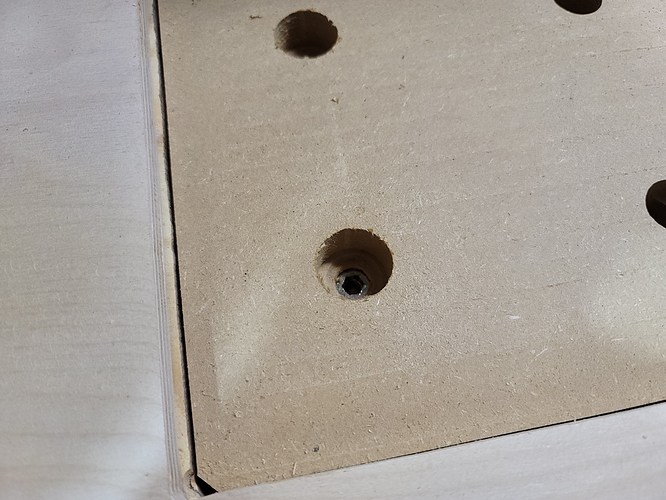
I started by cutting out the spoil board pocket and then milling holes in the spoil board 19 mm deep with a ball nose end mill. I then ran another pass milling out holes 38 mm deep for threadserts in the underlying plywood beneath the spoil board.

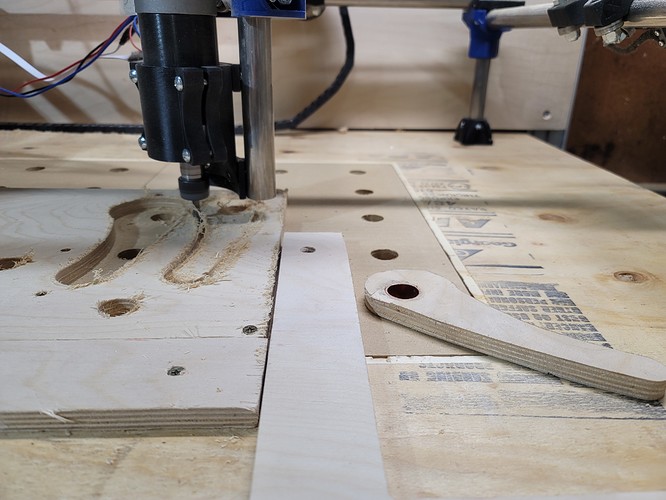
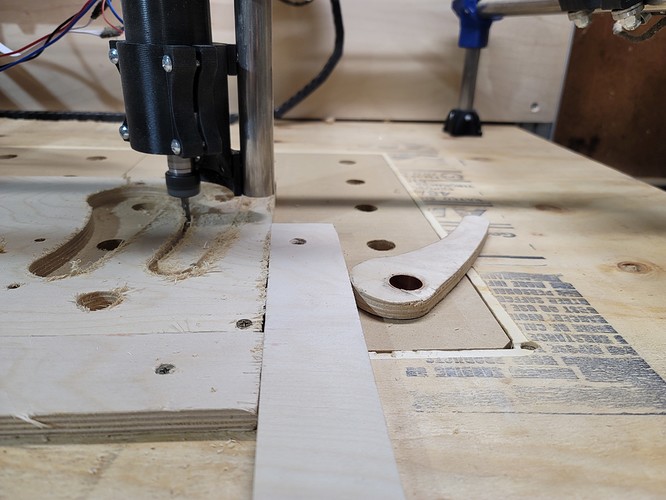
I also put threadserts in outside of the bit path of the CNC for the corner guide. This allows me to remove the corner and put it back when needed. Milling the corner guide was pretty straightforward. I screwed a rectangular sheet into place and then cut two straight paths to get my square corner. I checked it with a square and I am spot on.

Up next are the cam locks for clamping material from the side. The threadserts also allow me to use hold downs with bolts and knobs.

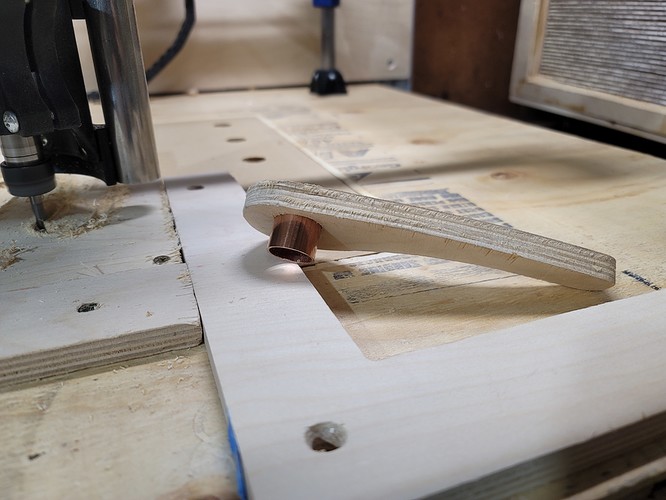
These cam clamps use a chunk of 3/4 inch copper pipe that is hammered into the hole on the cam clamp but fits snuggly in the spoil board. They turn freely and I can remove them from the spoil board without worrying about leaving the copper behind.


2 Likes

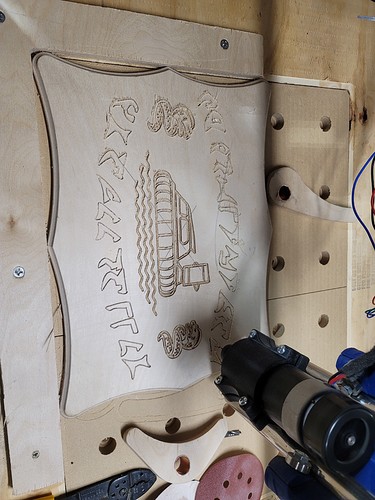
And my first cuts for fun…

A plaque that reads “My Hovercraft Is Full Of Eels” in full Klingon text for a friend…

6 Likes

Now that is a geek gift :smiley:

1 Like

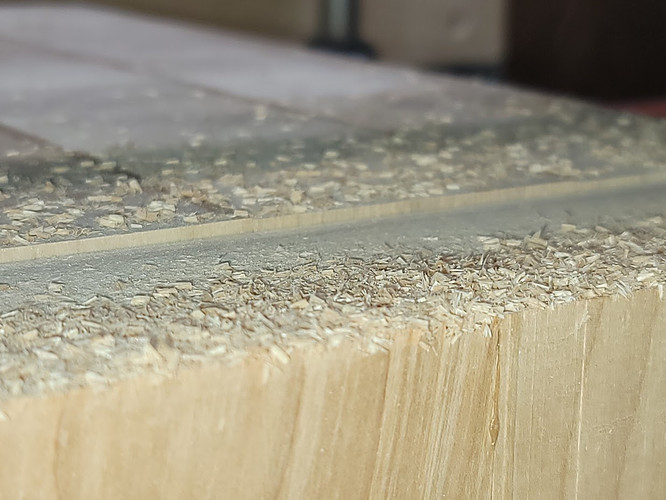
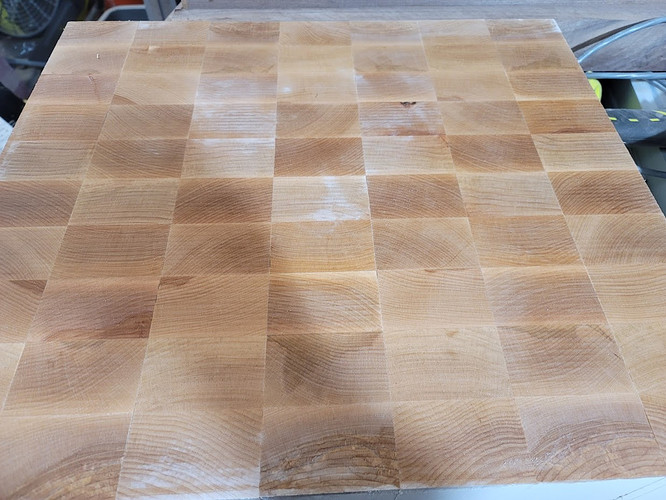
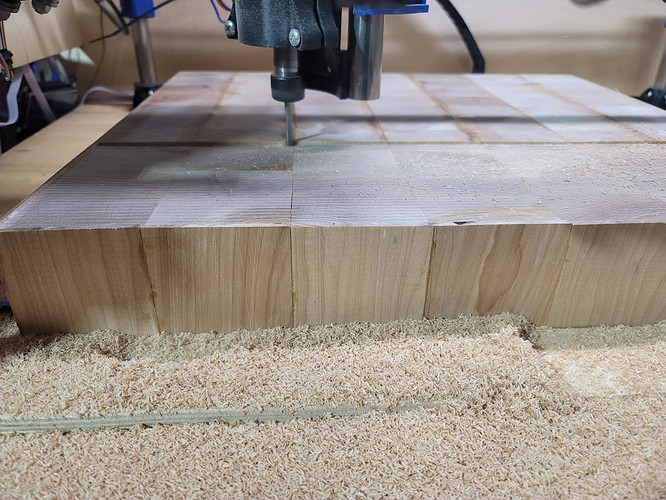
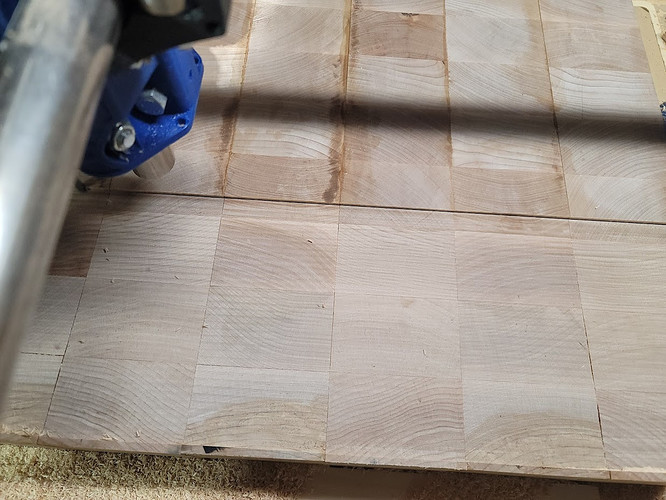
Surfacing a 3" thick slab of birch end-grain that will be turned into a walnut inlayed carving board for a friend. He doesn’t know he’s getting it. Can’t wait to surprise him.

The block weighs so much that I was able to mill both faces without having to use any type of hold down.


Ignore the bad Z-axis wiring… I’m waiting on my extra cable chain from China.

And a little bit of water after a coarse sanding to get the fibers to pop back up so I can hit them again.

7 Likes