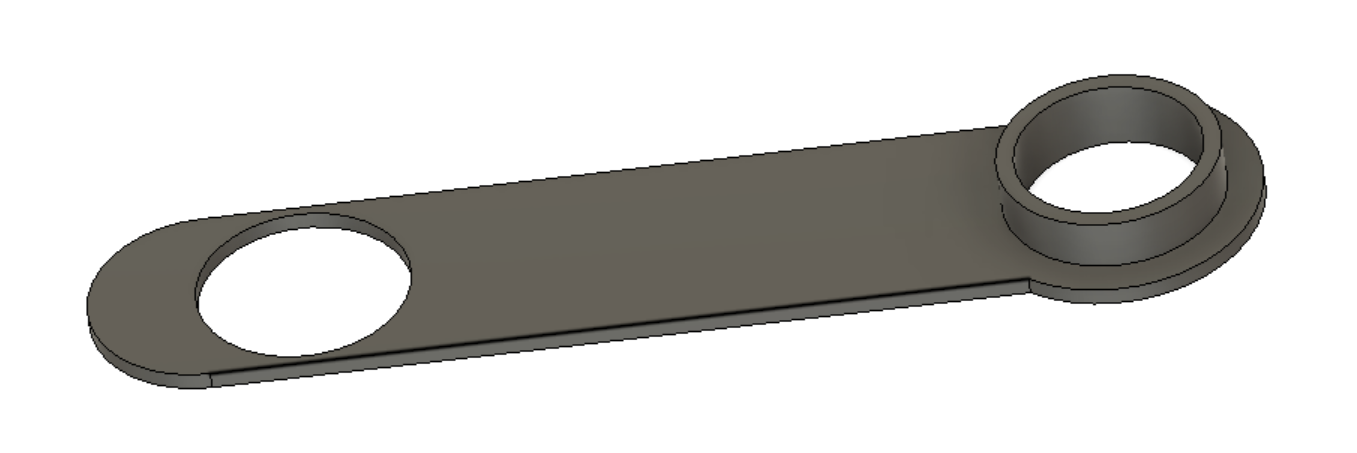
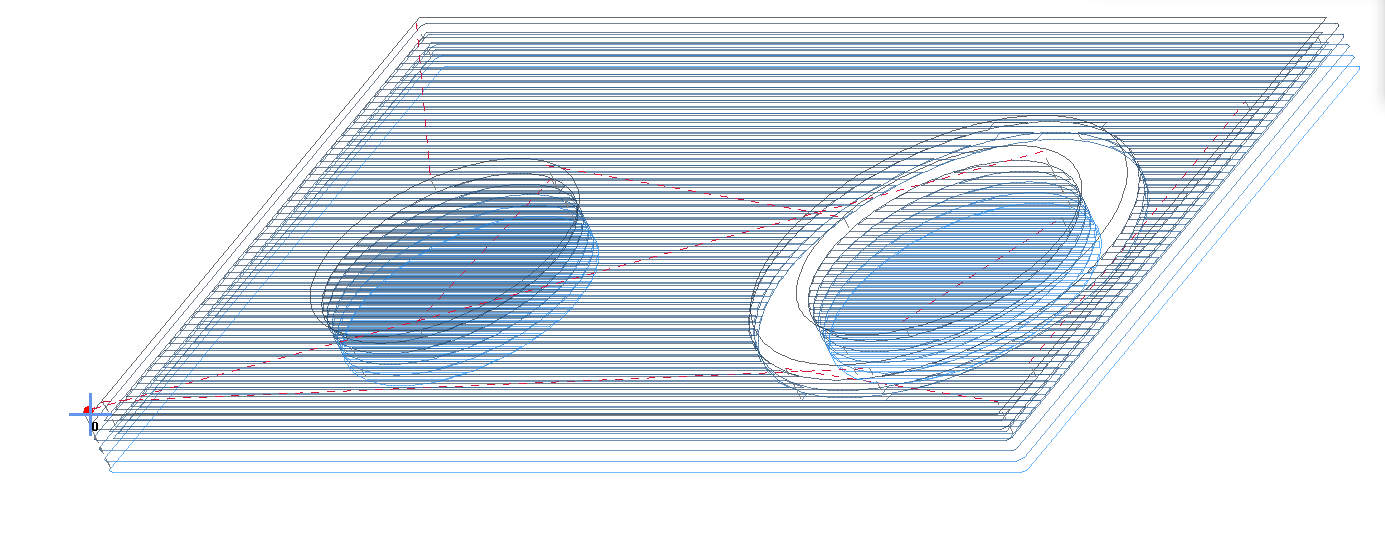
The bottom (flat part) is 1/8" thick. The tube that sticks out is the full 3/4" tall.
In Estlcam, I can’t figure out how to set this up. I have the feeling I should be using “island”, but I can’t figure out how to actually use the function.
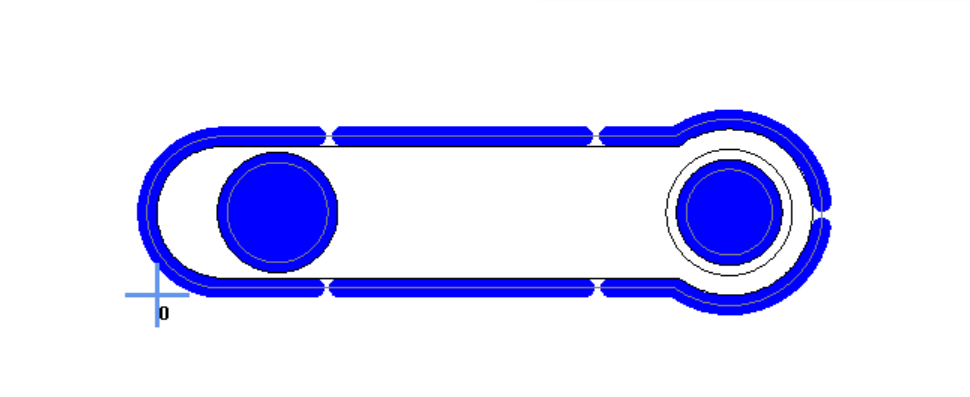
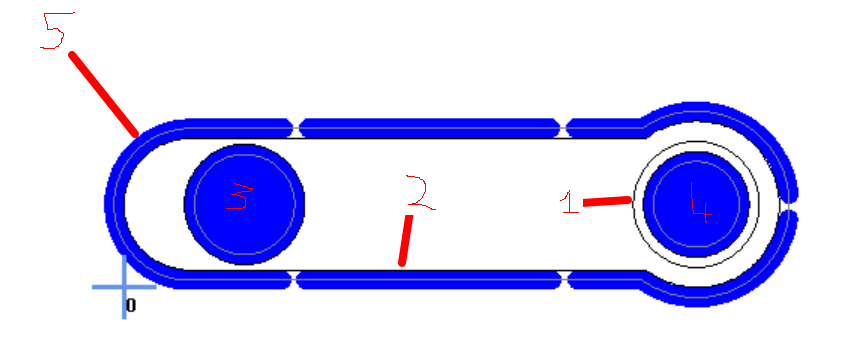
For this part I would set up the cuts in this order:
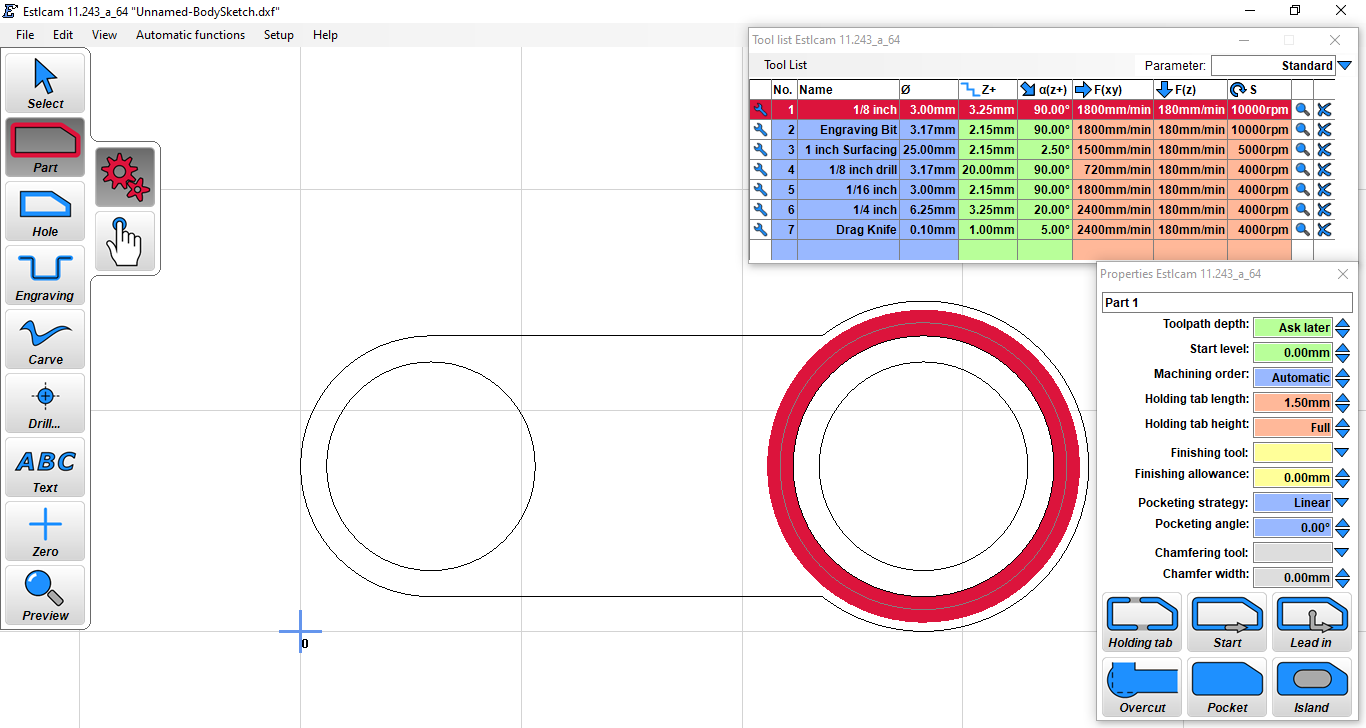
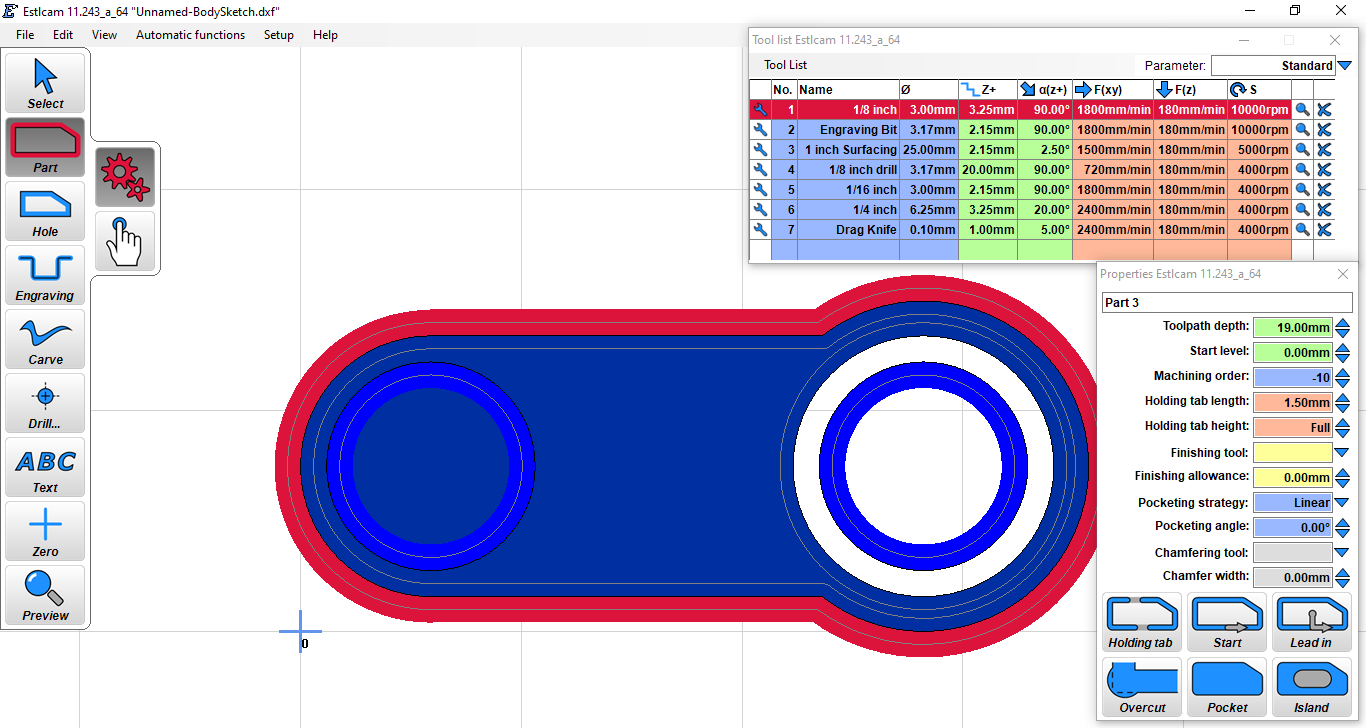
Select “part” and then select the outer perimeter of the upward sticking flange.
Select “hole” and then select the outer perimeter. Select “island” and it will machine out everything inside the outer perimeter but outside of the flange. This will cause problems if the distance between the flange and the perimeter is less than 1 tool diameter! If that is the case, you can manually select a slightly oversize perimeter. Set the depth of cut and set the machining order to something small, ie: 10.
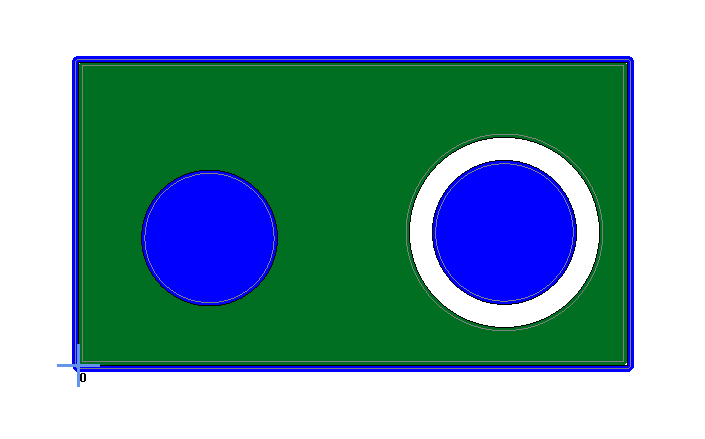
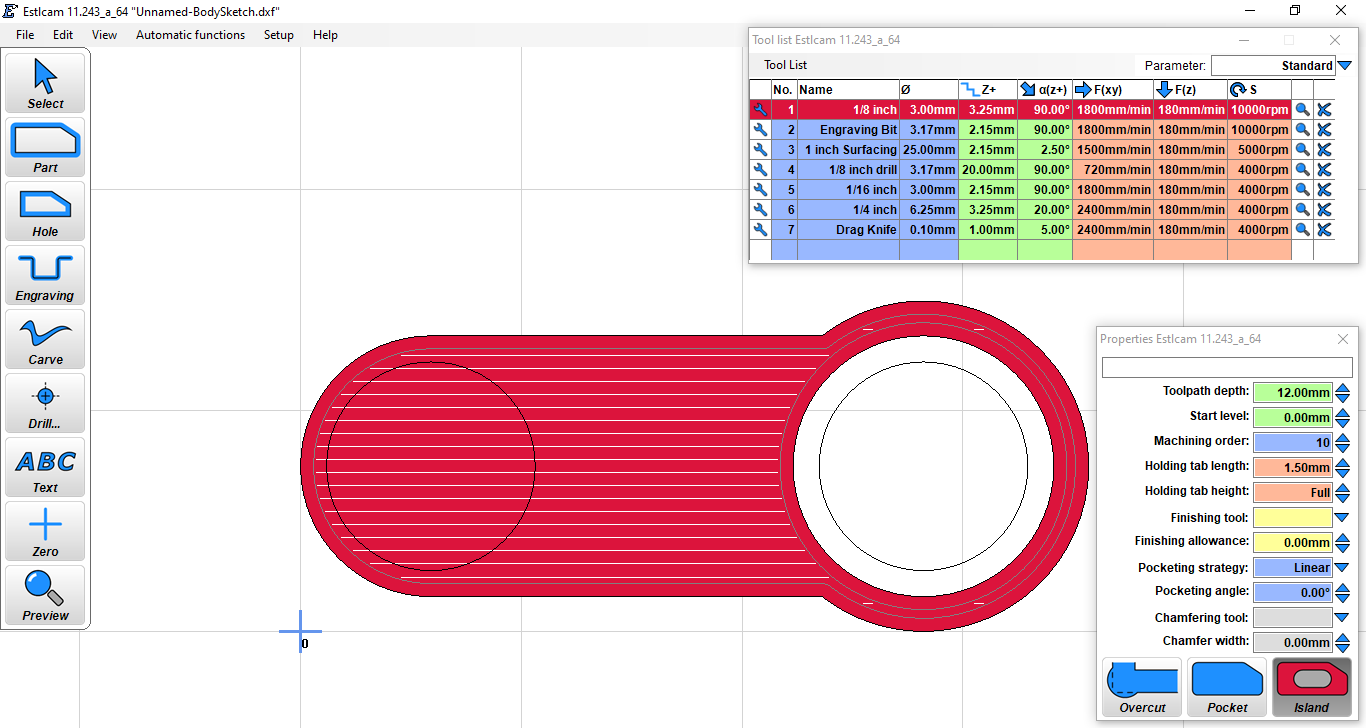
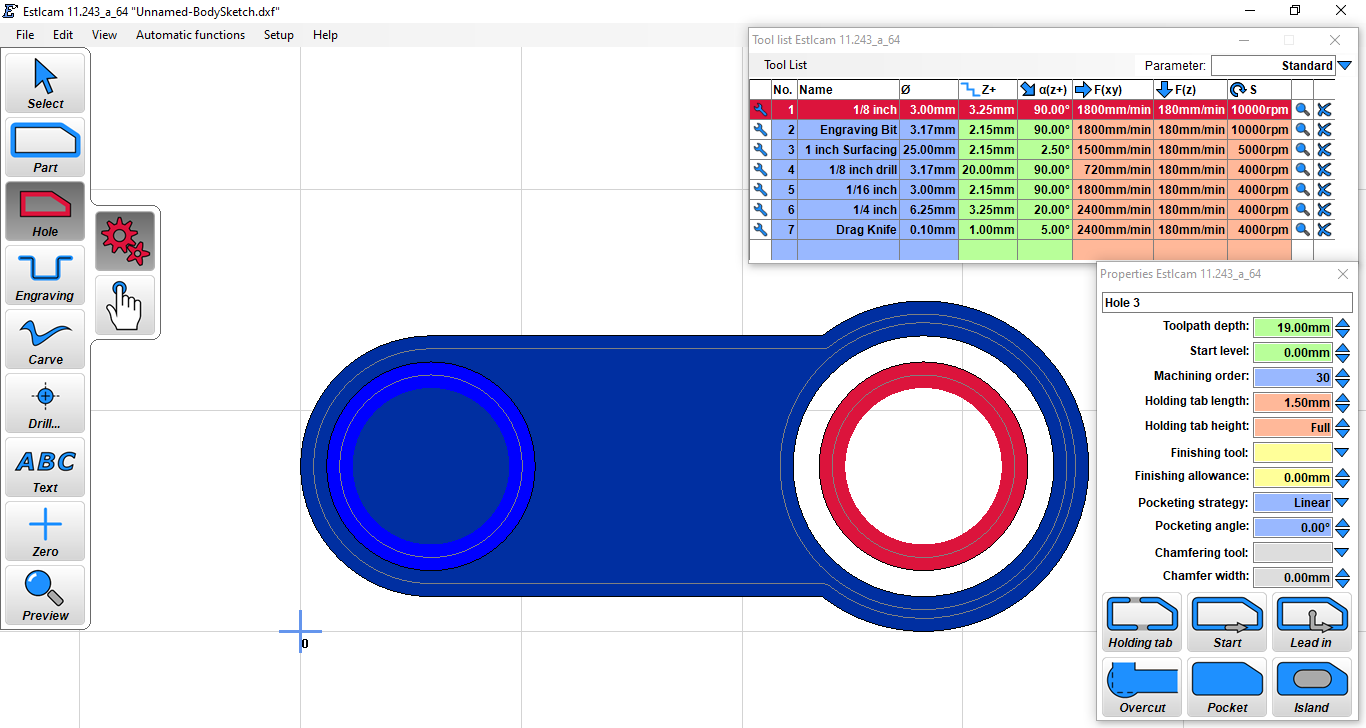
Now select “hole” and machine out the left hand hole. Set the “start depth” to be the depth of the first cut. This will save time where the machine does not try to cut air where it has previously machined down the first part. Set machining order 20. I see you have this pocketed out in your picture, but I would probably not do that, and just cut it out.
Now select the hole in the middle of the flange, and select ‘hole’. Once again, I would probably just cut this out instead of pocketing it,
Cut out the left side hole. Note that the depth is 7mm, and start depth is 12mm. (19mm total depth isn’t quite 3/4" but close enough for this purpose.)
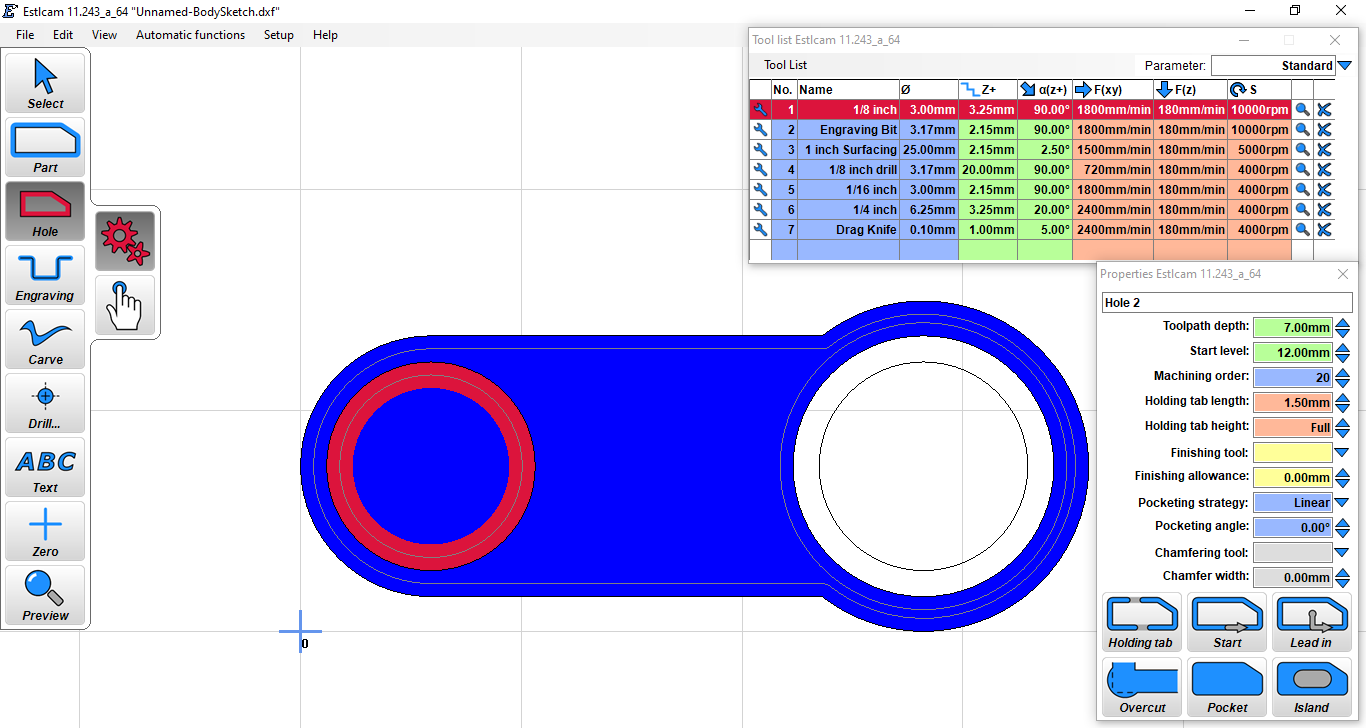
Now, cut out hte part. Add hold-down tabs however you want. Here I set the machining order to -10 because negative numbers are always saved until the end.
Note that for this shape, there is one problem, which is that the corner between the flat edge and the bulge on the right has a sharp corner. While machining down the inside of this, the machine can (and will) follow the sharp corner, but when cutting the part out (the outside) it cannot. This will leave a little spike of un-machined material the full height of the part behind when the job is done, because on the outside, it cannot cut a radius tighter then the radius of the tool. You can either hand cut this after, or else you will have to adjust the drawing so that the sharp corners are eliminated.
For what it’s worth, at least the island function is covered in the “tool path generation” portion of the software workflow area in the V1 documentation.
Thanks for the replies guys! That was exactly what I needed. Although I done lots with my Primo, I normally cut out flat stock (boxes, guitar stands, etc).
With the information here, the island function finally makes some sense.